
There are many different reasons to move Azure VMs from one region to another.
• Operation Requirements – As an example, if organization open a branch in different region and want to move some operations to them, it is best to move infrastructure resource to the same geographical location as it will improve the reliability and availability of the services.
• Compliance requirements – Sometimes rules and regulations force businesses to keep the data/operations in the same country or continent.
• Azure feature requirements – Sometimes new Azure services & features are the first rollout to certain regions. If your current region has such limitations and still wants to use those features/services, you will need to move the resource to a supported region.
In this post, I am going to demonstrate how to move Azure VM from one region to another using Azure site recovery.
Prerequisites
Before start lets make sure we have the following in place,
• Valid Subscription – Subscription should support to create resources in the target region. It also should have enough credit.
• Account Permission – We need to make sure we have enough permissions to create virtual machines, storage accounts, virtual networks in Azure.
• Network layout – Make sure to check the source network setup including all the components such as NSG, public IP, load balancer. The failover process will create a virtual network automatically to match the source network. But we have to create all other resources manually after the migration.
• Compatible regions – Make sure the source and target regions are part of compatible list https://docs.microsoft.com/en-gb/azure/site-recovery/azure-to-azure-support-matrix#region-support
In this demo, I am going to create windows server 2019 VM in East US region and then move it West US region using Azure site recovery.
Create Source VM
1. Launch PowerShell console and connect to Azure using Connect-AzAccount
[su_note]Please make sure you have Azure PowerShell module installed. More info about it can find under https://docs.microsoft.com/en-us/powershell/azure/install-az-ps?view=azps-2.6.0[/su_note]
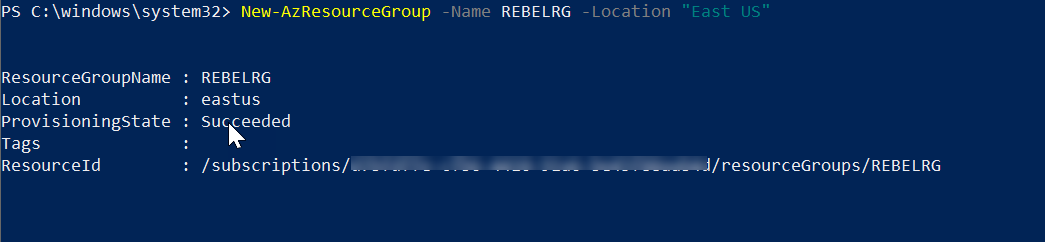
2. Create a new resource group using,
New-AzResourceGroup -Name REBELRG -Location "East US"
In the above, REBELRG is the resource group name and East US is the resource group location.
3. Then create a new VM using,
$mylogin = Get-Credential
New-AzVm -ResourceGroupName REBELRG -Name "REBELVM01" -Location "East US" -VirtualNetworkName "REBELVNET1" -SubnetName "REBELVMSubnet1" -PublicIpAddressName "REBELVM01IP1" -OpenPorts 80,3389 -Image win2019datacenter -Size Standard_D2s_v3 -Credential $mylogin
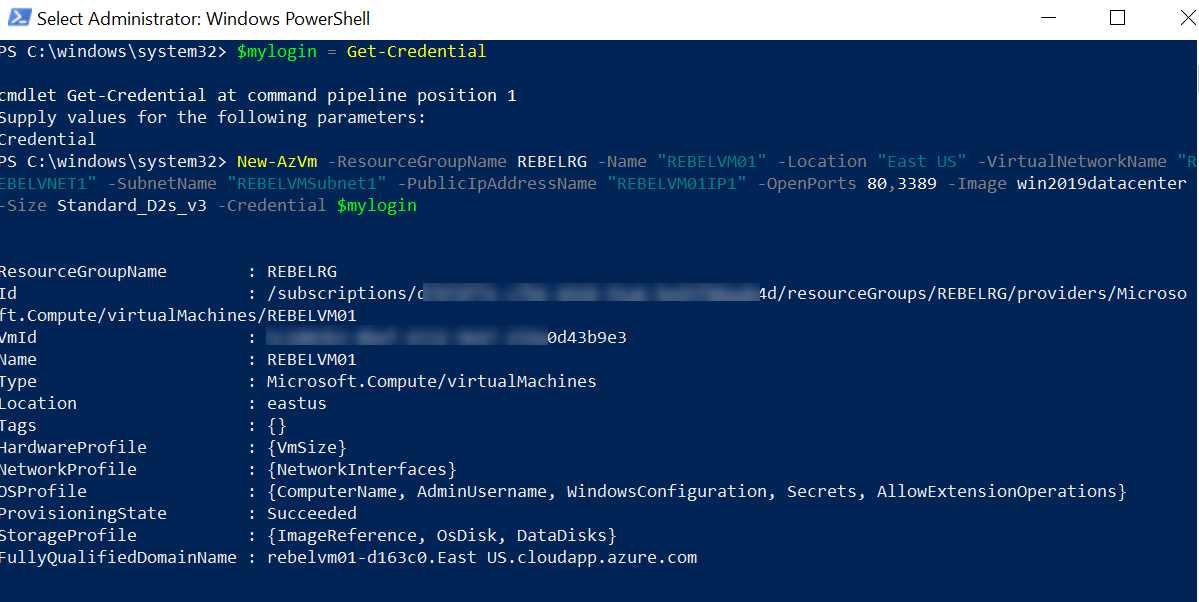
In the above, REBELVM01 is the VM name. It is running windows server 2019 data center edition. I have specified it using -Image parameter. It also using Standard_D2s_v3 vm size.
Create a new Recovery Services vault
We need to create a new recovery service vault for the replication. It can be set up under any region apart from the source region. In that case, I am going to create a new vault under Canada Central region.
1. First, let's go ahead and create a new resource group.
New-AzResourceGroup -Name REBELVRG -Location "Canada Central"
In the above, REBELVRG is the resource group name and Canada Central is the resource group location.
2. Then we create the new recovery service vault using,
New-AzRecoveryServicesVault -Name "REBELVault01" -ResourceGroupName "REBELVRG" -Location "Canada Central"
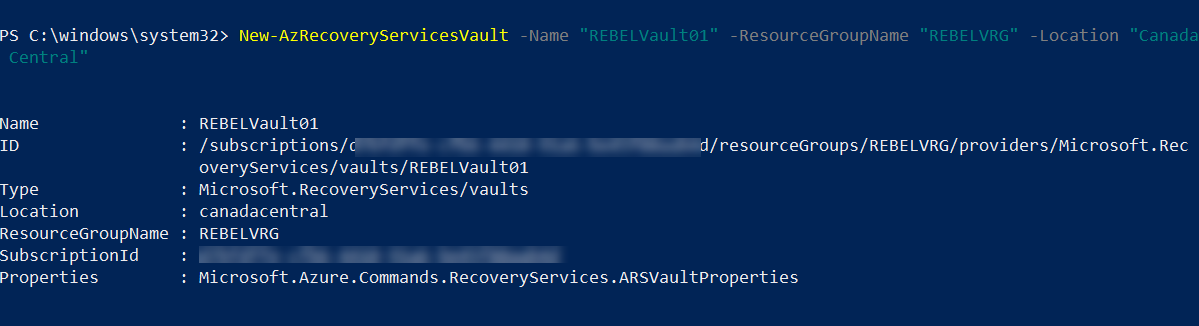
In the above, REBELVault01 is the service vault name.
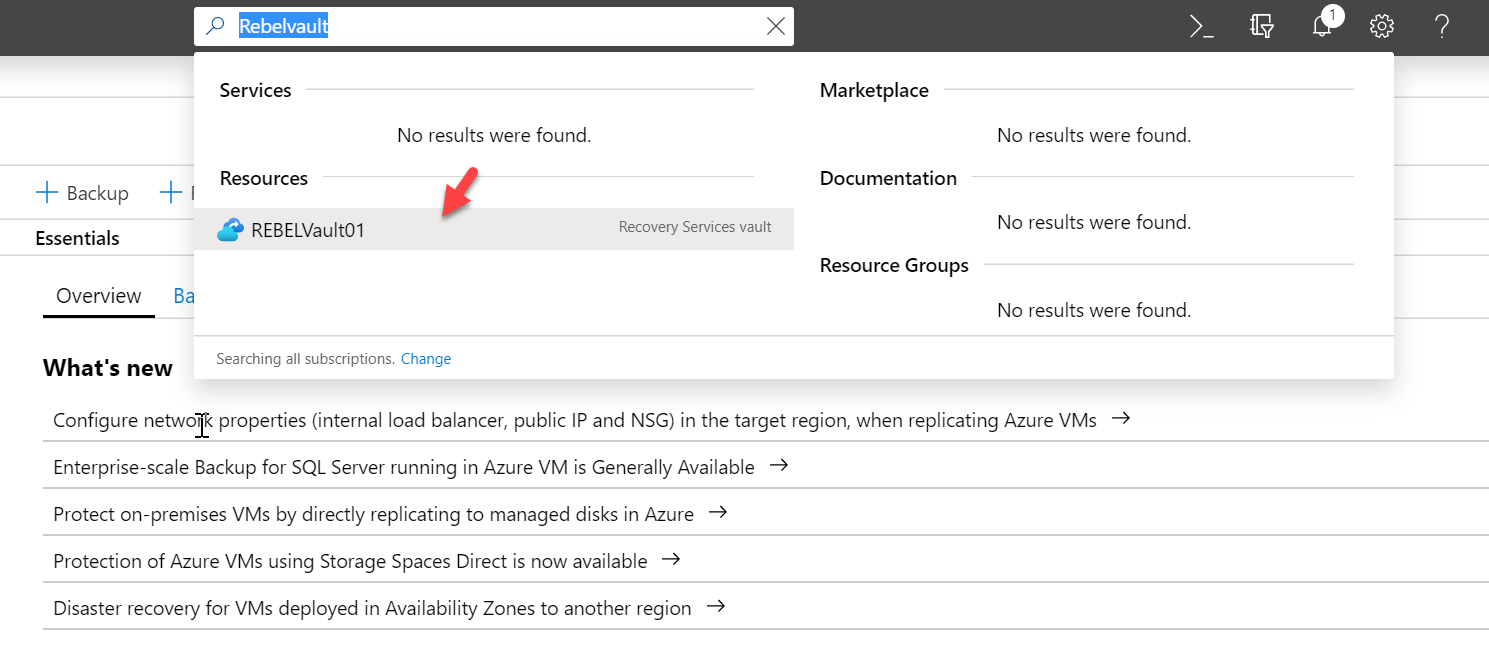
3. Next, log in to Azure portal (https://portal.azure.com) as a global administrator.
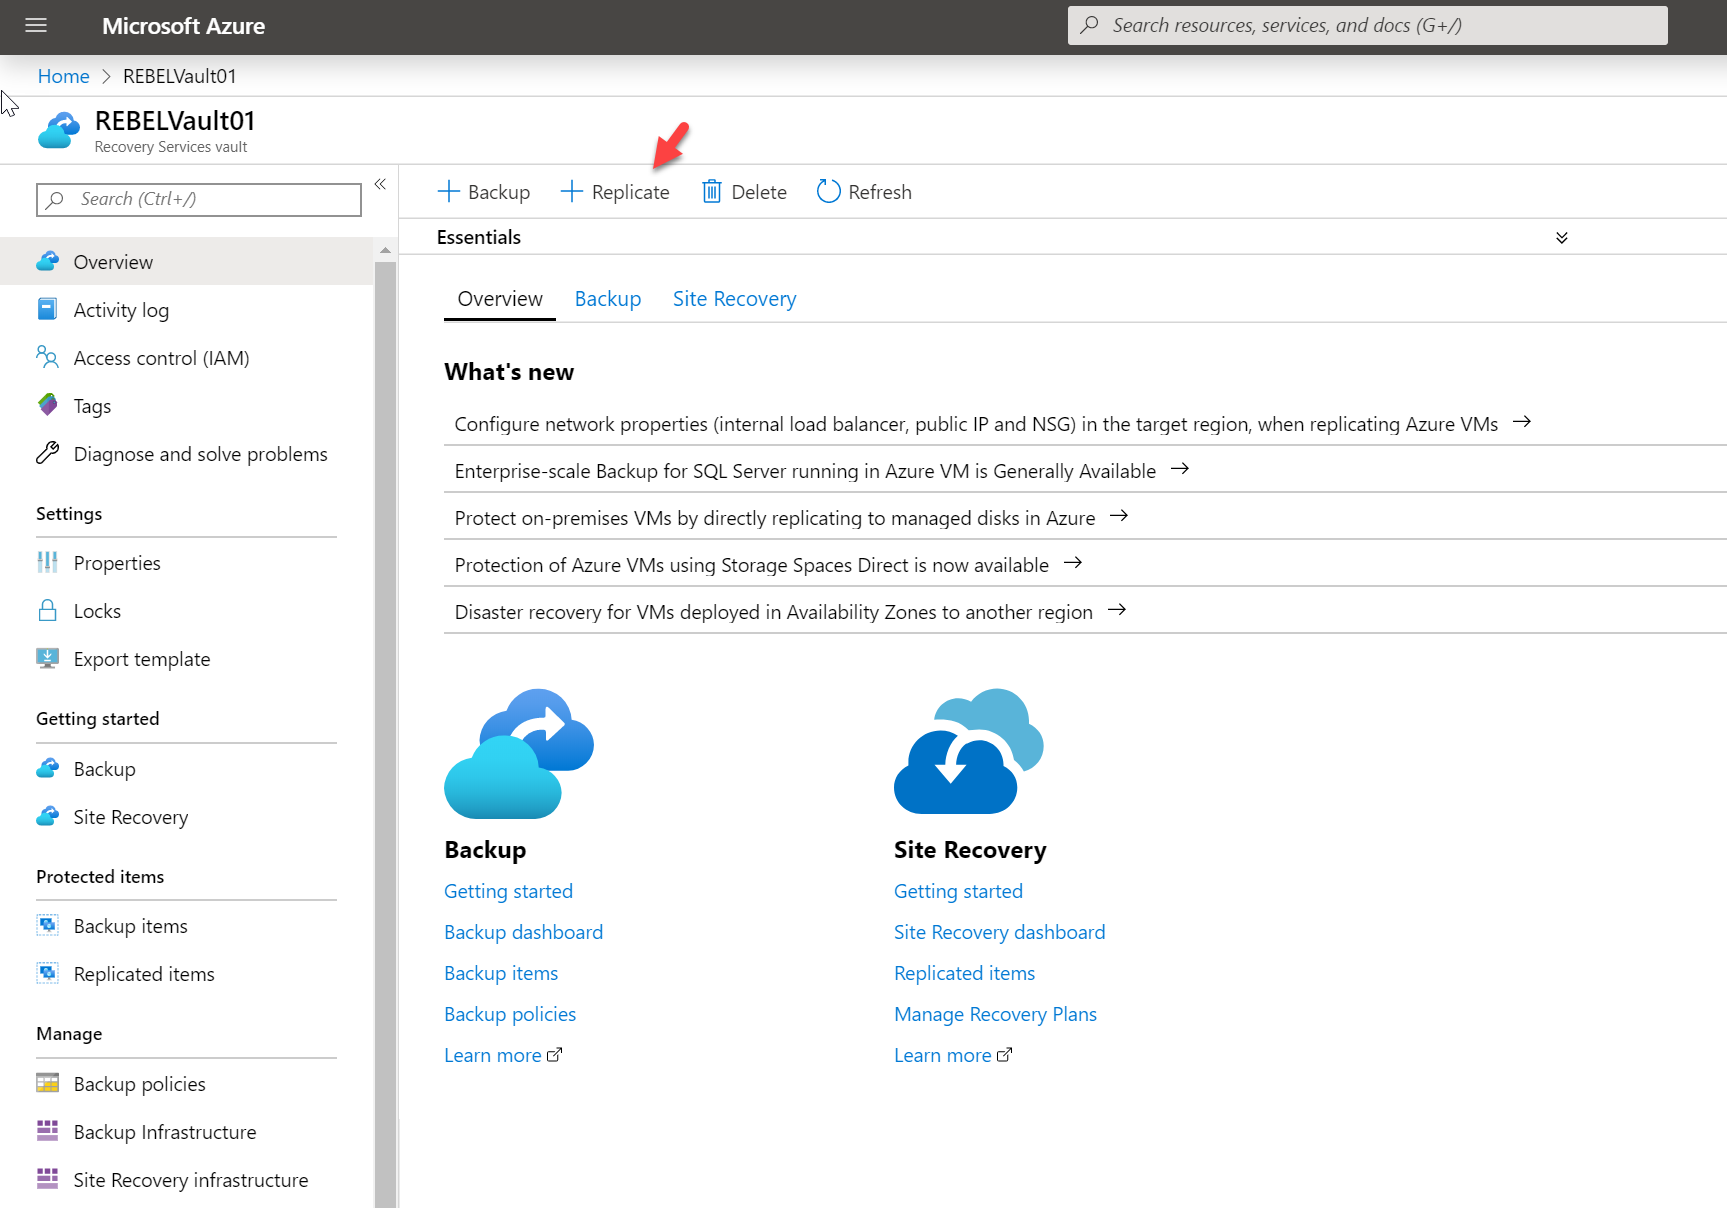
4. Search for Rebelvault01 on the search box and click on it.
5. In vault home page, click on + Replicate
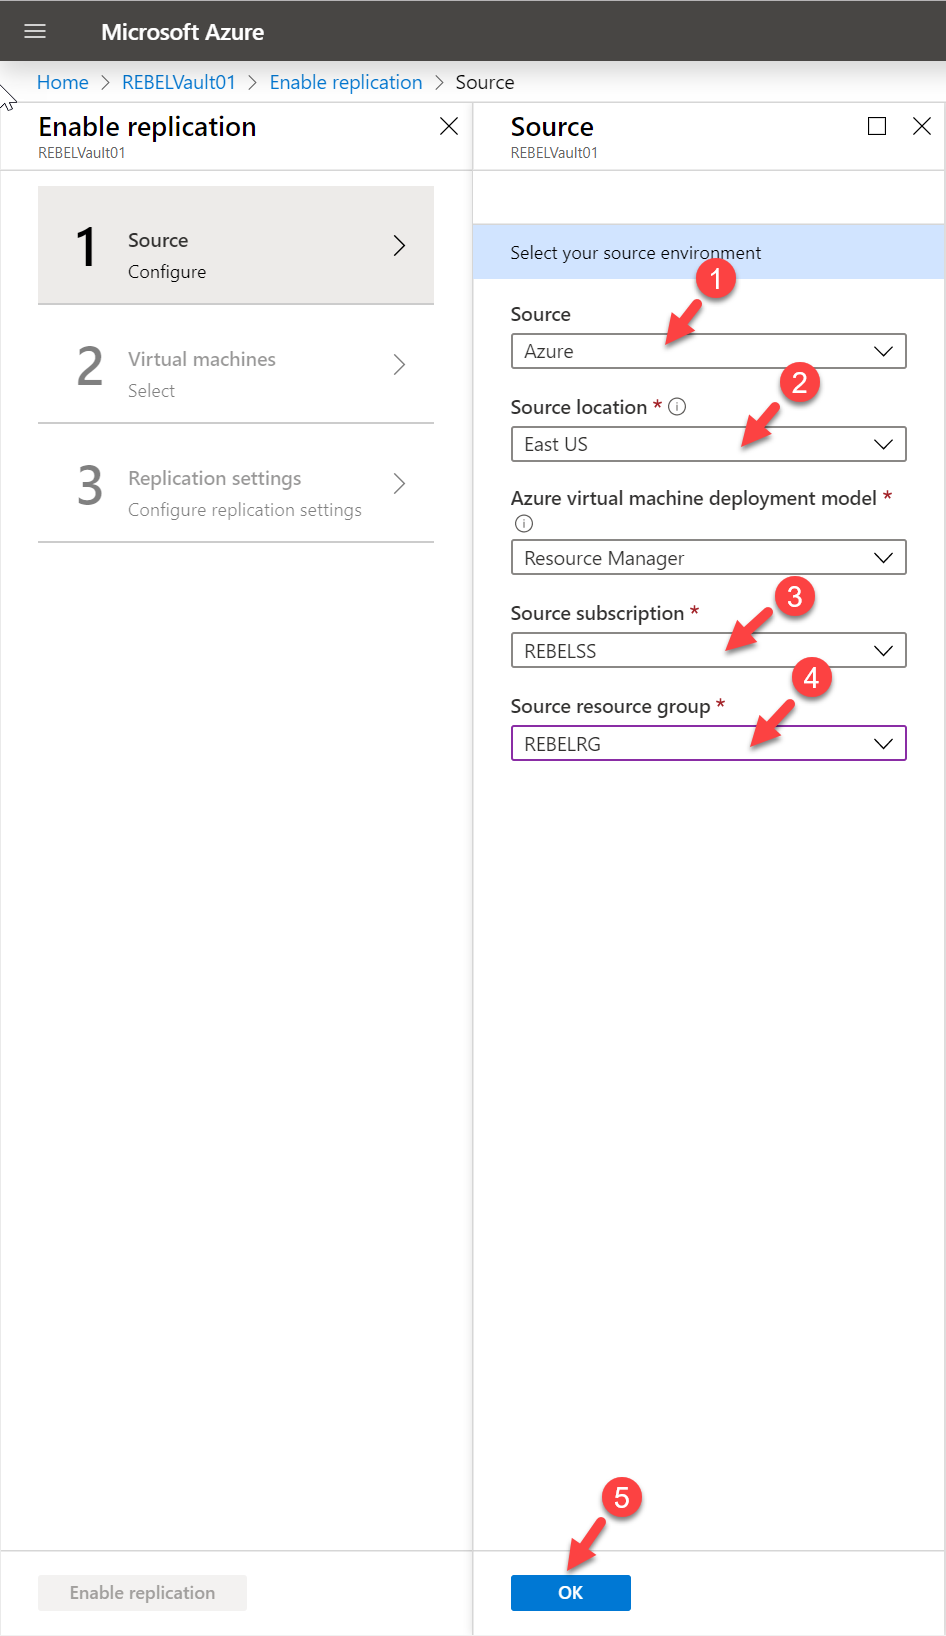
6. In the form first select source as Azure. Then source location as East US. Also, select the relevant subscription. Then select the source resource group. At the end click on OK.
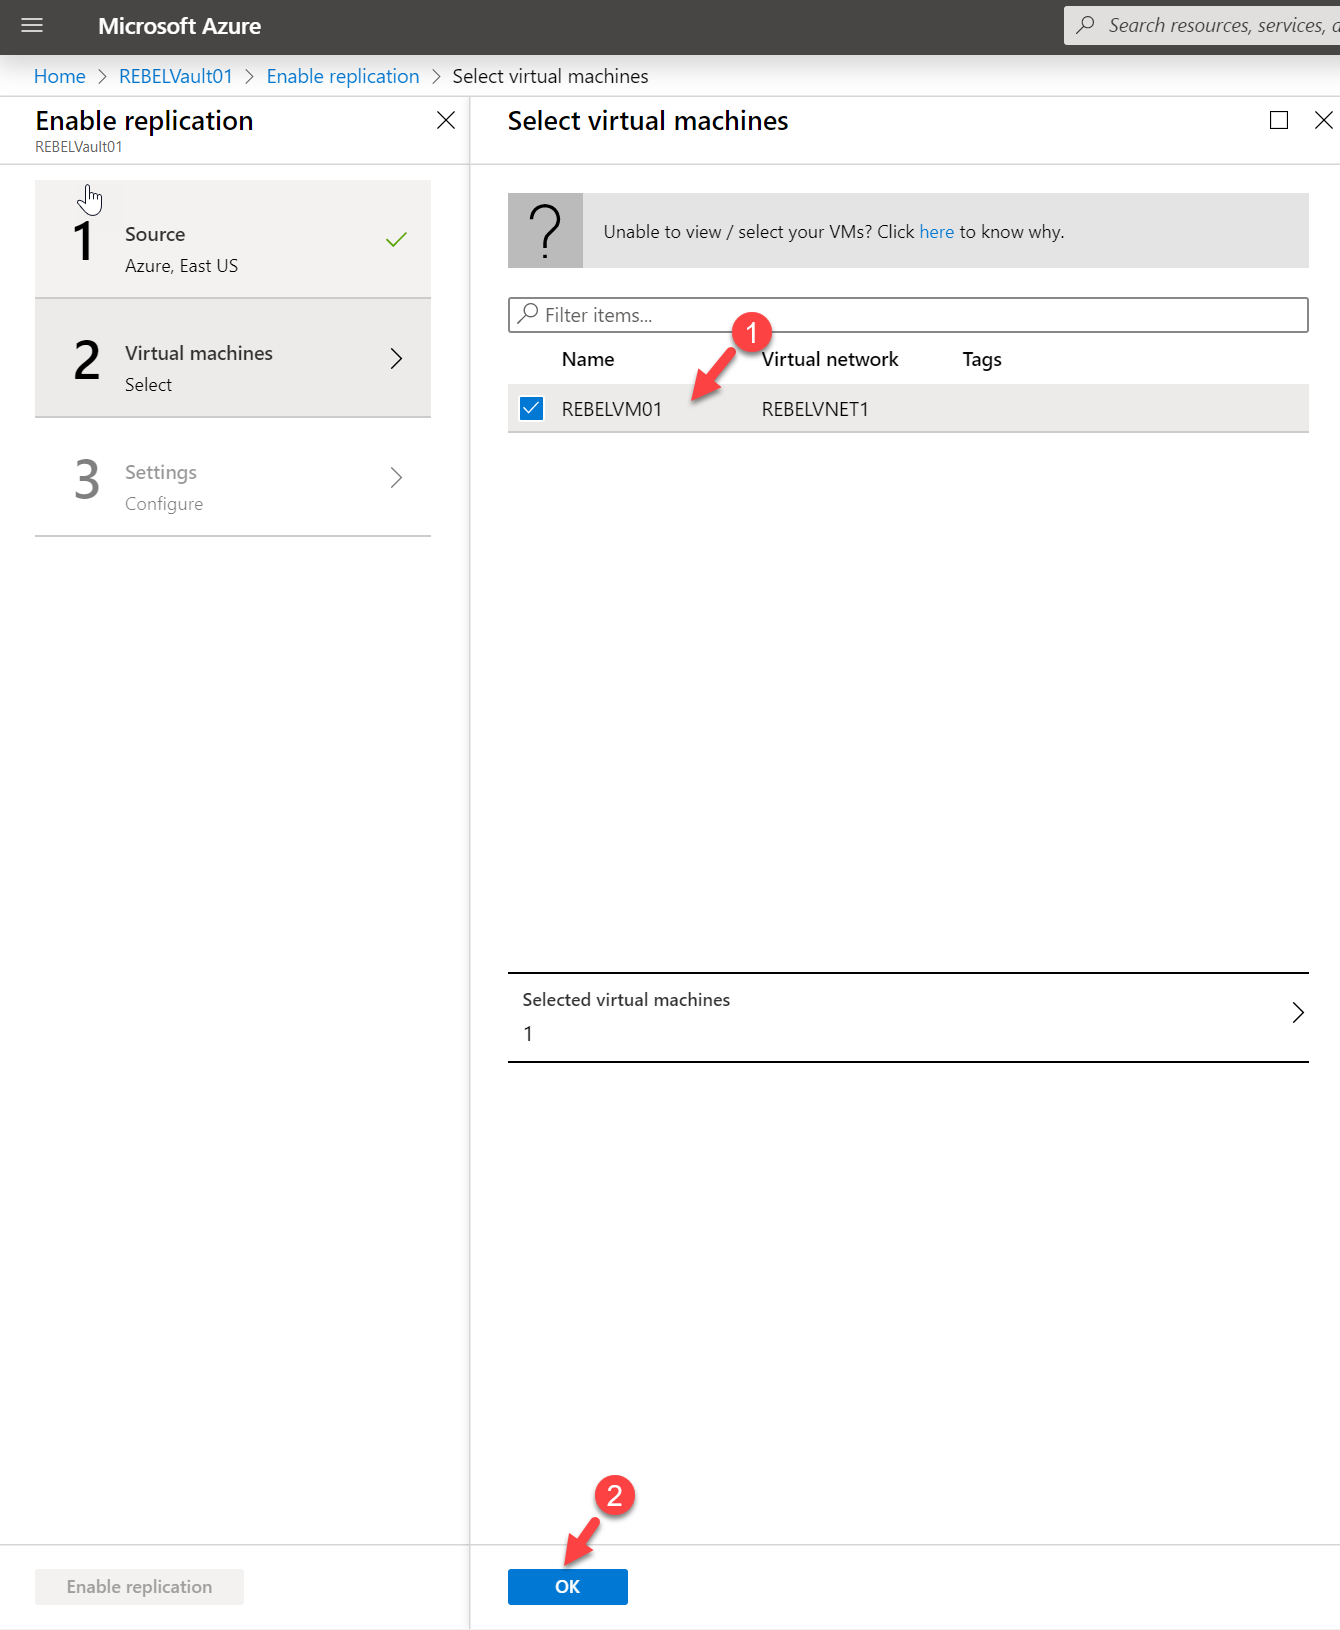
7. In the next window, select the relevant virtual machine and click on OK
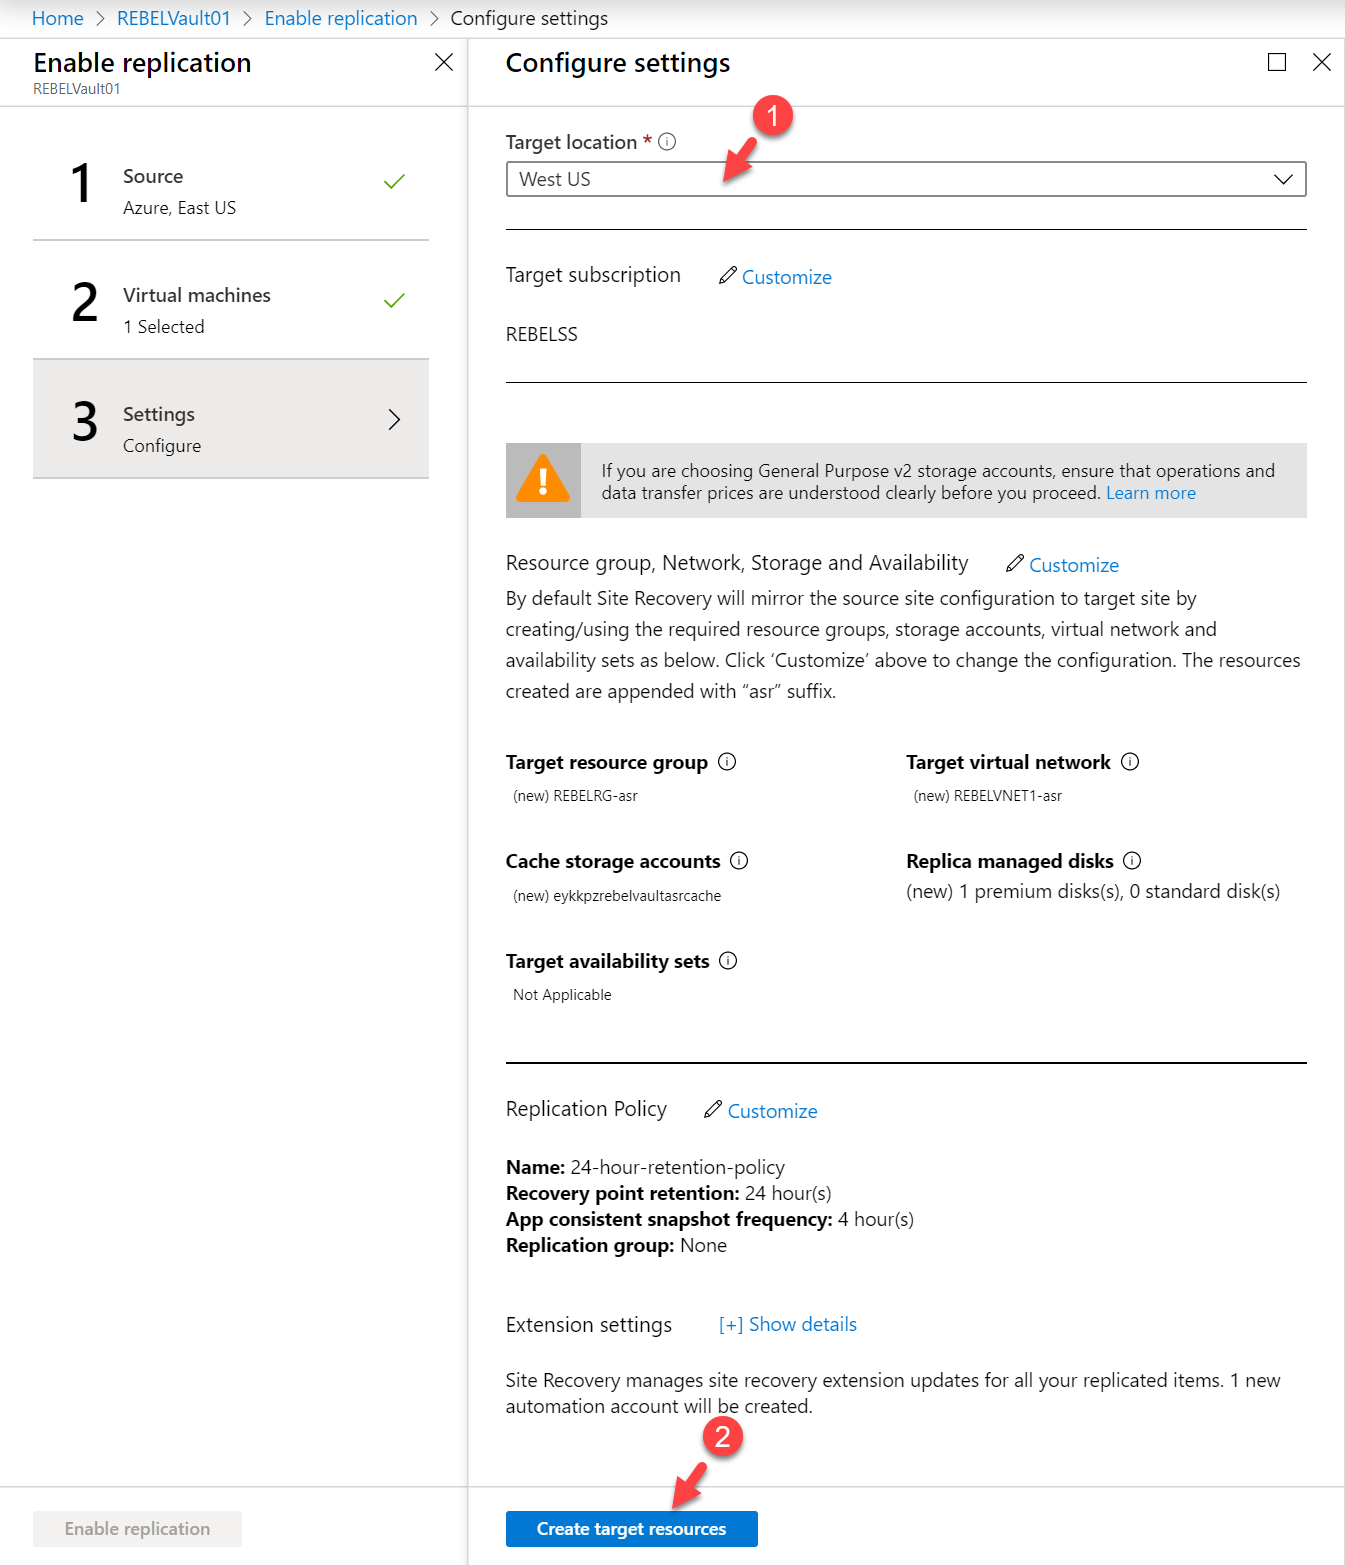
8. In the settings window, select West US as the target region. Under Resource Group, Network, Storage and Availability settings we also can define already existing resource group & network. But in this demo, I am going to use system created one. Also, under replication policy settings, we can apply our own policy. In this demo, I am going to use default policy settings.
Once settings are in place, click on create target resources.
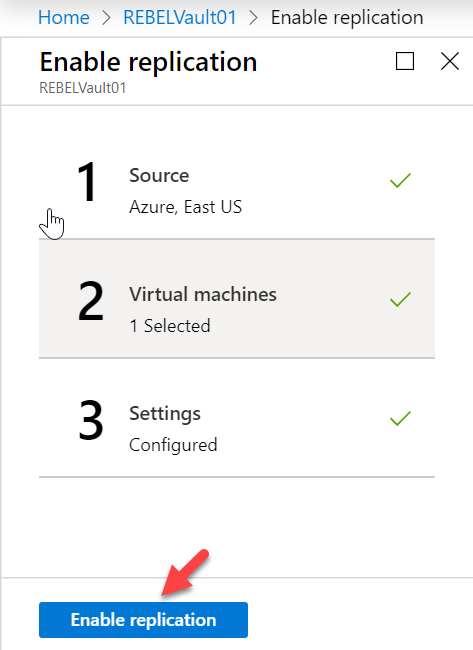
9. Once the job is completed, click on Enable Replication to start the replication process.
10. Once replication is enabled, we can monitor the status of replication using Site recovery tab in the service vault.
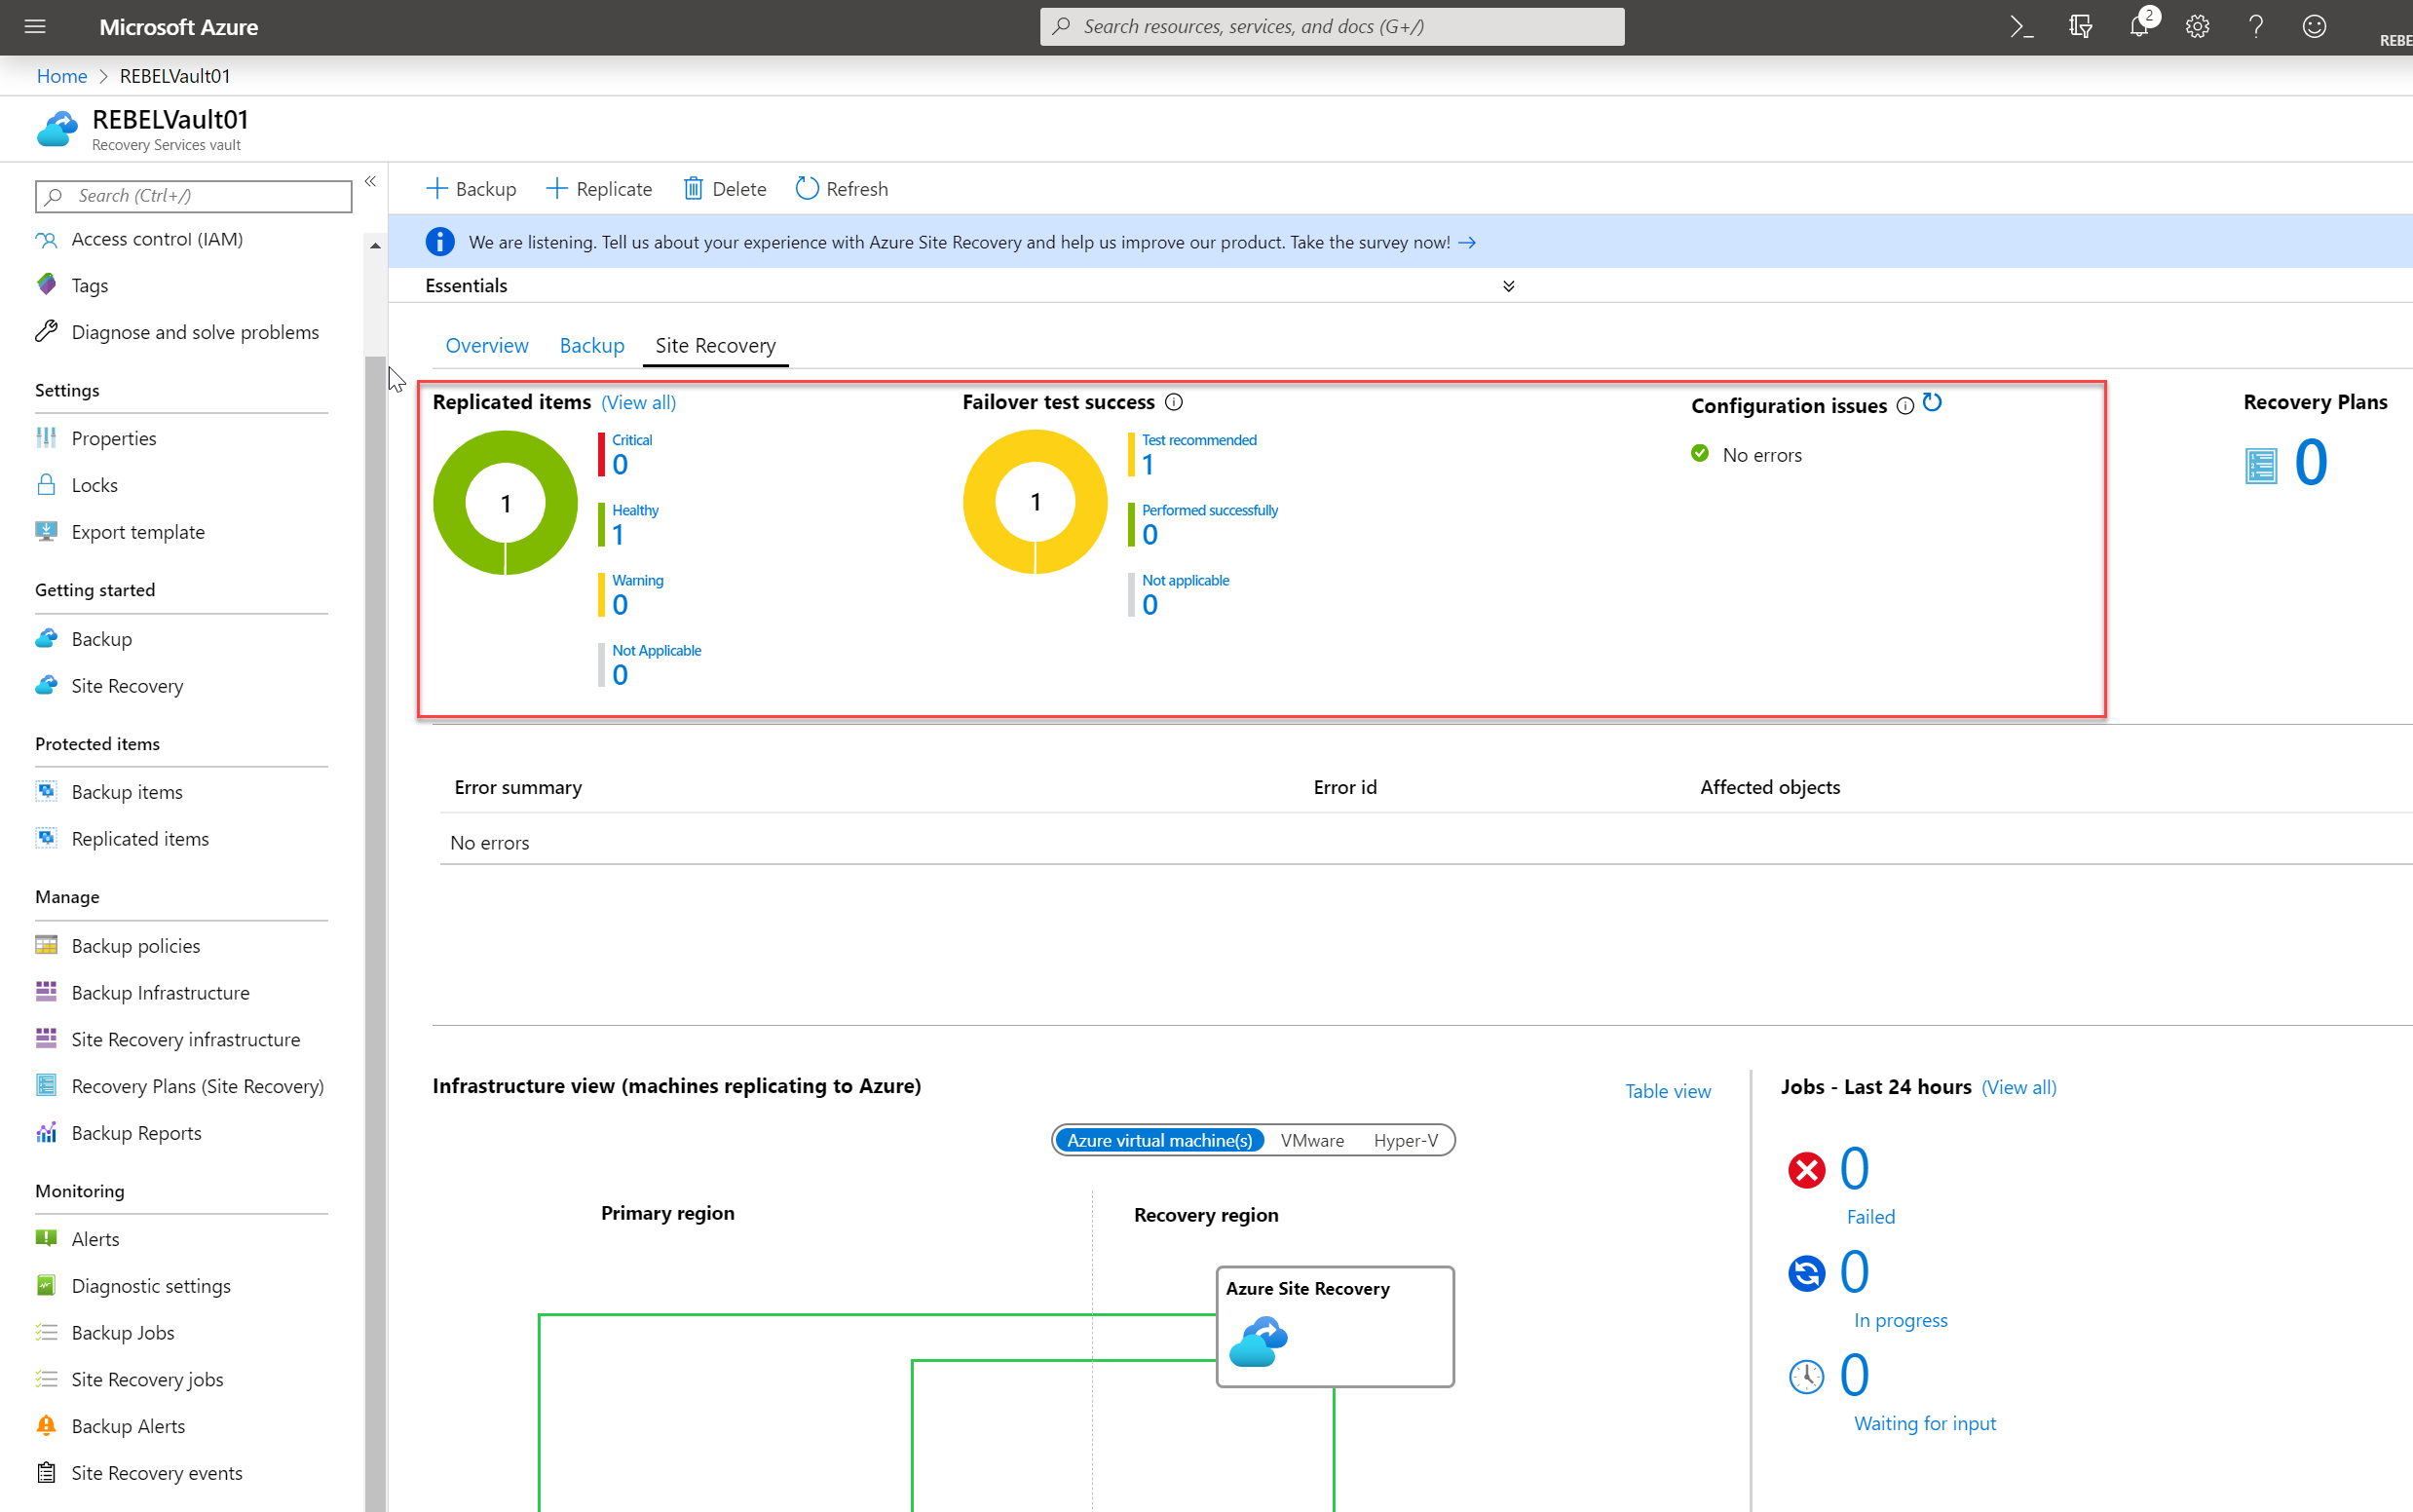
11. Before we do failover, make sure the replication is in health status.
Failover Process
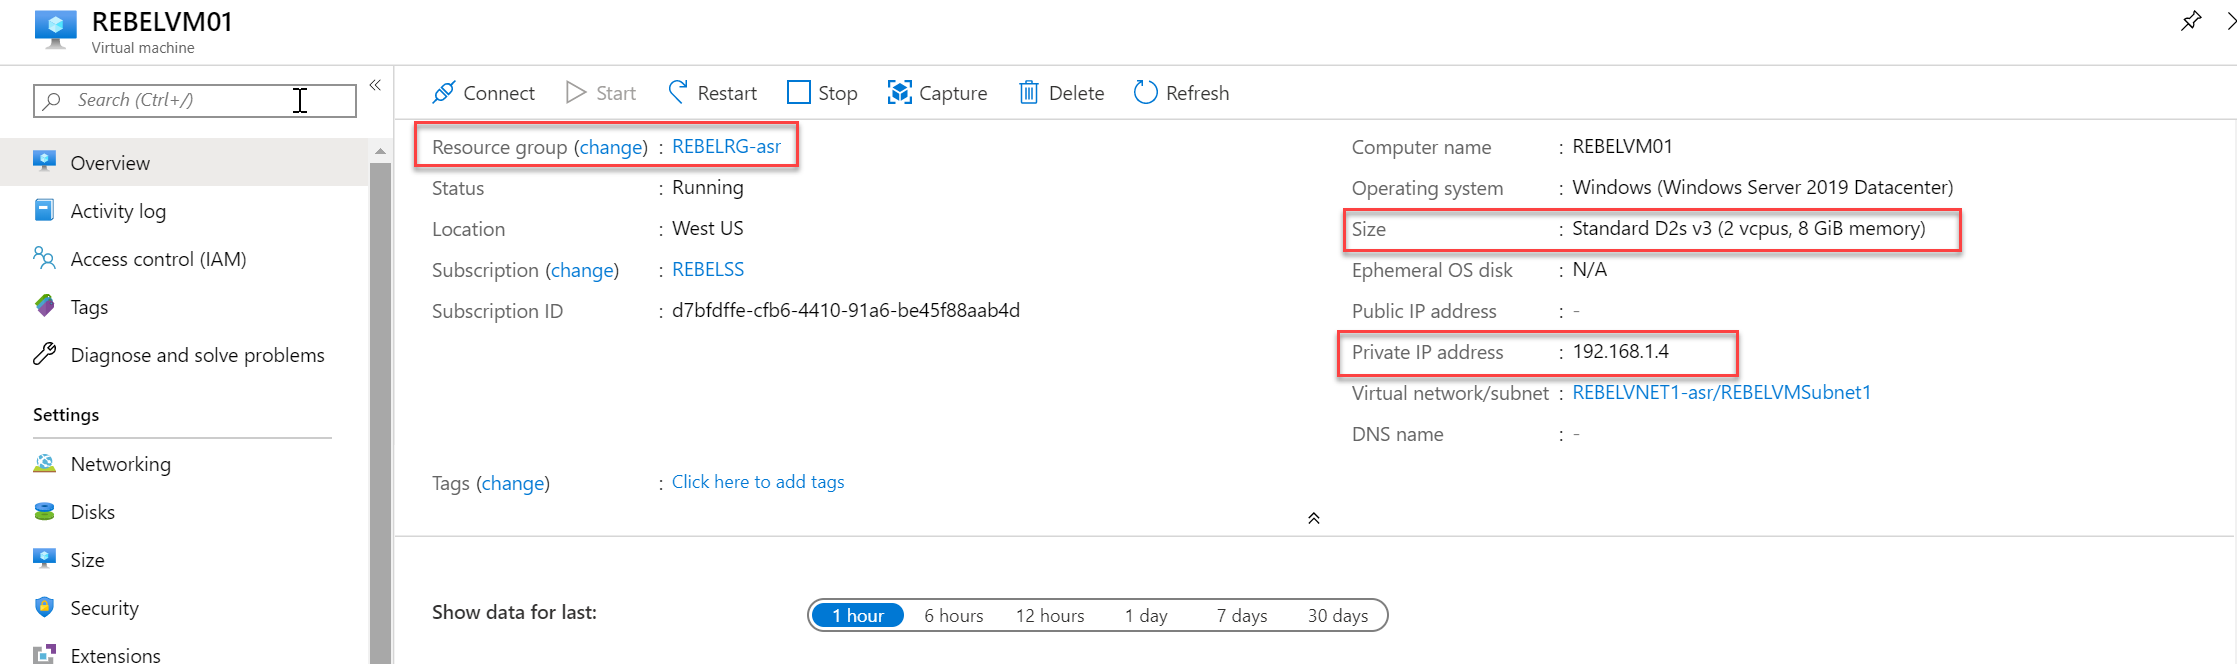
Before failover let's go to the source and check its settings.
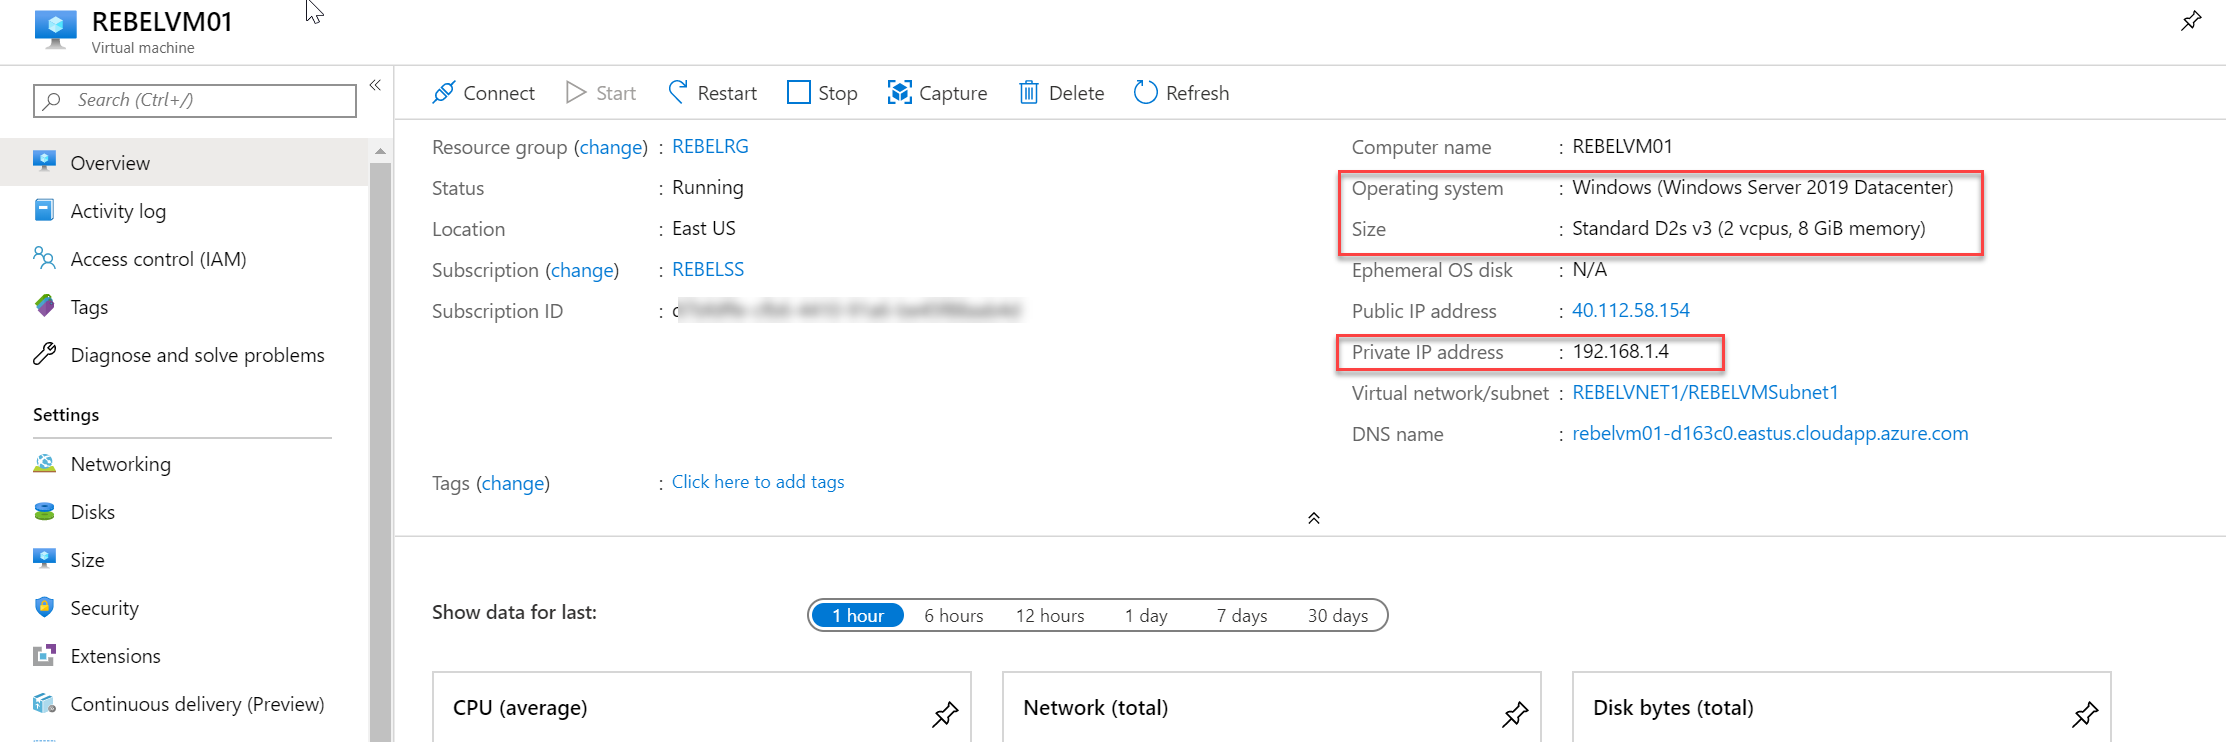
As we can see the private ip range for source is 192.168.1.0/24
To proceed with the failover process,
1. Log in to Azure portal (https://portal.azure.com) as global administrator.
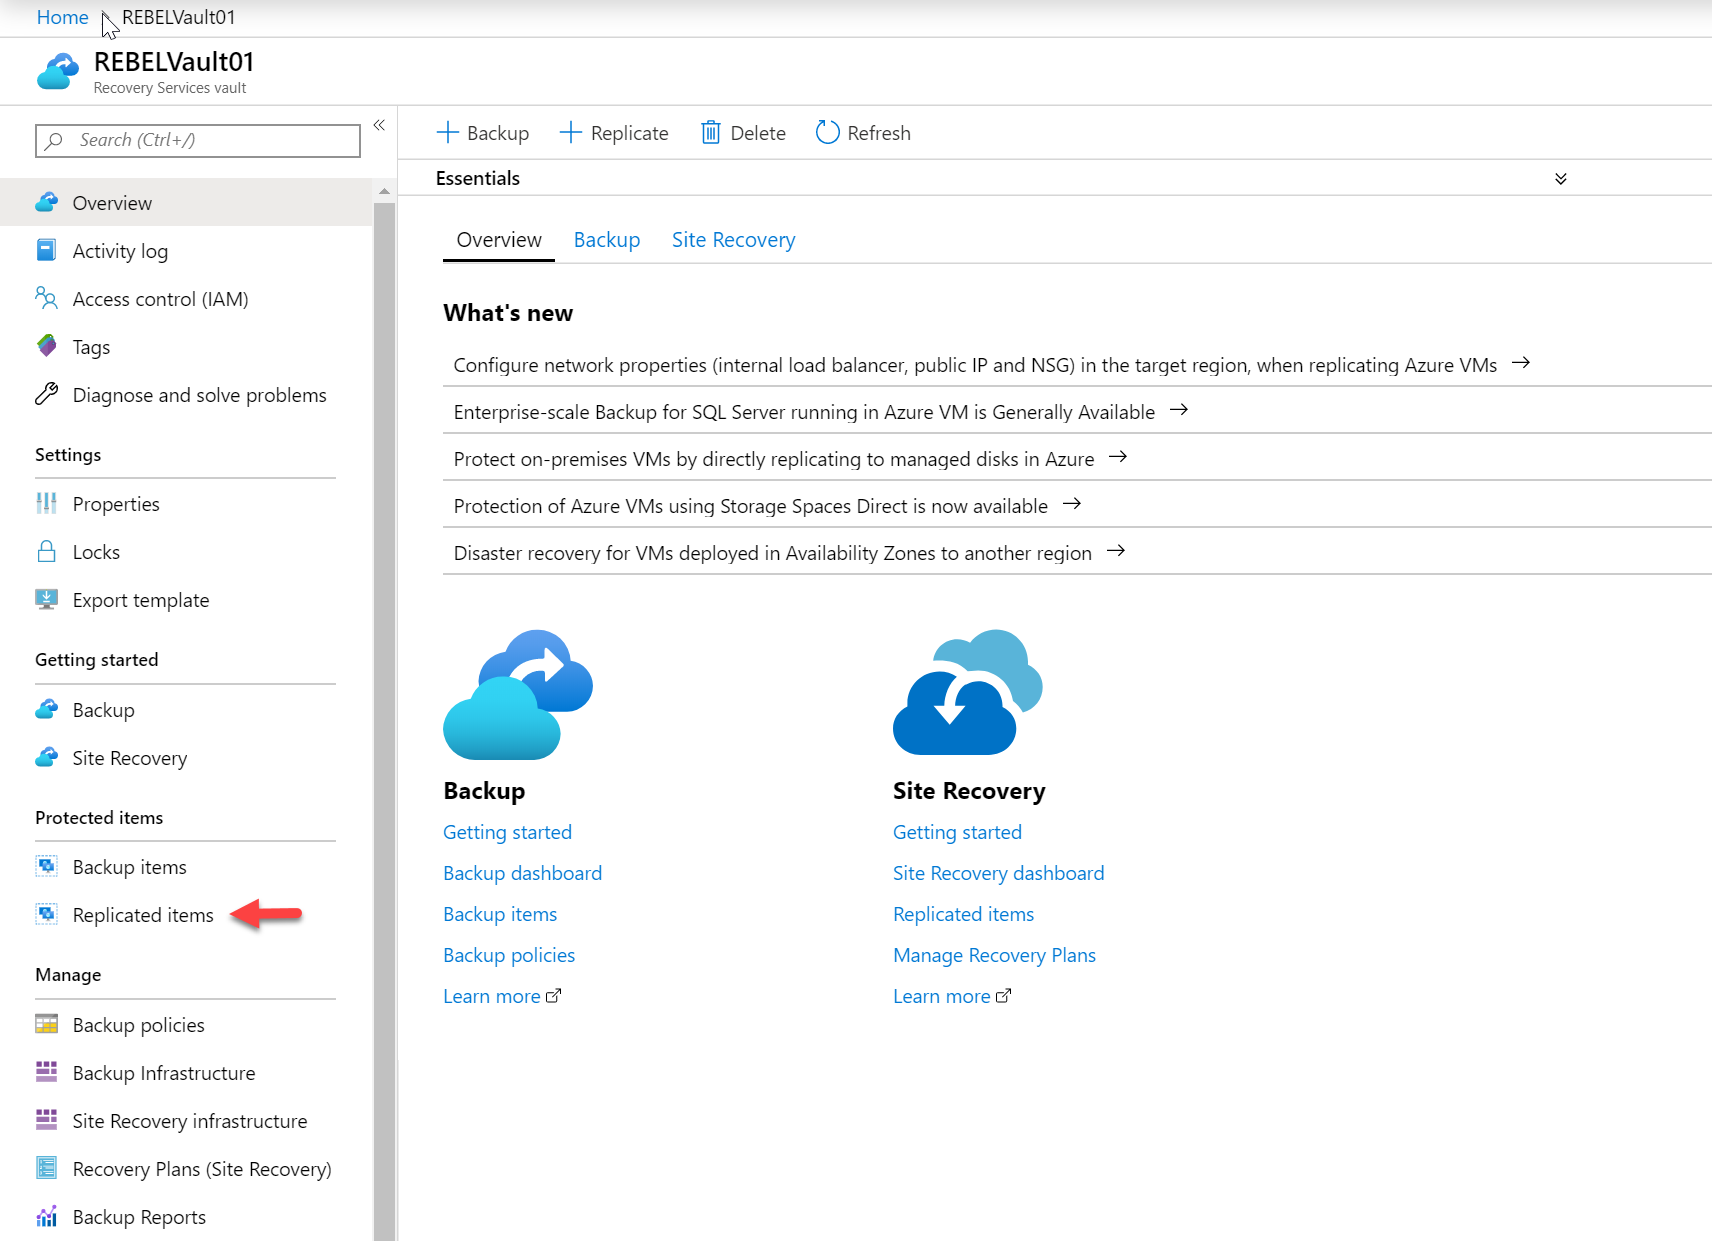
2. Search for Rebelvault01 service vault we created and click on it.
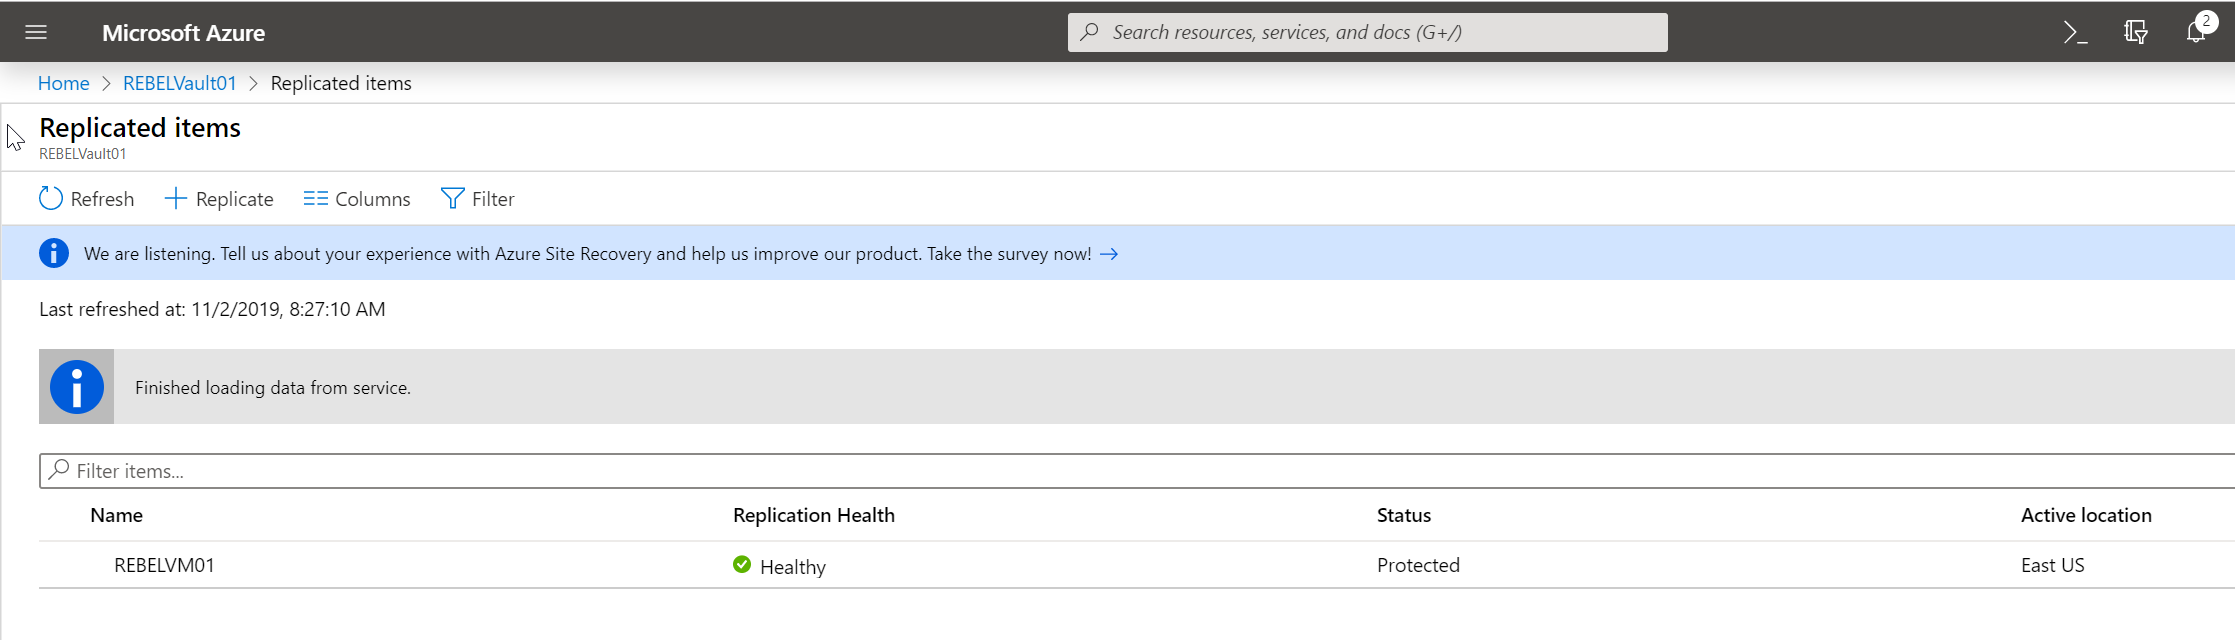
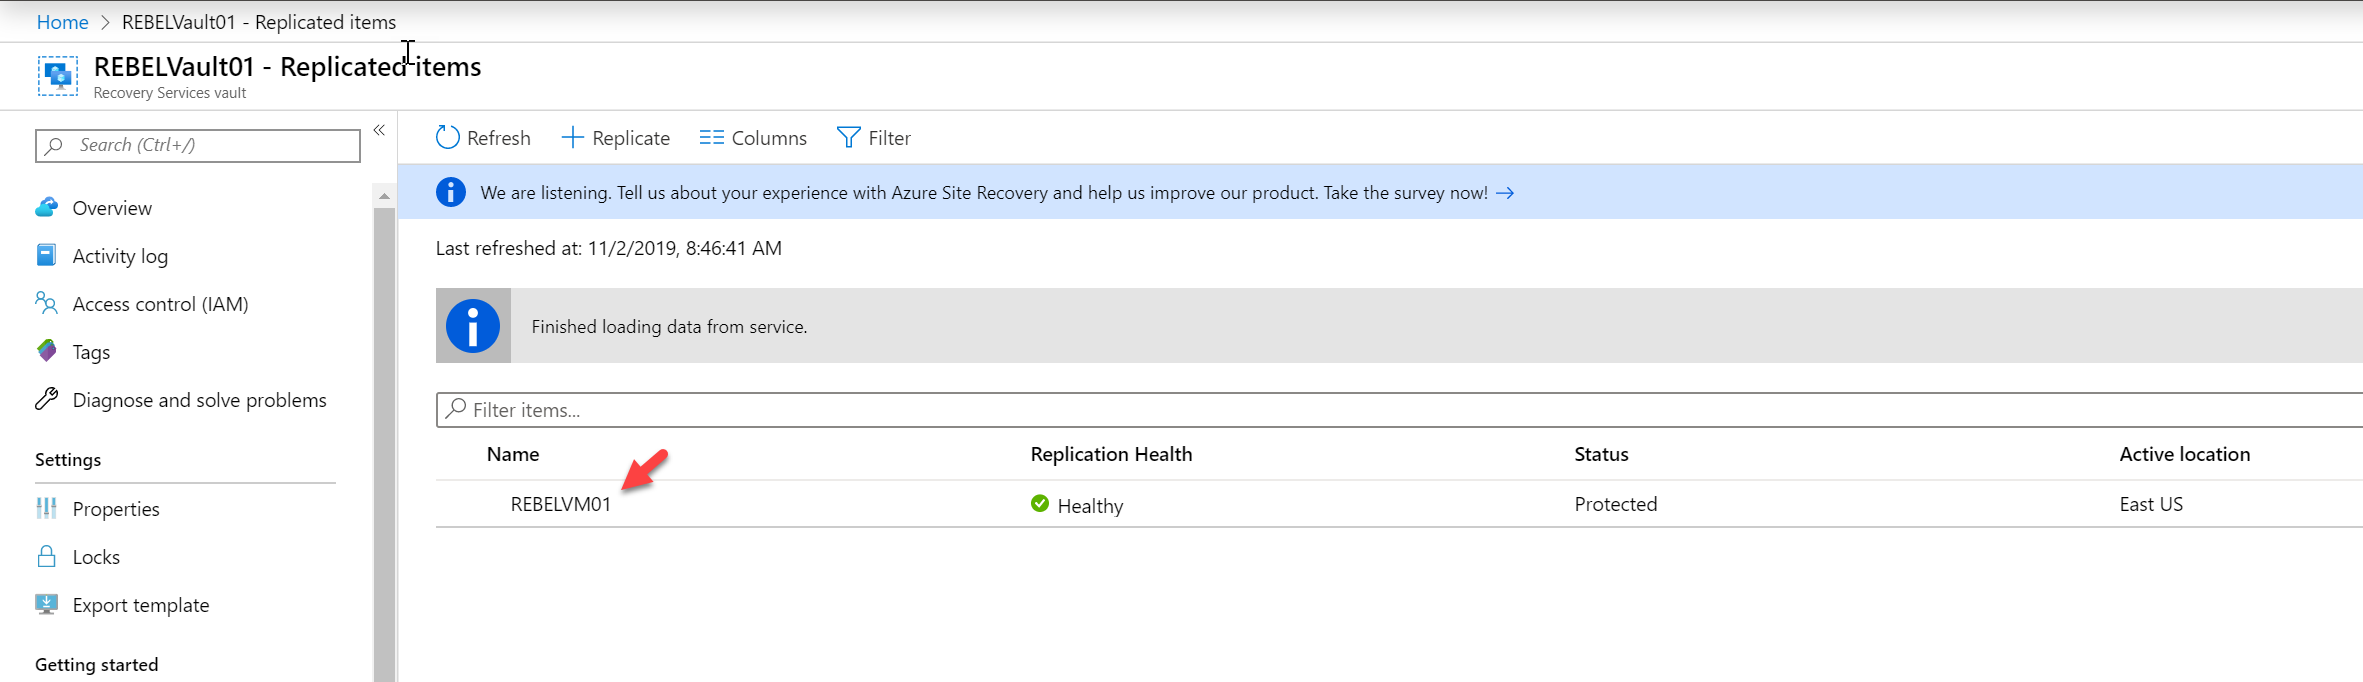
3. Click on Replicated Items under the Protected Items section.
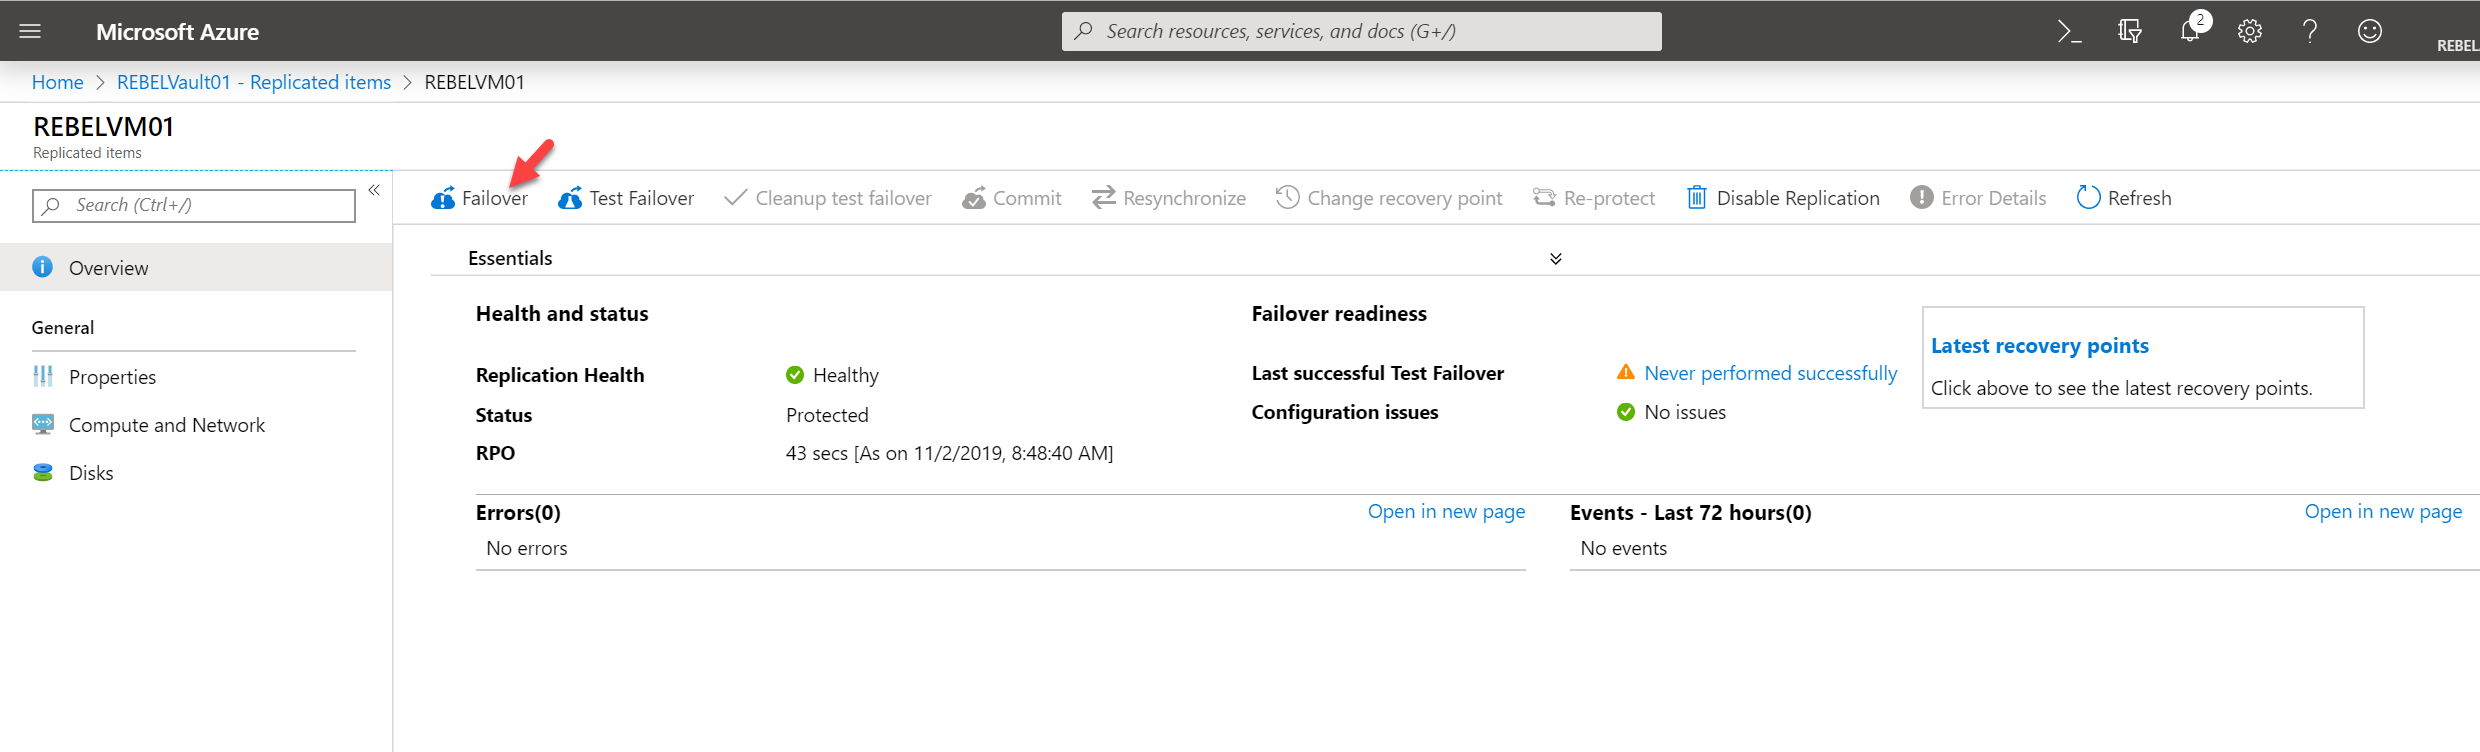
4. Click on the VM you like to failover. In this demo, I am using REBELVM01.
5. Then click on Failover.
6. In the new window, select the latest recovery point for failover. Also, select Shut down the machine before beginning the failover option. Then click on OK to begin the failover process.
[su_note]It is recommended to do a failover test before do the actual failover of production servers. [/su_note]
7. Once the task is completed, verify there are no errors reported.
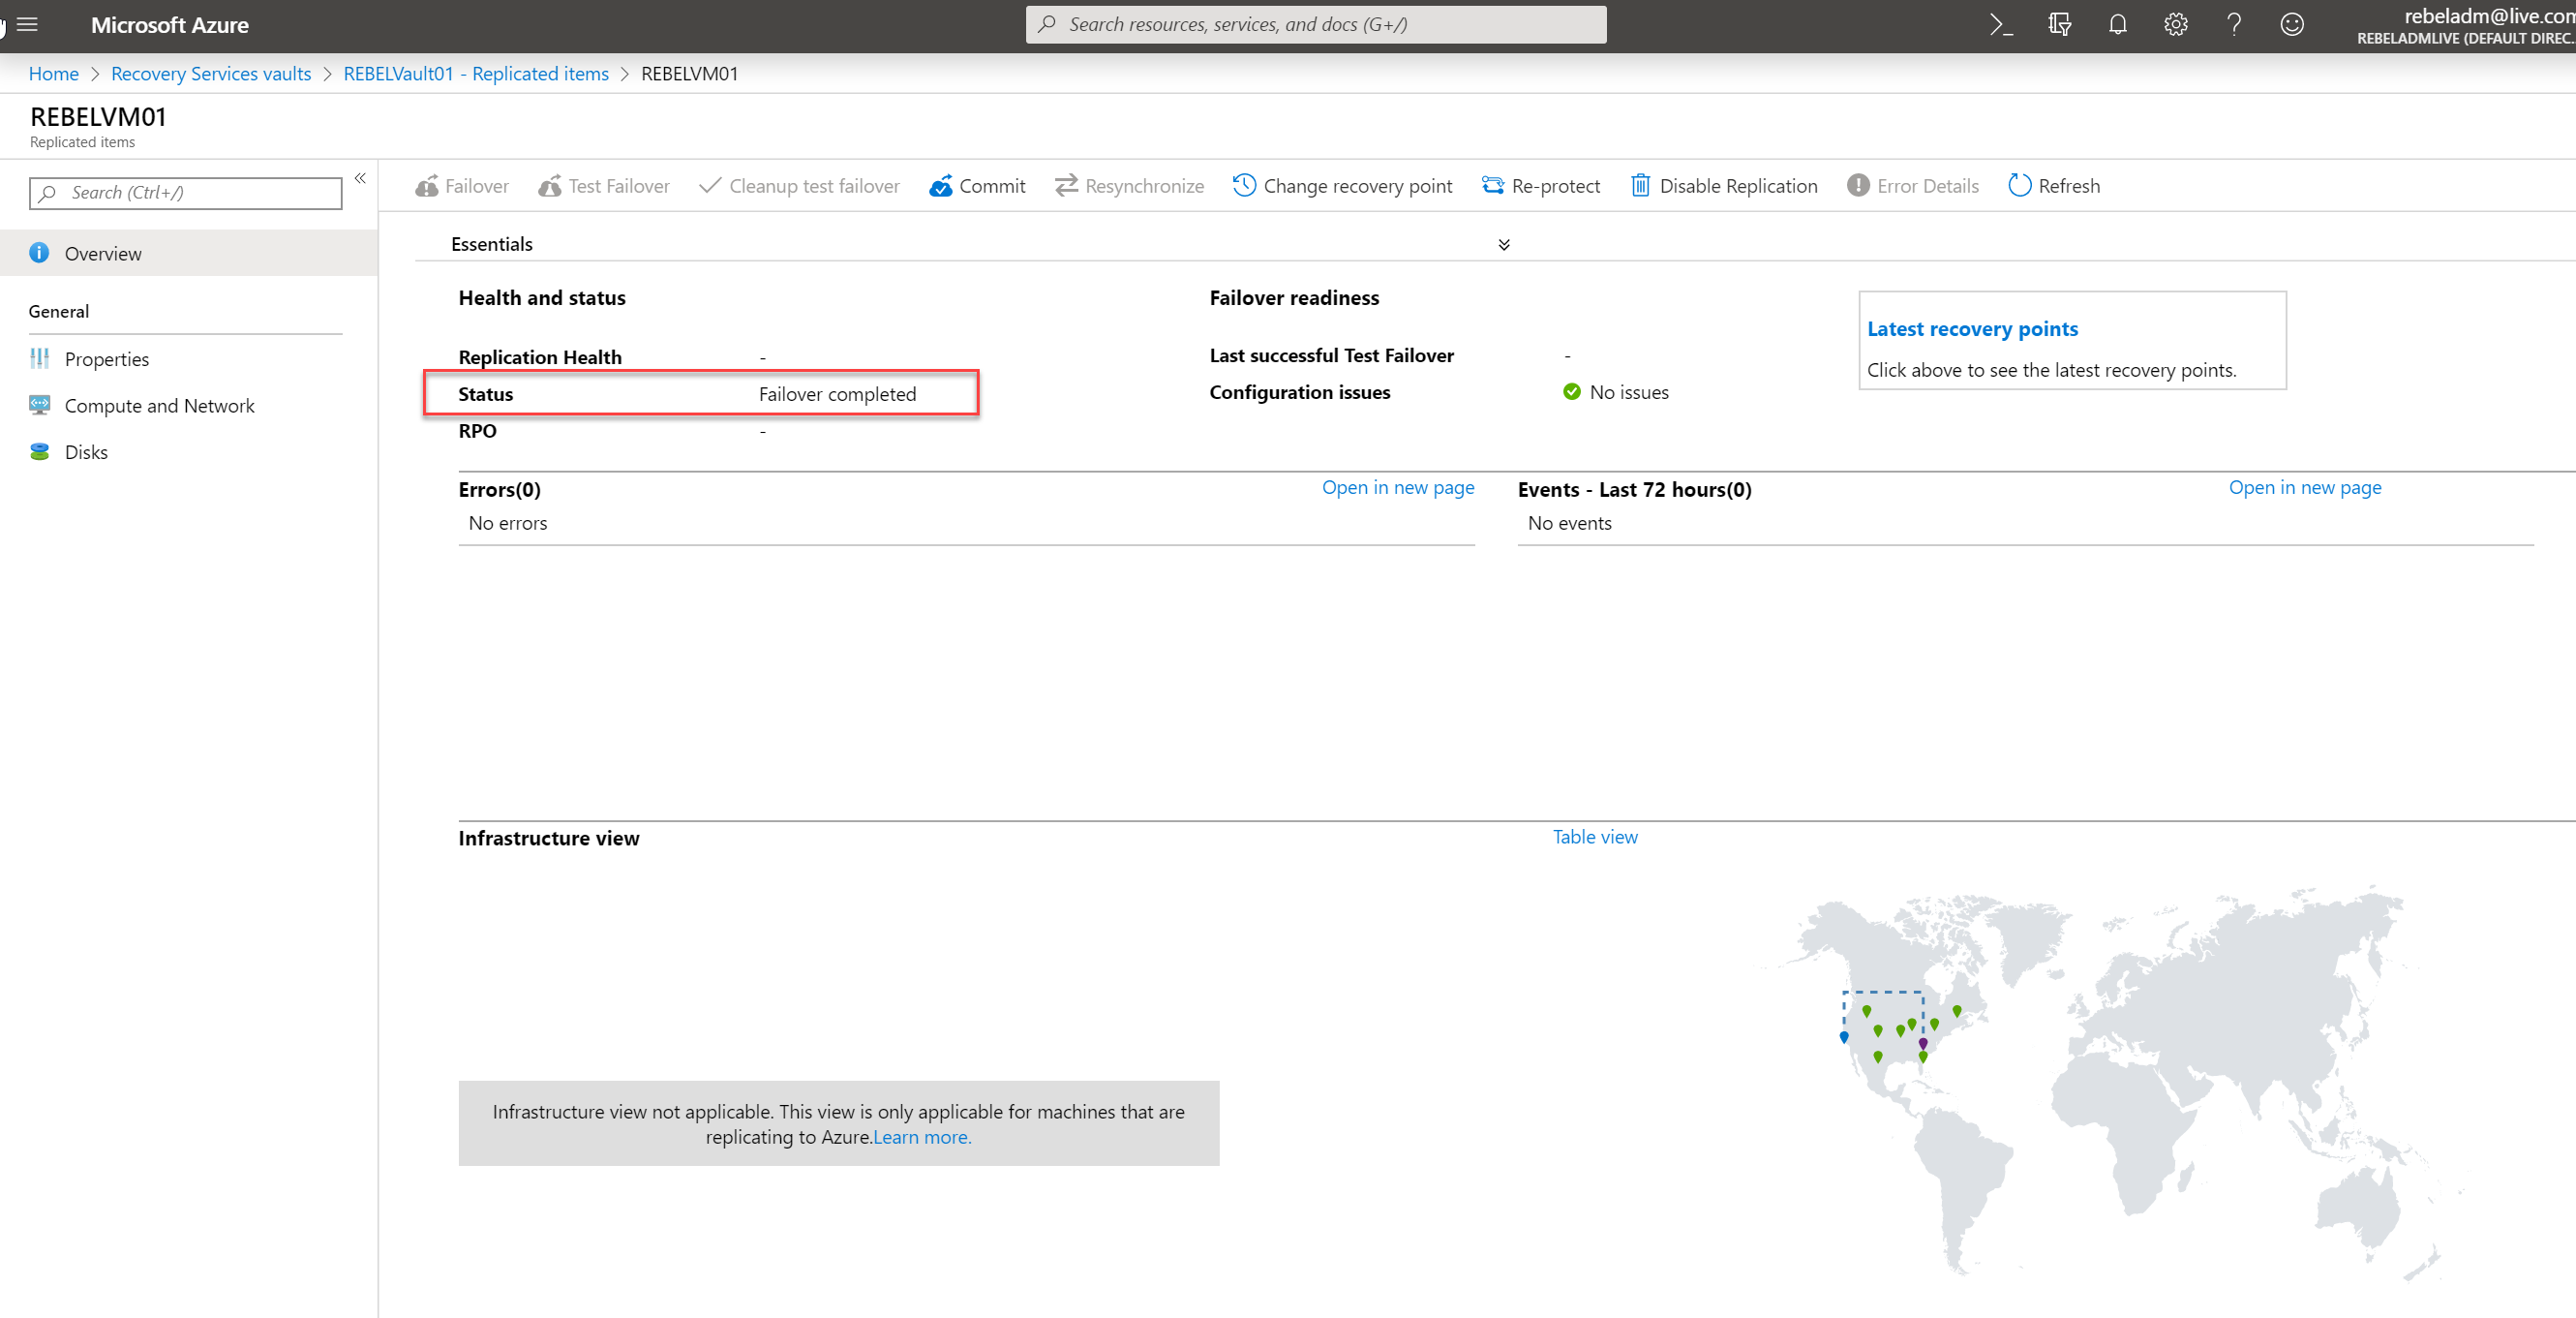
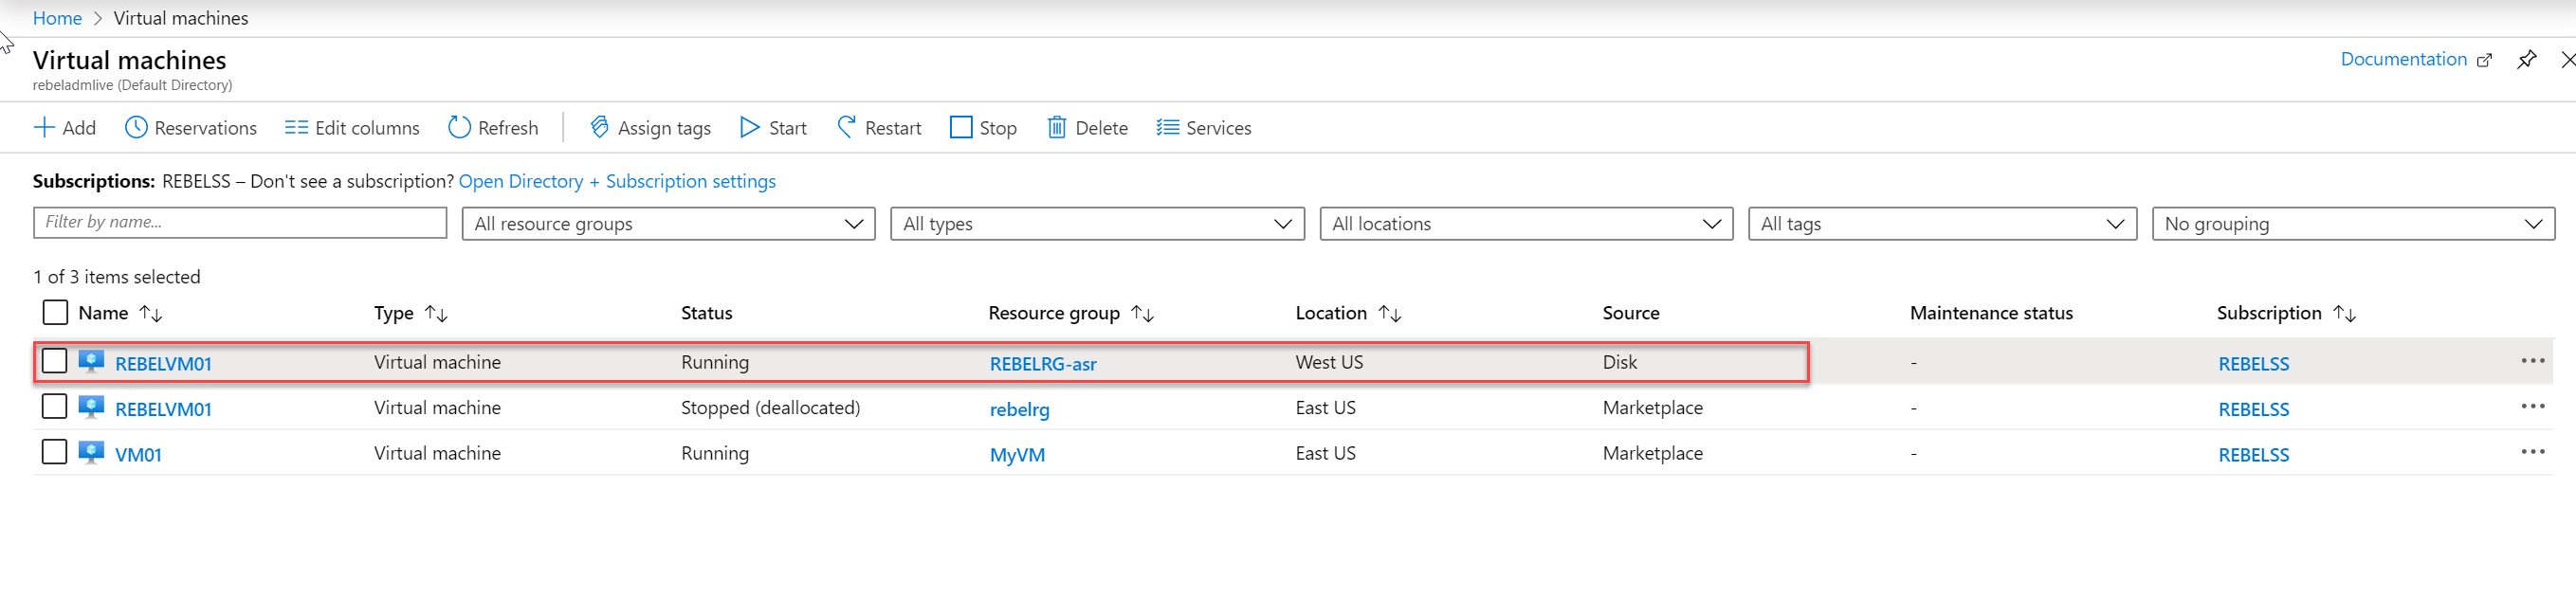
8. Also, go to Azure virtual machines and now we should be able to see the failover VM under a new region.
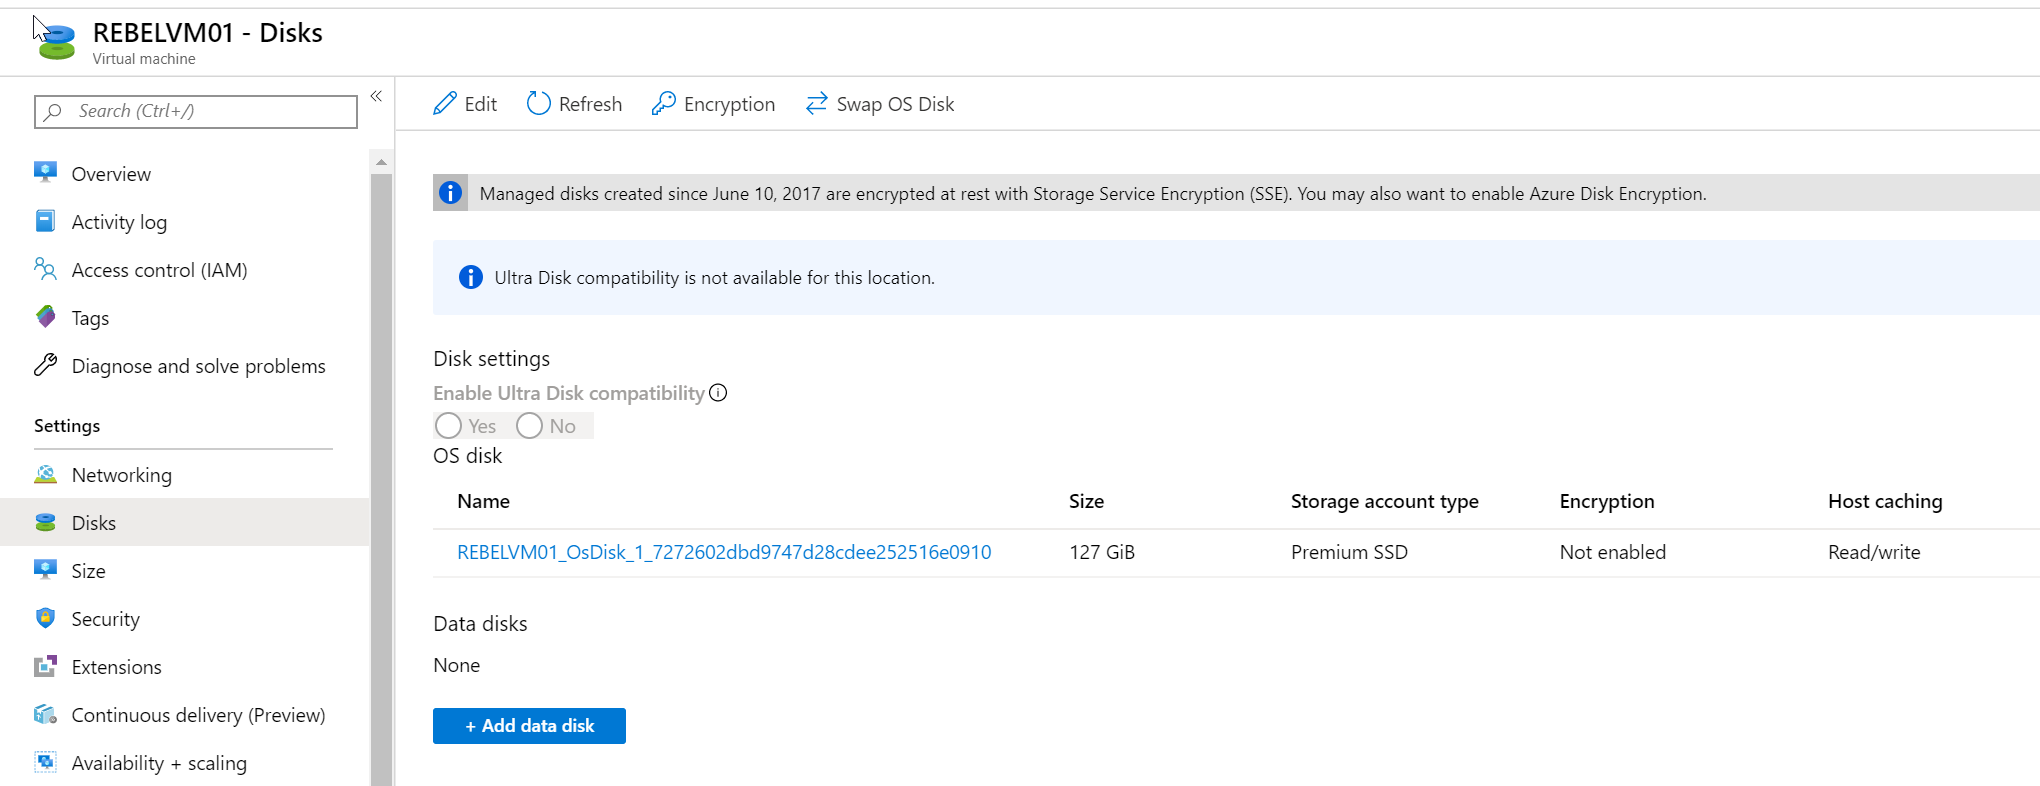
9. Before commit changes, check the VM resources such as disks, virtual networks are matching the source.
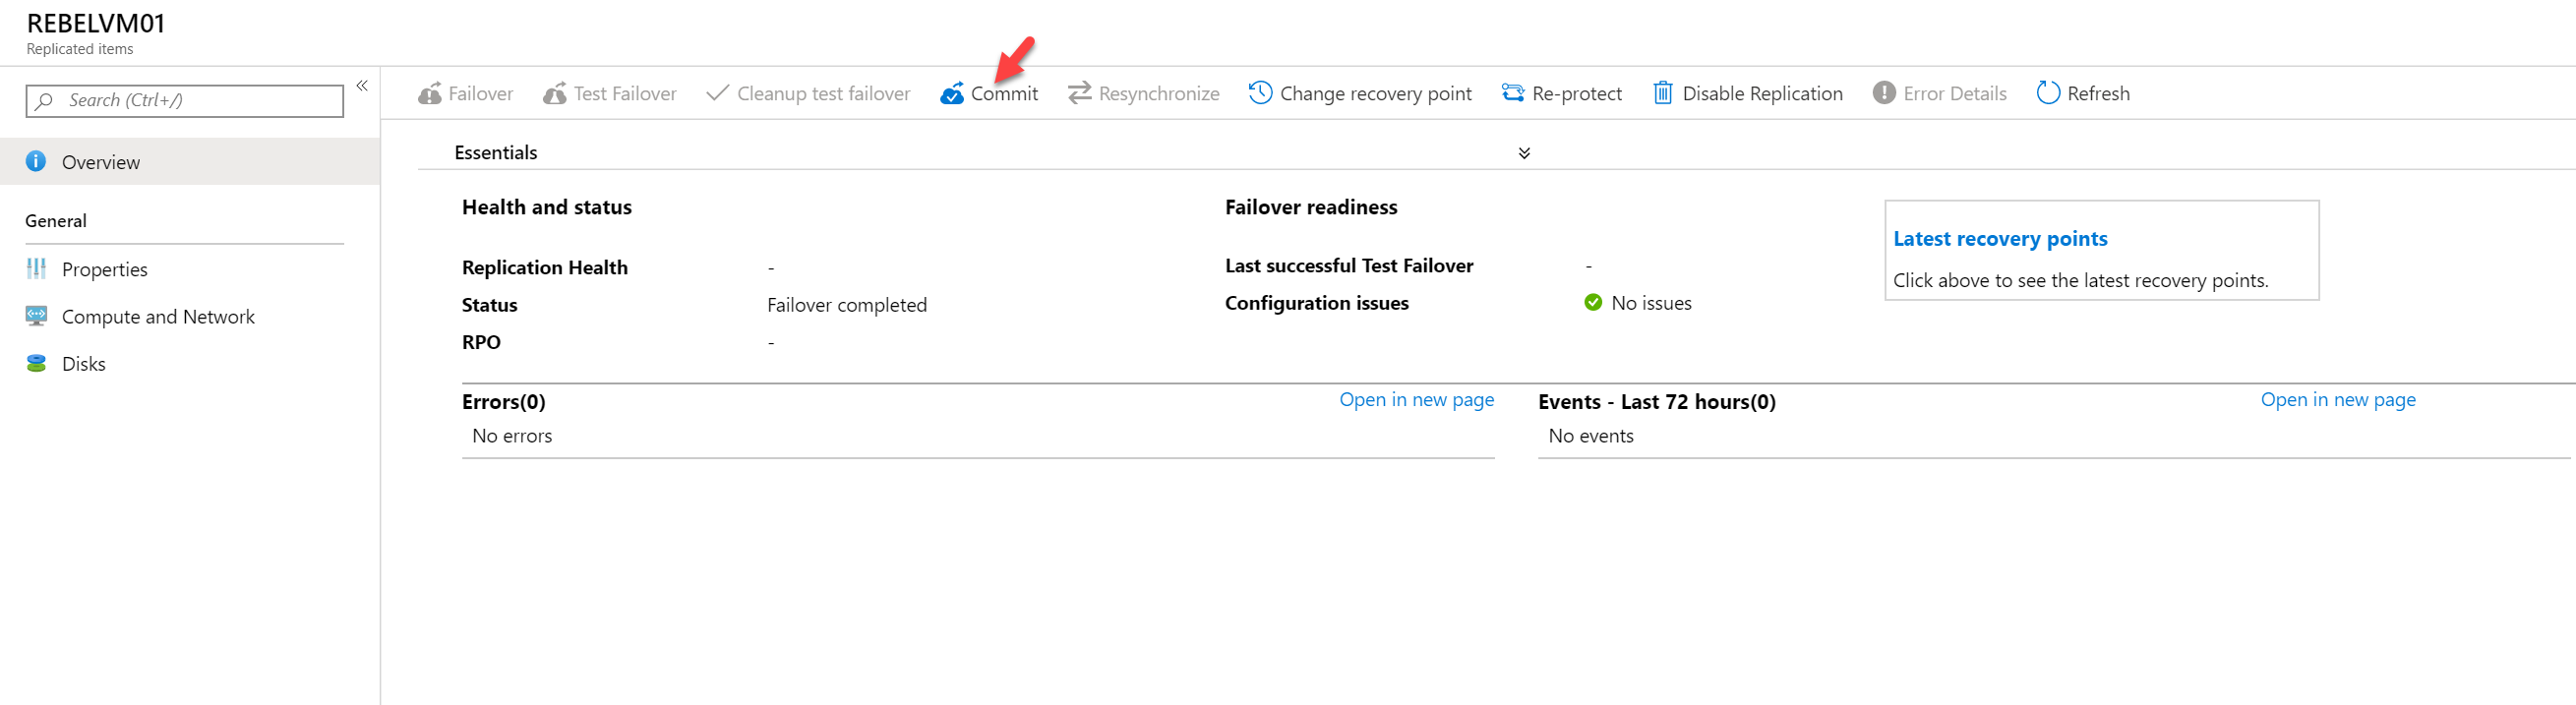
10. Once verification is done, we need to commit the failover. To do that, go back to Recovery Services vaults | REBELVault01 | Replicated items | REBELVM01 and then click on Commit.
11. Then in the new page, click on OK to confirm the Commit.
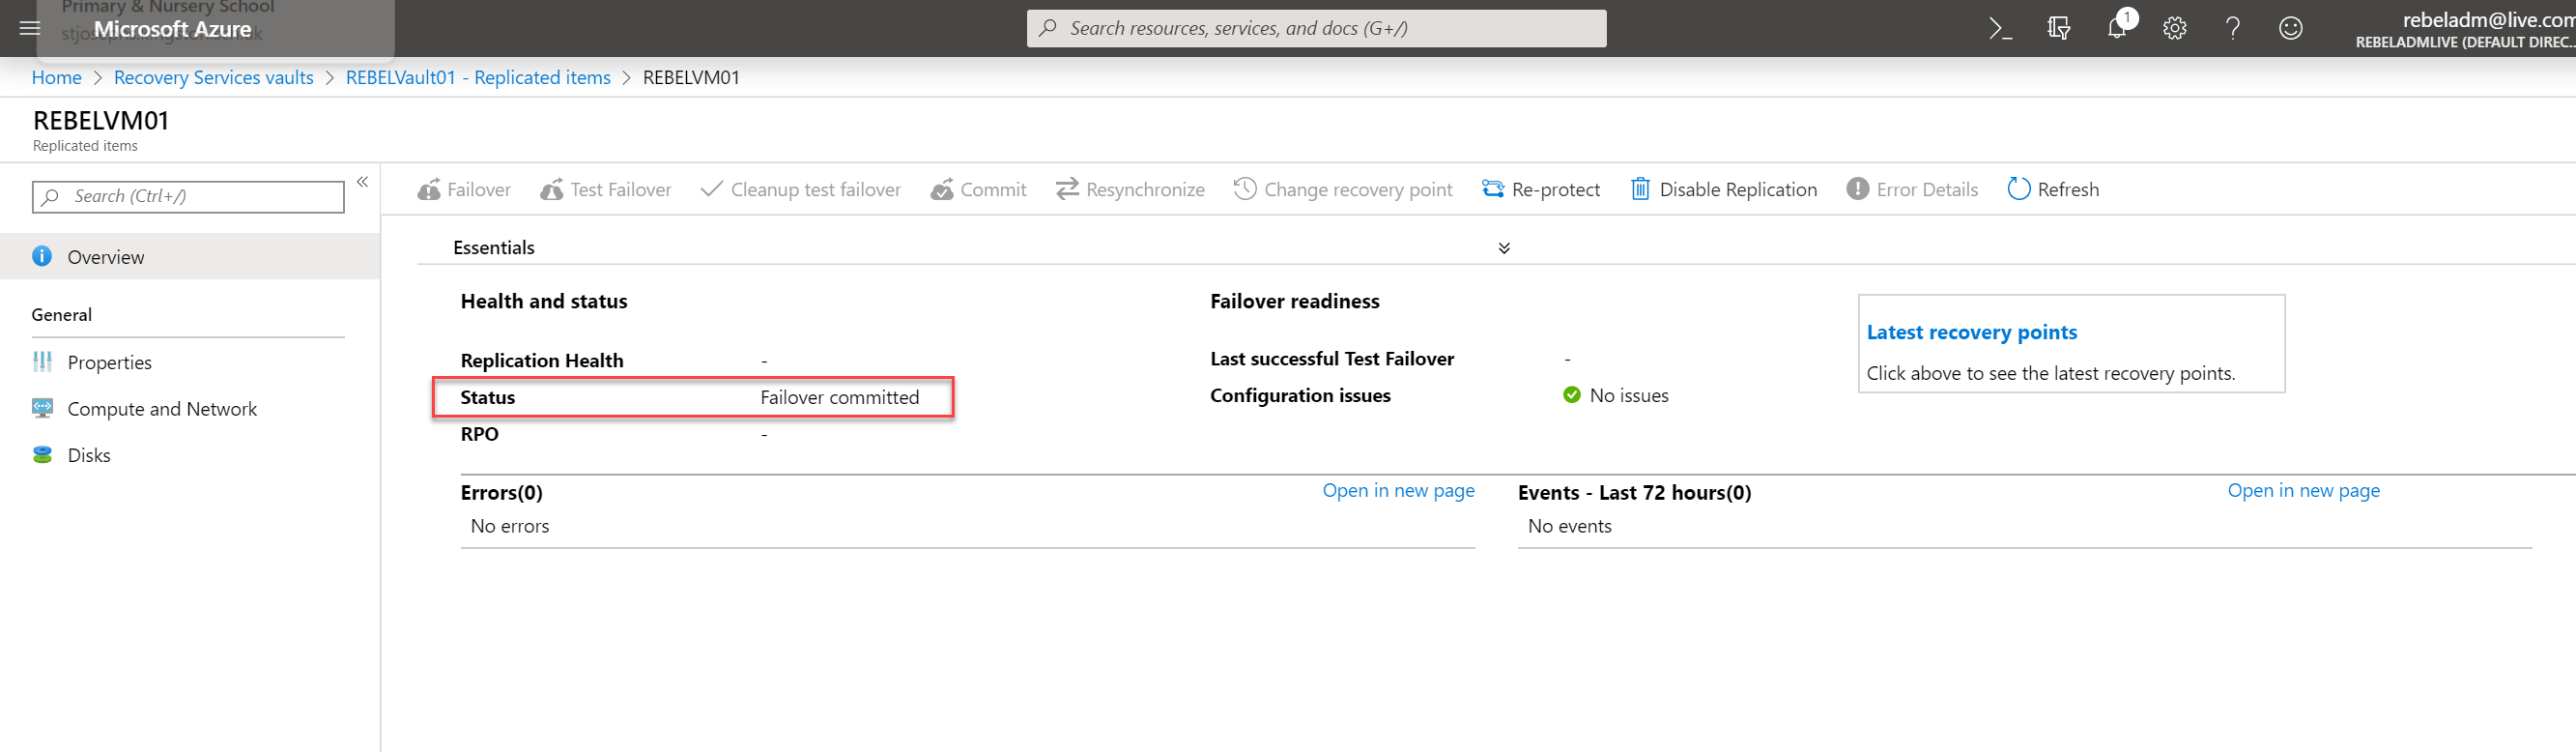
12. Once commit completed, verify the failover status is changed Failover committed.
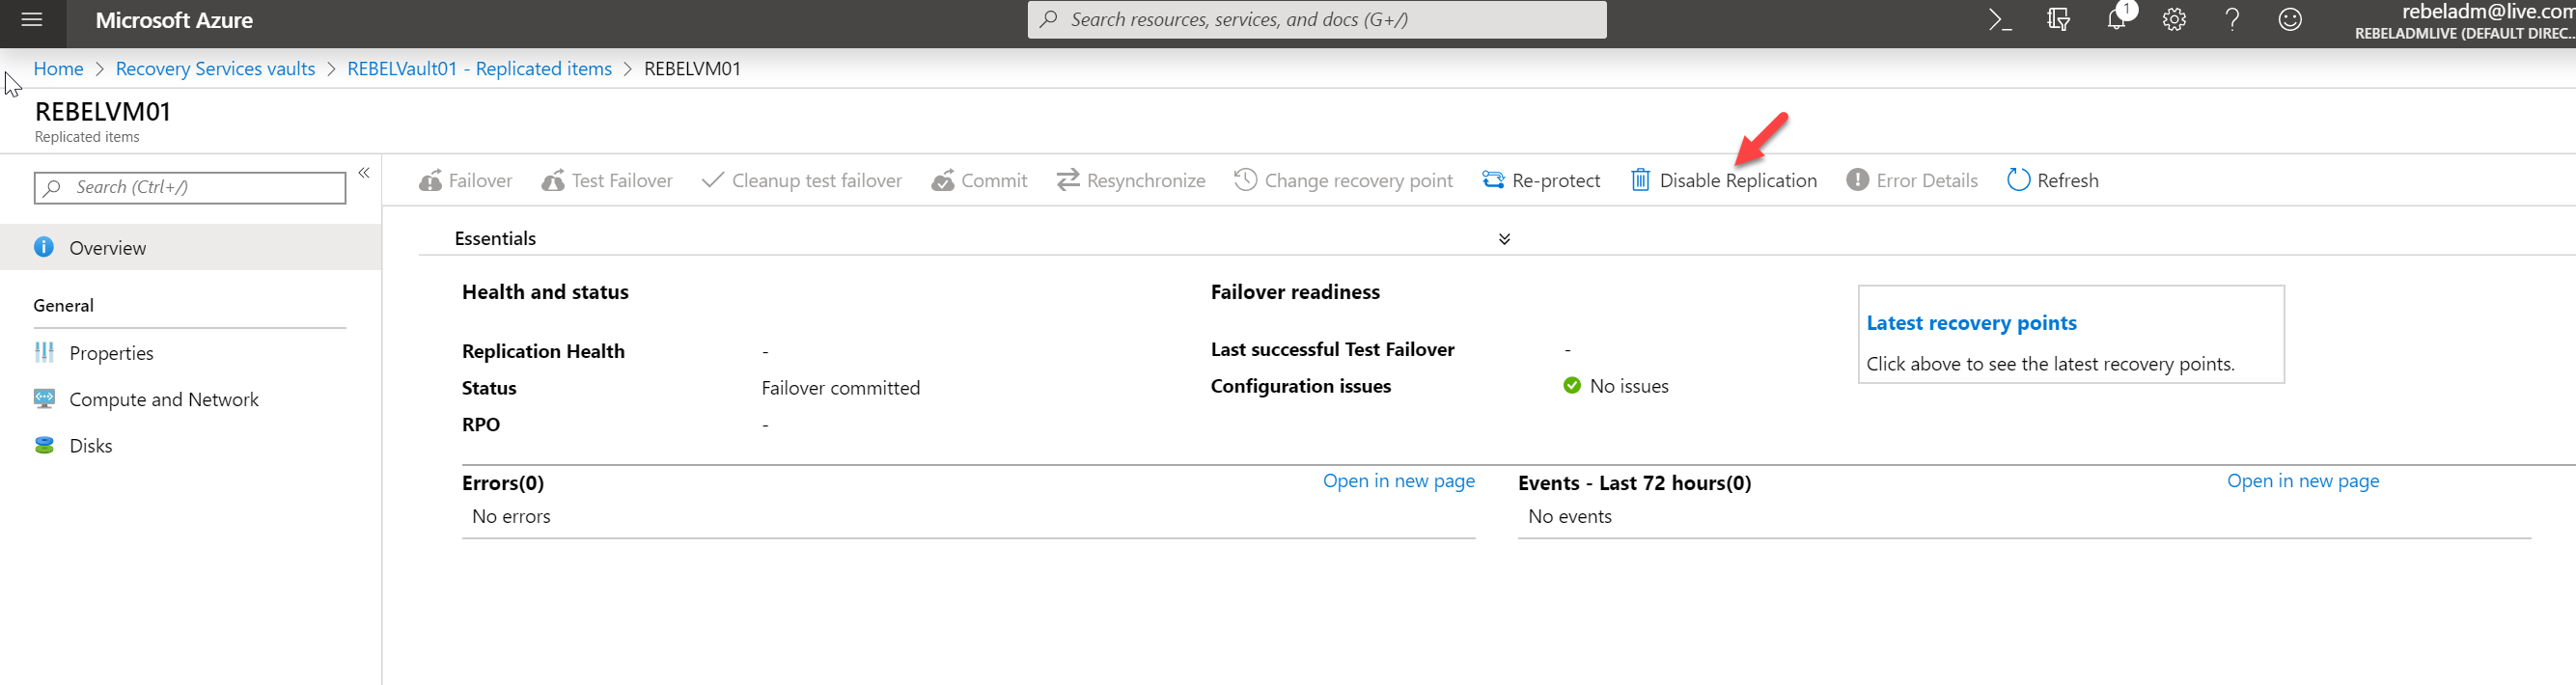
13. The next step of the failover process is to disable the replication for VM. To do this click on Disable replication on Recovery Services vaults | REBELVault01 | Replicated items | REBELVM01 page.
14. Then in the next window, it will ask for feedback. Once you provide feedback, click on OK to complete the task.
This completes the failover process. Now we can go ahead and create the relevant NSG, public IP resources manually and associate it with the VM.
Once this is completed, we can go ahead and remove the old VM.
This marks the end of this blog post. I hope now you have a better understanding of how to use Azure site recovery to migrate a VM from one region to another. If you have any further questions about this feel free to contact me on rebeladm@live.com also follow me on twitter @rebeladm to get updates about new blog posts.

