
In one of my previous article, I explain how we can create site-to-site VPN connection between local network and azure virtual network. This VPN connection is initiated in your edge firewall or router level. But what if you connecting from remote location such as home? we can use point-to-site method to do that. In this method it will use certificates to do the authentication between end point and azure virtual network.
So, let’s go ahead and see how we can do that,
Create Resource Group
In this exercise, I like to use separate resource group for virtual network and other components.
1. Log in to Azure portal as global administrator
2. Launch Cloud Shell

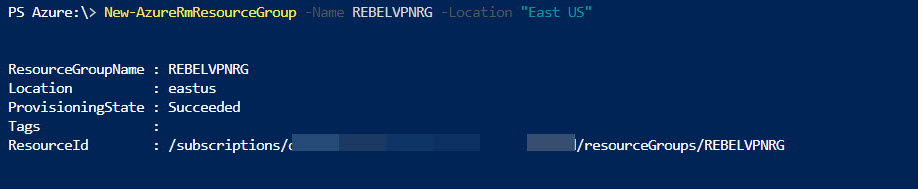
3. Then run New-AzureRmResourceGroup -Name REBELVPNRG -Location "East US". In here REBELVPNRG is RG group name and East US is the location.
Create Virtual Network
Now we need to create new virtual network. We can create virtual network using,
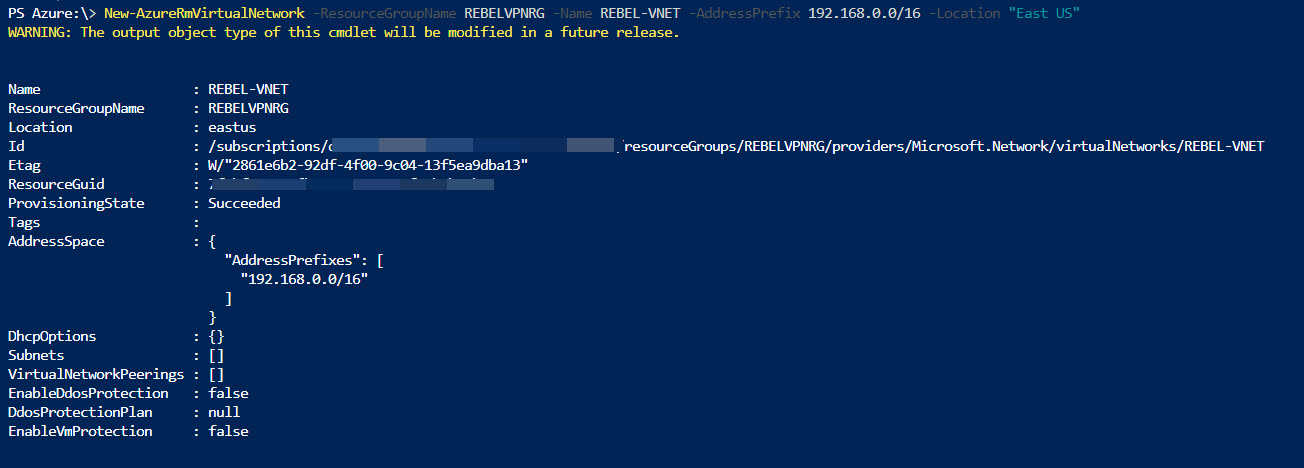
New-AzureRmVirtualNetwork -ResourceGroupName REBELVPNRG -Name REBEL-VNET -AddressPrefix 192.168.0.0/16 -Location "East US"
In above, REBEL-VNET is the virtual network name. it uses 192.168.0.0/16 IP address range.
Create Subnets
Under the virtual network I am going to create a subnet for my servers. To create subnet use,
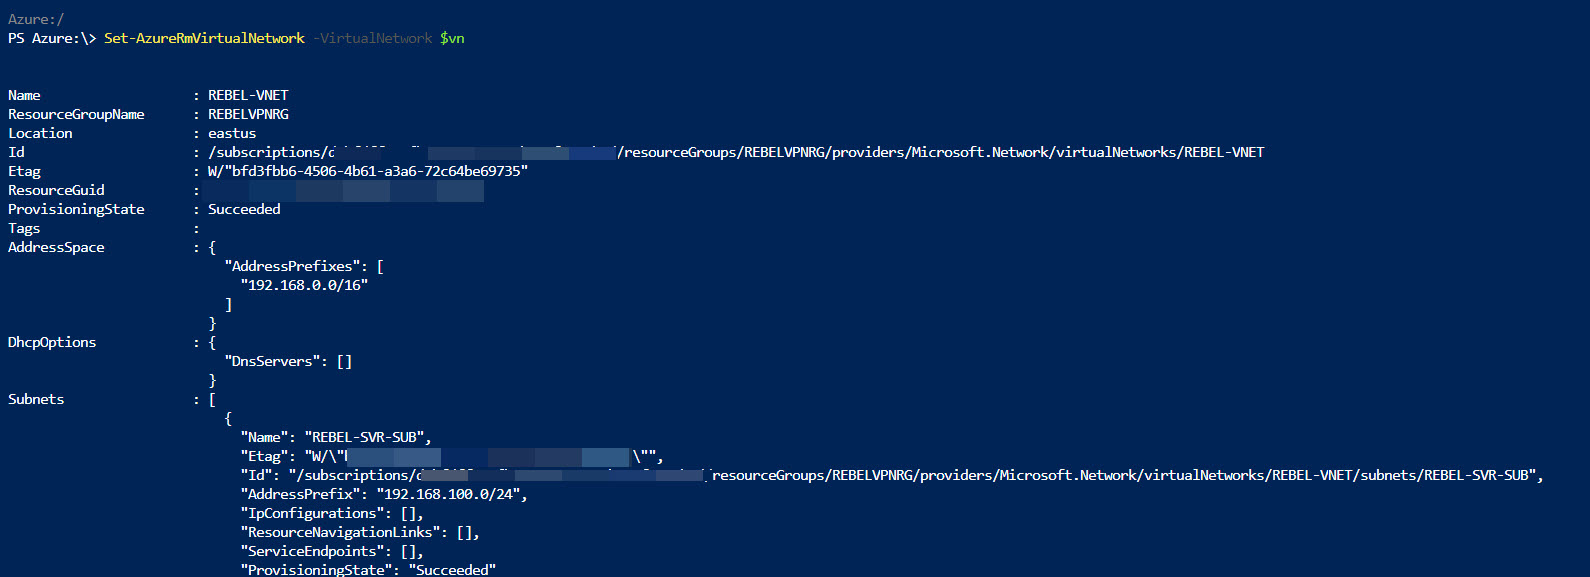
$vn = Get-AzureRmVirtualNetwork -ResourceGroupName REBELVPNRG -Name REBEL-VNET
Add-AzureRmVirtualNetworkSubnetConfig -Name REBEL-SVR-SUB -VirtualNetwork $vn -AddressPrefix 192.168.100.0/24
Set-AzureRmVirtualNetwork -VirtualNetwork $vn
Create Gateway Subnet
Before we create VN gateway, we need to create gateway subnet for it. so gateway will use ip addresses assigned in this subnet.
To do that,
1) Log in to Azure portal as global administrator
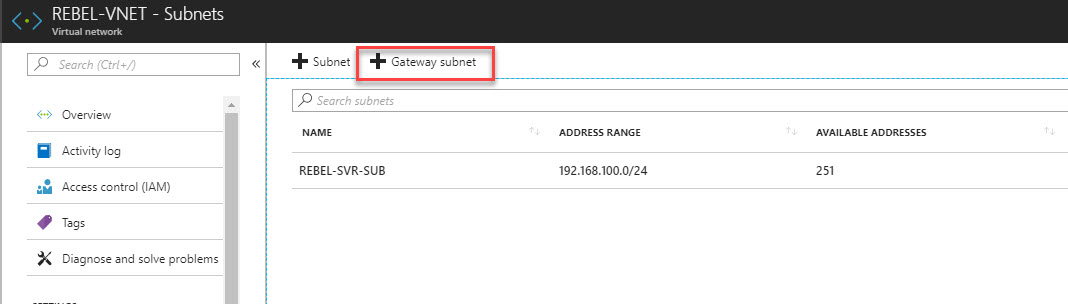
2) Go to Virtual Networks | REBEL-VNET (VNet created on previous steps) | Subnets
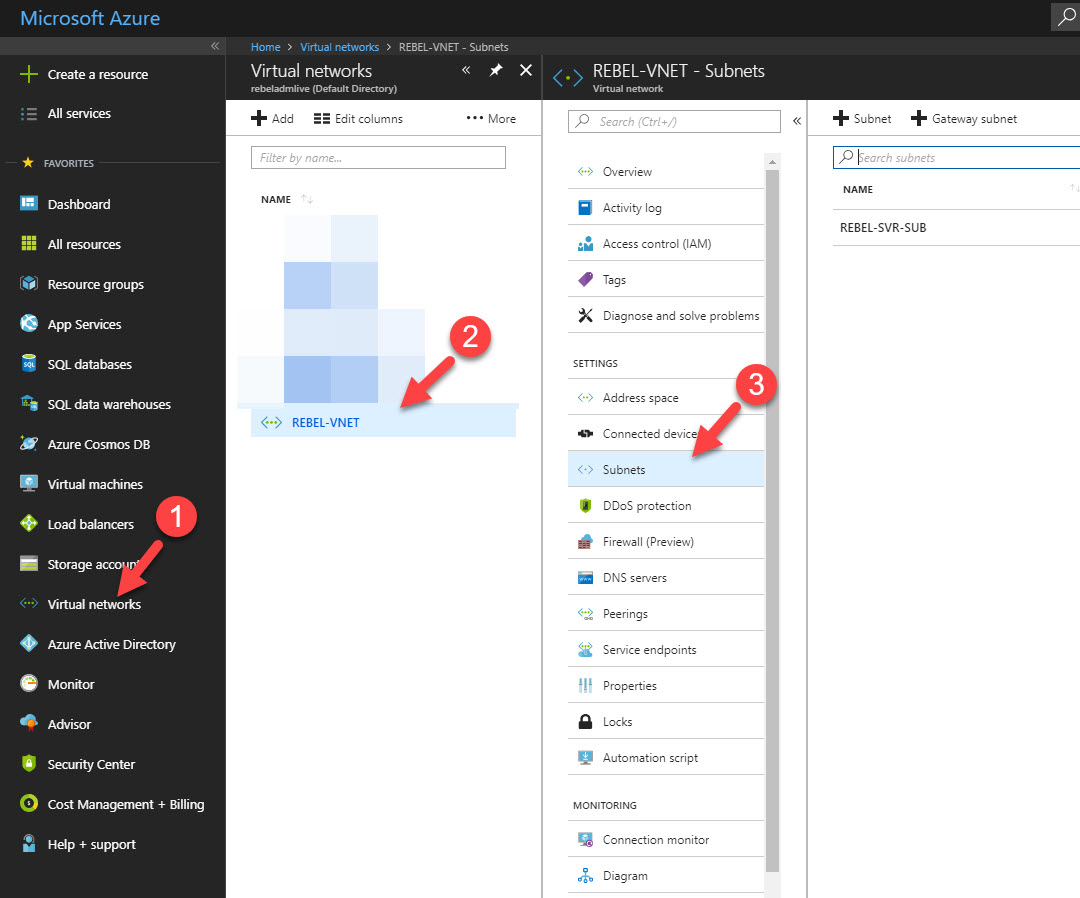
3) Click on Gateway Subnet
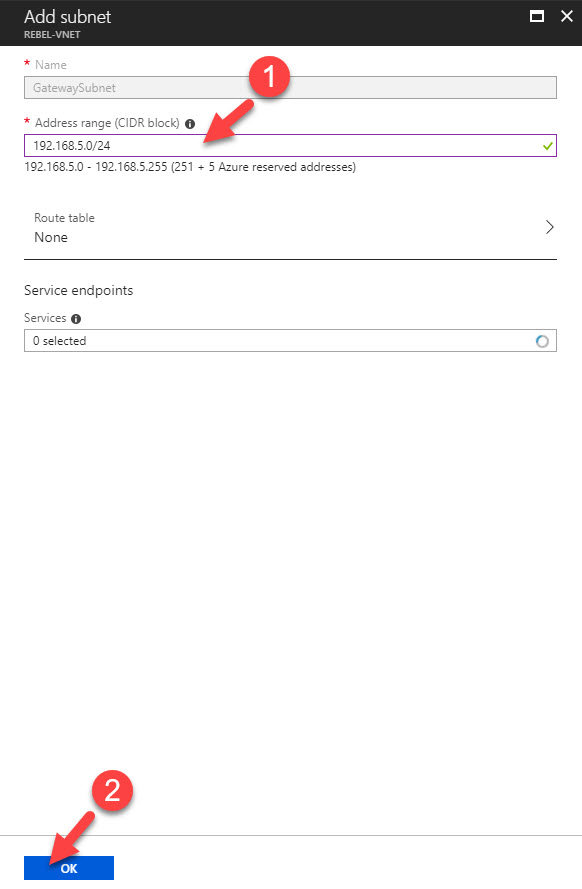
4) In new window, define the ip range for gateway subnet and click Ok
Create Virtual Network Gateway
Now we have all the things needed to create new VN gateway. To do that,
1) Log in to Azure portal as global administrator
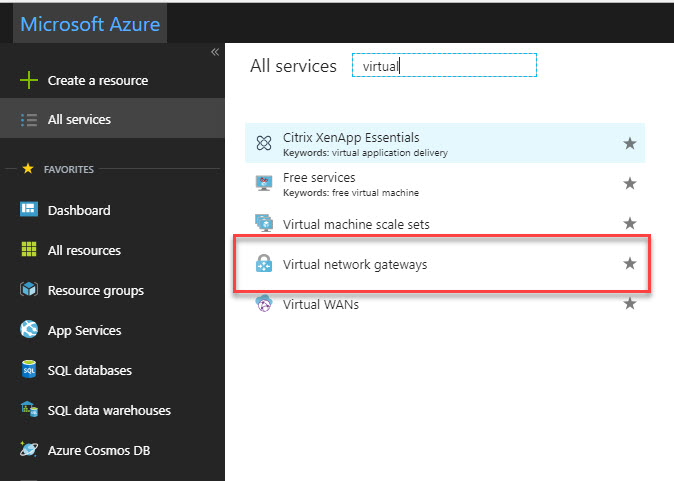
2) Go to All Services and search for virtual network gateway. Once it is in list, click on it.
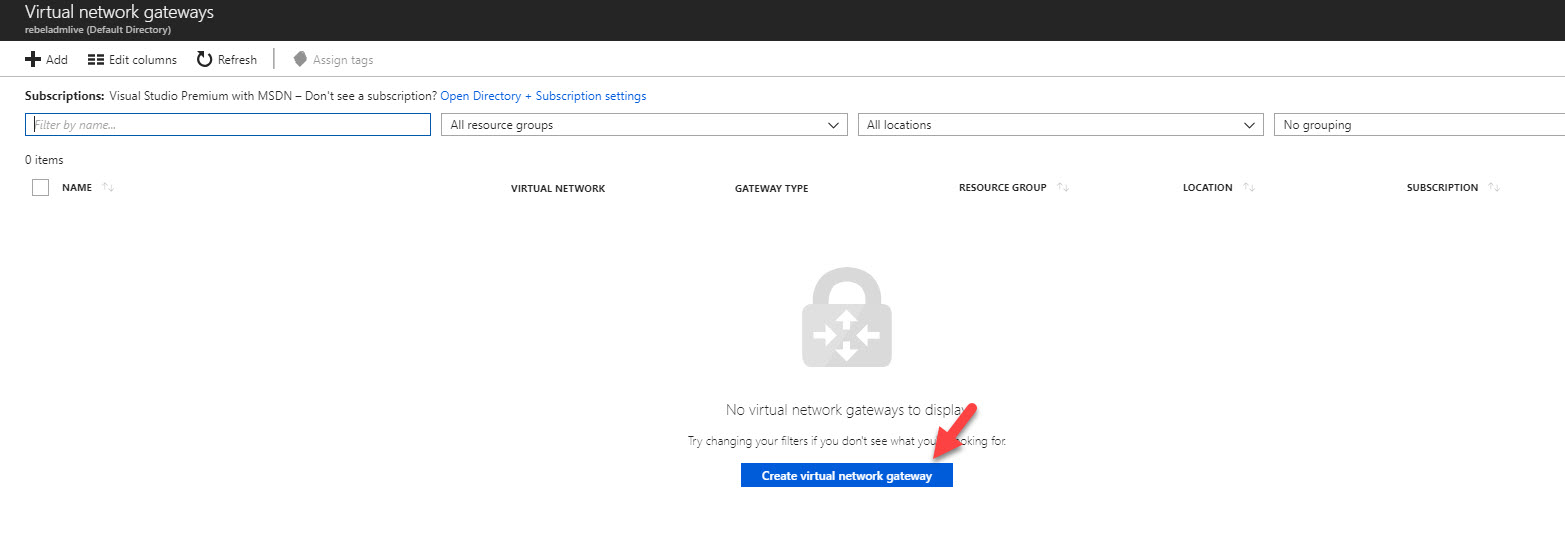
3) Then click on Create virtual network gateway
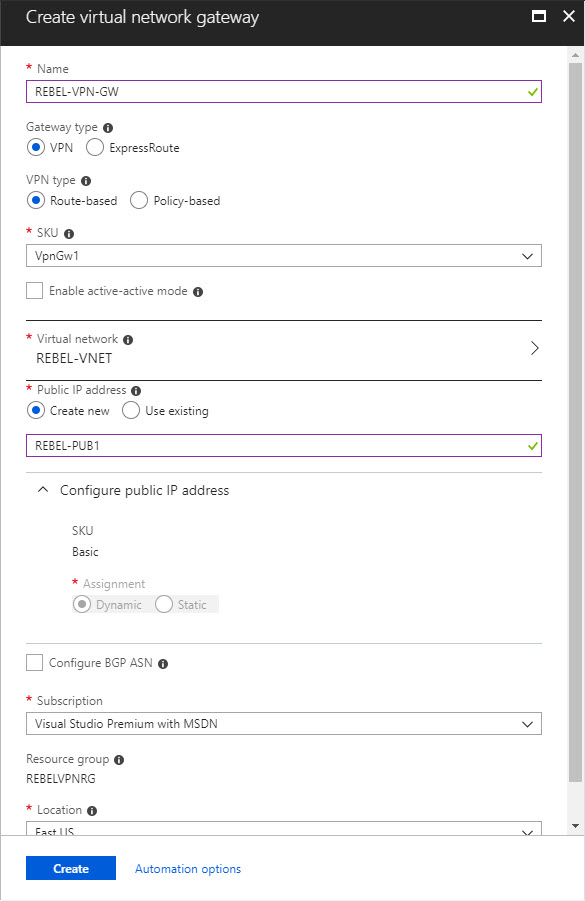
4) In new window fill relevant info and click on Create
In here, REBEL-VPN-GW is the gateway name. I have selected REBEL-VNET as the virtual network. I am also creating public ip called REBEL-PUB1. This is only supported with dynamic mode. This doesn’t mean it is going to change randomly. It will only happen when gateway is deleted or read.
Create Self-sign root & client certificate
If your organization using internal CA, you always can use it to generate relevant certificates for this exercise. If you do not have internal CA, we still can use self-sign certs to do the job.
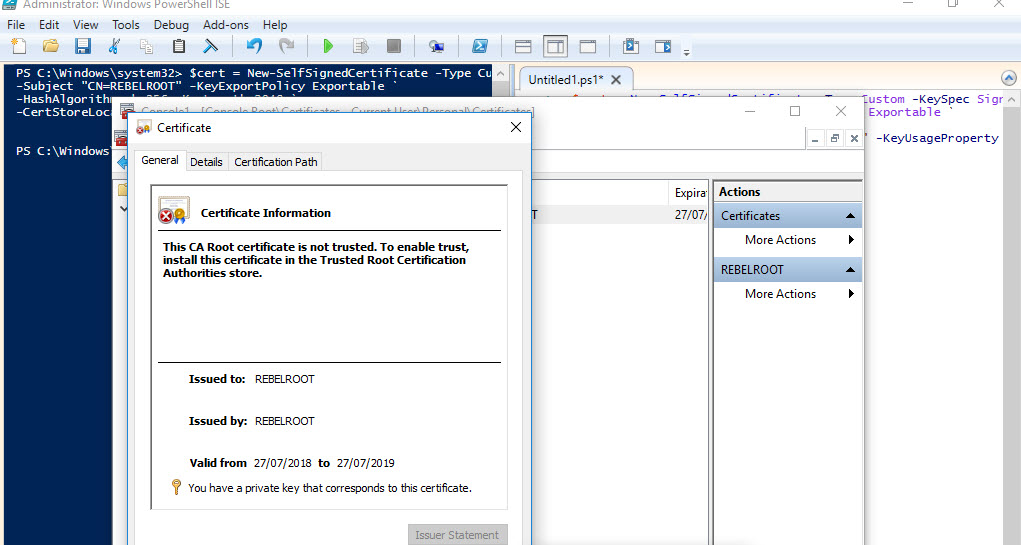
As first step I am going to create root certificate. In Windows 10 machine I can run this to create root cert first.
$cert = New-SelfSignedCertificate -Type Custom -KeySpec Signature `
-Subject "CN=REBELROOT" -KeyExportPolicy Exportable `
-HashAlgorithm sha256 -KeyLength 2048 `
-CertStoreLocation "Cert:\CurrentUser\My" -KeyUsageProperty Sign -KeyUsage CertSign
This will create root cert and install it under current user cert store.
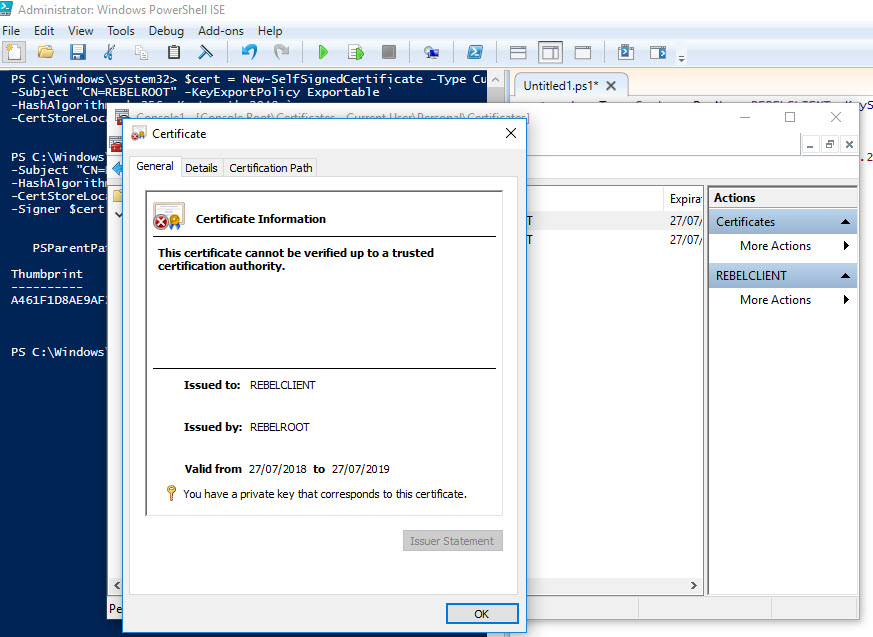
Then we need to create client certificate. We can do this using
New-SelfSignedCertificate -Type Custom -DnsName REBELCLIENT -KeySpec Signature `
-Subject "CN=REBELCLIENT" -KeyExportPolicy Exportable `
-HashAlgorithm sha256 -KeyLength 2048 `
-CertStoreLocation "Cert:\CurrentUser\My" `
-Signer $cert -TextExtension @("2.5.29.37={text}1.3.6.1.5.5.7.3.2")
This will create cert called REBELCLIENT and install in same store location.
Now we have certs in place. But we need to export these so we can upload it to Azure.
To export root certificate,
1) Right click on root cert inside certificate mmc.
2) Click on Export
3) In private key page, select not to export private key

4) Select Base-64 encoded X.509 as export file format.
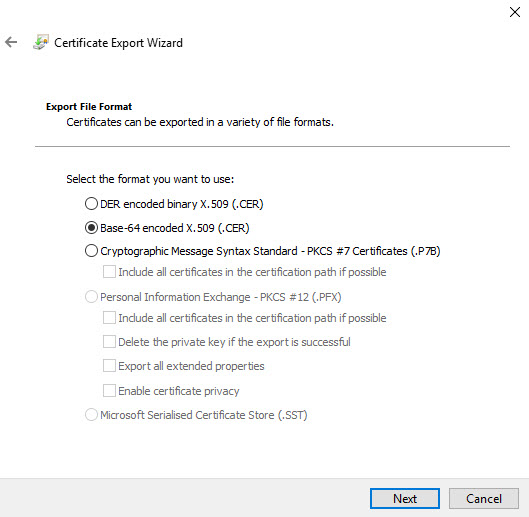
5) Complete the wizard and save the cert in pc.
To export client certificate,
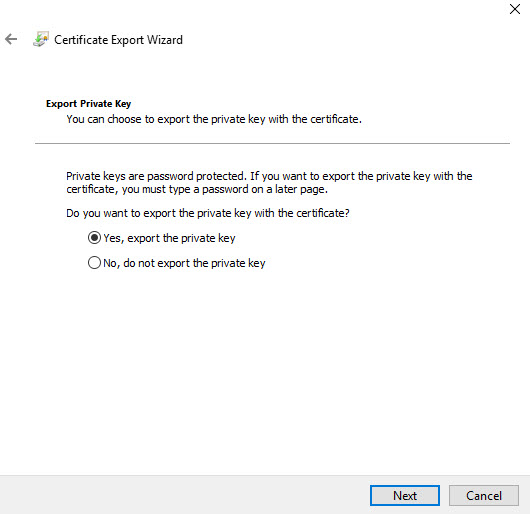
1) Use same method to export as root cert, but this time under private key page, select option to export private key.
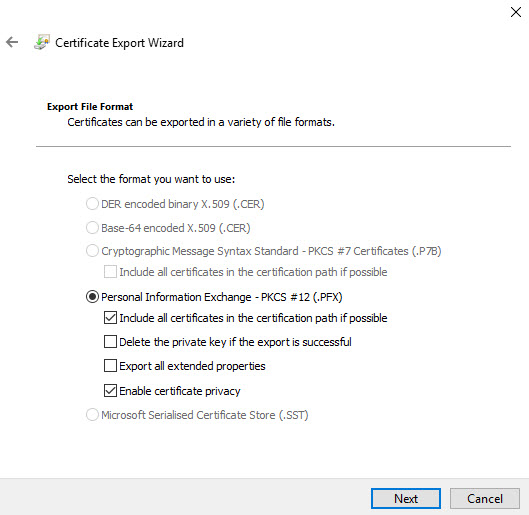
2) In file format page, leave the default as following and click Next
3) Define password for the pfx file and complete the wizard.
[su_note]Only root cert will use in Azure VPN, client certificate can install on other computers which need P2S connections. [/su_note]
Configure Point-to-Site Connection
Next step of this configuration is to configure the point-to-site connection. In here we will define client ip address pool as well. It is for VPN clients.
1. Click on newly created VPN gateway connection.
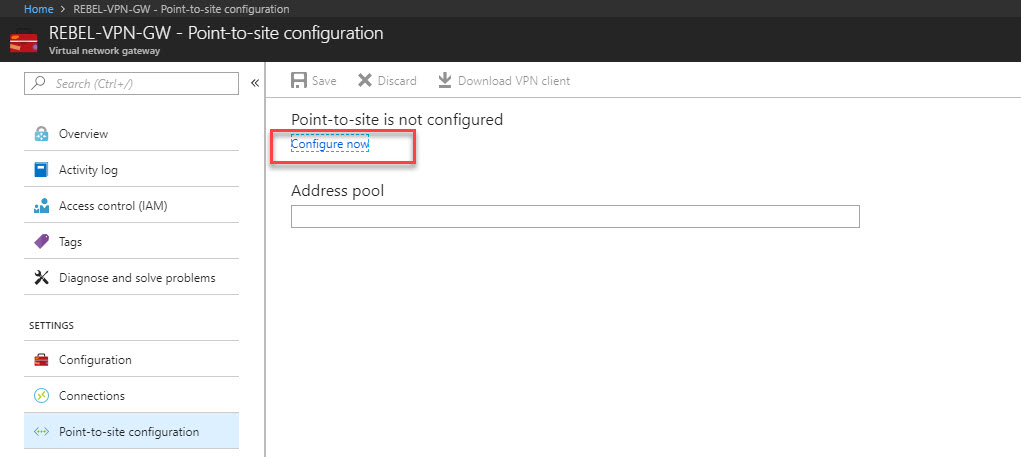
2. Then in new window click on Point-to-site configuration

3. After that, click on Configure Now link.
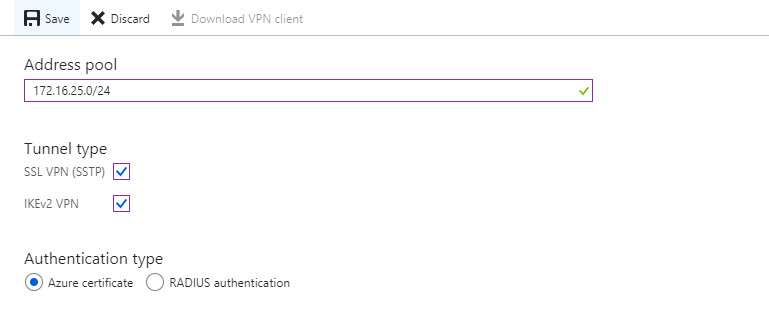
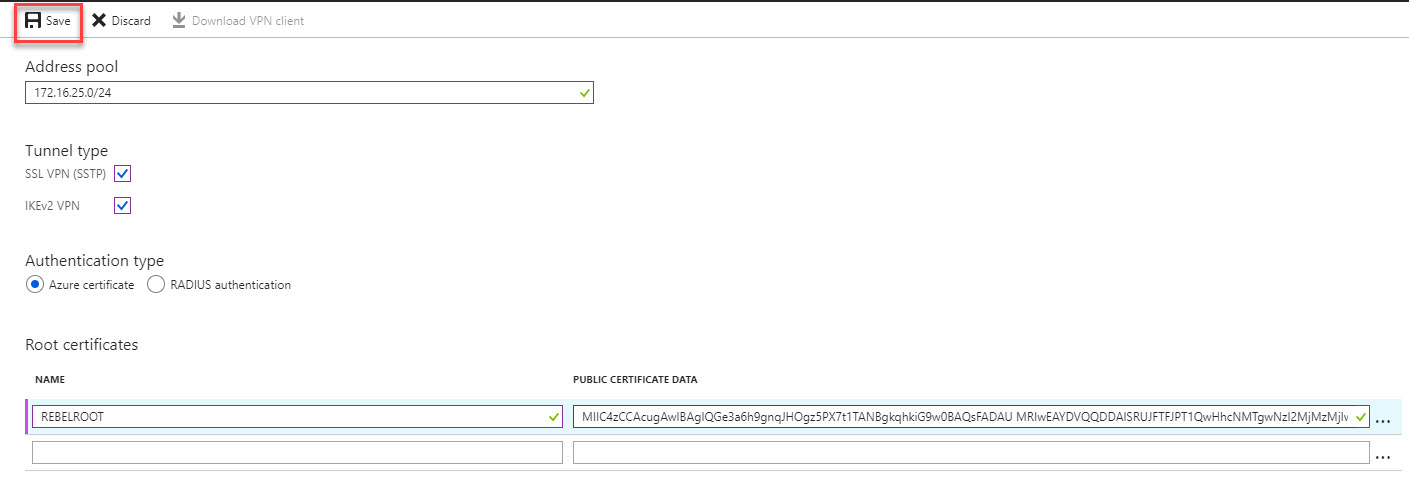
4. In new window type IP address range for VPN address pool. In this demo I will be using 172.16.25.0/24. For tunnel type use both SSTP & IKEv2. Linux and other mobile clients by default use IKEv2 to connect. Windows also use IKEv2 first and then try SSTP. For authentication type use Azure Certificates.
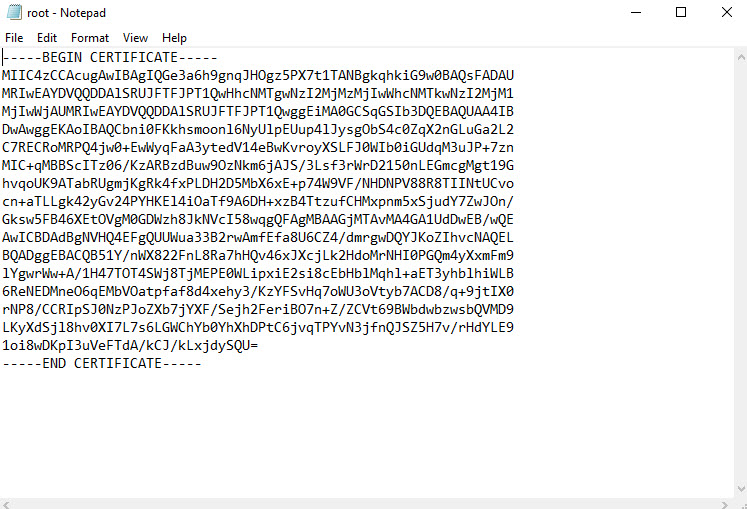
5. In same window there is place to define root certificate. Under root certificate name type the cert name and under public certificate data, paste the root certificate data ( you can open cert in notepad to get data).
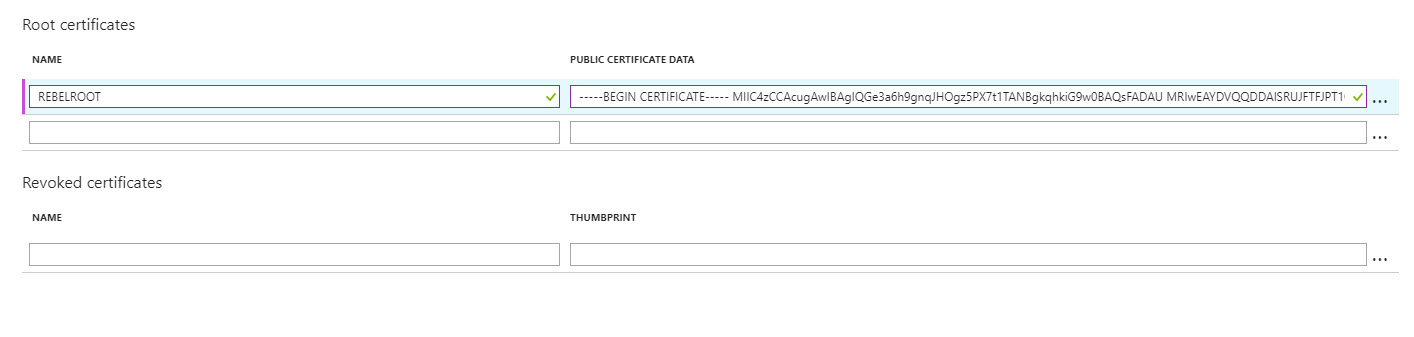
6. Then click on Save to complete the process.
[su_note]When you paste certificate data, do not copy —–BEGIN CERTIFICATE—– & —–END CERTIFICATE—– text. [/su_note]
Testing VPN connection
Now we have finished with configuration. As next step, we need to test the connection. To do that log in to the same pc where we generate certificates. If you going to use different PC, first you need to import root cert & client certificate we exported.
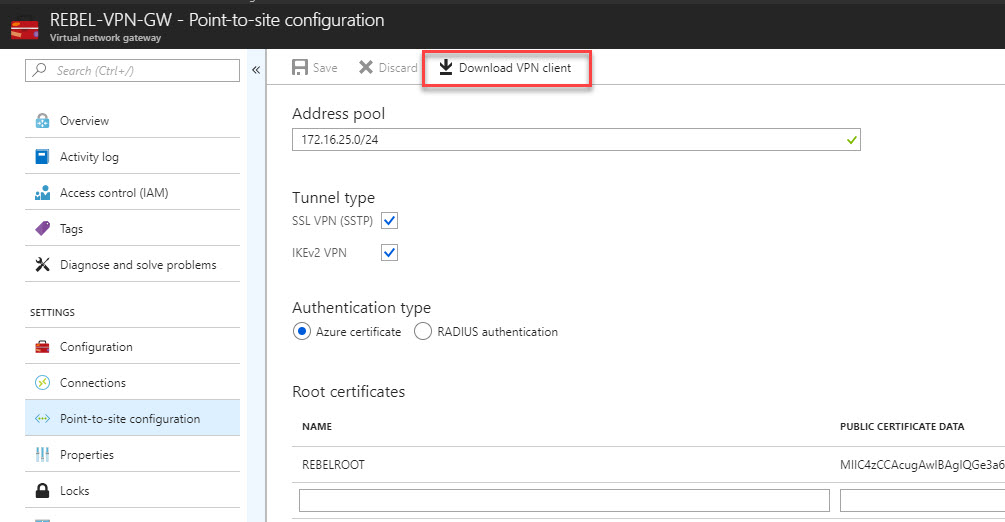
1. Log in to Azure portal from machine and go to VPN gateway config page.
2. In that page, click on Point-to-site configuration
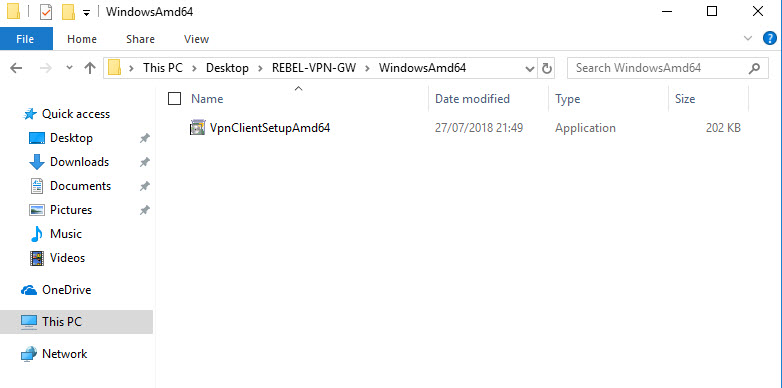
3. After that, click on Download VPN client link.
4. Then double click on the VPN client setup. In my case I am using 64bit vpn client.
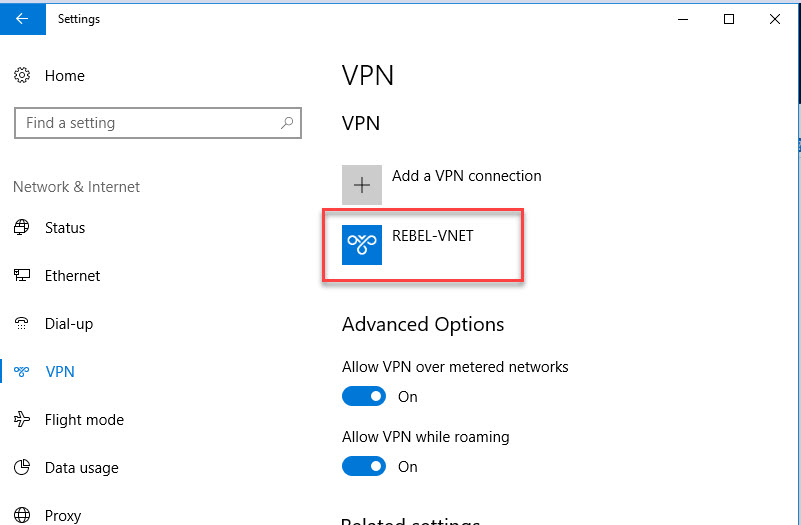
5. After that, we can see new connection under windows 10 VPN page.
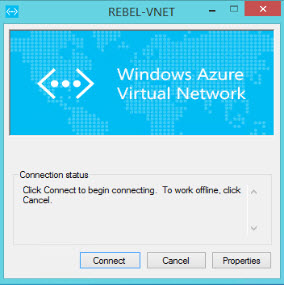
6. Click on connect to VPN. Then it will open up this new window. Click on Connect in there.
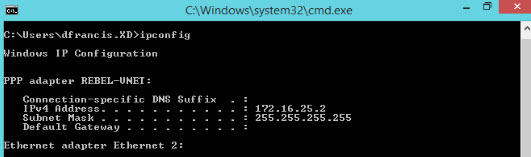
7. Then run ip config to verify ip allocation from VPN address pool.
8. In VPN gateway page also, I can see one connection is made.
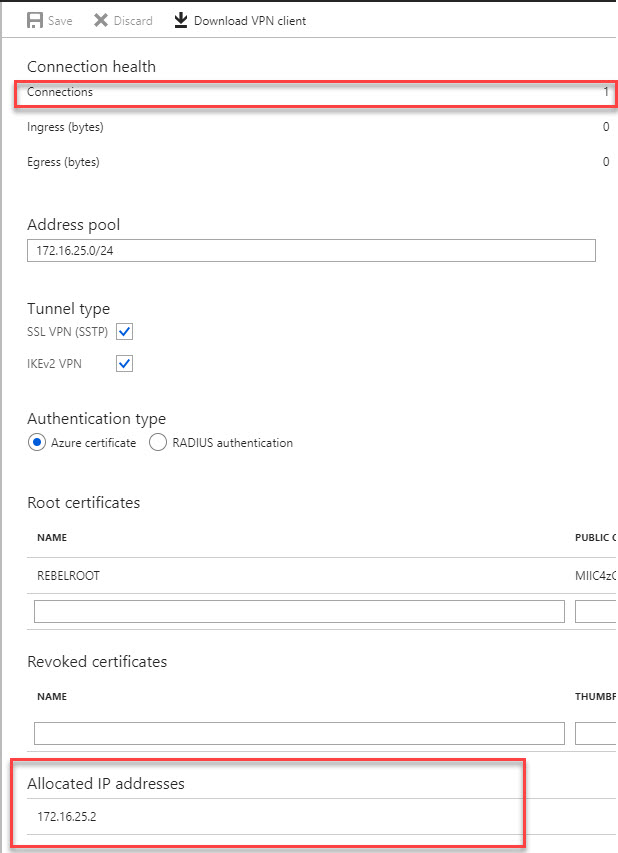
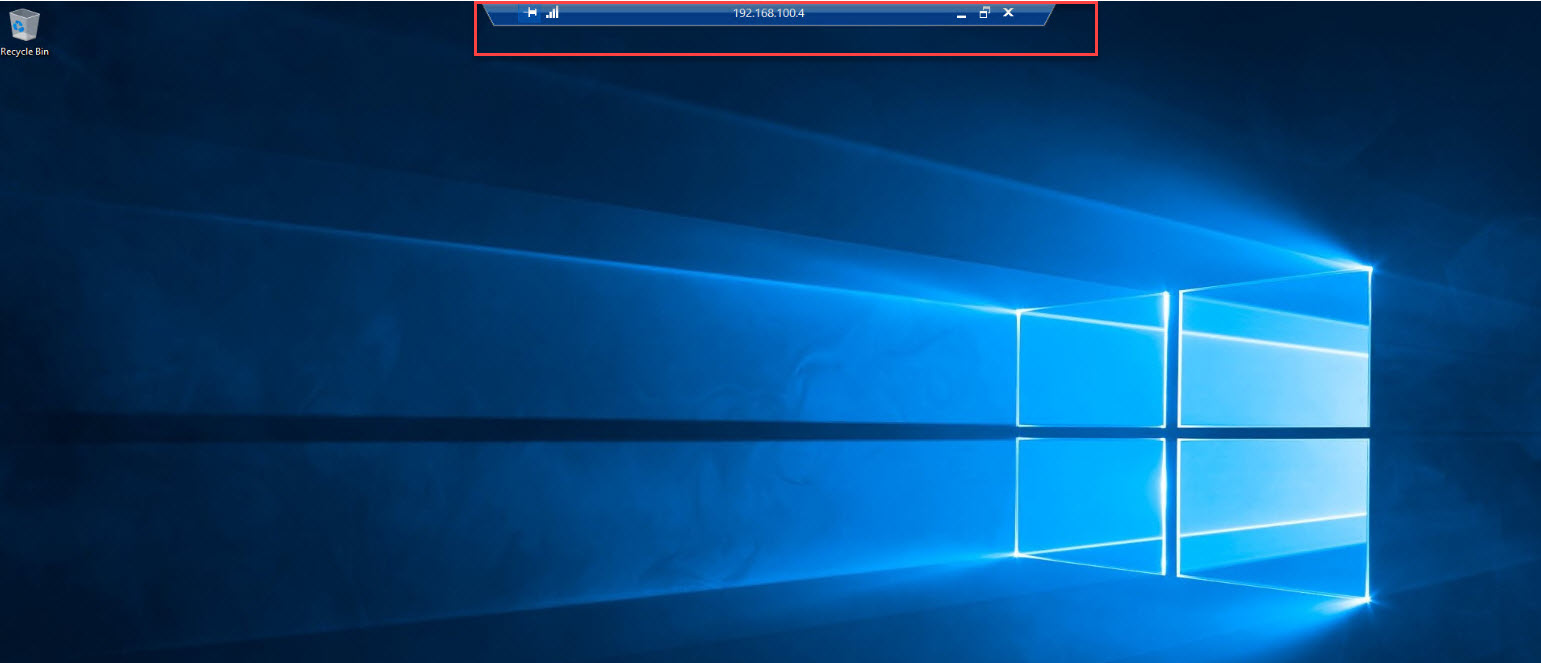
9. I have a server setup under new virtual network we created. This server only has private ip and its 192.168.100.4
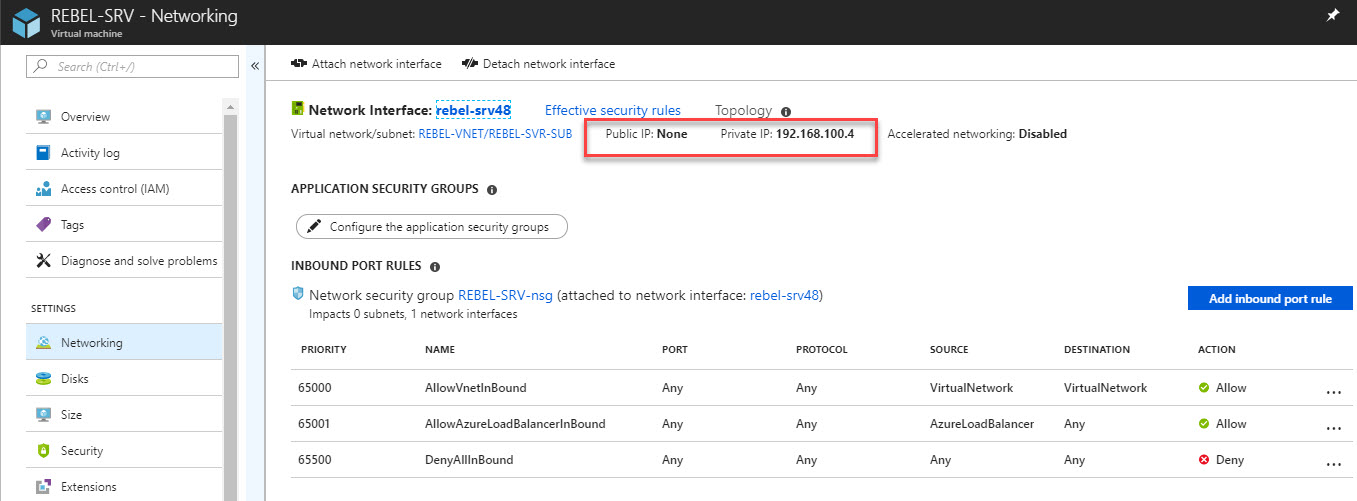
10. As expected, I can RDP to this via VPN.
This marks the end of this blog post. Hope now you have better understanding how to setup point-to-site VPN connection in azure. If you have any questions feel free to contact me on rebeladm@live.com also follow me on twitter @rebeladm to get updates about new blog posts.


1 Comment