
Last month or so I have done few blog posts which explained about Azure information Protection (AIP)’s capabilities. In there, I mainly talked about how to protect sensitive data in organization when we know the data type, audience and permissions.
Step-by-Step Guide: Protect confidential data using Azure information protection – http://www.rebeladmin.com/2018/12/step-step-guide-protect-confidential-data-using-azure-information-protection/
Step-by-Step Guide: Automatic Data Classification via Azure Information Protection – http://www.rebeladmin.com/2018/12/step-step-guide-automatic-data-classification-via-azure-information-protection/
Step-by-Step Guide: On-premise Data Protection via Azure Information Protection Scanner – http://www.rebeladmin.com/2018/12/step-step-guide-premise-data-protection-via-azure-information-protection-scanner/
Step-by-Step Guide: How to protect confidential emails using Azure information protection? – http://www.rebeladmin.com/2019/01/step-step-guide-protect-confidential-emails-using-azure-information-protection/
When we work with information, sometime we have to share information with internal/external peoples, organizations. Usually It is hard to apply strict data protection polices if it’s not sensitive data. With document tracking, we can review who access shared document, when and from where. It also allows to setup notifications so we know when someone access it. if the document is starting to appear in places where it shouldn’t, we can revoke the permissions as well. In this blog post I am going to demonstrate how we can do this.
Prerequisites
1. We need supported subscription first. This feature is available under Enterprise Mobility + Security E3 & E5, Office 365 Enterprise plans. Or else it is available as standalone solution https://azure.microsoft.com/en-gb/pricing/details/information-protection/
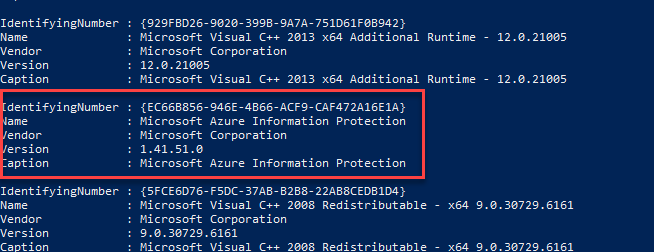
2. We need Microsoft Azure Information Protection Viewer app https://www.microsoft.com/en-us/download/details.aspx?id=54536&WT.mc_id=rss_alldownloads_all or Azure Information Protection client https://www.microsoft.com/en-us/download/details.aspx?id=53018 installed in the pc. It will allow to view, protect office documents using office apps.
In my demo pc, I have installed Azure Information Protection client.
Once agent & subscription is ready,
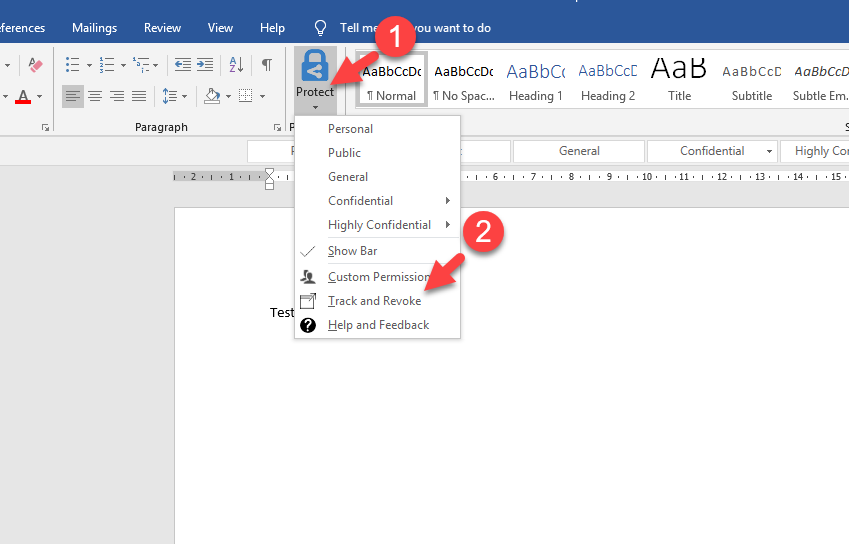
1. Open up document that you like to share using office app (Word, Excel etc.) and then click on Protect | Custom Permissions

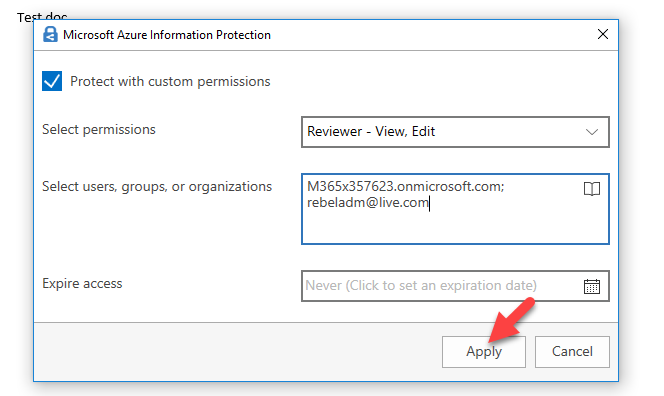
2. It will open up new window, click on protect with custom permission. Then under select permissions, choose the permissions level you like to apply.

3. Under select users, groups or organizations define the audience. In my demo I am going to share it with all staff under my organization.

4. If required, you also can define an expiry date for the access. once settings are in place, click on Apply.
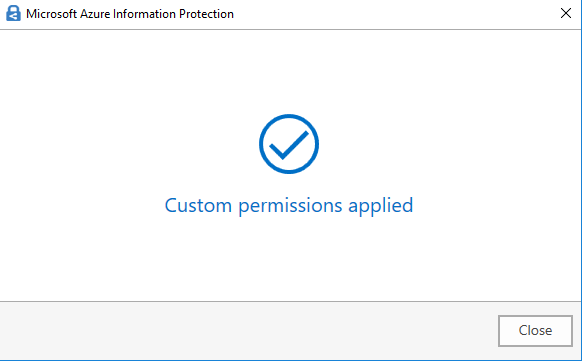
5. Then click on Close to go back to document.
6. To complete the process, Save the document.
7. Once document is saved, go to Protect | Track & Revoke
8. Then it will launch https://track.azurerms.com. Log in to it using your Azure AD account. After, it will show the data related to the document we tracking.

9. I like to get notifications when some one access it. To configure that, click on Settings and then select Notify me by email when someone tries to open this document under Email notifications
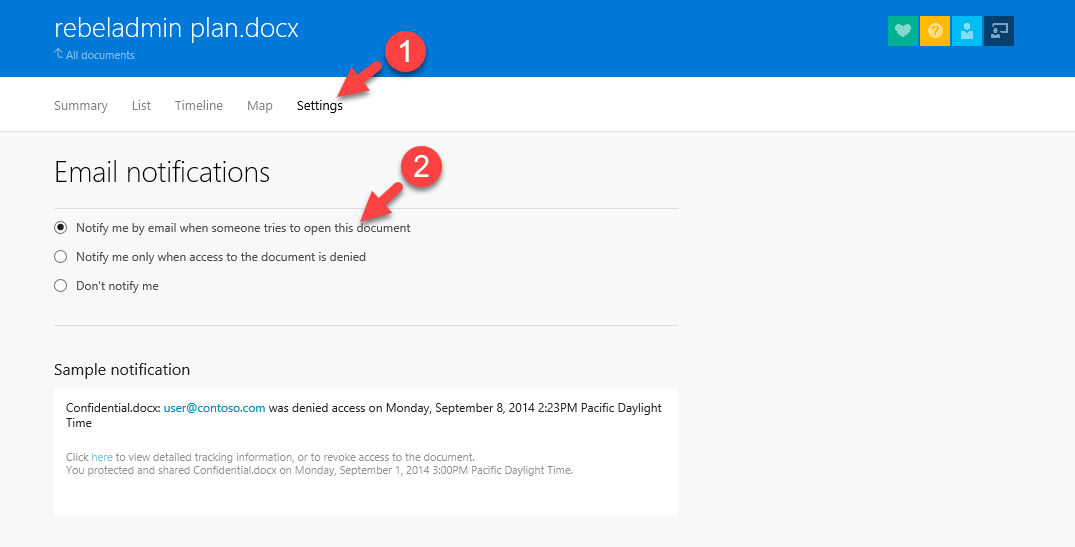
[su_note]There are no Save button to apply this change. Once you change settings, go to All Documents and come back to verify if the notifications settings are applied correctly.[/su_note]
This completes the configuration. for testing I am sending this document to internal user Isaiah ( IsaiahL@M365x357623.onmicrosoft.com )
After Isaiah open the document in his computer, I went back to https://track.azurerms.com. From home page clicked on the document I shared.

Then I can see there was activity recorded 5 minutes ago. I click on view to see the details.

Now I can see that who access it and when.

For testing purpose, I open the same document as Isaiah from different geographical location.
As expected, I got email notification when user access the file.

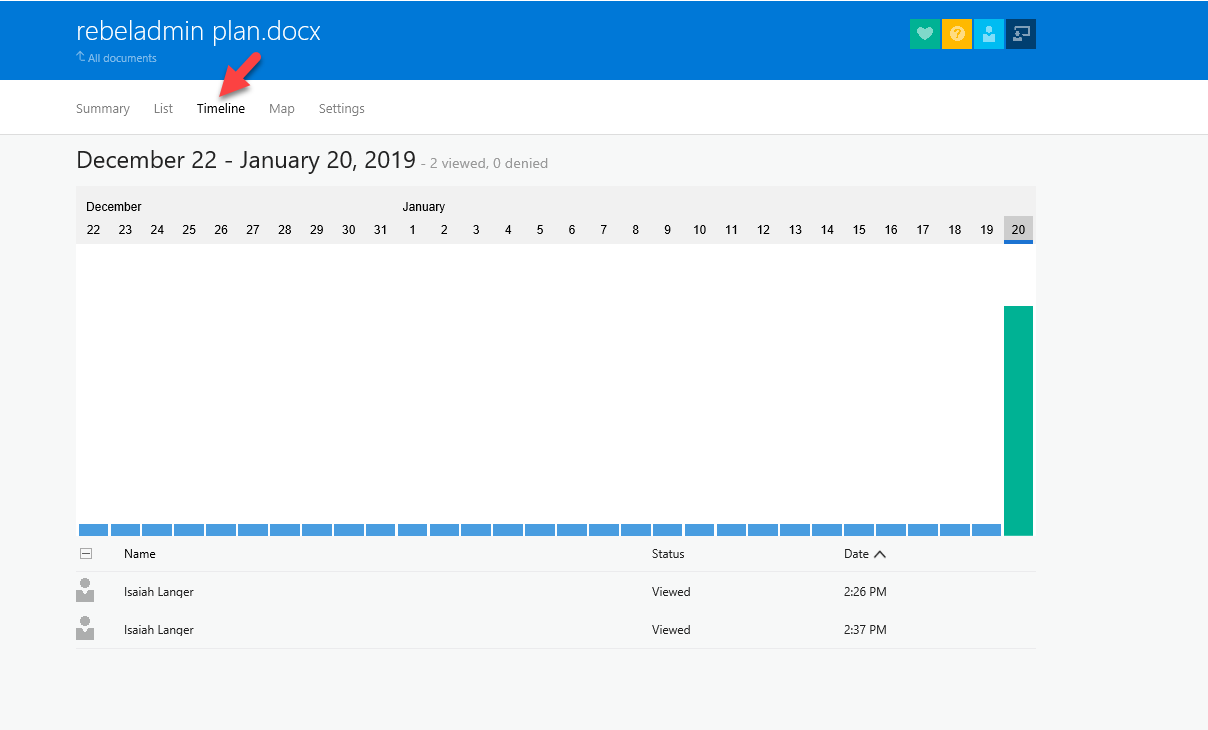
I go back to portal and click on time line. There I can see two entries.
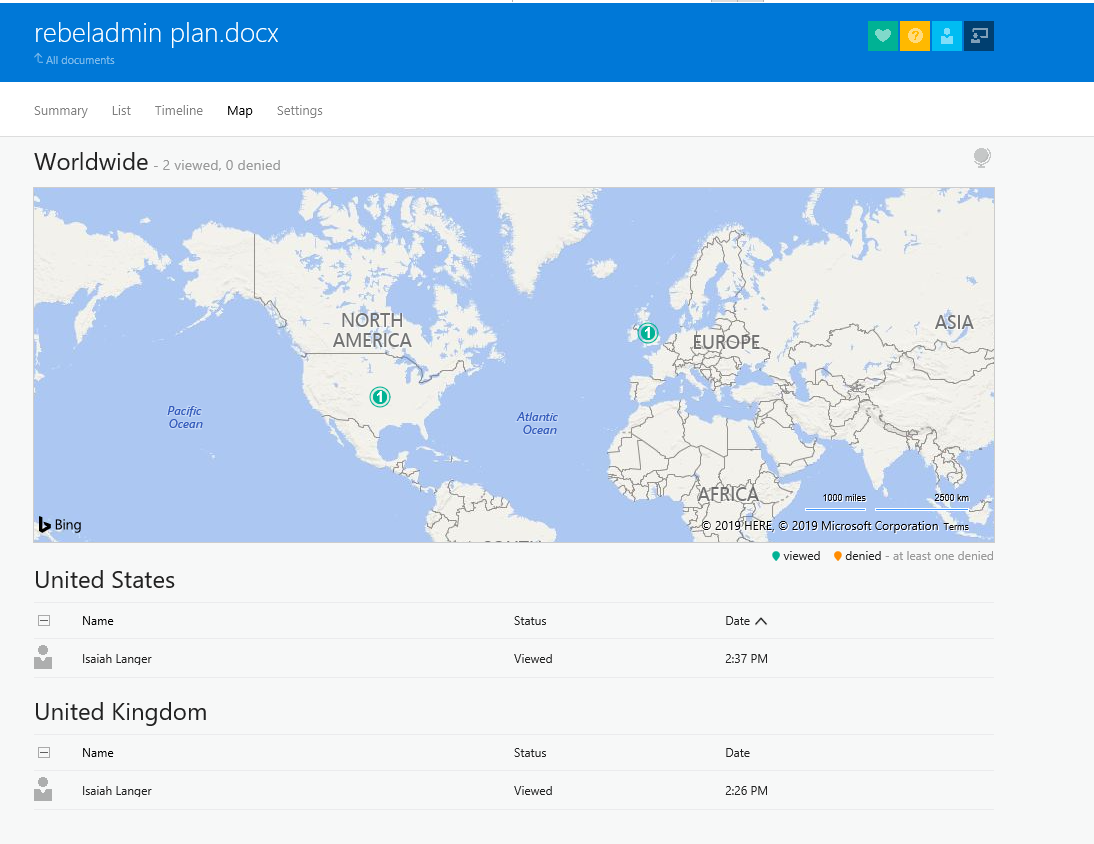
Then I click on map, it shows access from two different locations in short period of time.
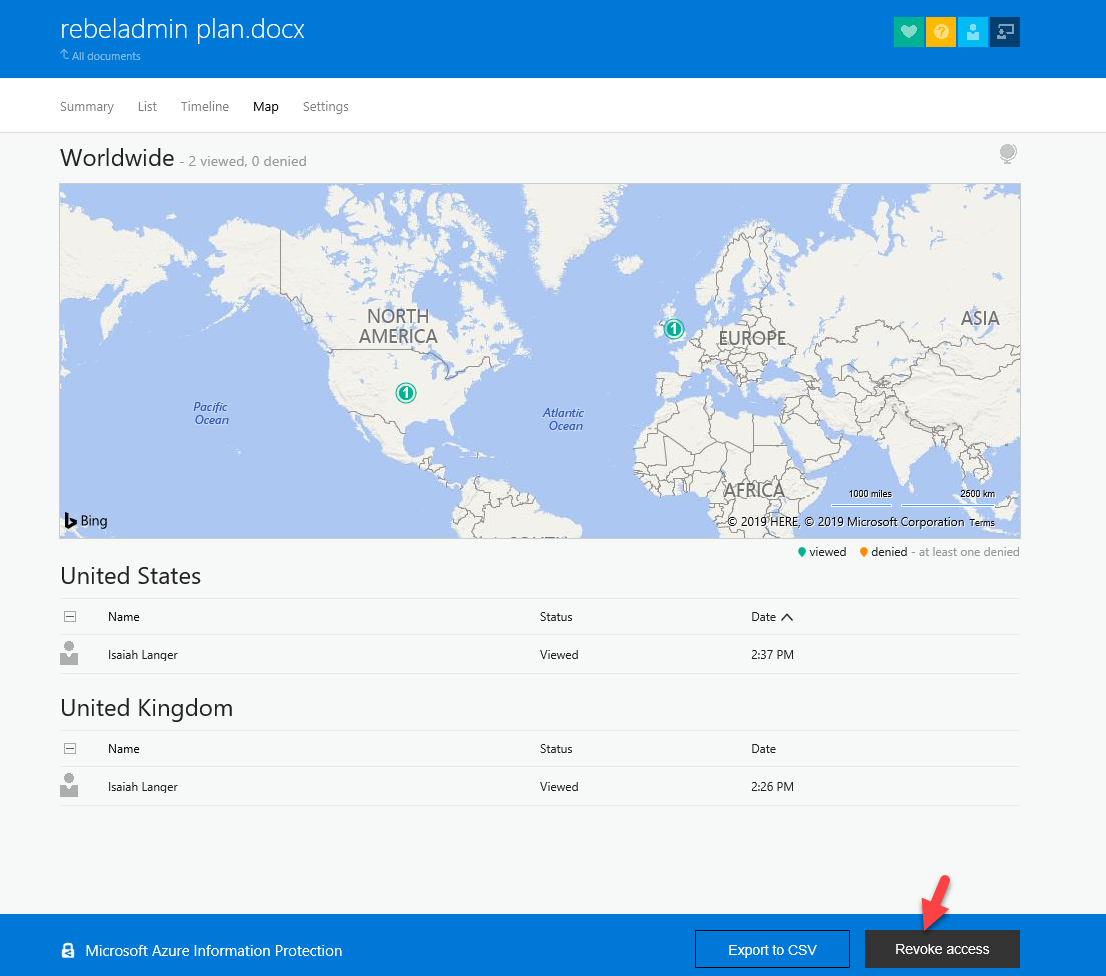
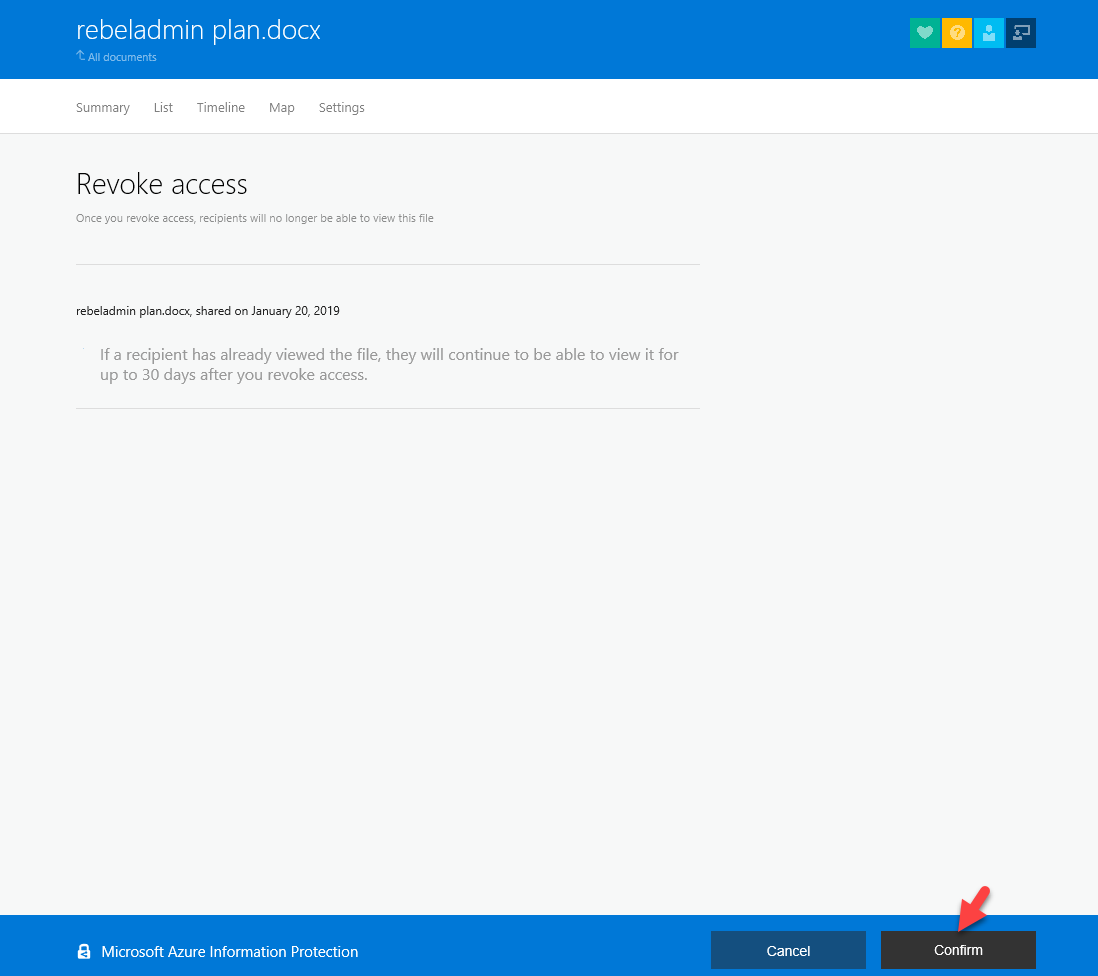
So, something not quite right. I want revoke access. To do that, just click on Revoke access button in bottom.
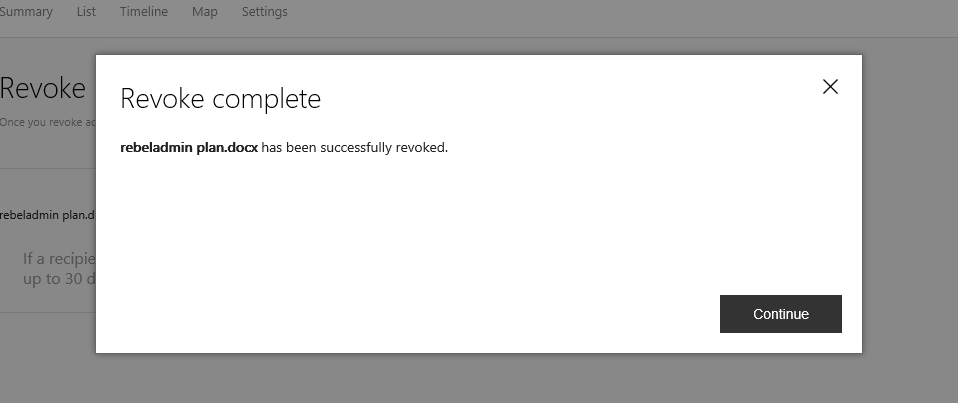
Then in next window, click on Confirm

If the user has access it before, he continues to have access for another 30 days. So, I am going to open it with another user.
When I try to open it with new account, I got following email alert which confirms the revoked access.
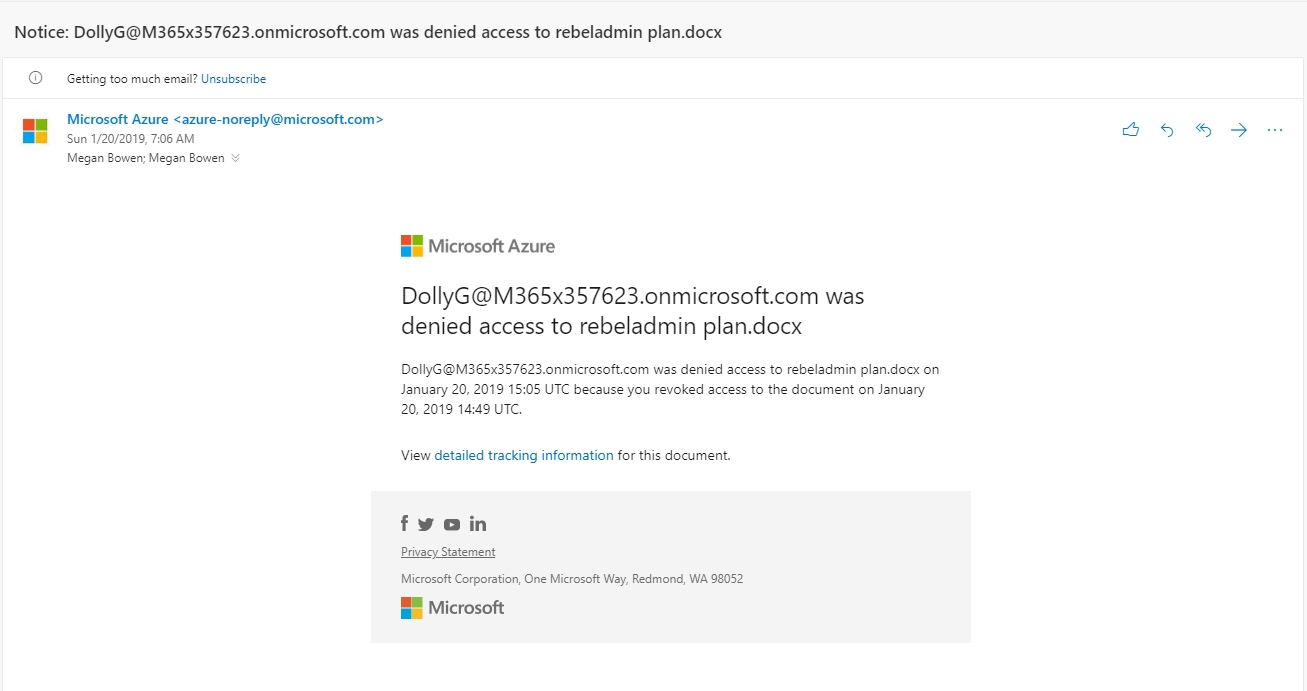
Also, in the portal I can see the denied access entries.

[su_note]This also works with external users. but external users must have Azure AD identity.[/su_note]
This marks the end of this blog post. If you have any further questions feel free to contact me on rebeladm@live.com also follow me on twitter @rebeladm to get updates about new blog posts.

