
In my previous blog post I explained how we can use Azure information protection to protect sensitive data in an organization. You can access it using http://www.rebeladmin.com/2018/12/step-step-guide-protect-confidential-data-using-azure-information-protection/ . In that post I have created labels with permissions and assign it to documents to protect sensitive data. But in an organization, we deal with lots of data. So, applying label manually is not practical. Therefore, AIP offers automatic data classification to overcome this challenge. Using this feature, we can apply conditions to labels. When conditions are met, it will automatically apply the relevant label to data.
This feature supports many industry recognized information types. It also allows to create our own conditions with information patterns specific for our requirements. In below I list some examples for predefined information types available in AIP.
• Canada Bank Account Number
• Canada Driver's License Number
• Canada Health Service Number
• Canada Passport Number
• Canada Personal Health Identification Number (PHIN)
• Canada Social Insurance Number
• Chile Identity Card Number
• China Resident Identity Card (PRC) Number
• Credit Card Number
• EU Debit Card Number
• EU Driver's License Number
• EU National Identification Number
• EU Passport Number
• EU Social Security Number or Equivalent ID
• EU Tax Identification Number
• U.K. Driver's License Number
• U.K. Electoral Roll Number
• U.K. National Health Service Number
• U.K. National Insurance Number (NINO)
• U.S. / U.K. Passport Number
• U.S. Bank Account Number
• U.S. Driver's License Number
• U.S. Individual Taxpayer Identification Number (ITIN)
• U.S. Social Security Number (SSN)
Actions followed by condition can be either automatic classification or recommended classification. If it is automatic classification, label will apply immediately after conditions are met. If its recommended classification, system will recommend the label but will not apply it to data.
So, let’s see it in actions.
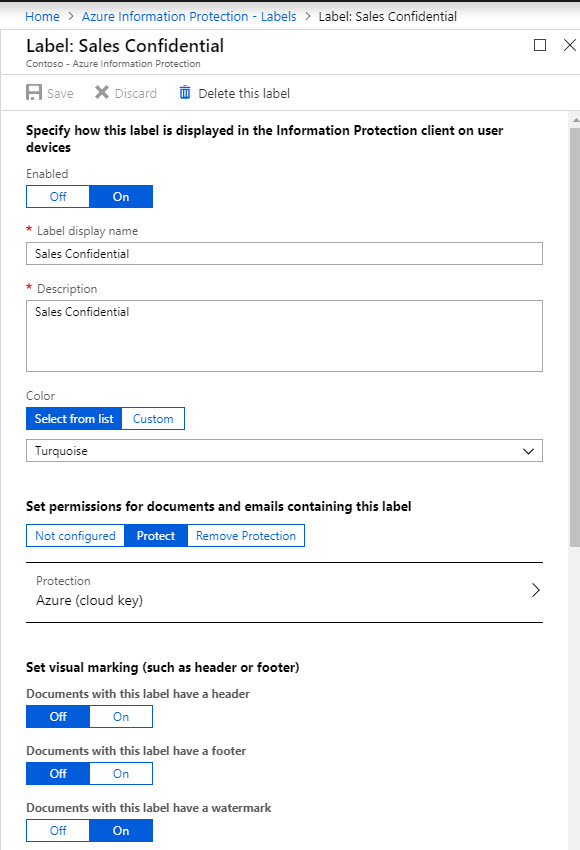
in my demo environment I have a label setup under AIP called Sales confidential. In my previous blog post I have demonstrate how to setup a label so I am not going to repeat it again. You can read step-by-step guide about it using http://www.rebeladmin.com/2018/12/step-step-guide-protect-confidential-data-using-azure-information-protection/
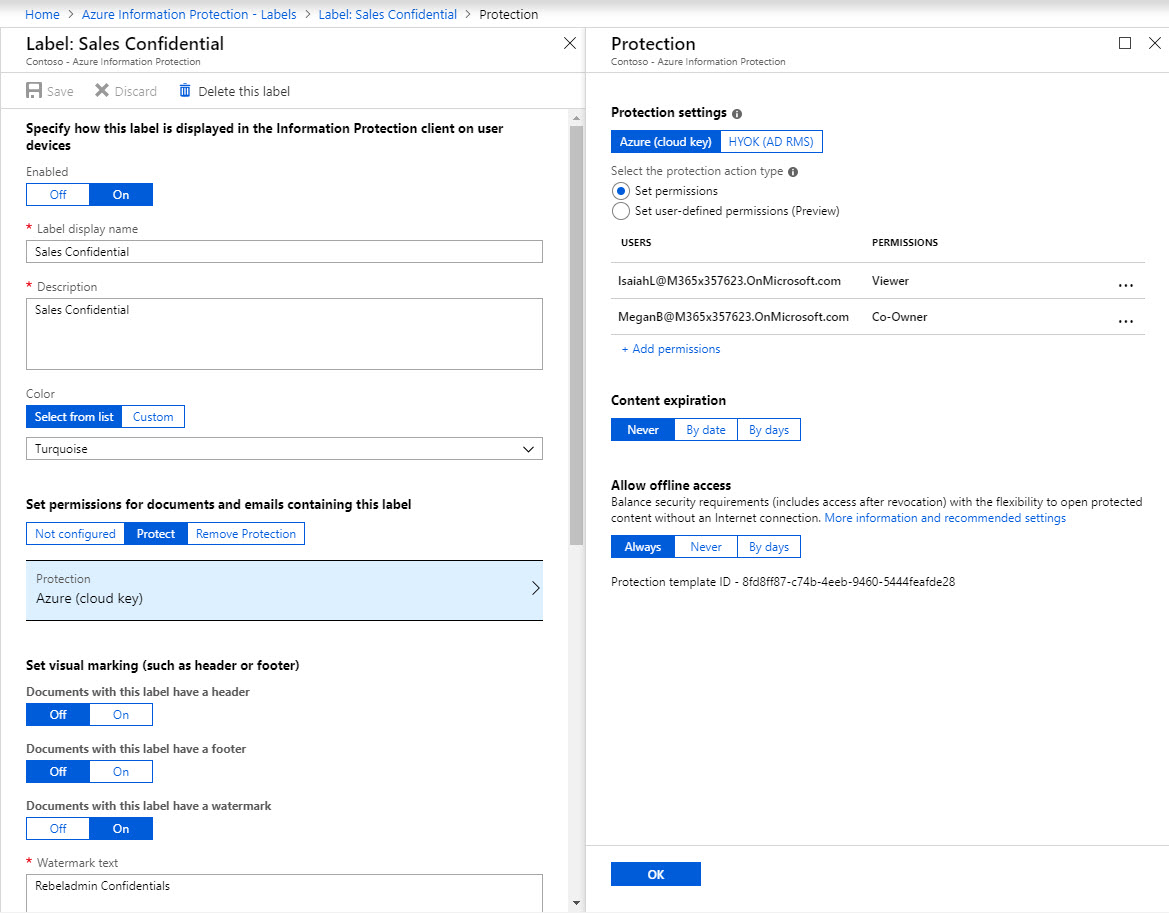
in my label I have setup my sales manager Megan as the co-owner for the data and sales executive Isaiah a viewer. I am going to apply this label to any document which have credit card number in it. My label settings are as following,
To configure automatic classification,
1. Log in to Azure portal https://portal.azure.com as Global administrator
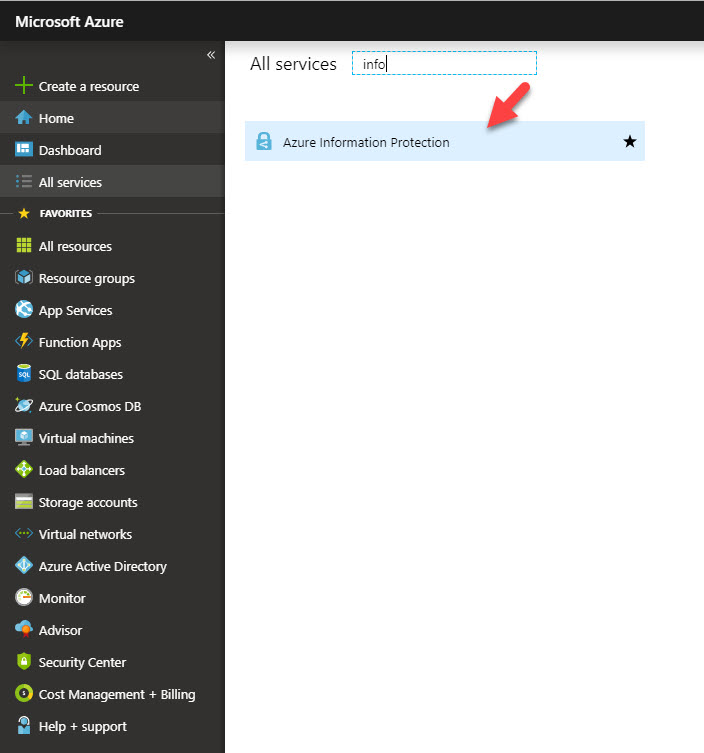
2. Go to All Services | Azure Information Protection
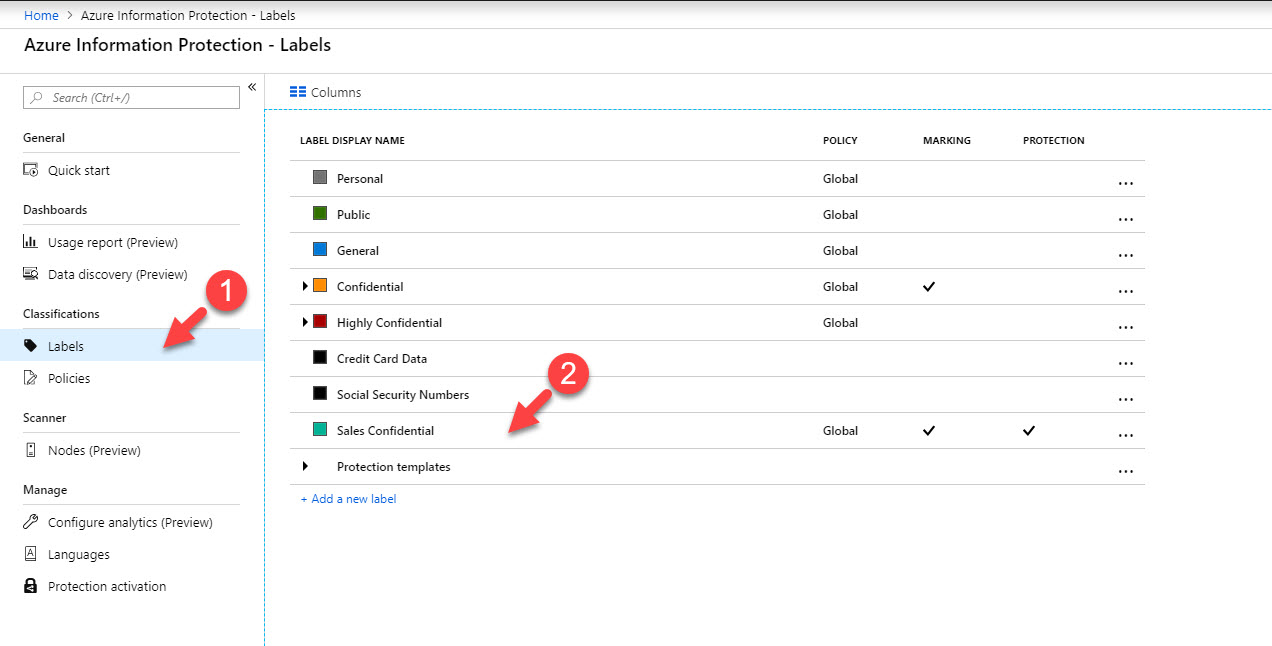
3. Click on Labels and then the label you like to modify.
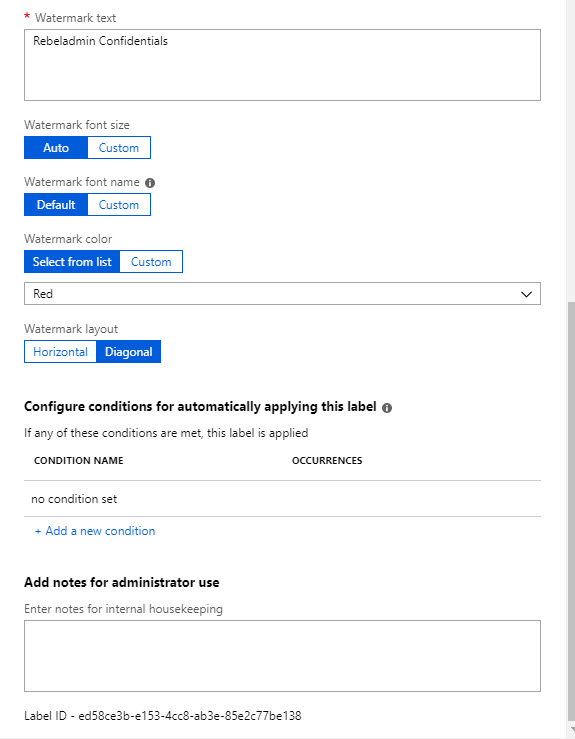
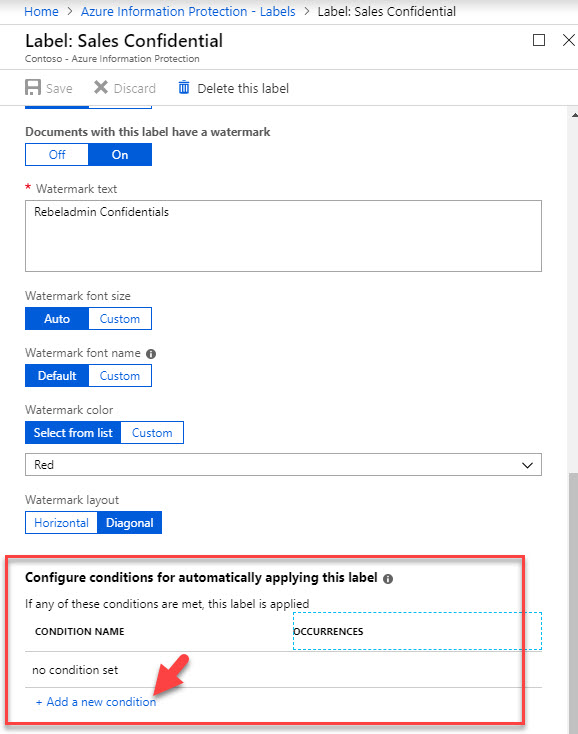
4. Then in policy window, click on Add a new condition under Configure conditions for automatically applying this label
5. In my label I am targeting credit card numbers, so I click on Financial under choose an industry option and then click on Credit Card Number
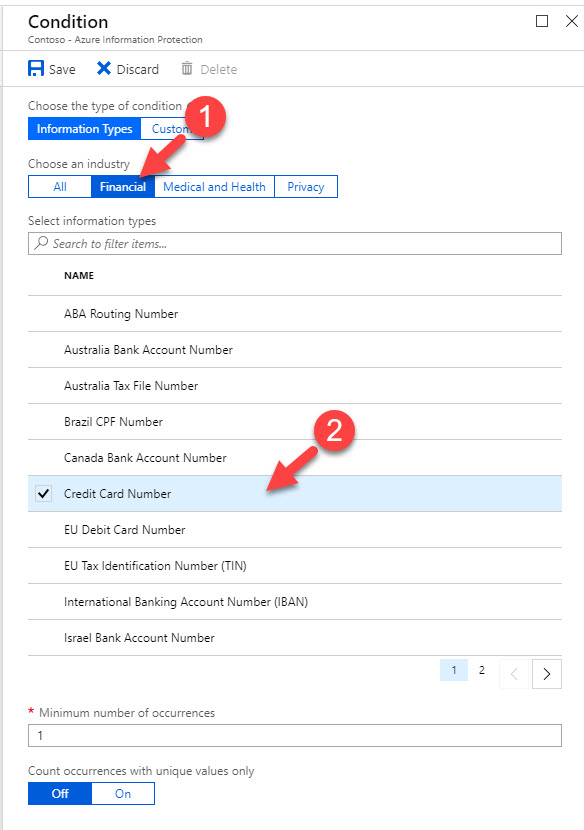
6. Then under minimum number of occurrences I kept default number 1. So any document which have credit card number one or more will classify as Sales confidential.

7. Then click on Save to apply the condition.
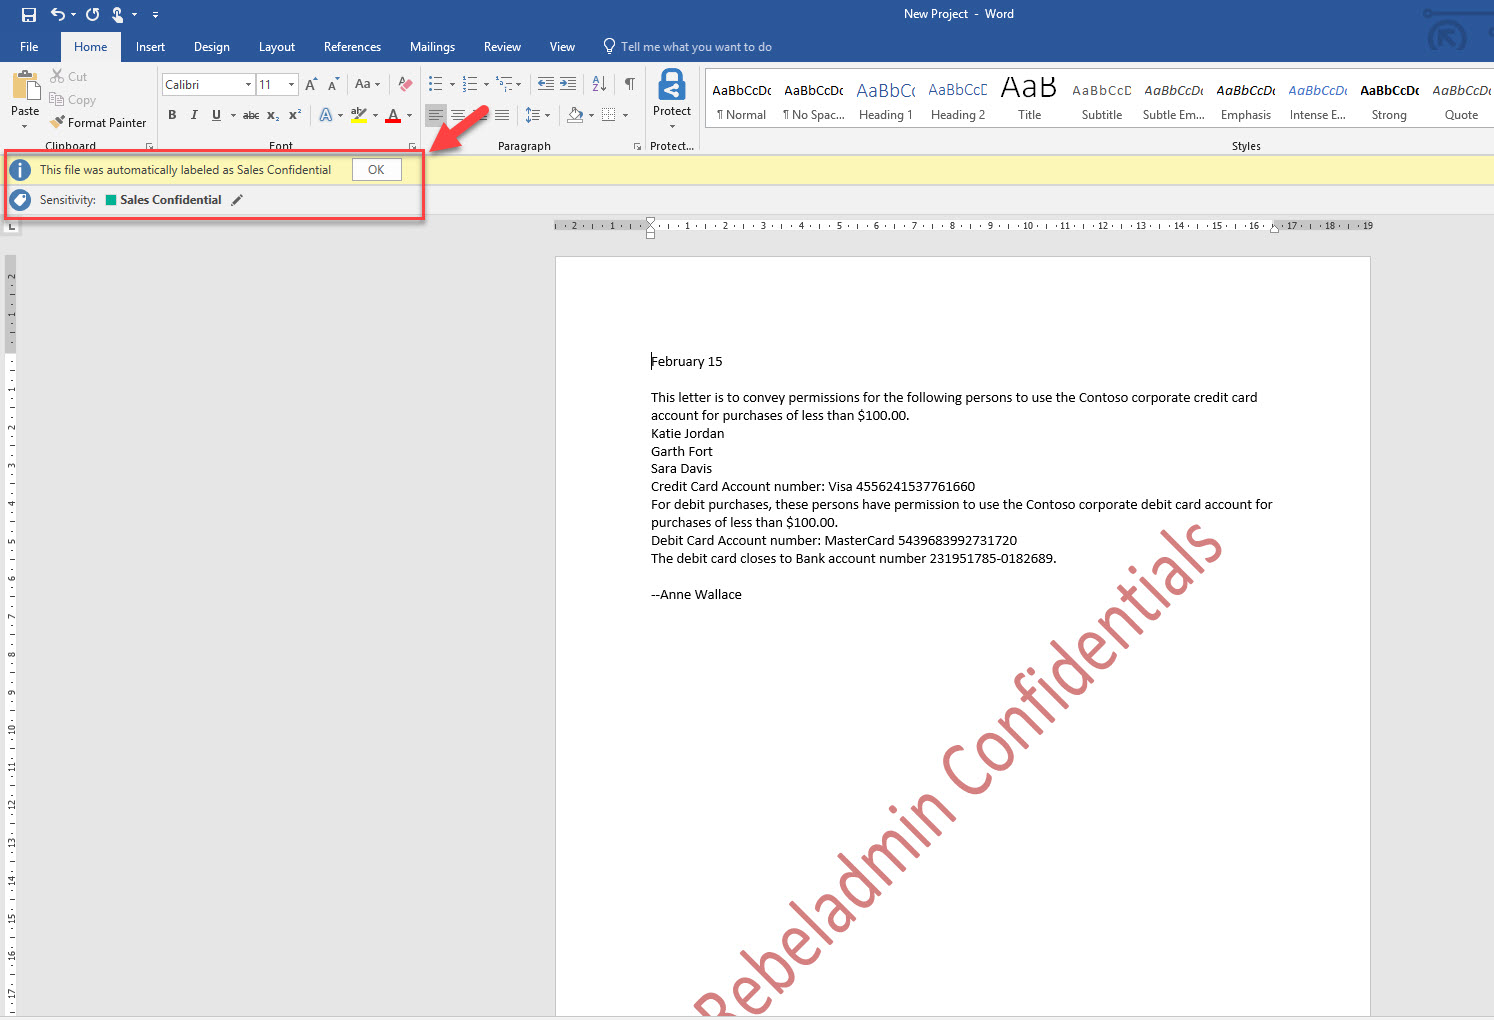
8. In next window select Automatic under option select how this label is applied. Also, if needed we can change the text for the tip, in my demo I am using “This file was automatically labeled as Sales Confidential”
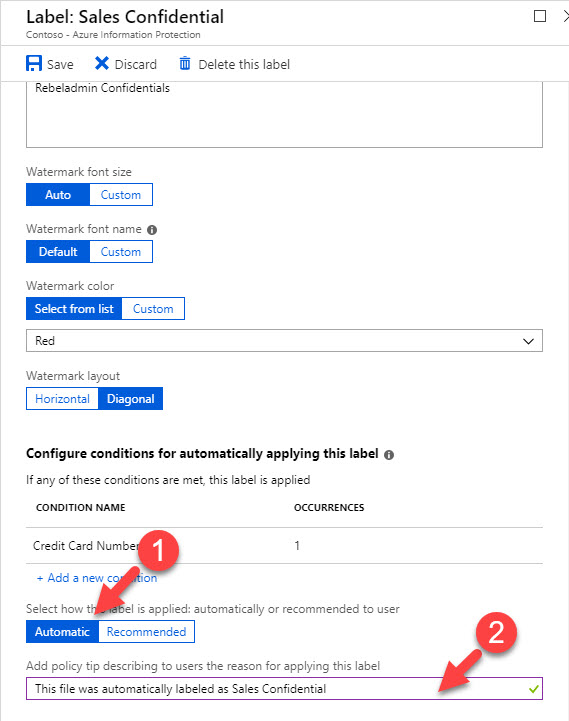
9. Then click on Save to apply label changes.
10. Now it is time to test it. I have document called New Project which includes Credit card data.
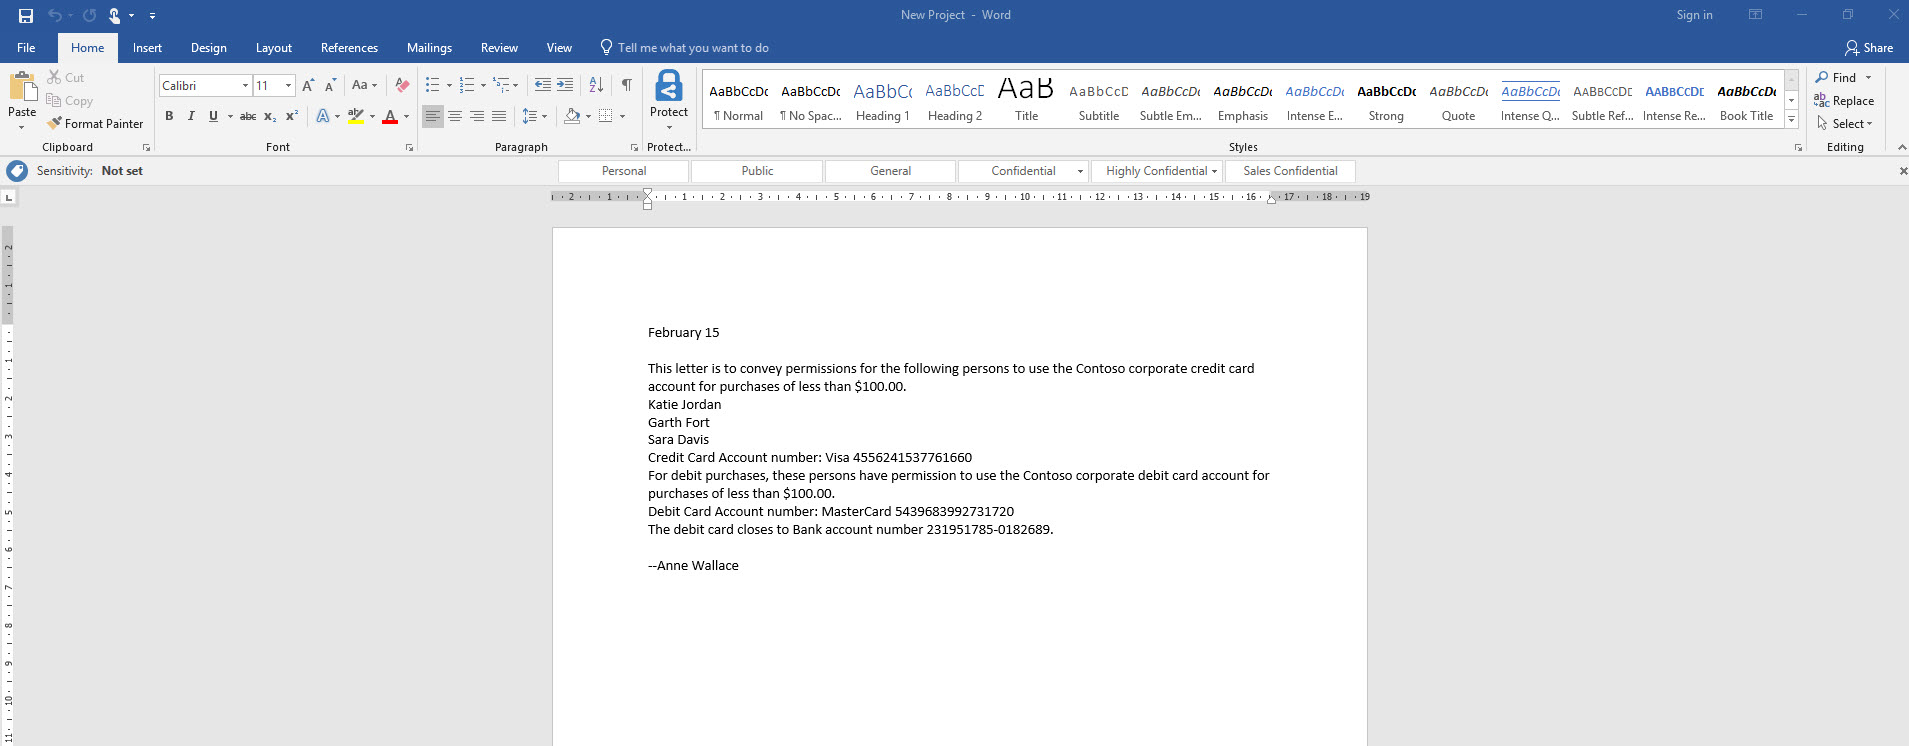
11. I have uploaded it to one drive under Megan’s account.
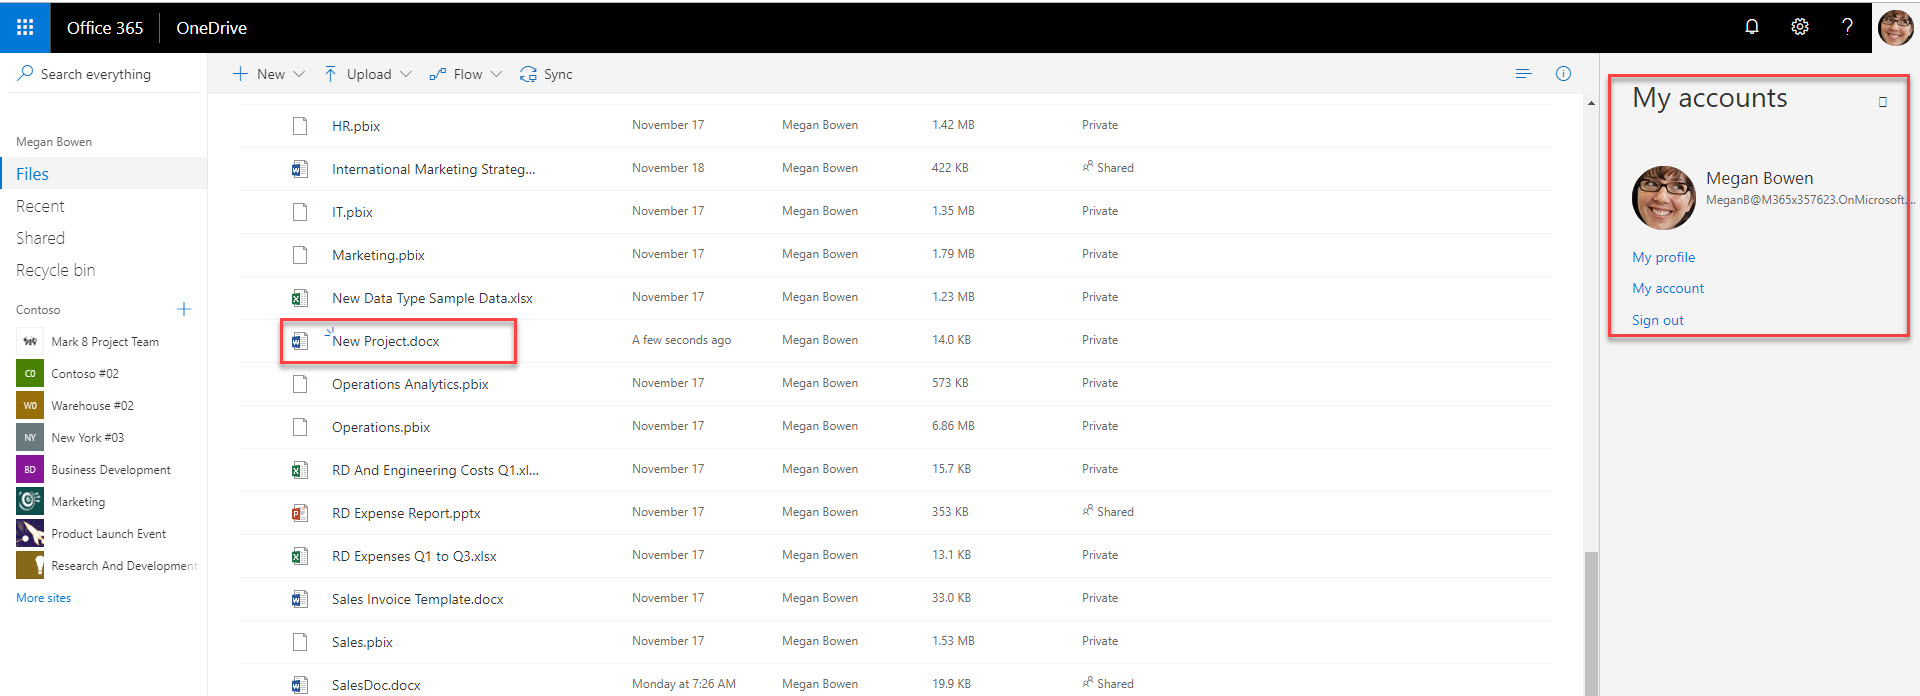
12. Then I have select the file and click on open in word.
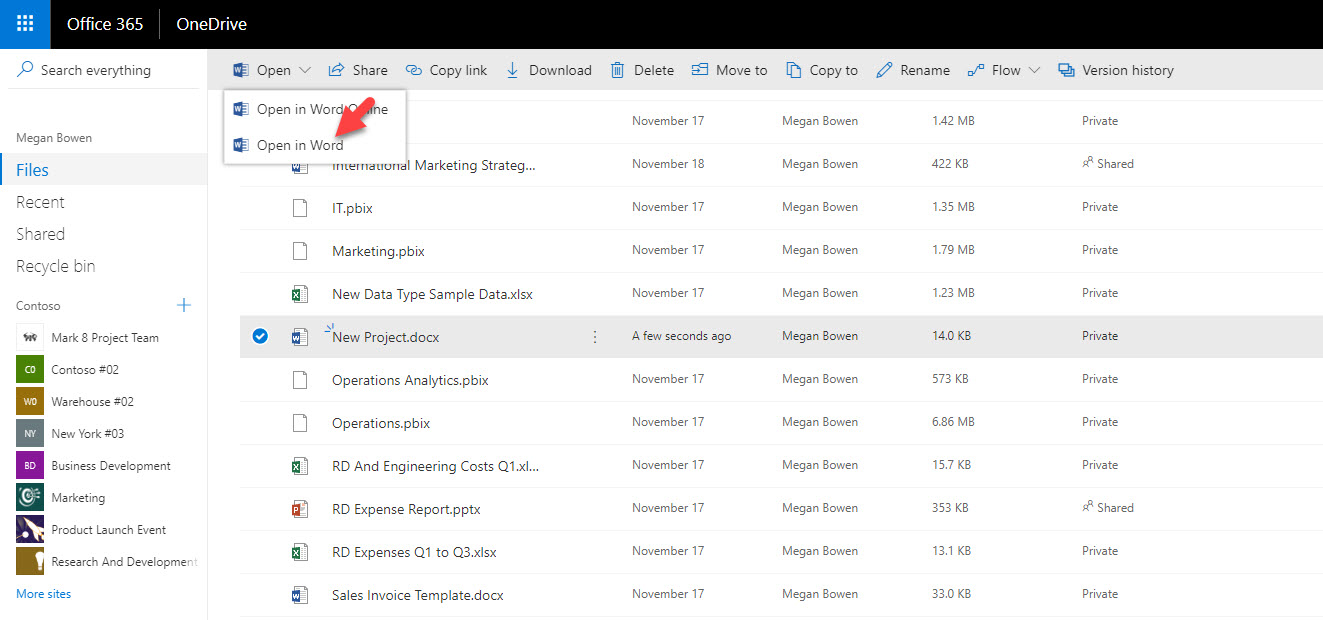
[su_note]You need to have Azure Information Protection Add-in installed in your pc to open it and see the classification data.[/su_note]
13. As expected the file is now automatically classified as Sales confidential.
Cool ha? As you can see with few clicks we were able to automate the classification with condition we like. This marks the end of this blog post. If you have any further questions feel free to contact me on rebeladm@live.com also follow me on twitter @rebeladm to get updates about new blog posts.

