
This is the part 02 of the series of articles which explain the setup and configurations of DirectAccess Feature. In Part 01 of the series I explain what is directaccess and use of it. If you not read it yes you can find it here How to configure Direct Access? – Part 01
In here for the demo I am using windows server 2012 R2 and the domain functional level also runs with same version.
Before we move in to any remote access solution configuration (either direct access or VPN) first we need to add the “Remote Access Role”. To do that,
1) Log in to the server as member of domain administrator or enterprise administrator security group.
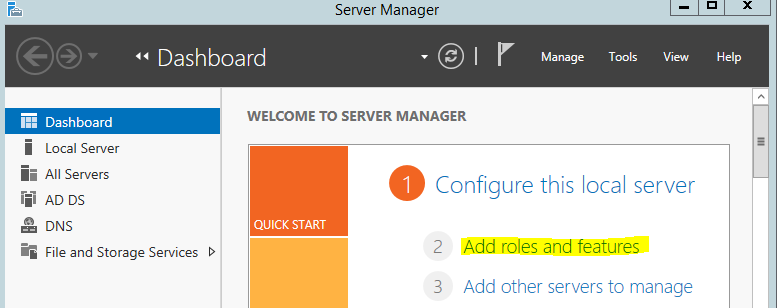
2) Server Manager > Add Roles and Features
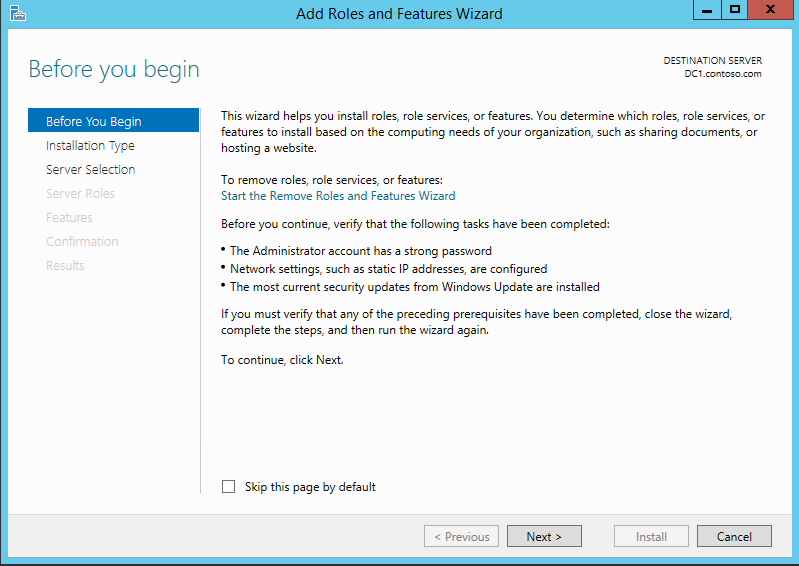
3) It will open up the wizard and click next to continue
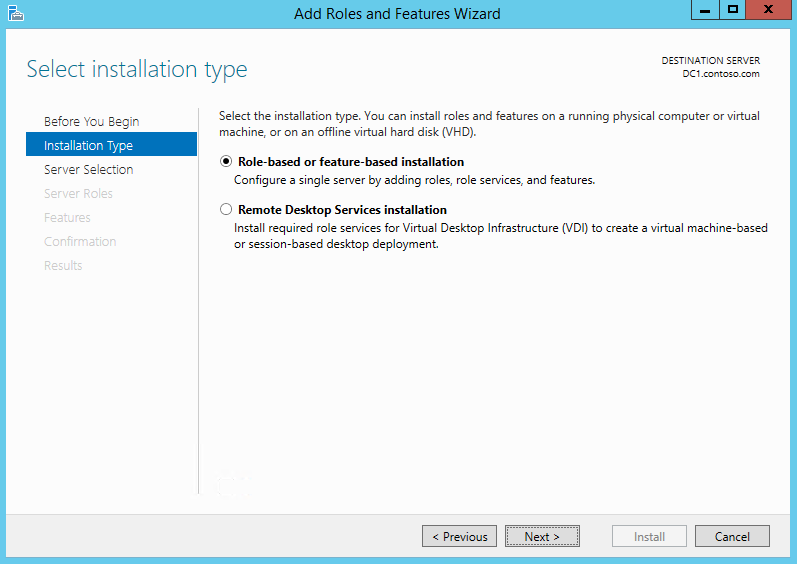
4) Select option “role-based or feature-based installation” and click next
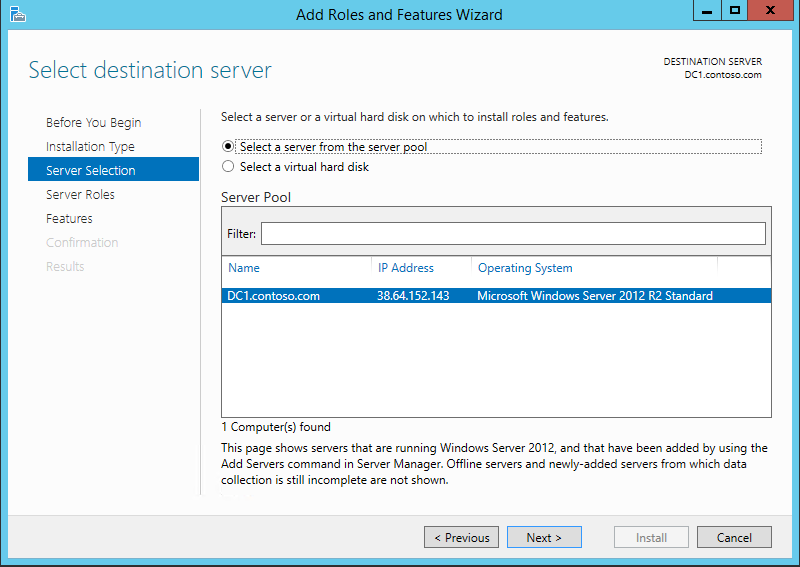
5) From the server selection I keep the default and click next
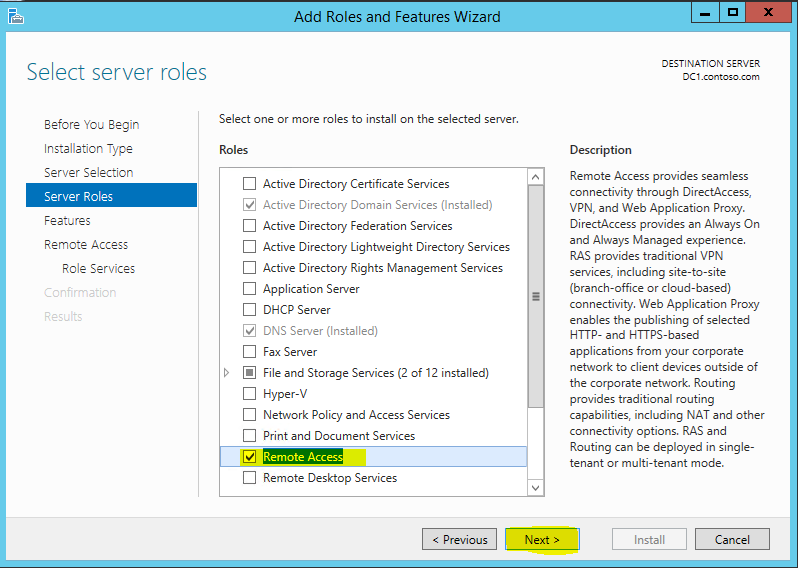
6) From the server roles list, put tick box on “Remote Access” option and click next
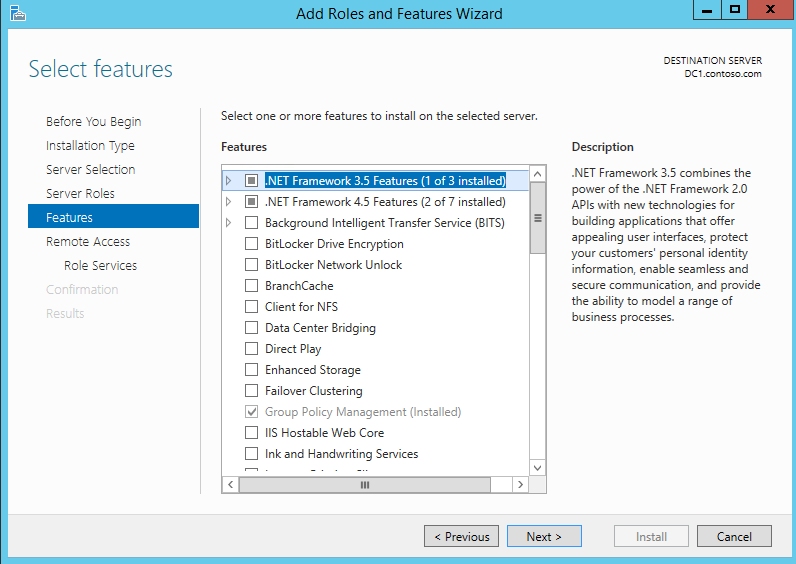
7) From the features list keep default and click next
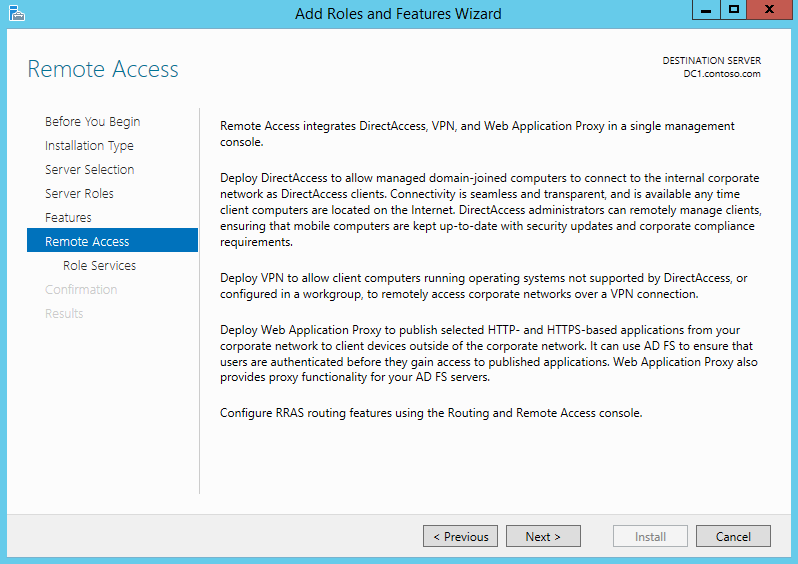
8) In next window it gives explanation about remote access role and click next to continue
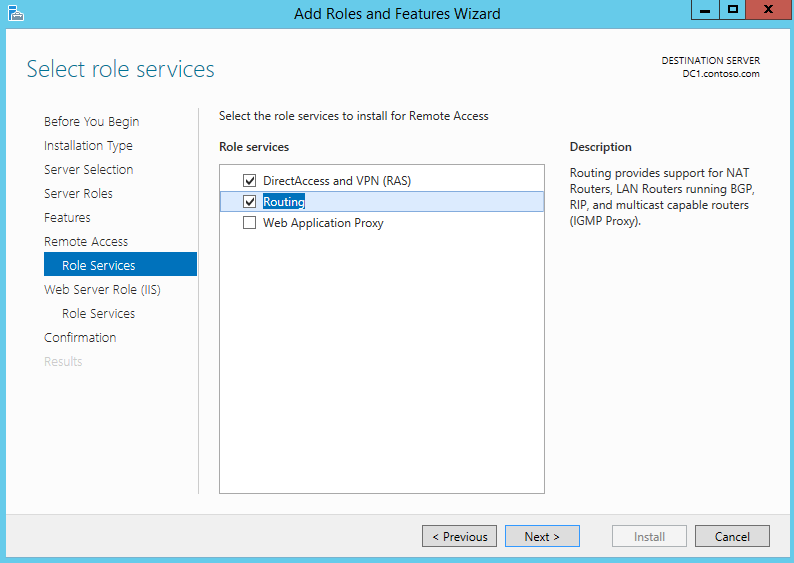
9) On role service list click on “DirectAccess and VPN (RAS)” option to select. Then it will prompt to add related features. Click add feature to add them
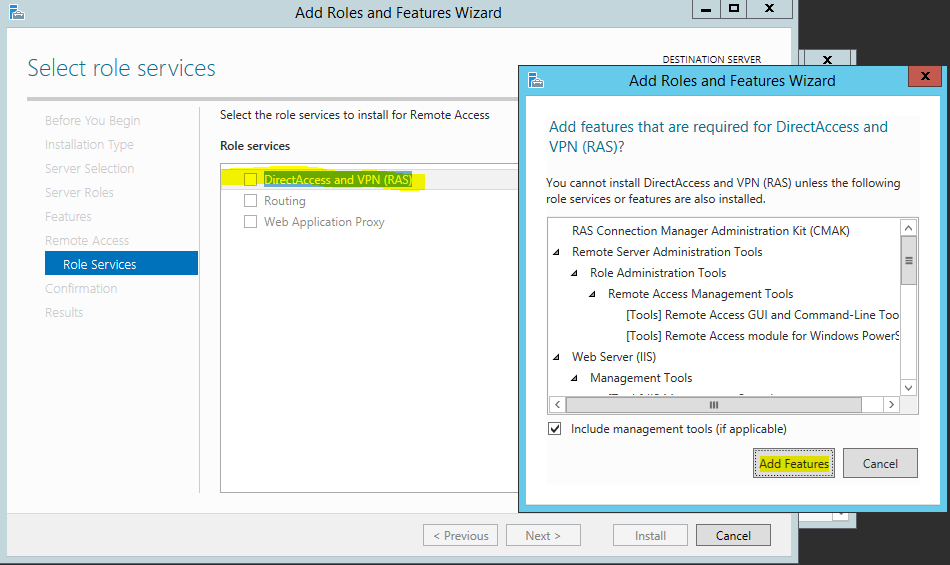
10) If the deployment also need routing services make sure to add “Routing” option too. Then click next to continue
11) Then it will show description about web server role. Click next to continue
12) For IIS role services keep default and click next to continue
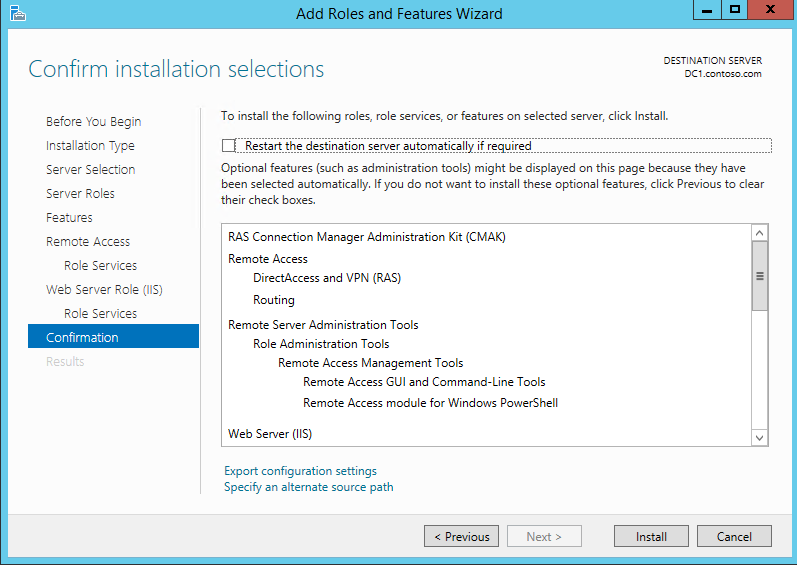
13) Then it will give confirmation about roles and features which will add and click install to continue.
14) Then it will start the installation

15) After it is completed close the console to exit from the wizard.
Now we have the role services installed. The next step is to configure the directaccess services. To start the process there is 2 options.
1) DirectAccess Getting Started Wizard
2) Remote Access Setup Wizard
“DirectAccess Getting Started Wizard” will allow to configure DirectAccess quickly with default recommended settings. But this will not give much control over the options.
These both options can run from the Remote Access Management Console. To open the console,
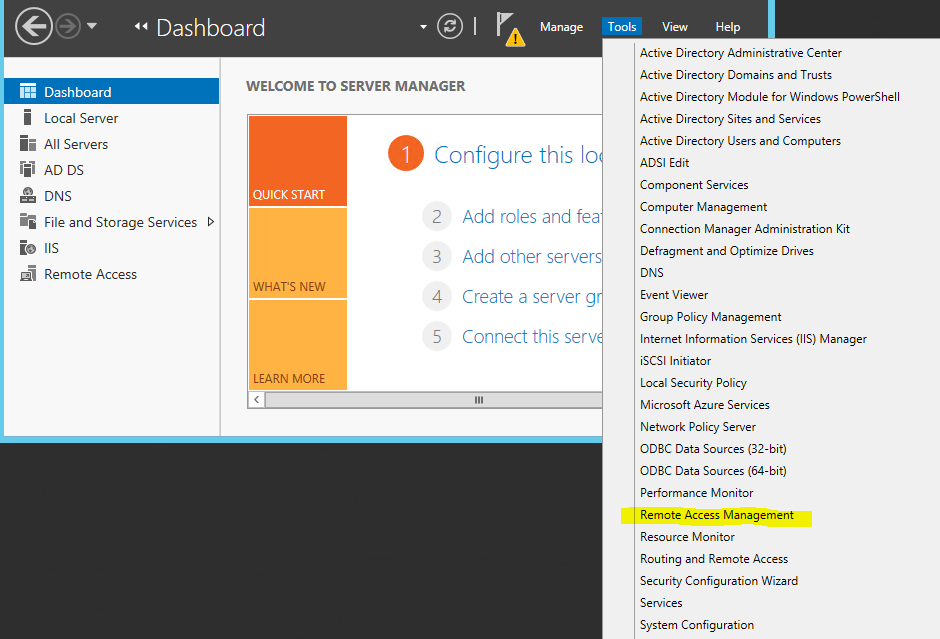
1) Go to Server Manager > Tools > Remote Access Management
2) Then it will load the mmc and from there select DirectAccess and VPN and configuration section in left hand panel
In here for the demonstration I will be using the option “Remote Access Setup Wizard”.
1) To run the wizard click on the option from Remote access mmc.

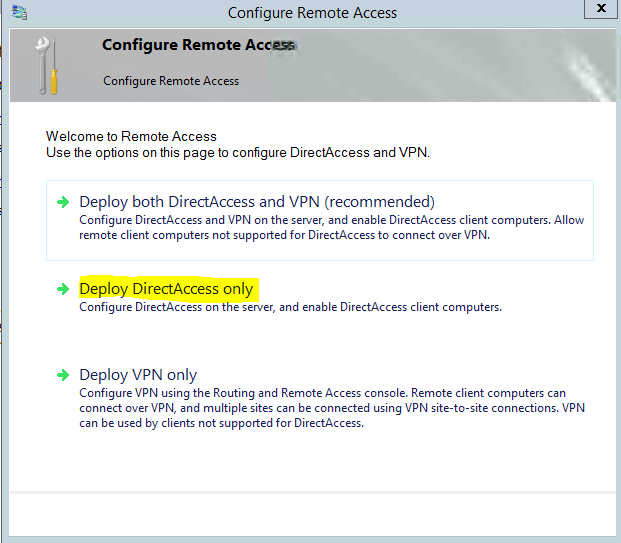
2) Then it will open new wizard to configure remote access. From the console since we only plan to setup directaccess, select option “Deploy DirectAccess Only”
3) Then in next window it shows 4 main steps to complete the configuration. In some setup all 4 options will not apply. For example some time remote access server role will holds by the infrastructure or the application server.

Before go in to the configurations, let’s see what these each steps means.
Step 1 Remote Clients – In here we can define which users, security groups allow to use direct access services. For ex- in organization we only needs to allow Sales group to use the directaccess services.
Step 2 Remote Access Server – This will be the edge server/gateway server for the direct access infrastructure. Basically this server will holds minimum of 2 network interfaces to represent local network and the public network. In here it also possible to specify to use smart cards or the certificate authority for secure communication.
Step 3 Infrastructure Servers – This allows to configure access to infrastructure services. For ex- active directory services, web services, dns services etc.
Step 4 Application Servers – This allow to configure end-to-end secure authentication between applications and directaccess components.
This is the end of part 02 of the direct access configuration series and in next post I will demonstrate configuration of above 4 steps. If you have any questions feel free to contact me on rebeladm@live.com

