
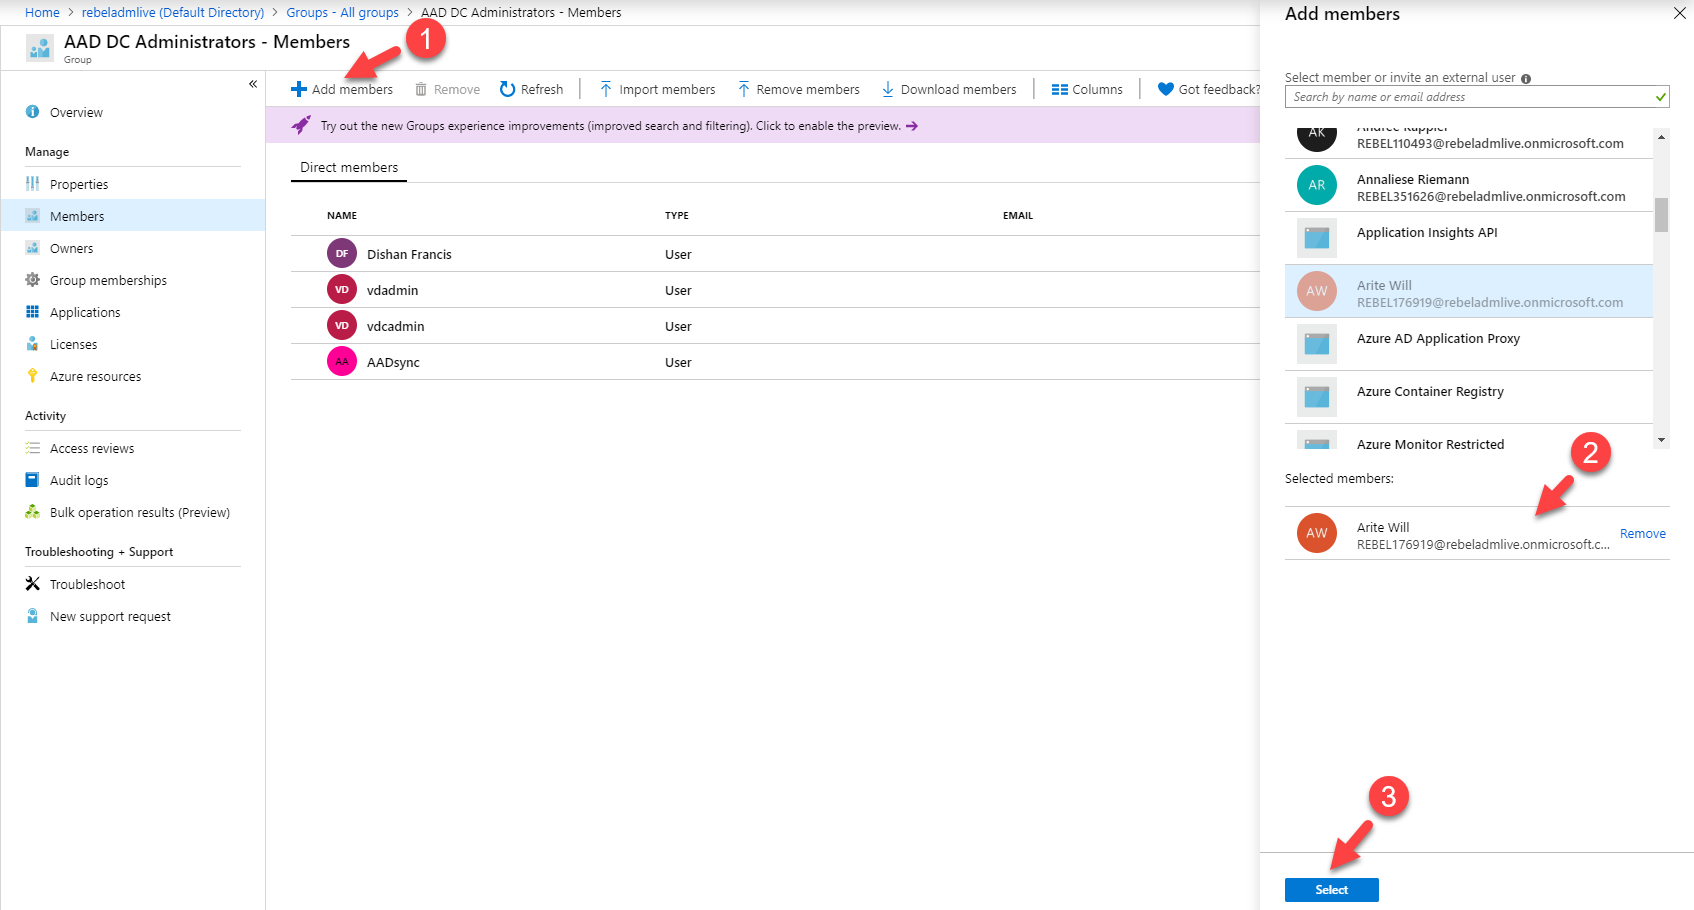
So far in Azure Active Directory, if we need to add members to a group, we have to go through a few steps.
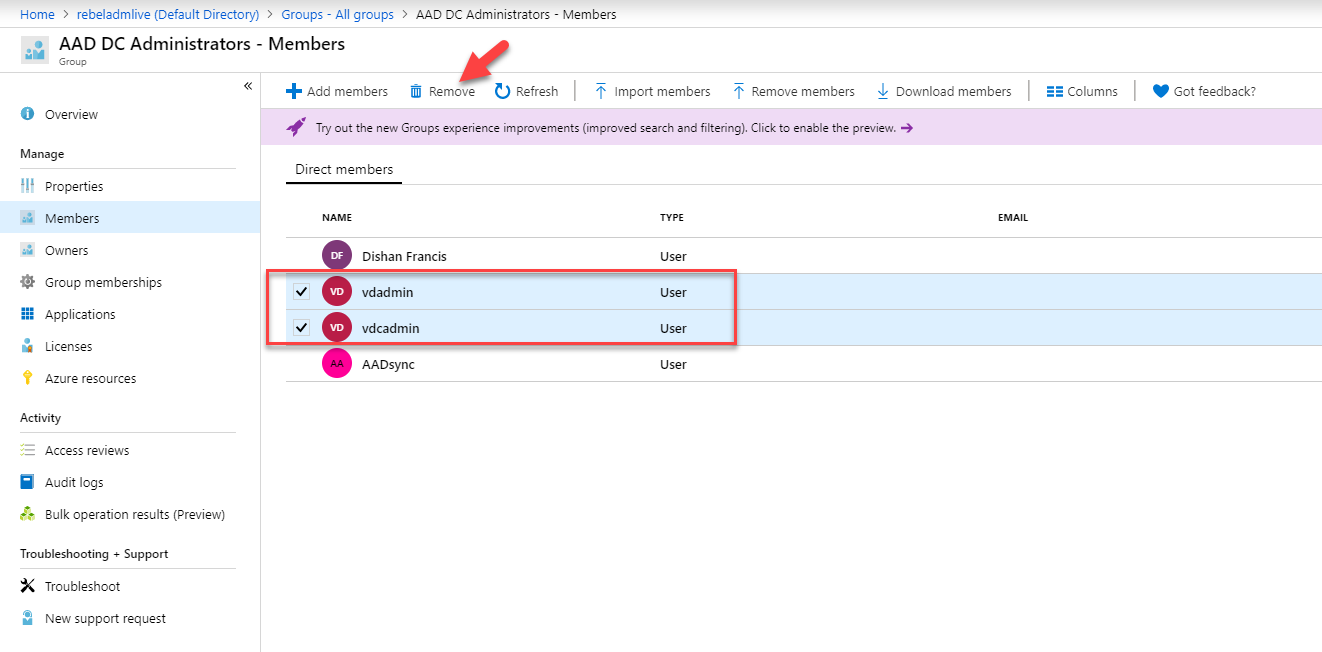
To remove members from a group, we have to select members manually and then remove it.
This process is still okay for small scale changes. But if it is large scale change, it will take time. Also, engineers can make mistakes by selecting the wrong users. Microsoft now allows us to add and remove users based on CSV files. This is still in the preview stage but it is not too early to test. In this demo, I am going to demonstrate how we can add/remove Azure AD group members using CSV files.
Add Members
To add members to Azure AD group using the new CSV method,
1. Log in to Azure Portal (https://portal.azure.com) as Global Administrator or Group Owner.
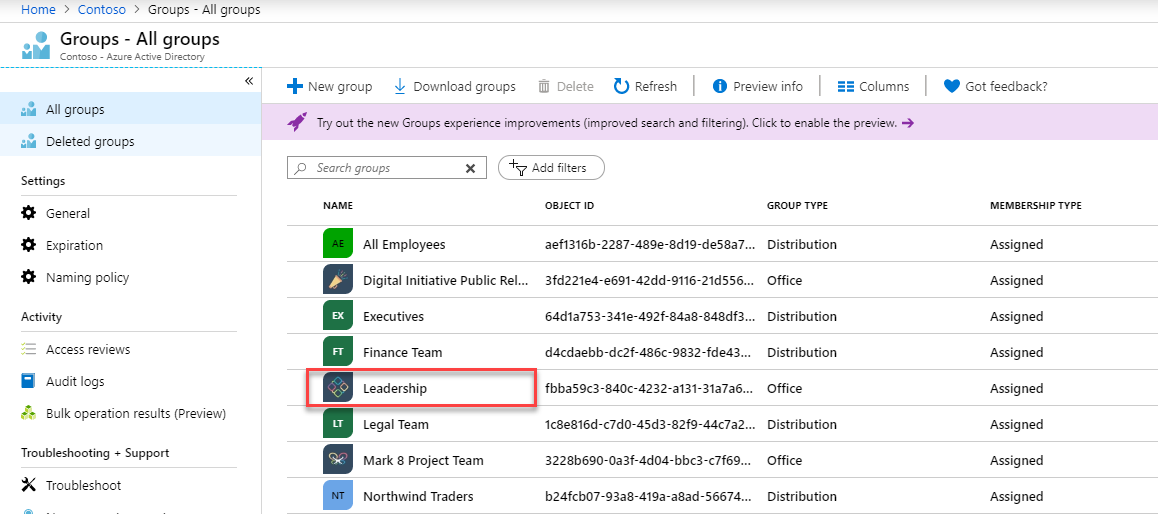
2. Go to Azure Active Directory | Groups
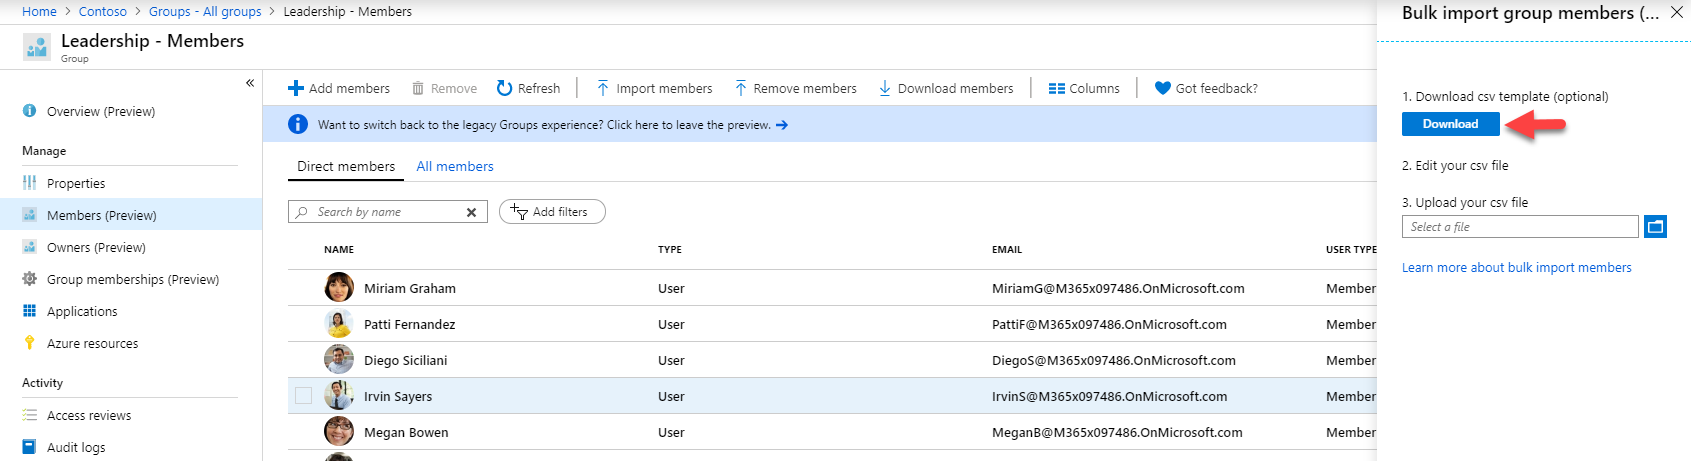
3. In this demo, I am going to add users to "Leadership" group. So, I went ahead and click on it.
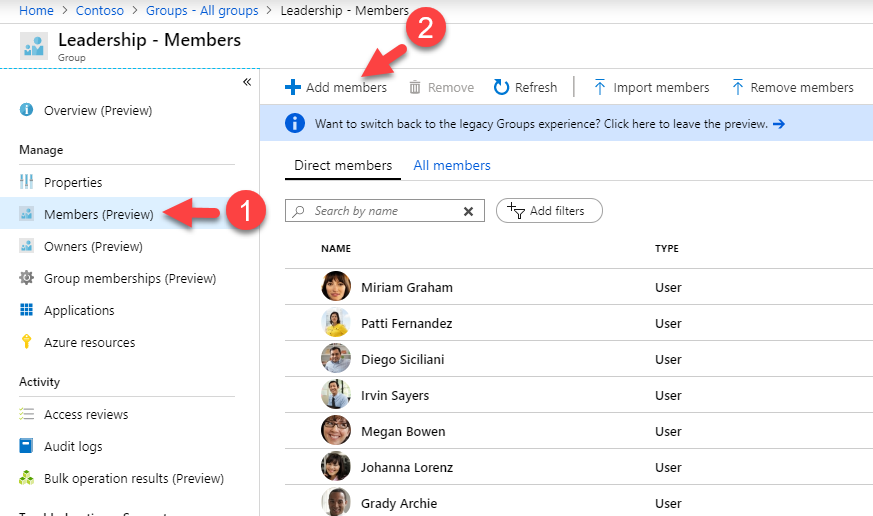
4. Then go to Members | Import members
5. It will open up a new window, click on Download under Download csv template (optional). This will download CSV template which we can use to add/remove users.
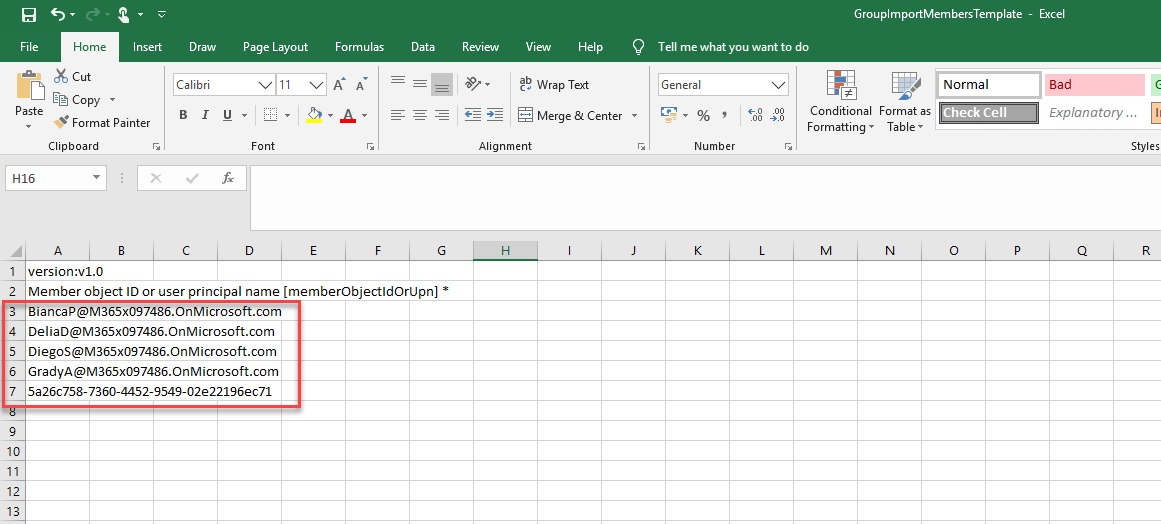
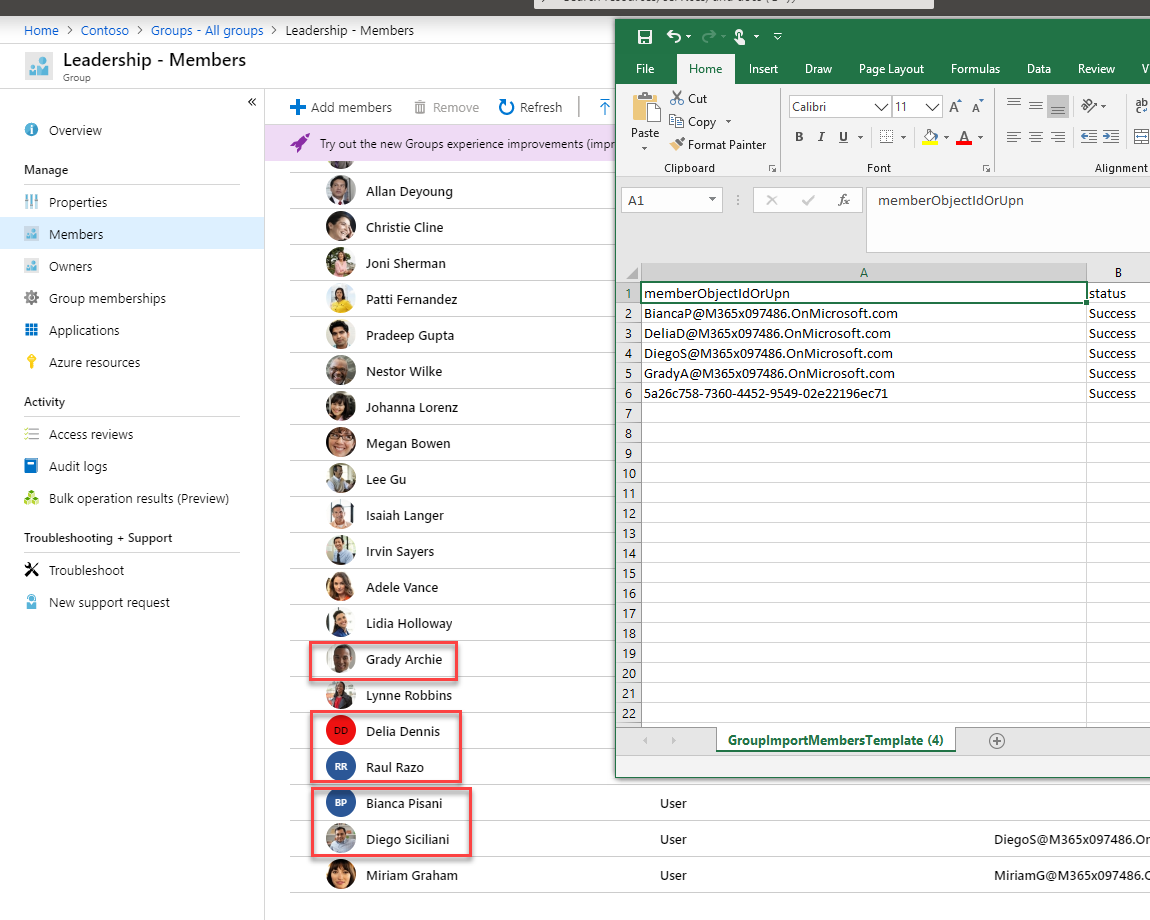
6. In CSV file list down Object id or UPN of the users which you like to import.

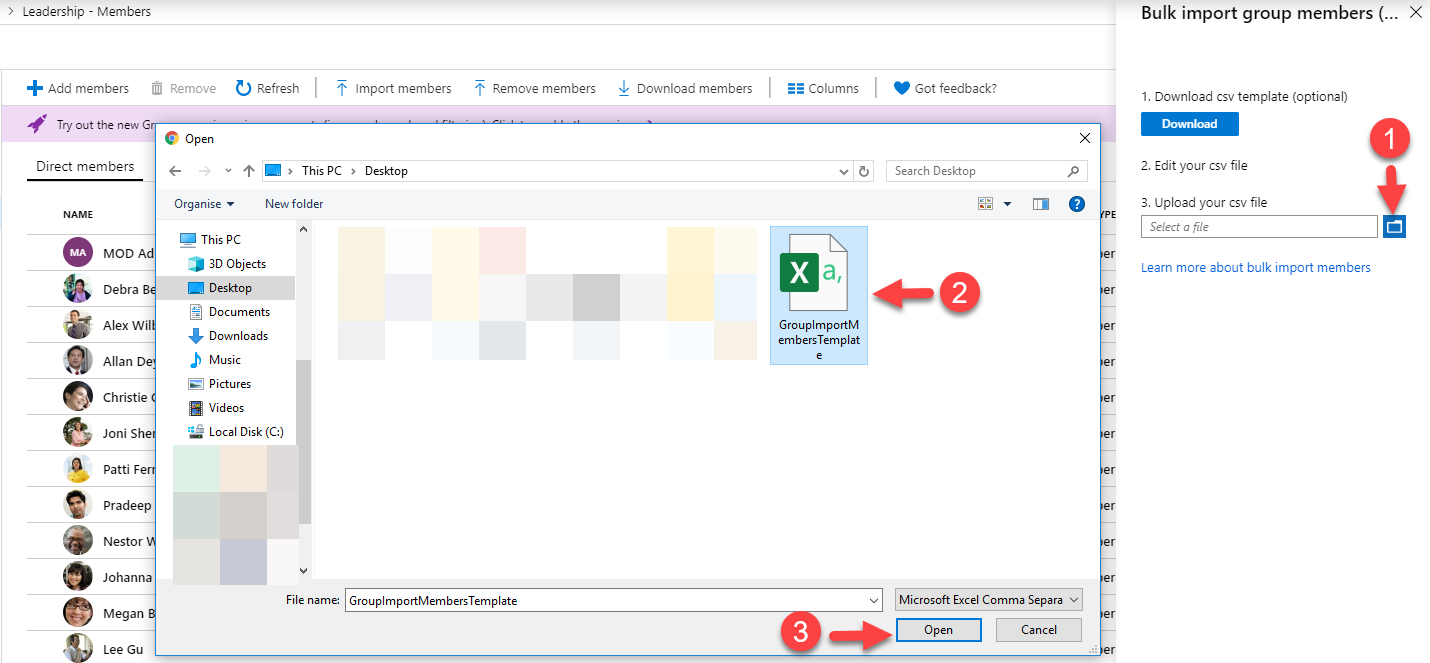
7. Then go back to the portal again and click on Upload your csv file option. Then browse and select the CSV file.
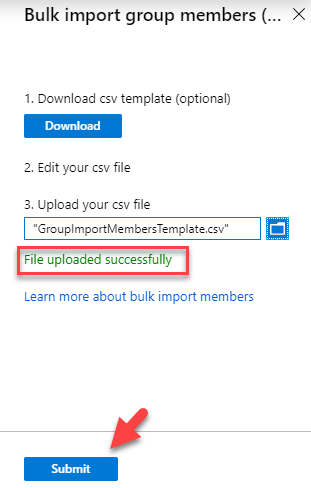
8. Once the file is uploaded successfully, click on Submit.
9. Once the import is completed, click on File is ready! Click here to download the link. It will download a CSV file that contains the outcome of the import job.

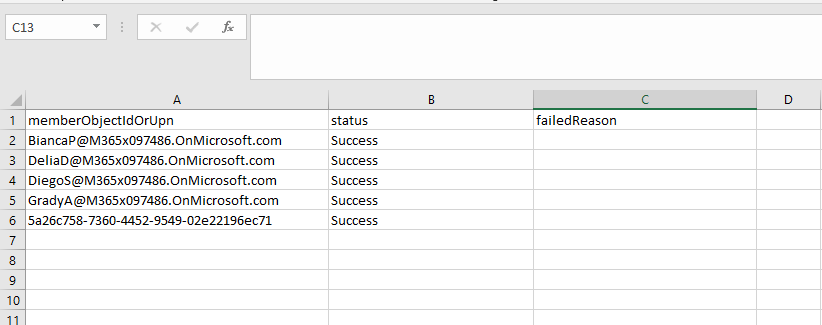
As we can see it imported all the members successfully. Now let's go ahead and refresh the group members page to verify.
Remove Members
To remove members to Azure AD group,
1. Log in to Azure Portal (https://portal.azure.com) as Global Administrator or Group Owner.
2. Go to Azure Active Directory | Groups
3. Click on the Group you like to use.
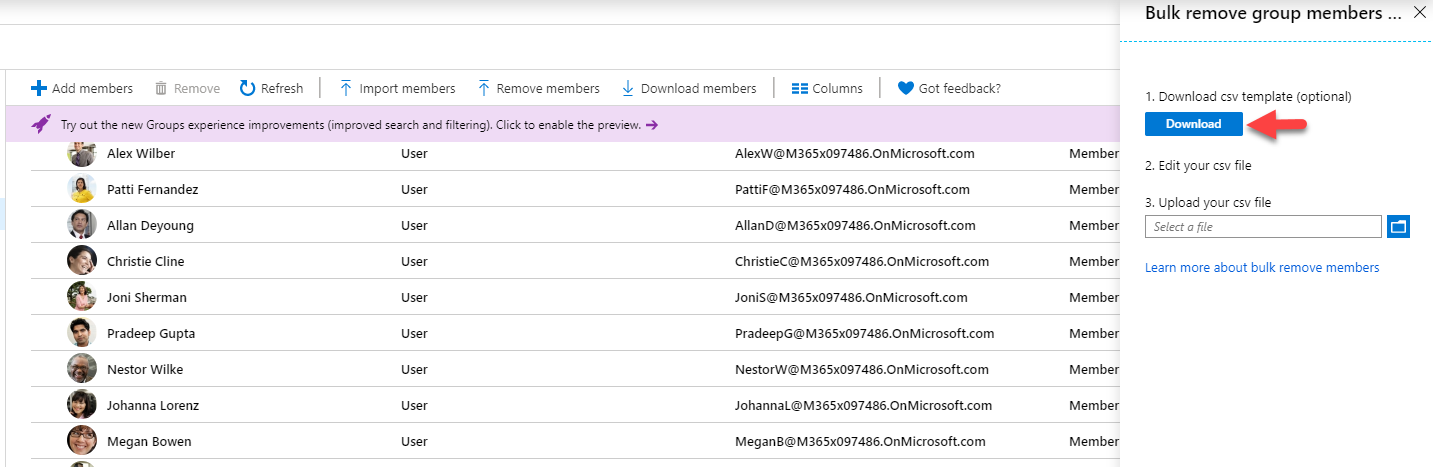
4. Then go to Members | Remove Members

5. It will open up a new window, click on Download under Download csv template (optional). This is the same template used in the user import process.
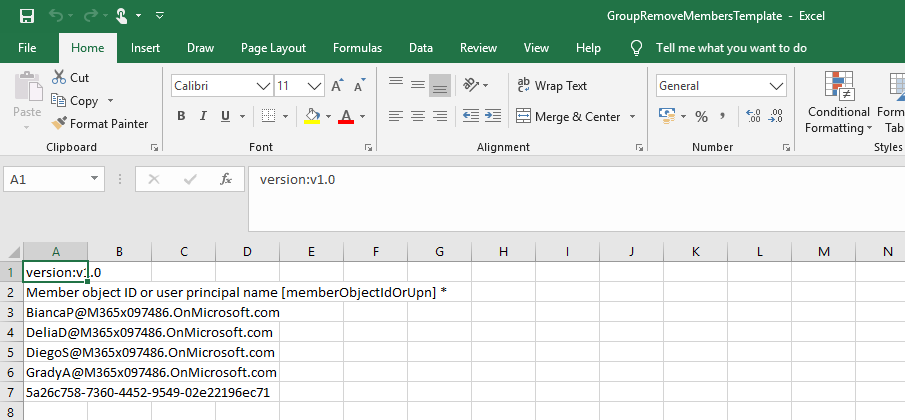
6. In CSV file list down Object id or UPN of the users which you like to remove.
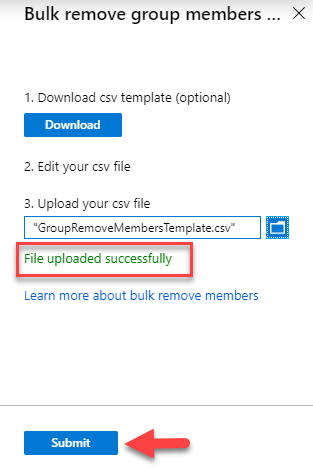
7. Then go back to the portal again and click on Upload your csv file option. Then browse and select the CSV file.

8. Once the file is uploaded successfully, click on Submit.
9. Once the import is completed, click on File is ready! Click here to download the link. It will download a CSV file that contains the outcome of the job.


As we can see it removed all the listed members successfully. Let's go ahead and verify it.

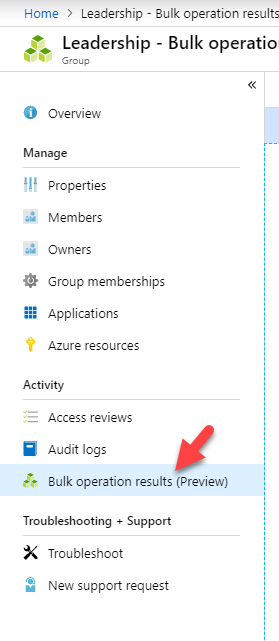
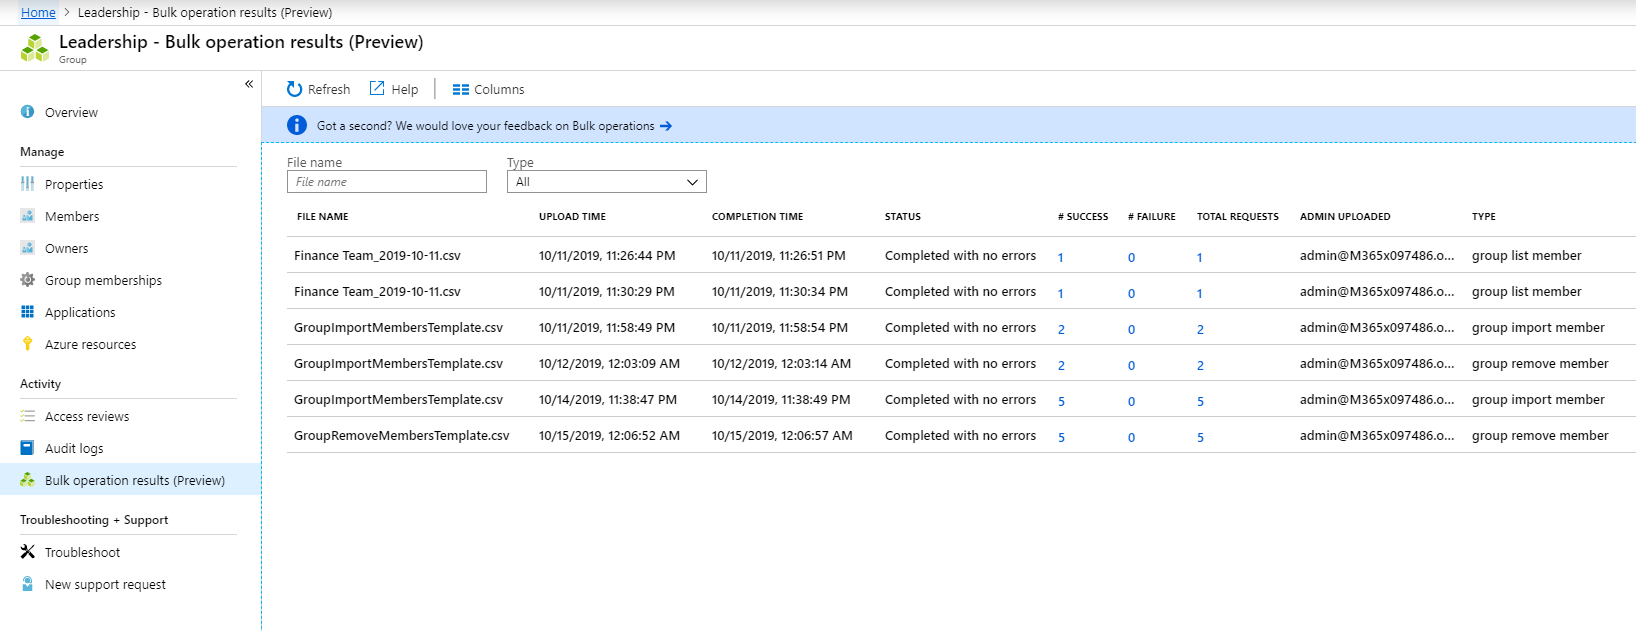
Apart from that we also can check the outcome of the bulk jobs using Bulk operation results (Preview) option.
It is simple but a great add-on. It simply the way we modify the group memberships. This marks the end of this blog post. If you have any further questions feel free to contact me on rebeladm@live.com also follow me on twitter @rebeladm to get updates about new blog posts.

