
In previous post I explain how to install the direct access services. In this post let’s look in to the configuration process in detail level. If you not read the previous posts yet you can find them in here.
How to configure Direct Access? – Part 01
How to configure Direct Access? – Part 02
Remote Clients
With windows 7 and windows server 2008 R2 Direct access uses a solution accelerator called DCA ( DirectAccess Connectivity Assistant) which will be installed on direct access client computers. It helps to troubleshoot the connectivity problems with direct access servers, identify the connection scope (intranet or internet).
With windows 8, it is replaced with NCA (Network Connectivity Assistant) and it is included with the operating system itself.
In the Direct Access setup we can define who will be using the DirectAccess service in the organization. Let’s see how we can do that.
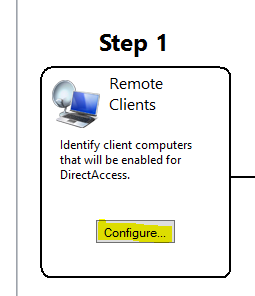
1) From the “Remote Access Management Console” under the step 1, click on configure. ( in previous post I explain how to open this wizard )
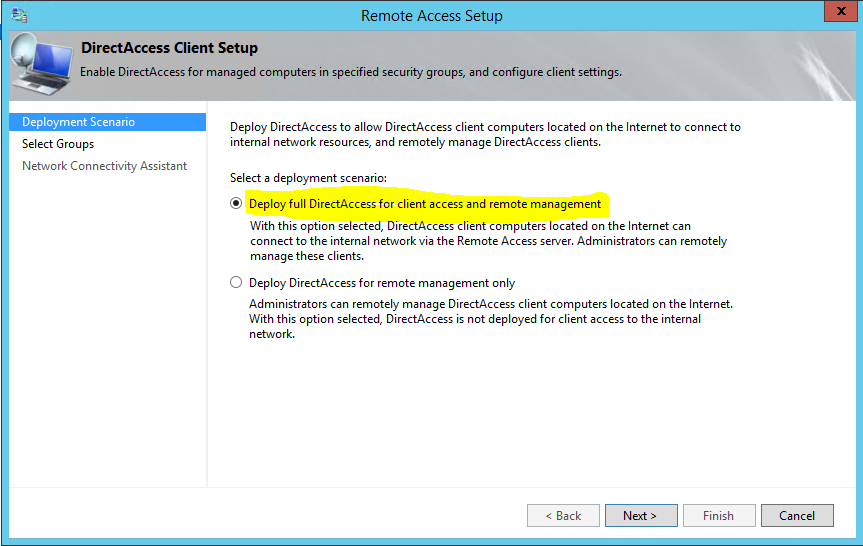
2) Then in next window select the option “Deploy full DirectAccess for client access and remote management” and click next. As it explain this option allows directaccess client to connect via internet in to internal network and administrators can manage these clients remotely.
3) In next window we can define which security groups in organization can use the directaccess services. Click on “add” to proceed. Here in demo I add security group called “Remote Clients” which I already setup in the AD. Once done click next to continue.
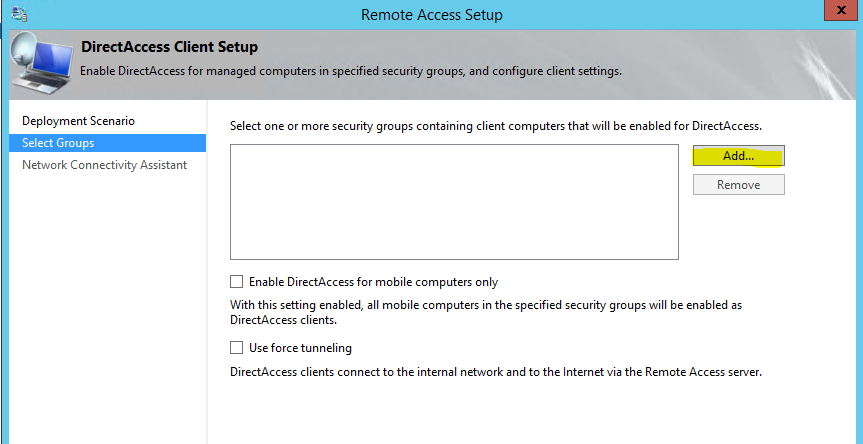
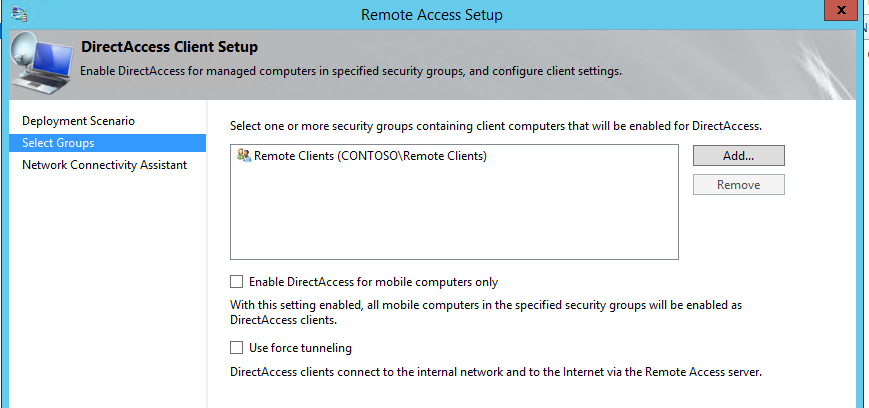
Note- If you using forefront UAG with force tunneling make sure you select option “use force tunneling” in the window.
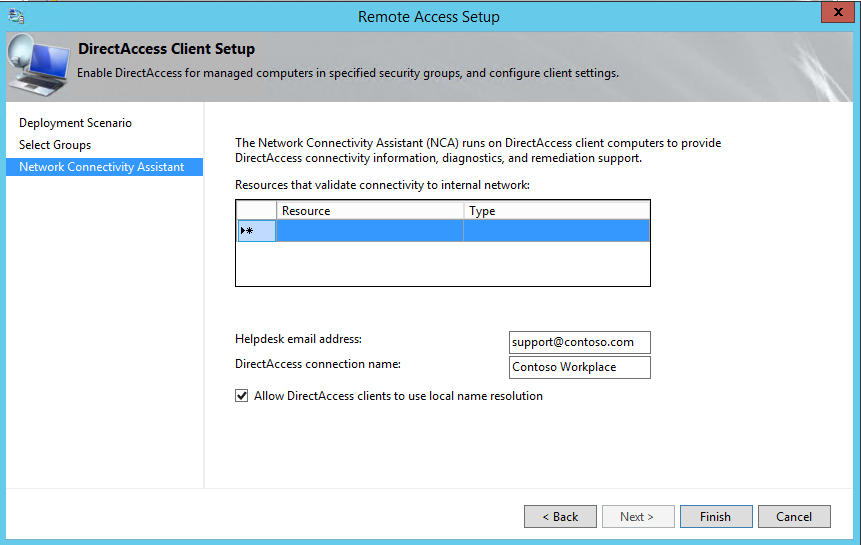
4) As I explain in beginning, NCA in client computers used to troubleshoot connectivity problems. In here it allows to define a test resource which can use to test the validity of the connection. This must be a FQDN which is always allows for DirectAccesss clients. (For ex- CMS, Billing Portal). In window you also can define the helpdesk email address and name for the DirectAccess connection. Also if you wish to use local dns name resolution make sure you select the option “Allow DirectAccess clients to use local name resolution”. Once you done click on Finish to continue.
Remote Access Server
In direct access setup this server will act as the gateway which connects external network with the internal network. This server typically needs to run with 2 NIC at least which will represent internal and external networks.
To proceed with the configuration,
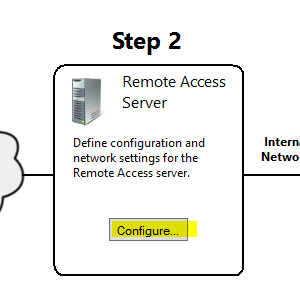
1) From the “Remote Access Management Console” under the step 2 (Remote Access Server), click on configure
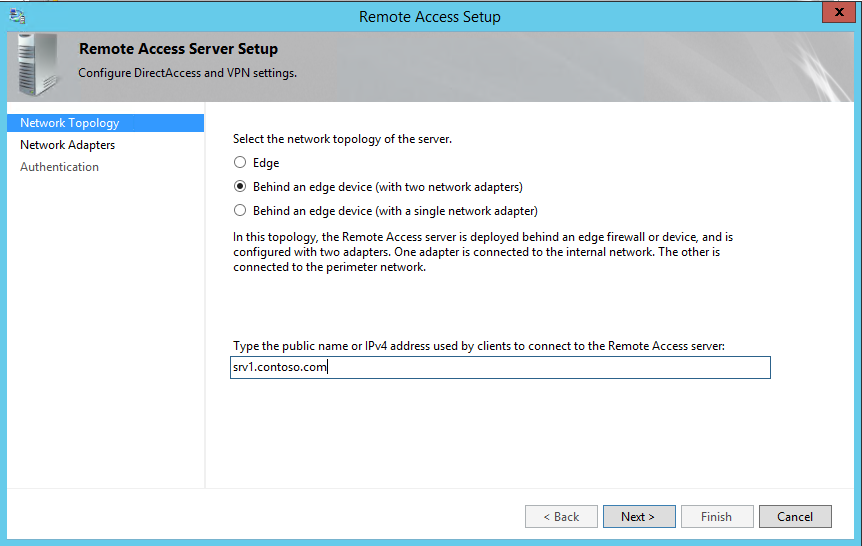
2) In the wizard it ask to define the relevant network topology. By default its selected with “Behind an edge device”. I will also use same setup. Also here we need to define the ip address or the FQDN which direct access clients uses to connect. Once configuration done, click next to continue.
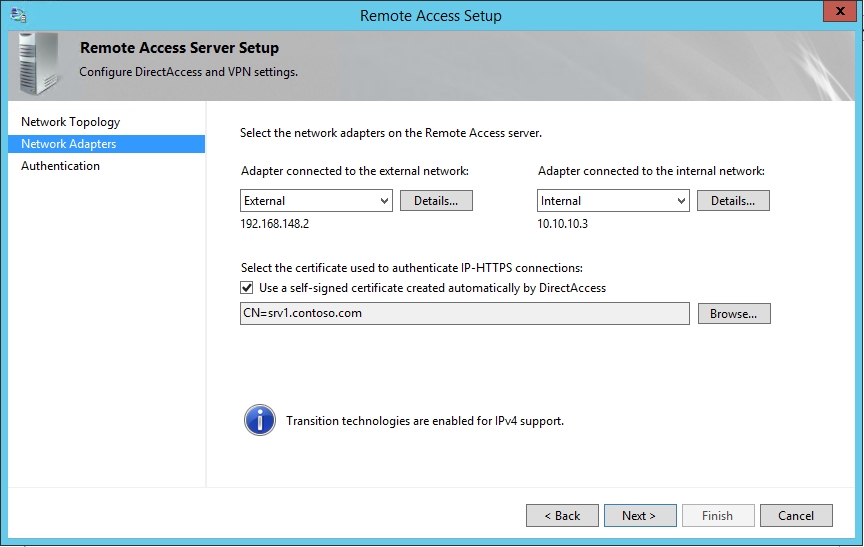
3) In next window, it gives option to define the NIC cards to represent internal and external networks. Note – it is easy to identify them if you rename the network connections on the server. It also gives option to select the digital certificate for IP-HTTPS connections.
If you are not going to use specific SSL, use option ”Use a self-signed certificate created automatically by DirectAccess” and click next.
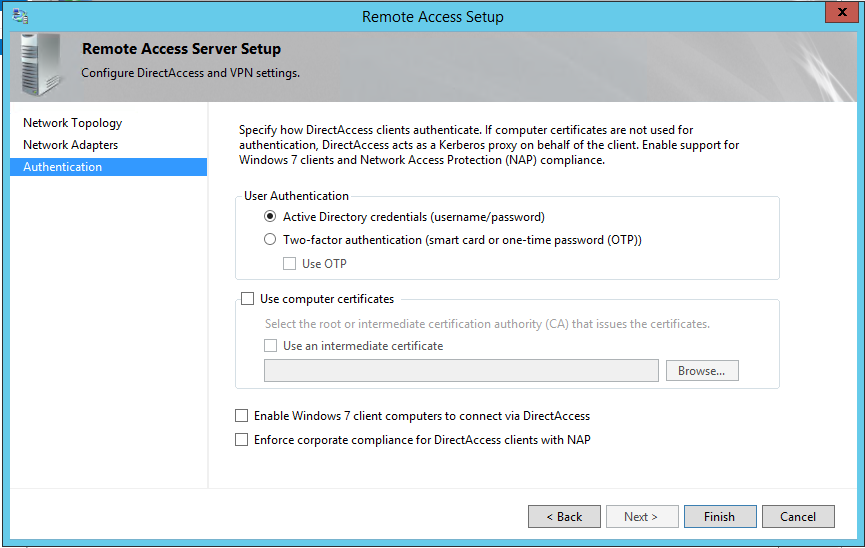
4) In next window it gives lot of options to use for the authentication. You can use AD username and password to connect or else can go with two-factor authentication to use with smart cards or OTP (one time password). If you needs, you can use computer certificates for authentication as well. If company still deals with windows 7 clients make sure you select option “Enable Windows 7 client computers”. If company uses NPS (network protection server) we also can force direct access clients to use NPS using option “Enforce corporate compliance for DirectAccess clients with NAP”. Once done with configuration, click on finish to proceed.
Infrastructure Servers
Now we have the gateway server configured. Now we need infrastructure servers to support DirectAccess setup. For ex- DNS servers, NLS (Network Location Server), WSUS server etc.
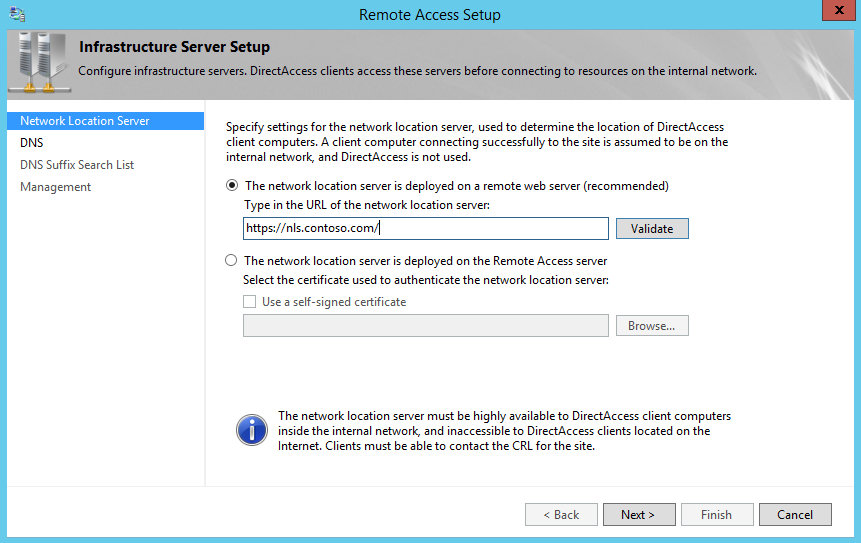
One of the great feature of direct access is it’s automatically detects the location of the client computer. This is doing by the NLS (Network Location Server). Let’s assume we have internal CMS, this can use as the NLS in Direct Access setup. So once client connects it will check if it can connect to given CMS url, if its can it assume client is in local network and automatically disabled direct access components. If its cant access it will assume user connects from external network and enables the direct access connections. But you need to maintain high availability on the NLS.
To proceed with the configuration,
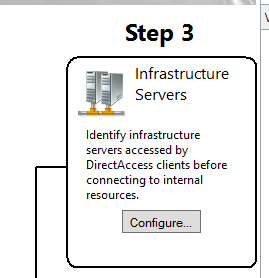
1. From the “Remote Access Management Console” under the step 3 (Infrastructure Server), click on configure
2. In wizard, define the NLS url. It needs to be a HTTPS url. Click next to continue.
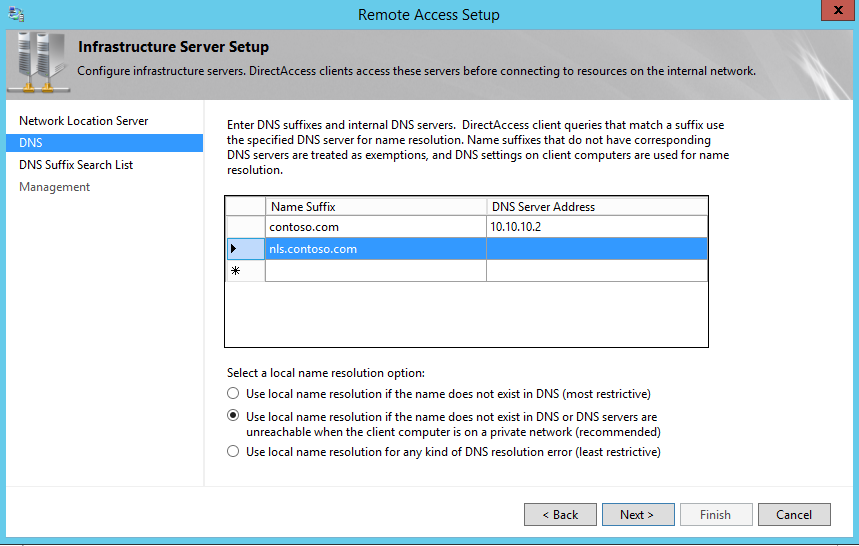
3. In next window we can verify the DNS suffixes and internal DNS servers direct access will use. Click next to continue.
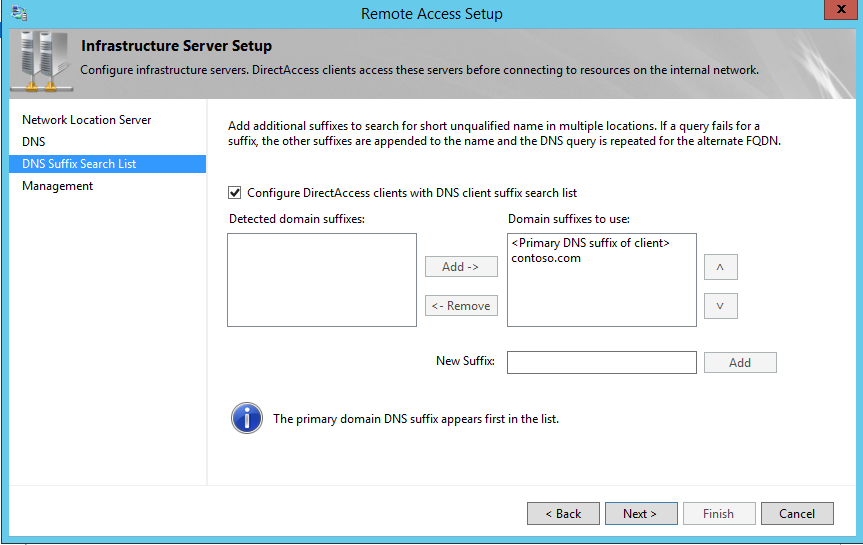
4. In next window make sure domain suffixes are correctly used. Click next to continue.
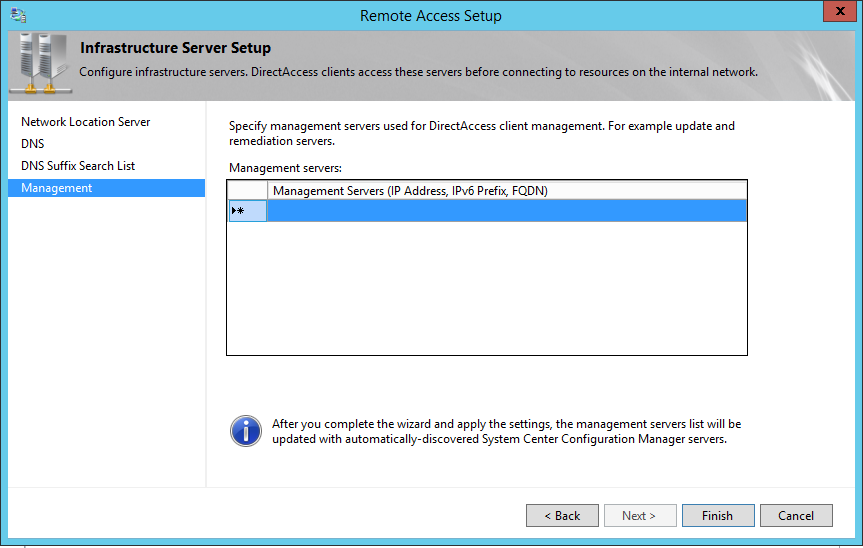
5. In next window we can define the management servers such as WSUS. Once done click on finish to proceed.
Application Servers
If required we can add extra level of authentication to the servers which runs with critical data. Using the application servers setup wizard we can define those servers which need extra authentication.
To proceed with the configuration,
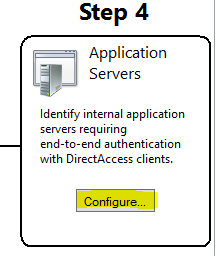
1. From the “Remote Access Management Console” under the step 4 (Application Server), click on configure
2. To enable it, you need to select option “Extend authentication to selected application servers” option. In here you can select the security groups containing the servers which required extra authentication.
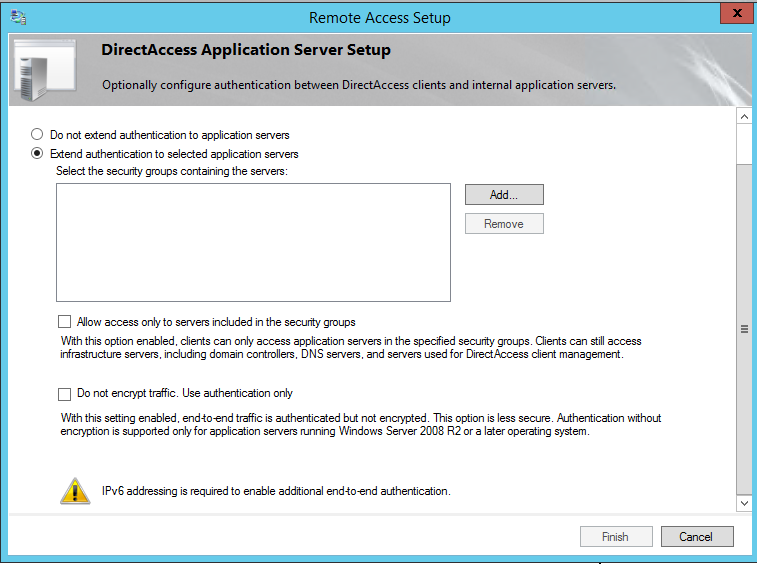
Note – Direct Access is required IPv6 addressing in place to operate. So organization should prepare for this in planning stage and implement any transitioning mechanism required.
This is the end of direct access setup, due to the limitation of the demo environment I can’t show all of the configuration associated with direct access (IPv6 configuration, transitioning methods etc.) but I covered core configuration involves with the direct access setup. if you have any questions feel free to contact me on rebeladm@live.com

