
I wrote my first article about Windows Virtual Desktop when it was in the preview stage. There were few releases after that and some of the content of that original post is no longer relevant. So, I thought it is time to release a new article to avoid conflicts.
Windows Virtual Desktop is a cloud-based desktop and app virtualization service. If you ever worked with on-premises VDI solutions such as Microsoft RDS or Citrix, you may already know how much planning, management involve with it. It is costly as performance & availability of the solution depend on so many things such as networking, hardware resources, skills, connection, etc. But now with Windows Virtual Desktop, we can simply set up VDI solution with few clicks. With COVID-19 global pandemic, businesses had to allow their employees to work from home. With the help of Windows virtual desktop service, a lot of businesses were able to expand VDI to address the demand pretty quickly compared to other traditional on-premises solutions.
What is new on Windows Virtual Desktop Spring 2020 update?
• Windows Virtual Desktop is now integrated with the Azure portal. So, we can set up everything using the Azure portal. No PowerShell required.
• With the previous version, we were only able to publish RemoteApps and Desktops to individual users. But now we can publish to Azure Active Directory groups.
• You’re no longer required to complete Azure Active Directory (Azure AD) consent to use Windows Virtual Desktop. In the Spring 2020 update, the Azure AD tenant on your Azure subscription authenticates your users and provides RBAC controls for your admins.
• The earlier version of the Windows Virtual Desktop had four built-in admin roles that you could assign to a tenant or host pool. These roles are now in Azure role-based access control. You can apply these roles to every Windows Virtual Desktop Azure Resource Manager object, which lets you have a full, rich delegation model.
• Host pool deployment is now fully integrated with the Azure Shared Image Gallery. Shared Image Gallery is a separate Azure service that stores virtual machine (VM) image definitions, including image versioning. You can also use global replication to copy and send your images to other Azure regions for local deployment.
Source: https://docs.microsoft.com/en-us/azure/virtual-desktop/whats-new
Windows Virtual Desktop Prerequisites
To use Windows virtual desktop service, we need the following
• Azure Active Directory
• A Windows Server Active Directory in sync with Azure Active Directory. It can be either via Azure AD Connect or Azure AD Domain Services
• An Azure subscription that contains a virtual network that either contains or is connected to the Windows Server Active Directory
• Azure virtual machines for Windows Virtual Desktop service must be Windows Desktop Machines which join the Azure AD using a stranded method or Hybrid AD-join method. It can’t be Azure AD-Join.
• Azure virtual machines for Windows Virtual Desktop service only can have following supported x64 operating systems.
Windows 10 Enterprise multi-session, version 1809 or later
Windows 10 Enterprise, version 1809 or later
Windows 7 Enterprise
Windows Server 2019
Windows Server 2016
Windows Server 2012 R2
In this demo, I am going to demonstrate how to publish Desktops using Windows virtual desktop service. Before we start let’s see how is my demo environment looks like and what I am trying to achieve.
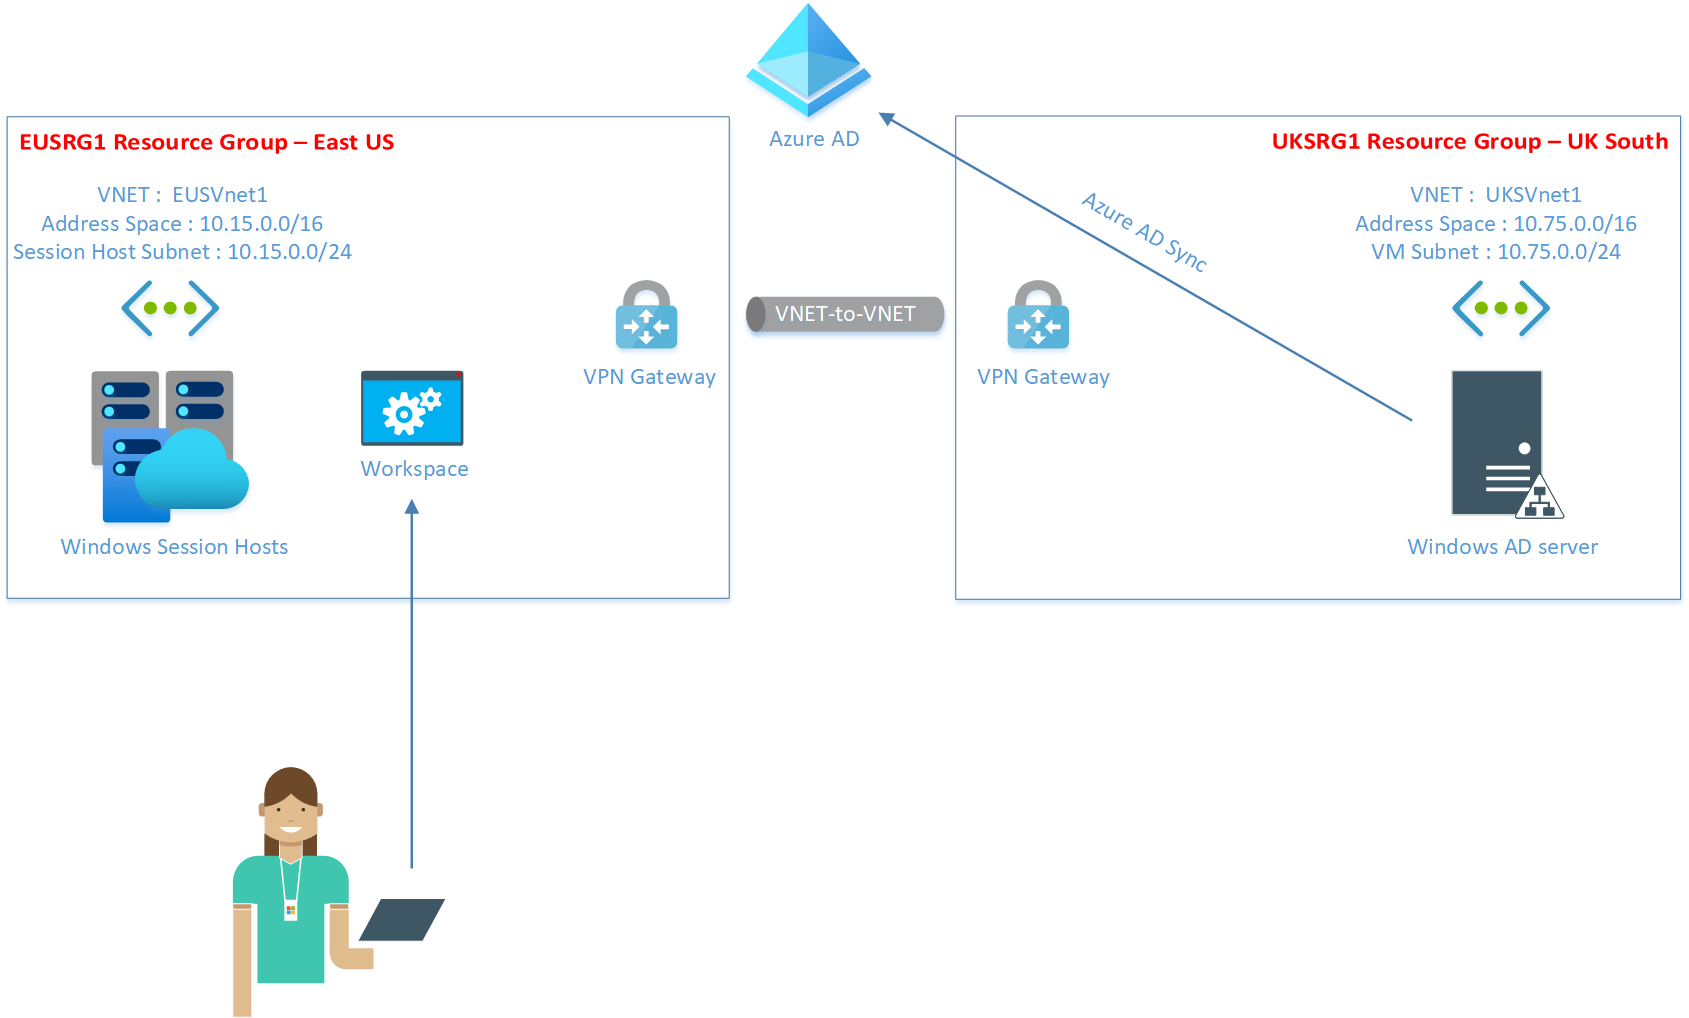
• I have two Resource groups in place. EUSRG1 resource group is in Azure East US region and UKSRG1 resource group is in UK South Azure region.
• Resource in UKSRG1 resource group represents my on-premises infrastructure.
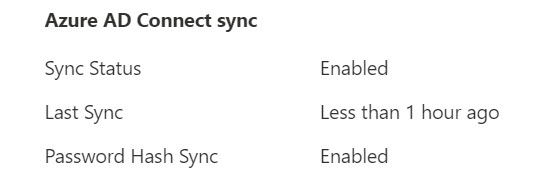
• I have a Windows AD server running in UKSRG1. It is syncing to Azure AD by using Azure AD Connect. I can confirm Azure AD connect sync status is healthy.
• EUSVNet1 and UKSVnet1 are connected using Azure VNet-to-VNet VPN Gateway Connection (http://www.rebeladmin.com/2019/09/step-step-guide-setup-azure-vnet-vnet-vpn-gateway-connection-powershell-guide/). This way session hosts in EUSRG1 can be added to Windows AD using the standard method.
• I will setup windows virtual desktop session hosts and workspace in EUSRG1 resource group. Remote users will connect to windows virtual desktop workspace using public internet.
Modify EUSVnet1 DNS servers
We are going to start the configuration by modifying EUSVnet1’s DNS server settings. As per the above setup, EUSVnet1 virtual network can communicate with UKSVnet1 virtual network. But if we try to add a VM running in EUSVnet1 virtual network to Windows AD in UKSVnet1 virtual network, it will fail. This is because a VM in EUSVnet1 virtual network will not know how to find the domain as it is using Azure defined DNS servers. We can’t simply modify network adapter settings of the VM and point DNS to the Windows AD server. We have to do it in the virtual network level.
To update DNS server settings for the virtual network,
1. Log in to Azure Portal as Global Administrator
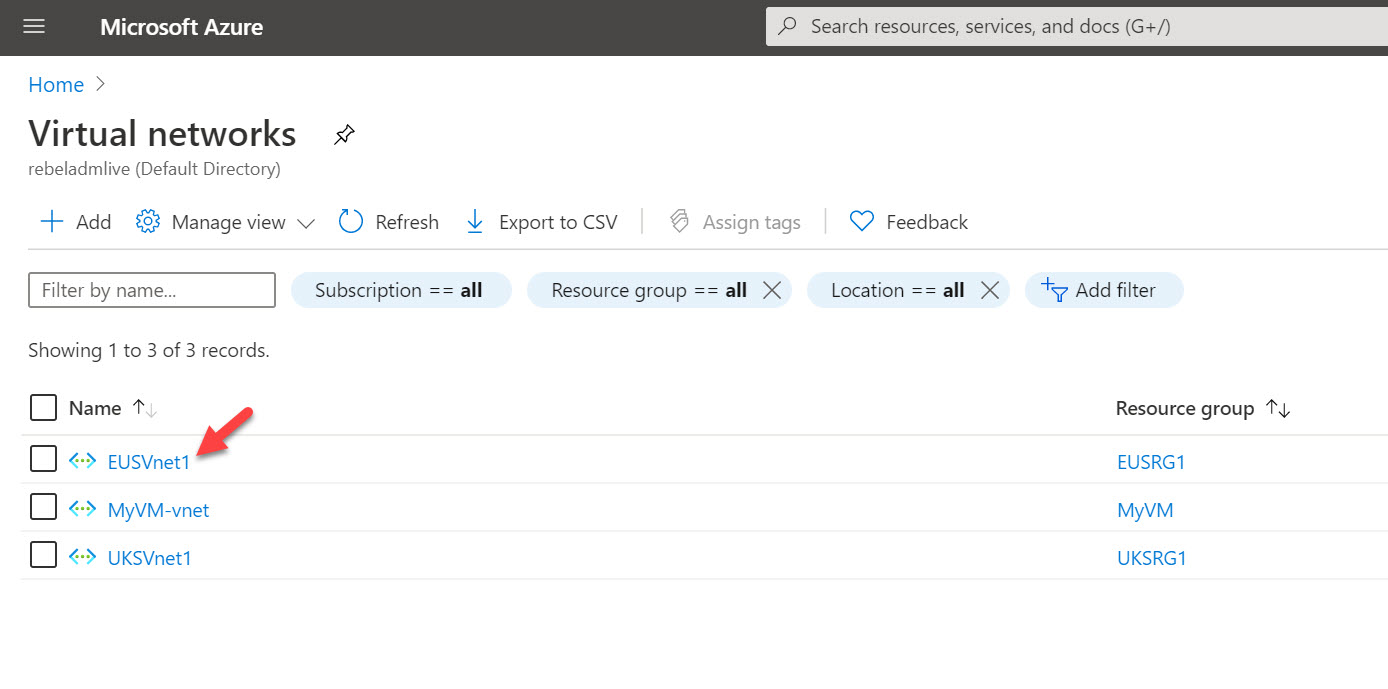
2. Search for Virtual networks in the search box.

3. From the list of virtual networks, click on EUSVnet1
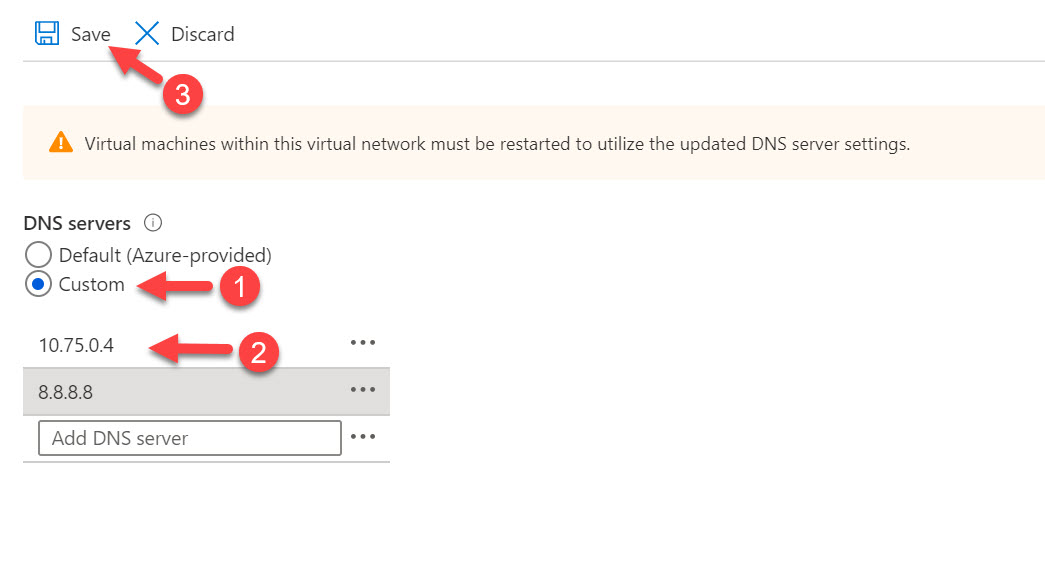
4. In the virtual network properties page, click on DNS servers
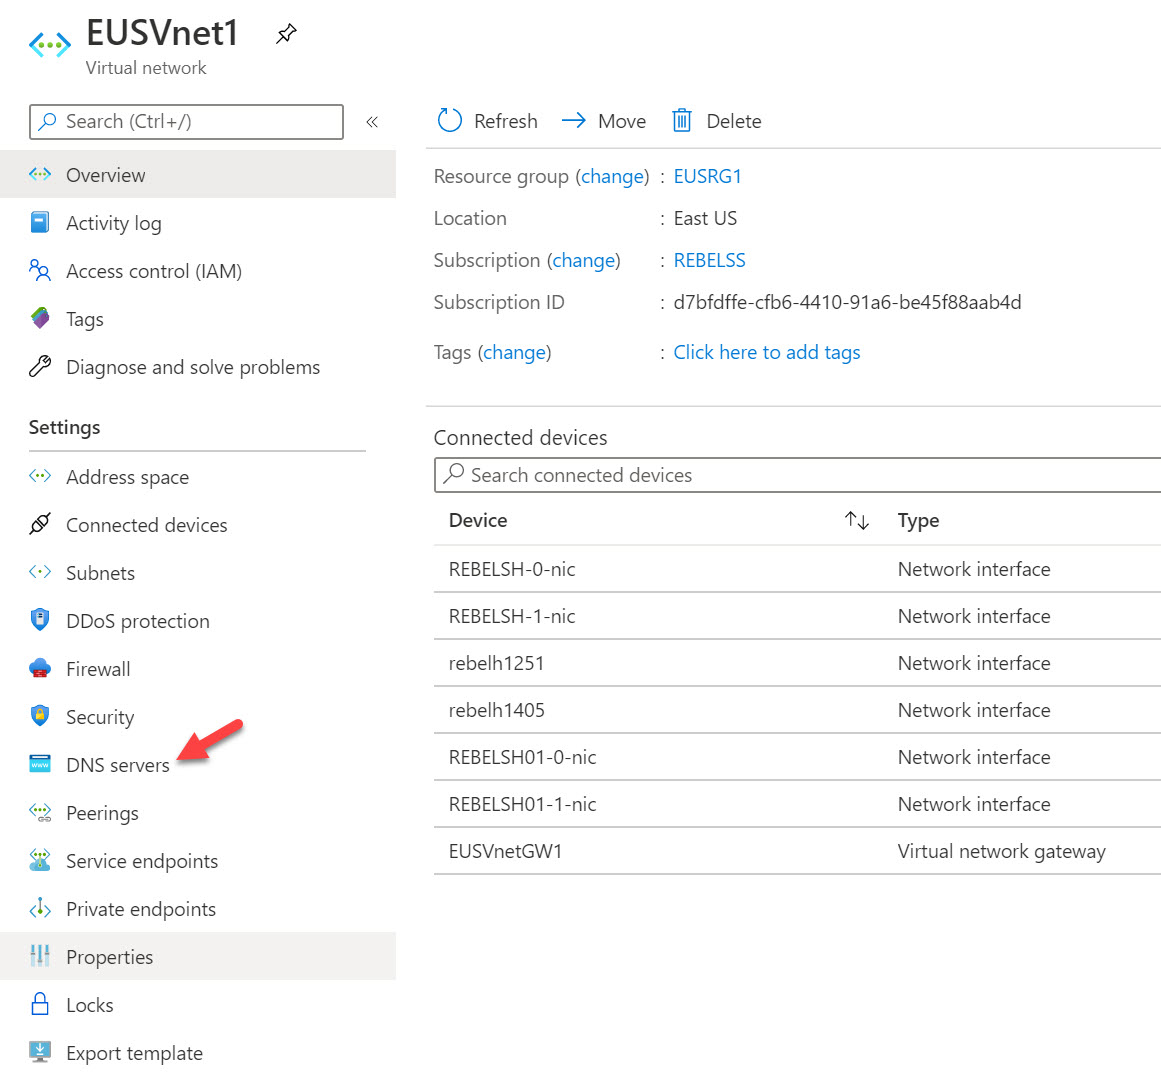
5. Then select Custom to define our DNS server list. In there add the private ip address of the Windows AD server. In my demo setup, it is 10.75.0.4. I also added google DNS 8.8.8.8 as a backup.
Once settings are in place, click on Save to apply the changes.
Setup Windows Virtual Desktop Host Pool
Now everything is ready to go ahead with the host pool setup. To start the configuration,
1. Log in to Azure Portal as Global Administrator
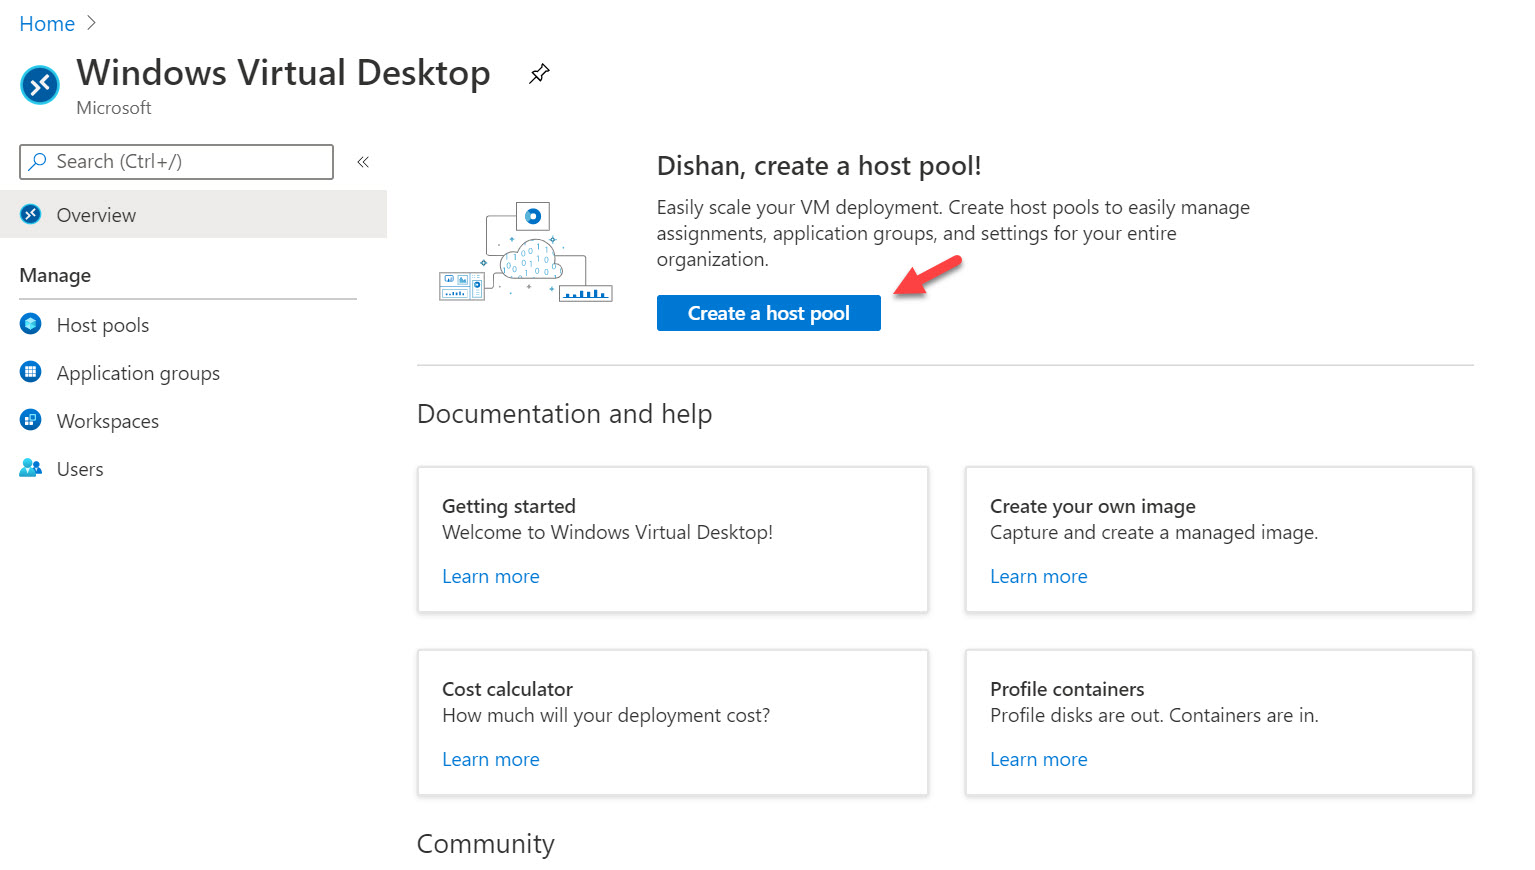
2. Search for Windows Virtual Desktop in the search bar

3. Then on the Windows Virtual Desktop service page, click on Create a host pool.
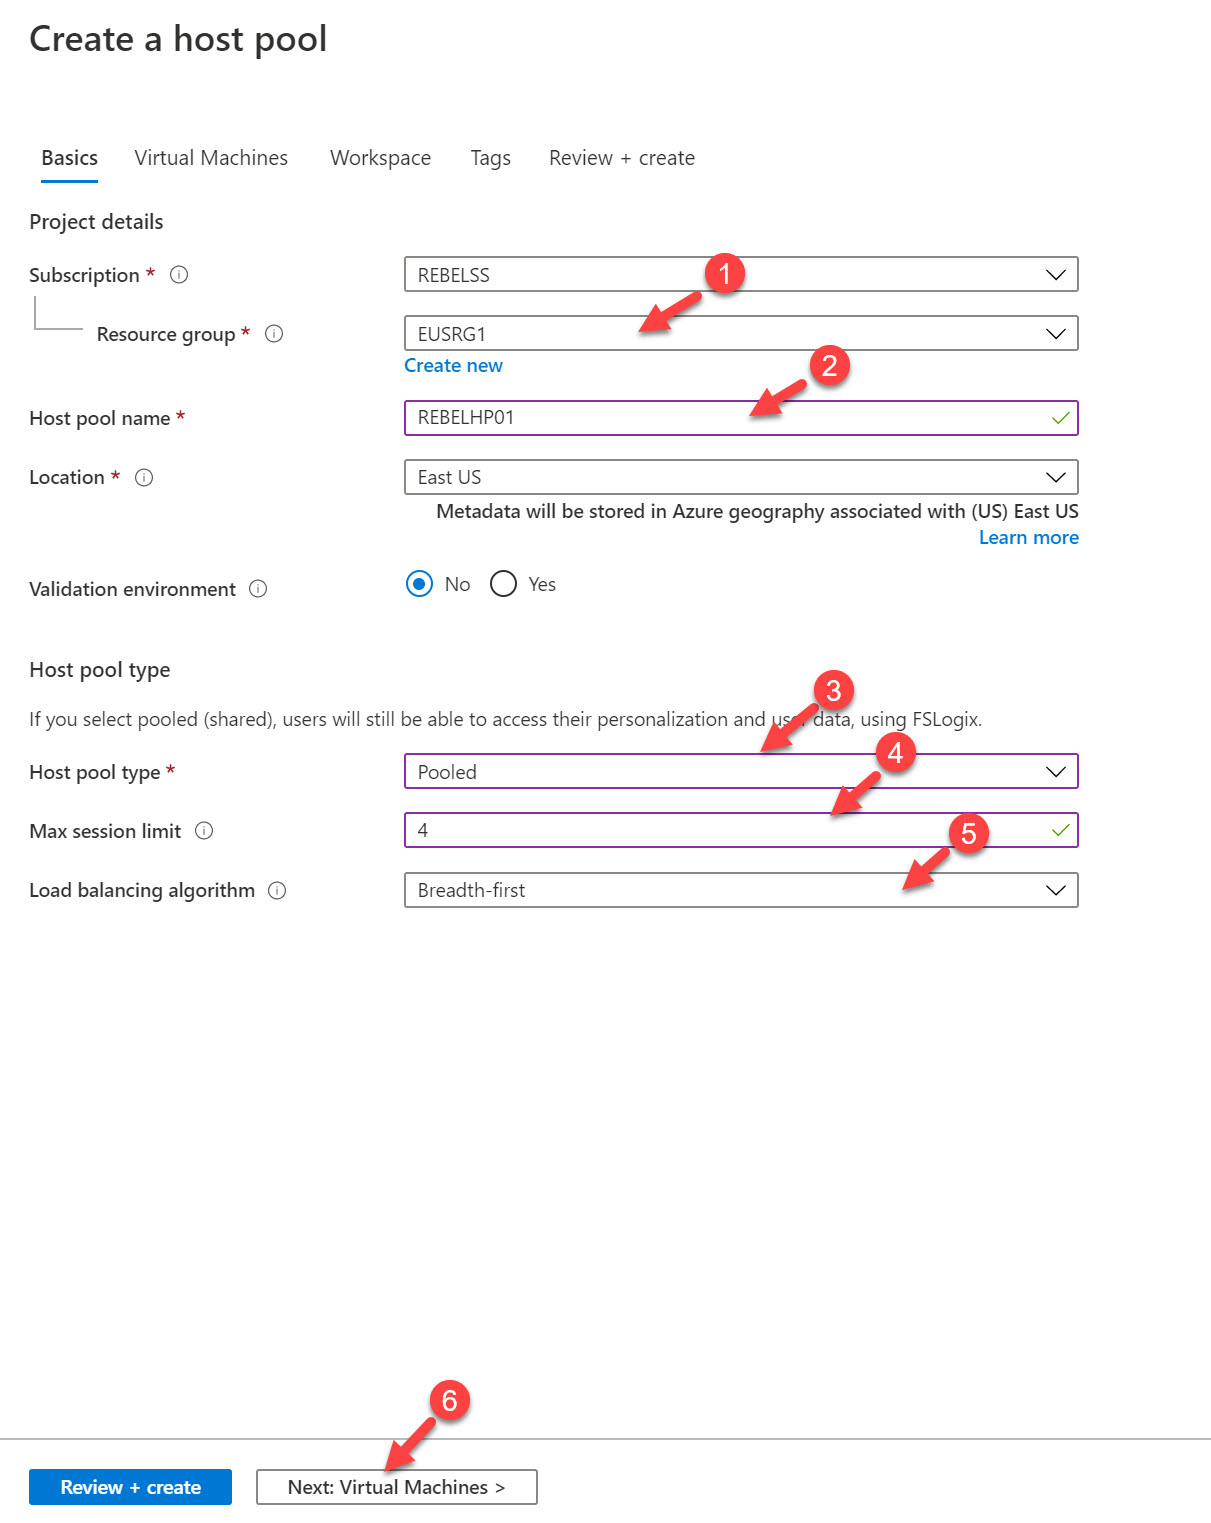
4. This will open up a new form, in there first select the relevant resource group. According to my setup, it is EUSRG1. Then provide a name for the host pool. Under host pool type you can select either Personal or Pooled. In this demo I am going to use pooled option. For Max session limit I am using 4. This is the maximum number of concurrent connections a session host can have. For the load balancing algorithm, we have 2 options.
• Breadth-first load balancing allows you to evenly distribute user sessions across the session hosts in a host pool.
• Depth-first load balancing allows you to saturate a session host with user sessions in a host pool. Once the first session reaches its session limit threshold, the load balancer directs any new user connections to the next session host in the host pool until it reaches its limit, and so on.
In this demo setup, I am using Breadth-first load balancing method. After all settings are in place, click on Next: Virtual Machines
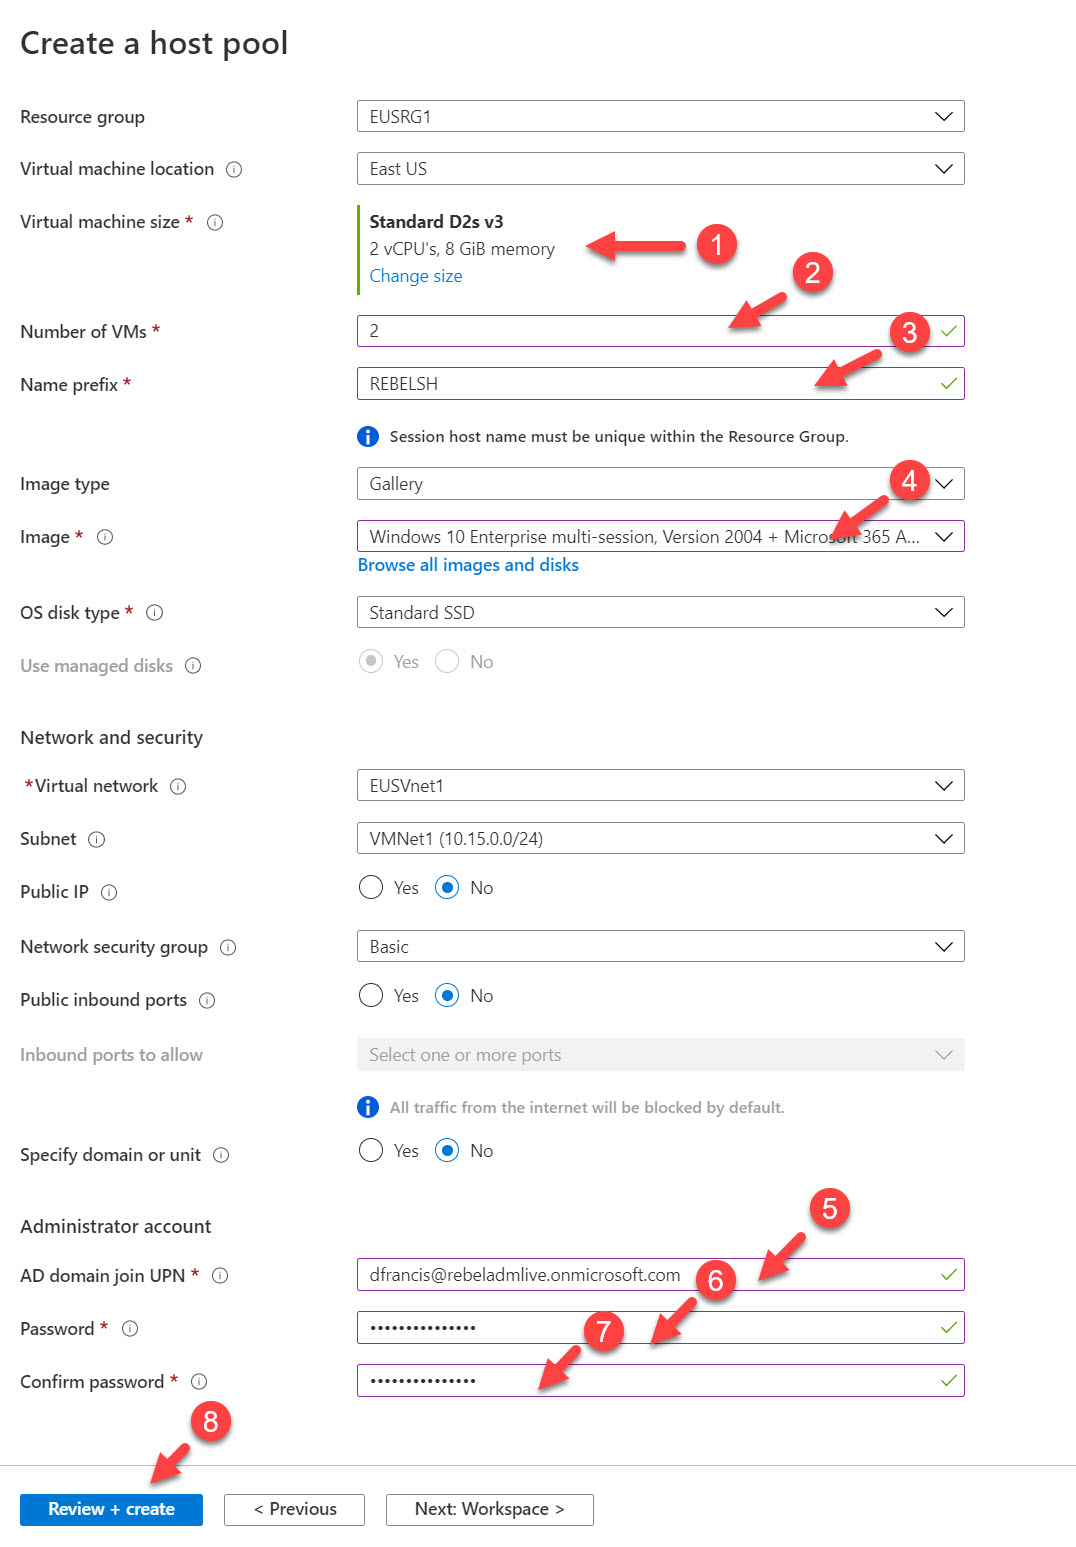
5. In the next window, click on Yes under Add virtual machines option to add virtual machines to the host pool. It will open up a new form. In there first, change the Virtual machine size according to requirements. Then define the number of VMs to create using Number of VMs option. We also can setup Name prefix for the session hosts. Under the image, select any supported VM image. In this demo I am using Windows 10 Enterprise multi-session, Version 2004 + Microsoft 365 apps image.
Under Network and security section make sure to select relevant virtual network and subnet for session hosts. It is recommended not to assign public ip address or open up any Public inbound ports to session hosts.
Under the Administrator account section, define Active Directory user account which has permissions to add virtual machines to the domain.
Once all the settings are in place click on Review + Create
6. In the next window, the system will validate the settings. Once validation is completed, click on Create to complete the host pool setup.
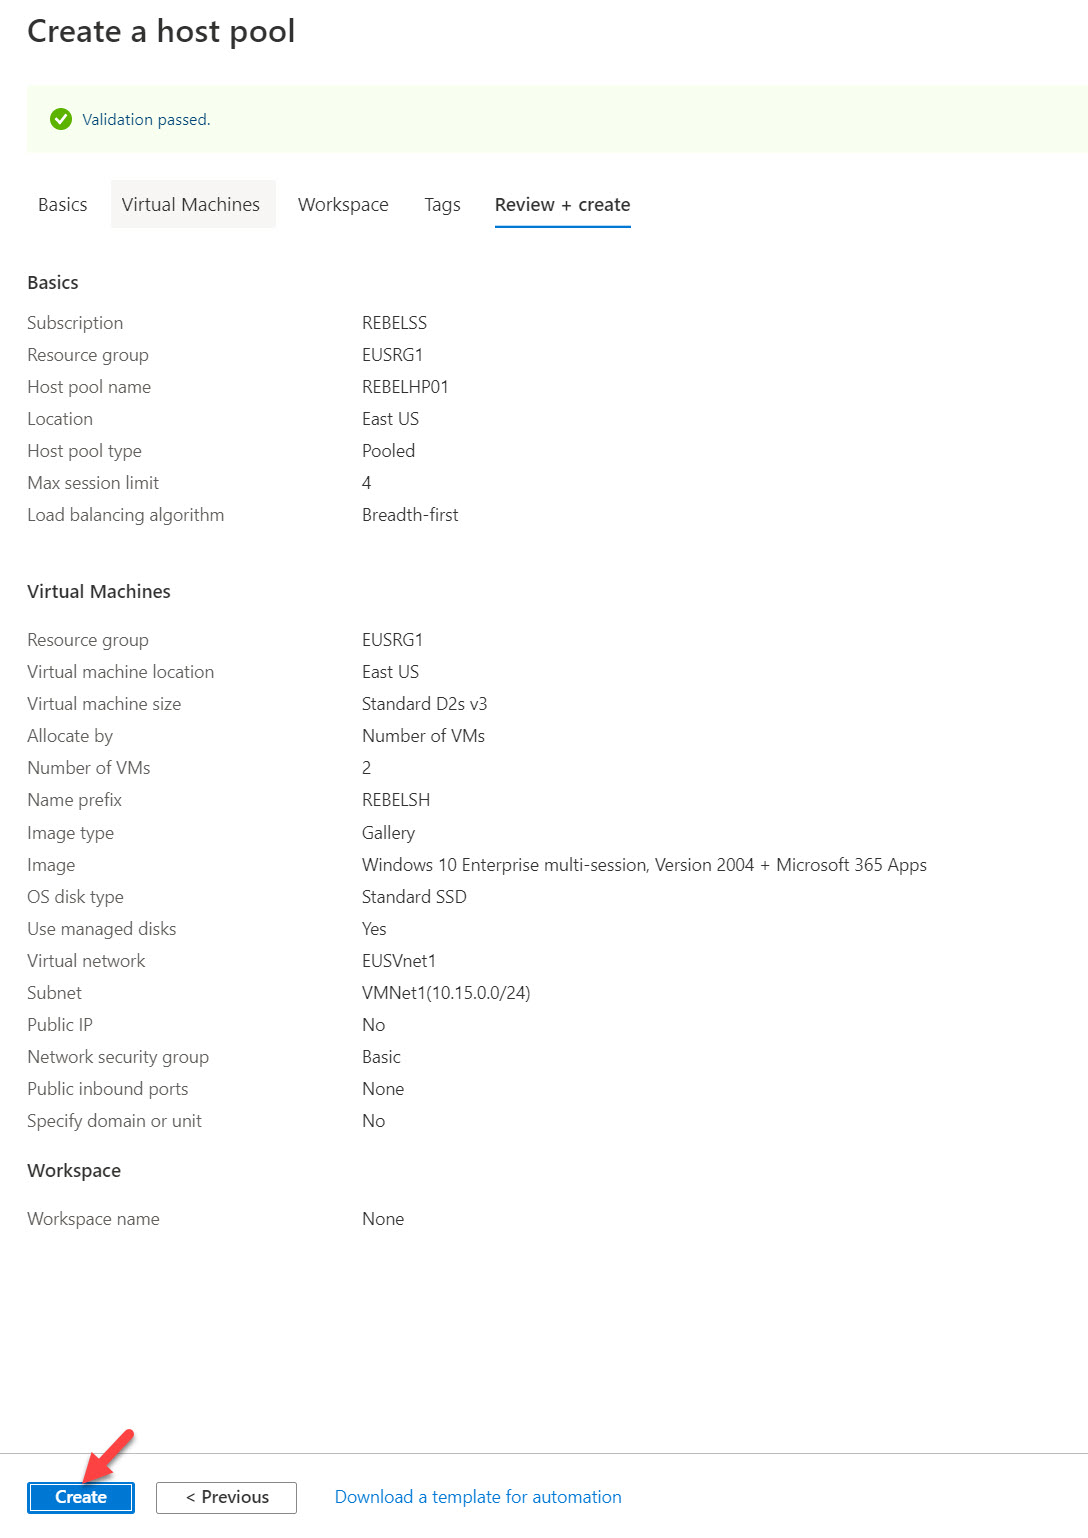
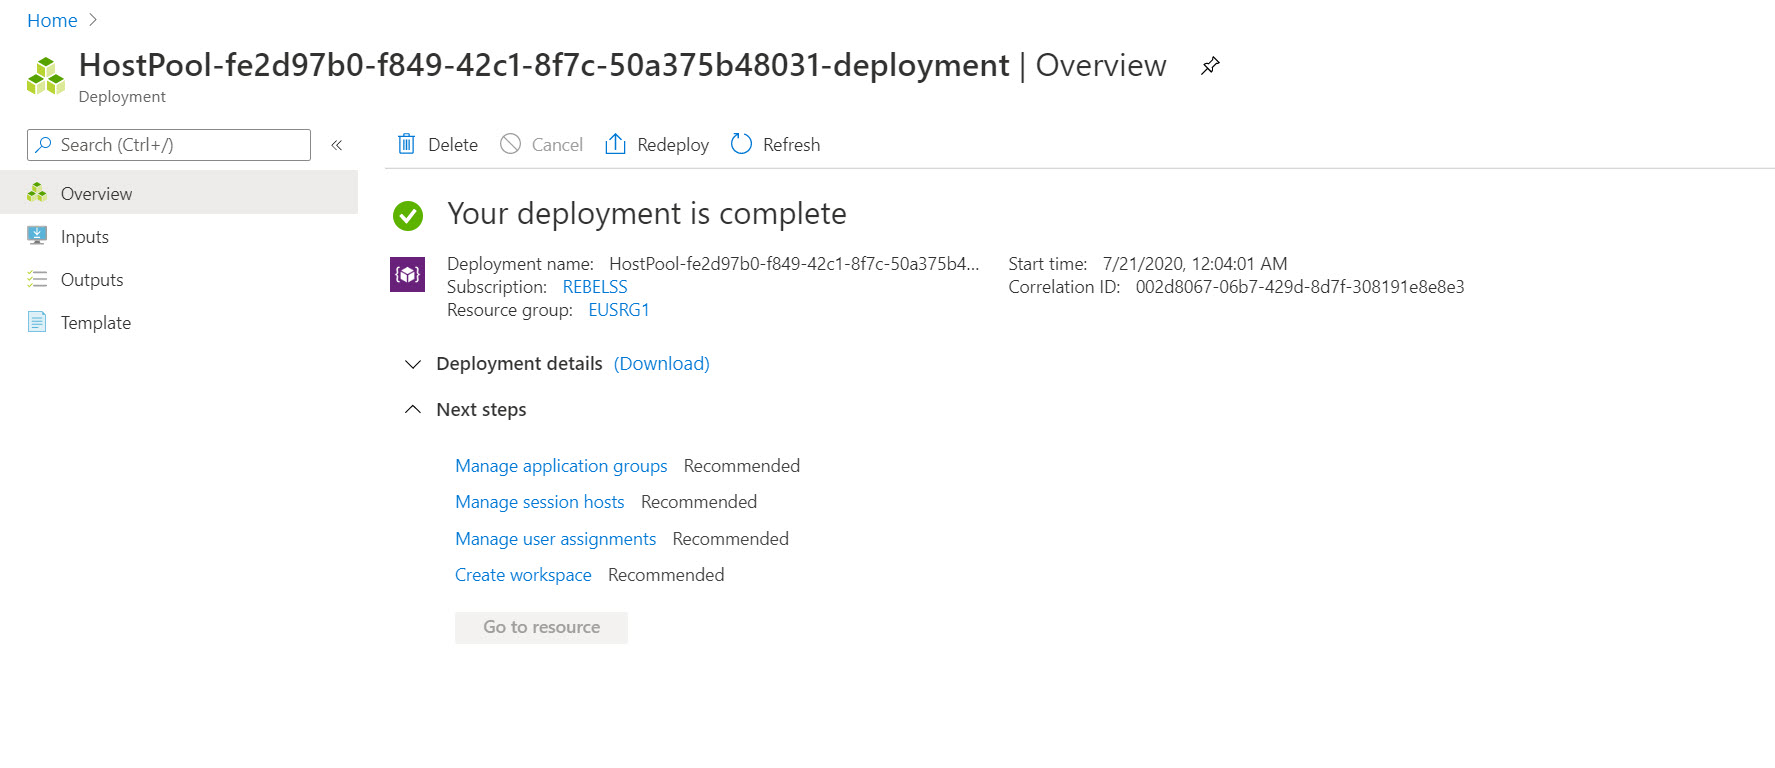
7. The time it takes to complete the deployment process depends on the number of session host you deploying. Before we move forward, make sure the deployment is completed without errors.
Assign users to Windows Virtual Desktop Applications group
The next step of the configure is to assign Active Directory users to the application group. To do that,
1. Log in to Azure Portal as Global Administrator
2. Search for Windows Virtual Desktop in the search bar
3. In Windows Virtual Desktop service page, click on Application groups
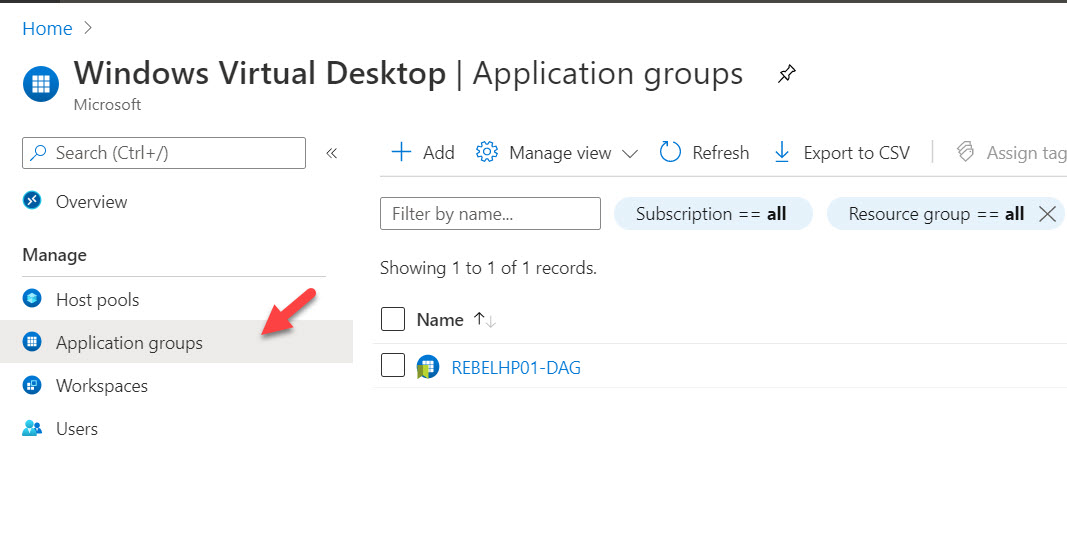
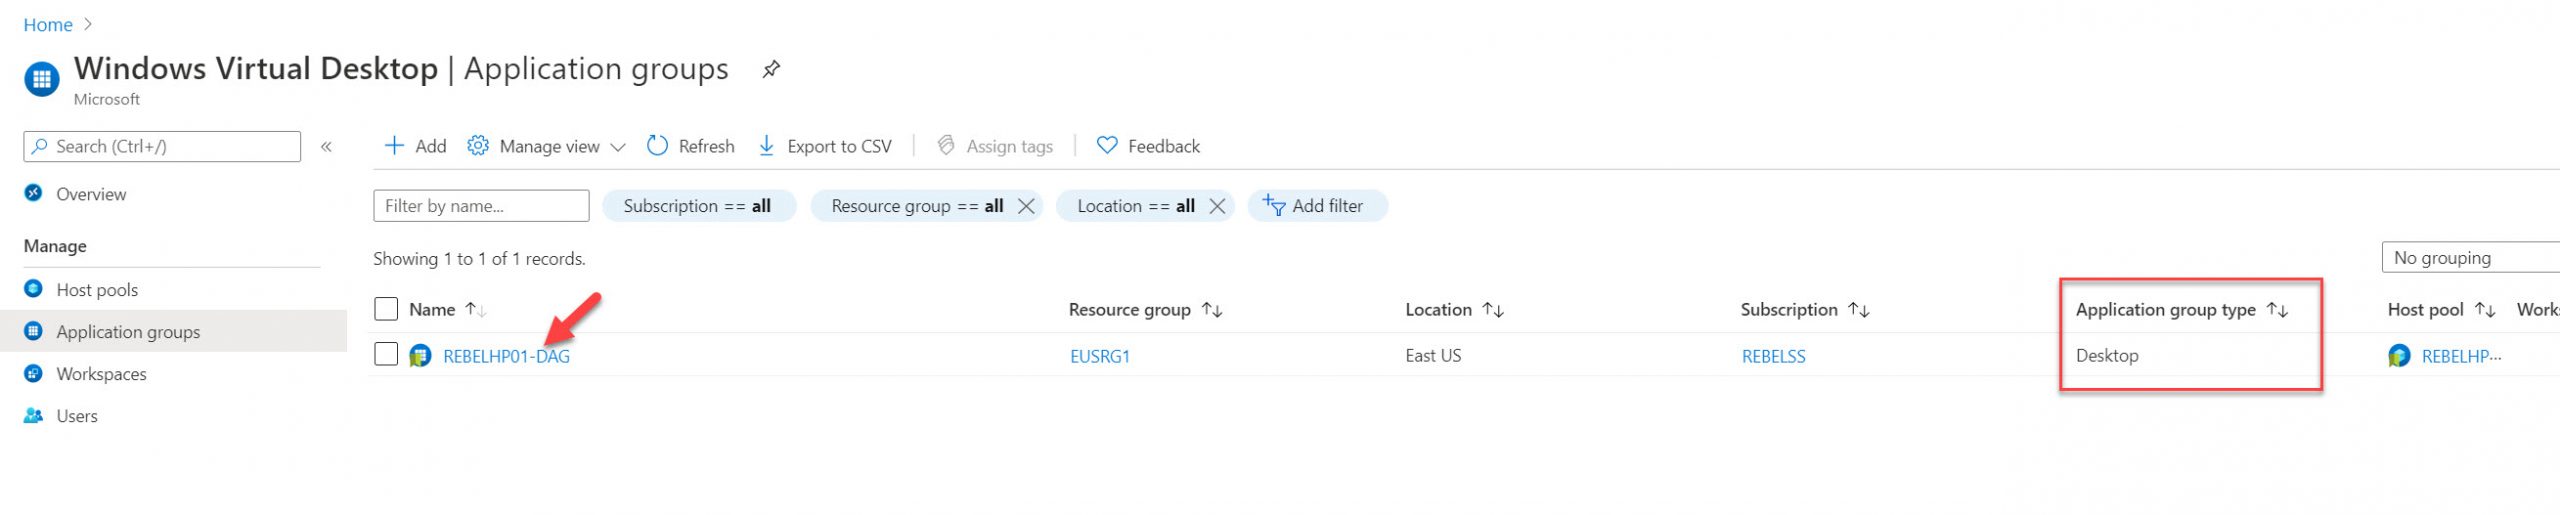
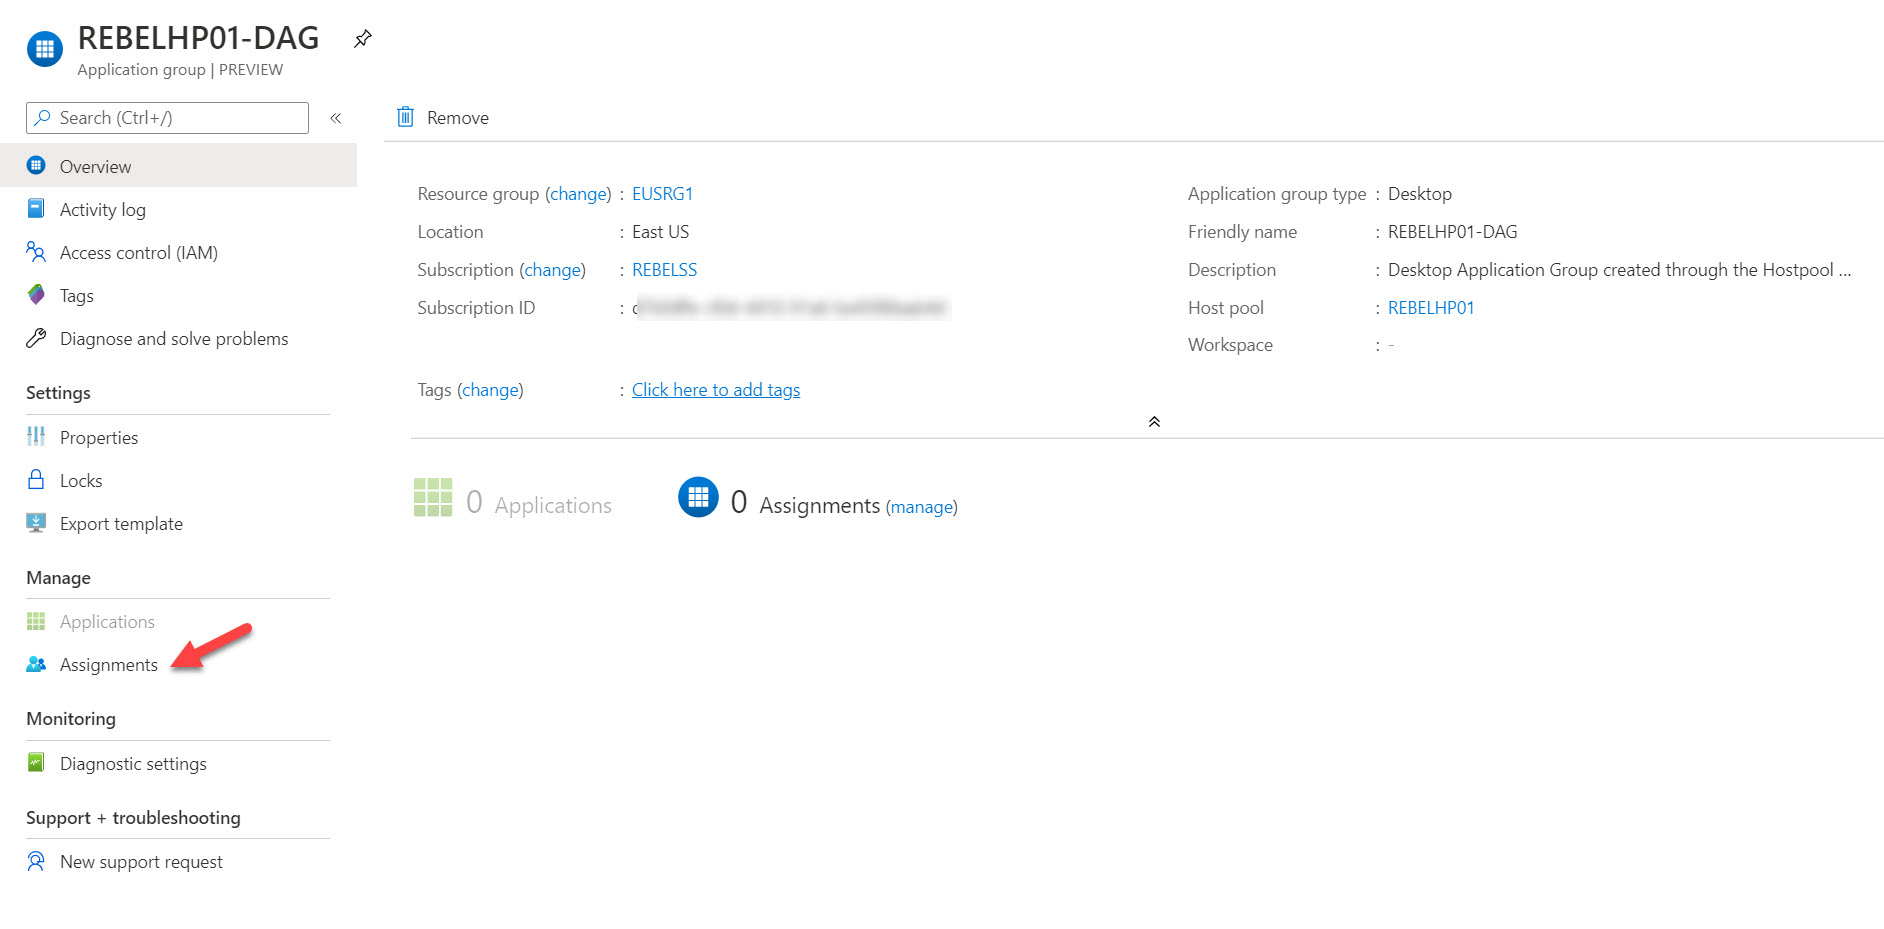
4. As part of the host pool setup, the system creates a default application group. It is using Desktop as the application group type. Click on it.
5. In the properties window, click on Assignments
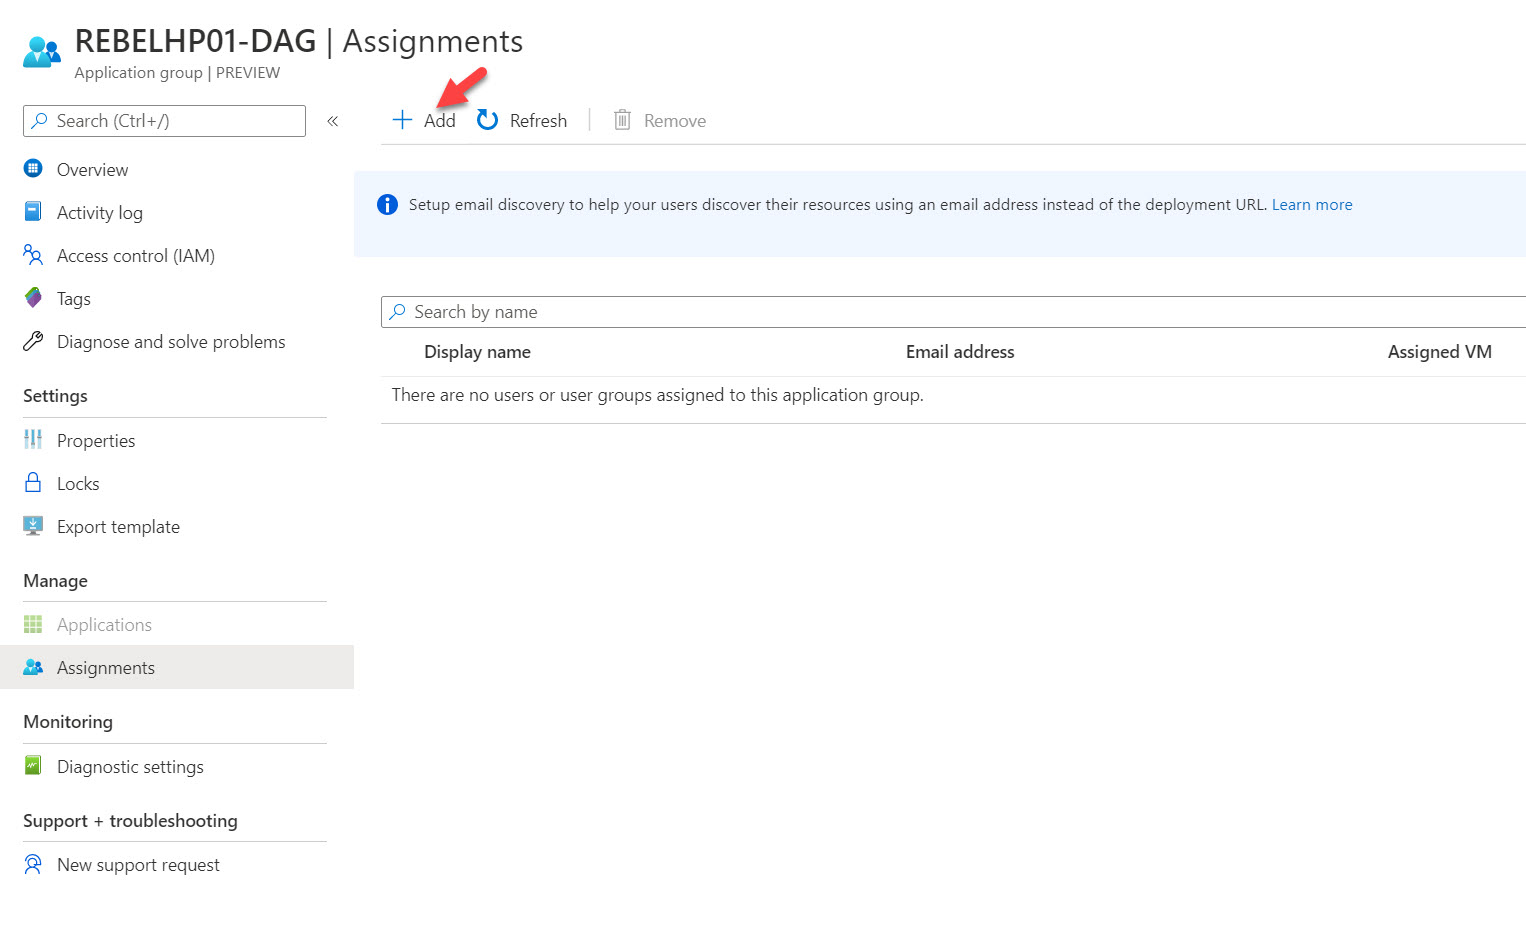
6. Then click on + Add
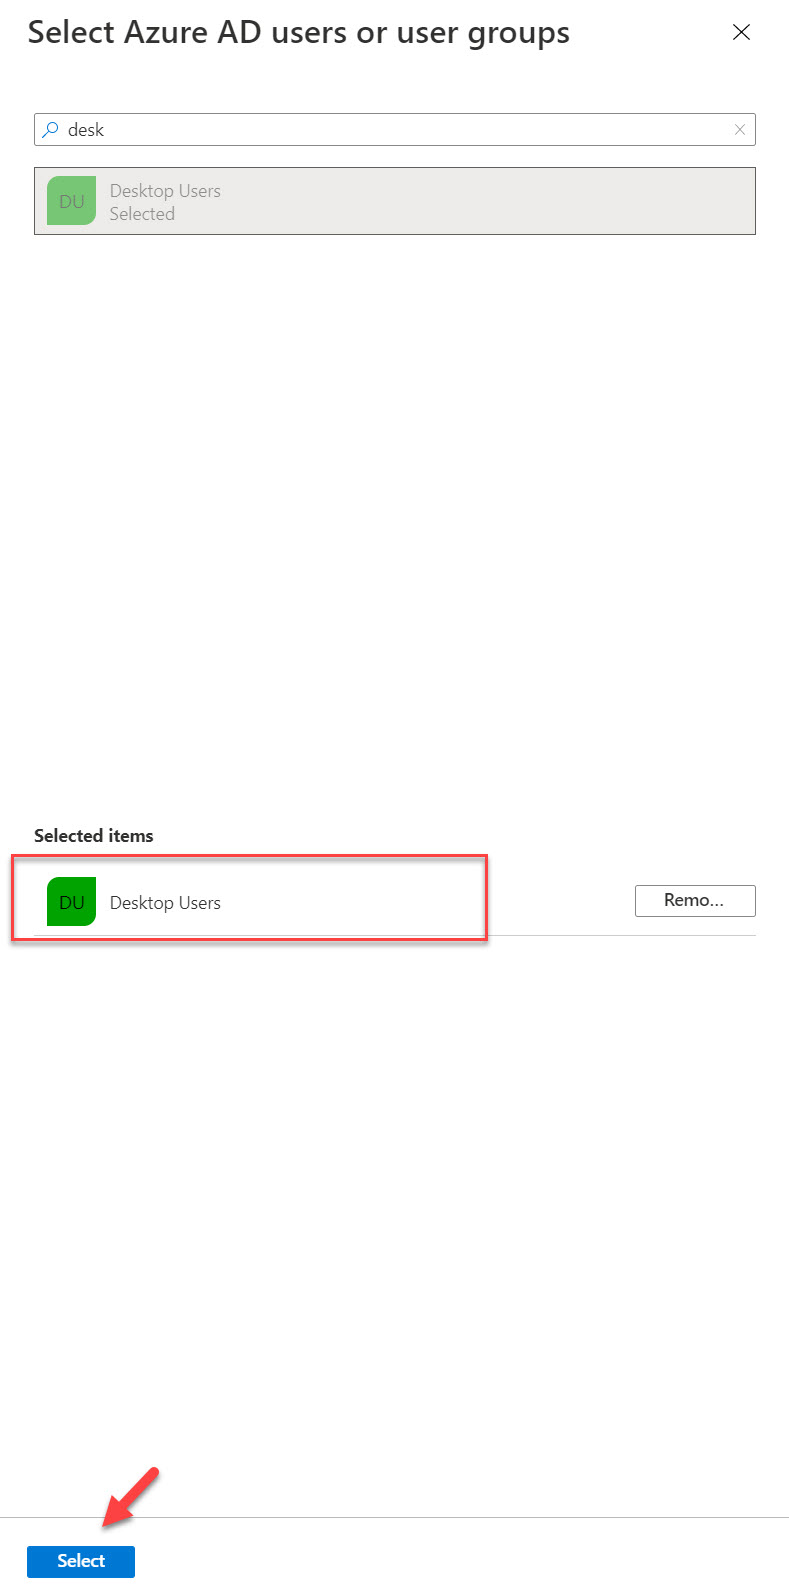
7. It will open up a window to select Active Directory users. With Windows Virtual Desktop Spring 2020, we can now select Azure AD groups. In my demo setup I have an Azure AD group called Desktop users with 3 users which is sync from Windows AD. I search for the group and then click on Select.
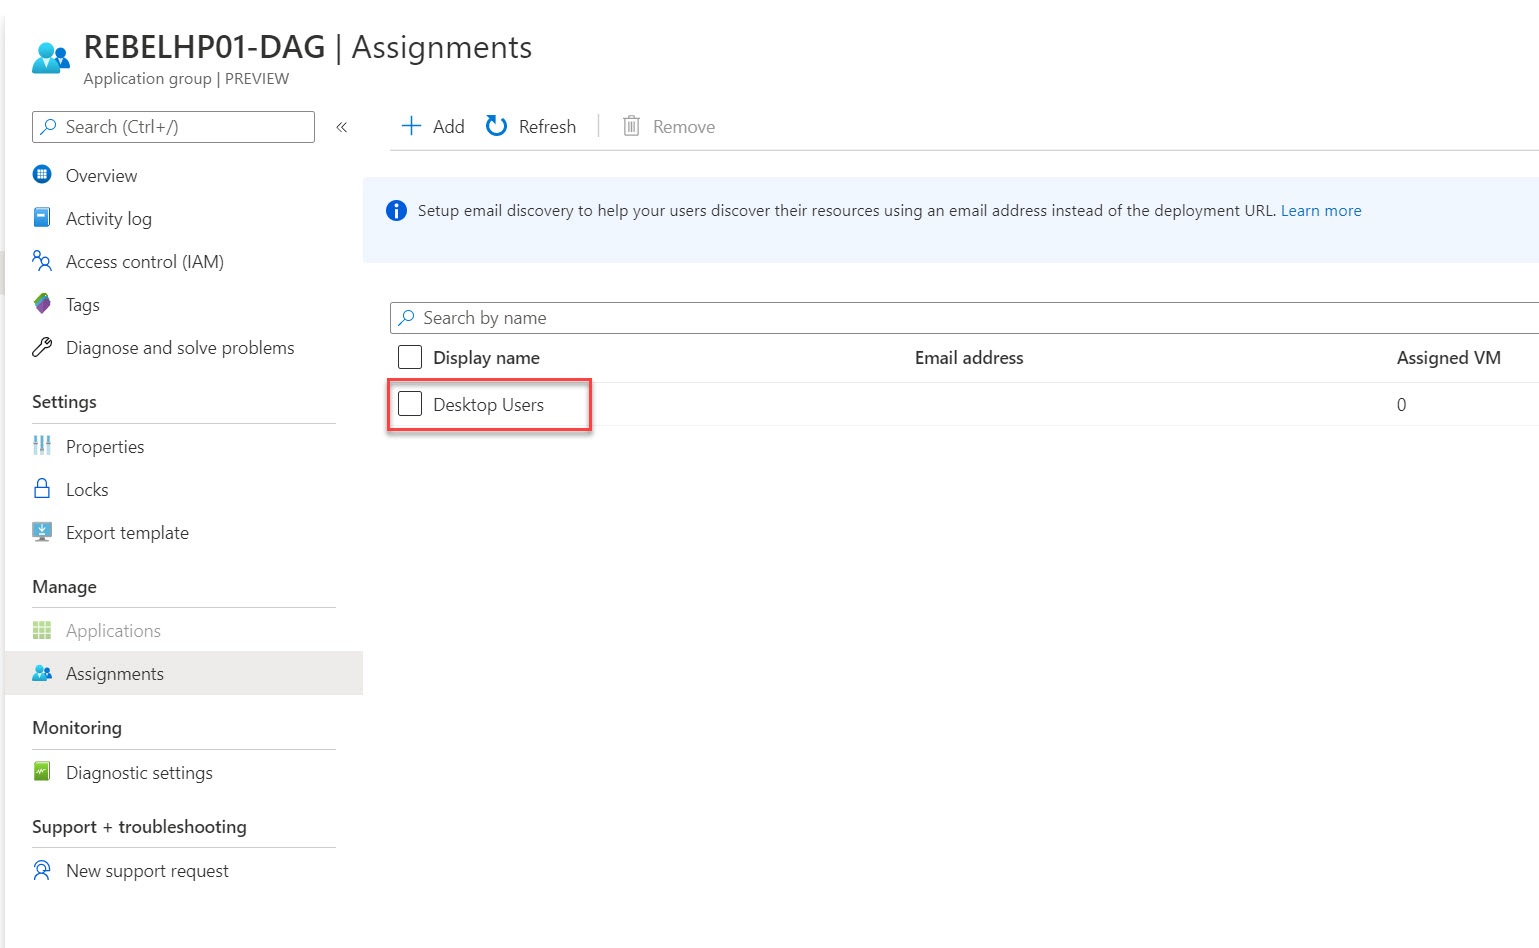
8. It will add the group to the assignments list.
Setup Windows Virtual Desktop Workspace
The final setup of the configuration is to set up a workspace and publish the application group to it. This is where clients will connect to. To do that,
1. Log in to Azure Portal as Global Administrator
2. Search for Windows Virtual Desktop in the search bar
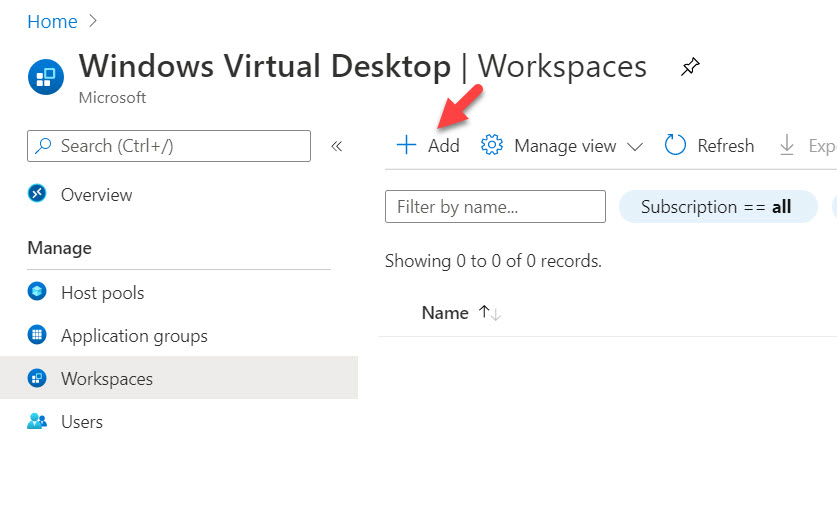
3. In Windows Virtual Desktop service page, click on Workspaces

4. In there, click on + Add to create a new workspace.
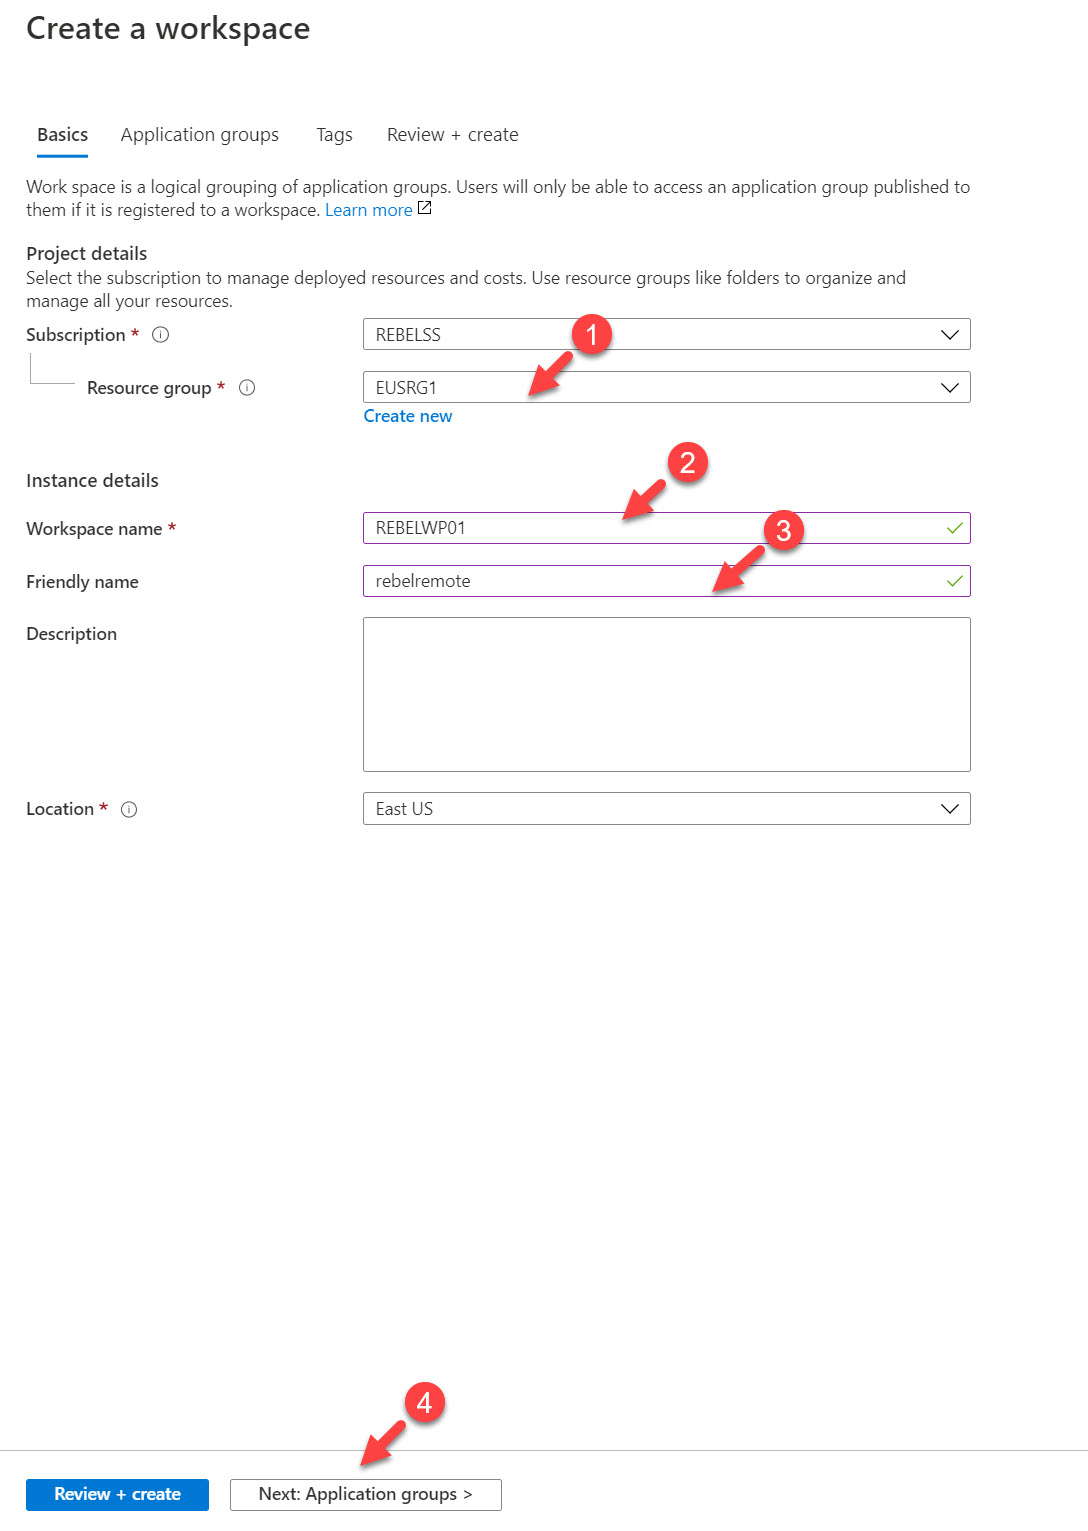
5. It will open up a new form, in there first select the relevant resource group. According to my setup, it is EUSRG1. Then define Workspace name and Friendly name for the workspace. At the end click on Next: Application groups
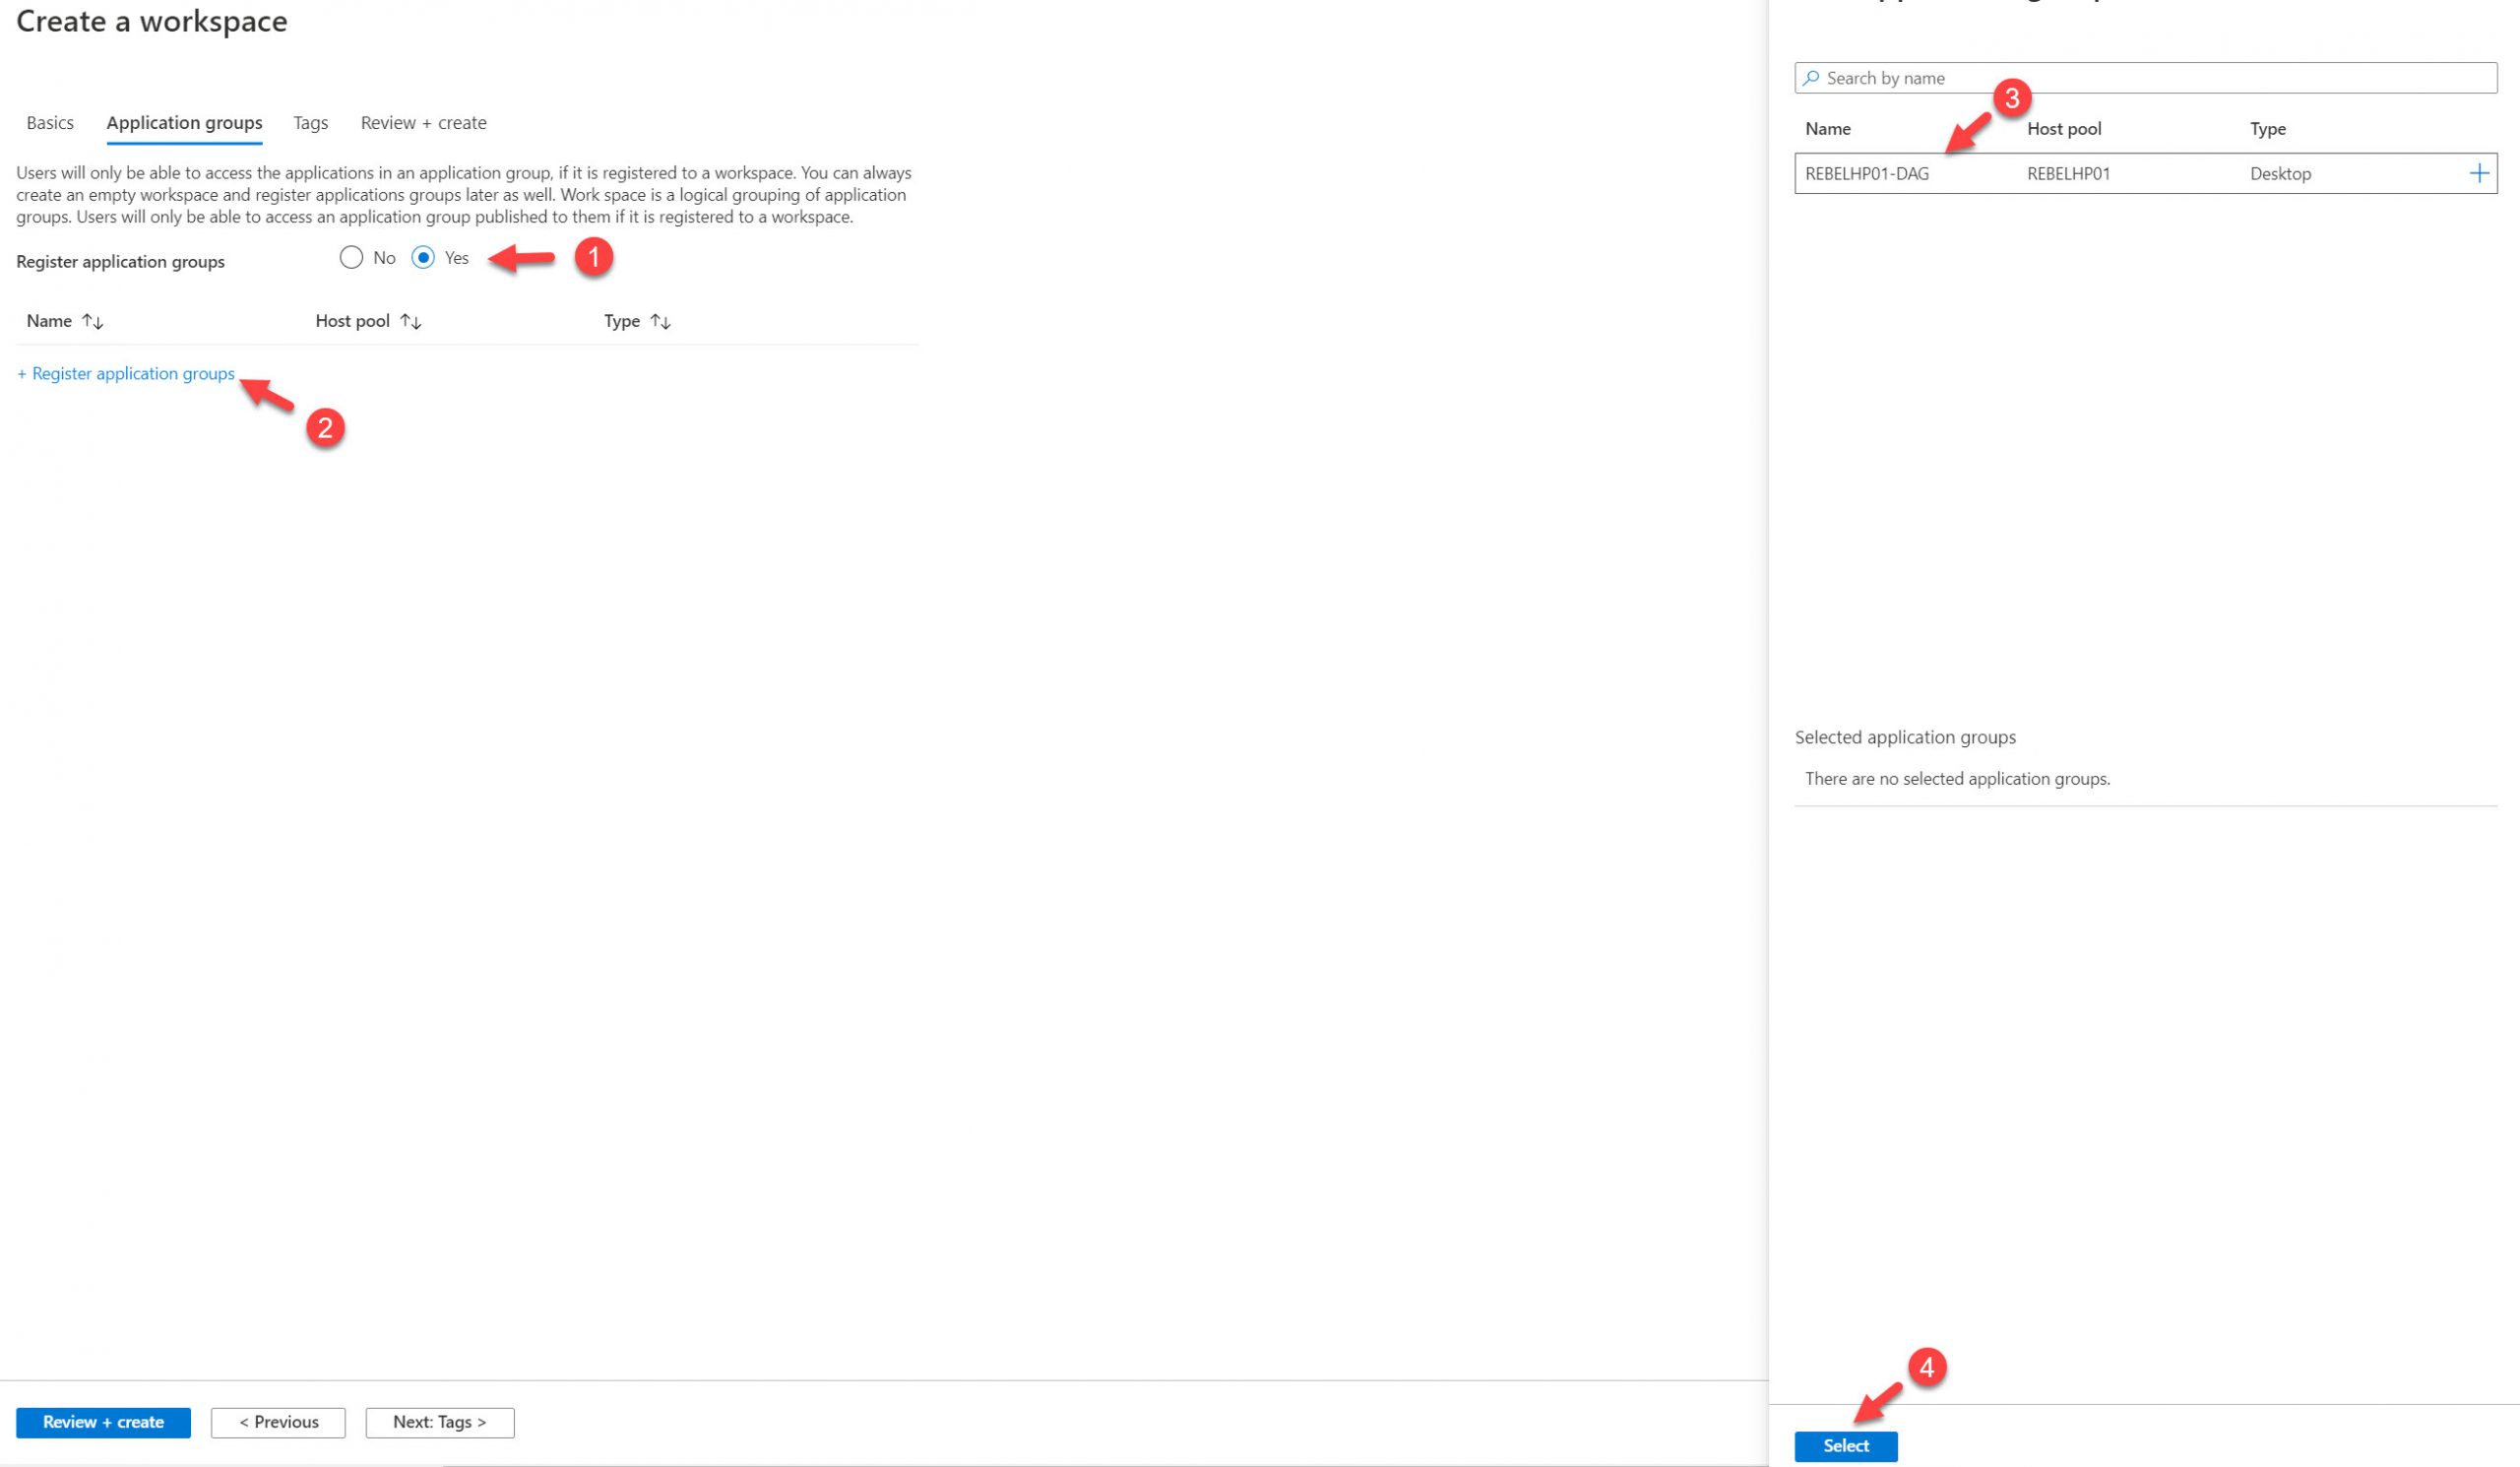
6. In the next window, click on Yes under Register application groups option. Then go ahead and select the application group.
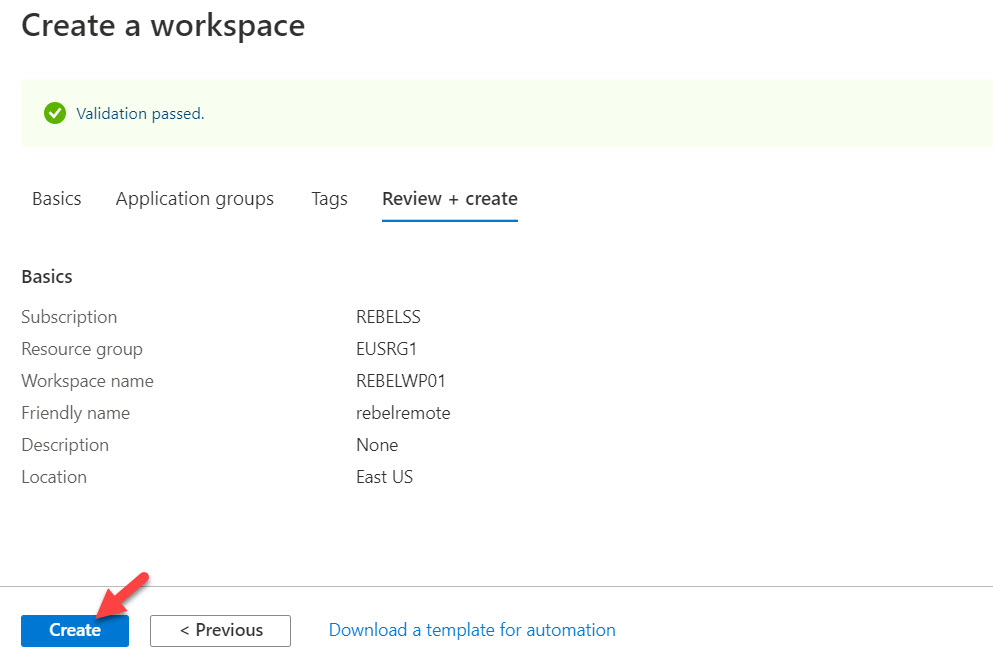
7. Then click on Review + Create
8. In the next window, the system will validate the settings. Once validation is completed, click on Create to complete the workspace setup.
This completes the configuration process and the next step is to do the testing.
Testing
There are many different ways to connect to Windows virtual desktop services. In this demo, I am using web client method.
1. Launch web browser and go to https://rdweb.wvd.microsoft.com/arm/webclient
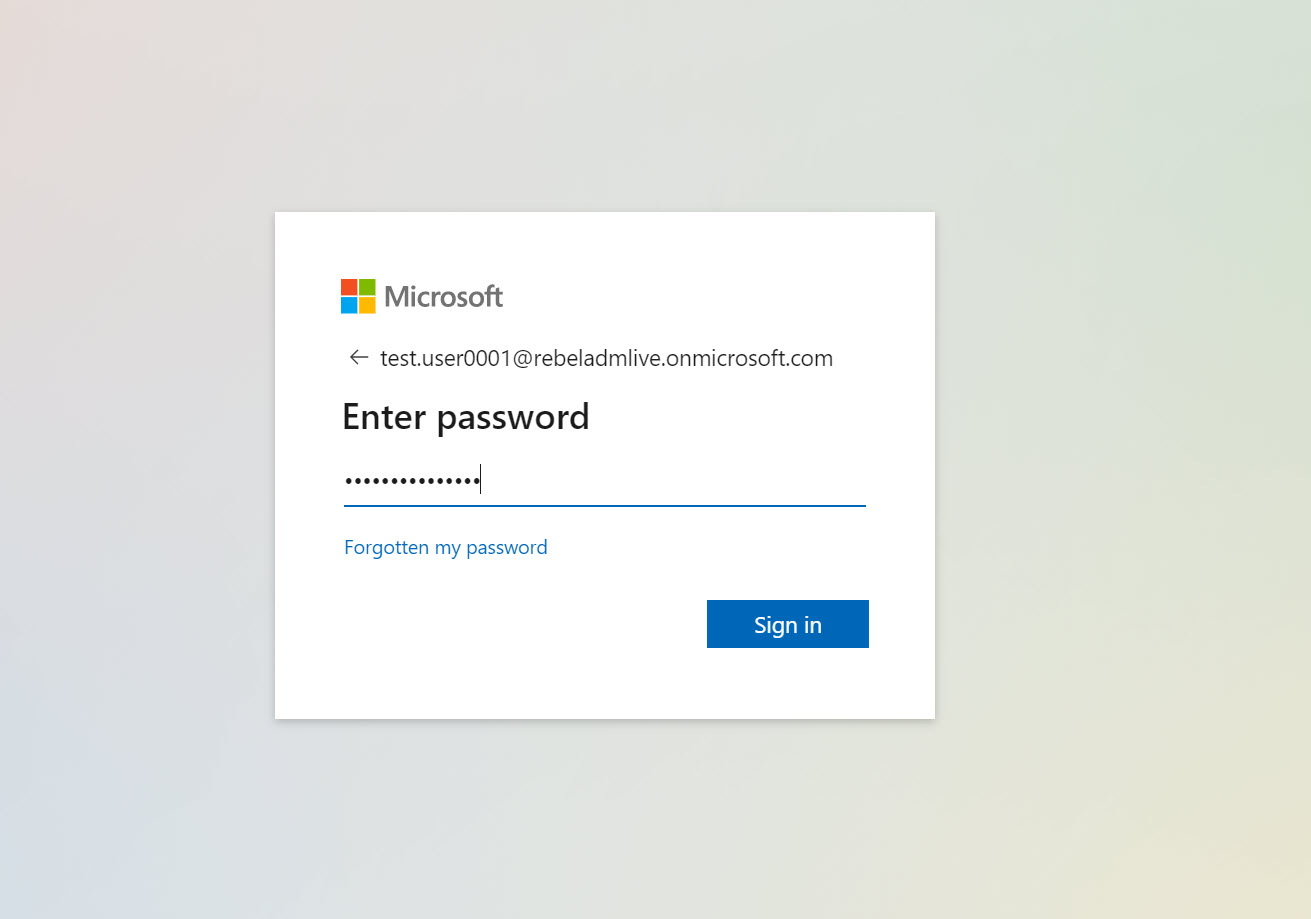
2. Then I am login as a member of Desktop users’ group
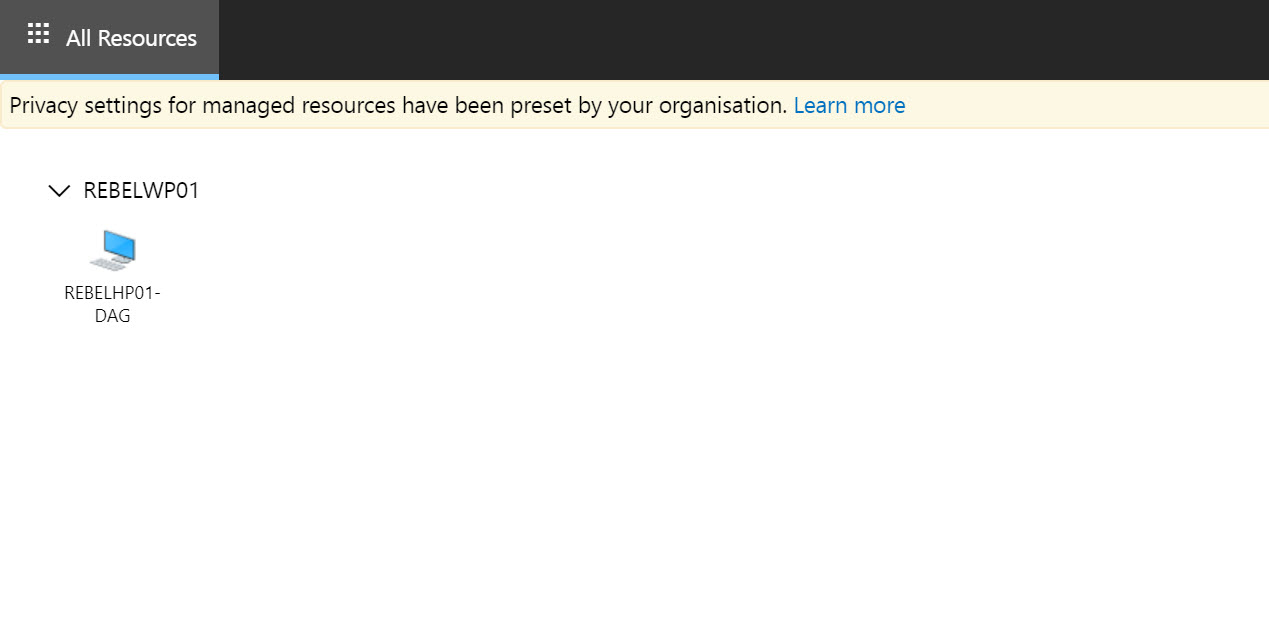
3. Once I logged in, I can see the application group. I went ahead and click on it.
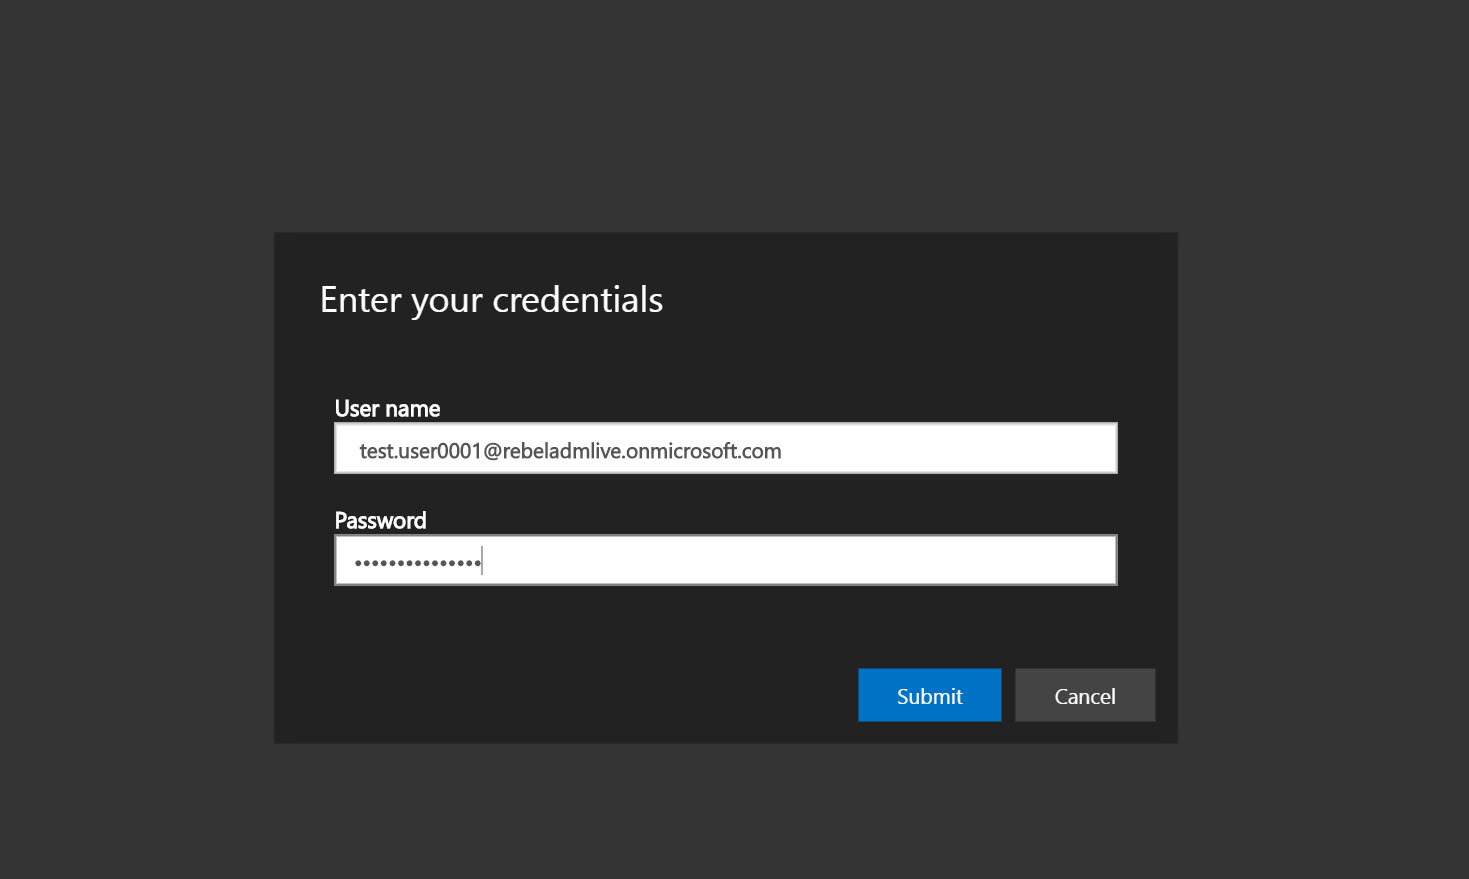
4. Then system prompt for permissions to access local resources. Click on Allow to proceed.
5. In the next window, the system asks for credentials again. I type the same login details and click on Submit.
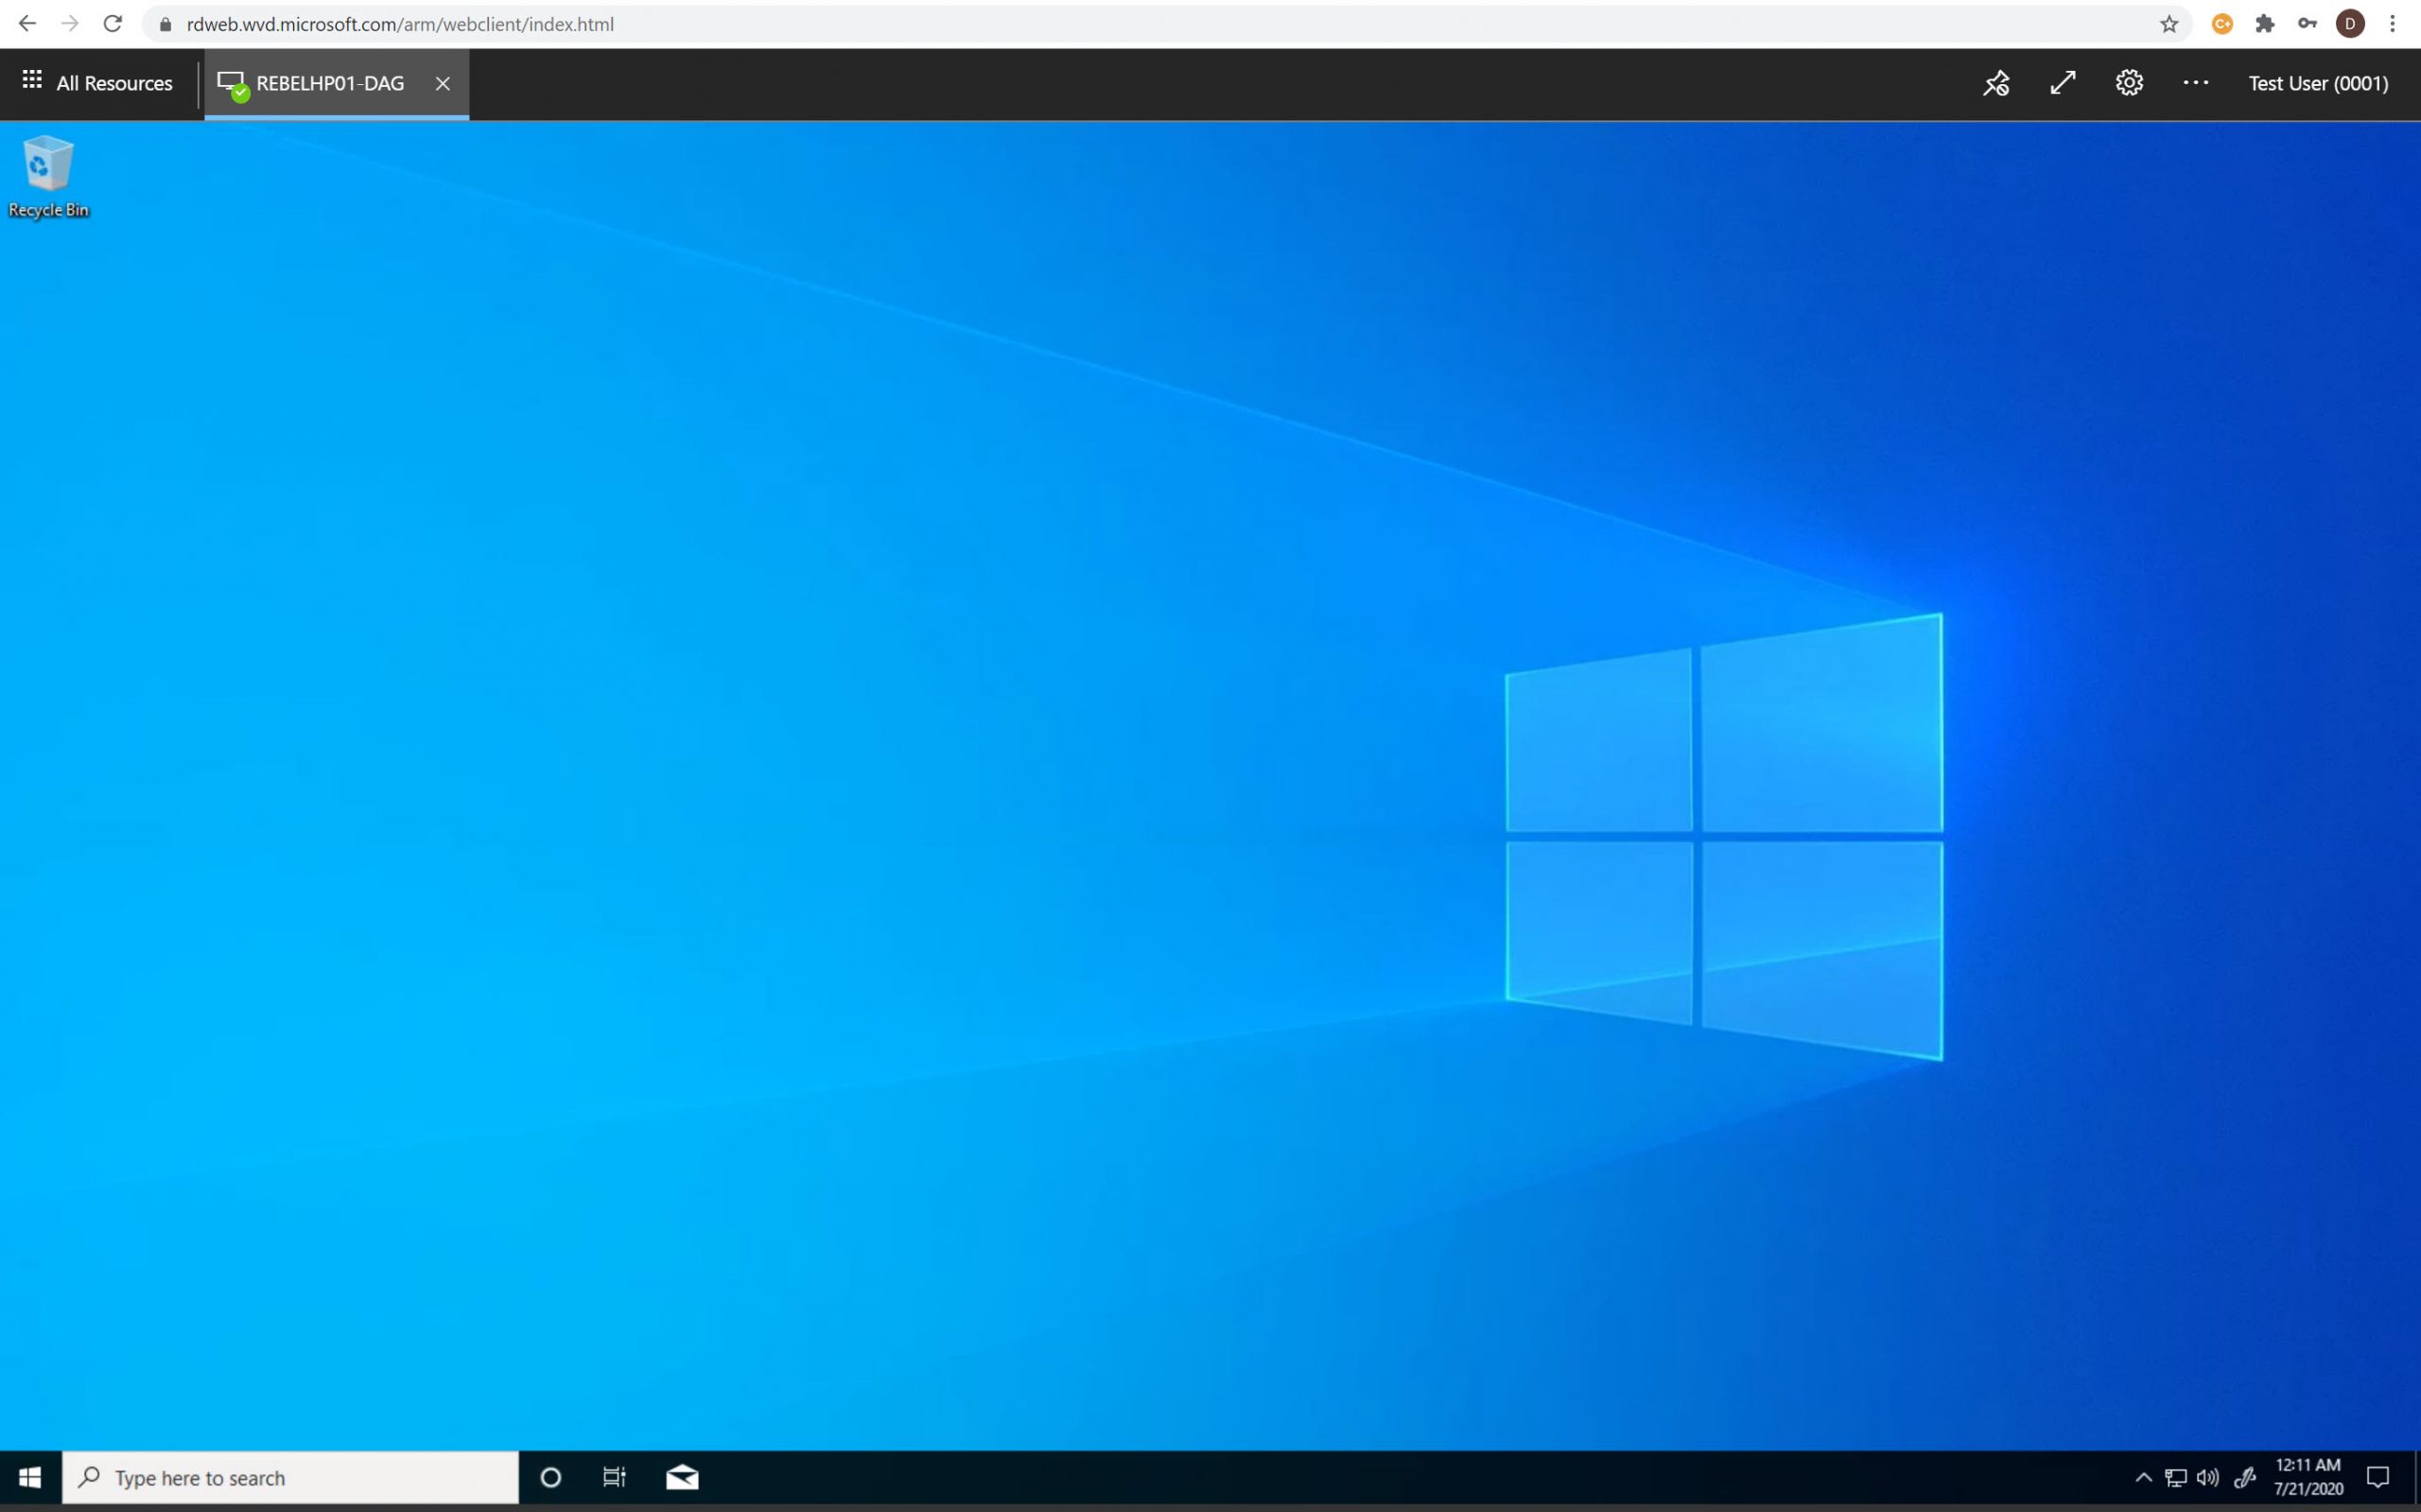
6. Then as expected I can see the windows 10 session
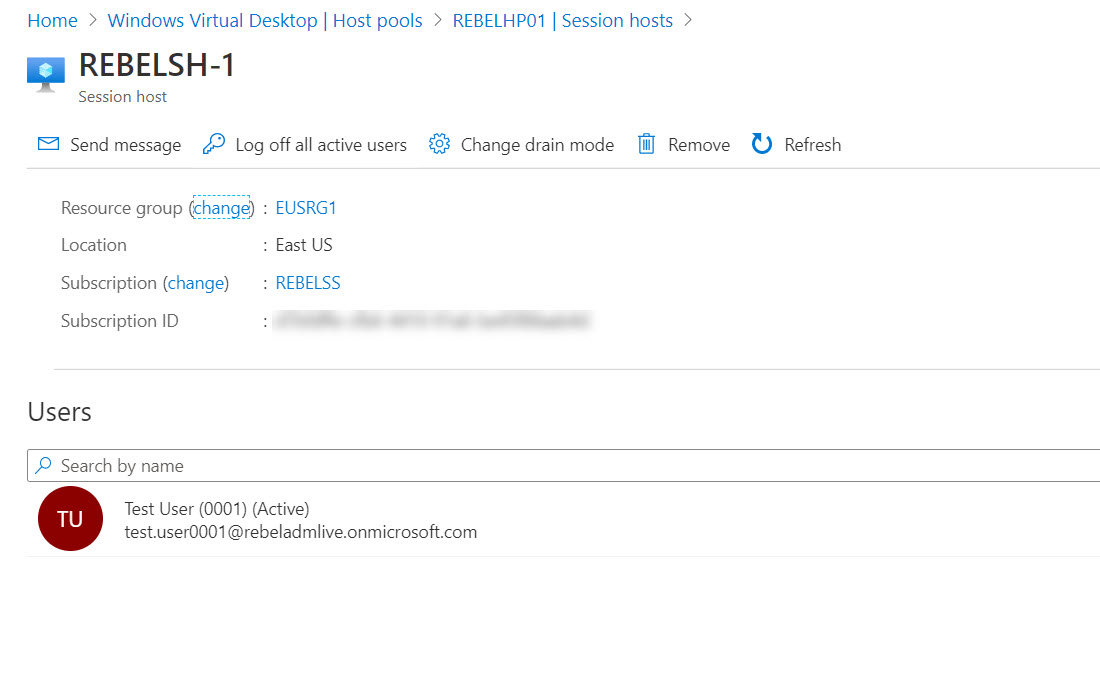
7. Also, if we check the session host, we can see where this session is initiated.
This marks the end of this blog post. If you have any further questions feel free to contact me on rebeladm@live.com also follow me on twitter @rebeladm to get updates about new blog posts. In the next post, I will explain how to publish applications using Windows Virtual Desktop service.


Thanks for the step by step article
This article is awesome – are you planning on refreshing it given all the changes with WVD/AVD recently? It would be great to see an up to date version as well. Thanks!