
In my last few blog posts, I have explained how we can encrypt Azure VMs (Windows & Linux) using BitLocker & dm-crypt. You can access these articles using the following links,
Step-by-Step Guide to Encrypt Azure Windows VM using BitLocker (PowerShell Guide) – http://www.rebeladmin.com/2019/09/step-step-guide-encrypt-azure-windows-vm-using-bitlocker-powershell-guide/http://www.rebeladmin.com/2019/09/step-step-guide-encrypt-azure-windows-vm-using-bitlocker-powershell-guide/
Step-by-Step Guide to Encrypt Azure Linux VM (PowerShell Guide) – http://www.rebeladmin.com/2019/09/step-step-guide-encrypt-azure-linux-vm-powershell-guide/
When we encrypt complete disks, it not only encrypting the files in there. It also encrypts file system information which uses by the operating system. The operating system itself doesn't have an issue accessing content as it is aware of the key information. But any other system can't access this content without the encryption key information. This is the same when it comes to backup and restore. In this demo, I am going to demonstrate how we can backup and restore an encrypted Azure VM using Azure Backup.
As with any other backup solution, Azure backup also has a certain limitation when it comes to encrypted data backup/restore.
1. Encrypted VM backup/restore only supported within the same region & same subscription.
2. Azure backup only supports the VM which is encrypted using standalone keys.
3. When it comes to data restore, Encrypted VM required full restore. It can't recover data in files or folders level.
4. When restoring VM, Azure backup can't use replace existing VM option for encrypted VMs.
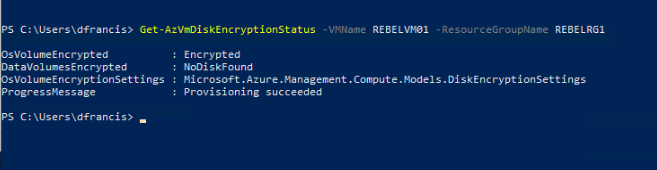
In my demo environment, I already have an encrypted windows VM called REBELVM01. I am going to back up it and restore using Azure Backup.
Create a Recovery Services backup vault
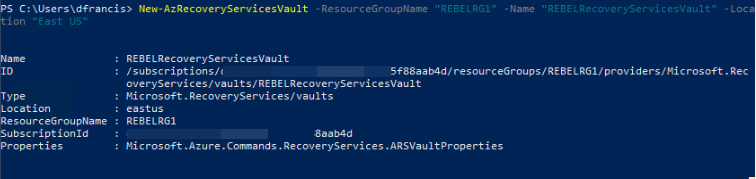
Before we go ahead with backup, first we need a recovery service backup vault. It can be created using,
New-AzRecoveryServicesVault -ResourceGroupName "REBELRG1" -Name "REBELRecoveryServicesVault" -Location "East US"
[su_note]I am using Azure PowerShell module here. You can find more info about it under https://docs.microsoft.com/en-us/powershell/azure/install-az-ps?view=azps-2.6.0[/su_note]
In the above, I am creating a recovery service vault called "REBELRecoveryServicesVault" in the same resource group as my encrypted VM.
Grant Permissions
To backup encrypted VMs, Azure backup service required read-only access to encryption keys & secrets. To grant required permissions,
1. Log in to Azure portal as global administrator (https://portal.azure.com)
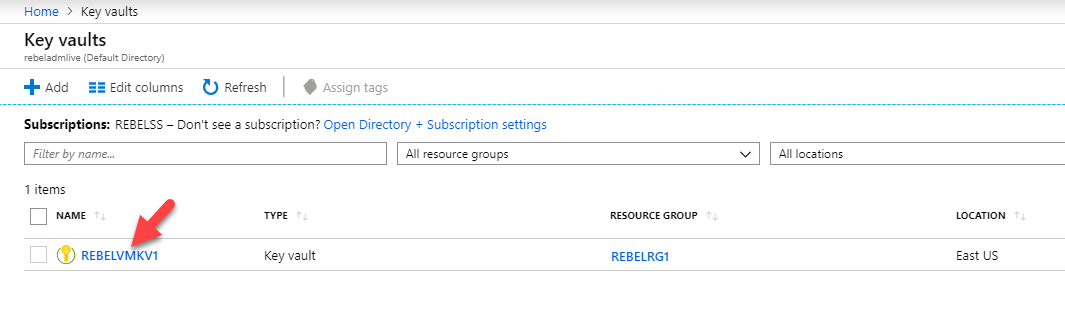
2. Go to All services | Key vault
3. Then click on the relevant key vault
4. In the new window, click on Access Policies | Add Access Policy
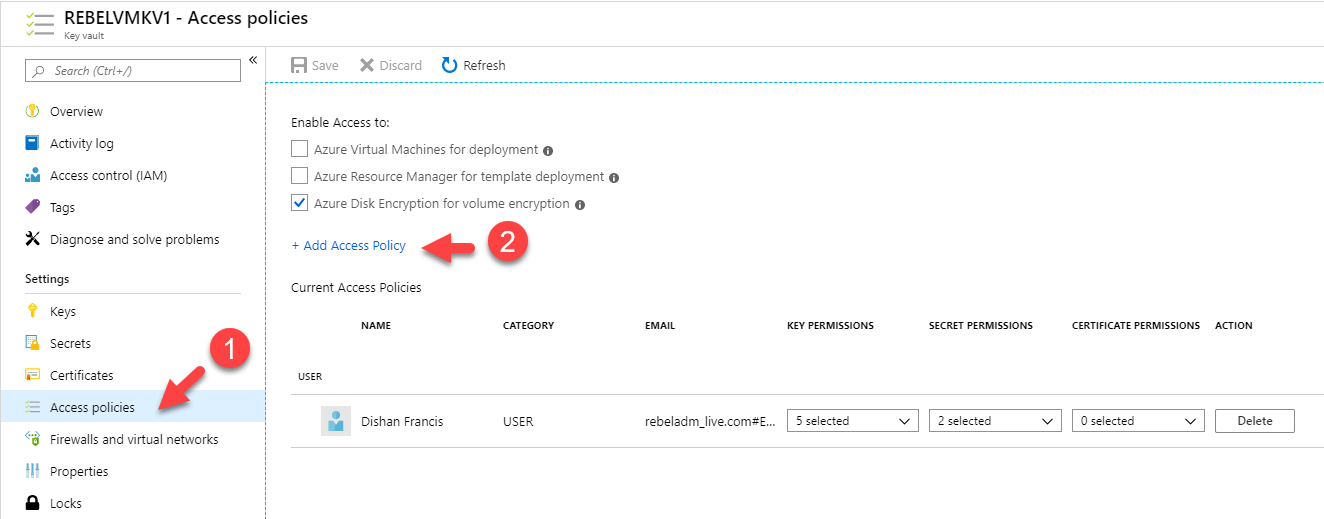
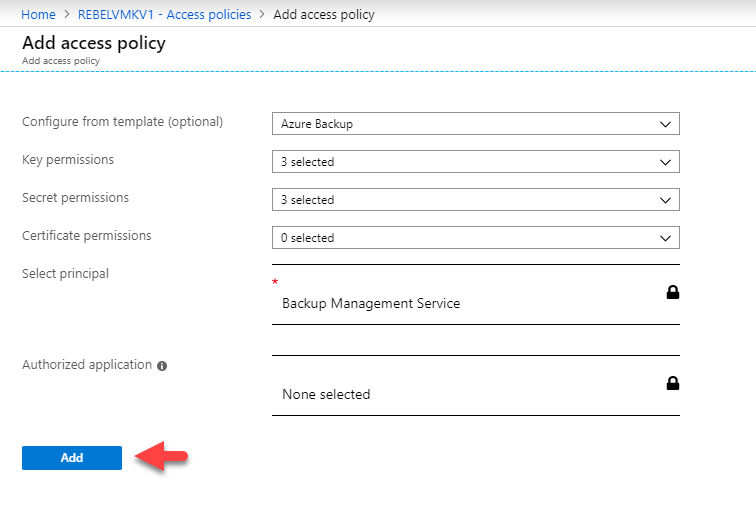
5. Then click on Configure from a template (optional) drop-down and select Azure Backup
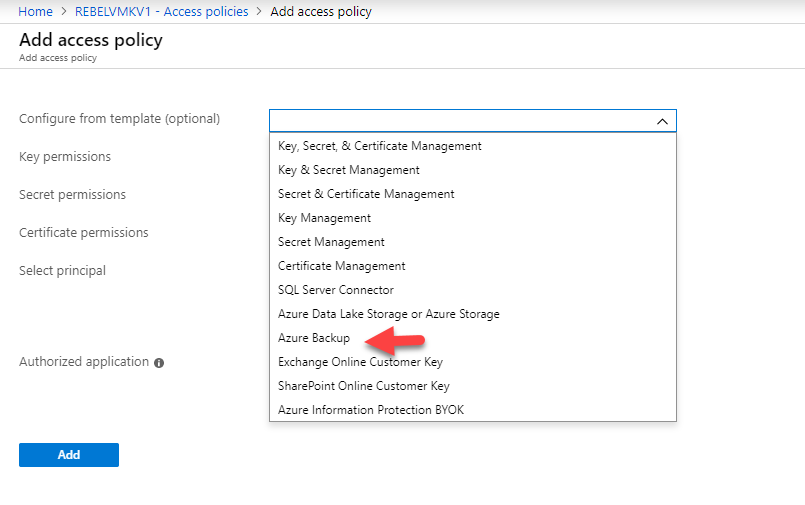
6. Once the selection is done, click on Add.
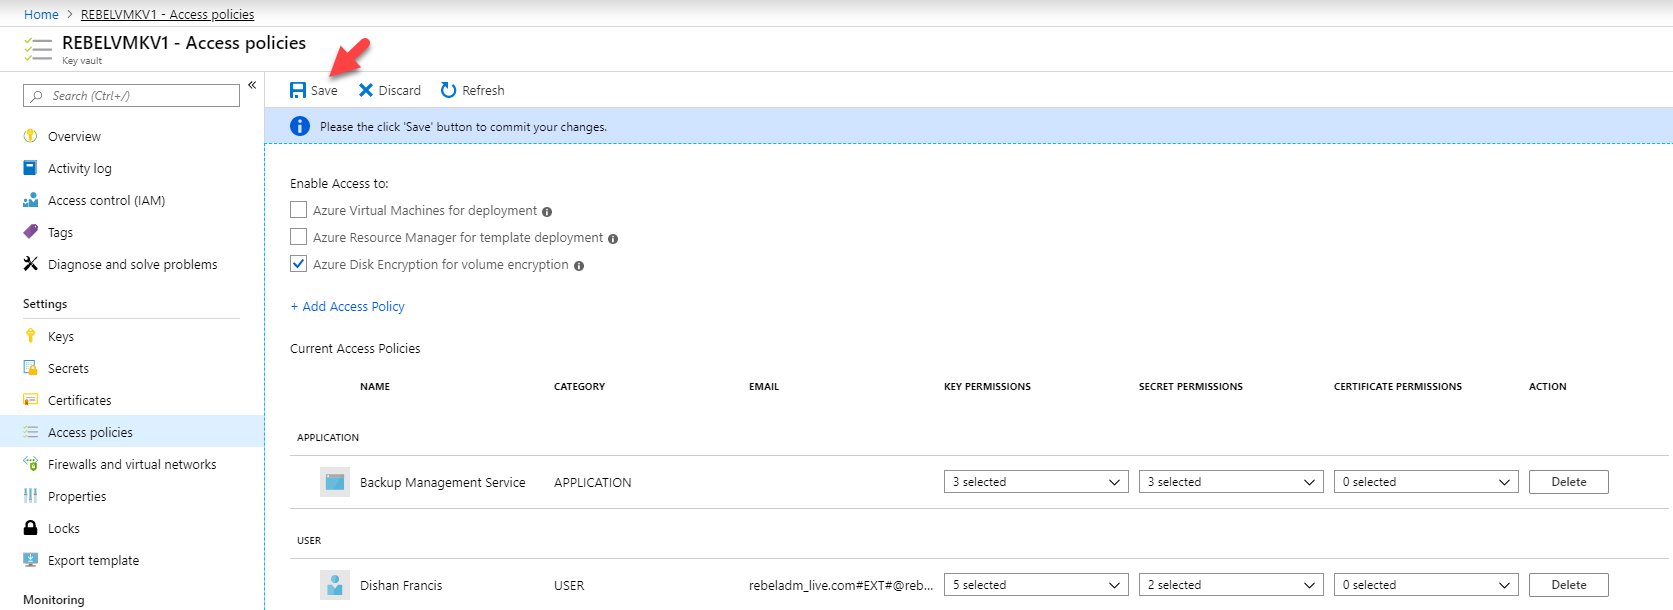
7. In the policy window, click on Save to apply the policy.
Create Backup policy
As the next step, I am going to create a new backup policy. The backup policy defines when the backup will run and how long it will keep data in the vault. To do this,
1. Log in to Azure portal as global administrator (https://portal.azure.com)
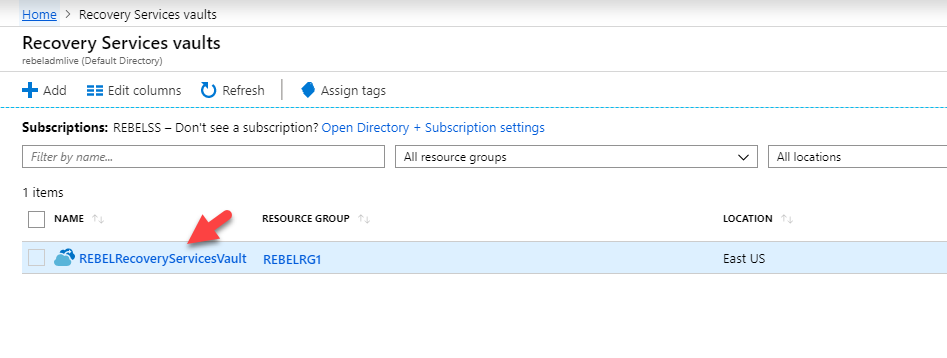
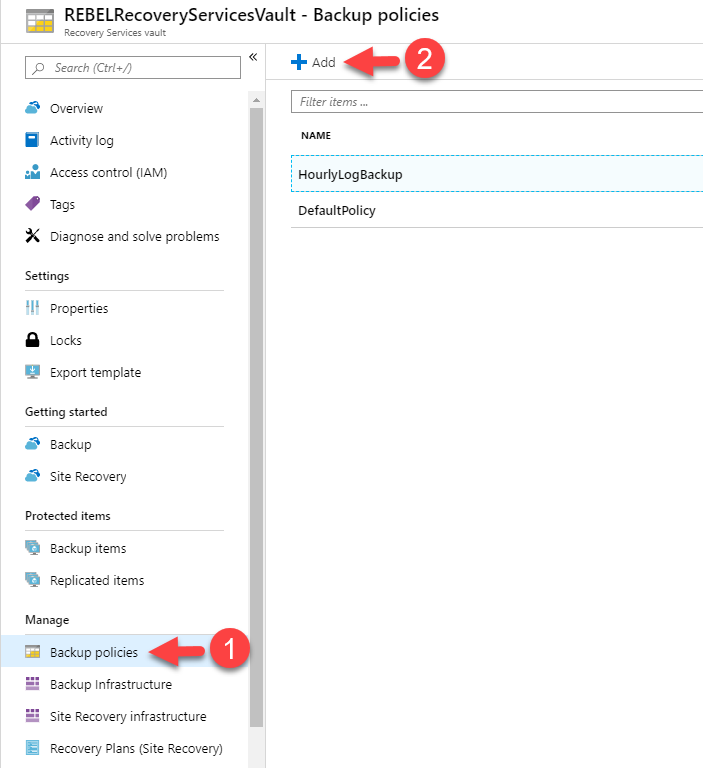
2. Go to All services | Recovery Services vaults
3. Then click on the backup vault we created in one of the previous steps.
4. In the new window click on Backup policies | + Add
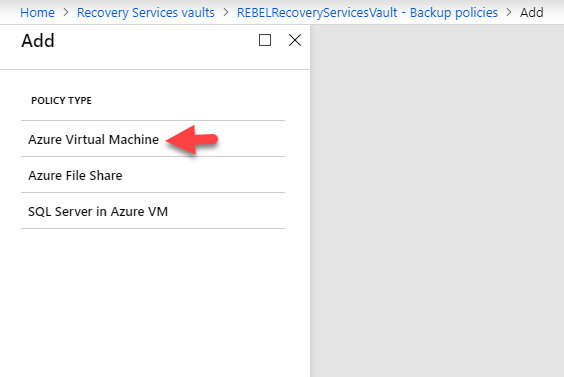
5. It will open up a new wizard. Select Azure Virtual Machine as the policy type.
6. Then define policy name and policy settings according to your requirements. In my demo,
• Policy name: EncryptedVMBackup
• Frequency: Daily 5:30 PM (UTC)
• Retain instant recovery snapshot(s) for: 3
• Daily backup point retention: 180 days
• Weekly backup point retention: Sunday for 12 weeks
• Monthly backup point retention: First Sunday for 12 months
Once policy settings are defined, click on Create.

Configure a backup for Encrypted VM
The next step of the configuration is to attach the newly created policy to Encrypted VM.
We can do this using the following PowerShell commands,
Get-AzRecoveryServicesVault -Name "REBELRecoveryServicesVault" | Set-AzRecoveryServicesVaultContext
In the above command, I am setting the recovery vault context to the new service vault we created.
$a = Get-AzRecoveryServicesBackupProtectionPolicy -Name "EncryptedVMBackup"
Enable-AzRecoveryServicesBackupProtection -ResourceGroupName "REBELRG1" -Name "REBELVM01" -Policy $a
In the above commands, I am enabling backup for REBELVM01 and attaching the EncryptedVMBackup policy.
Testing Recovery
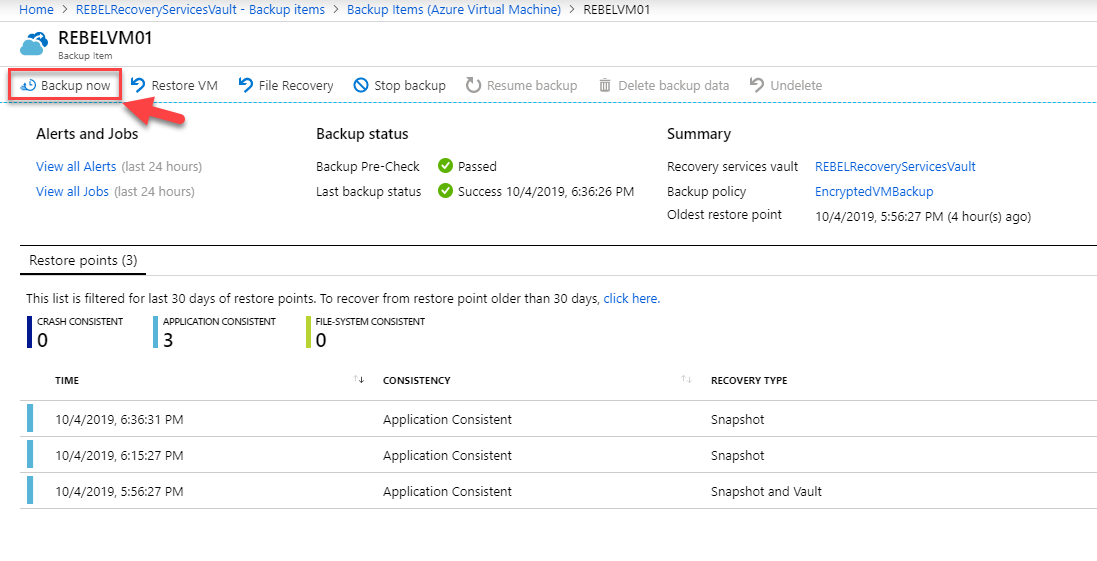
For testing purposes, you do not have to wait until the job kicks off. You still can go to backup items in the service vault and force the backup to run.
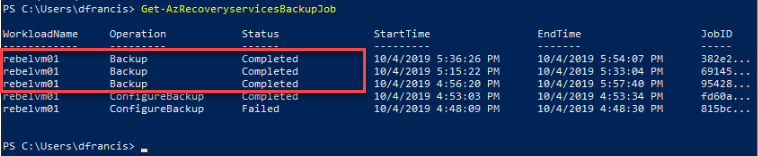
We can verify the status of the backup using,
Get-AzRecoveryservicesBackupJob
For testing purposes, I am going to terminate the encrypted VM and try to restore it.

To restore the VM, we need to go to All Services | Recovery Service Vaults | REBELRecoveryServicesVault (this is the service vault used in the demo)
Then Backup items | Azure Virtual Machine and then click on the REBELVM01
To restore VM disks, click on the Restore VM option.
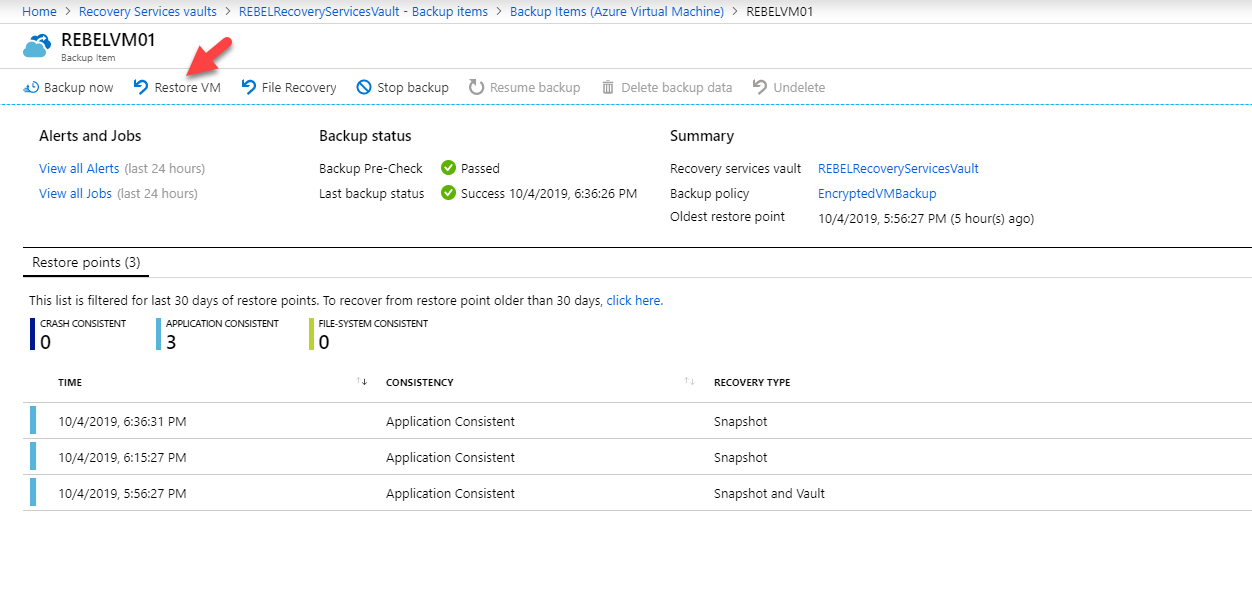
Then in the new wizard, select the backup you wish to restore and then select the same resource group and storage account that VM was using. Please remember you can't use replace existing VM option with encrypted VM.

This restore job will only restore the disks. We need to create a VM using it.
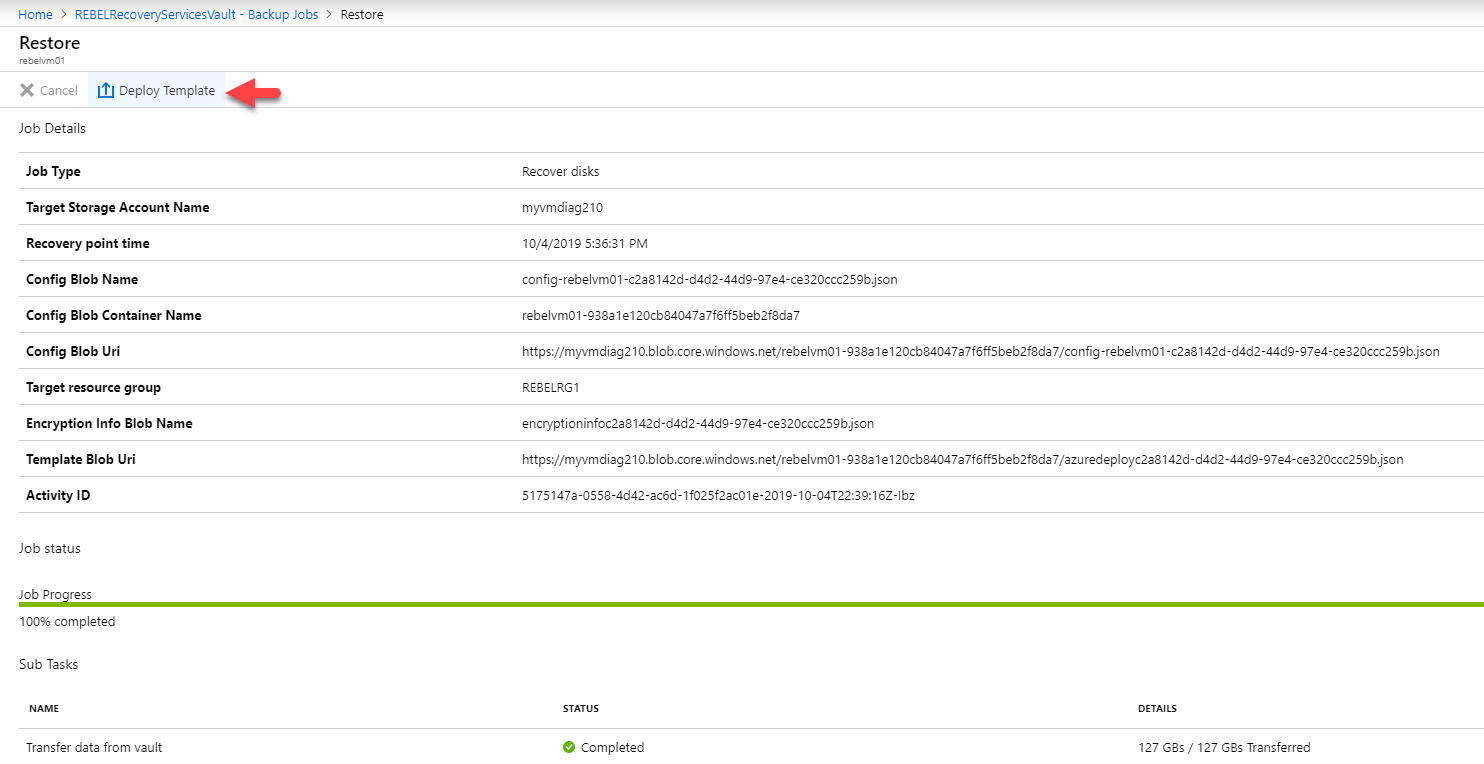
To do that go to Backup Jobs and click on the completed restore job.
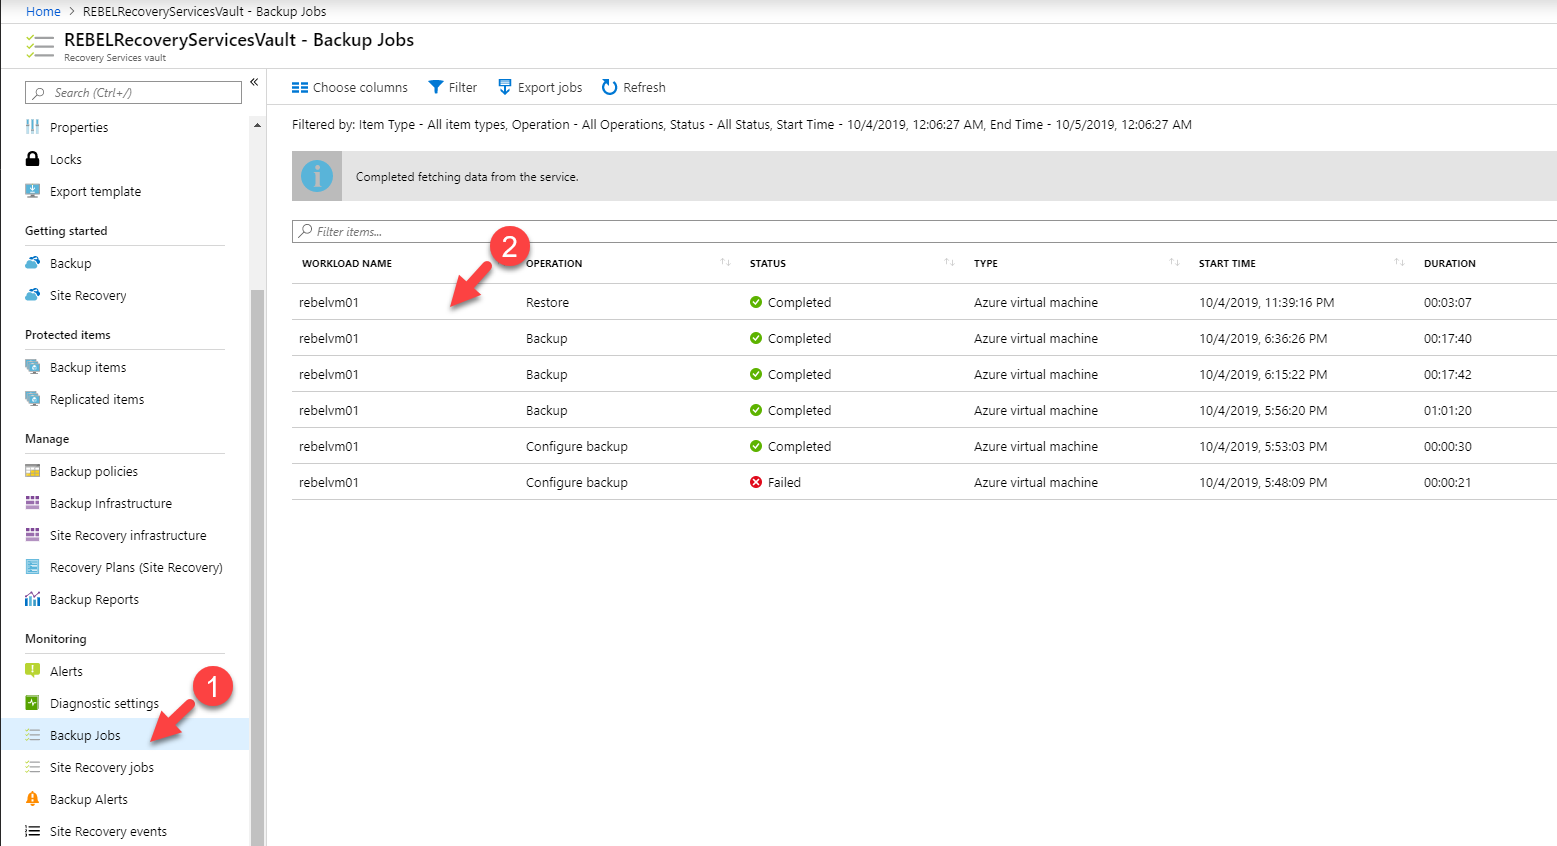
Then click on the Deploy Template option.
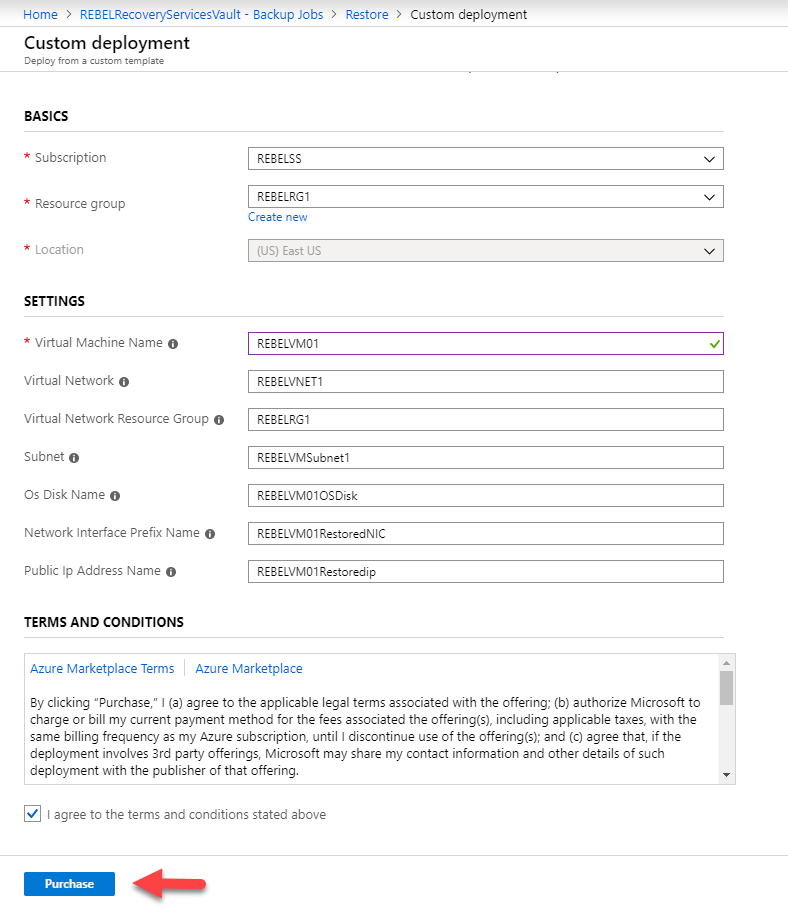
In new wizards, fill the relevant info (resource group, region & VM name) and then click on Purchase.
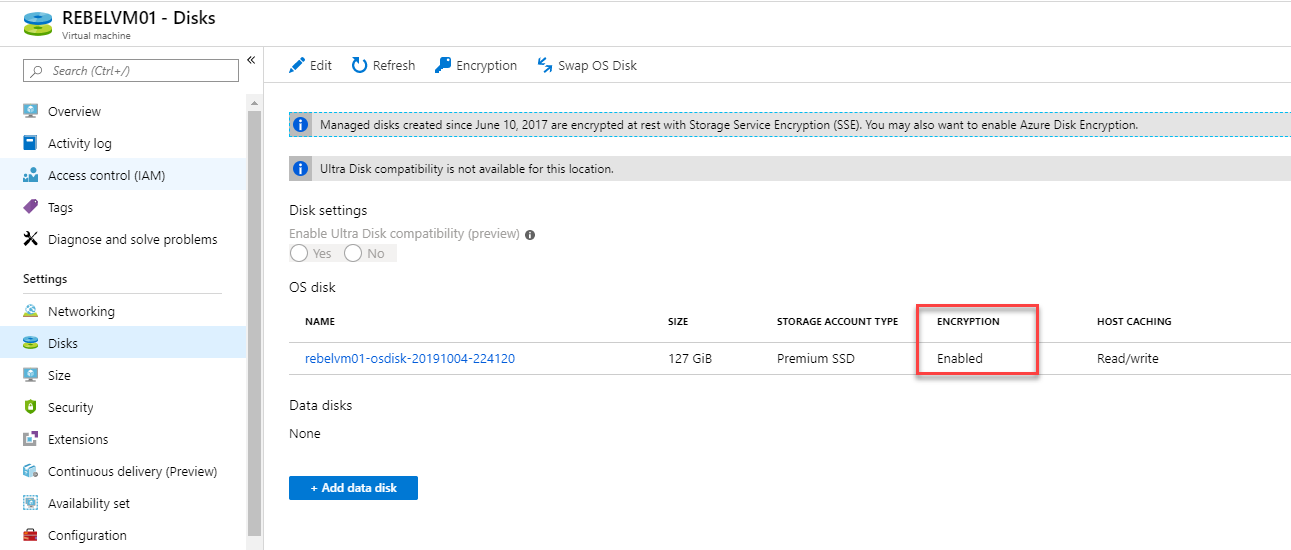
After the restore process completed, I can access the encrypted VM successfully.
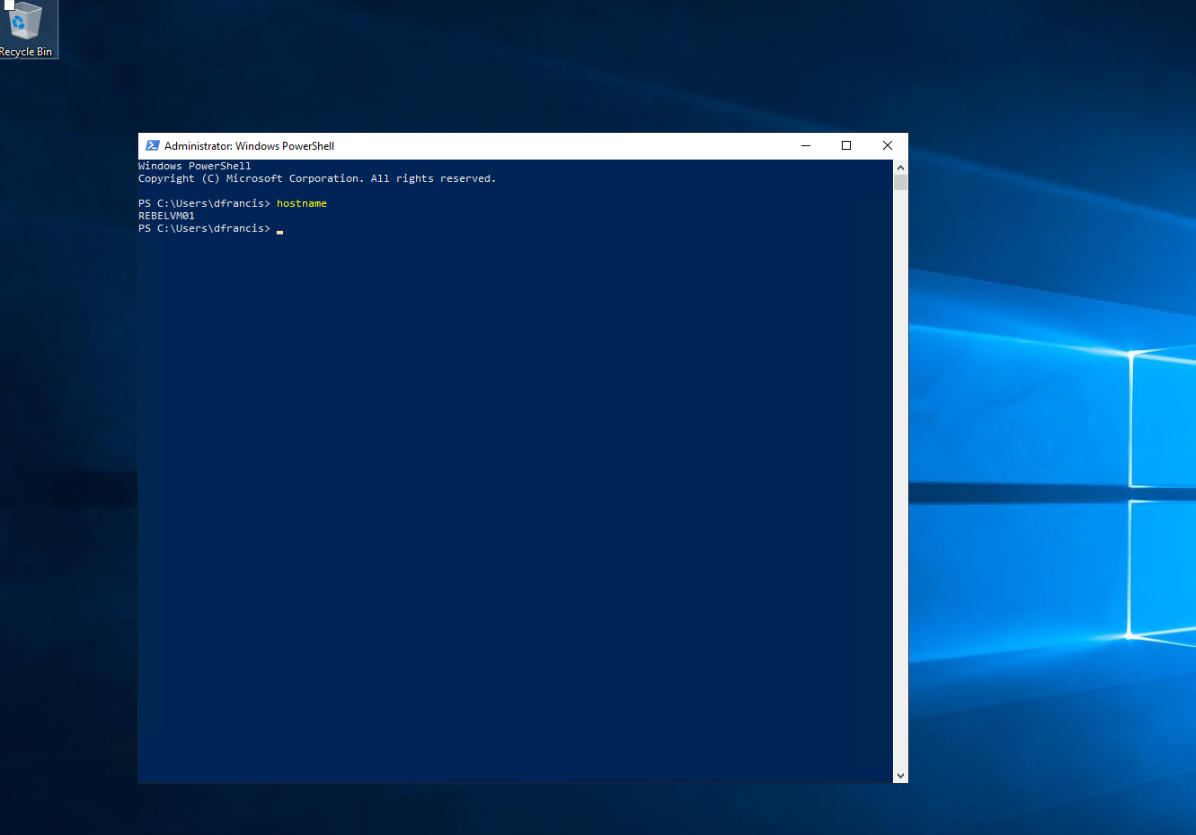
And it is continued to be an encrypted VM.
As we can see the backup and restore process of encrypted Azure VM is working as expected. This marks the end of this blog post. If you have any further questions feel free to contact me on rebeladm@live.com also follow me on twitter @rebeladm to get updates about new blog posts.

