
Data encryption is one of the basic requirements when it comes to data protection. Using Windows BitLocker, we can easily encrypt virtual and physical disks. We normally use group policies and system center configuration manager (SCCM) to centrally manage/configure BitLocker.
We also can use Microsoft Intune to manage BitLocker on Azure AD joined Windows 10 devices. This is done by using Microsoft Intune Device configuration Profiles. I previously wrote an article about configuration profiles and explained how we can use it to standardize device configurations on Azure AD join devices. I highly recommend you to go through it before we continue further with this blog post as it explains the basics about configuration profiles. This aforementioned blog post can access using http://www.rebeladmin.com/2019/09/step-step-guide-standardize-desktop-devices-using-microsoft-intune-device-configuration-profiles/
In this demo, I am going to demonstrate how to manage BitLocker using Microsoft Intune. Before we start, we need to have devices enrolled with Intune. You can find more info about device enrollment using my previous blog posts http://www.rebeladmin.com/2018/11/step-step-guide-enroll-windows-10-devices-microsoft-intune-using-autopilot/
In my demo environment, I have Azure AD joined & Intune enrolled windows 10 device called W2007.

Let's go ahead and setup the relevant device configuration profile.
To do that,
1. Log in to Azure Portal (https://portal.azure.com) as Global Administrator and go to All services | Intune or else log in to Intune device management portal directly via https://devicemanagement.microsoft.com
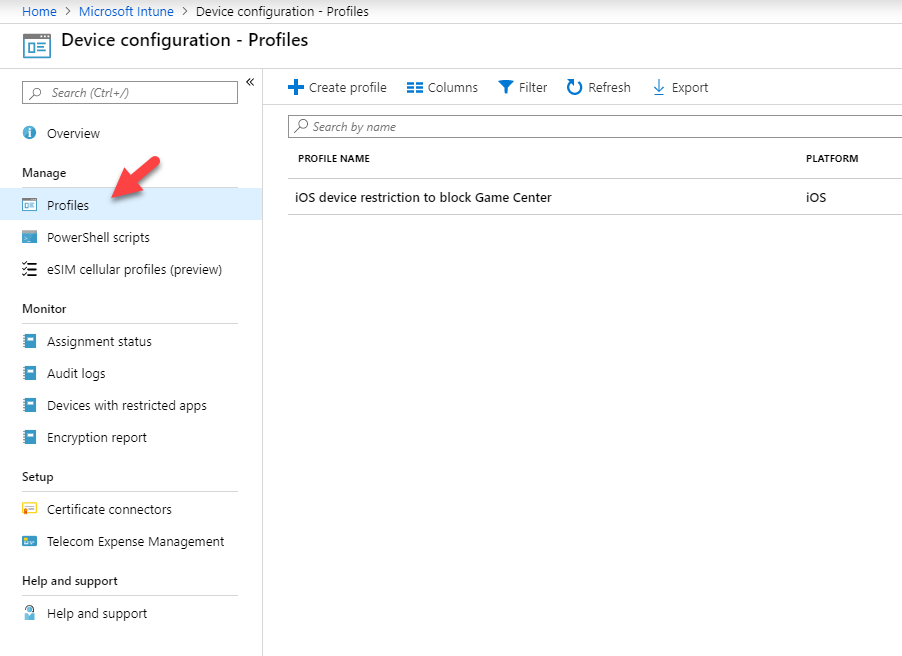
2. Then click on Device configuration | Profiles
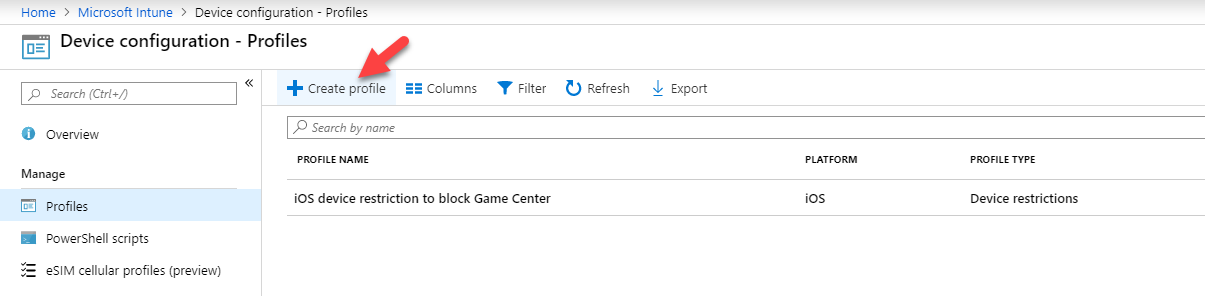
3. In the profiles page, click on + Create profile
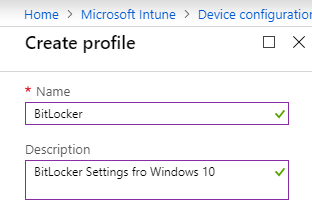
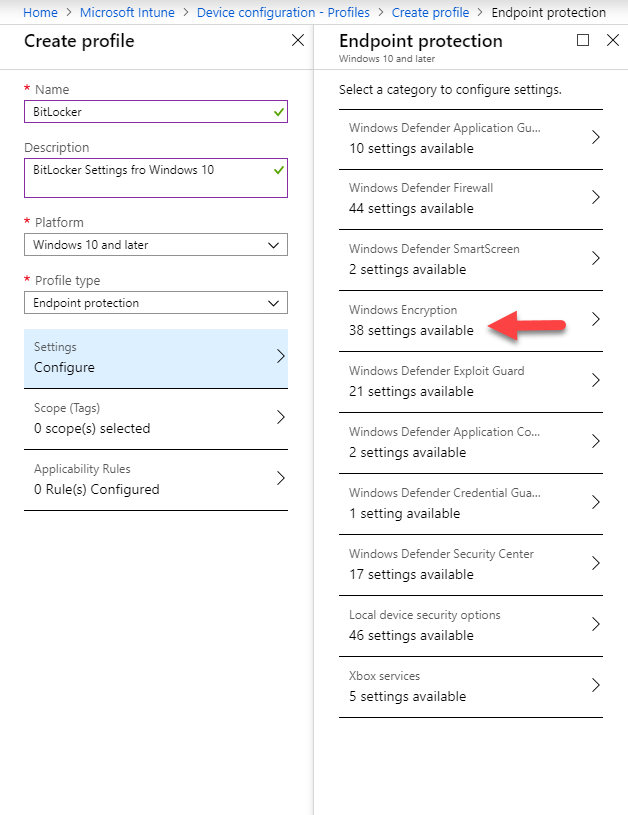
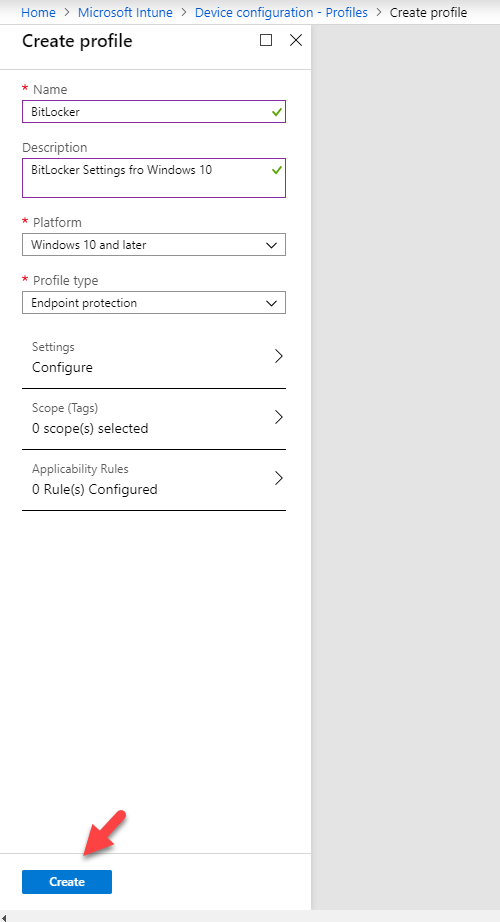
4. In the new window, provide a name for the policy. Also, provide a brief description in the Description box for easy management.
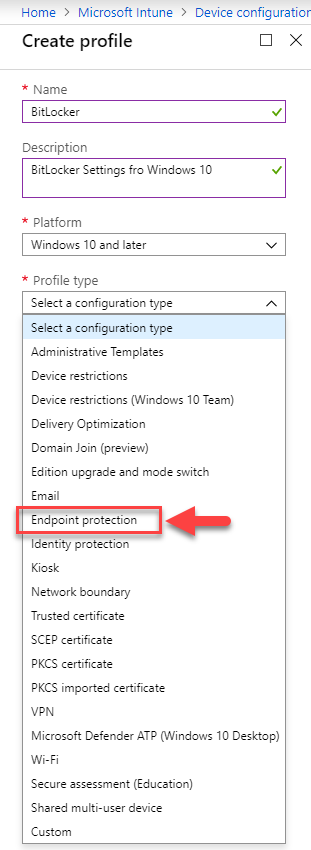
5. In the platform dropdown, select Windows 10 and later option.

6. Then on the Profile type select Endpoint Protection.
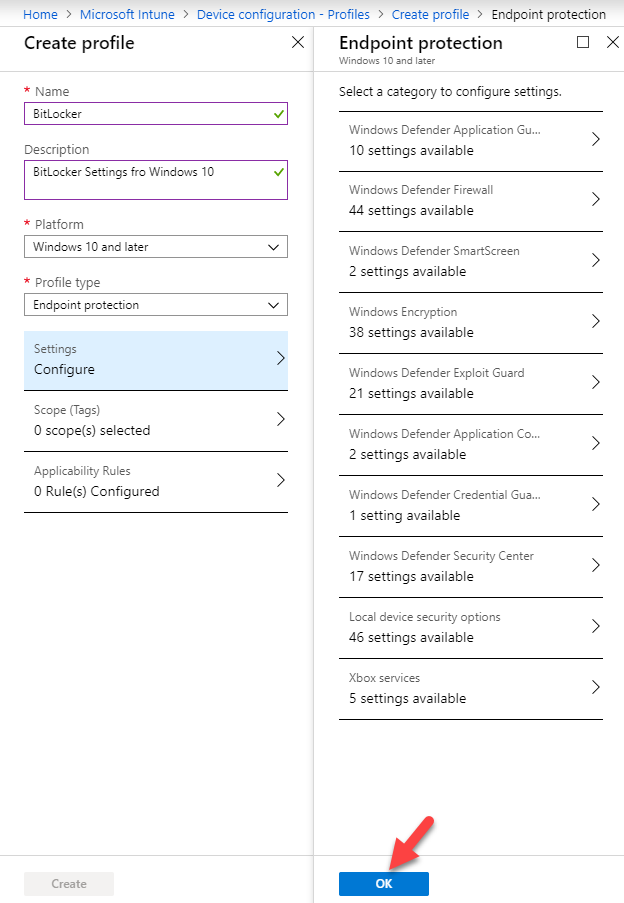
7. It will load up all the related policy settings. From the list, click on Windows Encryption.
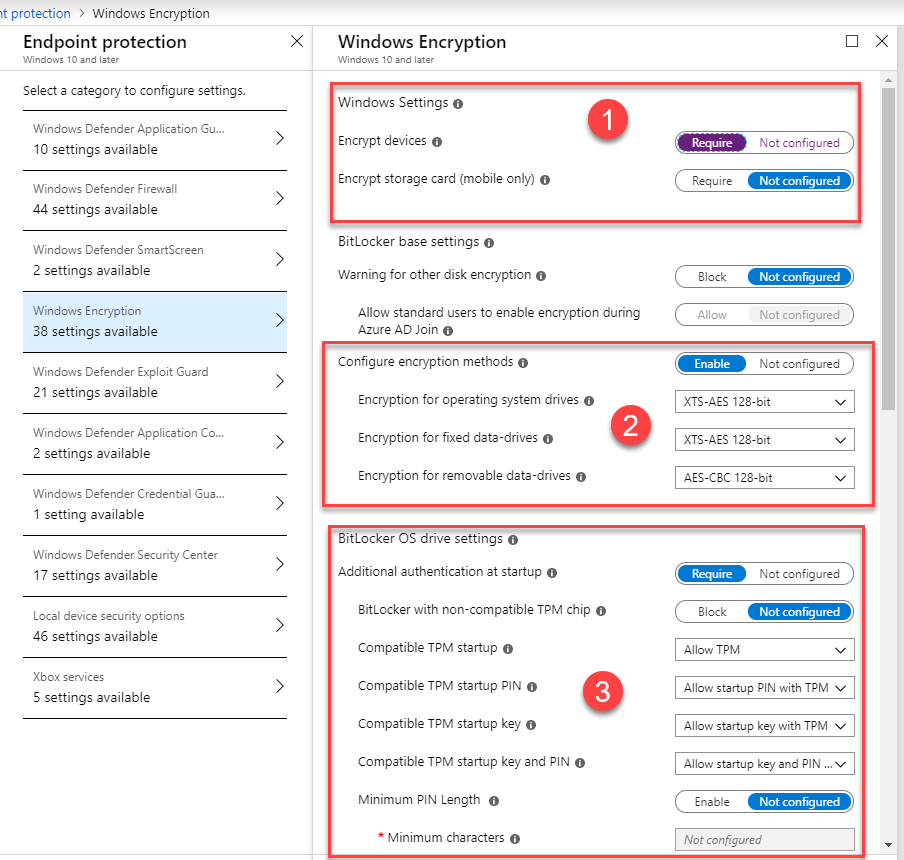
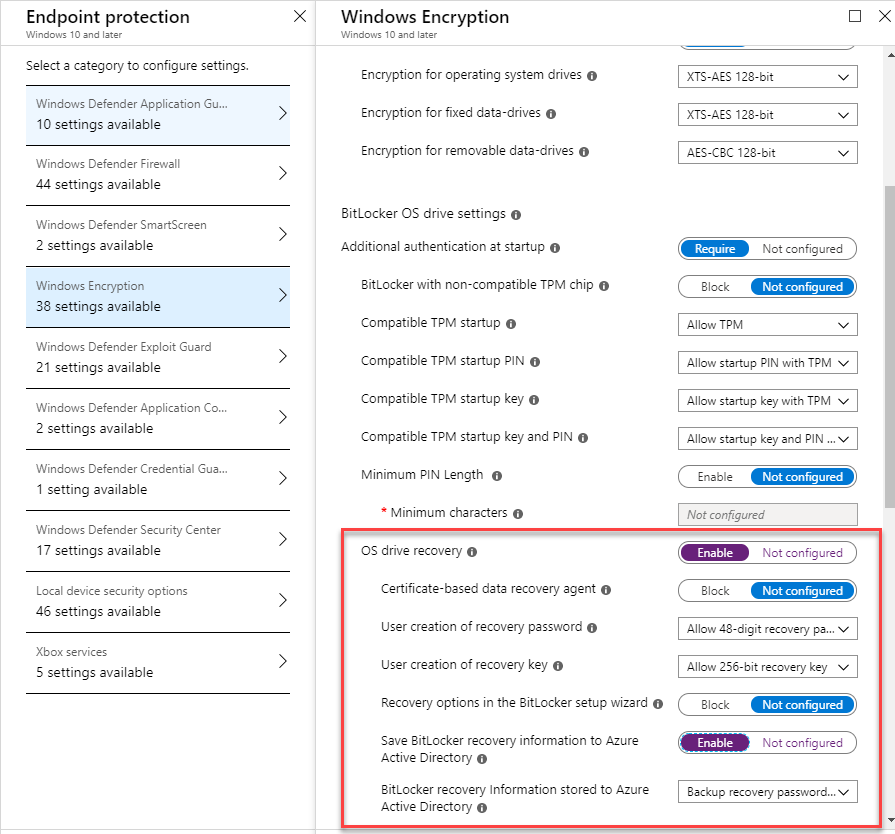
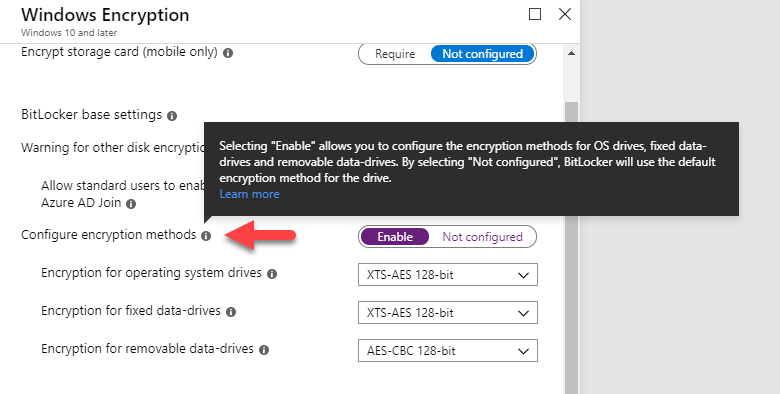
8. Then using settings under, BitLocker base settings & BitLocker OS drive settings apply the relevant standards according to your environment. In this demo, I am using the following,
[su_note]In the above make sure to select the option to save recovery keys to Azure AD. This way users can retrieve keys using the Azure portal when required.[/su_note]
There is an information link for every setting in there.
9. Click OK at the end to return to the main profile settings.
10. Then click on Create to set up the profile.
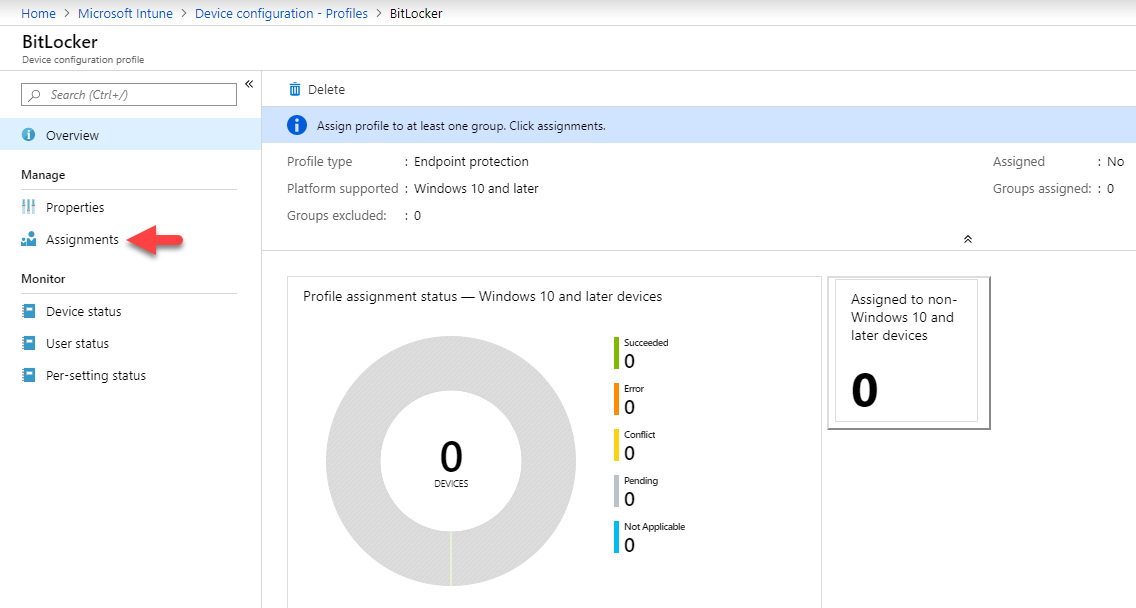
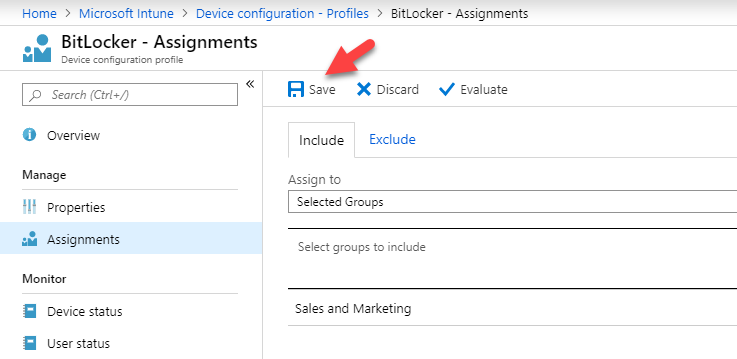
11. Once the profile is setup, click on Assignments to define the target.
12. You can apply the profile easily to All users, All devices or All users & devices by using Assign to the setting. But if you have a specific target, you can use Select group to include option. In my demo, I am applying this to the sales & marketing group.
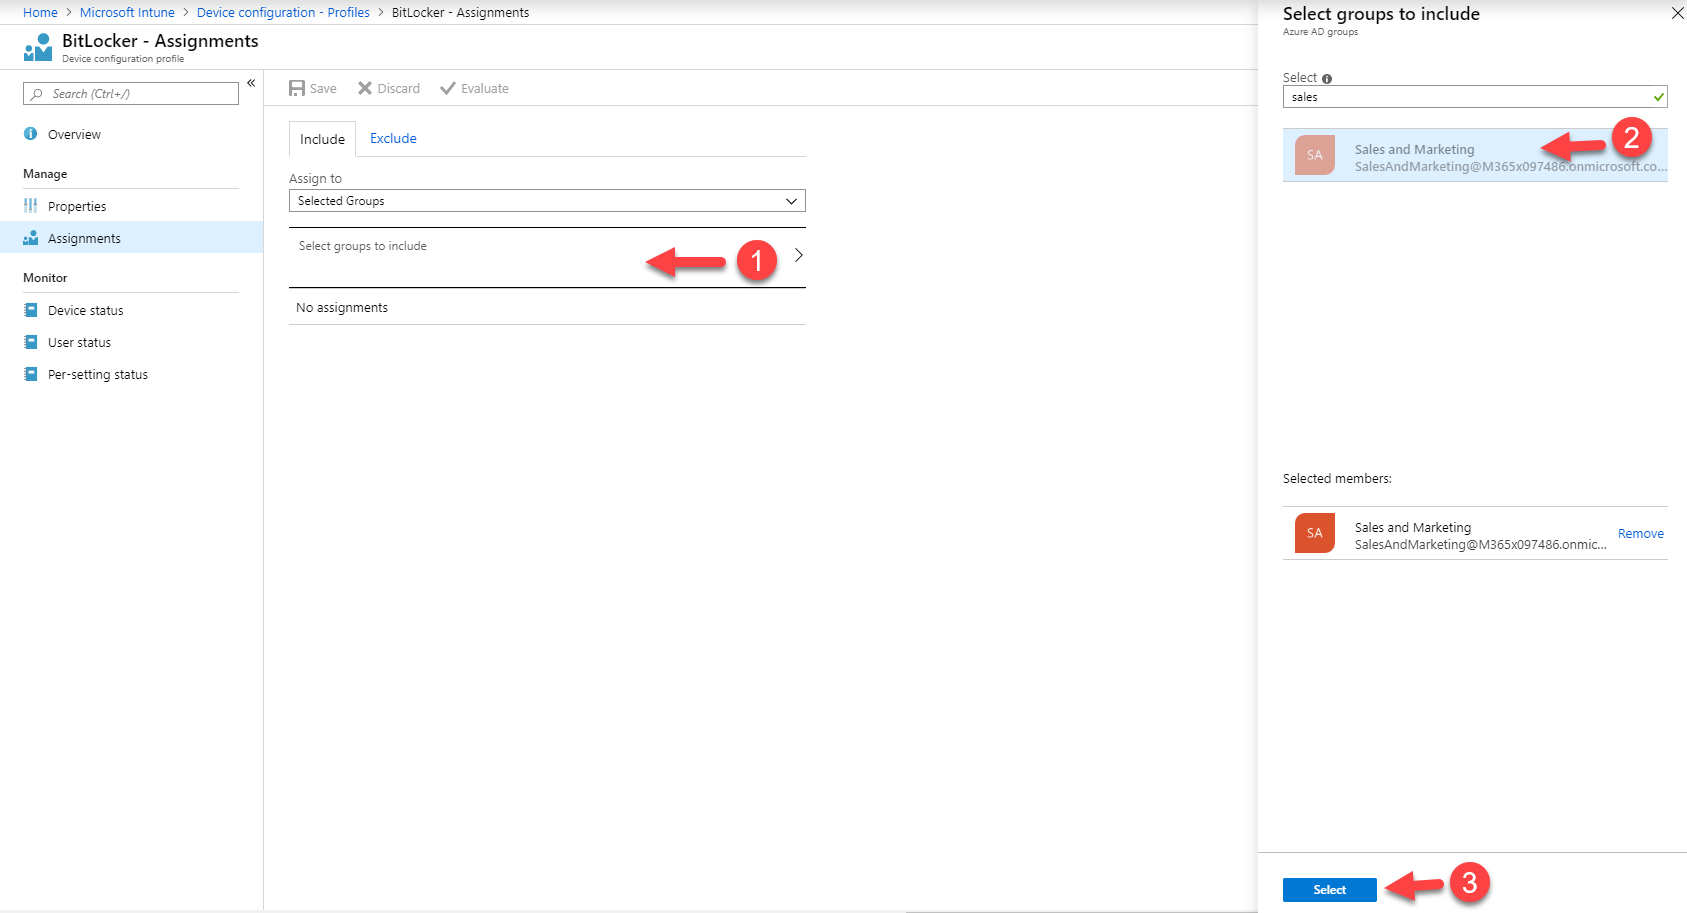
13. Once the selection is done click on Save to apply the changes.
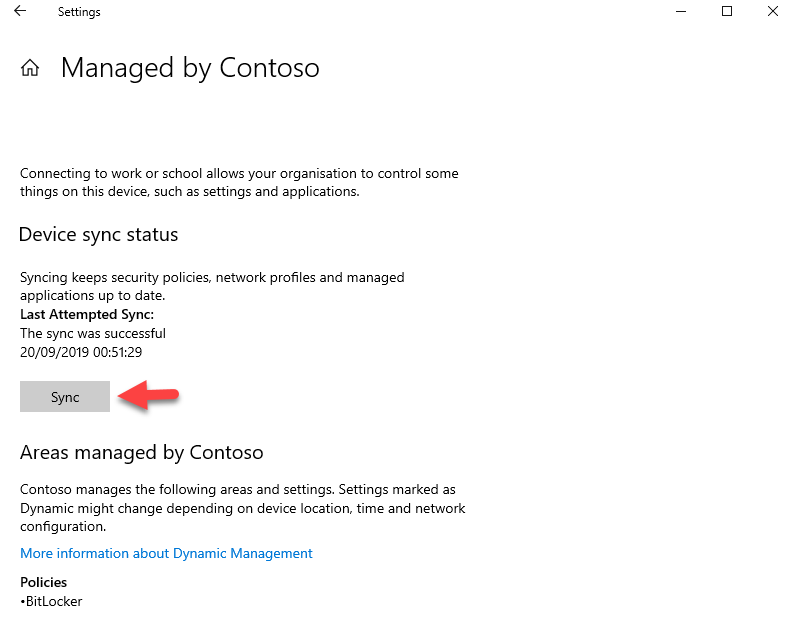
14. Then log in to Windows 10 machine, and go to Access work or school under account settings.
15. Click on the work account and then Info button.

16. Then click on Sync option to sync settings with intune changes.
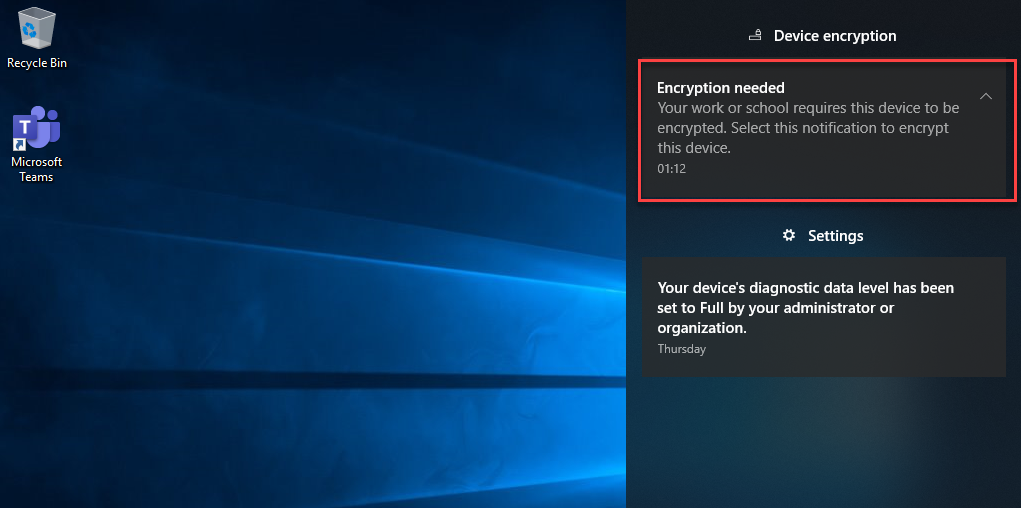
17. In a few seconds it will prompt the following message, click on it to proceed.
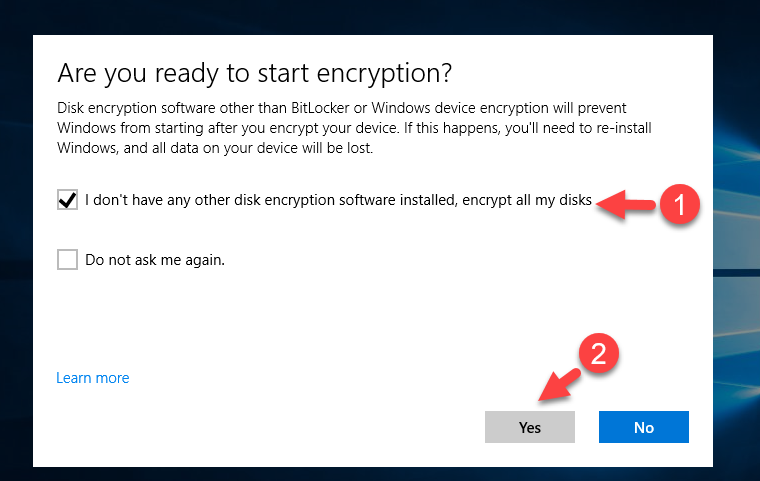
18. It will open the following window. Select I don't have any other disk encryption software installed, encrypt all my disks. Then click on Yes to proceed with encryption.
19. It will open up the bit locker wizard, in there make sure to save recovery keys to the cloud domain account.

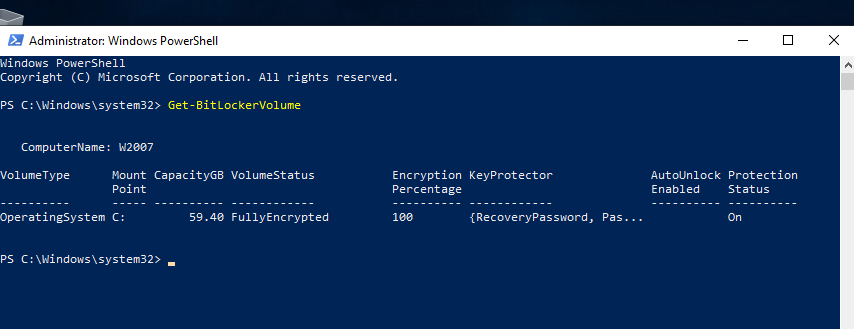
After the encryption process completed, I can see the disk is fully encrypted as expected.
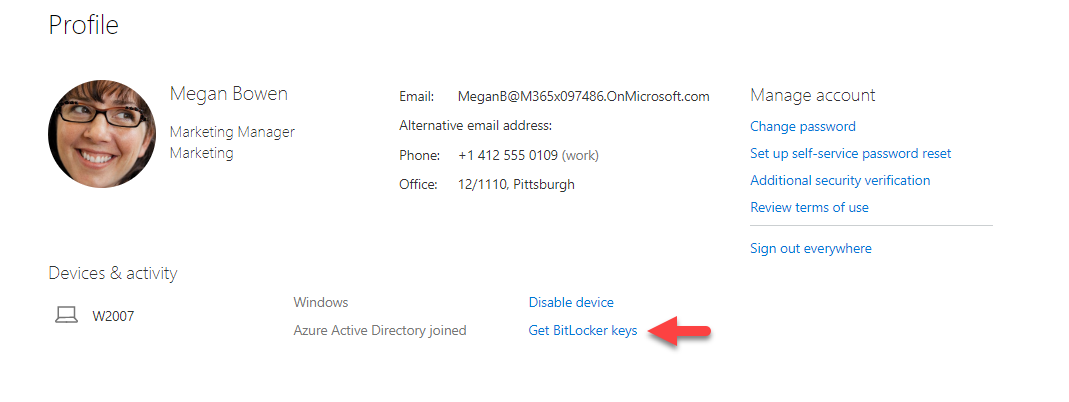
20. Then we need to verify if the recovery key is saved in Azure AD. To do the login to https://myapps.microsoft.com as the user and then click on Profile.

21. It will list down profile data along with devices. Click on Get BitLocker keys and it should display the recovery key.
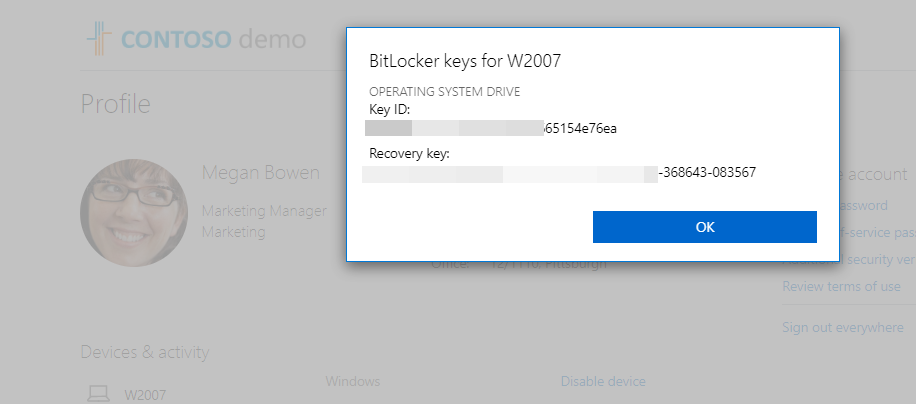
As we can see now the BitLocker settings are managed by Intune and Azure AD. This marks the end of this blog post. If you have any further questions feel free to contact me on rebeladm@live.com also follow me on twitter @rebeladm to get updates about new blog posts.

