
Data is the new oil. It created new currency, it opened up new opportunities, new revenue streams. When more and more data been transferred in to digital format, it opens up new security concerns about confidential data. How we can make sure corporate confidential data not been shared?
I have some confidential data saved in OneDrive. It is being shared with my sales team. Majority of team members are working from home at least 2-3 days in the week. I need to make sure this confidential data not been shared with anyone else. In this demo I am going to show how I fix with this issue.
The solution that I am going to use in here is Azure Information protection. This works with labels & permissions. We can label data and associate relevant permissions to it. Permissions define what users can do and can’t do with data.
So, let’s see this in action. As first step we need to go ahead and setup labels. To do that,
1. Log in to https://portal.azure.com as global administrator
2. Then go to All Services | Azure Information Protection
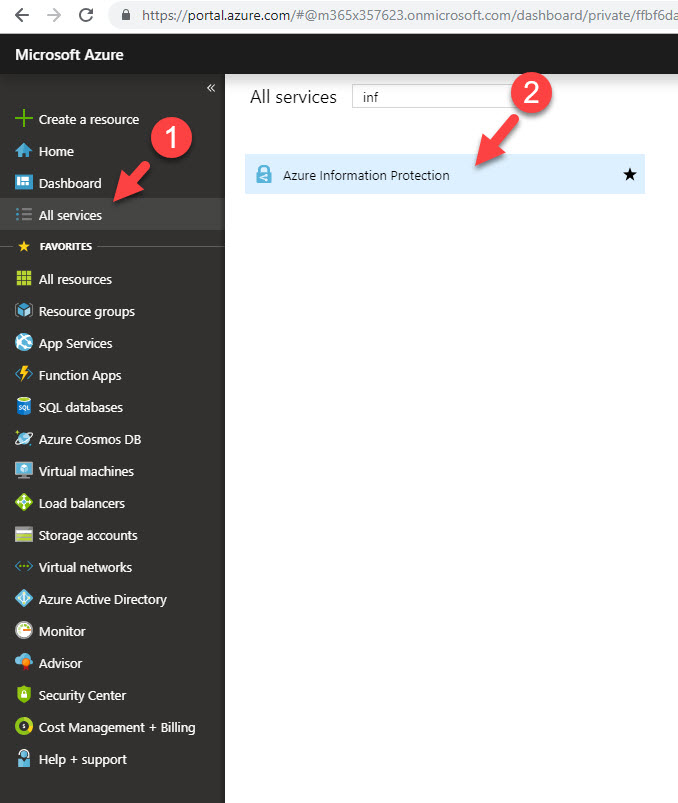
[su_note]You need to have relevant subscription in place to use this feature. More info about it available on https://azure.microsoft.com/en-gb/pricing/details/information-protection/[/su_note]
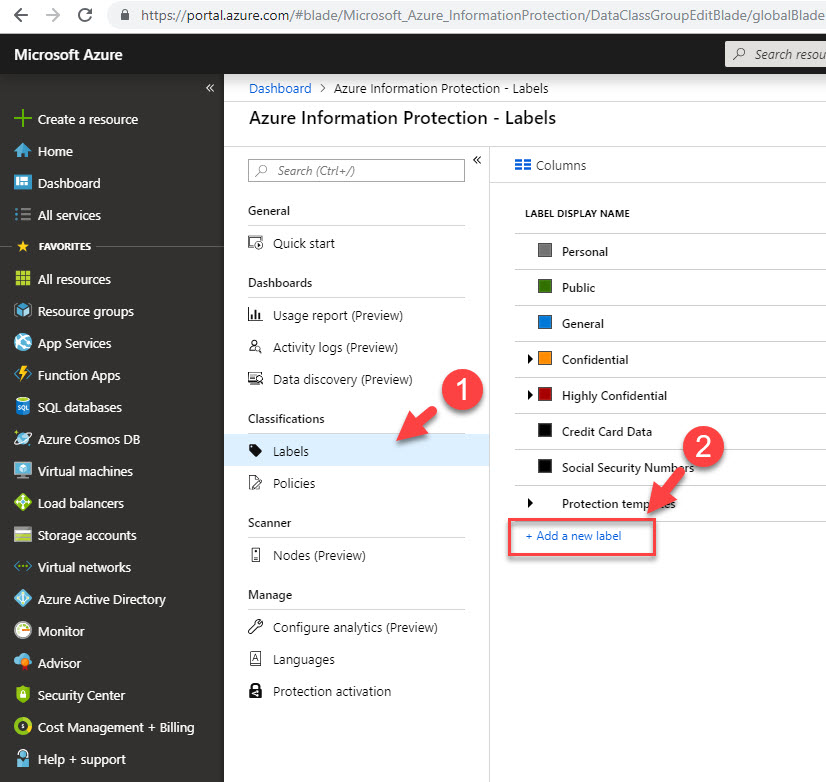
3. Then click on Labels | Add a new label
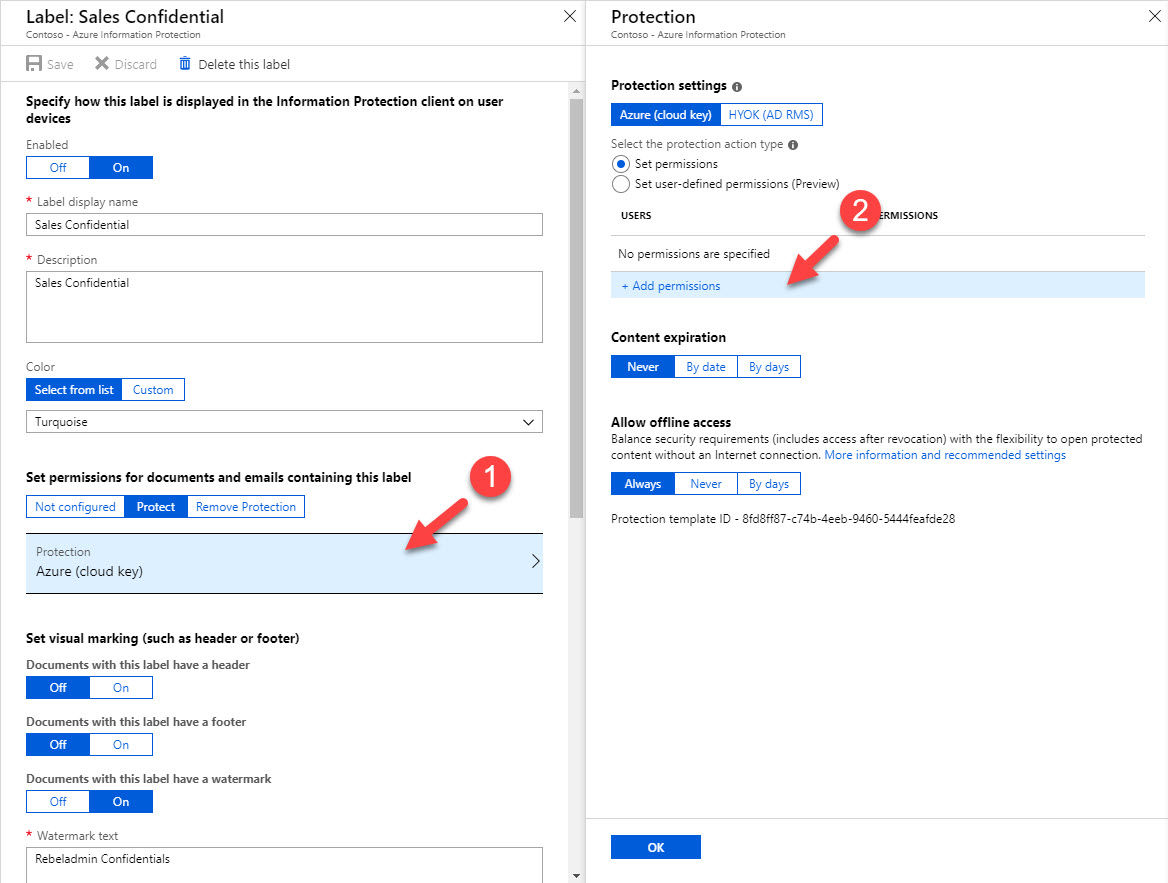
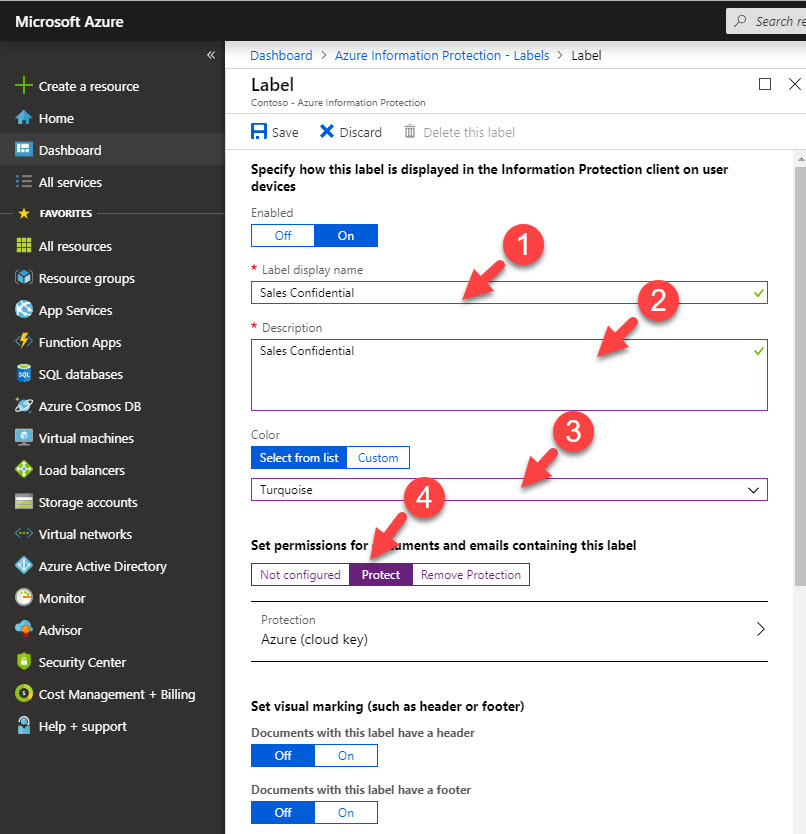
4. In new page, provide name and description for the label. Then click on protect under Set permissions for documents and emails containing this label.
5. Click on Azure (cloud key) and in new window click on Add permissions.
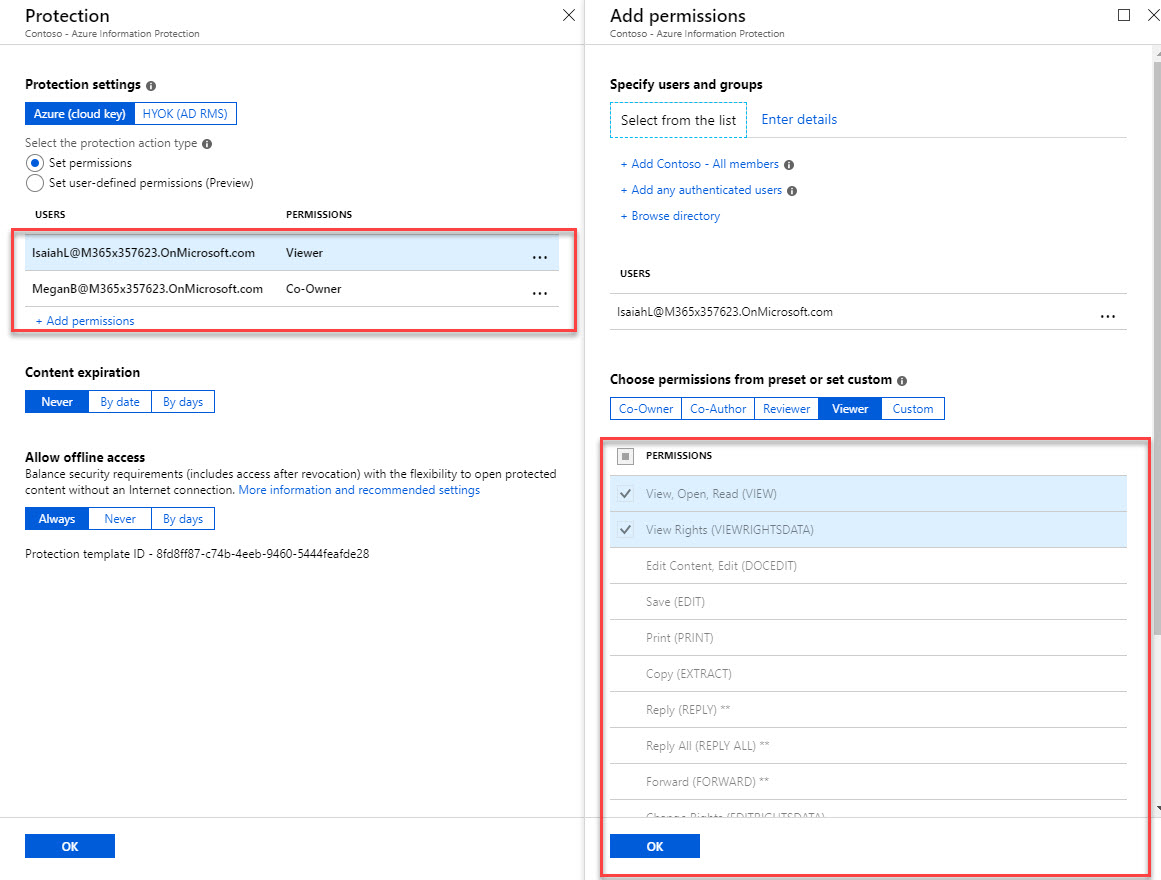
6. In my demo I have setup my sales manager Megan as co-owner and set one of the sales member Isaiah as Viewer. Co-owner have full control over the document. But Viewer only can view the data. Once relevant permissions in place press Ok to apply changes. In future any document with this label Sales Confidential will have these assigned permissions.
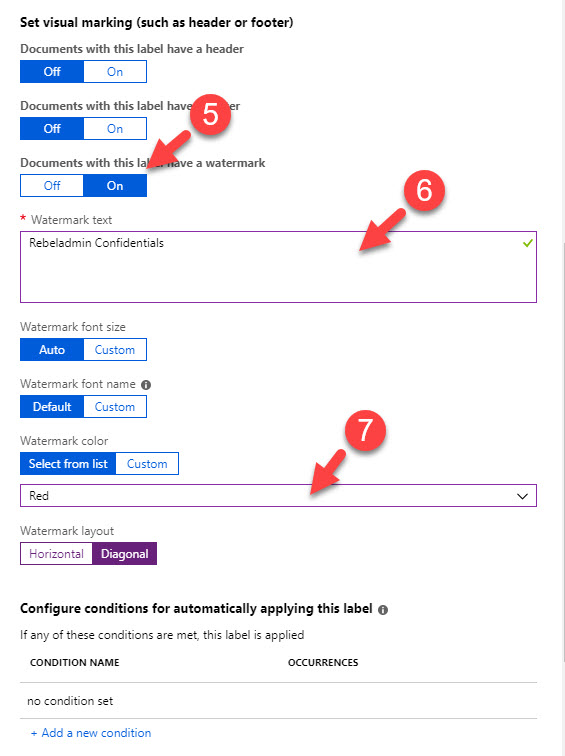
7. Then Click On under Documents with this label have a watermark. Then type text for the watermark and select color for it.
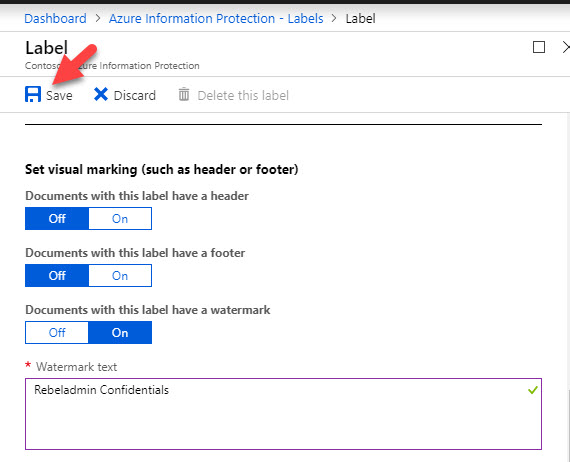
8. Once settings are in, click on Save.
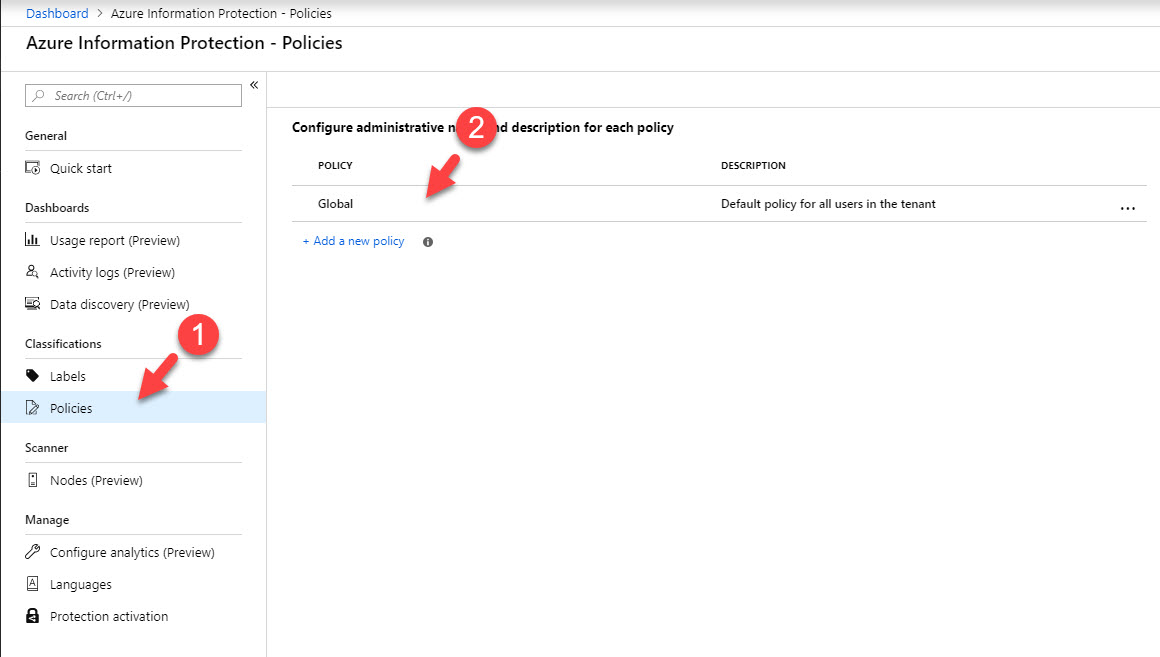
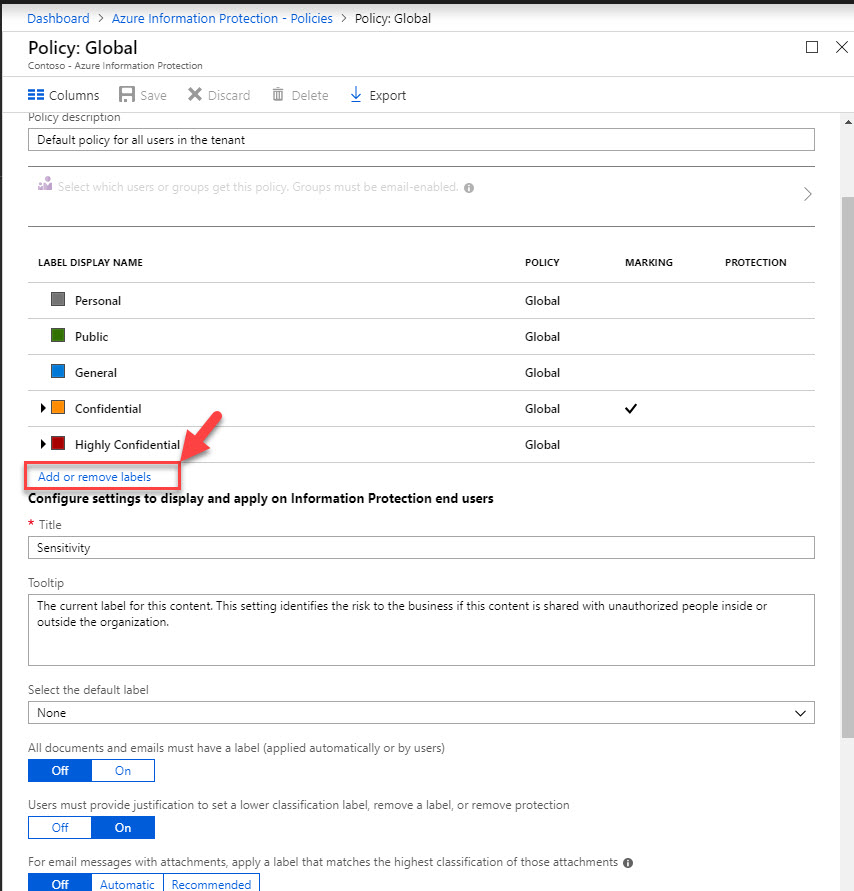
9. Then click on Policies | Default Policy
10. In new window click on Add or remove labels.
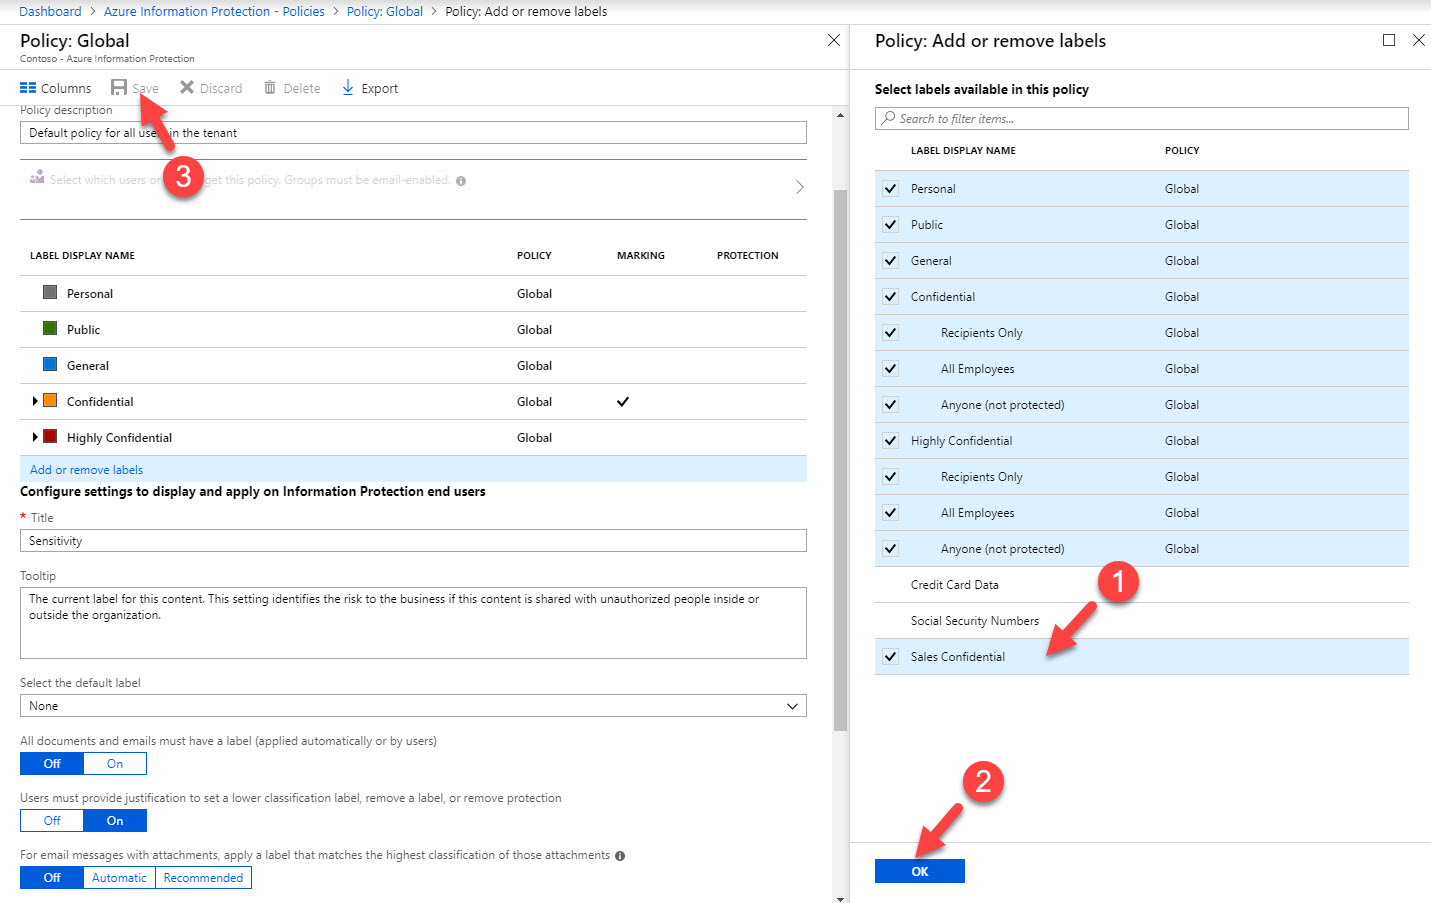
11. From the label list, click on the new label we created and then click Ok and Save to complete the task.
12. Now we have the label, next step is to use it with data.
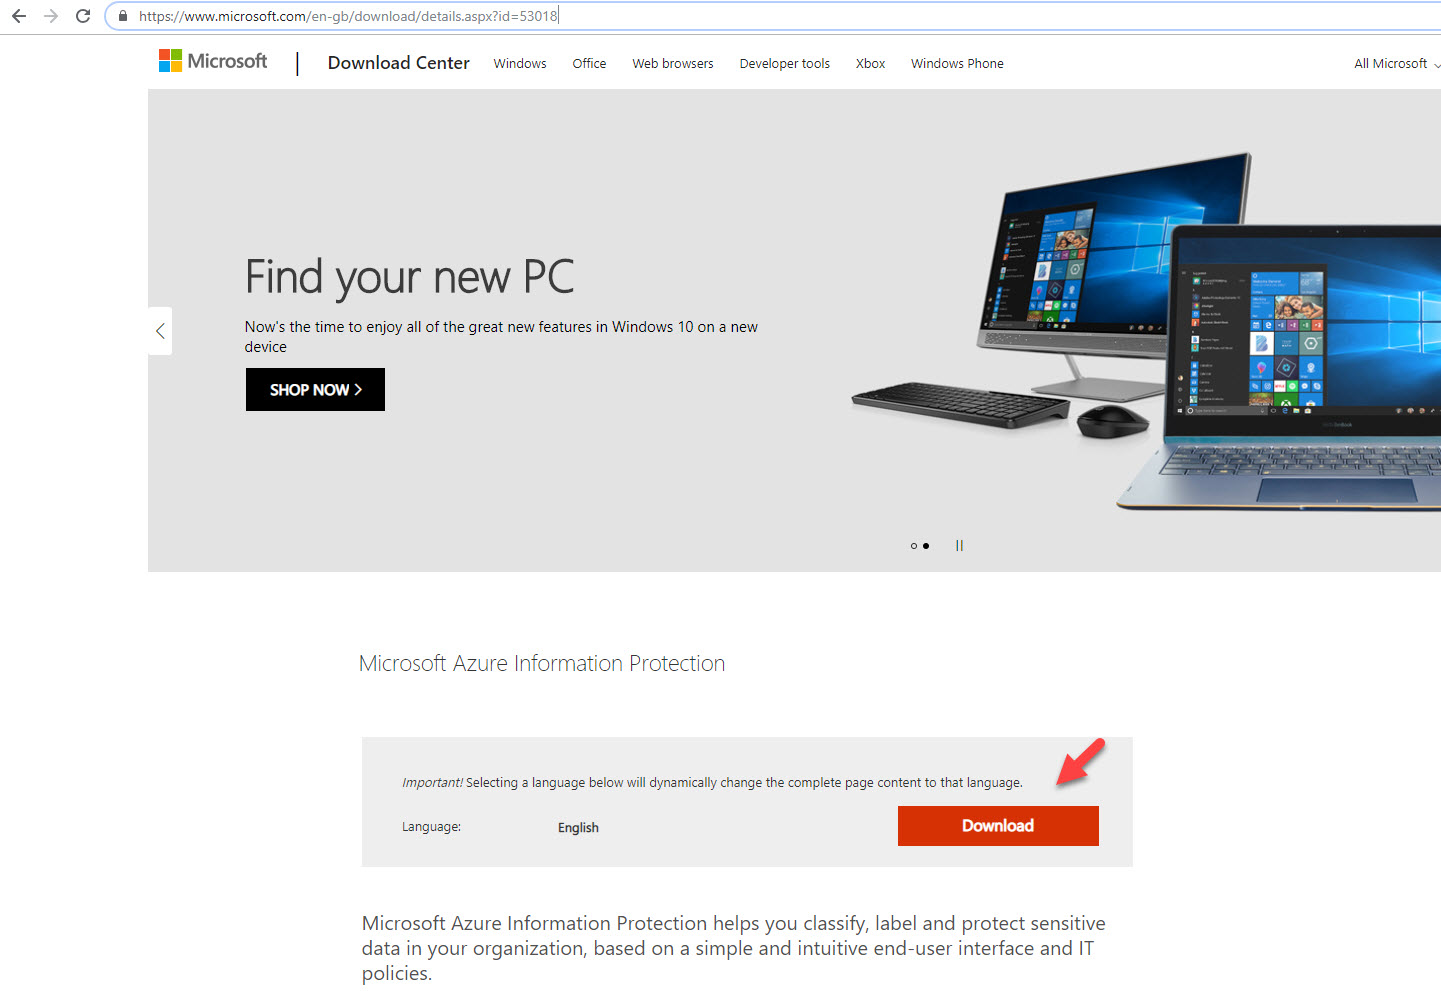
13. Before I do that, I need to install Azure information protection Add-in in PC. So I can start classify data.
14. To do that go to https://www.microsoft.com/en-gb/download/details.aspx?id=53018 and download the files.
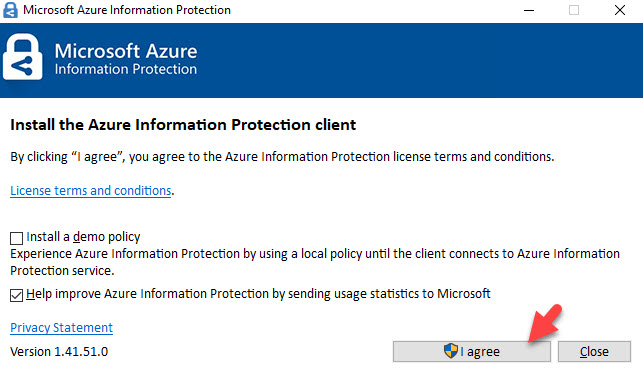
15. Then run the exe and install the addon.
16. After that I have login to OneDrive as Megan. (via https://portal.office.com )
17. I have selected a file called Contoso Purchasing Permissions – Q1.docx that I like to protect. After selecting the file click on open in word

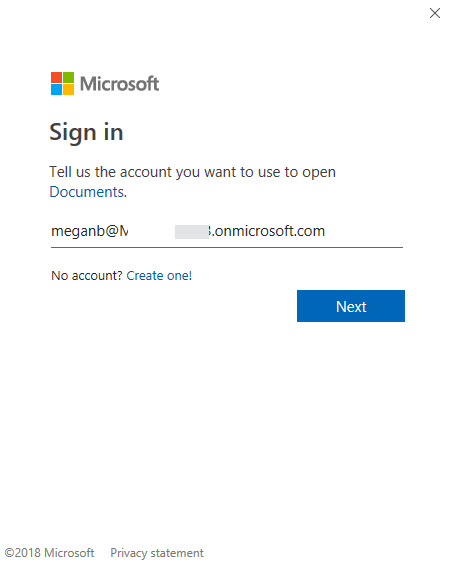
18. It will ask for the login. Provide the same user info you have used for OneDrive.
19. In word, click on Protect | Sales Confidential to apply the correct label to the doc.
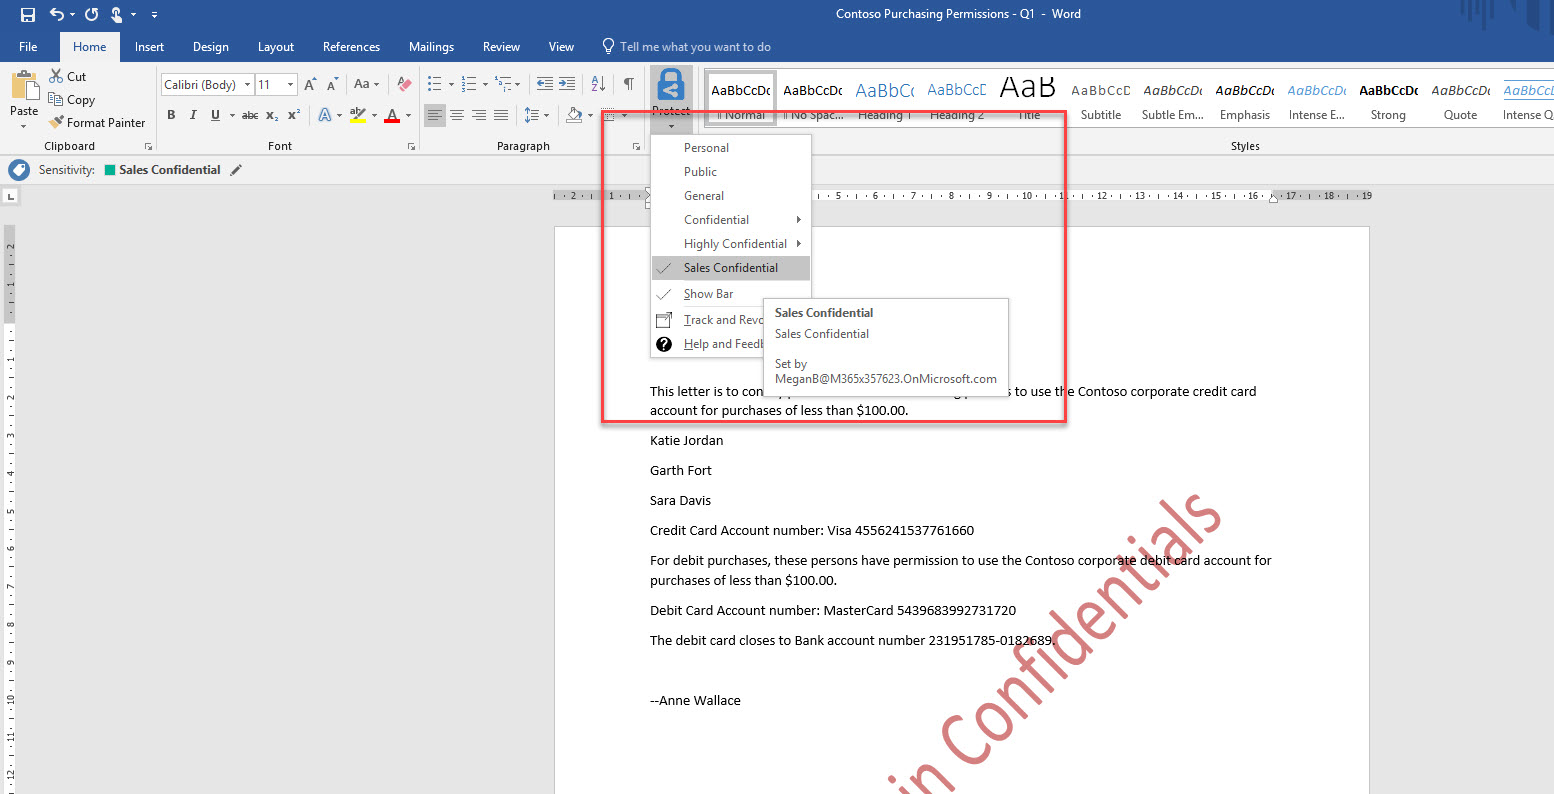
20. Then click on Save.
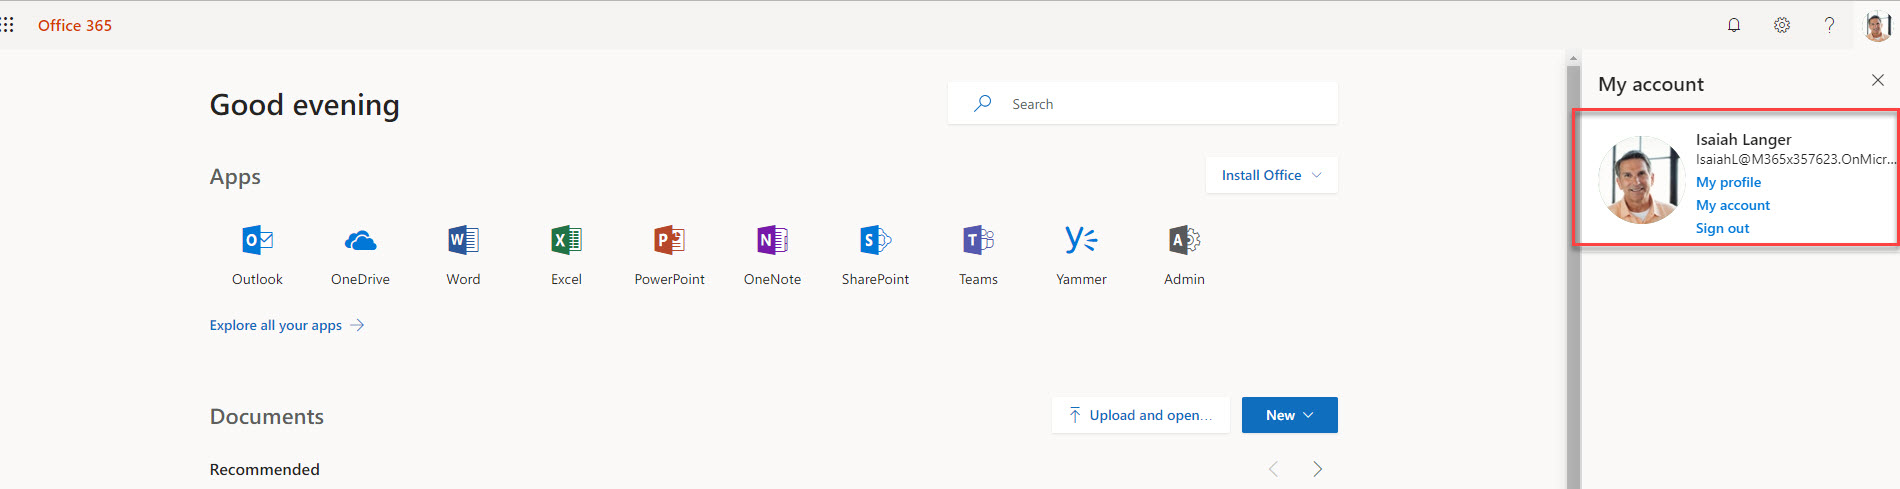
21. Now I moved to another PC and log in to https://portal.office.com as use Isaiah. This PC also have Azure information protection Add-in installed.
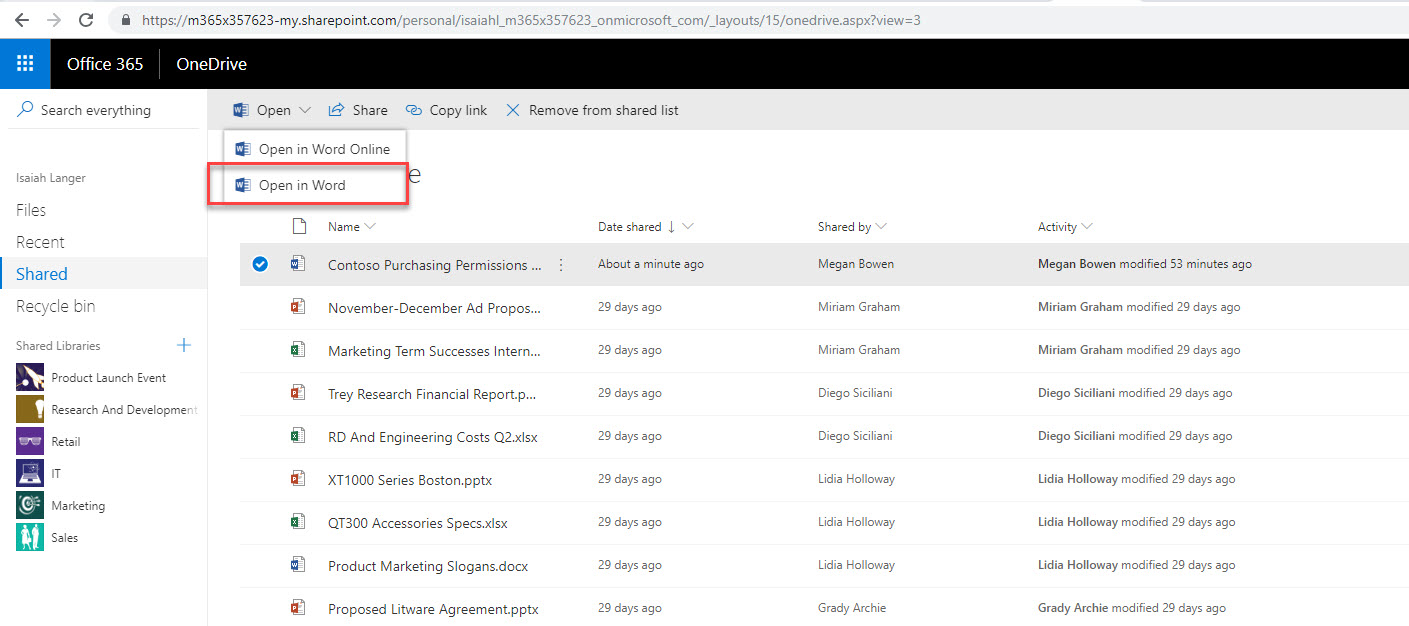
22. Then I open up one drive and locate the Contoso Purchasing Permissions – Q1.docx under shared files. Once file is selected, I click on Open in word option.
23. After successful login to word as user Isaiah, we can see the confidential file content. To view the permissions, click on View permissions button.
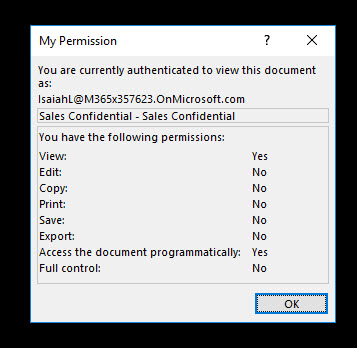
24. As expected it is now read only copy for this user. User can’t copy, edit any data. Even screen print, snip it or other 3rd party screen capture tools not working. It is why I can’t show you screenshot of it either ?
Hope now you understand how we can use azure information protection to protect data. if you have correct labels and permissions in place it is very straightforward. This marks the end of this blog post. If you have any further questions feel free to contact me on rebeladm@live.com also follow me on twitter @rebeladm to get updates about new blog posts.

