
Azure AD conditional access allows to apply MFA (multi factor authentication) rules per application based on groups, locations, sign-in risks. In this demo I am going to show how we can create conditional access policy to control MFA per application.
1) As first step, I am logging in to https://portal.azure.com as global admin.
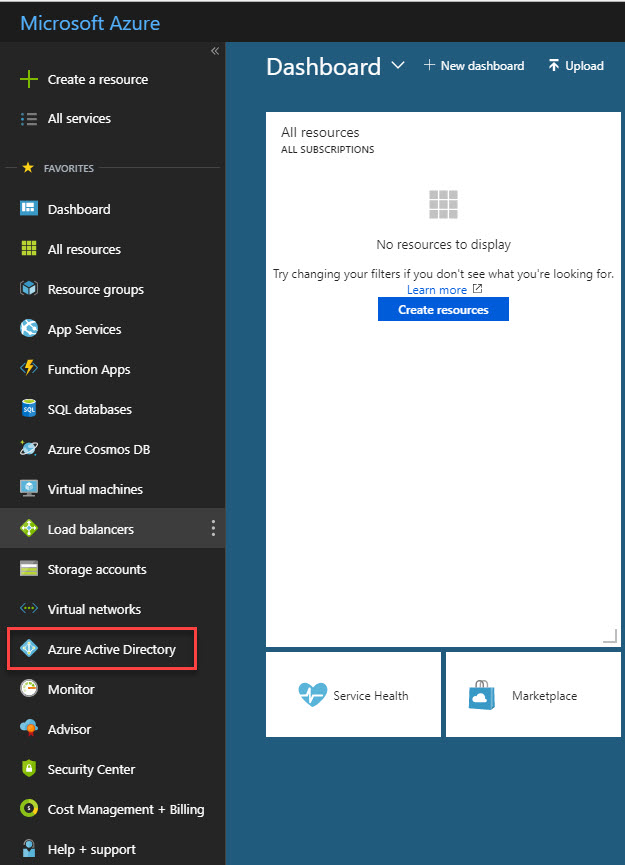
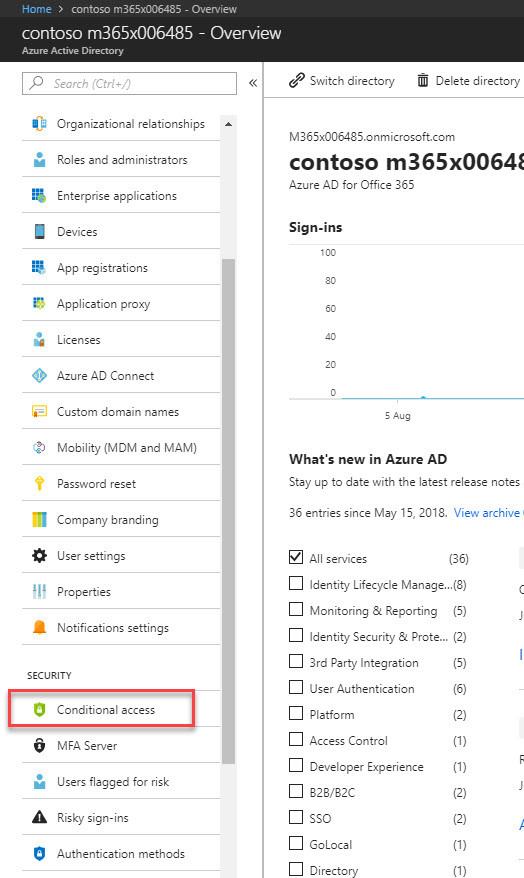
2) Then go to Azure Active Directory
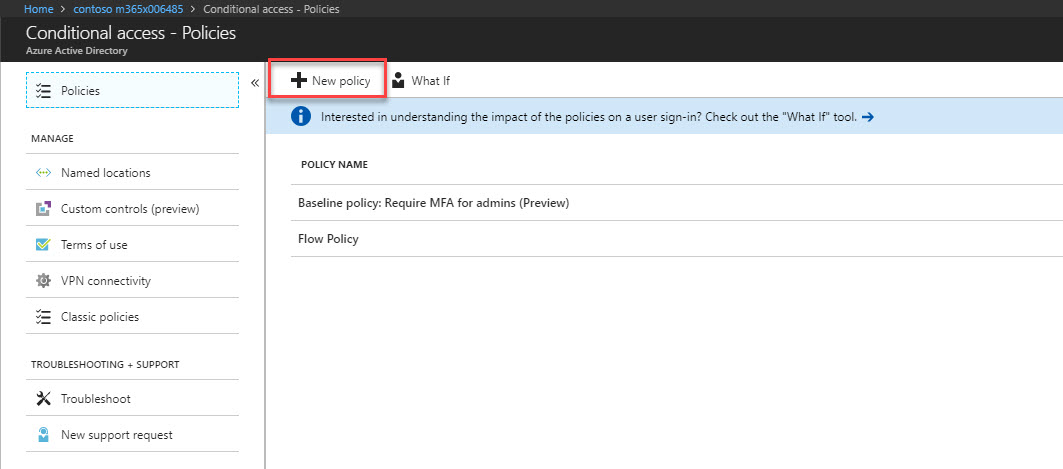
3) Then click on Conditional access
4) Click on New Policy to create new MFA policy.
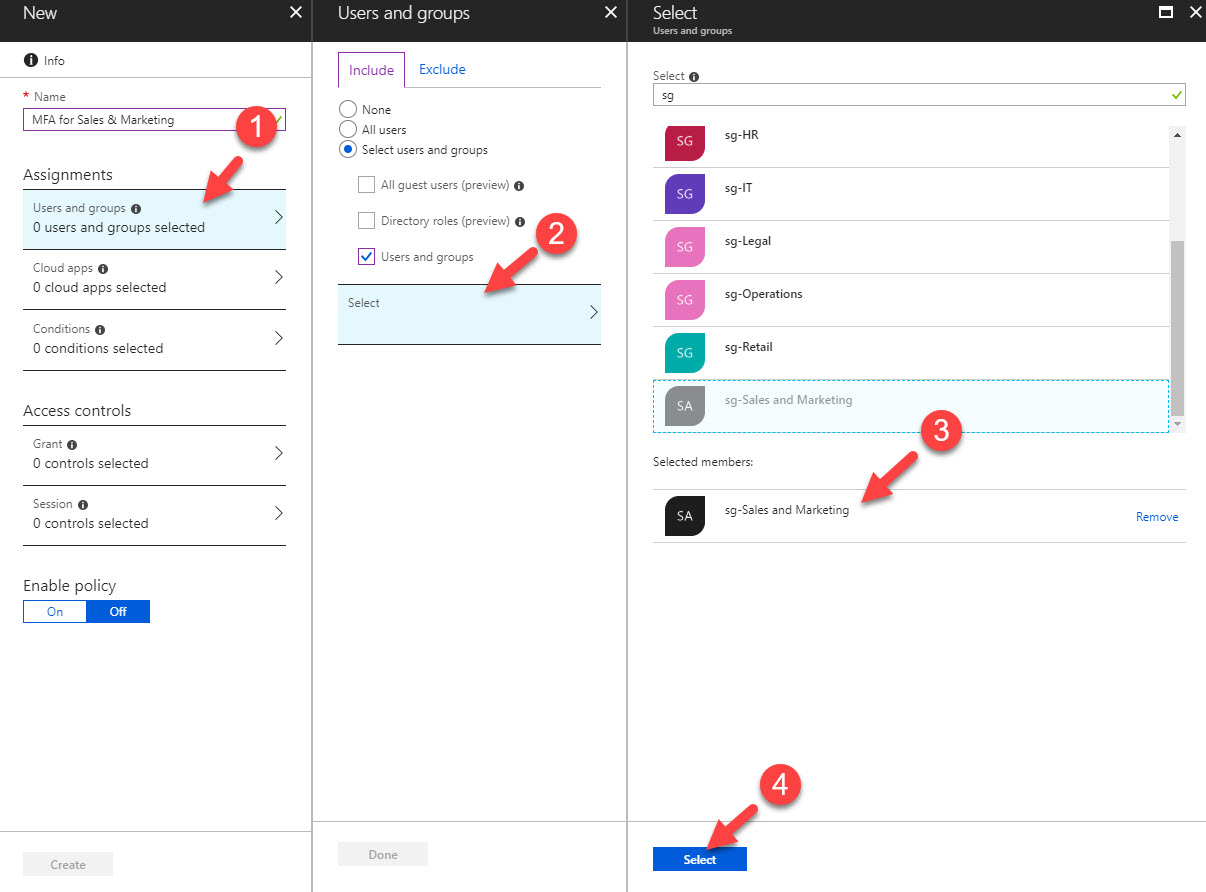
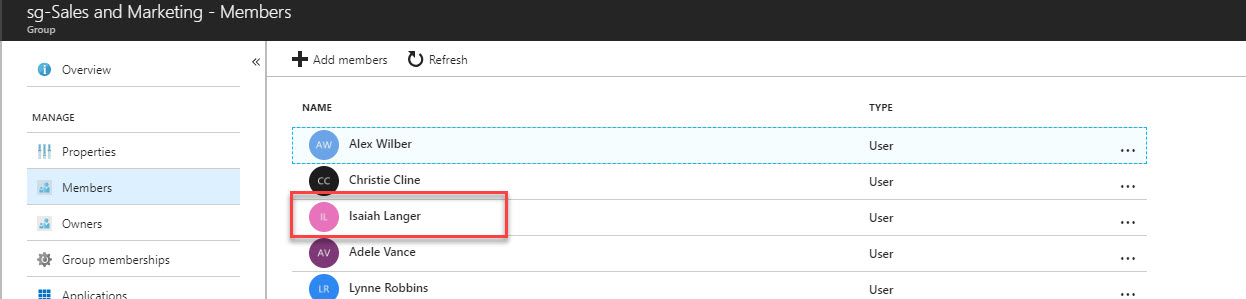
5) Then give it a name first, in my demo, my target group is sales & marketing team. So, I click on users & groups and then select the sales & marketing group.
6) Then click on clouds app and select the application. In my demo I am using Microsoft teams.
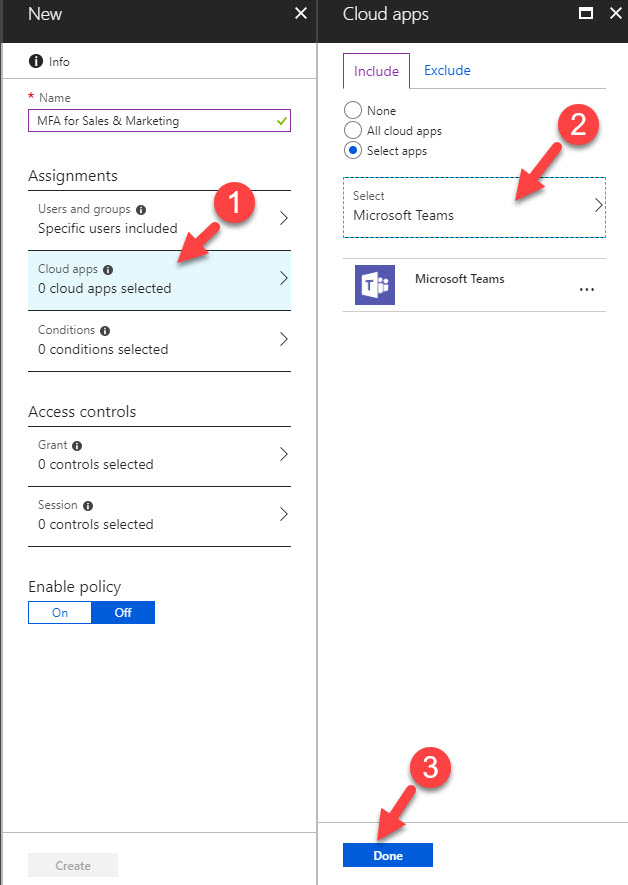
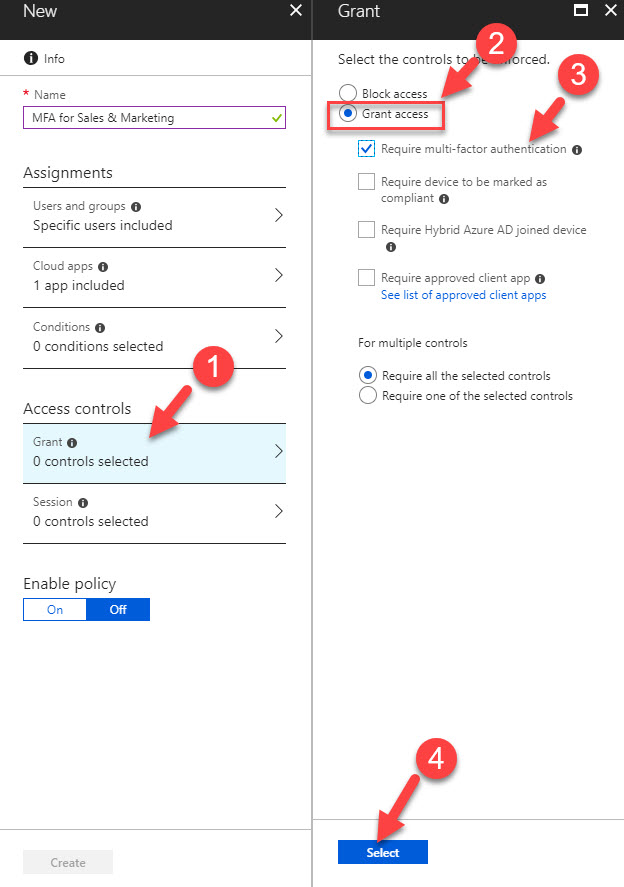
7) Then click on Access control. after click on Grant Access and select Require multi-factor authentication. At last click on Select to finish the config.
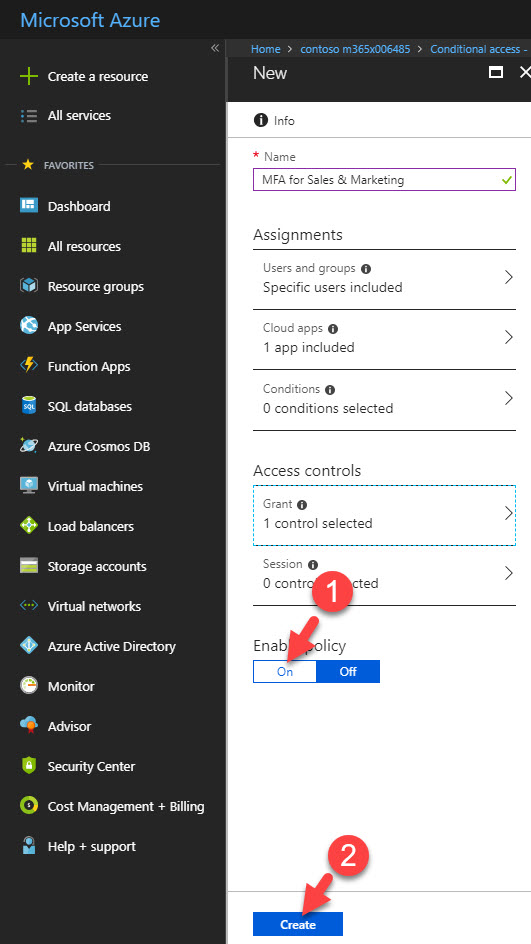
8) Then click On under enable policy and after click on create to activate the policy.
9) Now it is time to test, I am going to log in to https://myapps.microsoft.com with an account belong to sales & marketing group.
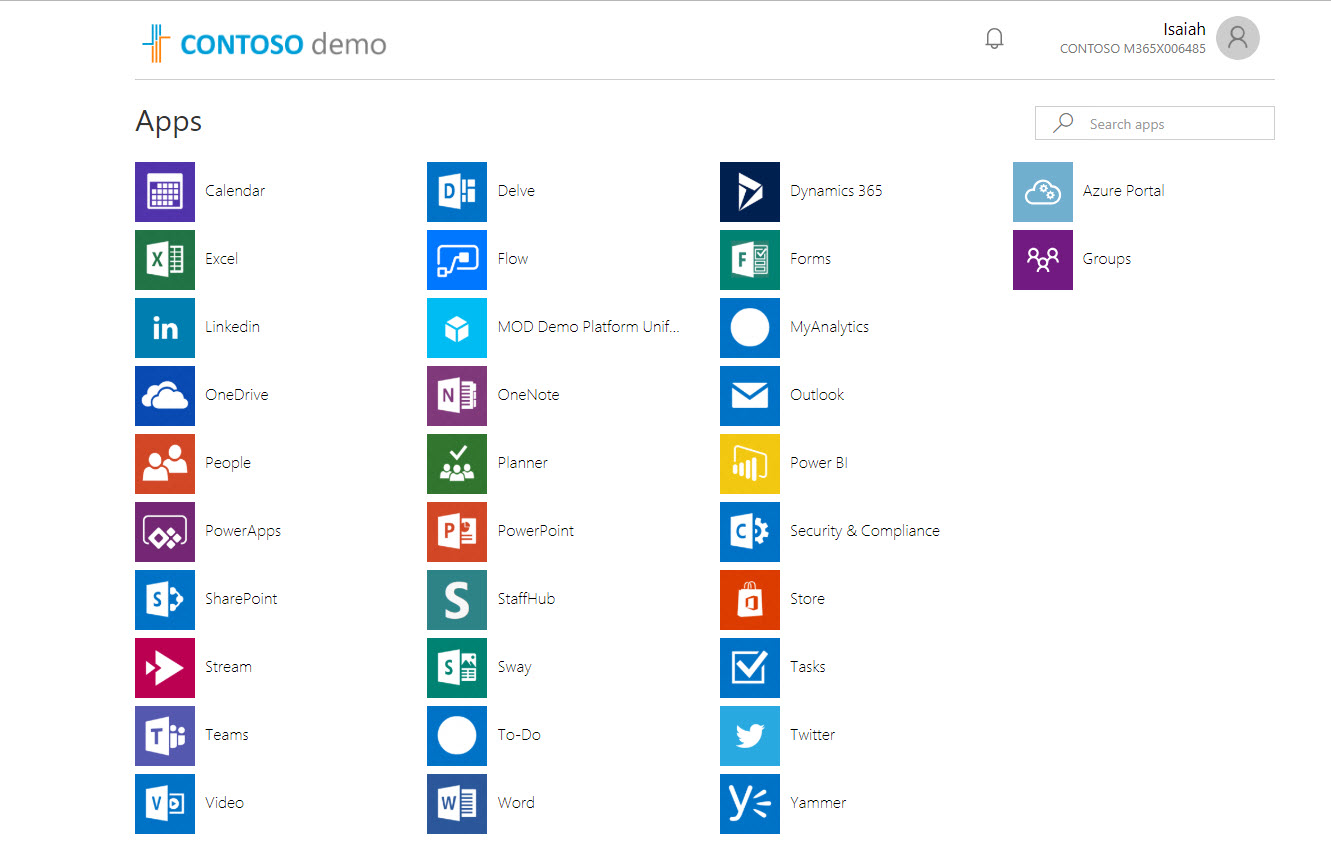
10) Then I click on Microsoft Teams.
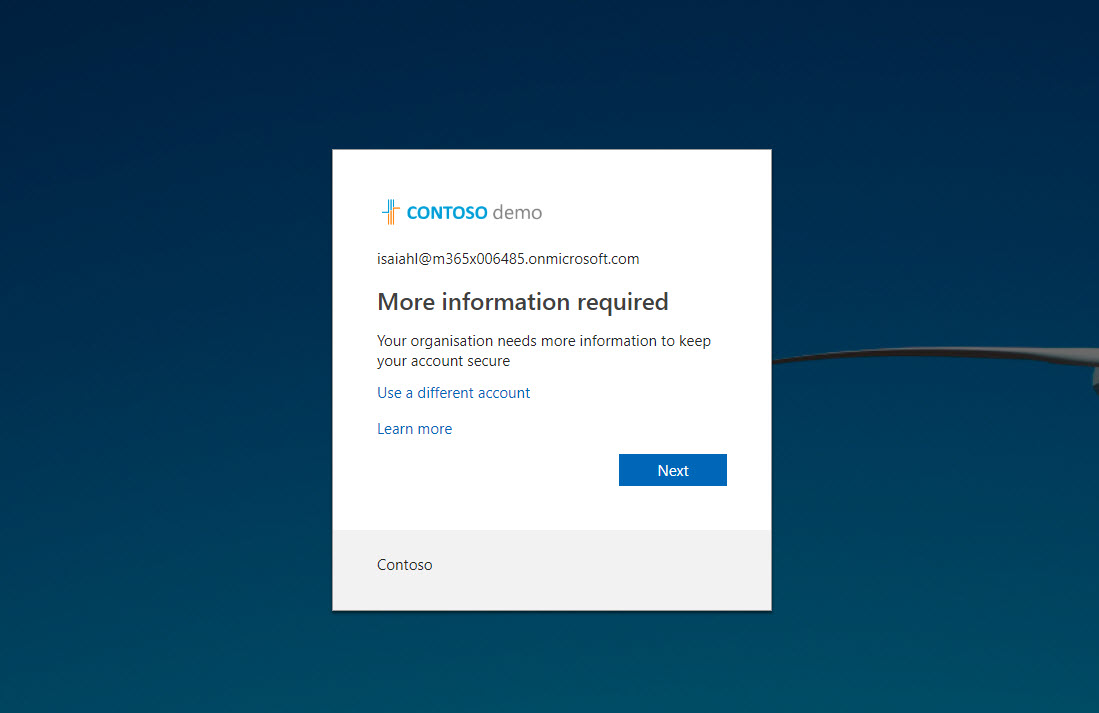
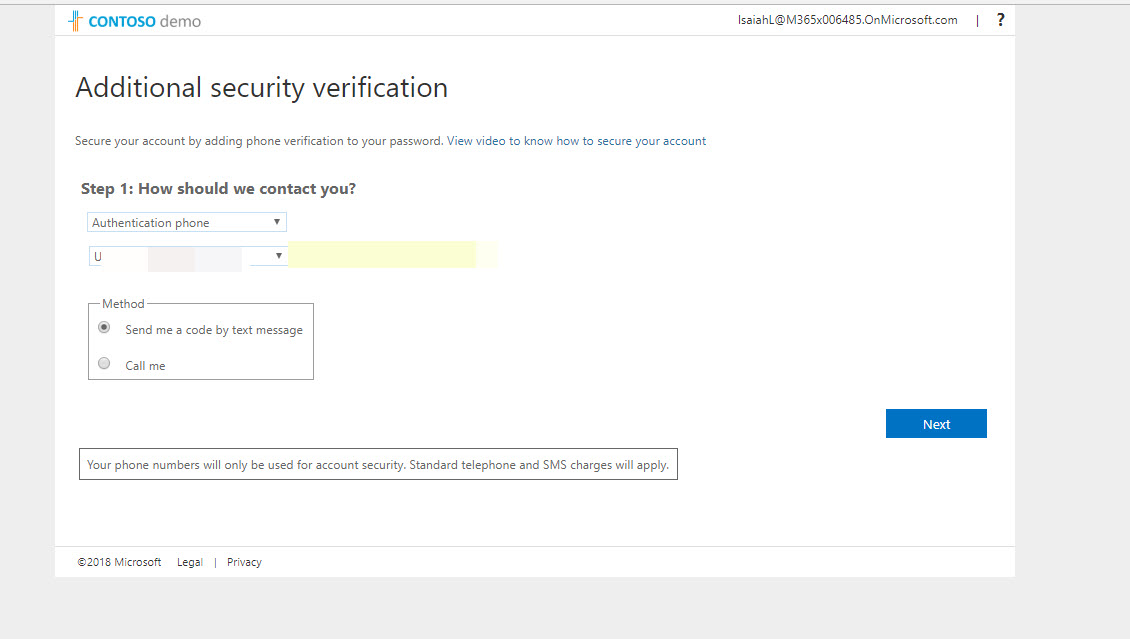
11) Then right away it gave me this new window. This is because I do not have MFA setup for this user. In order to use MFA, first it asking to set it up.
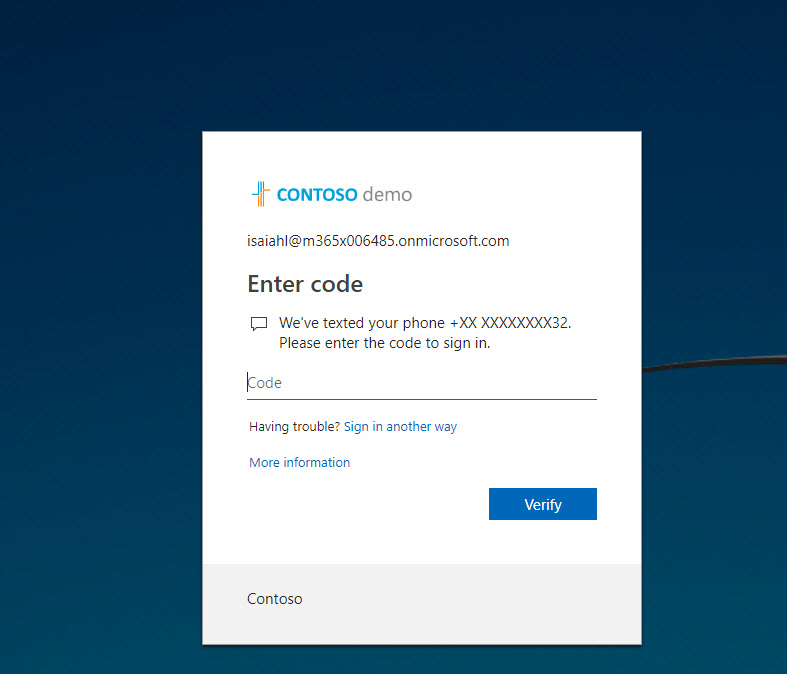
12) Now, next time when I launch the Microsoft Team, its bring me straight to MFA verification page. This confirms the policy is working as expected. cool ha?
This marks the end of this blog post. Hope now you have better understanding how to create conditional access policy to control MFA for application. This allows administrators to add additional layer of security to sensitive applications. If you have any questions feel free to contact me on rebeladm@live.com also follow me on twitter @rebeladm to get updates about new blog posts.

