
Azure AD application gallery contains thousands of applications already but there can be situations where organizations uses their own applications. In such scenario Azure AD allows to bring these apps to azure.
In my previous blog post “Step-by-Step guide to Azure AD Password-based single-sign on”, I explained Azure AD password-based single-sign on and how we can use it. If you not read it yet, you can access it using http://www.rebeladmin.com/2018/09/step-step-guide-azure-ad-password-based-single-sign/ . In this blog post, I am going to demonstrate how we can bring our own app to Azure AD and use Password-based single-sign on with it.
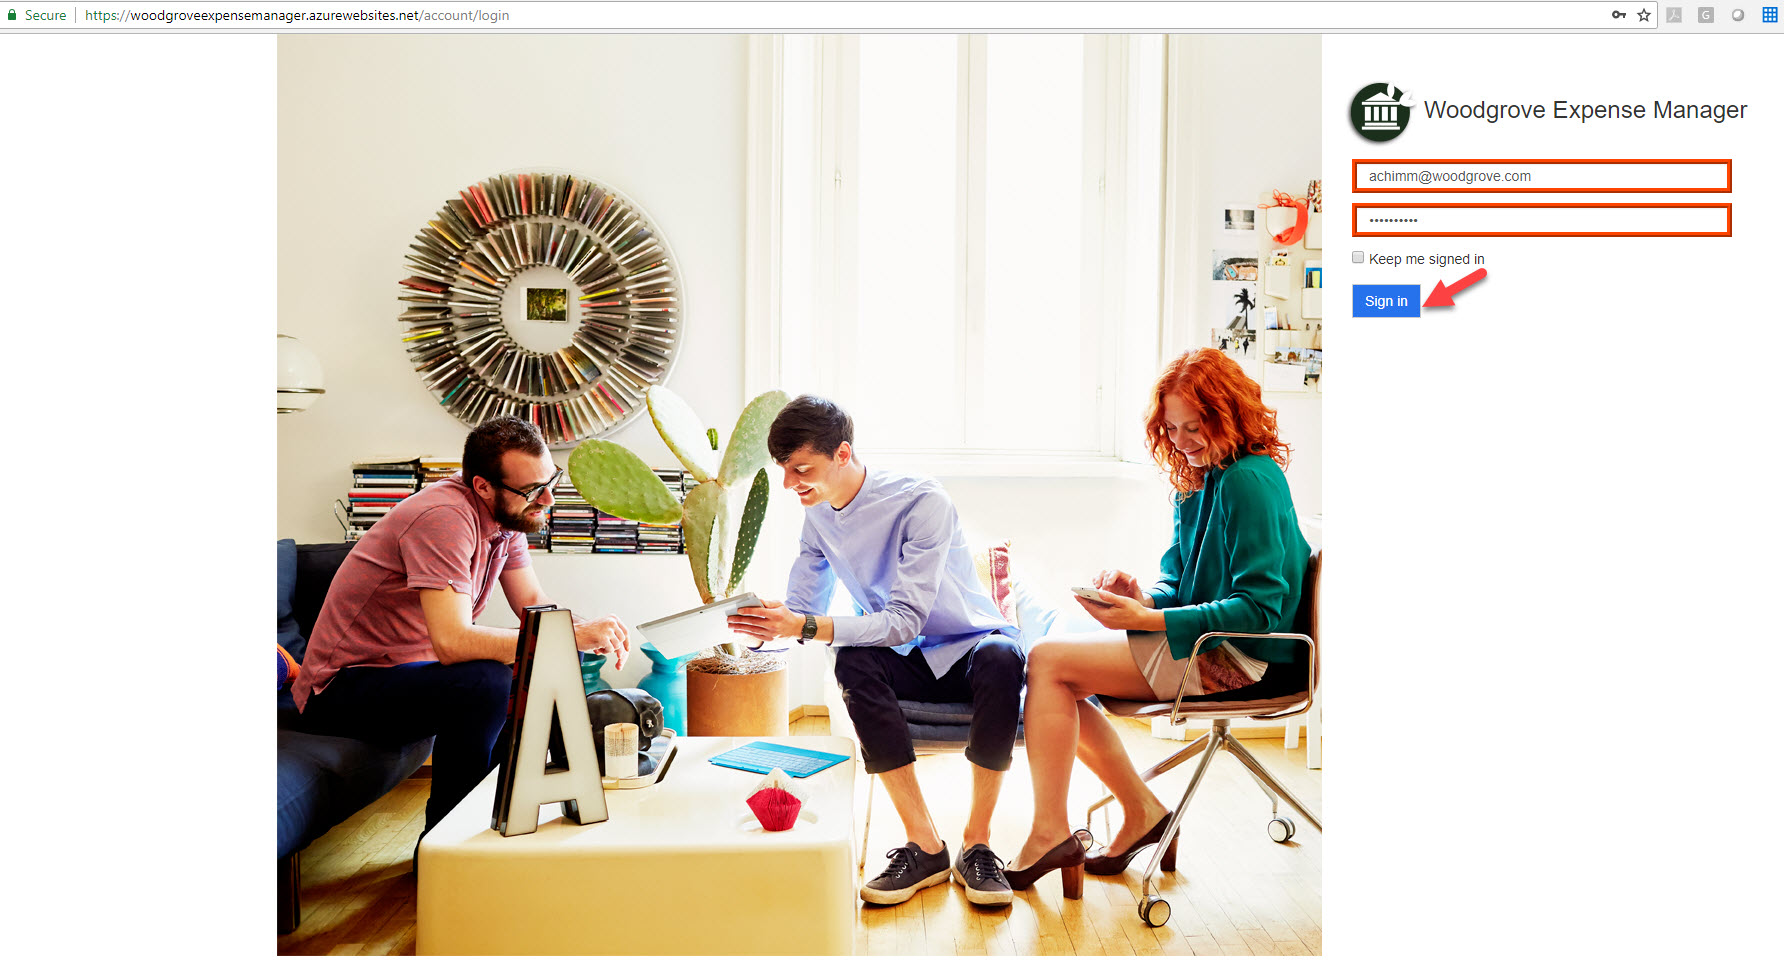
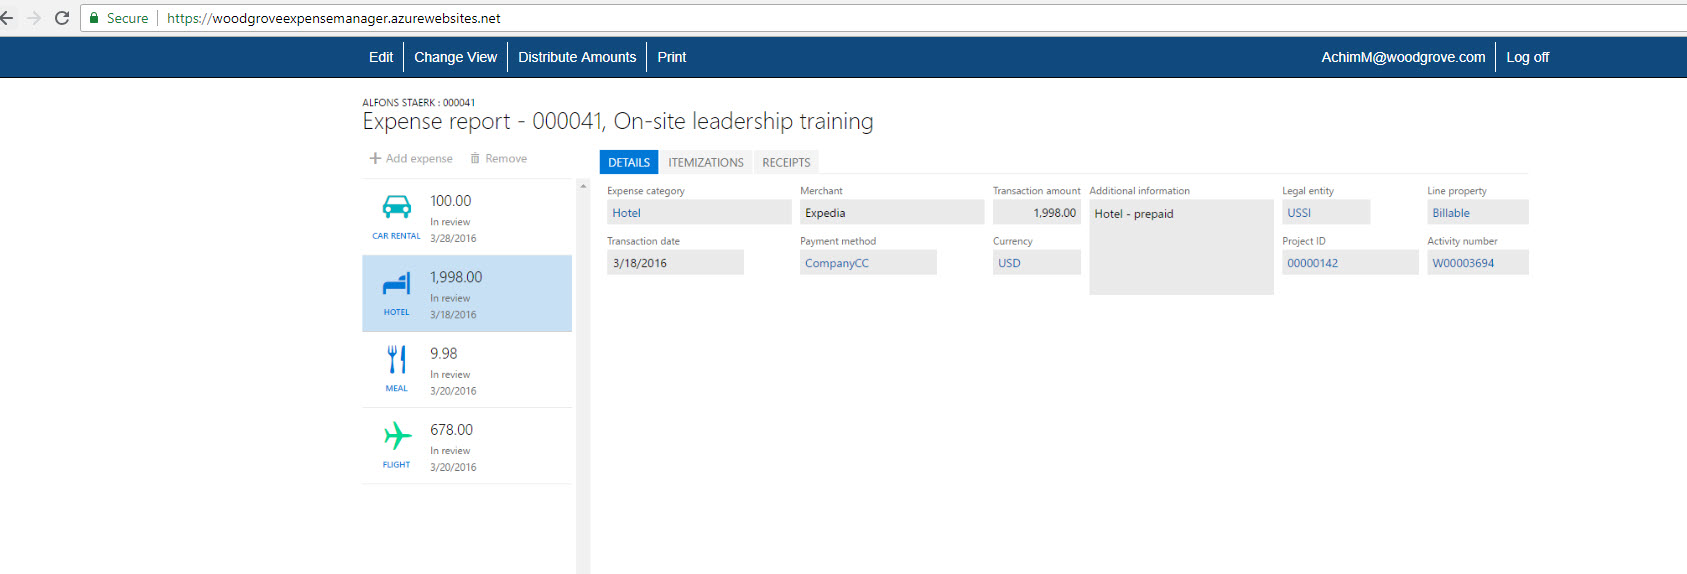
In my demo environment I have cloud app called Woodgrove Expense Manager and I can access it using https://woodgroveexpensemanager.azurewebsites.net I need my sales and marketing team to use it. Also, I need them to share one login. However, I do not want end user to know these credentials.
As first part of this demo, I need to integrate my app with Azure AD. To do that,
1. Log in to https://portal.azure.com as global admin.
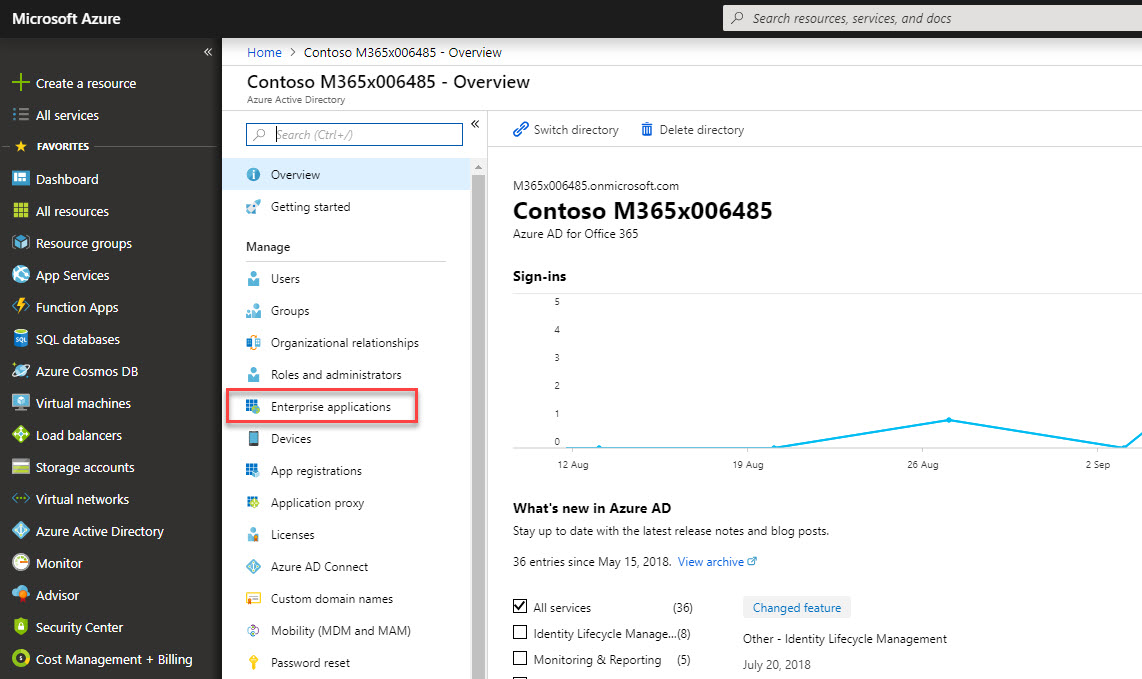
2. Click on Azure Active Directory on the left-hand panel.

3. Then click on Enterprise applications
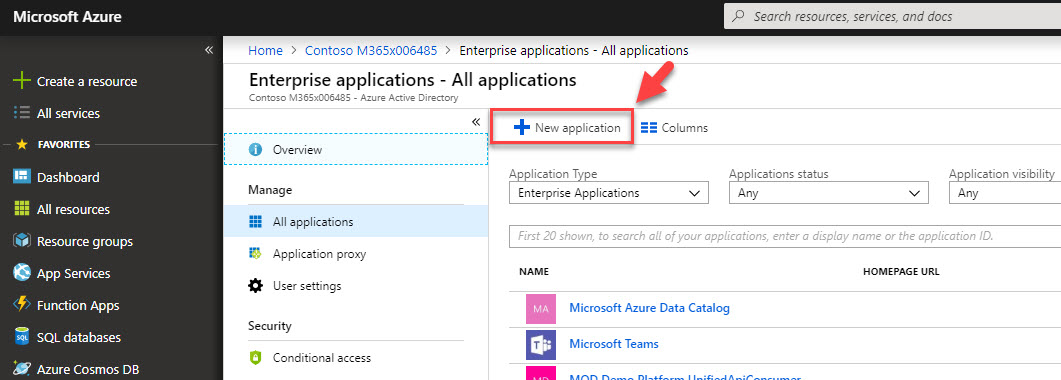
4. In new window, click on + New application
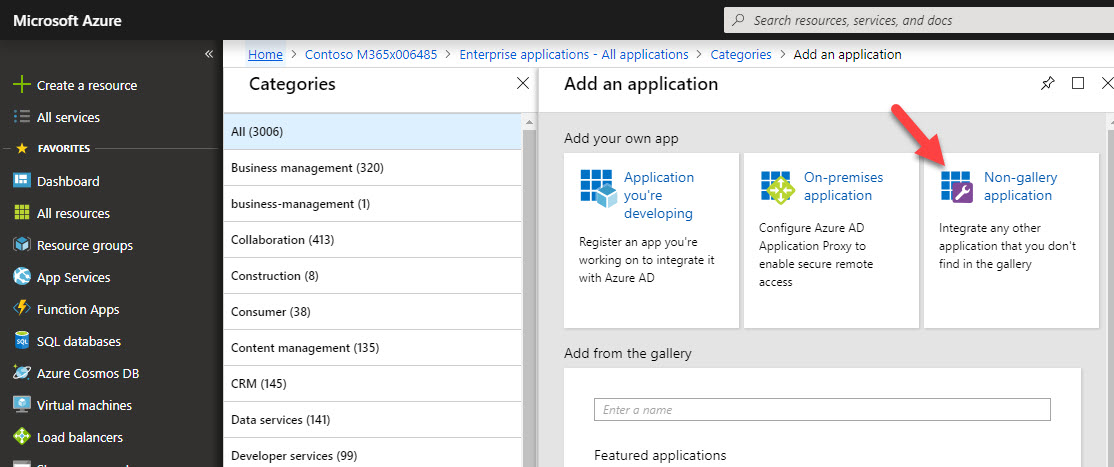
5. In application panel, click on Non-gallery application
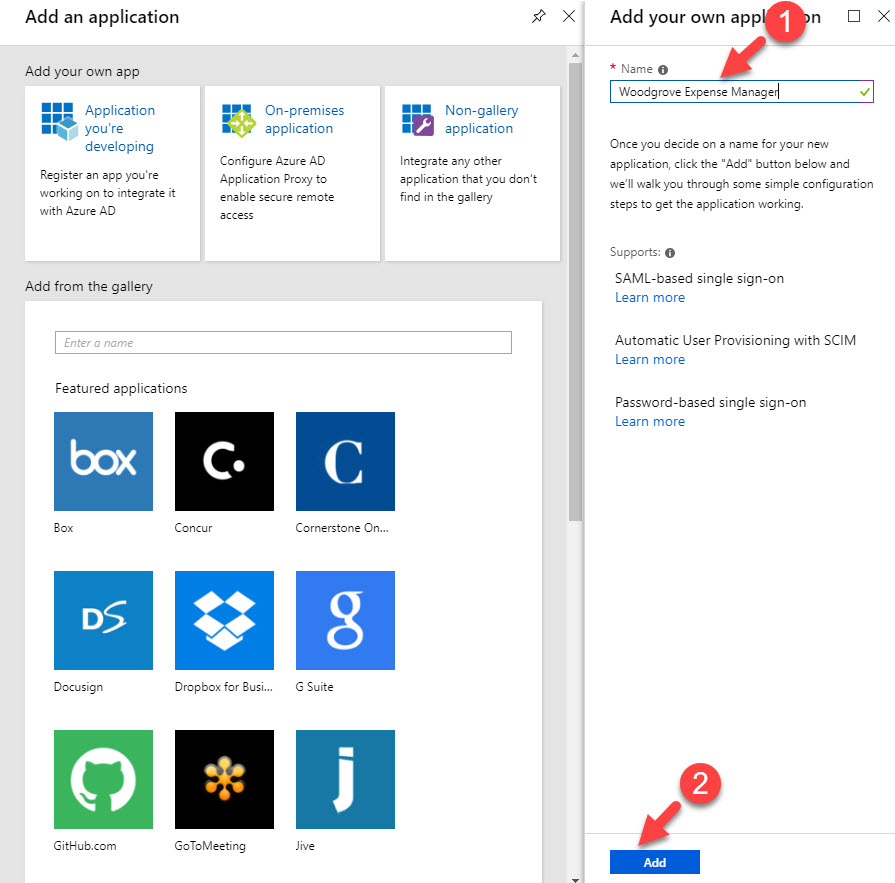
6. Then in new wizard, type name for app and click on Add
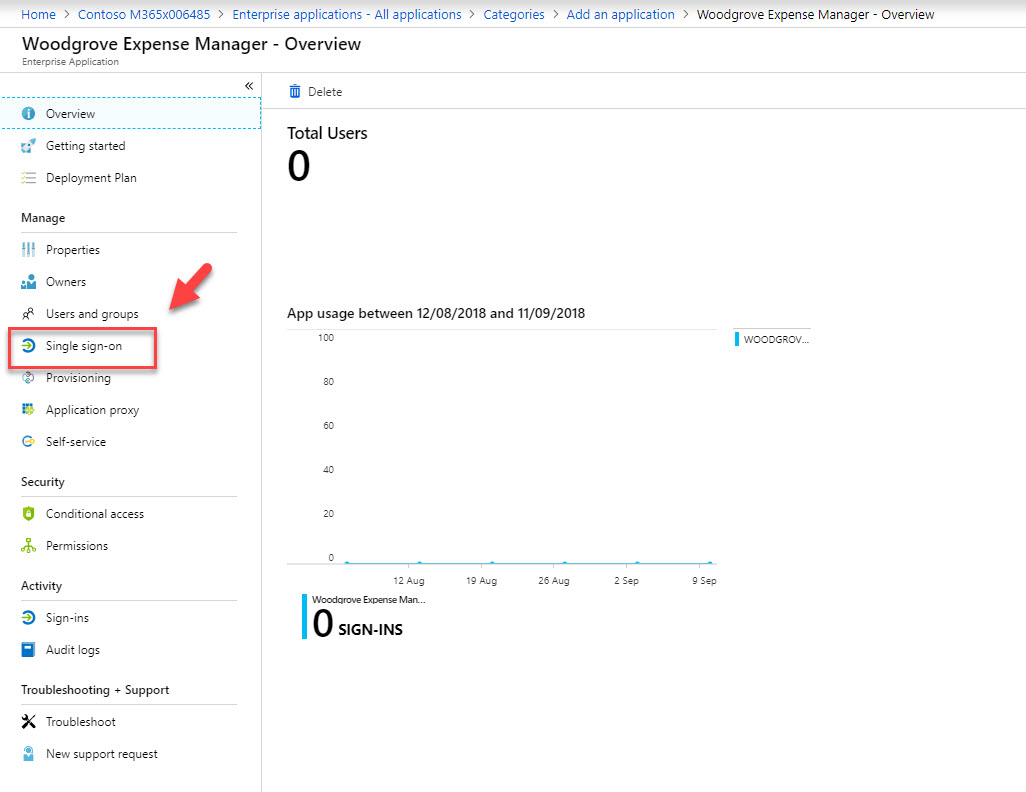
7. In new app window, click on Single sign-on
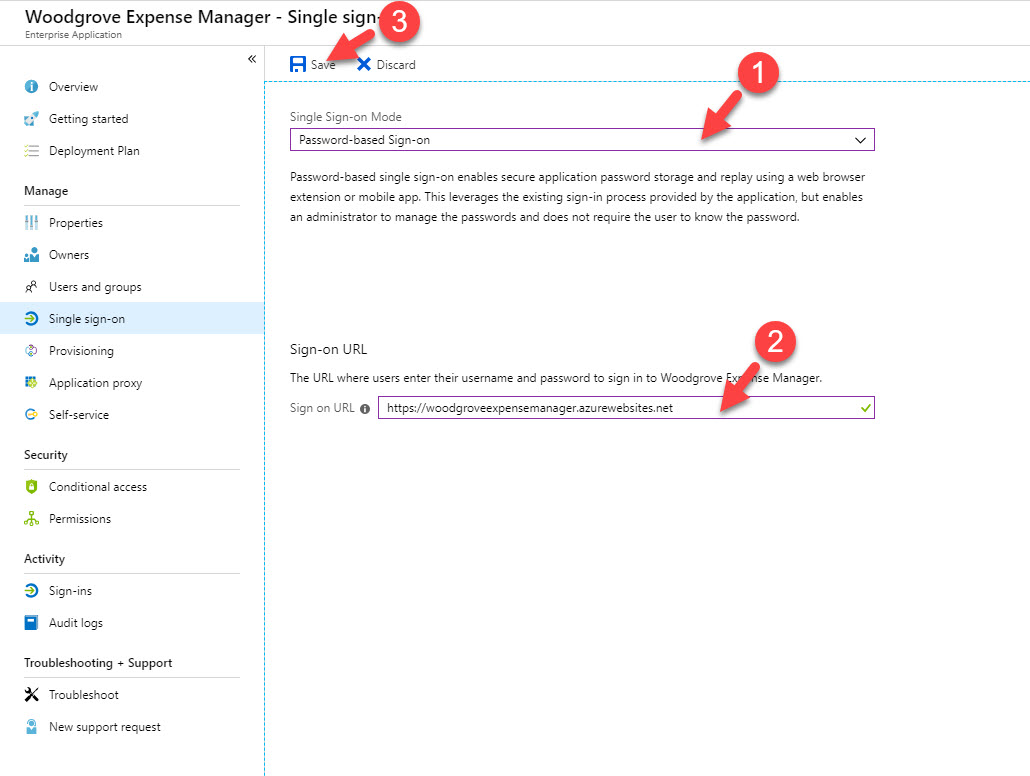
8. Then select password-based single sign-on as SSO mode. Under sign-on URL define the application URL. in my demo it is https://woodgroveexpensemanager.azurewebsites.net . at last click on Save to apply the changes.
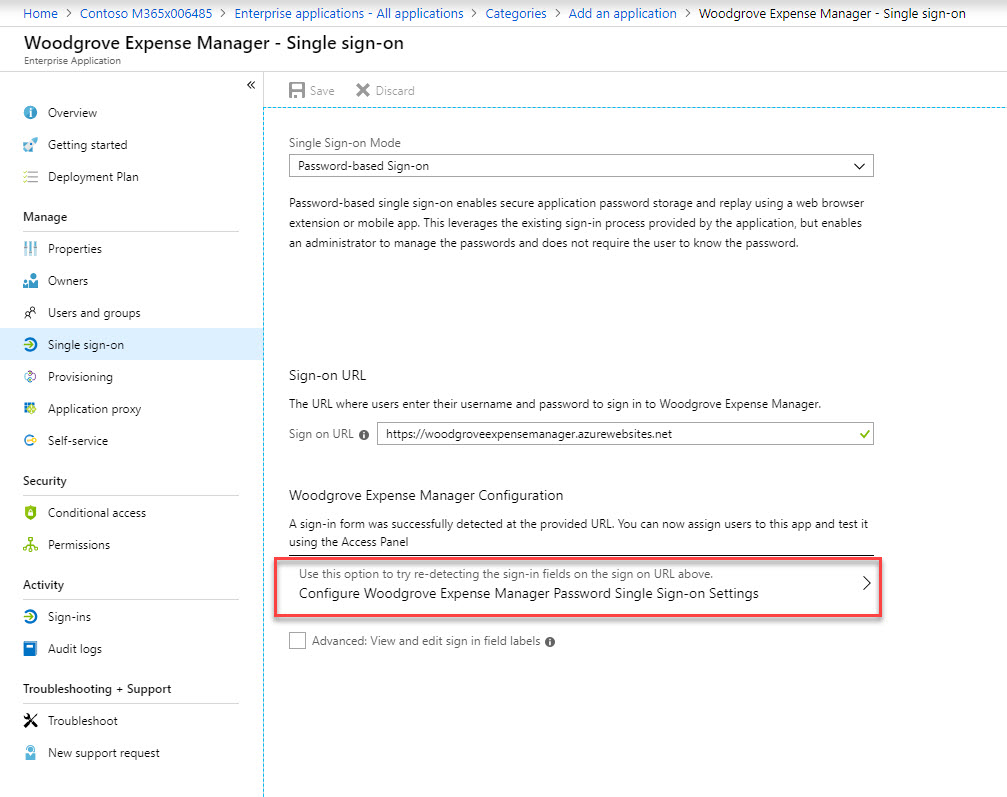
9. Once settings are saved, click on Configure Woodgrove Expense Manager Password Single Sign-on Settings
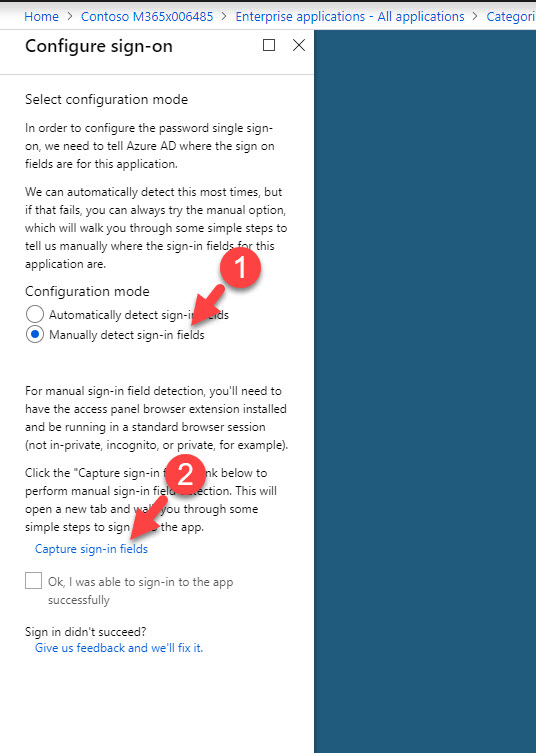
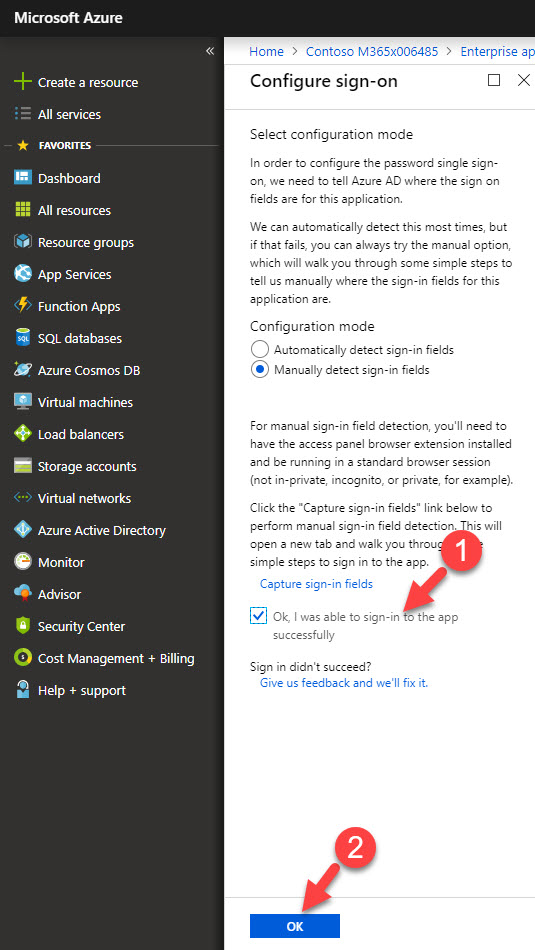
10. In new window, select Manually detect sign-in fields and then capture sign in fields.
11. This will load up new tab with application page. Type the sign in details and then click on sign-in.
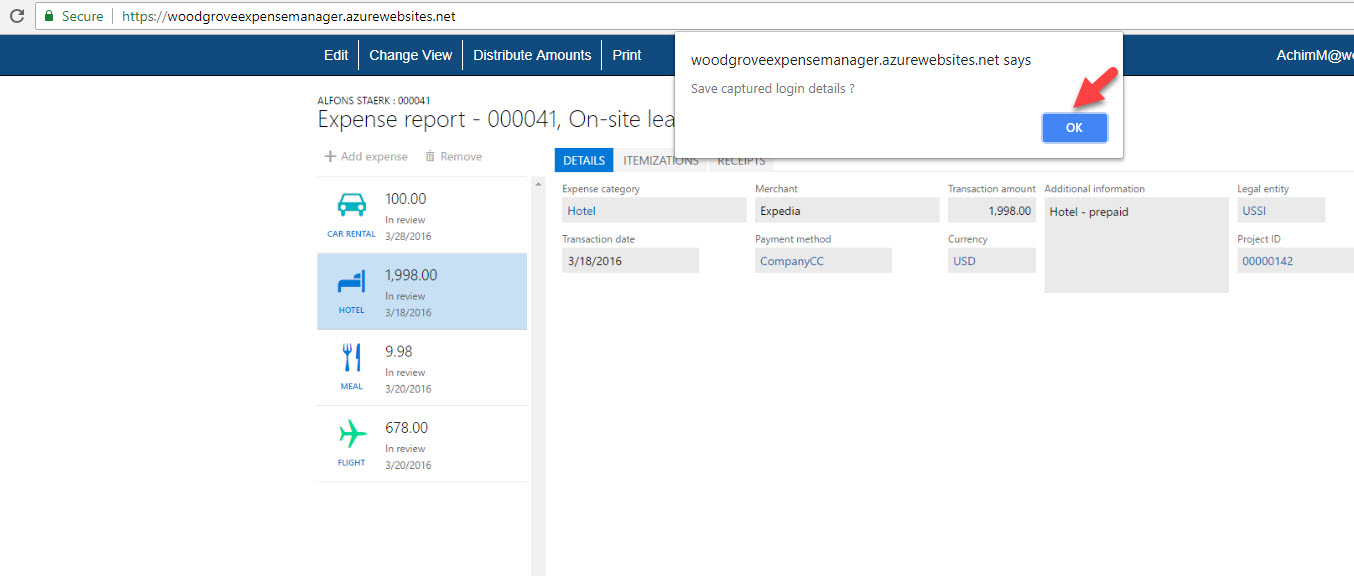
12. Then in app window it asks if we want to save captured login details. Click on Ok to capture data.
13. After that, it will go back to sign-on page, in this page click on Ok, I was able to sign-in to the app successfully and then Ok to save the config.
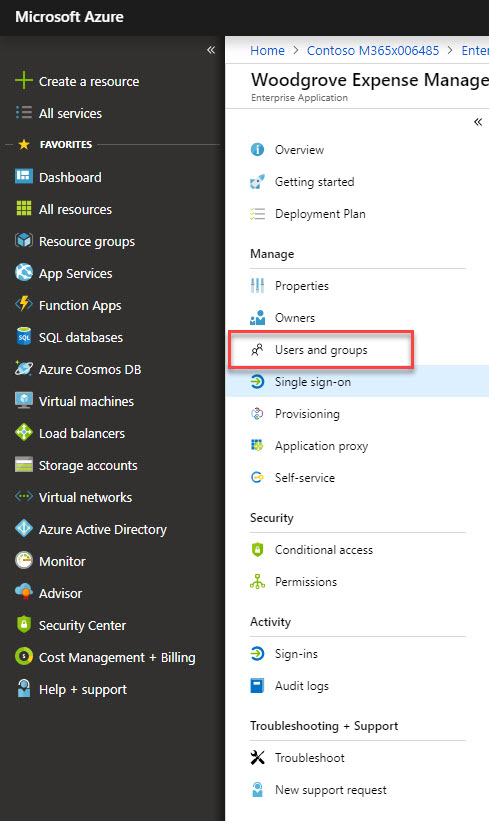
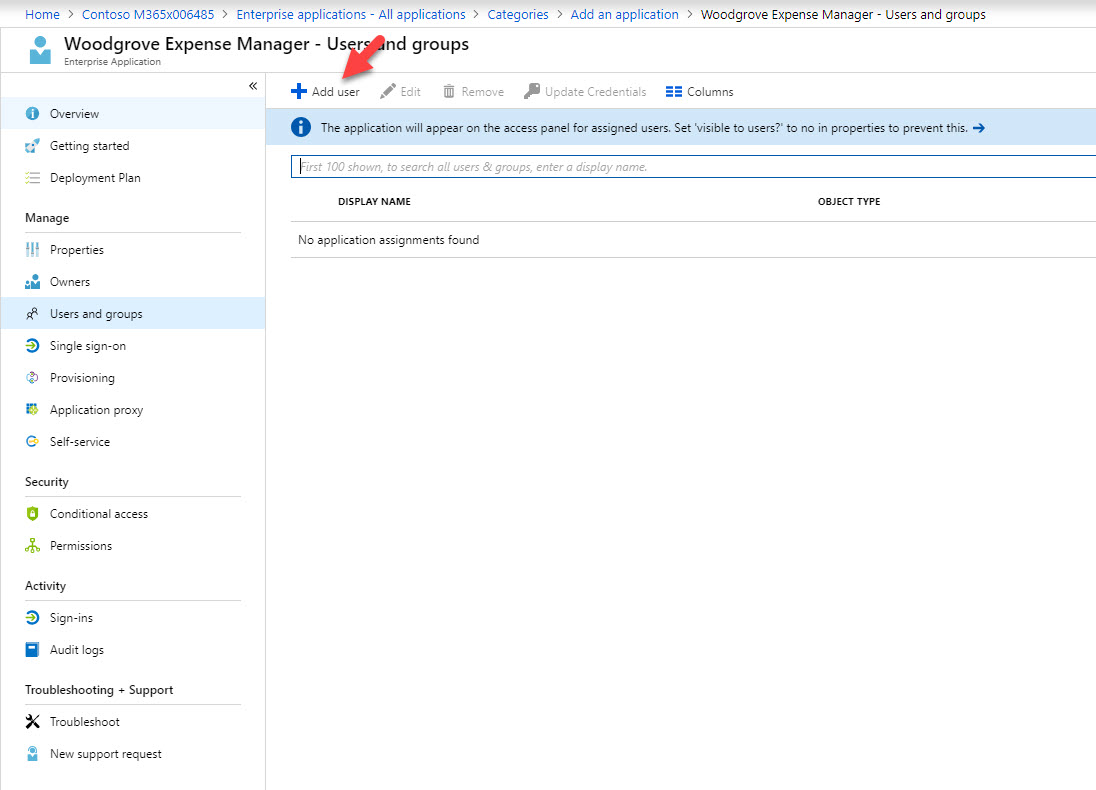
14. Once configuration is saved, click on user & groups.
15. Then click on Add user
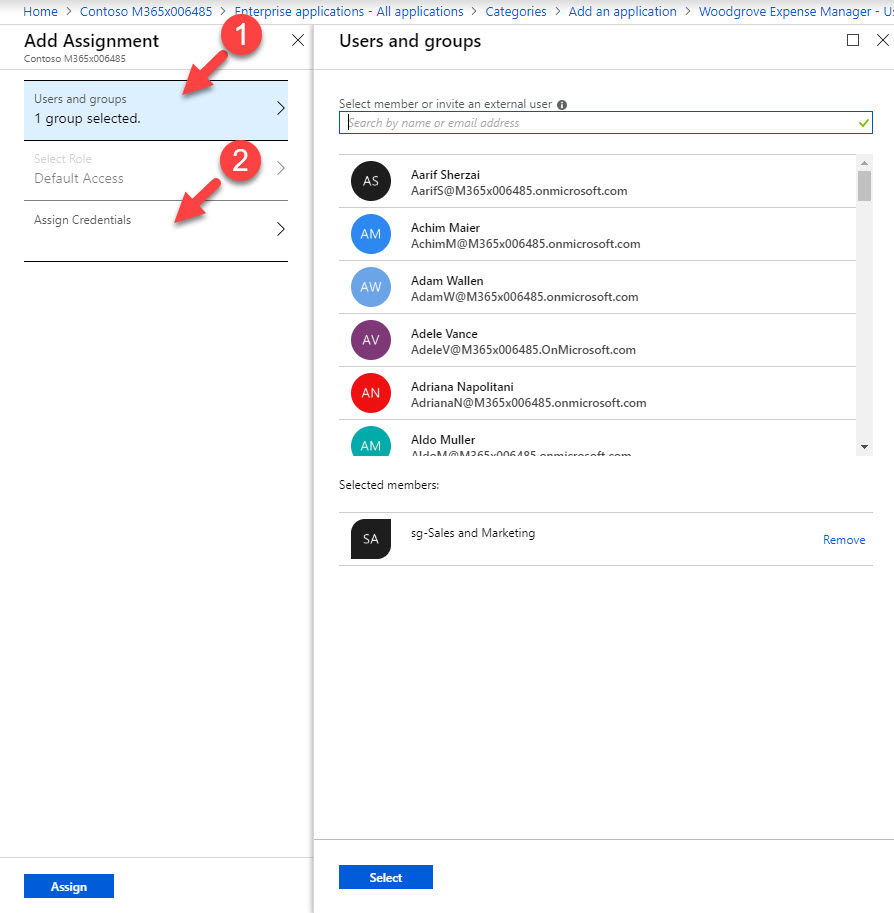
16. From the list of user & groups, I have selected group for my sales & marketing team. Once selection is done, click on Assign credentials.
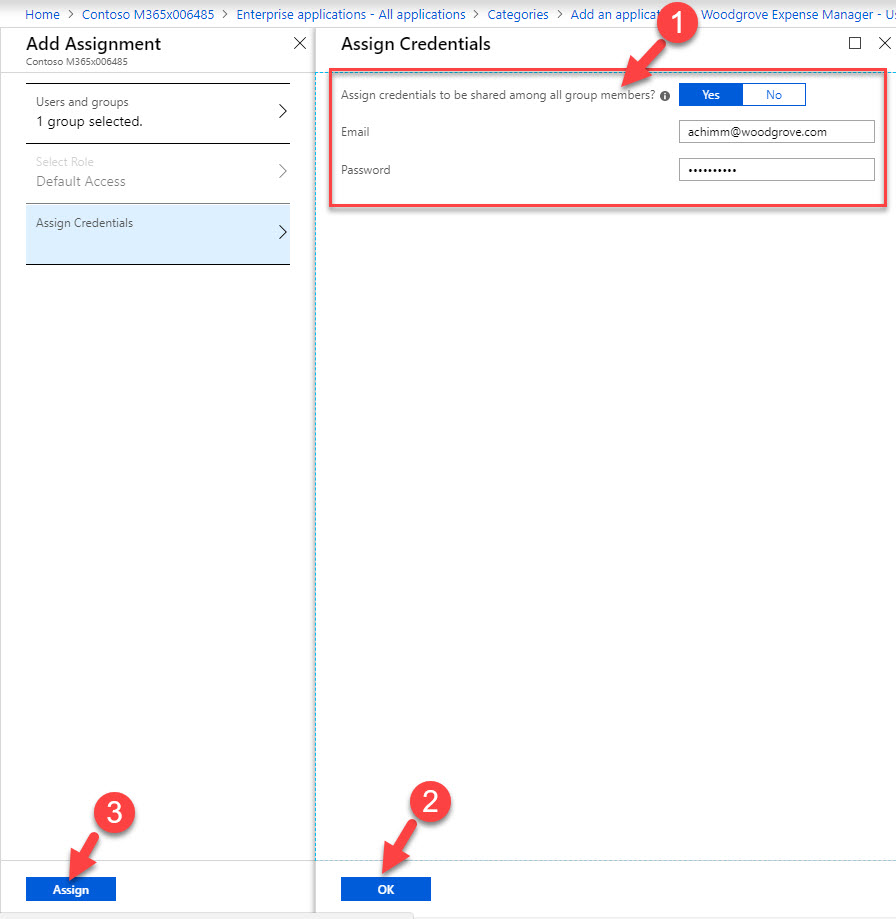
17. In new window Set Assign credentials to be shared among all group members to Yes and type credentials for the https://woodgroveexpensemanager.azurewebsites.net . To complete the process, click on Ok & then Assign
18. This completes the configuration part. Next step is to test it. for that I am log in to https://myapps.microsoft.com as a user from sales & marketing group. Then click on Woodgrove Expense Manager
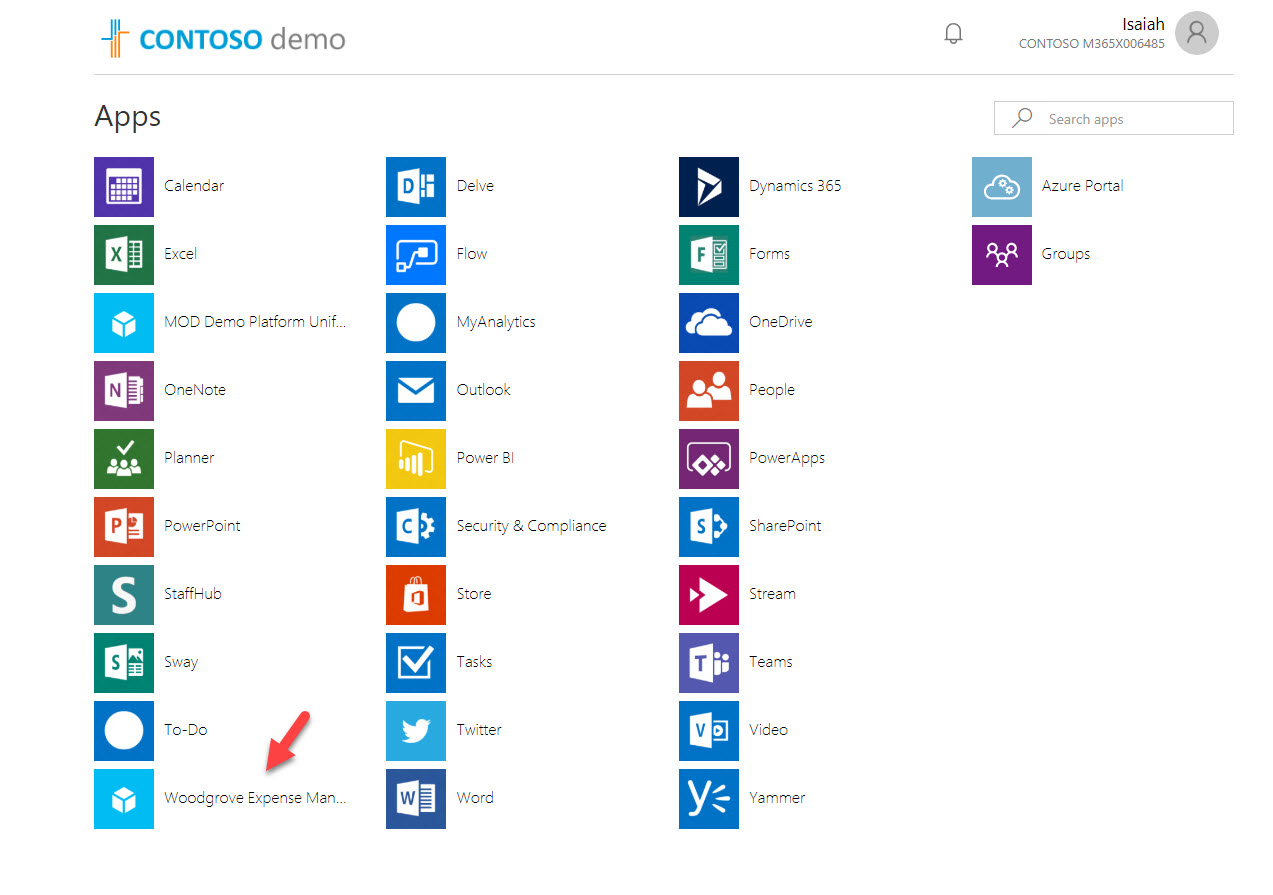
19. As expected, without any other additional logins, it log me in to the Woodgrove Expense Manager. cool ha?
This marks the end of this blog post. Hope now you have better understanding how to bring your own app to Azure AD and use password-based single sign-on with it. If you have any further questions feel free to contact me on rebeladm@live.com also follow me on twitter @rebeladm to get updates about new blog posts.

