
If you worked with an application that is based on Windows Server Failover Cluster (WSFC), you may already know that sometimes we have to share virtual disks between servers. Scale-Out File Servers (SoFS), SAP, Remote Desktop Server User Profile Disk, Failover cluster instance (FCI) with SQL Server are some of the examples. If virtual machines are running on VMware, we can do this by enabling Multi-Writer Mode on virtual disks. If it is a Hyper-V environment, we can do the same using Shared disk or VHD Sets features.
Azure managed disks also can share between multiple virtual machines. This help organization to move or deploy applications depending on cluster services and shared disks to Azure. In this demo, I am going to demonstrate how we can share a disk between two Azure VM.
Limitations
• Certain limitations apply to Azure shared disks.
• Share disk feature only available for ultra disks and premium SSDs
• Can only be enabled in data disks, not operating system disks
• Can’t use with Azure Backup or Azure Site Recovery (yet)
• If you are using proximity placement groups, all virtual machines and shared disks must use the same PPG.
• maxShares value of the disk defines how many VMs can share the disk simultaneously. For ultra disks, maxShares value is 5.
• For Premium SSDs, the maximum value for maxShares is depending on the disk size. It can be varying from 2-10.
Let’s go ahead and see how we can configure Azure shared disk.
For the configuration process, I will be using PowerShell. Therefore, please make sure you have an Azure PowerShell module installed. More info about it can find under https://docs.microsoft.com/en-us/powershell/azure/install-az-ps?view=azps-3.8.0
Create a Resource Group
As the first part of the configuration, I am going to create a new resource group. To do that,
Launch PowerShell console and connect to Azure using Connect-AzAccount
Then create a new resource group using,
New-AzResourceGroup -Name EUSRG1 -Location “East US”
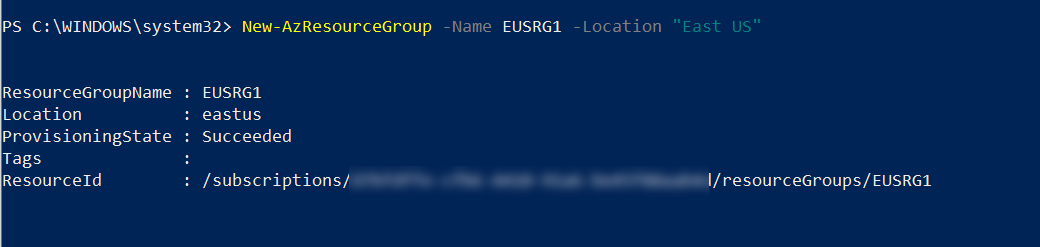
In the above, EUSRG1 is the resource group name, and its created-in East US Azure region.
Create Azure VNet
The next step is to create a new virtual network under EUSRG1 resource group. We can create it using,
$vmsubnet = New-AzVirtualNetworkSubnetConfig -Name vmsubnet -AddressPrefix “10.0.2.0/24”
New-AzVirtualNetwork -Name REBELVN1 -ResourceGroupName EUSRG1 -Location “East US” -AddressPrefix “10.0.0.0/16” -Subnet $vmsubnet
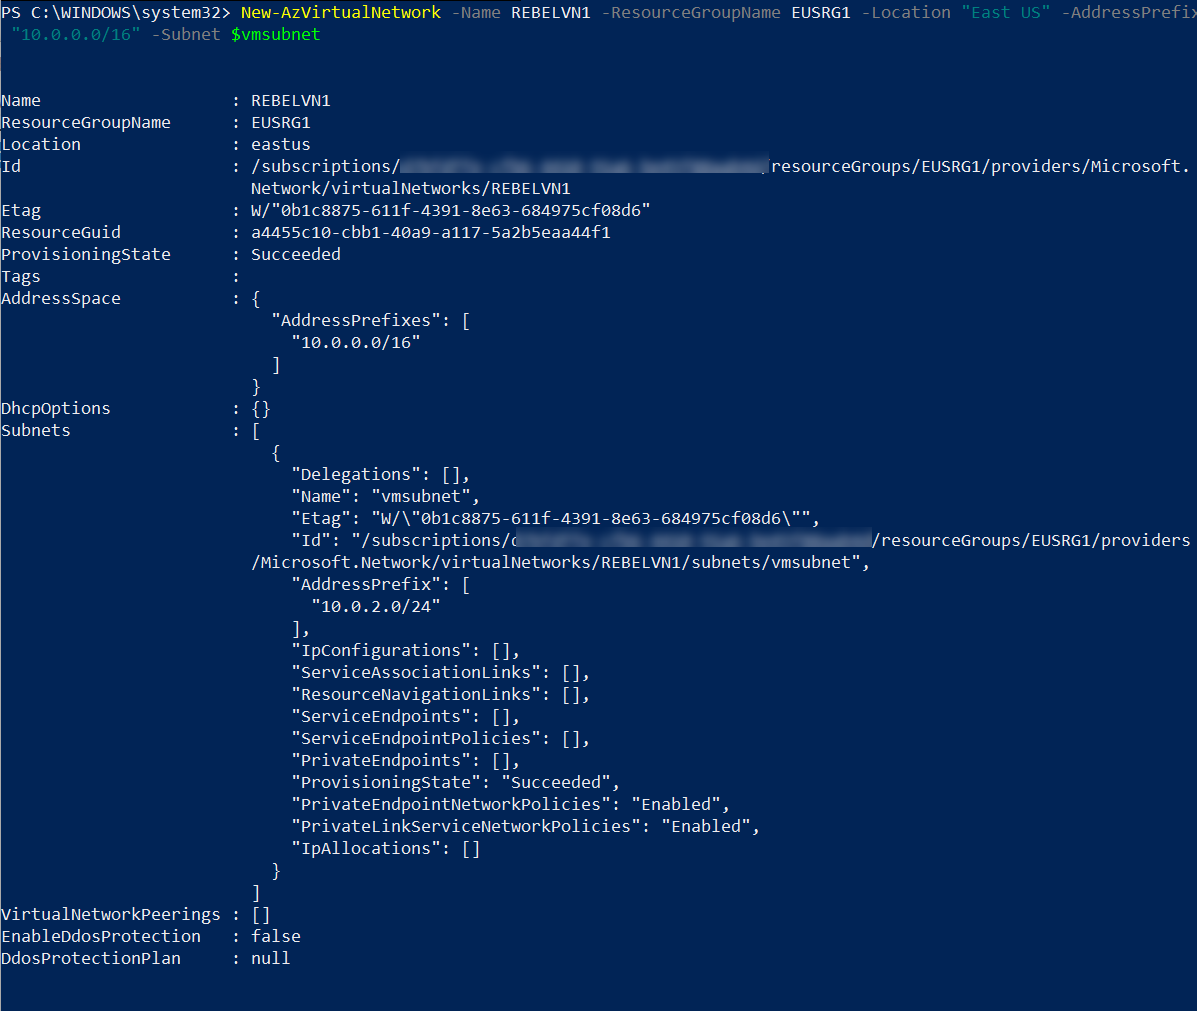
In the above, REBELVN1 is the new virtual network name. It has 10.0.0.0/16 address space. It also has a new subnet 10.0.2.0/24 (vmsubnet) for virtual machines.
Create Azure Virtual Machines
As the next step of the configuration, I am going to create two new virtual machines under EUSRG1 resource group. This will be used for testing purposes.
$mylogin = Get-Credential
New-AzVm -ResourceGroupName EUSRG1 -Name “REBELTVM01” -Location “East US” -VirtualNetworkName “REBELVN1” -SubnetName “vmsubnet” -addressprefix 10.0.2.0/24 -PublicIpAddressName “REBELVM01IP1” -OpenPorts 3389 -Image win2019datacenter -Size Standard_D2s_v3 -Credential $mylogin
New-AzVm -ResourceGroupName EUSRG1 -Name “REBELTVM02” -Location “East US” -VirtualNetworkName “REBELVN1” -SubnetName “vmsubnet” -addressprefix 10.0.2.0/24 -PublicIpAddressName “REBELVM02IP1” -OpenPorts 3389 -Image win2019datacenter -Size Standard_D2s_v3 -Credential $mylogin
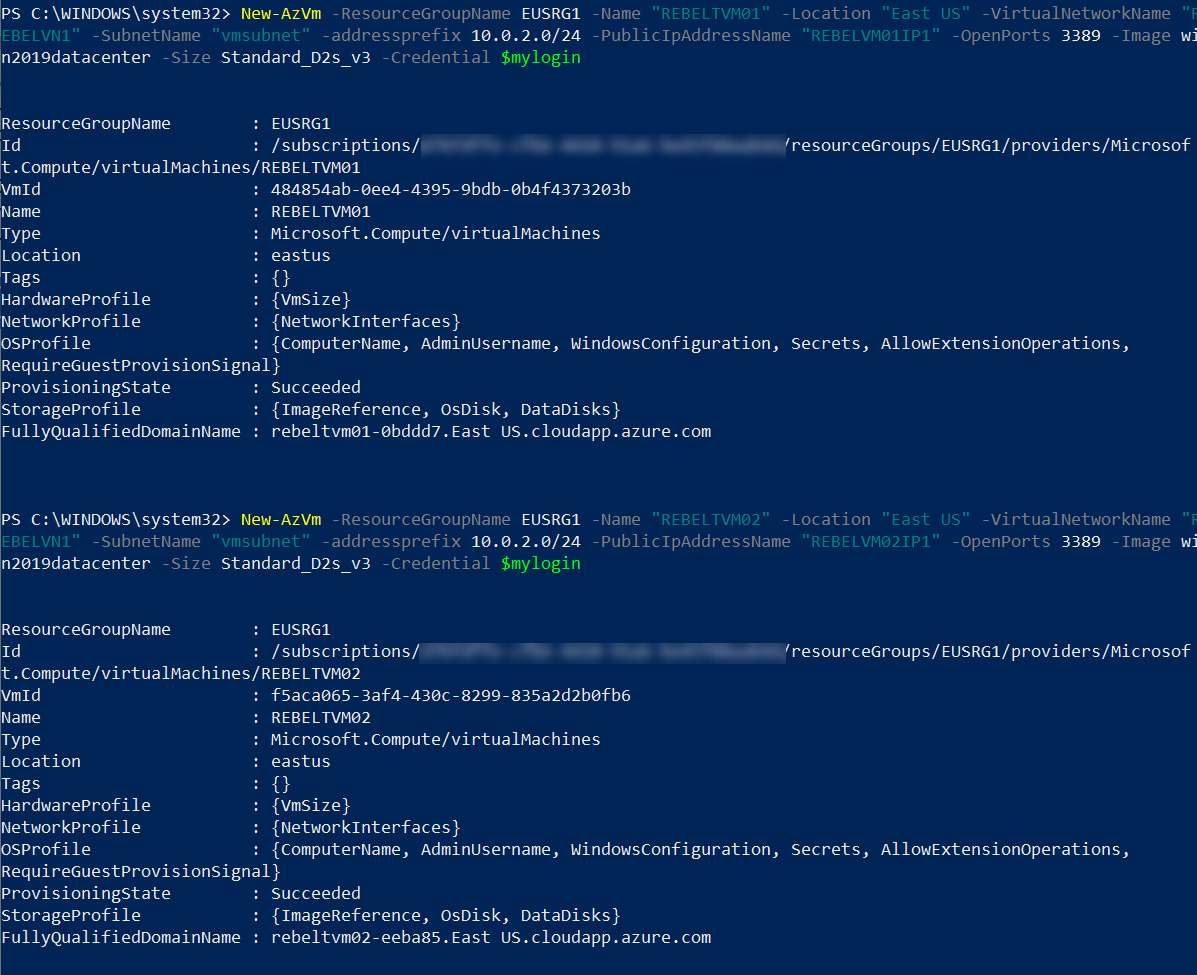
In the above, I am creating two virtual machines called REBELTVM01 & REBELTVM02 in East US Azure region. It is running windows server 2019 data center edition. I have specified it using -Image parameter. It also using Standard_D2s_v3 vm size. For networking, it uses REBELVN1 virtual network and subnet 10.0.2.0/24.
Create a Shared Disk
Now we have virtual machines ready for testing. The next step of the configuration is to create a shared disk. In this demo, I am going to Premium SSD disk with 1024GB disk size. I am going to share it with two nodes. Therefore, maxShares count will be 2.
$diskconf = New-AzDiskConfig -Location ‘East US’ -DiskSizeGB 1024 -AccountType Premium_LRS -CreateOption Empty -MaxSharesCount 2
New-AzDisk -ResourceGroupName ‘EUSRG1’ -DiskName ‘RSD1’ -Disk $diskconf

Attach Shared Disk to Azure Virtual Machine
As the next step, we need to attach the shared disk to Azure virtual machines.
Let’s start the configuration by creating some variables.
$vm01 = Get-AzVM -Name “REBELTVM01”
$vm02 = Get-AzVM -Name “REBELTVM02”
$sd1 = Get-AzDisk -ResourceGroupName EUSRG1 -DiskName “RSD1”
In the above, we gathering configuration data for virtual machines and shared disk.
Then we need to add disks to VM.
$vm01 = Add-AzVMDataDisk -VM $vm01 -Name “RSD1” -CreateOption Attach -ManagedDiskId $sd1.Id -Lun 0
$vm02 = Add-AzVMDataDisk -VM $vm02 -Name “RSD1” -CreateOption Attach -ManagedDiskId $sd1.Id -Lun 0

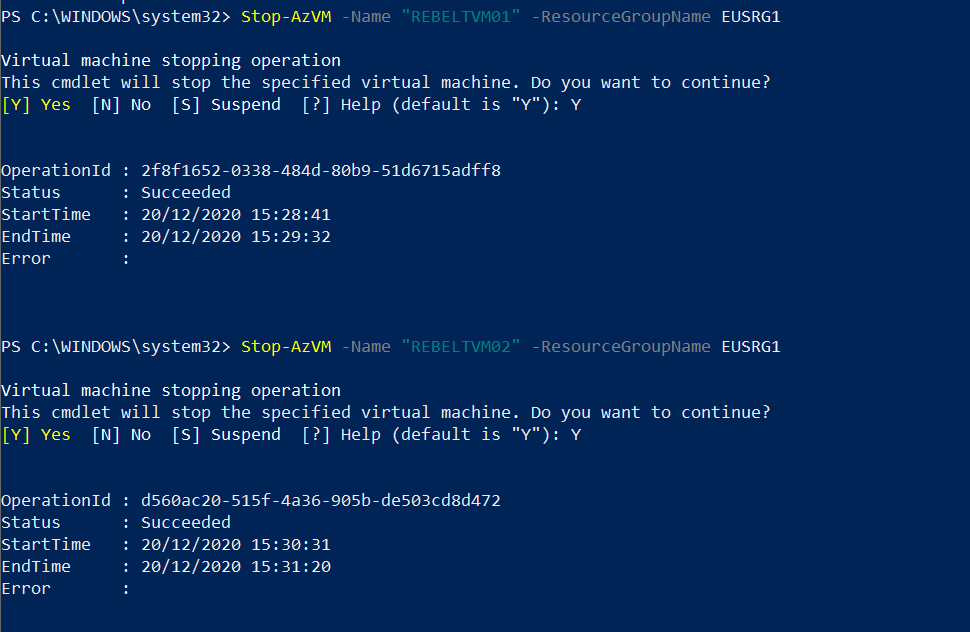
Before we commit the changes to virtual machines, we need to shutdown two virtual machines. Otherwise, we cant add same disk to second virtual machine.
Stop-AzVM -Name “REBELTVM01” -ResourceGroupName EUSRG1
Stop-AzVM -Name “REBELTVM01” -ResourceGroupName EUSRG1
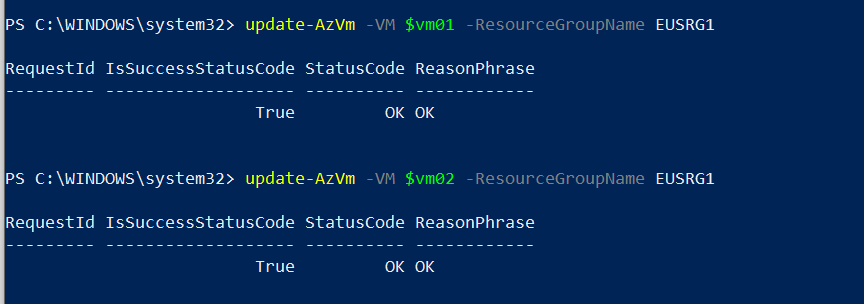
Then we need to commit the changes to Virtual machines.
update-AzVm -VM $vm01 -ResourceGroupName EUSRG1
update-AzVm -VM $vm02 -ResourceGroupName EUSRG1
After that, we can turn on the virtual machines.
Start-AzVM -Name “REBELTVM01” -ResourceGroupName EUSRG1
Start-AzVM -Name “REBELTVM02” -ResourceGroupName EUSRG1
After the virtual machines are up and running, I went to computer management. As expected, now I can see the system sees the shared disk from both servers.
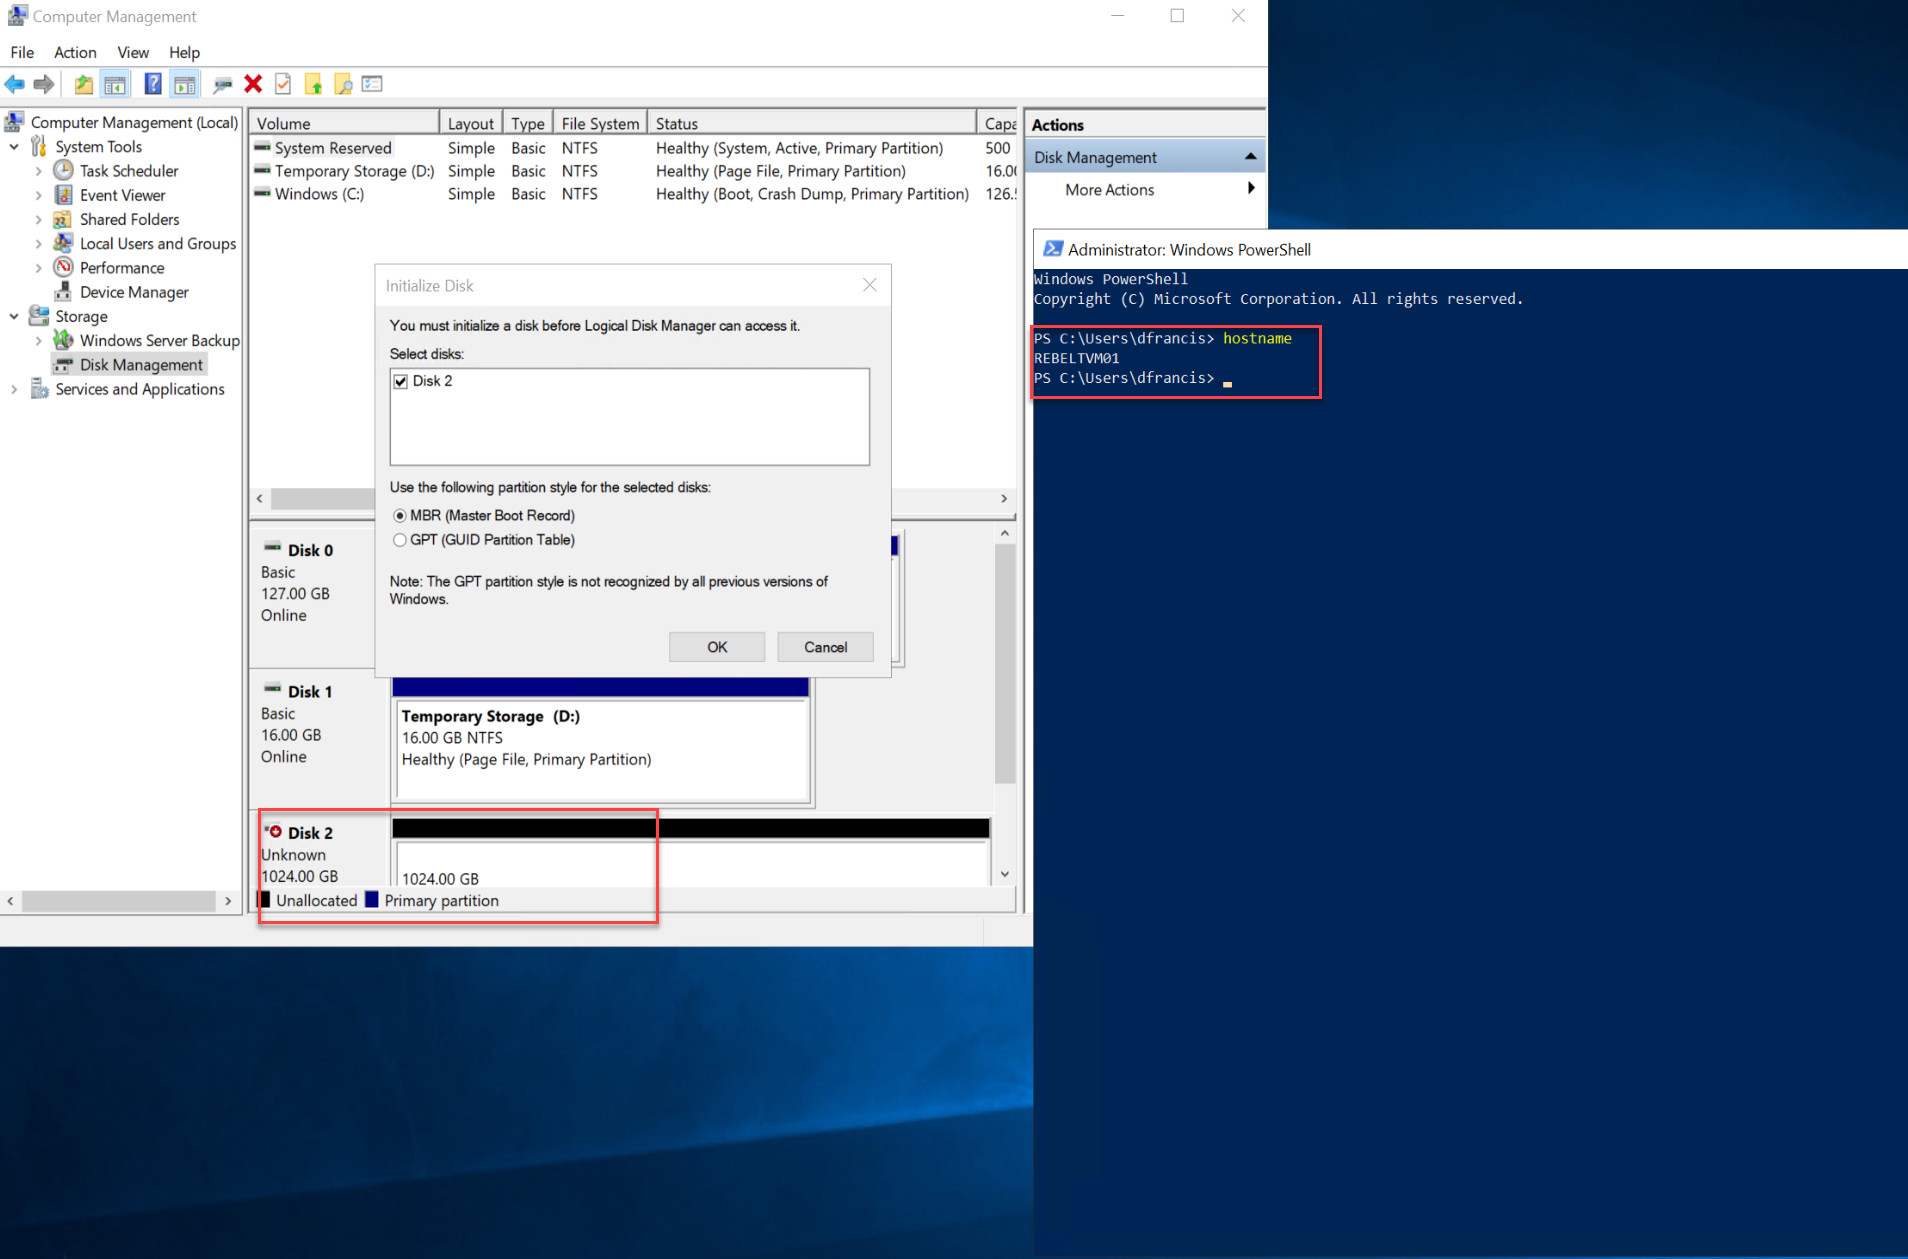
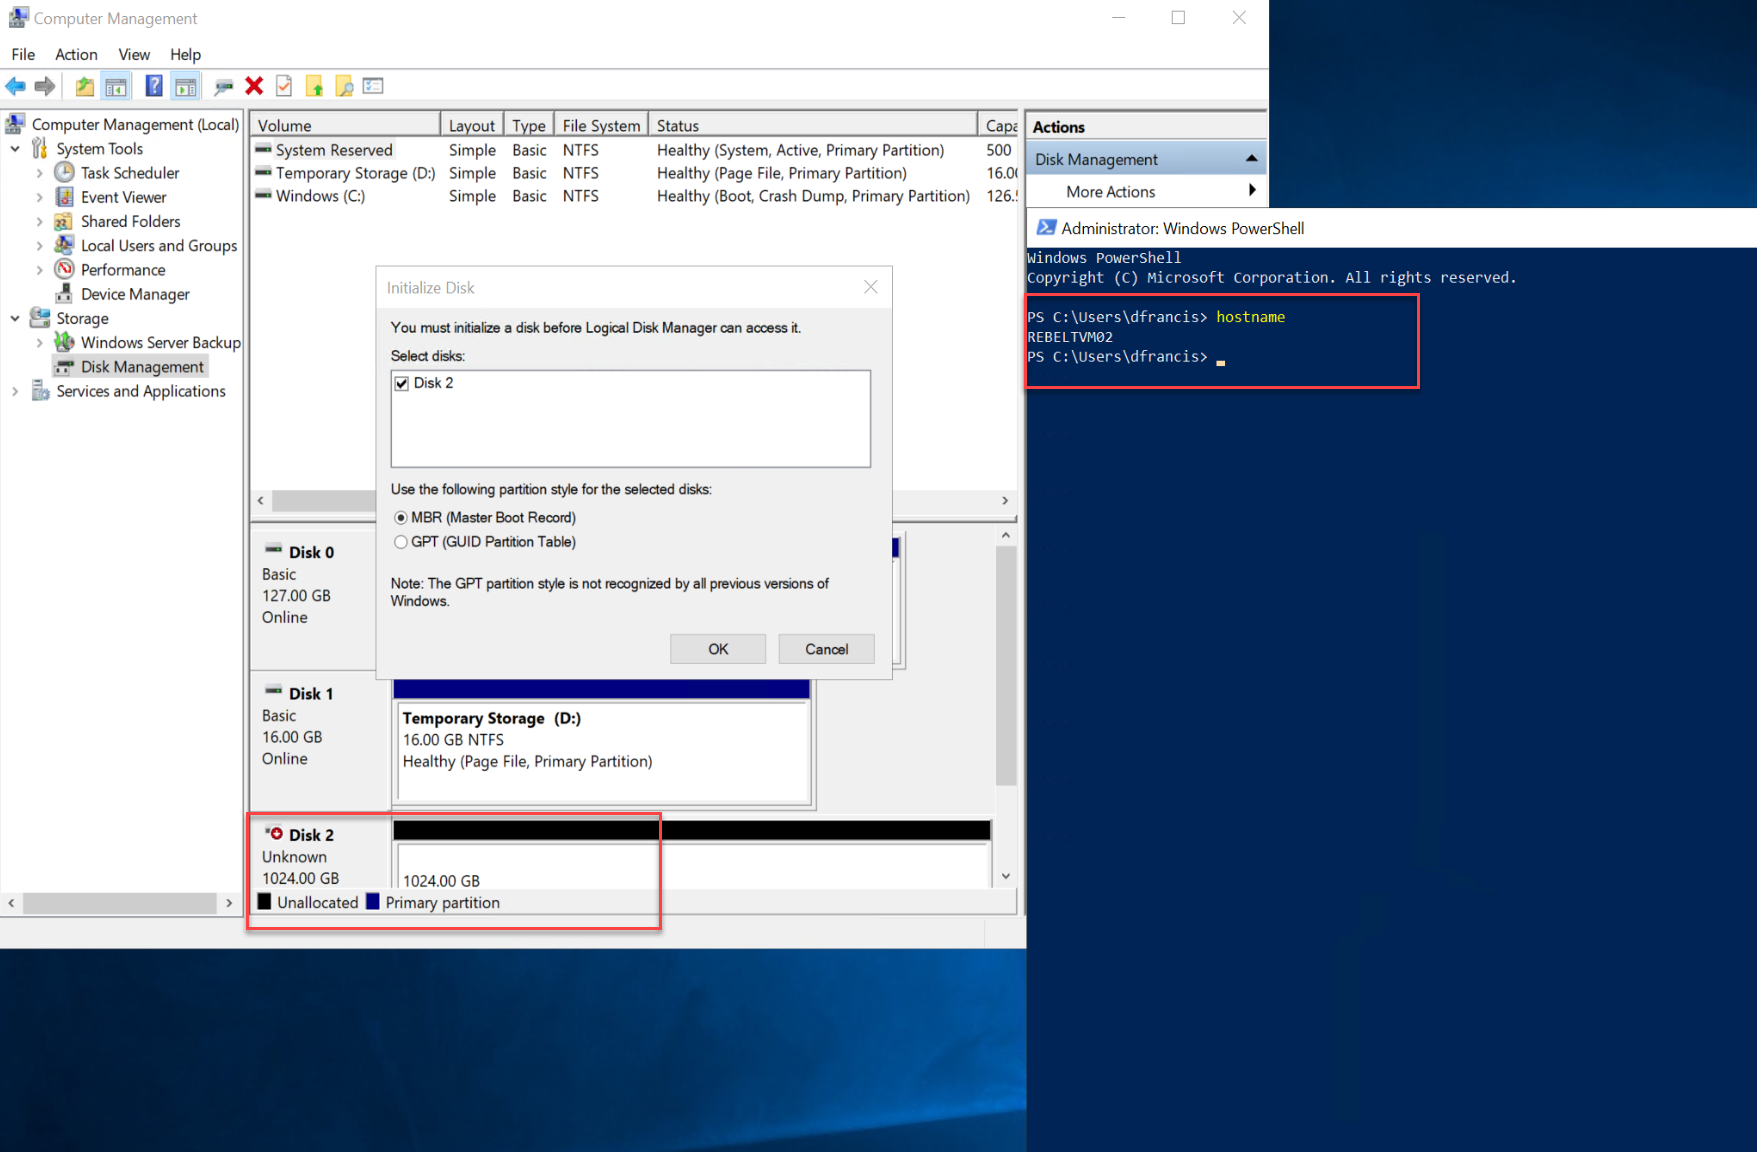
As expected, the shared disk is now ready to use in cluster services.
This marks the end of this blog post. If you have any further questions about this feel free to contact me at rebeladm@live.com also follow me on Twitter @rebeladm to get updates about new blog posts.

