
Azure Availability Zones offers high availability for data and applications. In an Azure region, there can be one or more data centers. Azure Availability Zone is made out of one or more datacentres in the same Azure region, which have independent power, hardware, networking, and cooling. All Zone redundant service will replicate data and application across Availability Zone for high resilience. Each Azure region contains a minimum of three Azure Availability Zones.
More Information about Azure Availability Zones are available on https://docs.microsoft.com/en-us/azure/availability-zones/az-overview
We also can deploy Azure Virtual Machines into Azure Availability Zone for high availability. In this demo, I am going to demonstrate how we can deploy Azure Windows Virtual Machine to Azure Availability Zone by using Azure PowerShell.
Before we start, please make sure you have an Azure PowerShell module installed. More info about it can find under https://docs.microsoft.com/en-us/powershell/azure/install-az-ps?view=azps-3.8.0
Create Resource Groups
As the first part of the configuration, I am going to create a new resource group. To do that,
Launch PowerShell console and connect to Azure using Connect-AzAccount
Then create a new resource group using,
New-AzResourceGroup -Name REBELRGEUS -Location “East US”
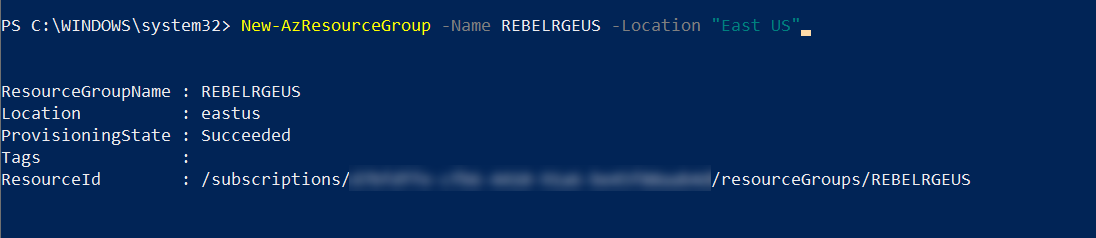
In the above, I am creating a resource group called REBELRGEUS in East US Azure region.
Create Azure VNet
The next step is to create a new virtual network under REBELRGEUS resource group.
$vmsubnet = New-AzVirtualNetworkSubnetConfig -Name vmsubnet -AddressPrefix “10.0.2.0/24”
New-AzVirtualNetwork -Name REBELVN1 -ResourceGroupName REBELRGEUS -Location “East US” -AddressPrefix “10.0.0.0/16” -Subnet $vmsubnet
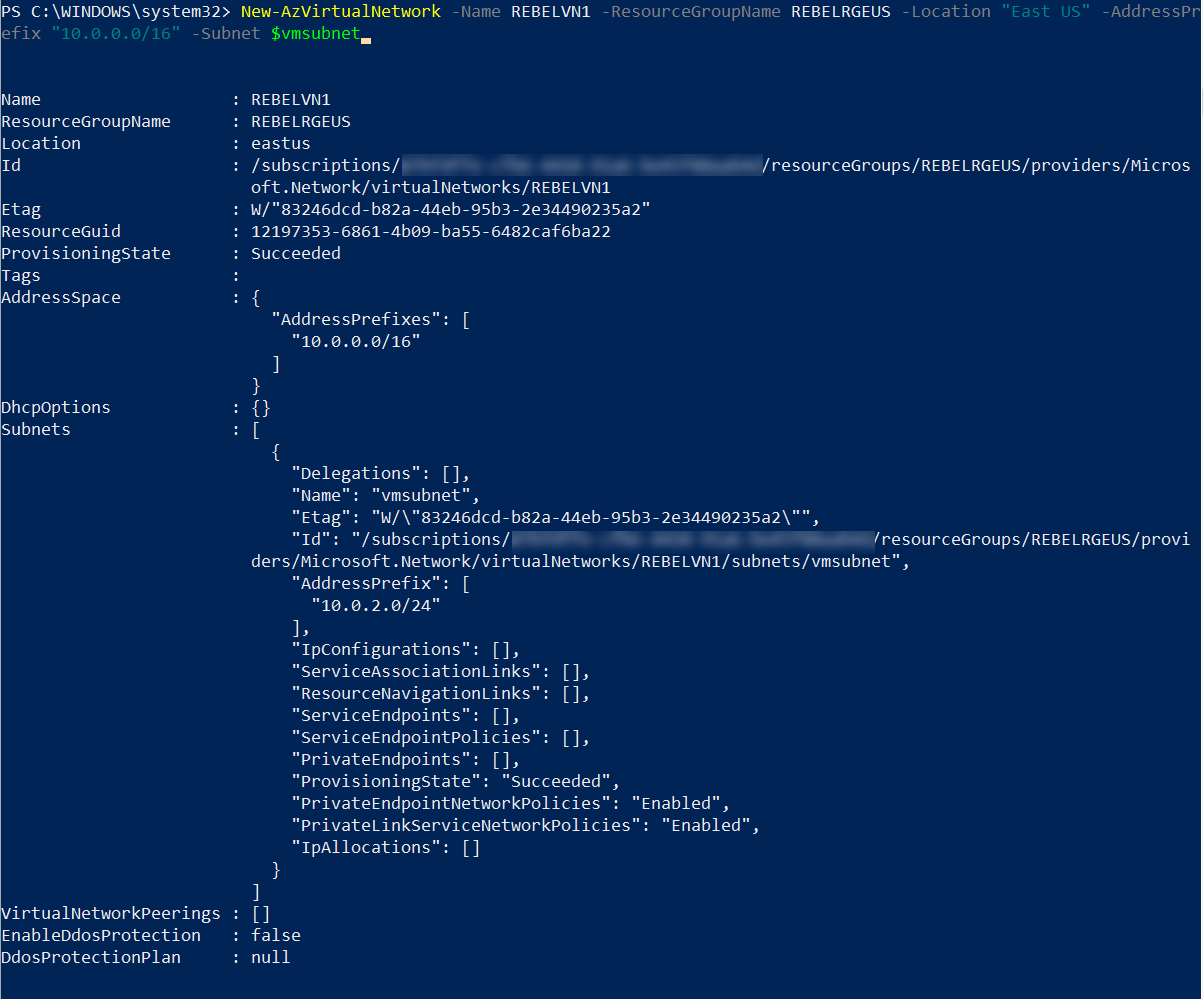
In the above, REBELVN1 is the new virtual network name. It has 10.0.0.0/16 address space. It also has a new subnet 10.0.2.0/24 (vmsubnet) for virtual machines.
Create Public IP Address
The next step of the configuration is to create a public IP address to use with Azure VM. This Public IP Address and Azure VM must use the same Azure Availability Zone.
New-AzPublicIpAddress -ResourceGroupName REBELRGEUS -Location eastus -Zone 3 -AllocationMethod Static -IdleTimeoutInMinutes 4 -Name “rebelpublic1” -Sku Standard
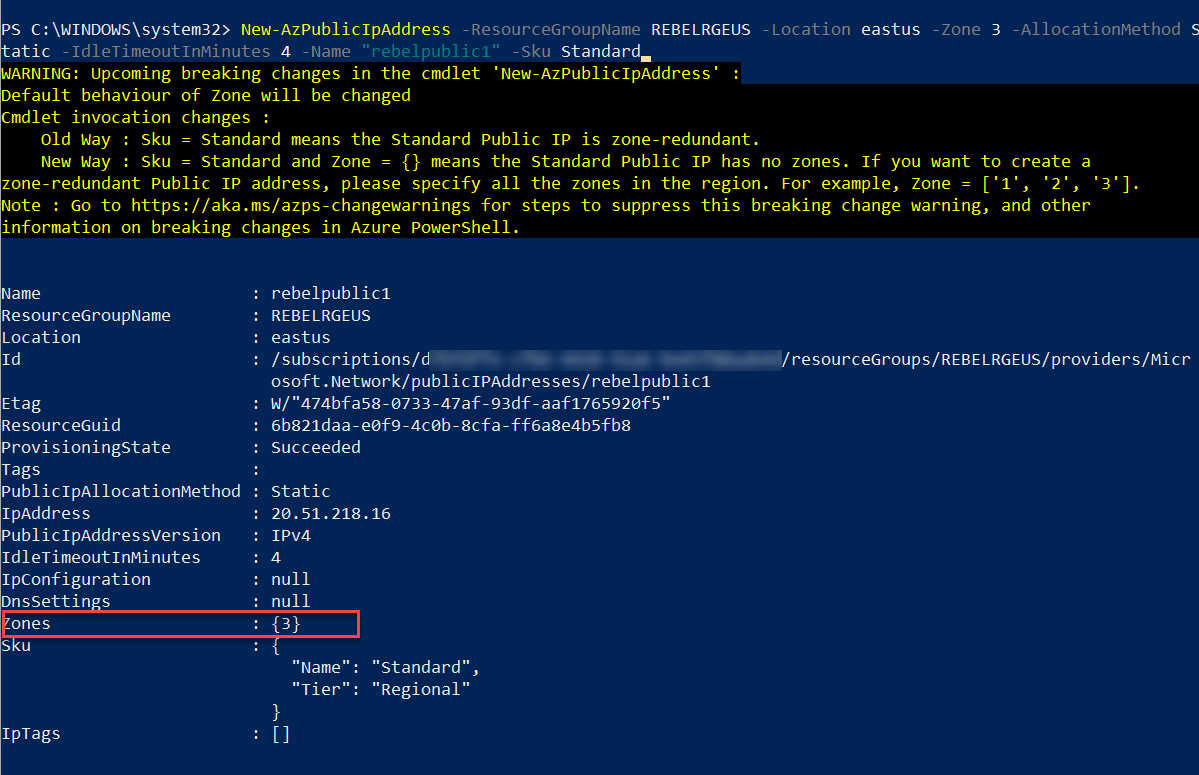
In the above, the public IP address is created on Azure Availability Zone 3. It is also using the static allocation method and Standard SKU. This resource is also using the East US Azure region.
Create Network Security Group and Network Security Group Rule
To access Azure Virtual Machine over the internet, first, we need to allow TCP 3389 traffic via network security group (NSG). Before we create NSG, let’s go ahead and create the NSG rule.
$rdprule = New-AzNetworkSecurityRuleConfig -Name rebelrdprule -Protocol Tcp -Direction Inbound -Priority 1000 -SourceAddressPrefix * -SourcePortRange * -DestinationAddressPrefix * -DestinationPortRange 3389 -Access Allow

In the above, I created a rule to accept TCP 3389 inbound traffic from any source.
Next, we need to create NSG with this new rule.
$rebelnsg = New-AzNetworkSecurityGroup -ResourceGroupName REBELRGEUS -Location eastus -Name rebelNSG1 -SecurityRules $rdprule

Create NIC for the Azure VM
Now we have a virtual network, public IP address, and NSG in place. The next step is to create a new NIC using these resources.
$rebelvnet = Get-AzVirtualNetwork -Name REBELVN1 -ResourceGroupName REBELRGEUS
$publicip = Get-AzPublicIpAddress -Name rebelpublic1 -ResourceGroupName REBELRGEUS
$rebelnic1 = New-AzNetworkInterface -Name rebelvmnic1 -ResourceGroupName REBELRGEUS -Location eastus -SubnetId $rebelvnet.Subnets[0].Id -PublicIpAddressId $publicip.Id -NetworkSecurityGroupId $rebelnsg.Id

Create Azure VM
Now we have everything in place to create a new Azure VM. Let’s go ahead and complete the process using,
$cred = Get-Credential
$rebelvmconf = New-AzVMConfig -VMName REBEL01 -VMSize Standard_DS1_v2 -Zone 3 | Set-AzVMOperatingSystem -Windows -ComputerName REBEL01 -Credential $cred | Set-AzVMSourceImage -PublisherName MicrosoftWindowsServer -Offer WindowsServer -Skus 2019-Datacenter -Version latest | Add-AzVMNetworkInterface -Id $rebelnic1.Id
New-AzVM -ResourceGroupName REBELRGEUS -Location eastus -VM $rebelvmconf
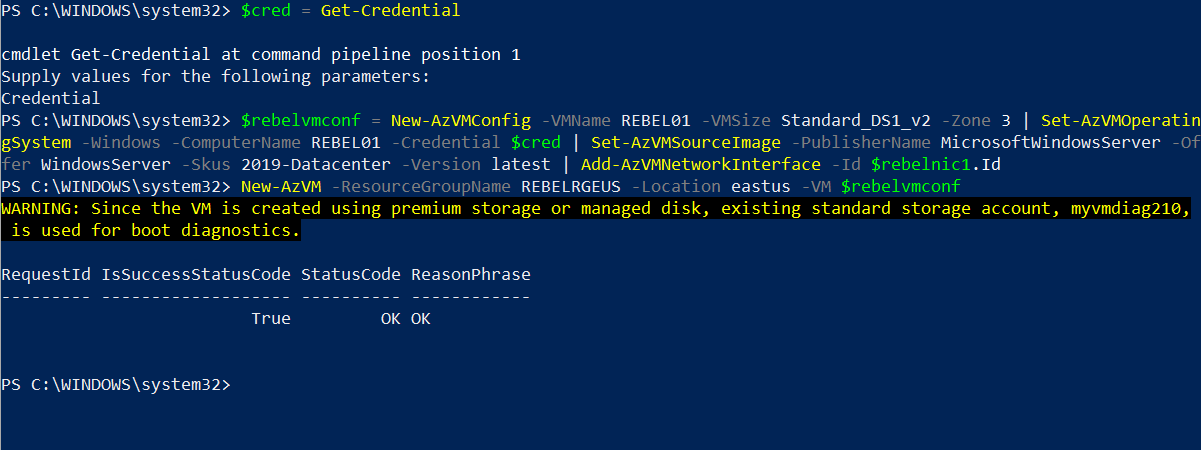
In the above, I am creating a virtual machine called REBEL01 in East US Azure region. It is running windows server 2019 data center edition. It also using Standard_DS1_v2 vm size. Same as the Public IP address, this Azure VM also using Azure Availability Zone 3.
This completes the configuration of the Azure Virtual Machine. We can confirm the Azure Availability Zone settings for the Azure VM using,
Get-AzVM -ResourceGroupName REBELRGEUS | fl
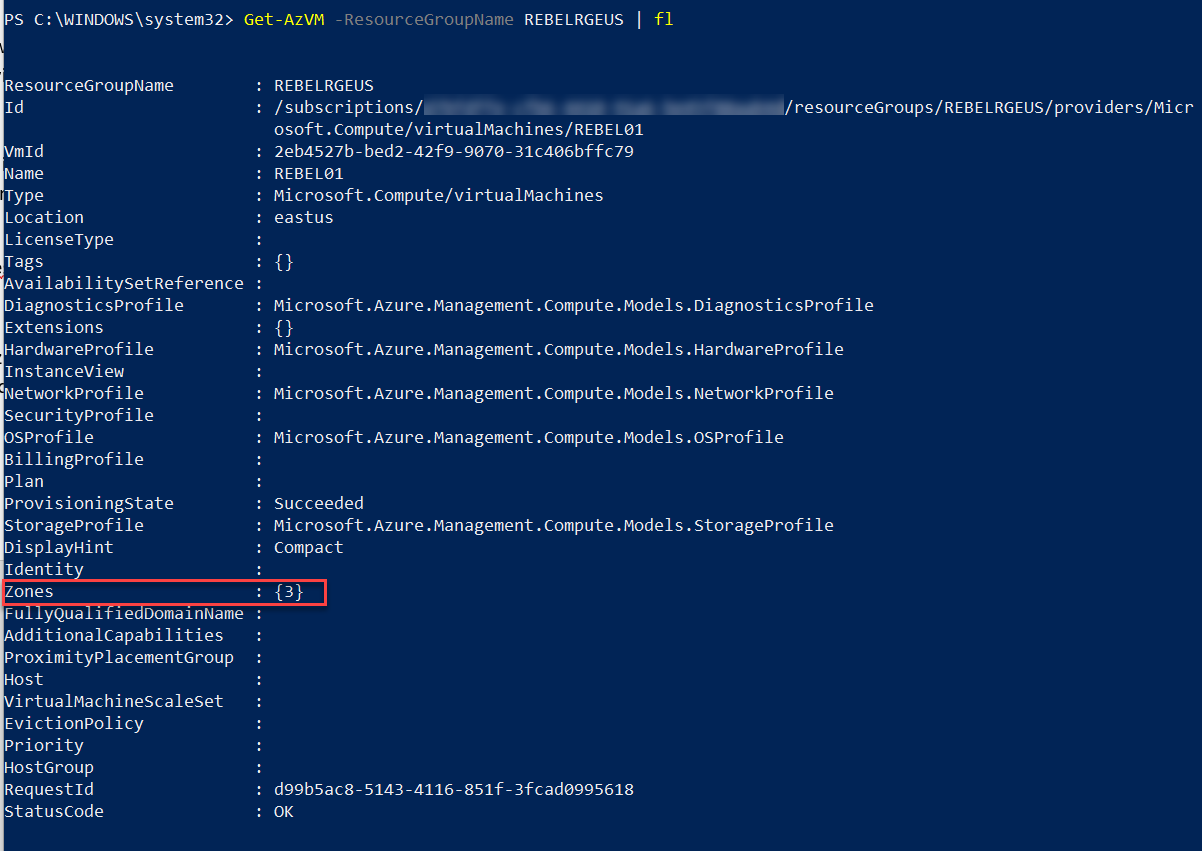
As we can see the Azure VM is successfully created in Azure Availability Zone. If you have any further questions about this feel free to contact me at rebeladm@live.com also follow me on Twitter @rebeladm to get updates about new blog posts.

