
Facebook federation with Azure AD allows external users to use their Facebook accounts to access corporate applications. In this demo, I am going to demonstrate how we can initiate federation with Facebook.
Before start configuration, make sure you have a valid Azure AD Subscription, an Application published through Azure AD, and a Facebook account.
Enable Self-service sign-up for guest users (preview)
Before we initiate federation with Facebook, we need to enable Self-service sign-up. To do this,
1. Log on to Azure Portal as Global Administrator
2. Click on Azure Active Directory
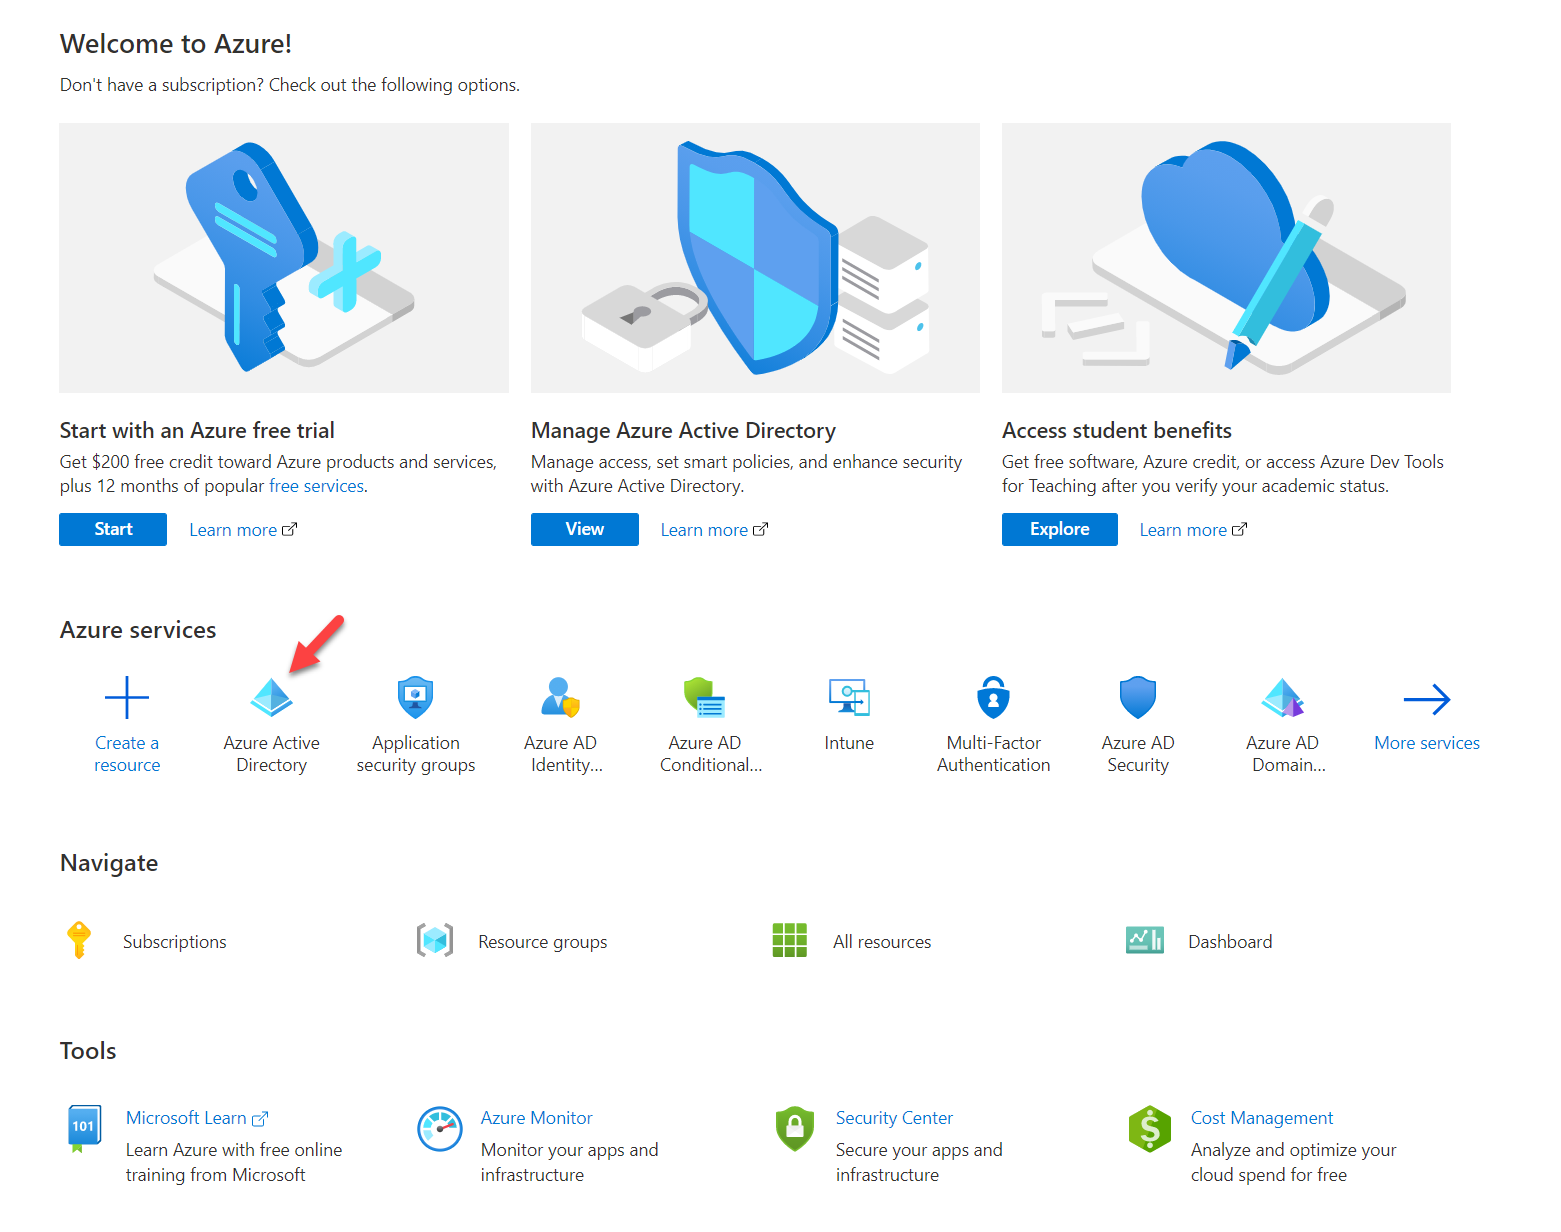
3. On the Azure AD properties page, click on User settings

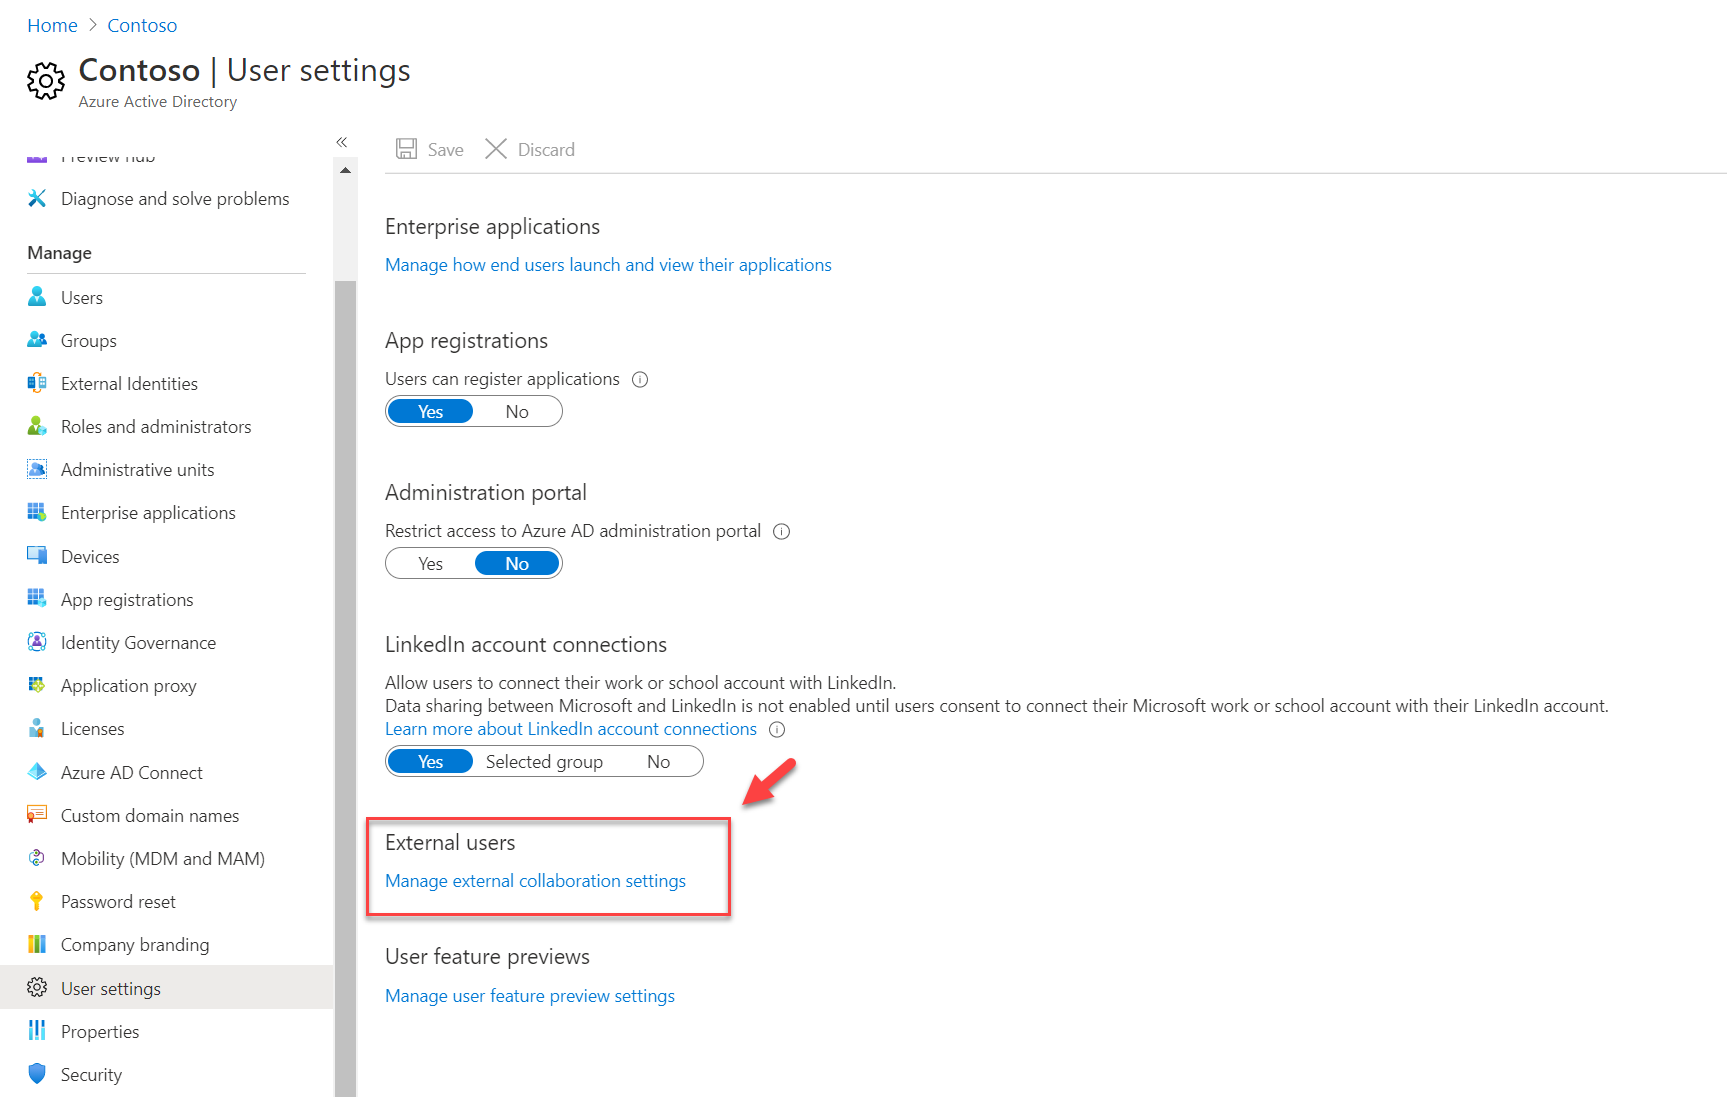
4. Then under External Users, select Manage external collaboration settings
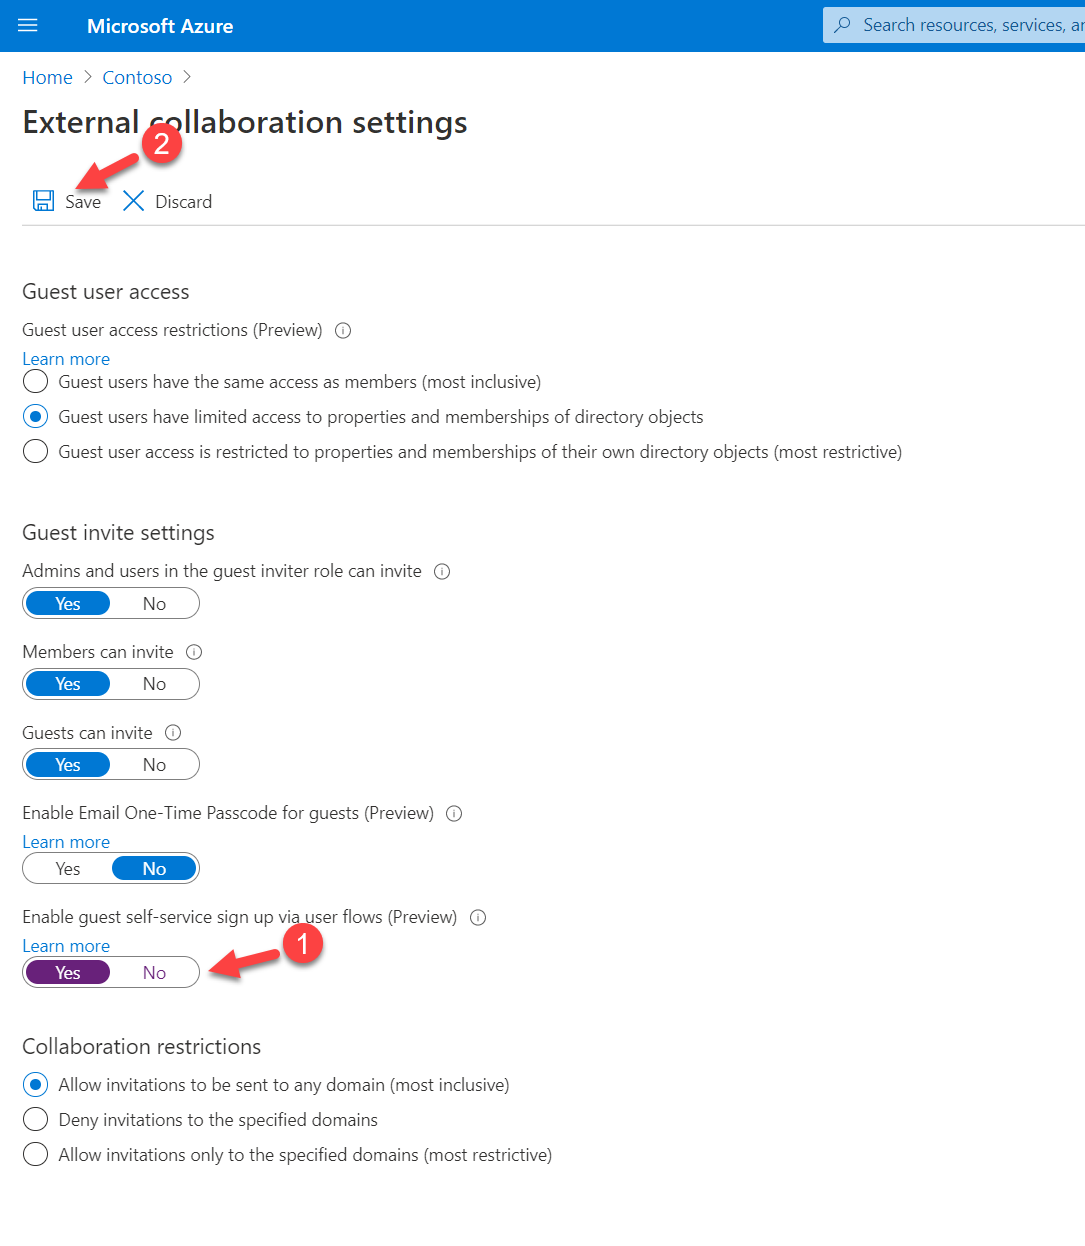
5. In the External collaboration settings page, Set the Enable guest self-service sign up via user flows (Preview) option to Yes. Then to apply settings click on Save.
Add Facebook as an identity provider
Before we create user flow, we need to add Facebook as an identity provider. To do that,
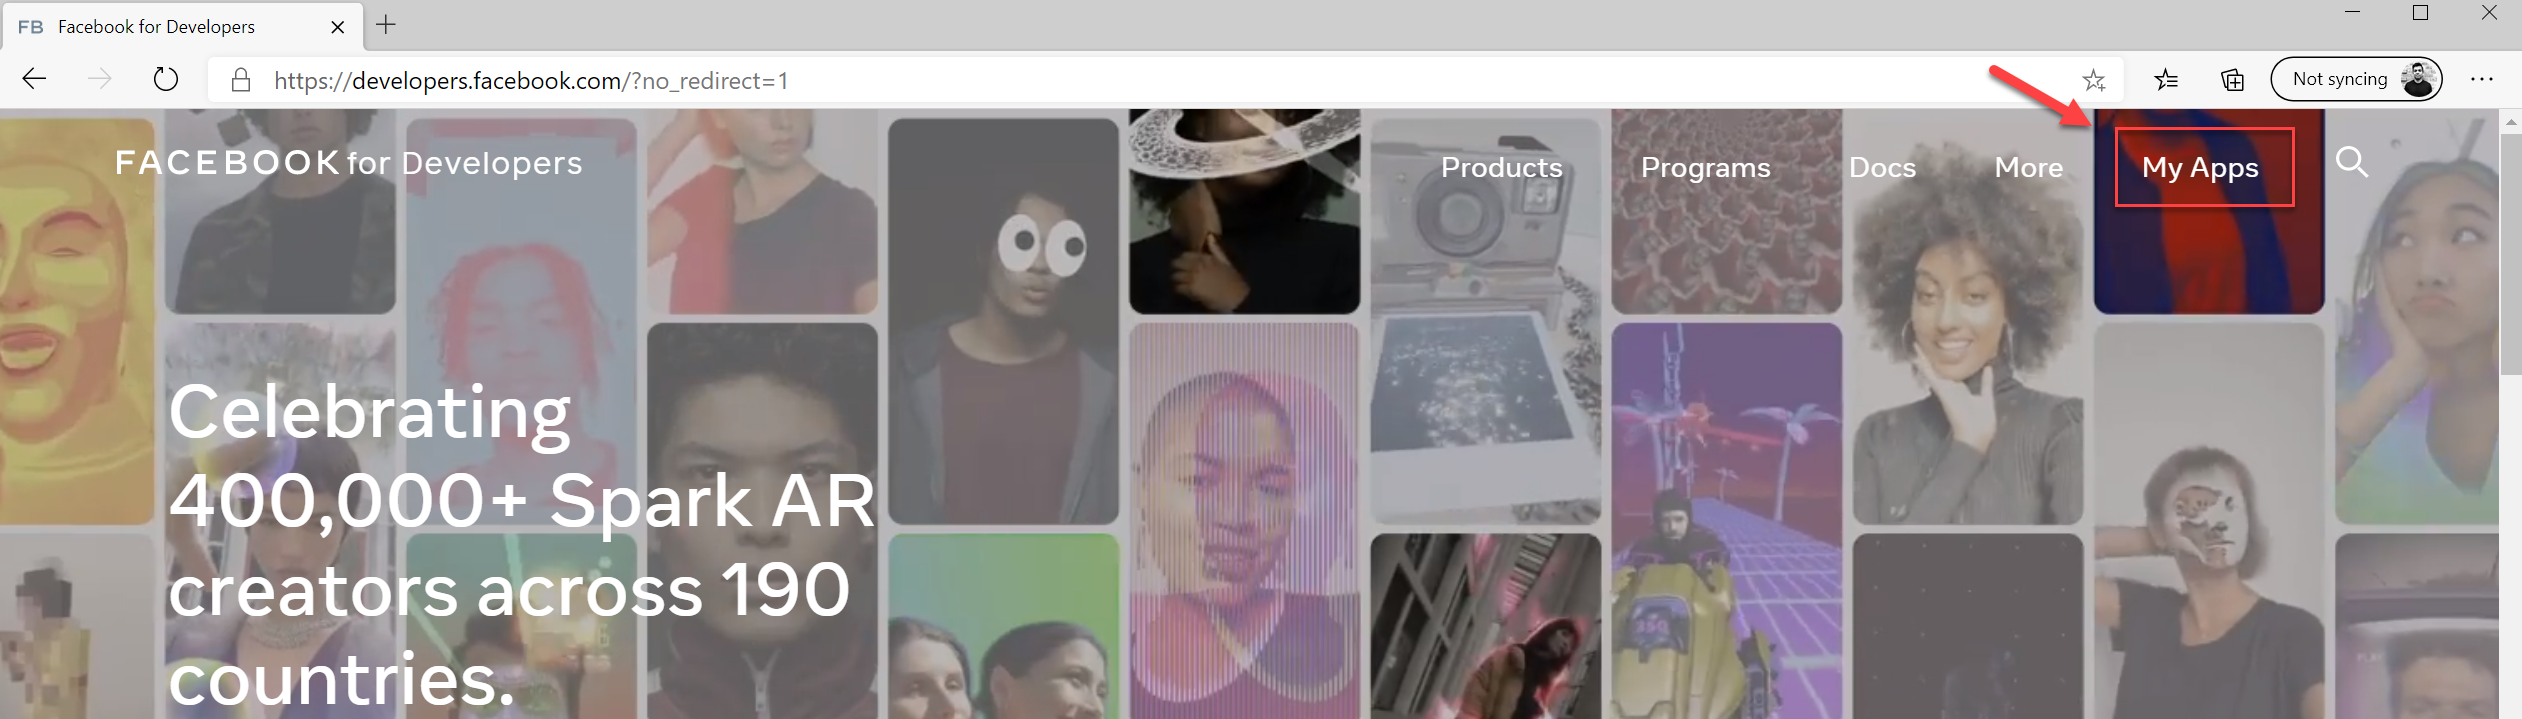
1. Log in to the Facebook developers console (https://developers.facebook.com/) with your Facebook credentials.
2. If you didn’t use this before, click on Get Started and complete the sign-up process.
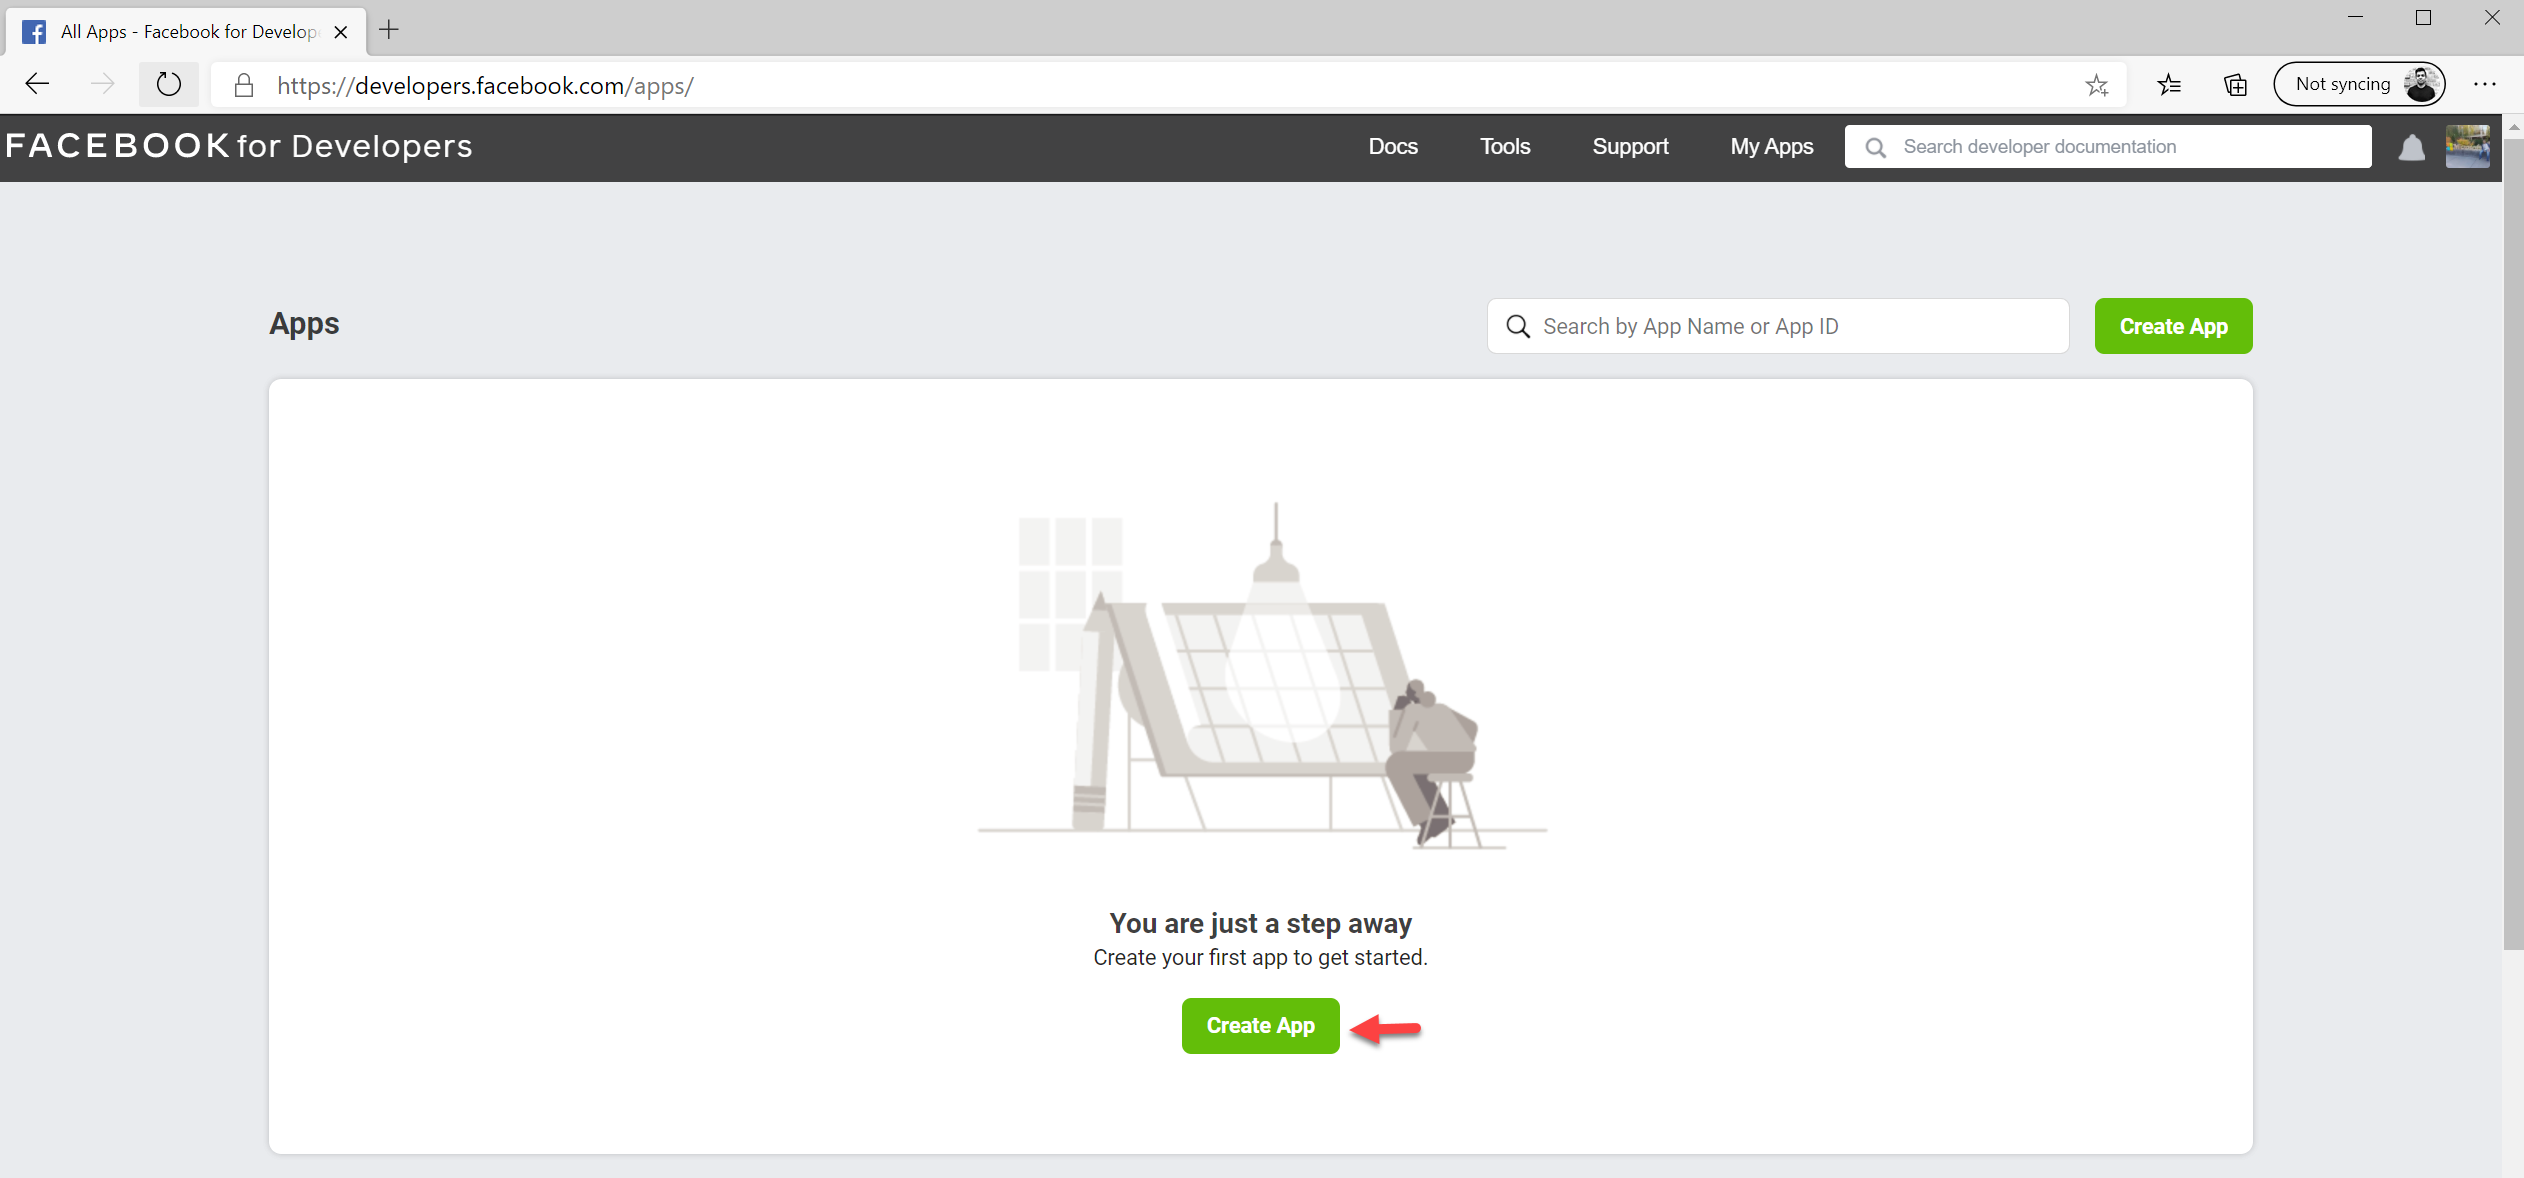
3. Then click on My Apps
4. To create a new app click on Create app
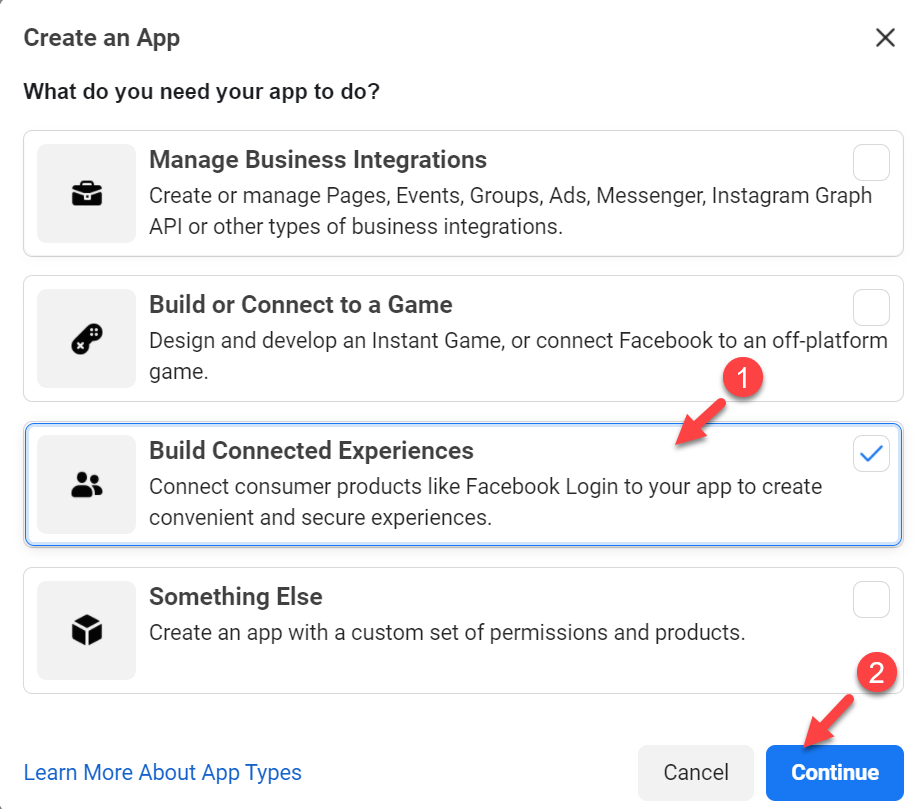
5. Create an App ID popup, select Build Connected Experience and click on Continue
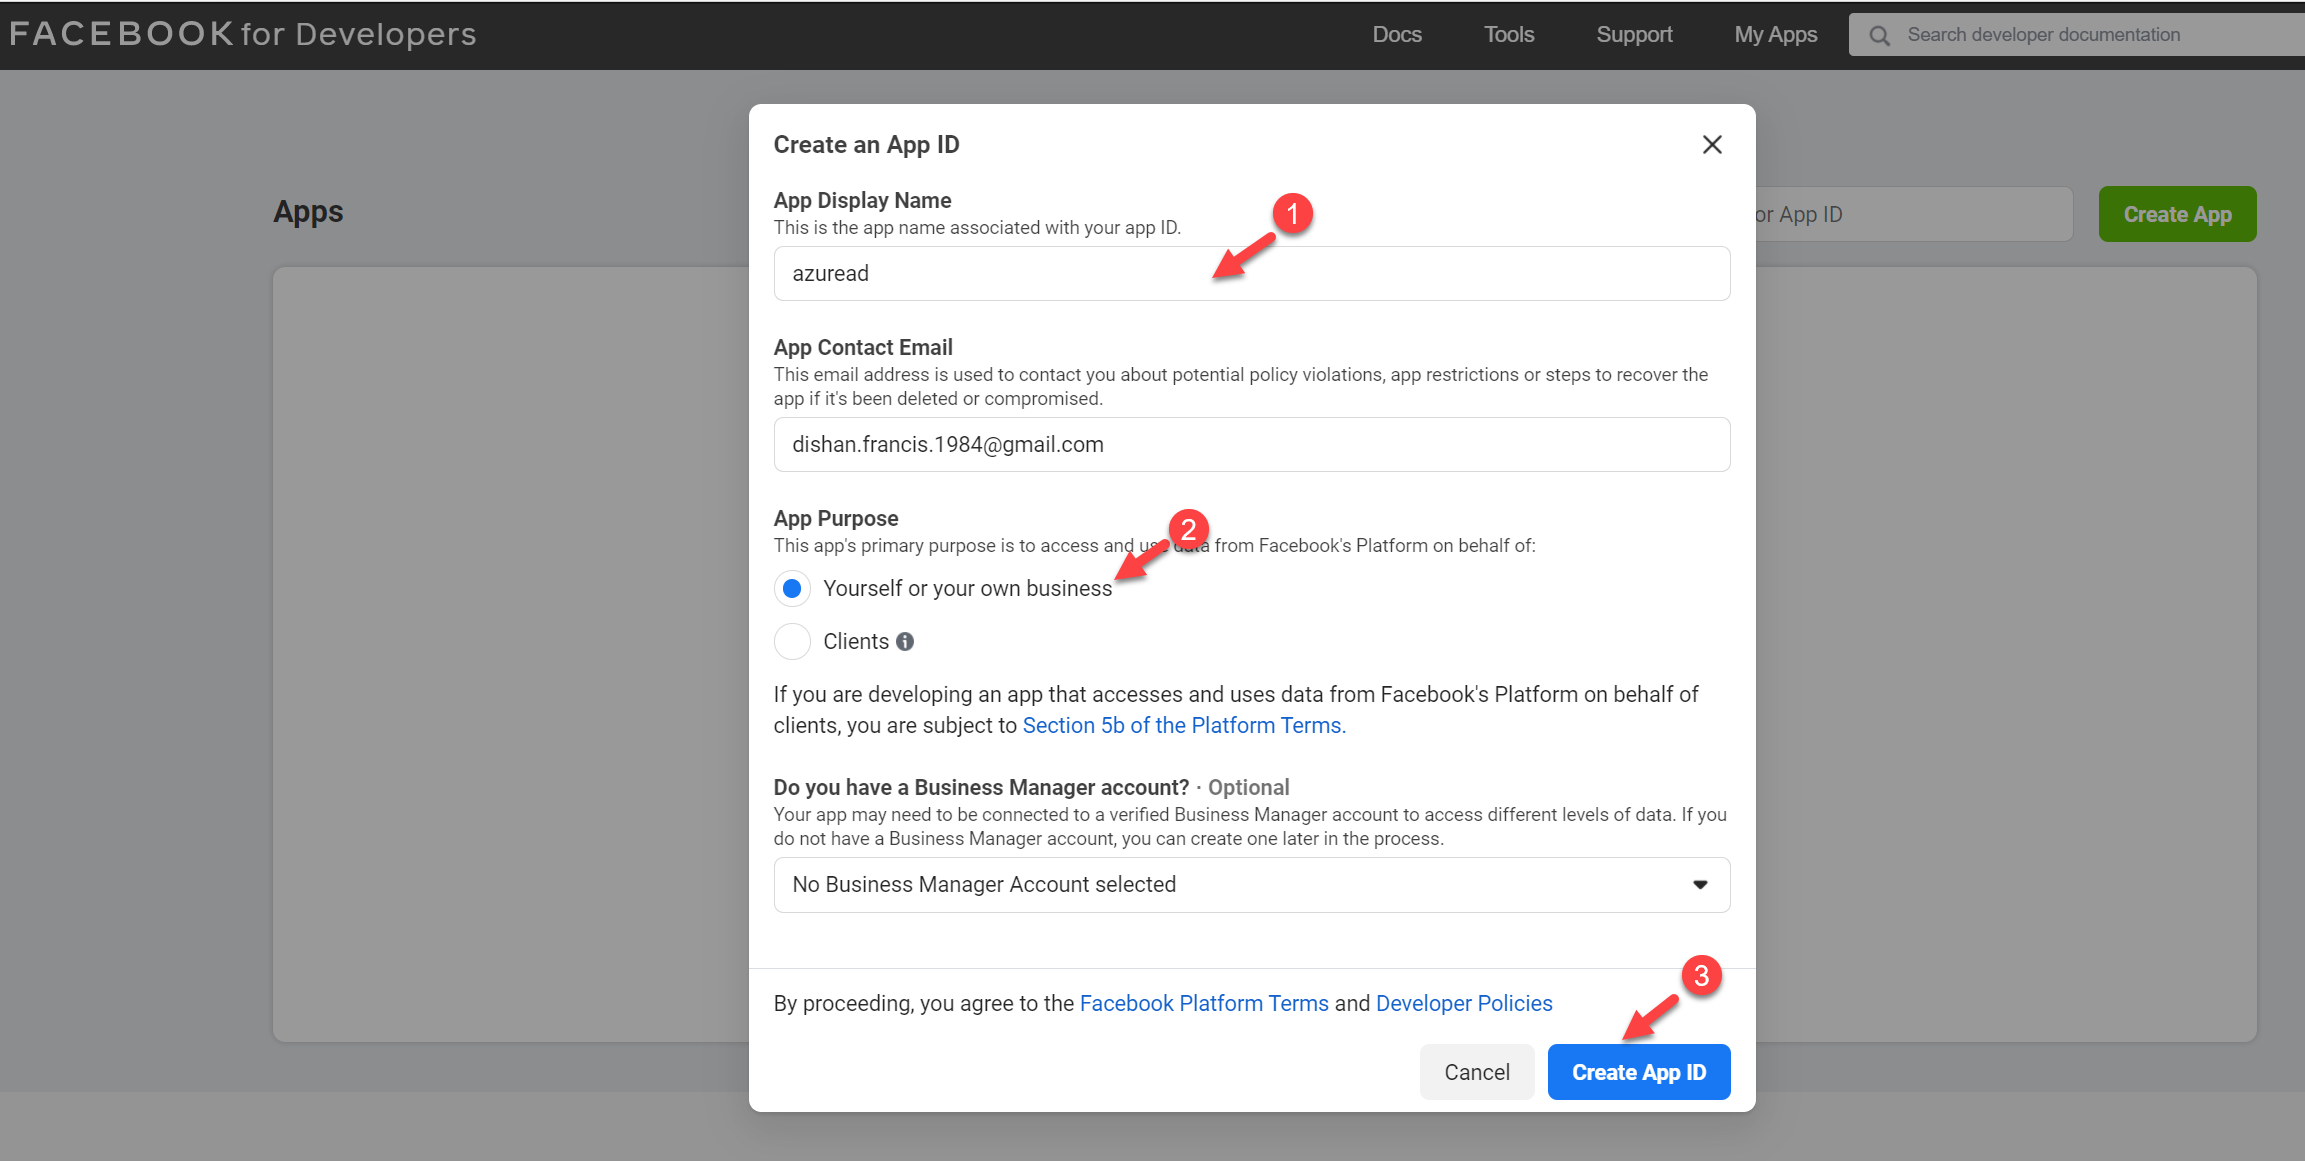
6. In the new form, provide a display name for app ID. Then click on Create App ID to proceed.
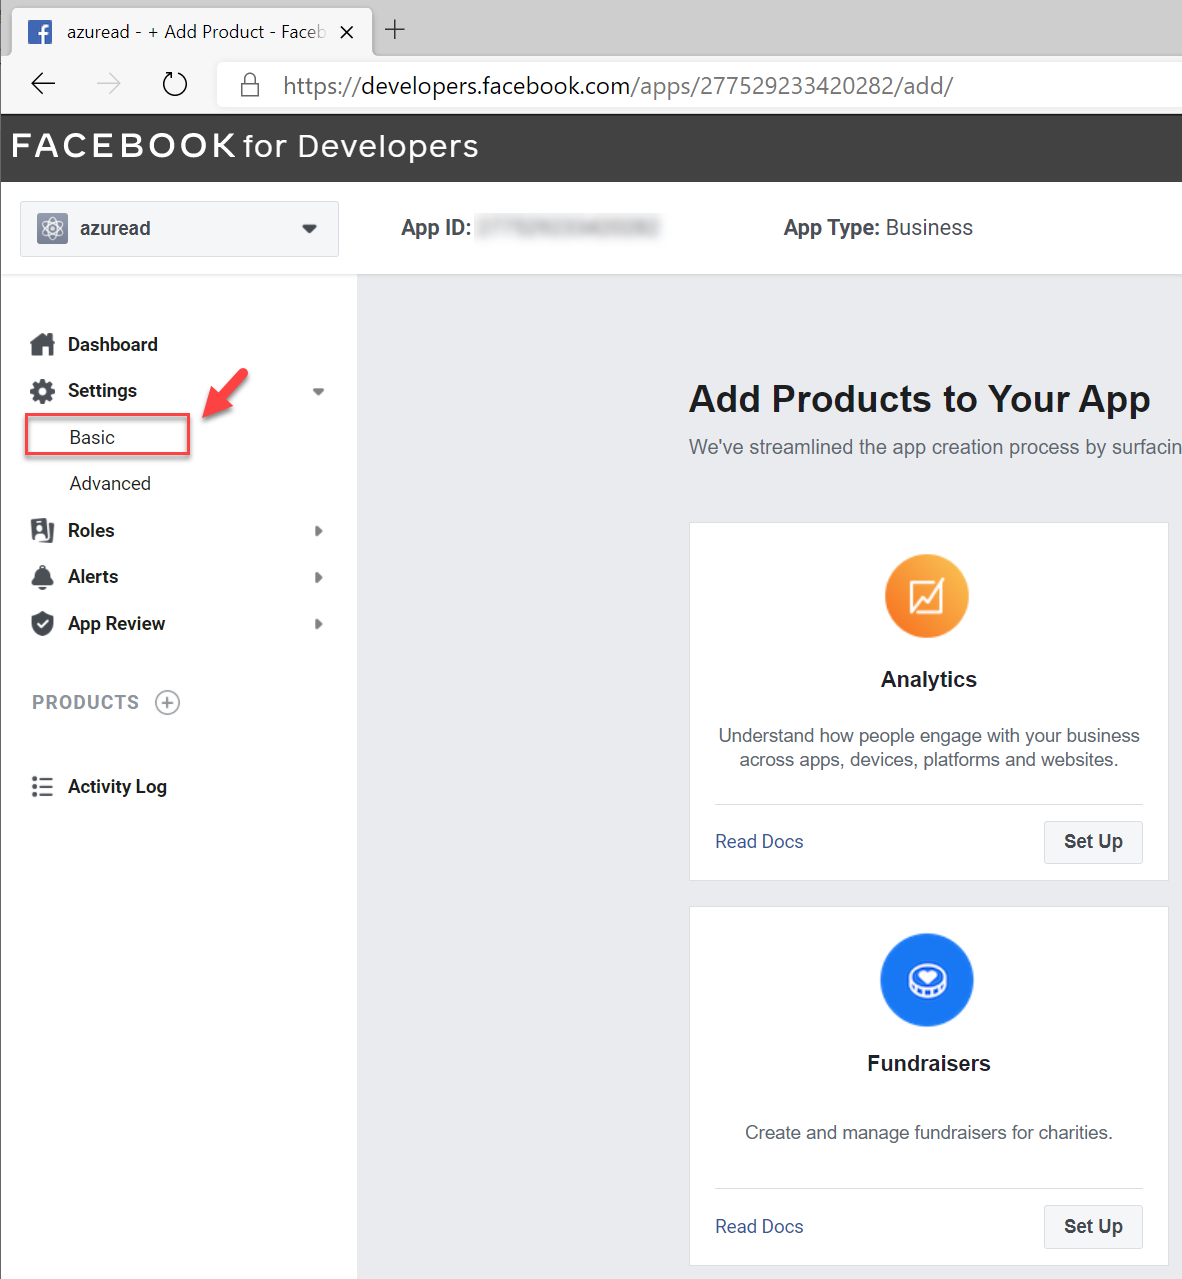
7. After security checks, the system will create new App ID. On the Application page, click on Settings | Basic
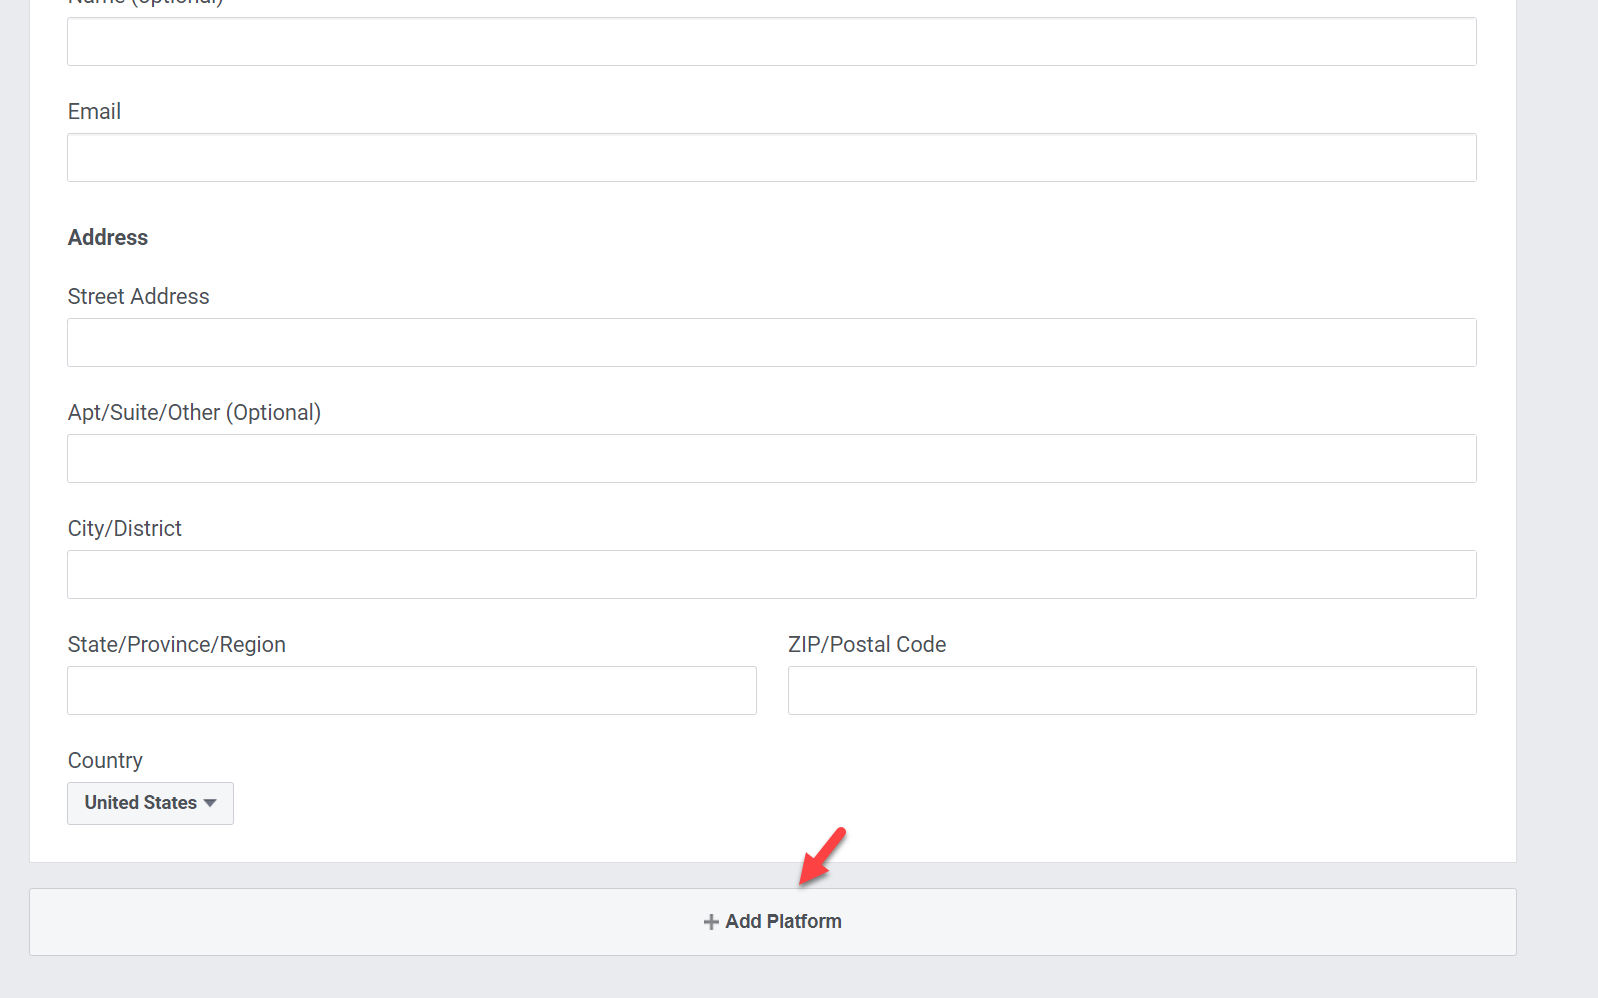
8. On the new page, Change the app category to Business and pages

9. Then in the bottom of the page click on + Add Platform
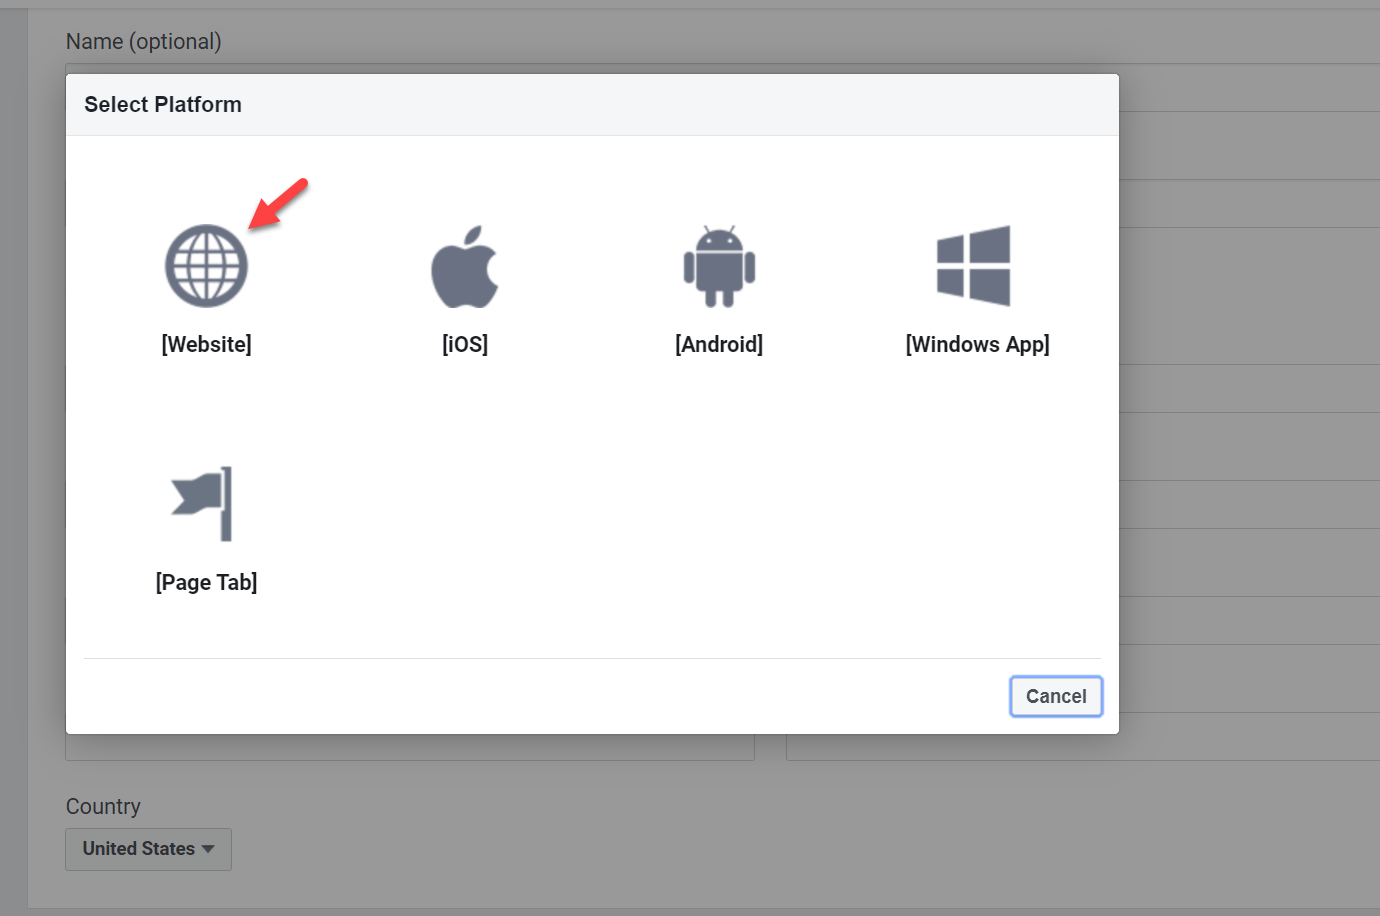
10. In the new popup window, select Website as a platform
11. Then type app Url and Privacy policy URL. At the end click on Save Changes to apply settings.
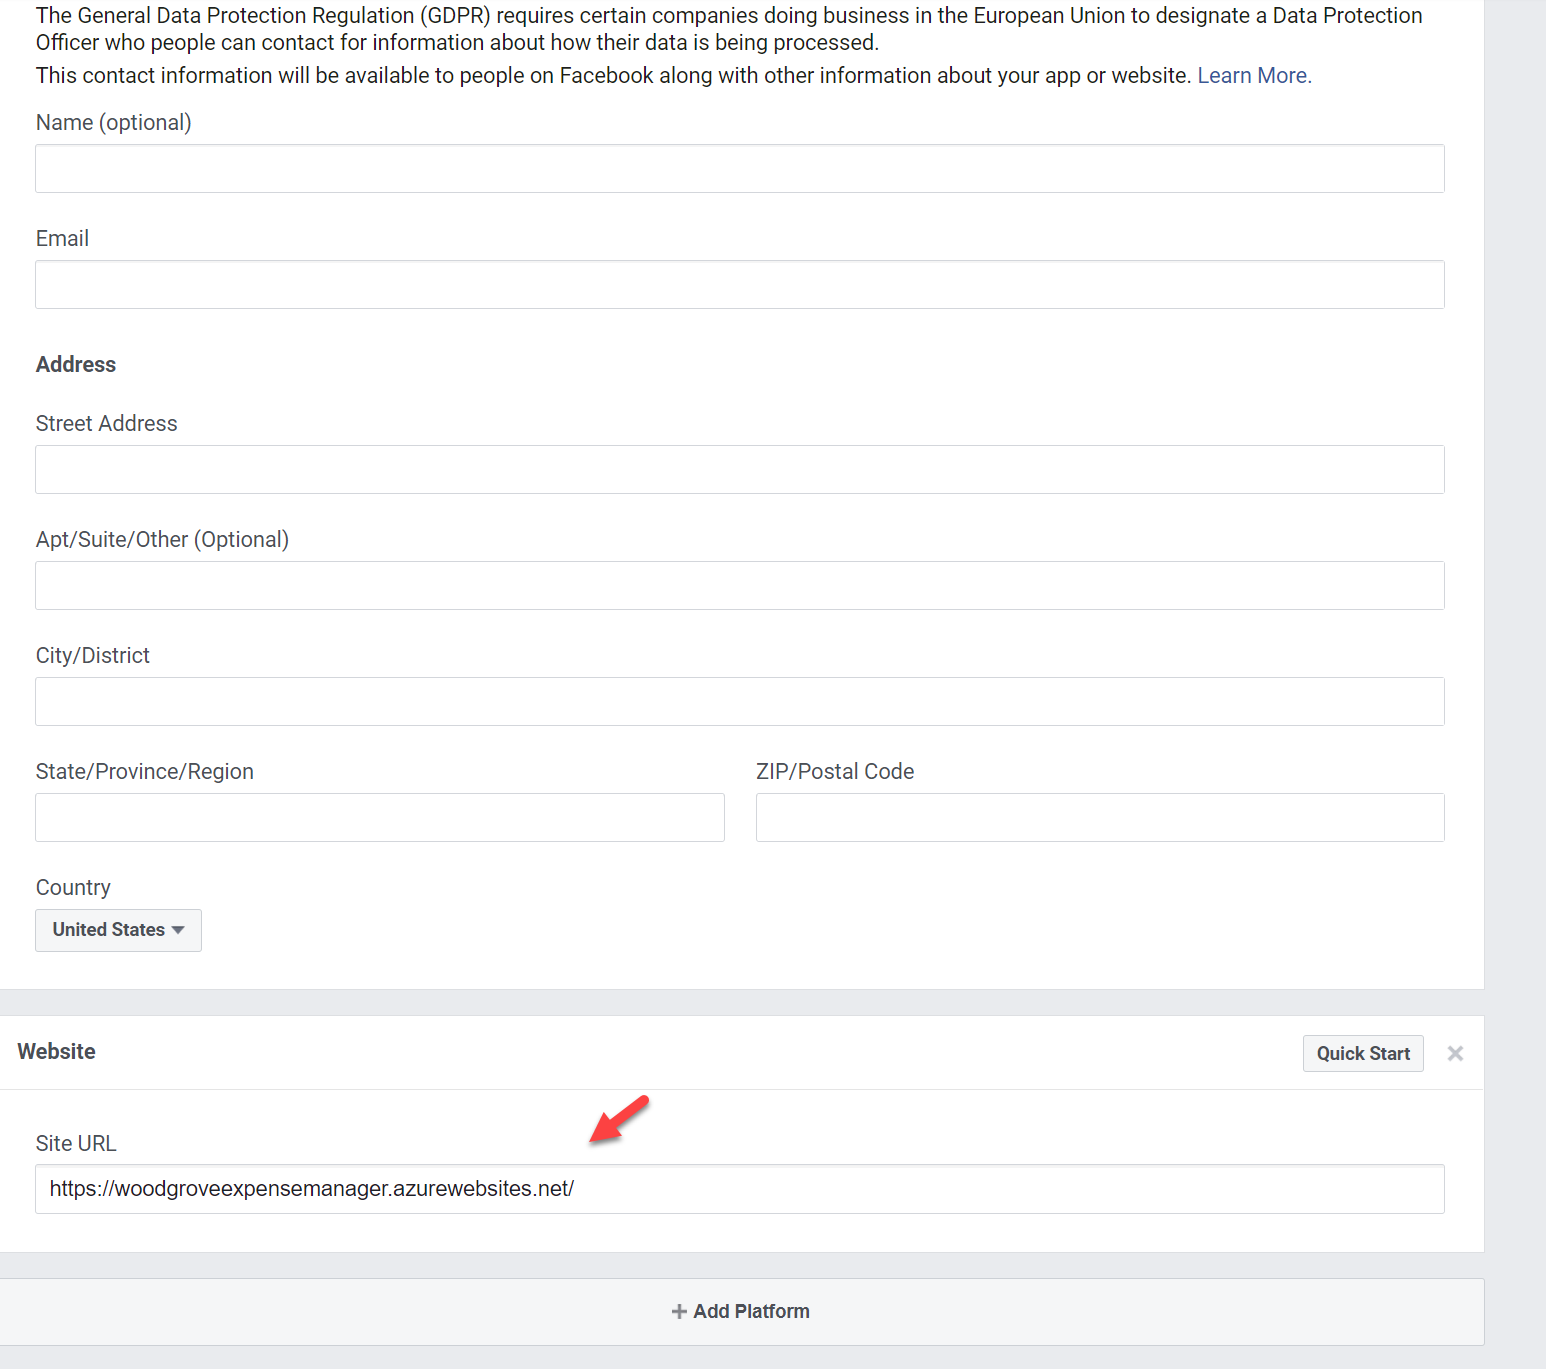
12. Once settings are saved, copy App ID and App Secret value as we need it in a later step.
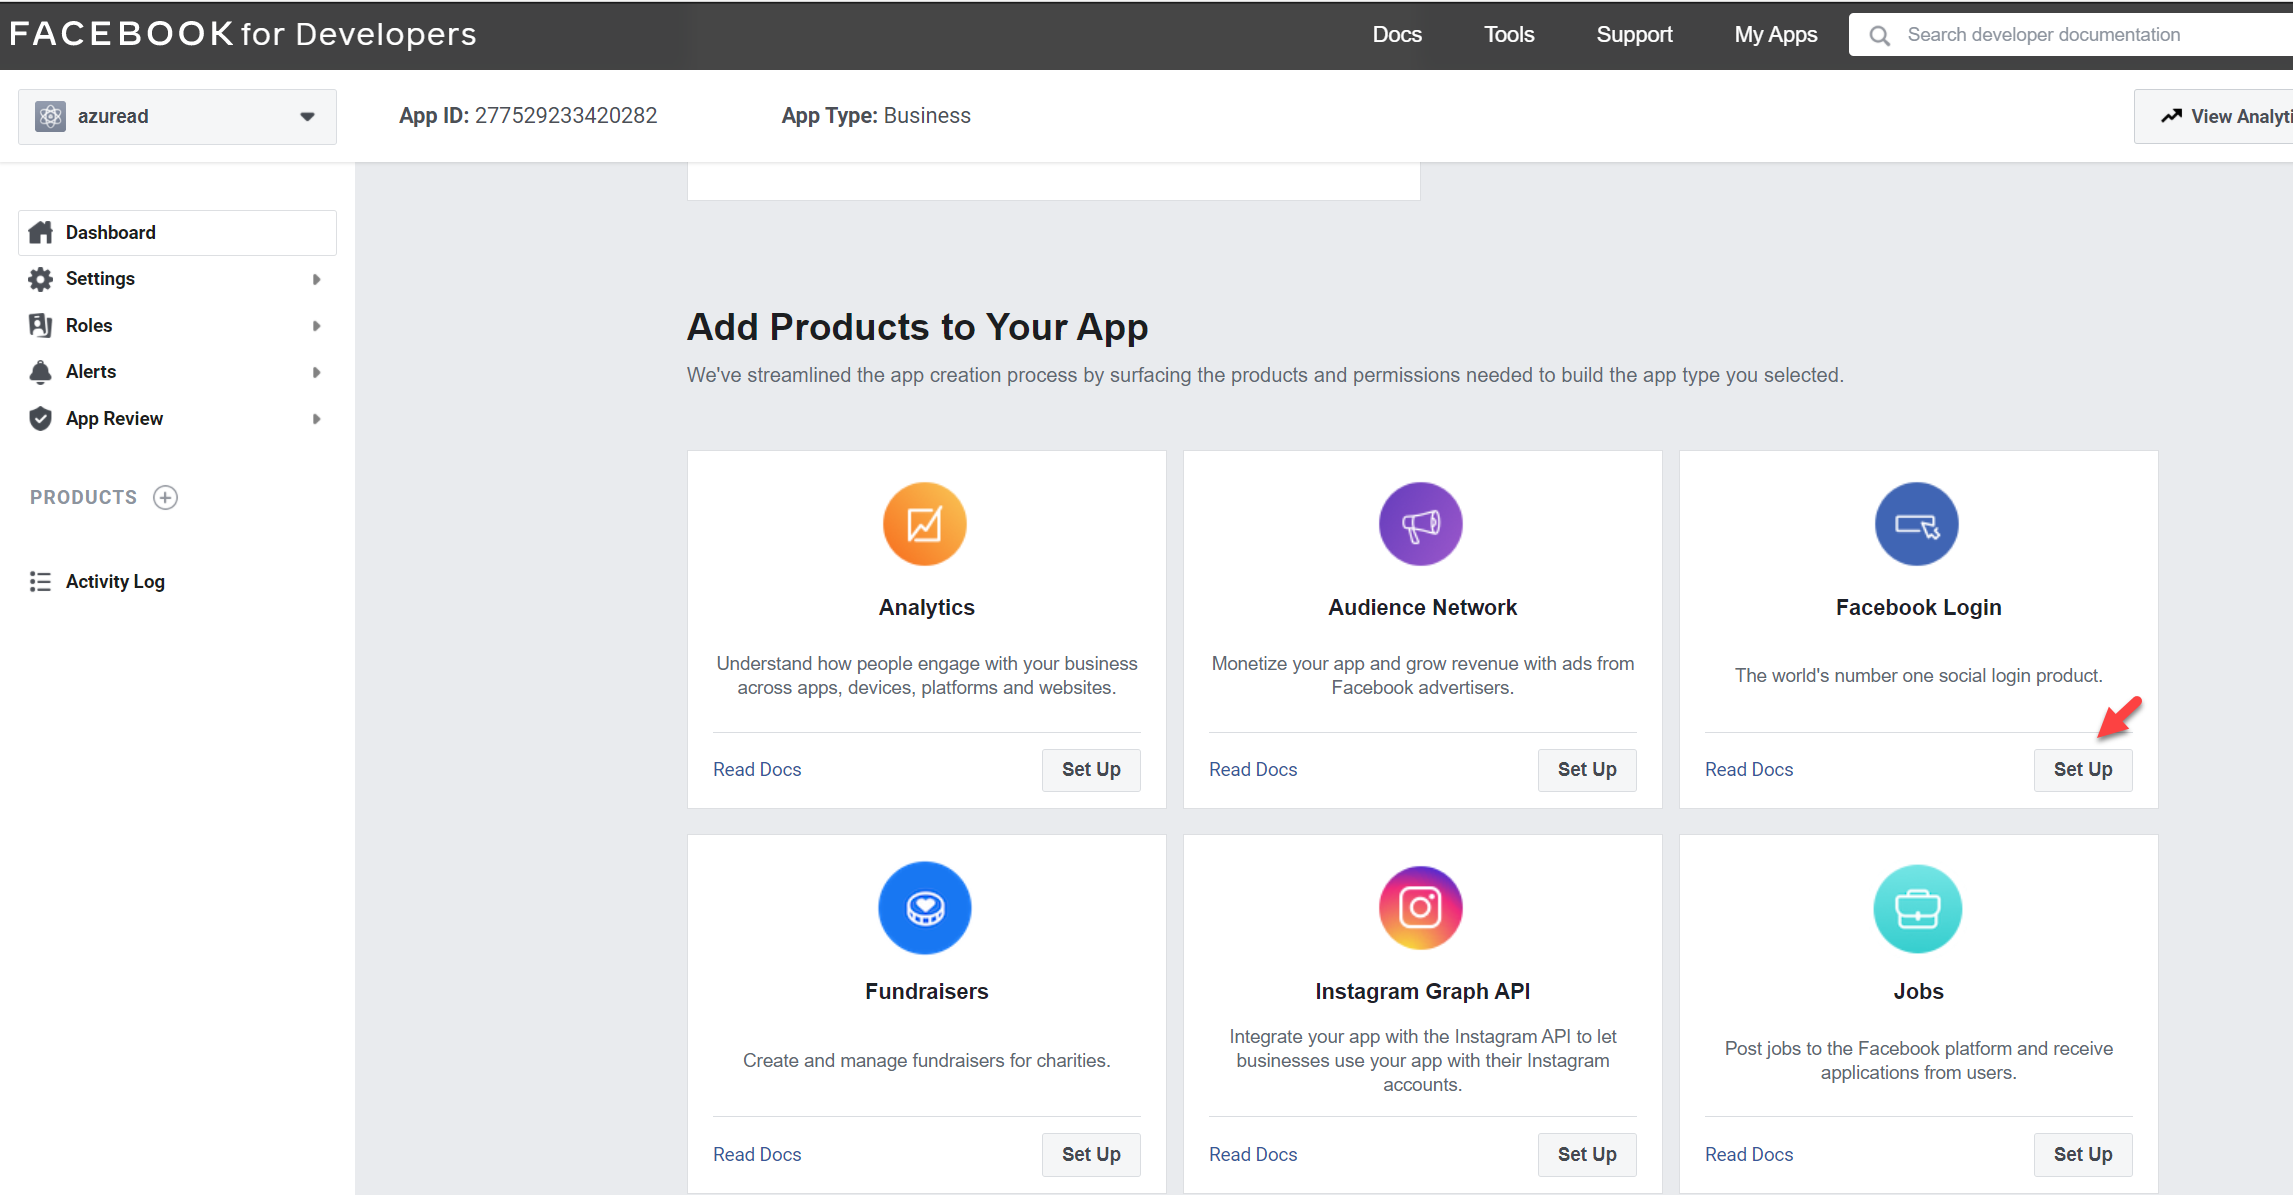
13. Then click on Products + in the left-hand panel.

14. On the products page, click on Setup under Facebook Login
15. Next, click on Facebook Login | Settings
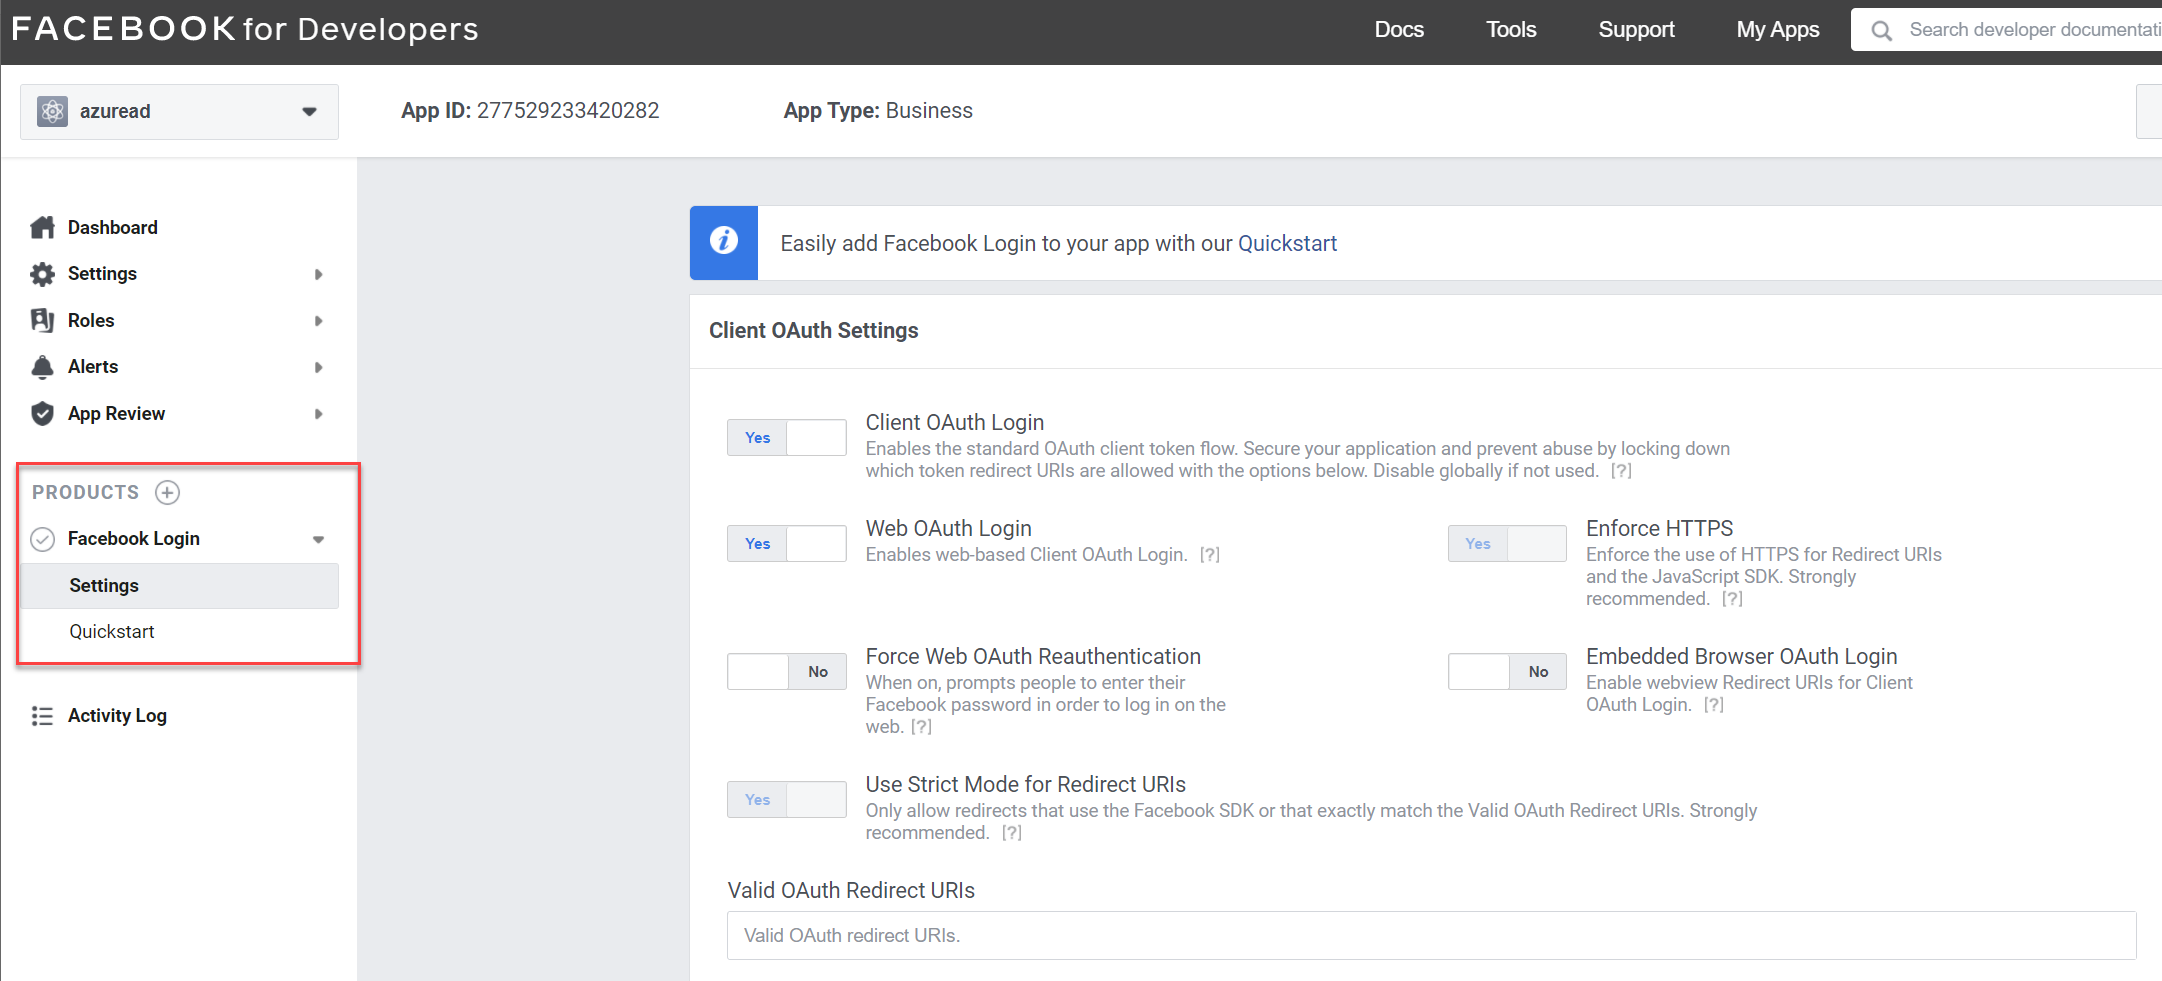
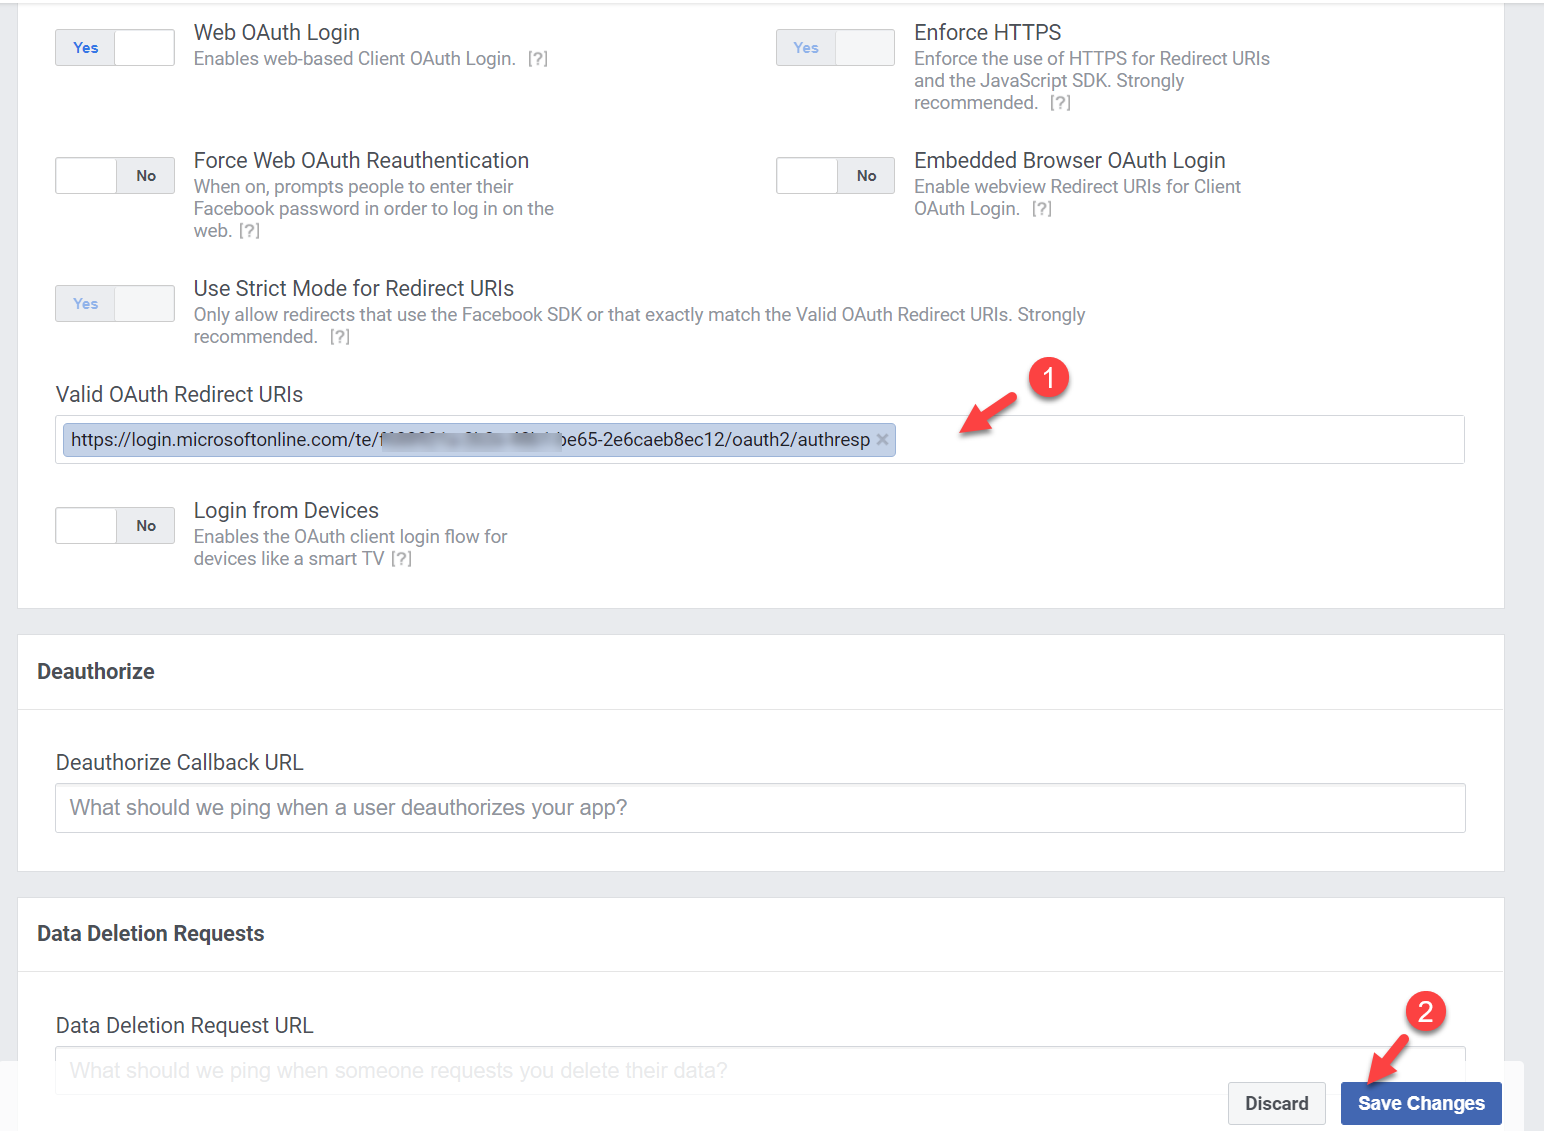
16. For Valid OAuth Redirect URIs use https://login.microsoftonline.com/te/
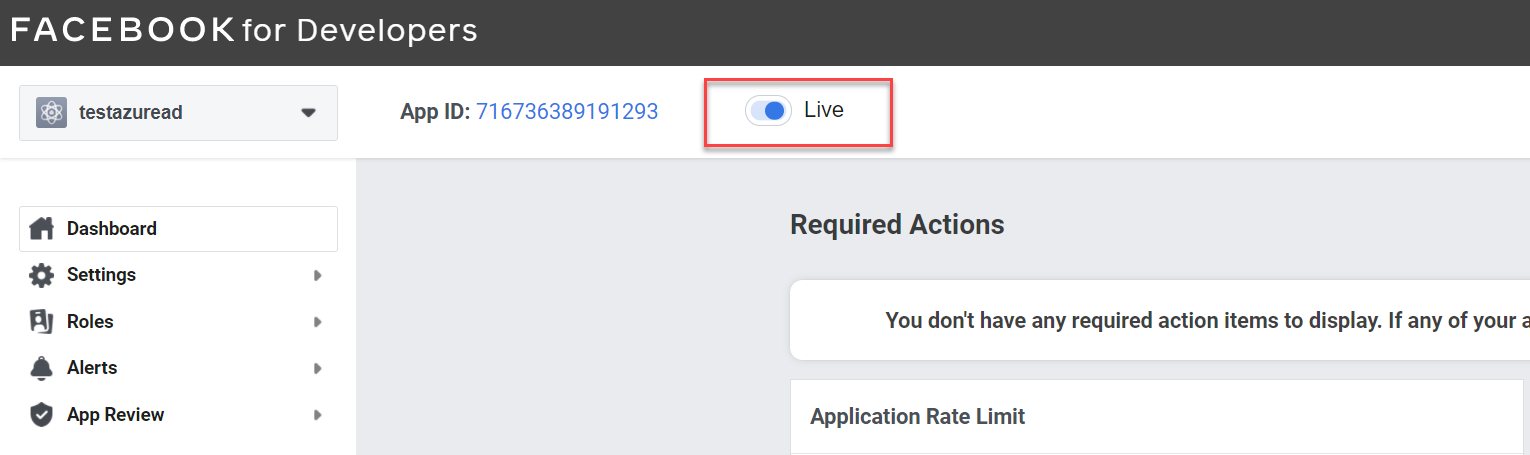
17. Next, we need to make the application live. To do that, click on the button at top of the page and change mode from Development to Live.
Add Facebook federation option to Azure AD portal
Now we have the Facebook app configured, the next step is to add Facebook federation option to the Azure AD portal. To do that,
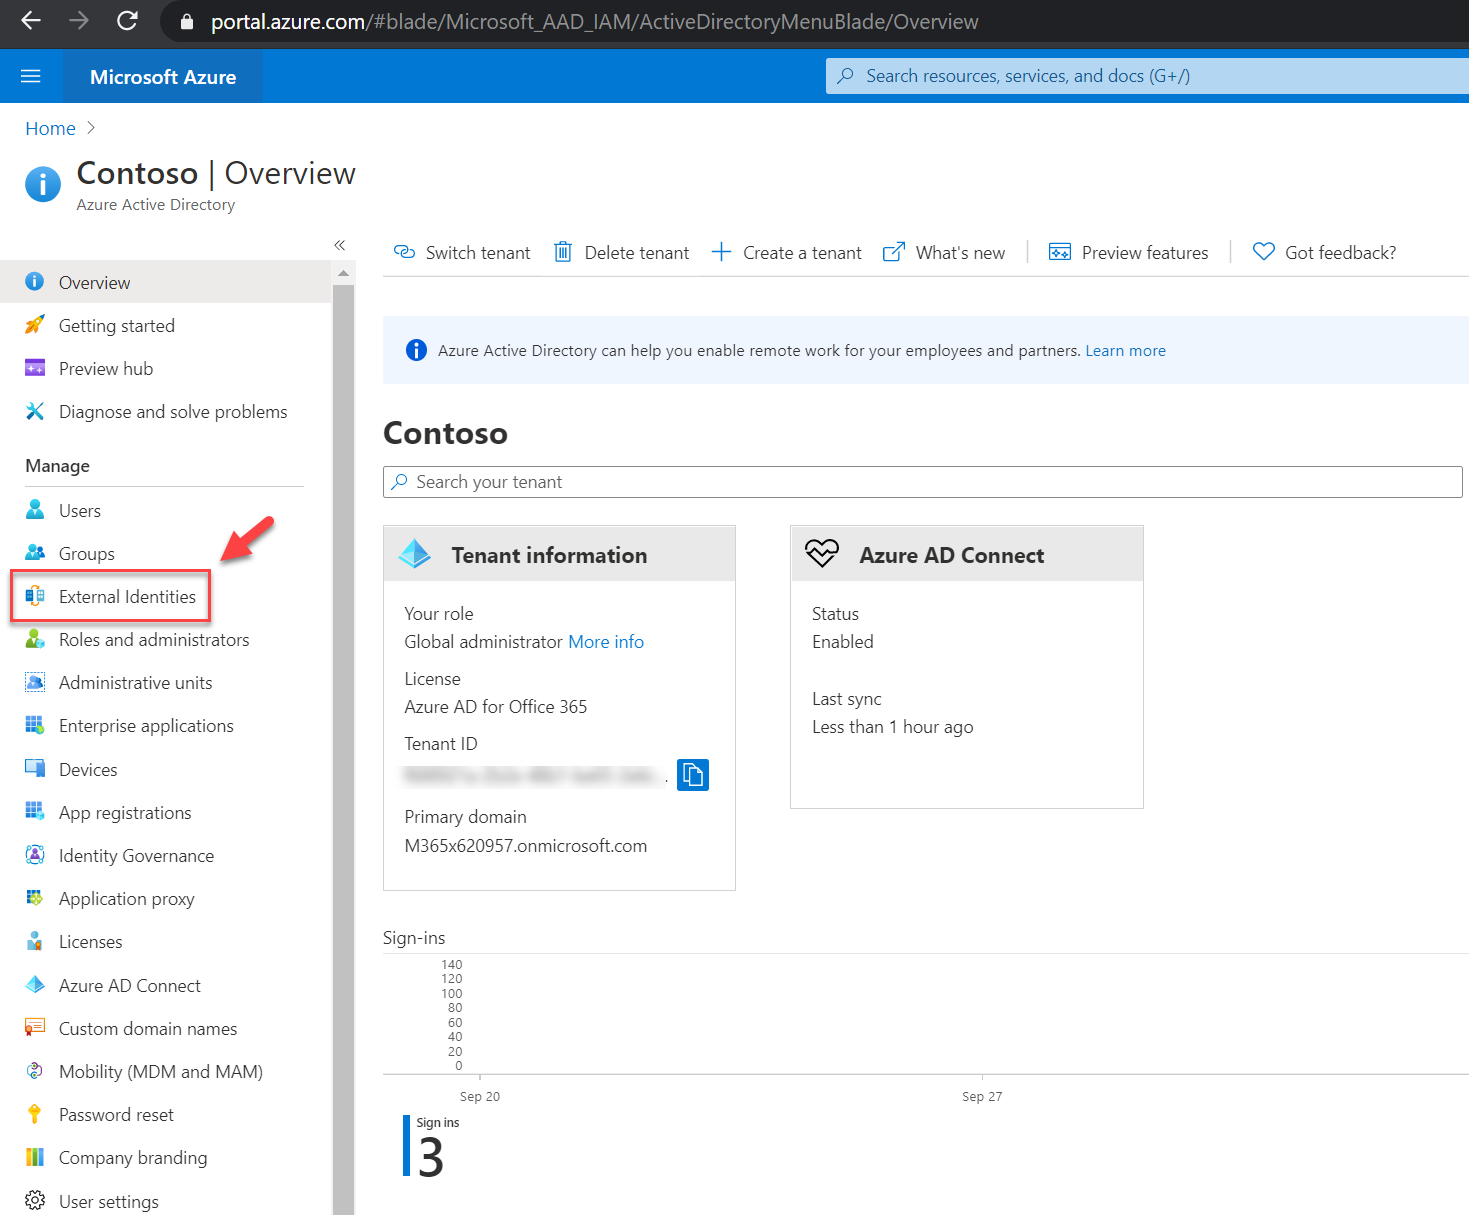
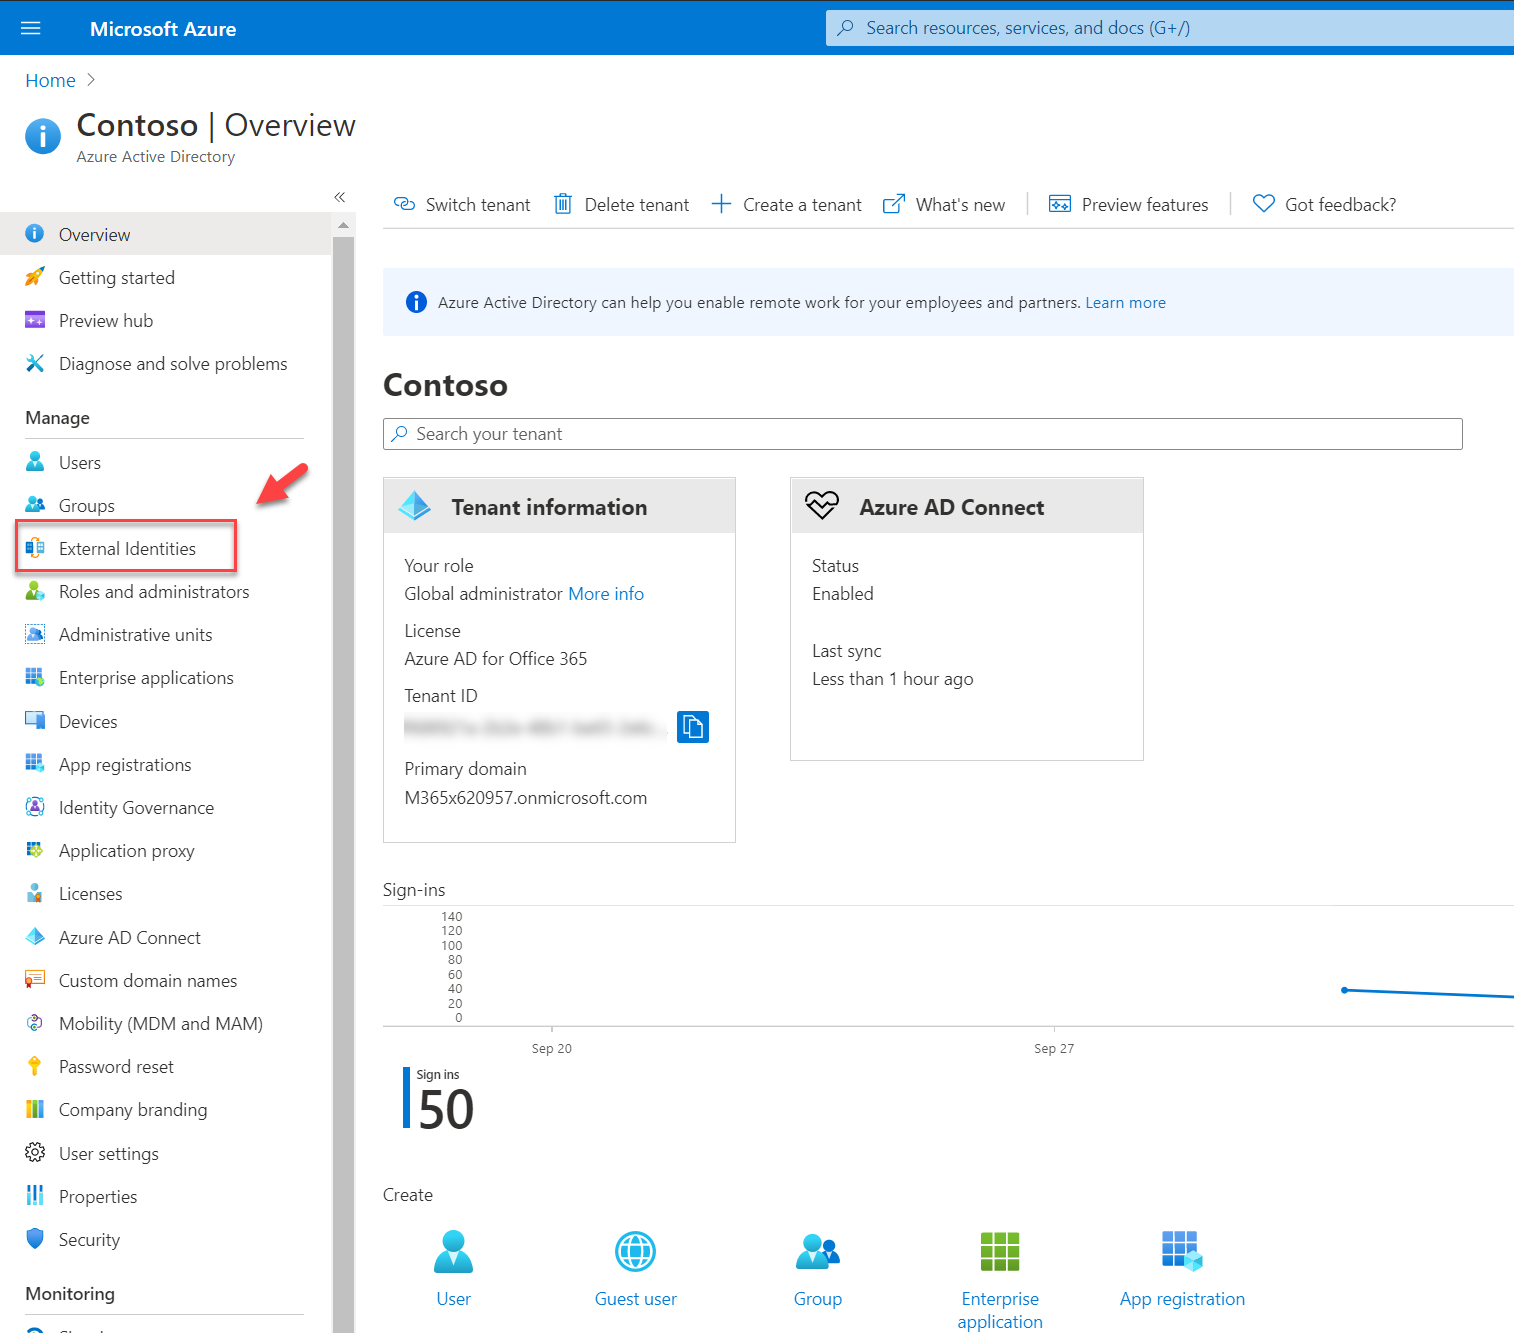
1. Go to Azure AD home page
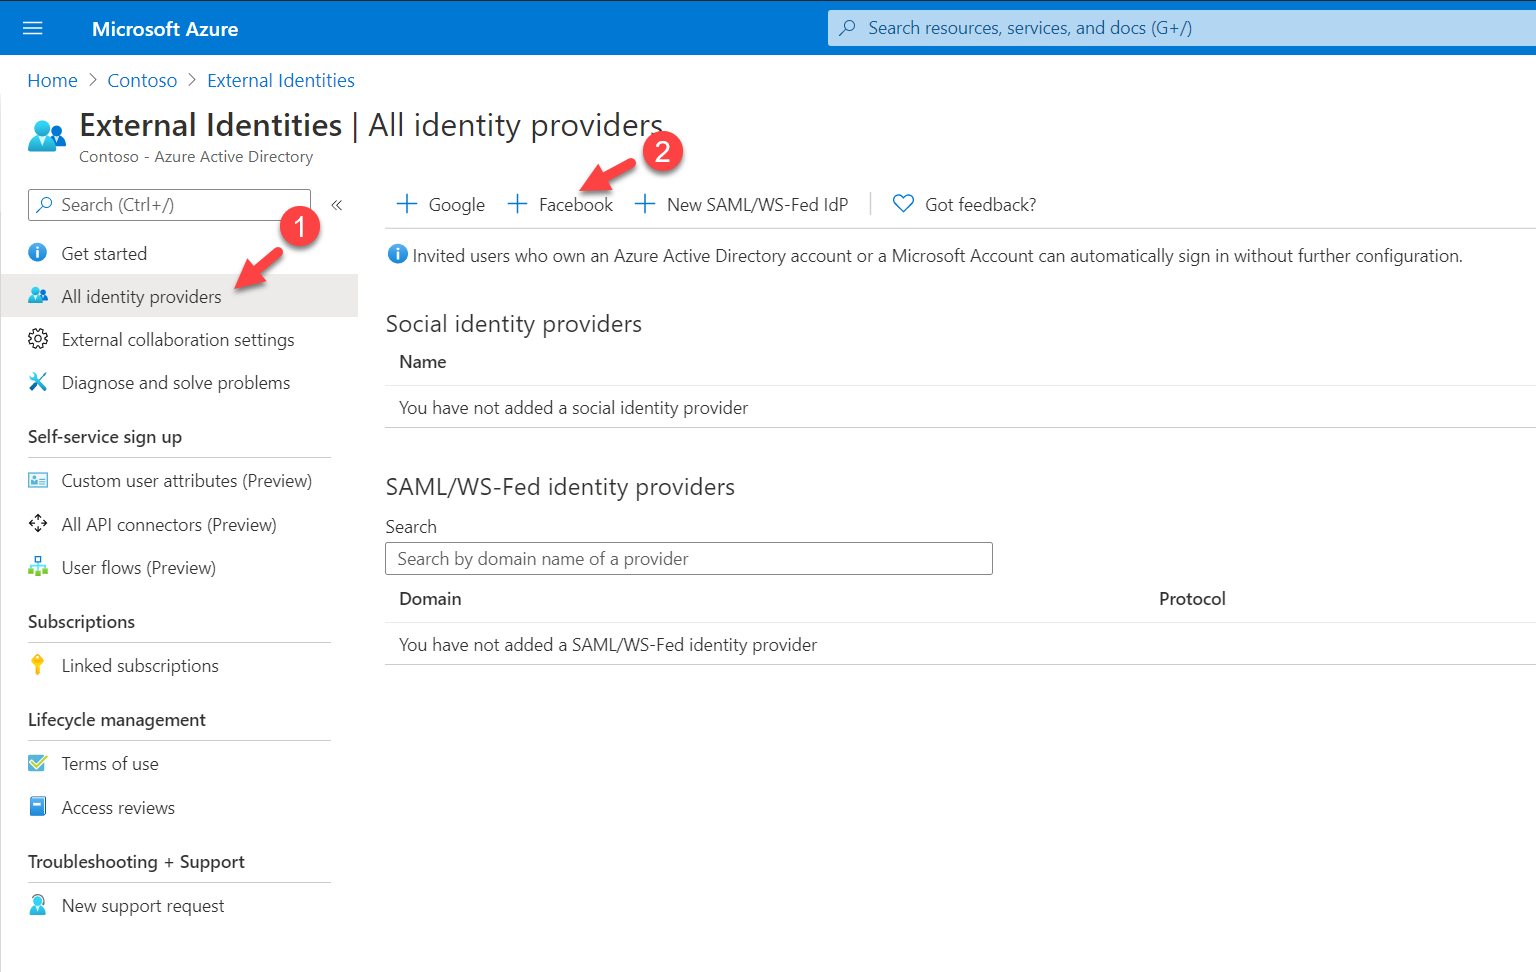
2. Then click on External Identities
3. Next, click on All Identity providers | + Facebook
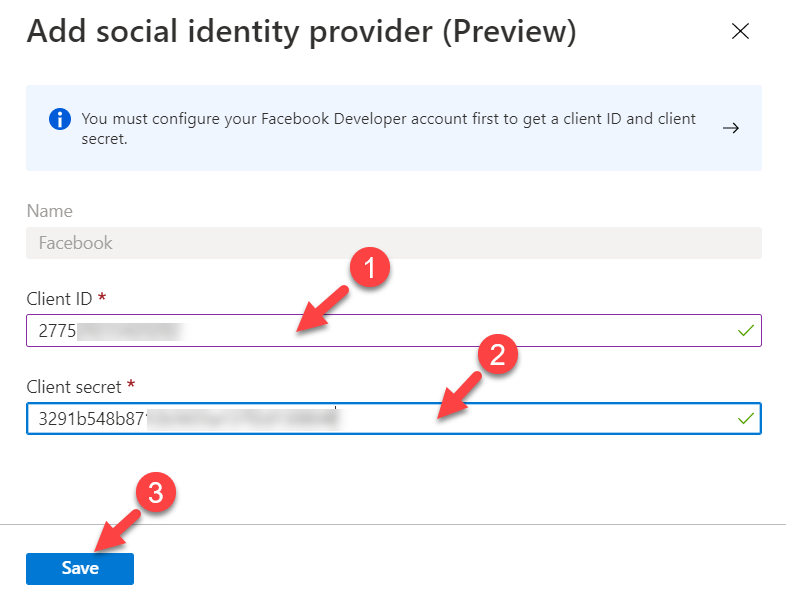
4. In the new window, For the Client ID, enter the Facebook App ID, and for the Client secret enter the Facebook App Secret. Then click on Save to complete the registration process.
Create new User flow
The next step of the configuration is to create new user flow and select Facebook as an identity provider. To do that,
1. Go back to the Azure AD properties page.
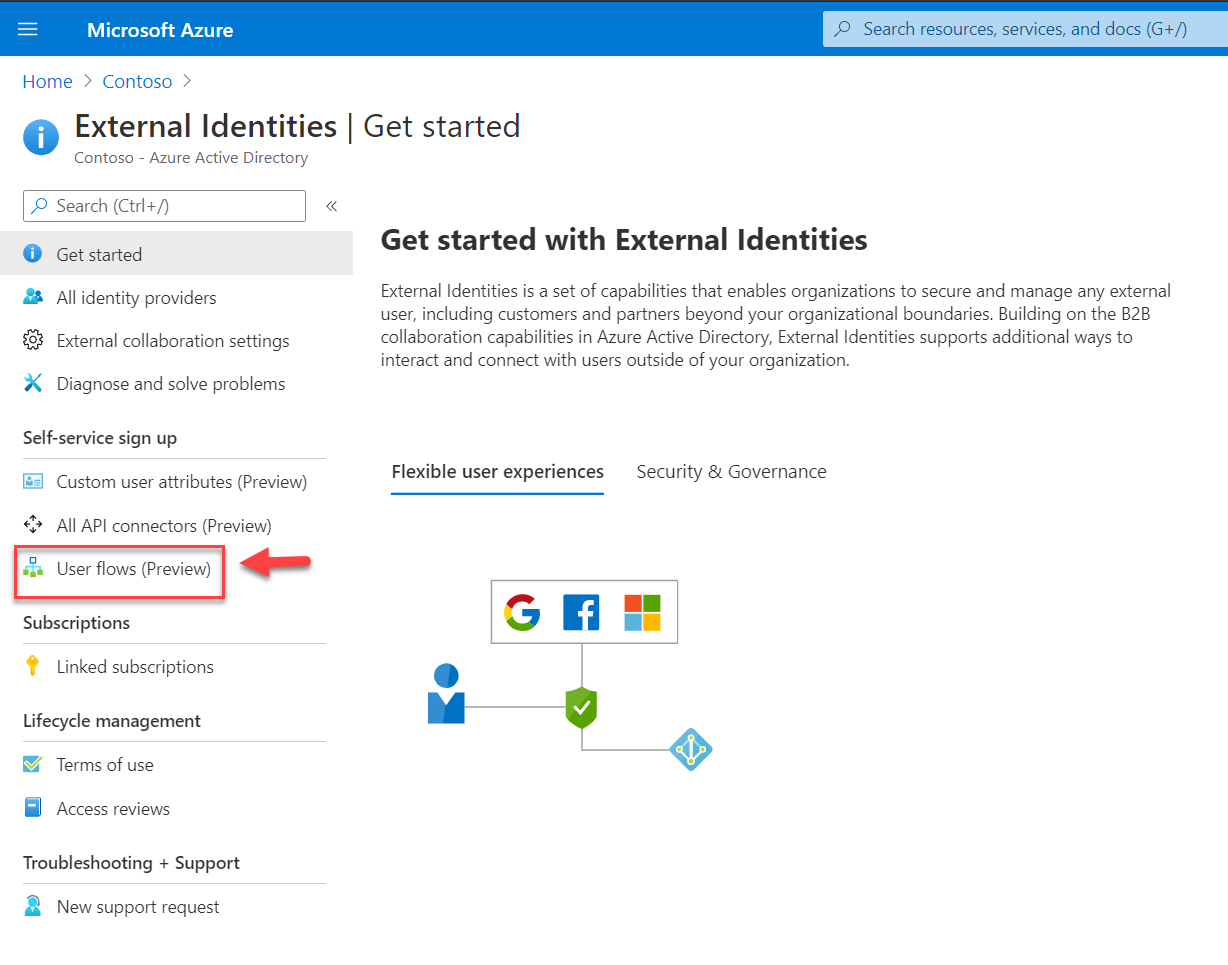
2. Click on External Identities
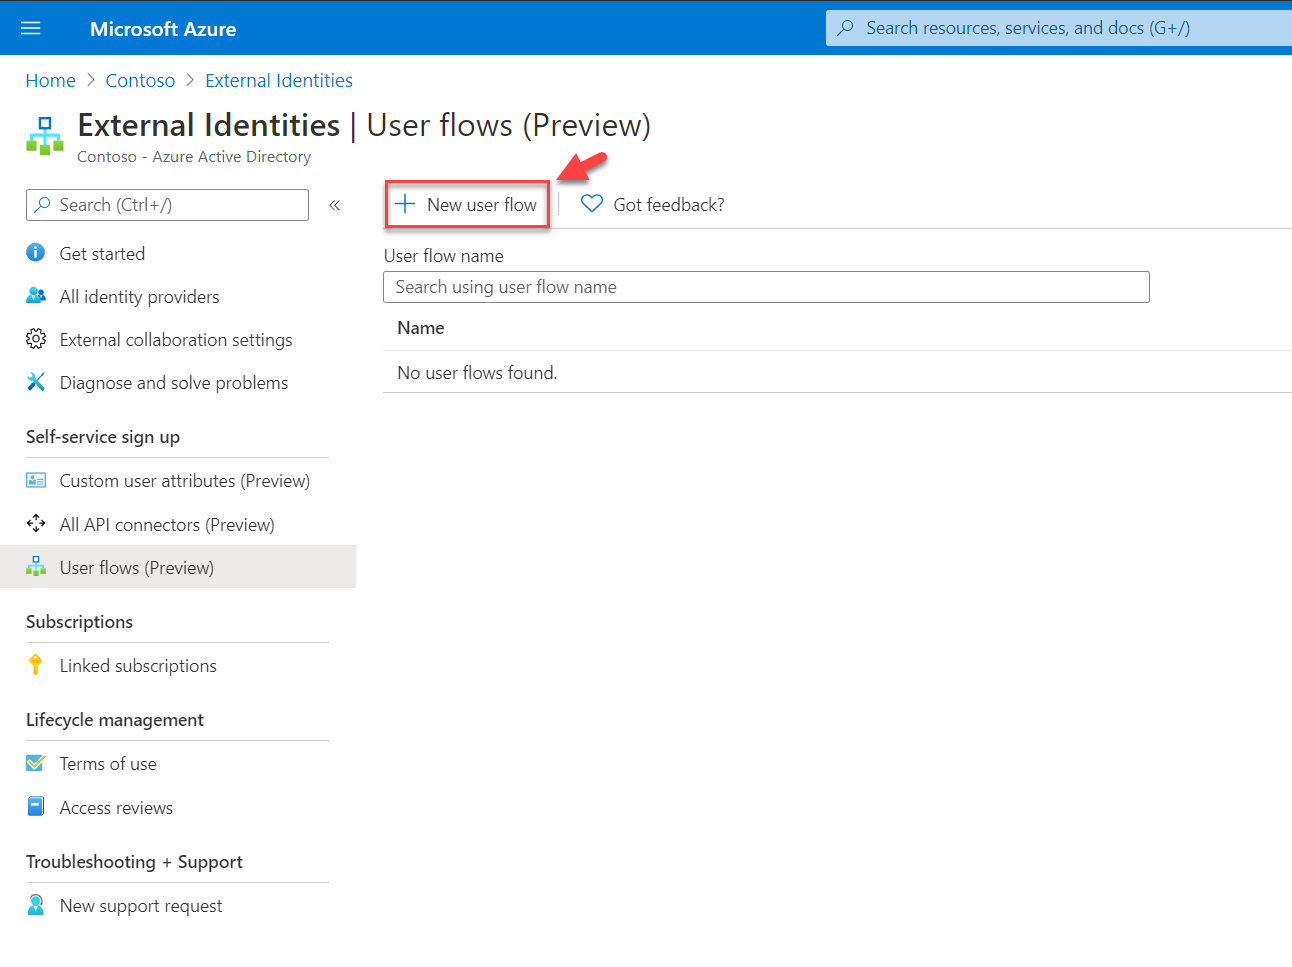
3. Then click on User flows (Preview)
4. To create a new flow, click on + New user flow
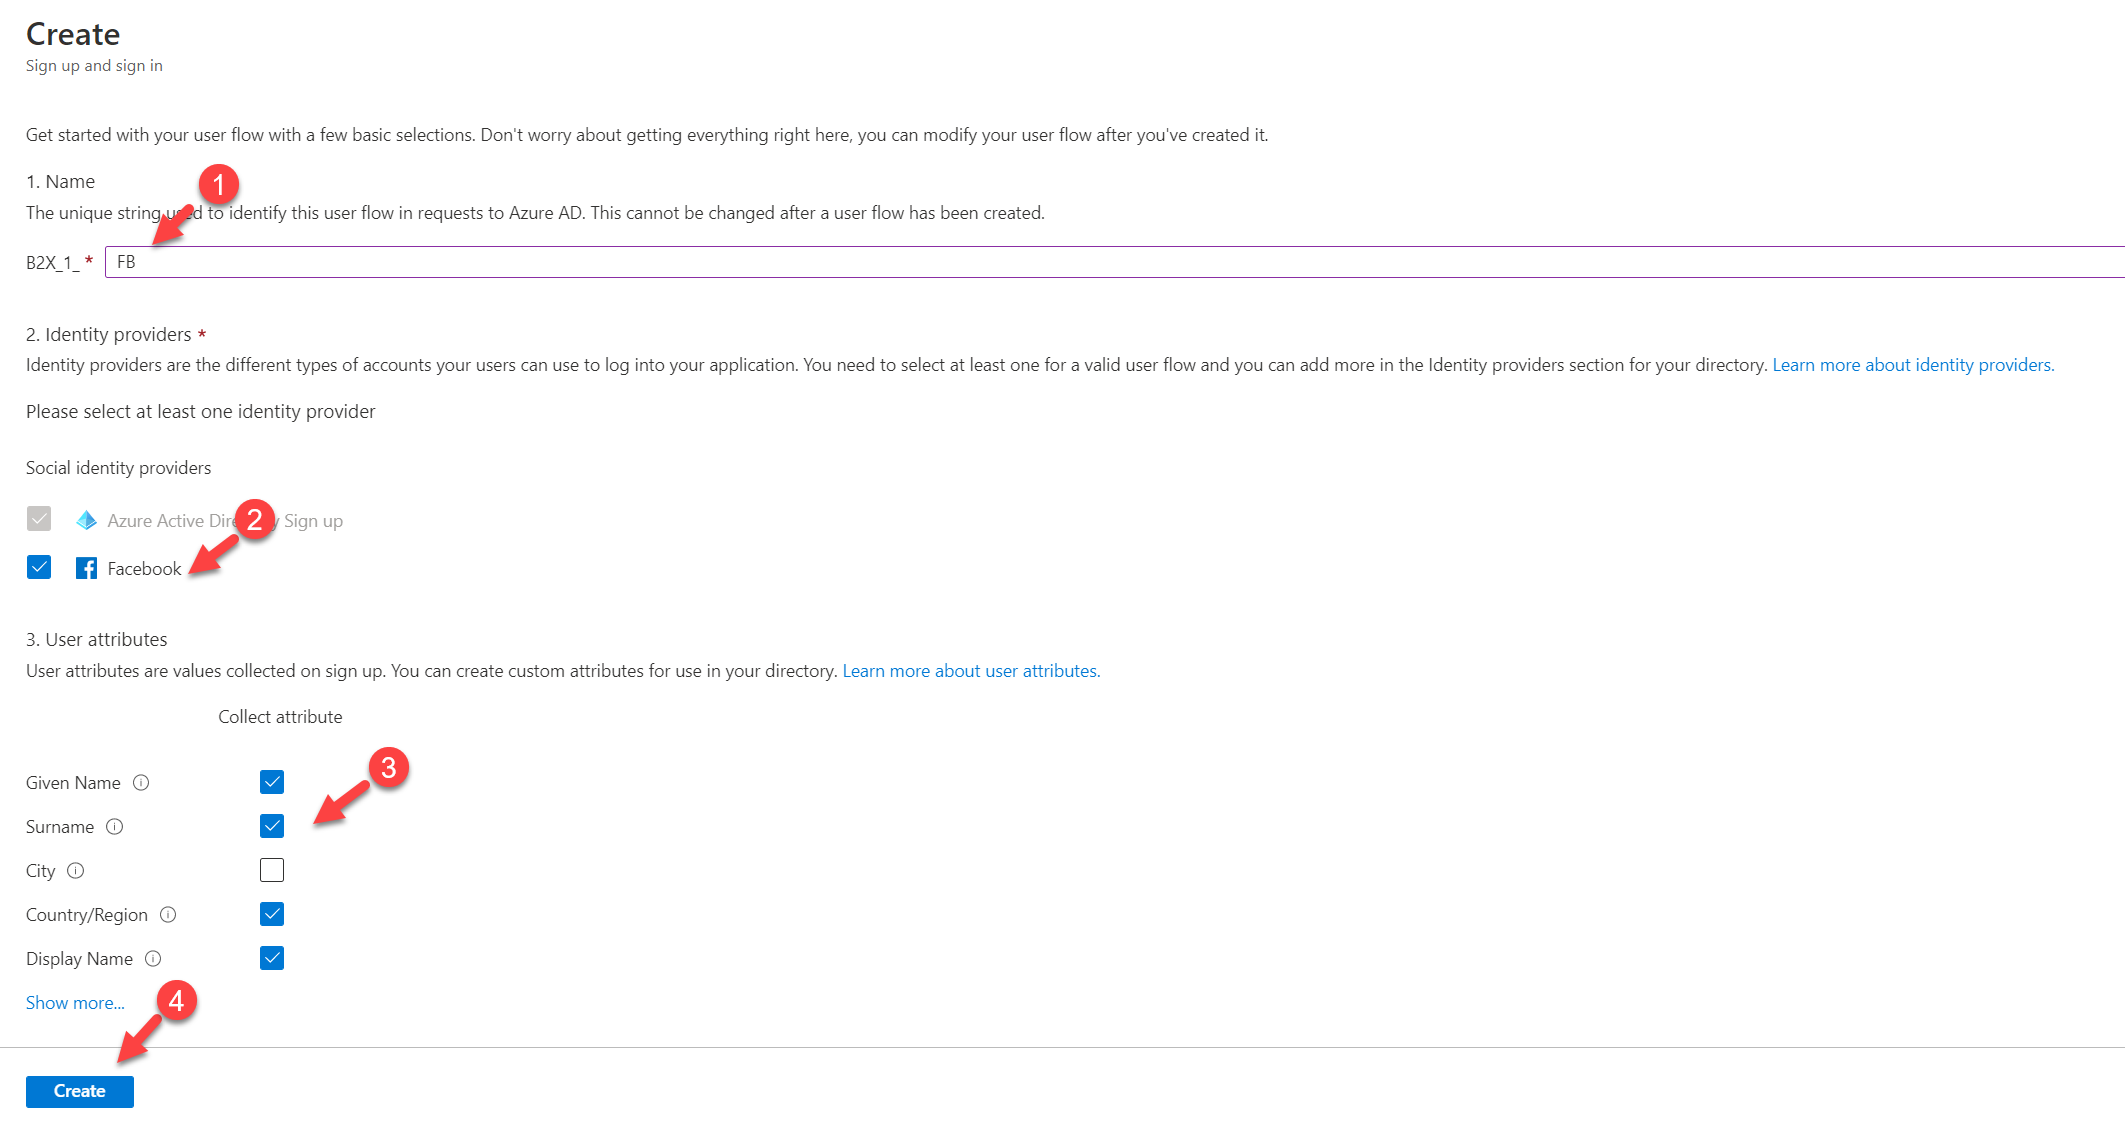
5. This will open up a new form. First, provide a name for user flow. Then select Facebook under Social identity providers. Under User attributes select required attributes to collect. At the end click on Create
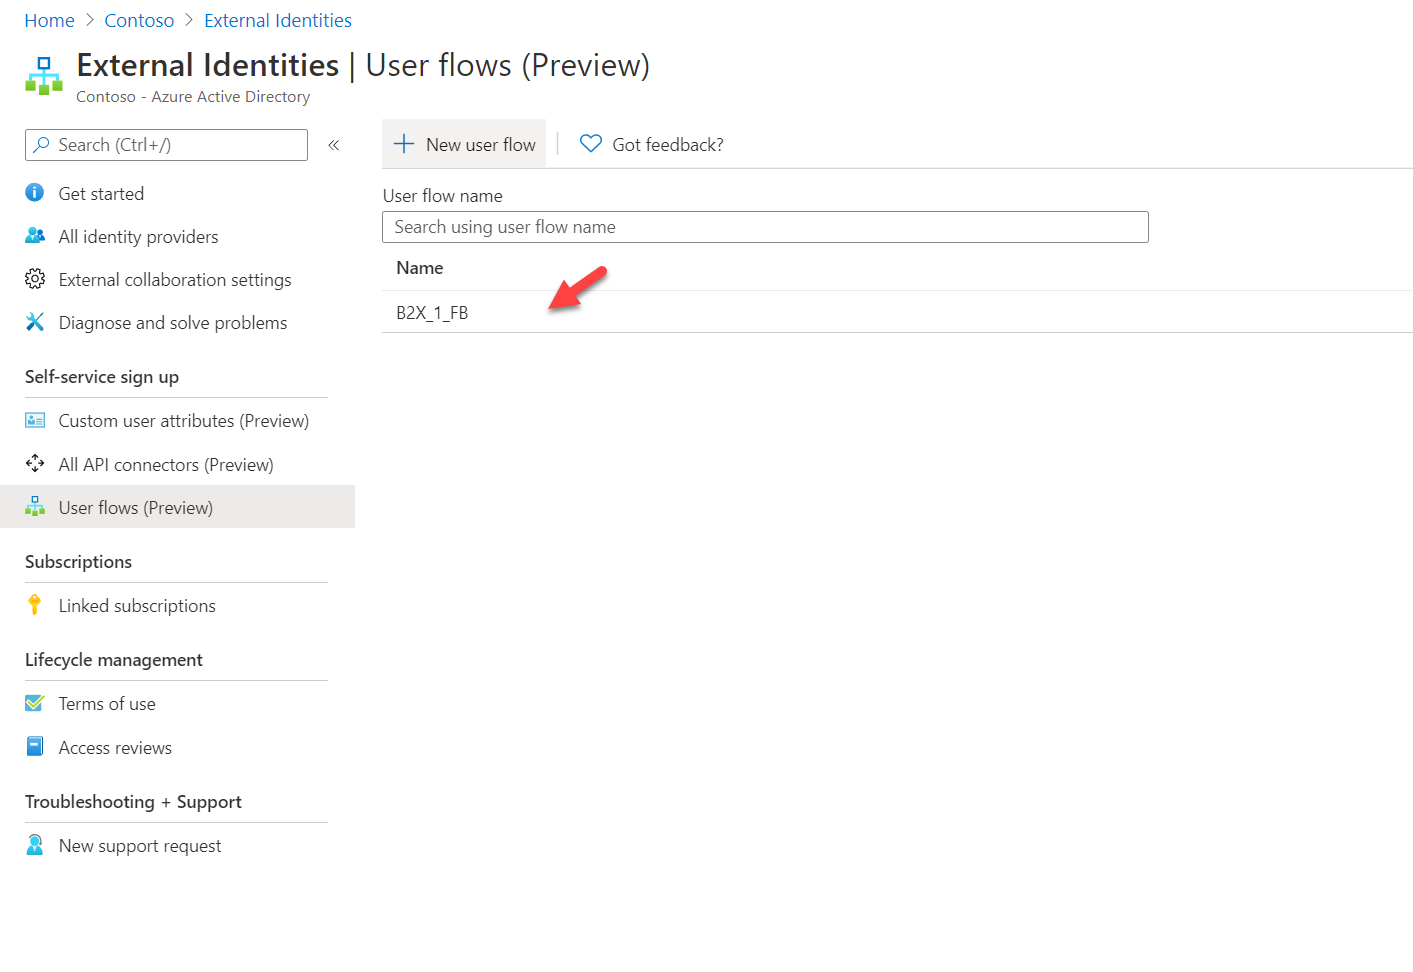
6. We also need applications added to the user flow. To do that, click on User flow just created.
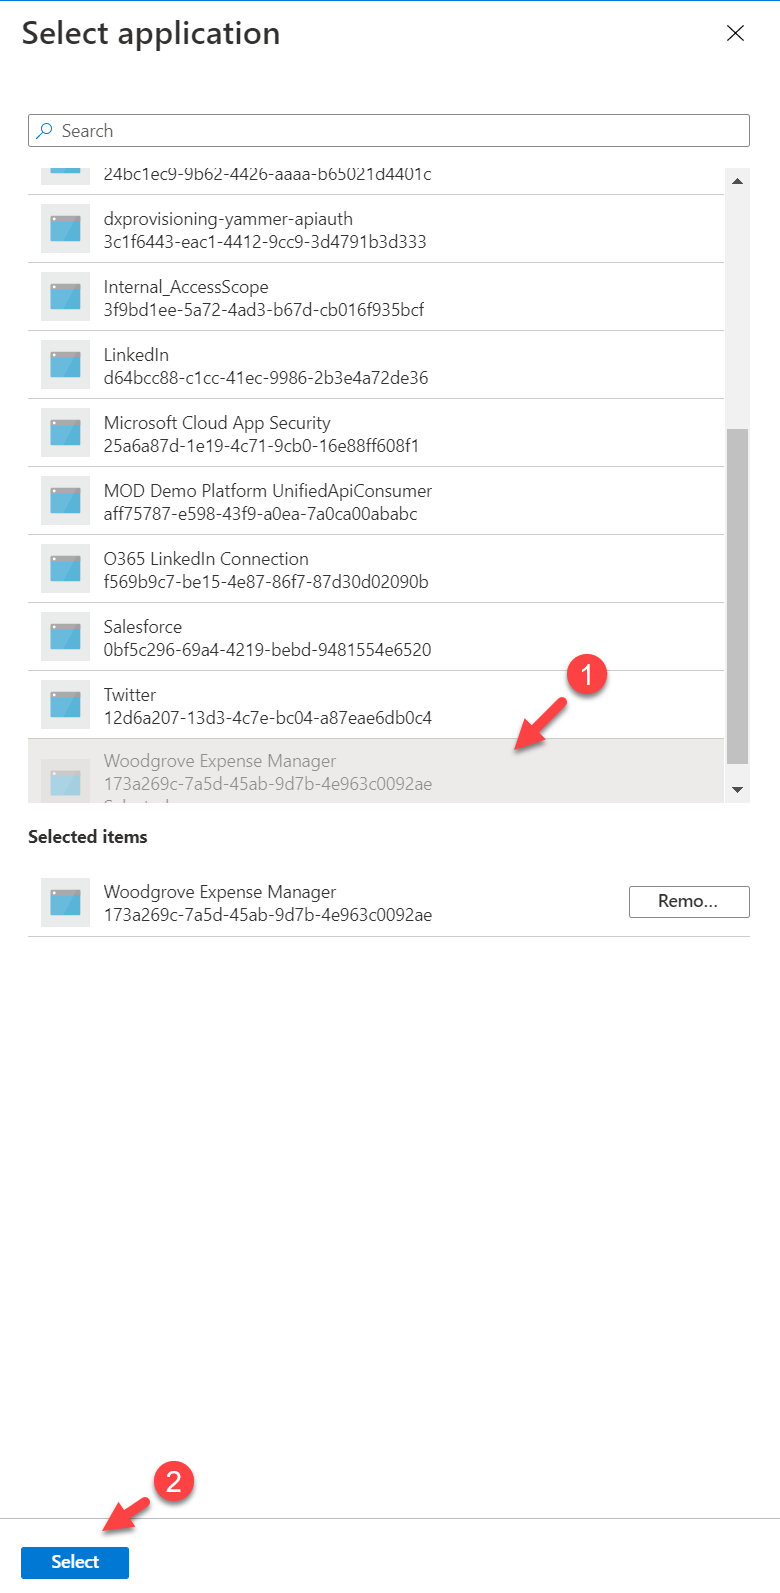
7. Then click on Applications | + Add application
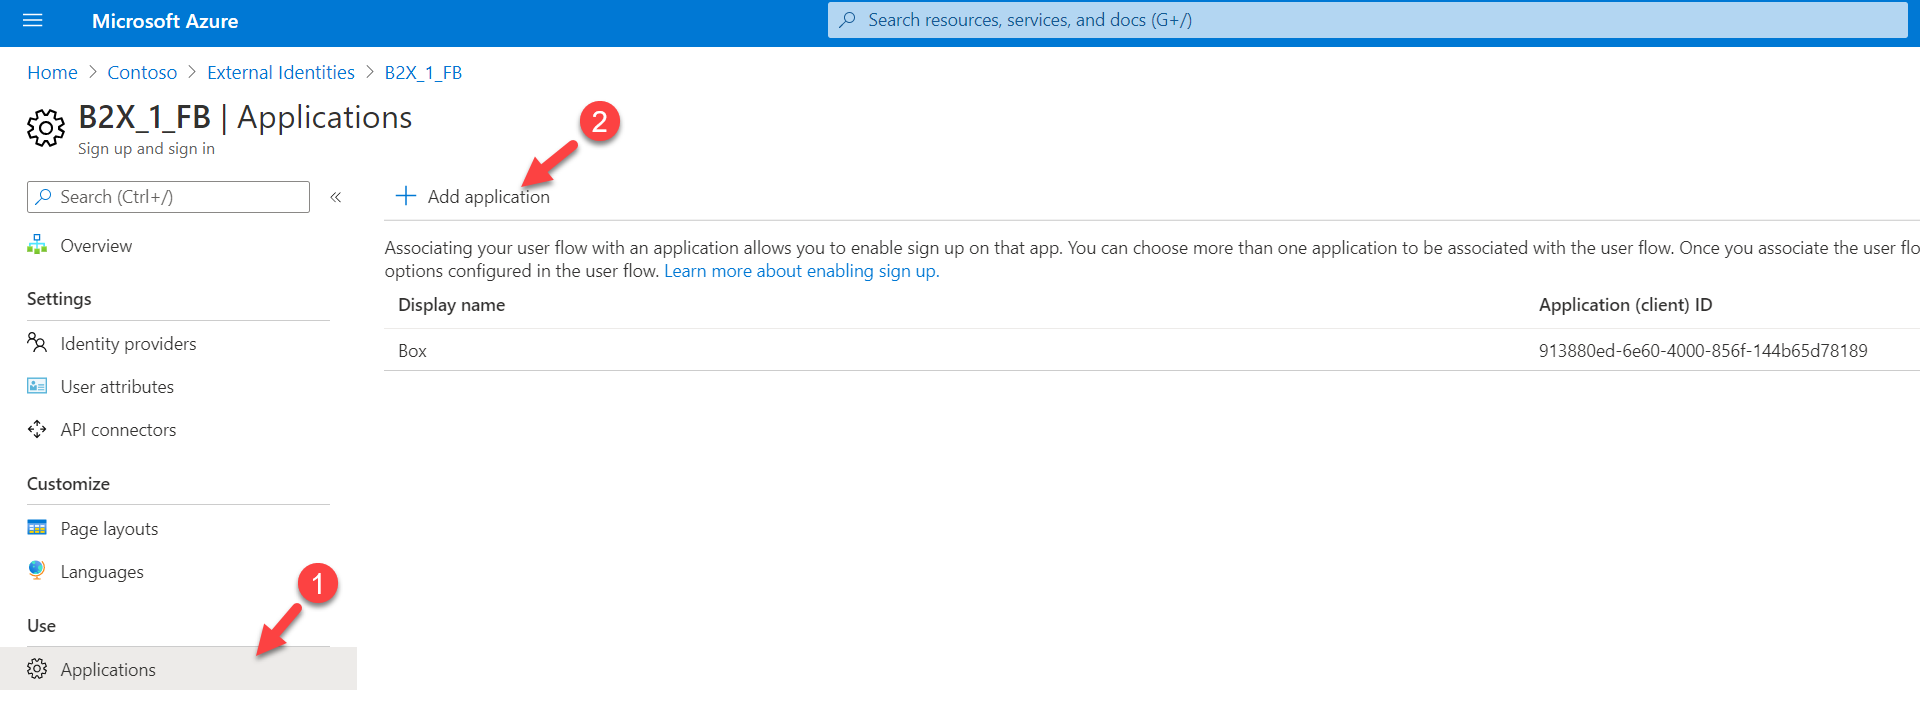
8. Then select the application you like to add and click on Select
Now we have the user flow in place. The next step is to do the testing,
Testing
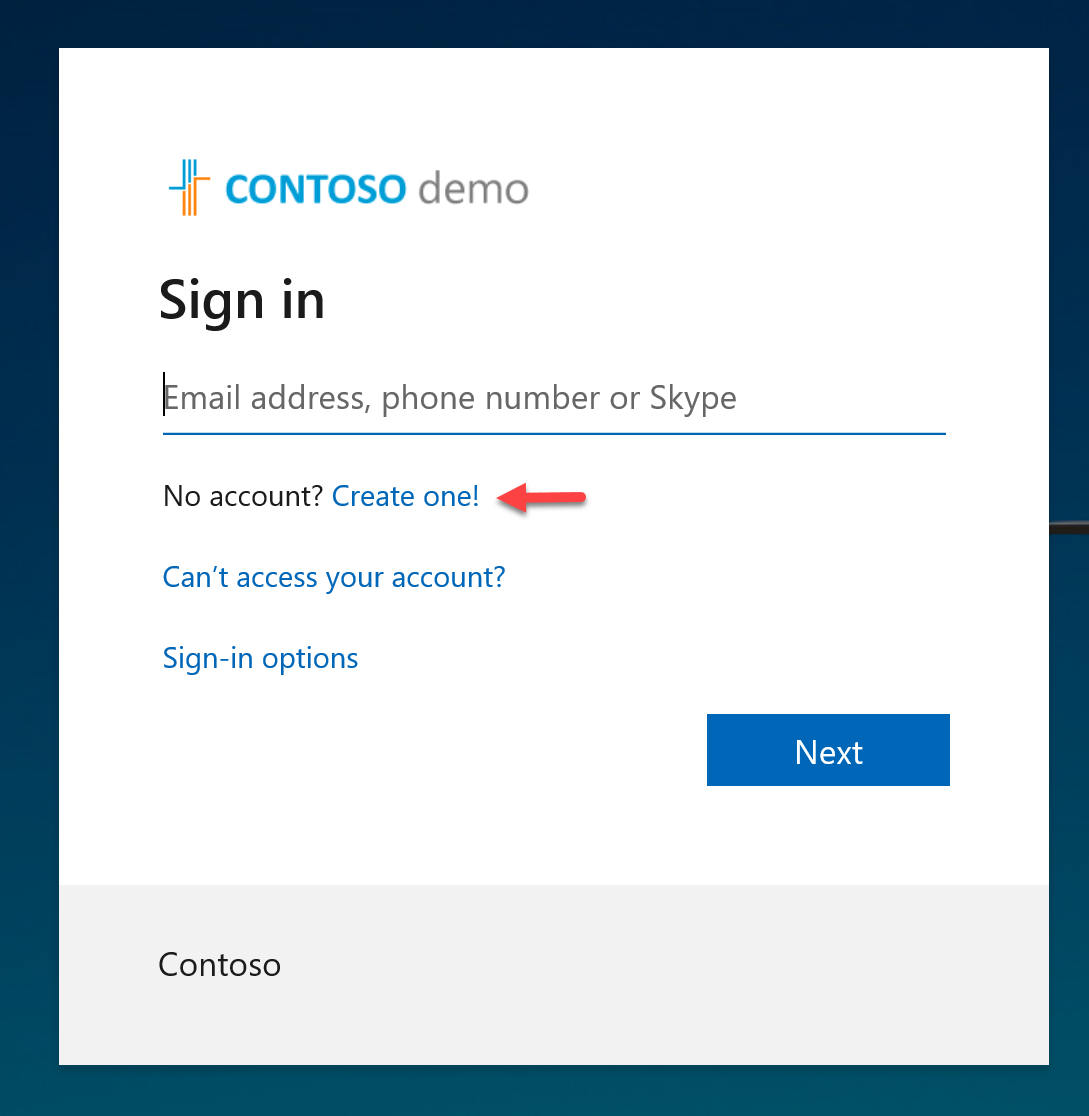
1. I went ahead and launch my application URL. After, I click on the Create account option.
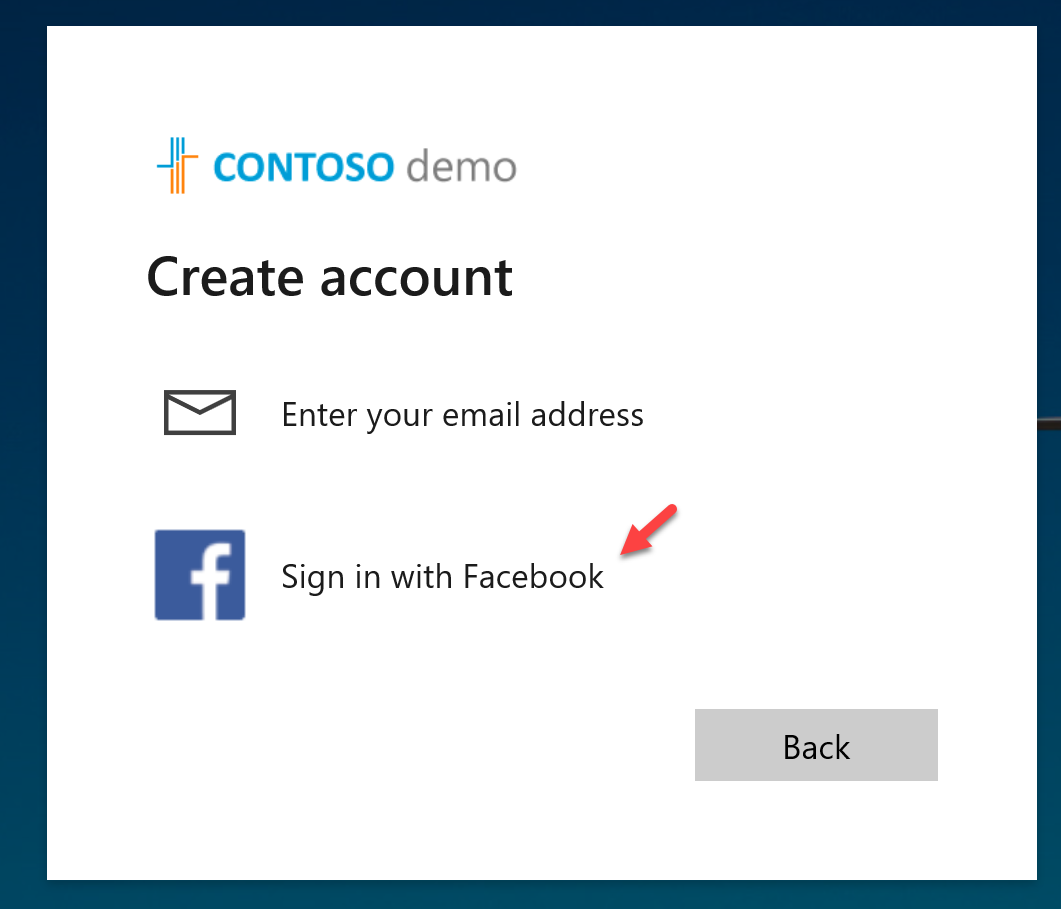
2. Now in there, I can see the option to Sign in with Facebook.
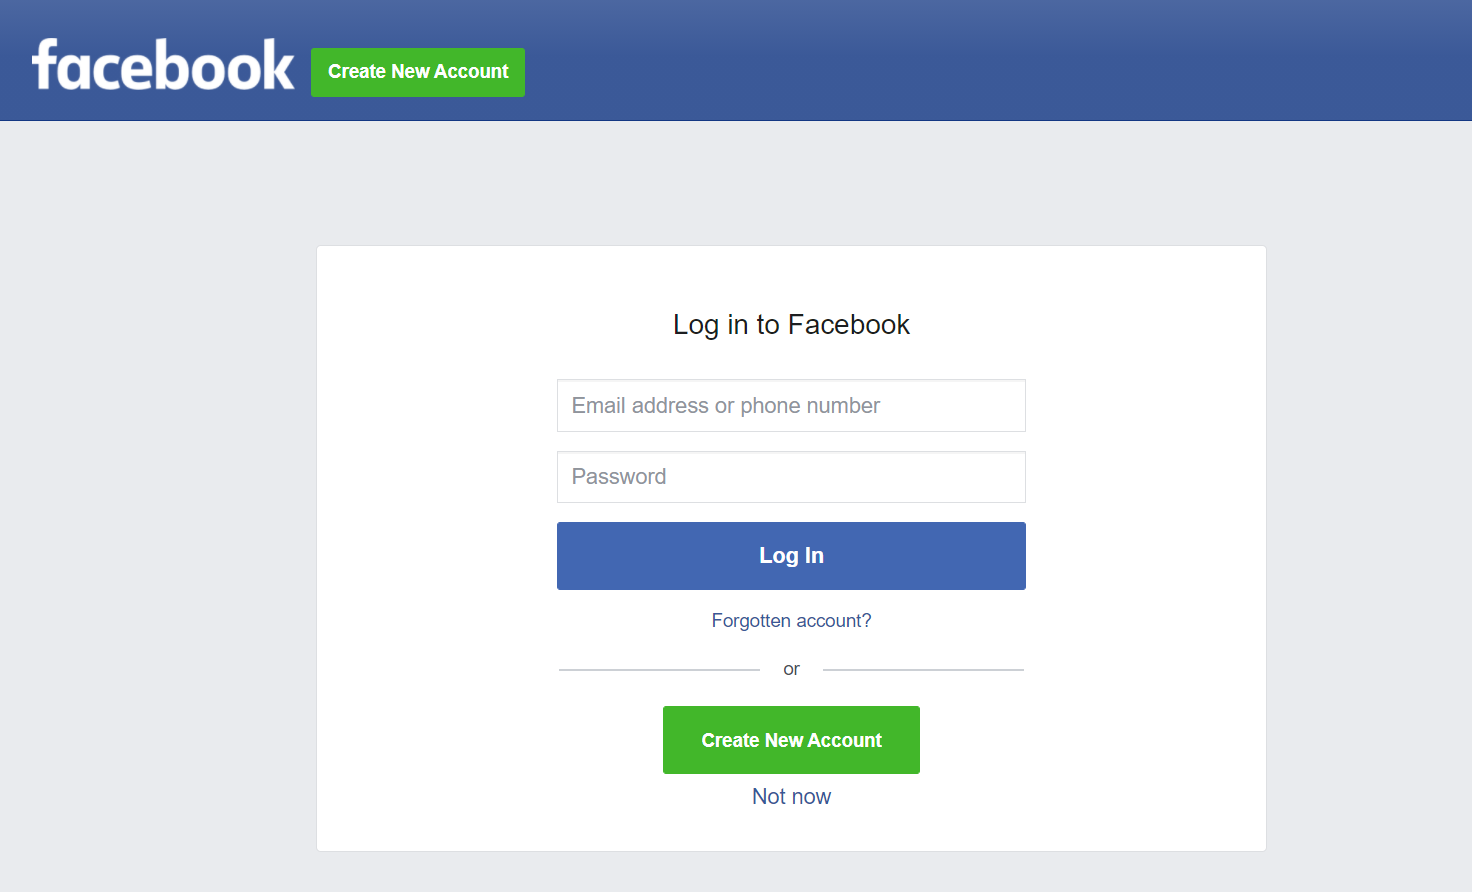
3. Next, I click on it, I can see the Facebook login page.
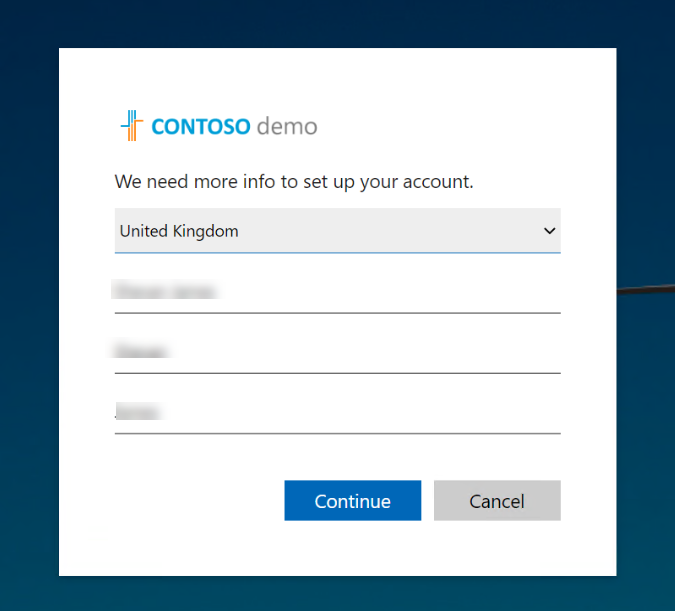
4. After successful authentication, the Application asks for additional info to proceed with the sign-up process.
5. Once the sign-up process is completed, user can access the application successfully.
Note: Your custom application should have required permissions for users and self-service option enabled.
I hope now you have a better understanding of how Facebook federation works with Azure AD. If you have any further questions about this feel free to contact me at rebeladm@live.com also follow me on Twitter @rebeladm to get updates about new blog posts.

