
User names and passwords are the most common way of controlling access to applications. Nowadays we use more and more applications. These applications can be from on-premises or cloud. Unless there is a central identity management system, users will have to maintain different usernames, passwords to access these applications.
Azure Active Directory is a powerful, reliable cloud-based identity and access management service. It can use to manage identities and access for cloud applications as well as on-premises applications. If we already have a Windows Active Directory environment, using Azure AD connect we can sync on-premises identities to Azure AD. Azure AD Connect supports various Windows Active Directory topologies. More information about these supported topologies can be found here.
However, In Azure AD connect, synchronization and provisioning from AD are managed in the on-premises level. This can be a complex task especially if you have multiple AD forests. To simplify the hybrid identity synchronization process, Microsoft now has Azure AD Connect cloud provisioning. With this solution, Microsoft will manage provisioning from AD and synchronization as part of the service. In on-premises we only need to install light-weight agents which will act as a bridge between Azure AD and Windows AD.
Apart from the simplicity, Azure AD Connect cloud provisioning gives the following benefits,
• Allow Azure AD synchronization from multiple disconnected on-premises AD forests.
• Multiple agents will provide high availability for password hash synchronization.
What are the differences between Azure AD Connect and Azure AD Connect cloud provisioning?
| Feature | Azure AD Connect | Azure AD Connect cloud provisioning |
| Synchronize multiple disconnected on-premises AD forests | NO | YES |
| Synchronize single on-premises AD forest | YES | YES |
| Synchronize multiple on-premises AD forests | YES | YES |
| Synchronization Based on Agents | NO | YES |
| Multiple Agents for High Availability | NO | YES |
| Synchronize with LDAP | YES | NO |
| Synchronize Users, Groups, Contacts | YES | YES |
| Synchronize device objects | YES | NO |
| Synchronize Exchange online attributes | YES | YES |
| Synchronize extension attributes 1-15 | YES | YES |
| Synchronize customer defined AD attributes | YES | NO |
| Support for federation | YES | YES |
| Seamless Single Sign-on | YES | YES |
| Support for Pass-Through Authentication | YES | NO |
| Support for Password Hash Sync | YES | YES |
| Support for writeback (passwords, devices, groups) | YES | NO |
| Azure AD Domain Services support | YES | NO |
| Exchange hybrid writeback | YES | NO |
Azure AD Connect cloud provisioning Setup
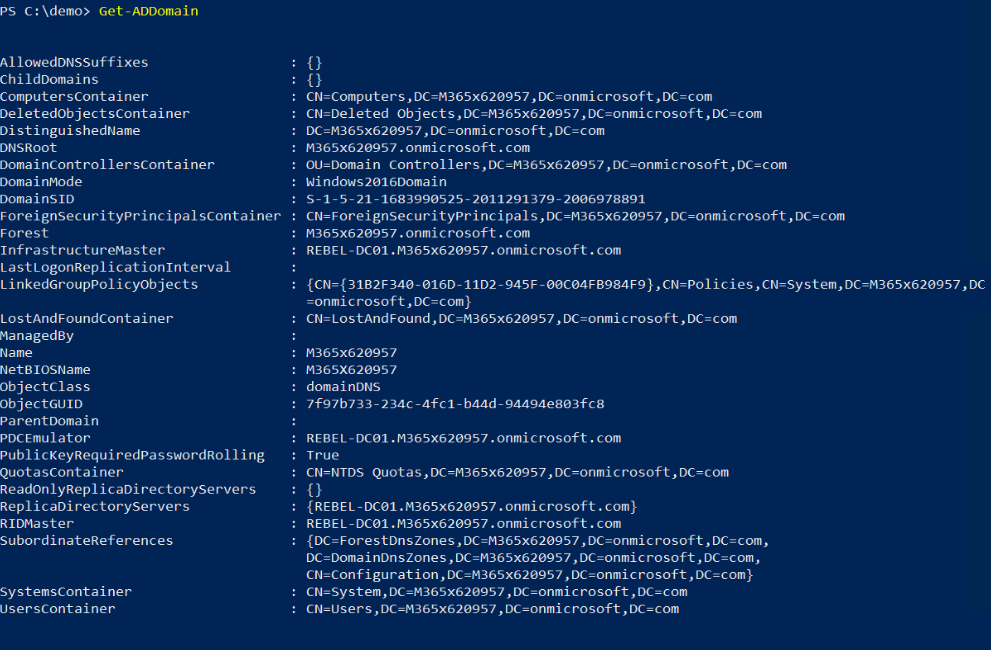
In this blog post, I am going to demonstrate how to set up Azure AD Connect cloud provisioning with Windows AD. In my demo environment, I already have Windows AD configured with domain M365x620957.onmicrosoft.com
Let’s go ahead and start the configuration process by installing the Azure AD Connect provisioning agent.
Installing Azure AD Connect cloud provisioning agents
1. Before Installing agents, make sure you have outbound access with TCP port 80 and 443 to Azure AD.
2. Log in to the server as Domain Admin
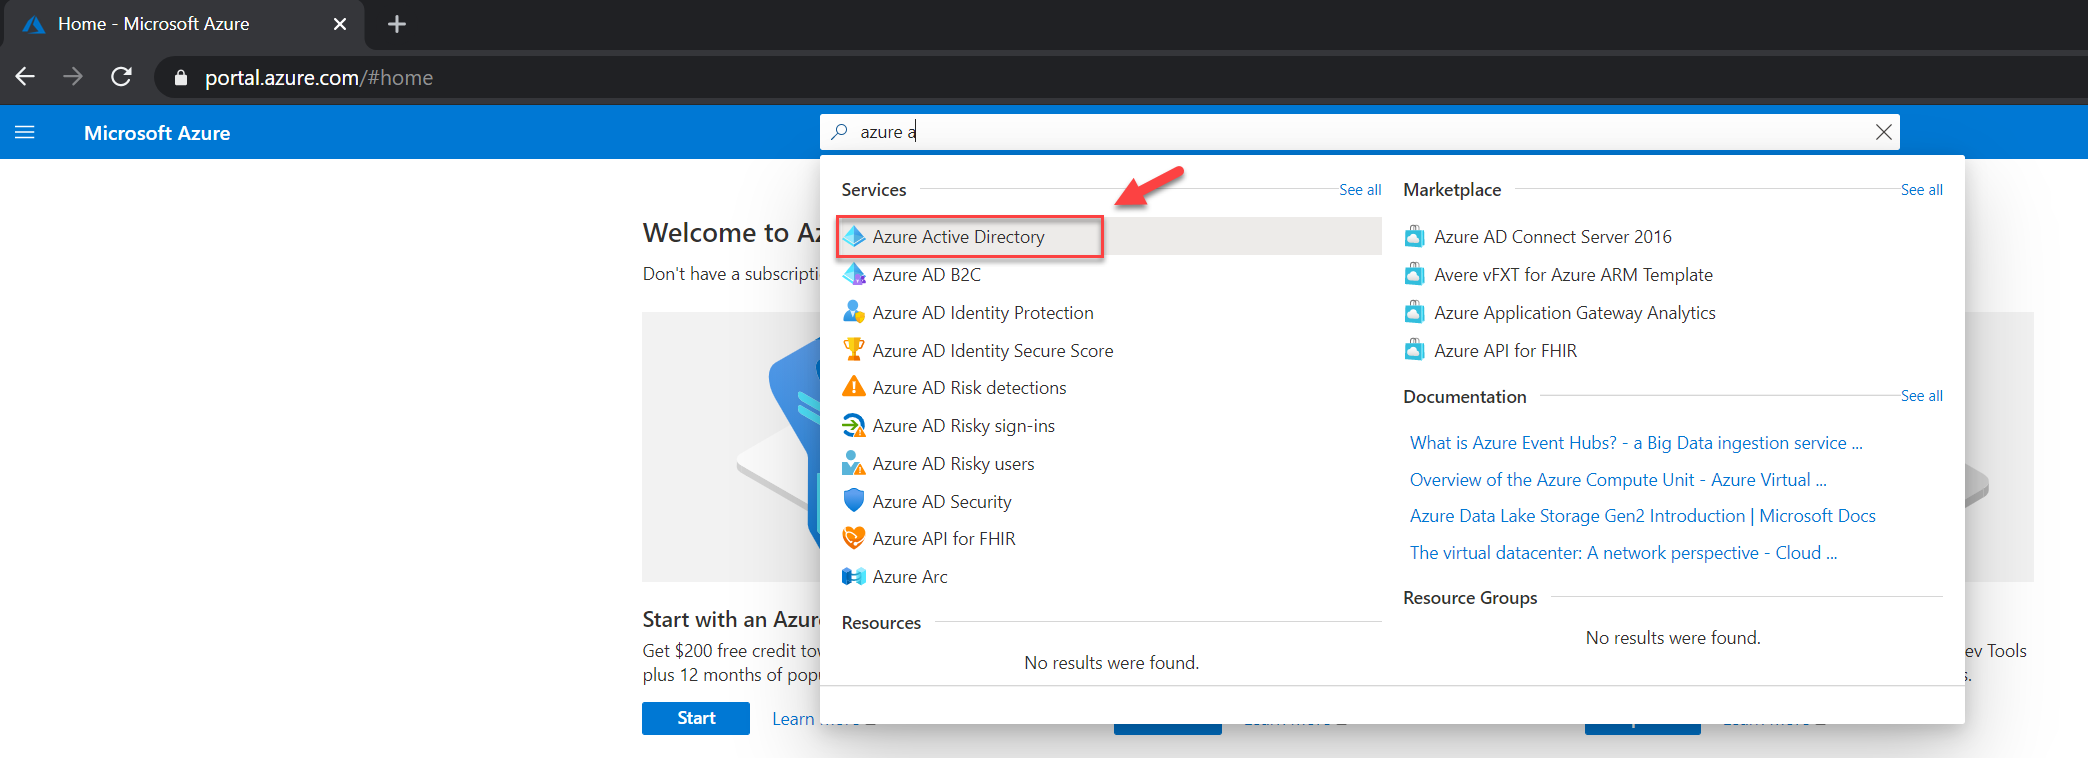
3. Go to Azure portal (https://portal.azure.com)
4. Then search for Azure Active Directory and click on it
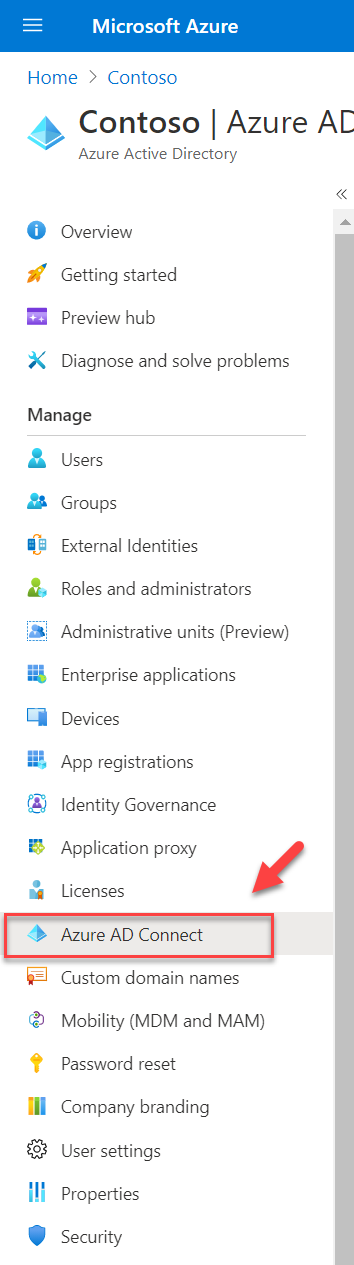
5. In Azure Active Directory service page, click on Azure AD Connect
6. Then click on Manage provisioning (Preview) option
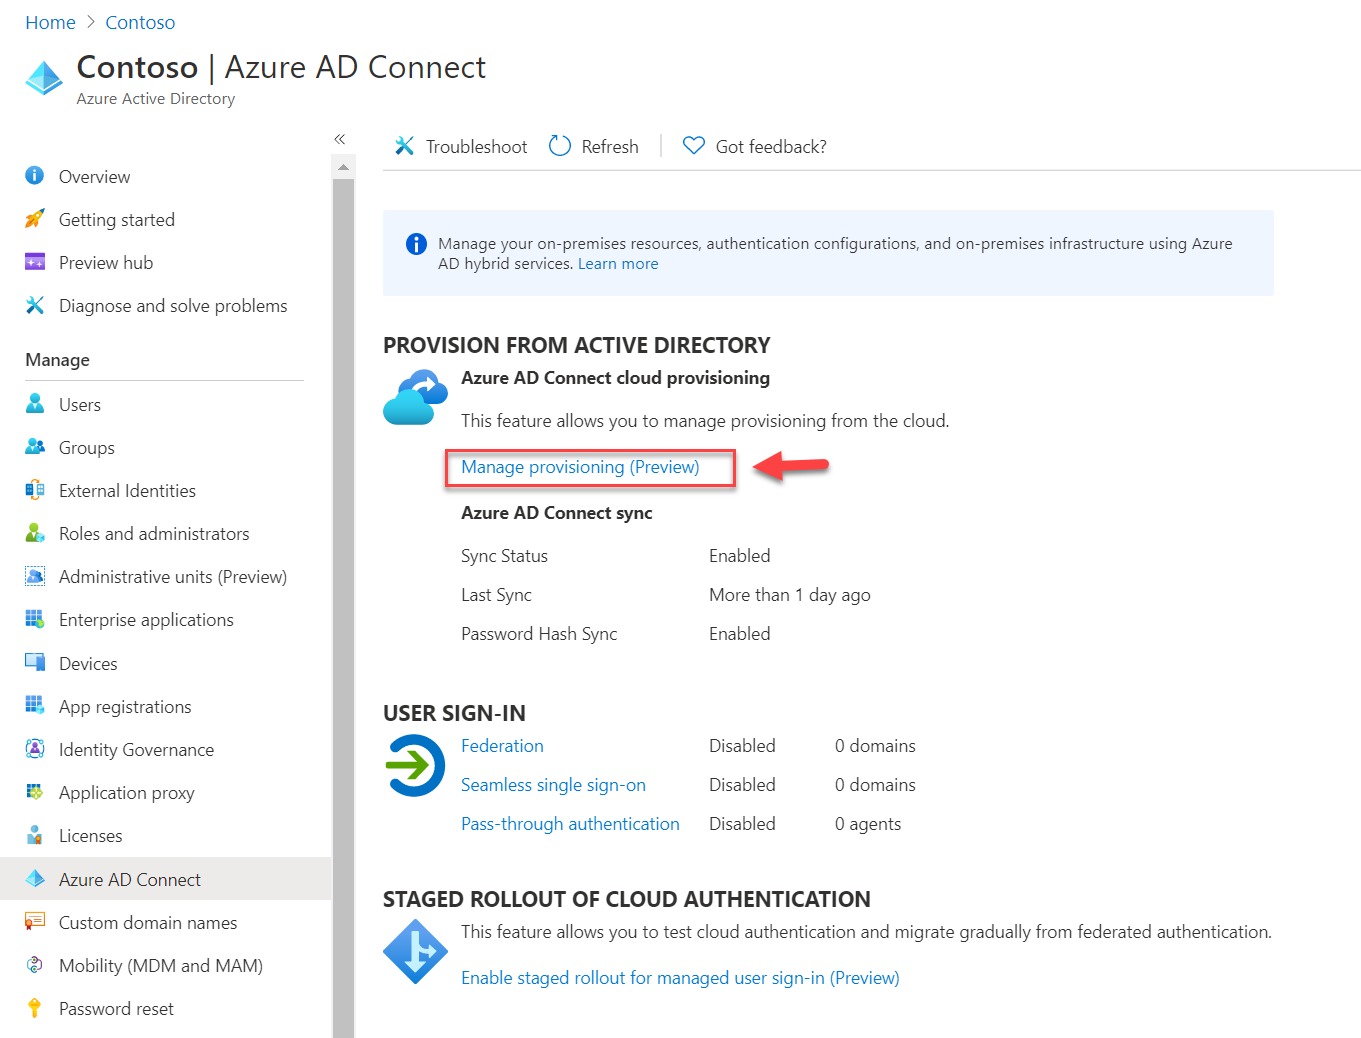
Note: At the time this article was written, this feature is in the preview stage
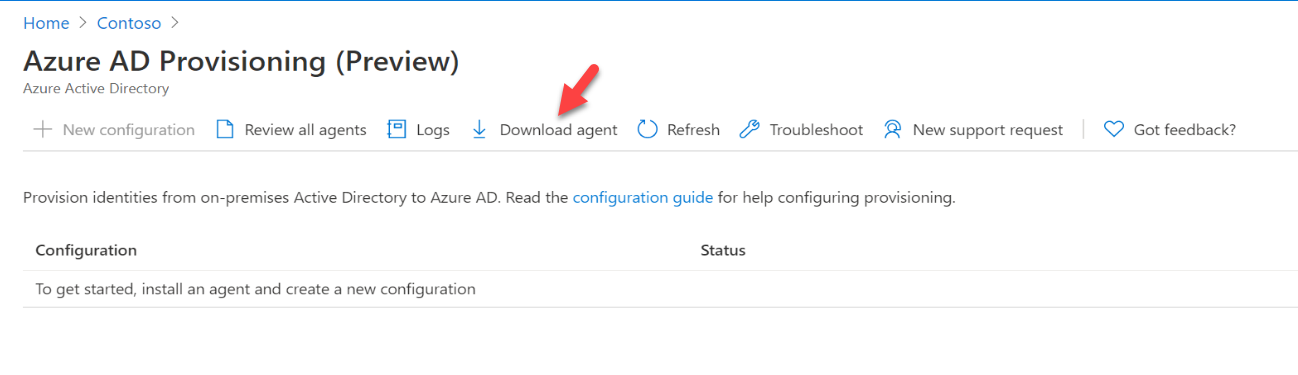
7. In the next page, click on Download agent
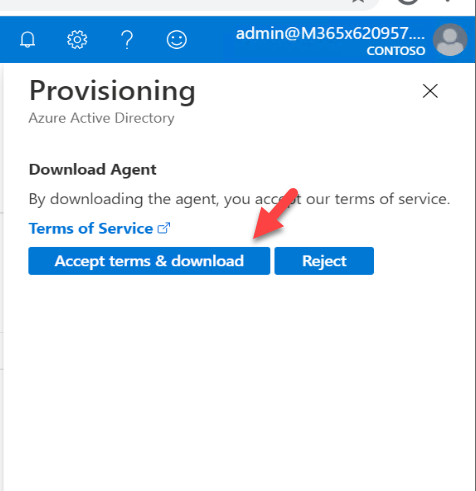
8. It will open up a new window, click on Accept terms & download to begin agent download.
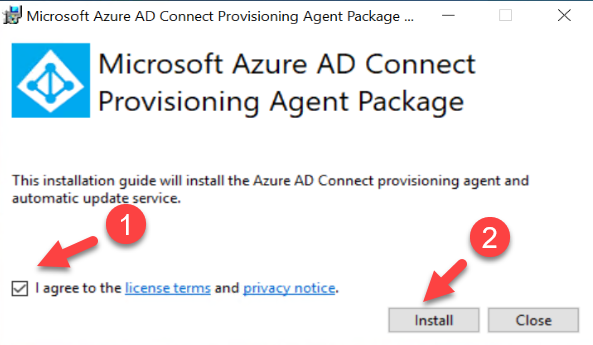
9. Once the agent is downloaded, run it as Administrator. Click to accept terms and conditions. Then click on Install to begin agent installation.
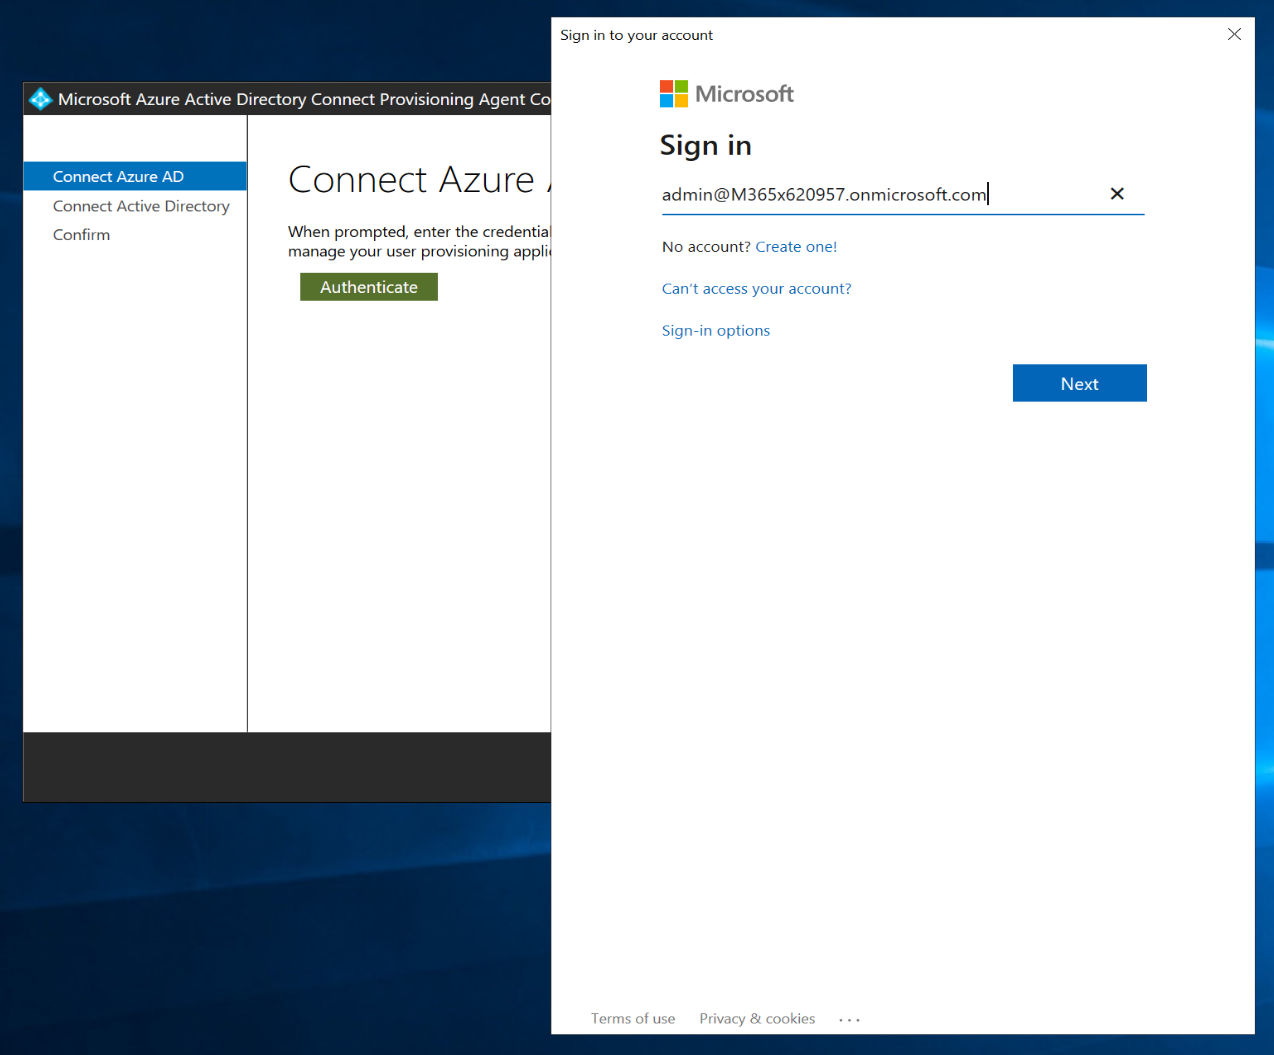
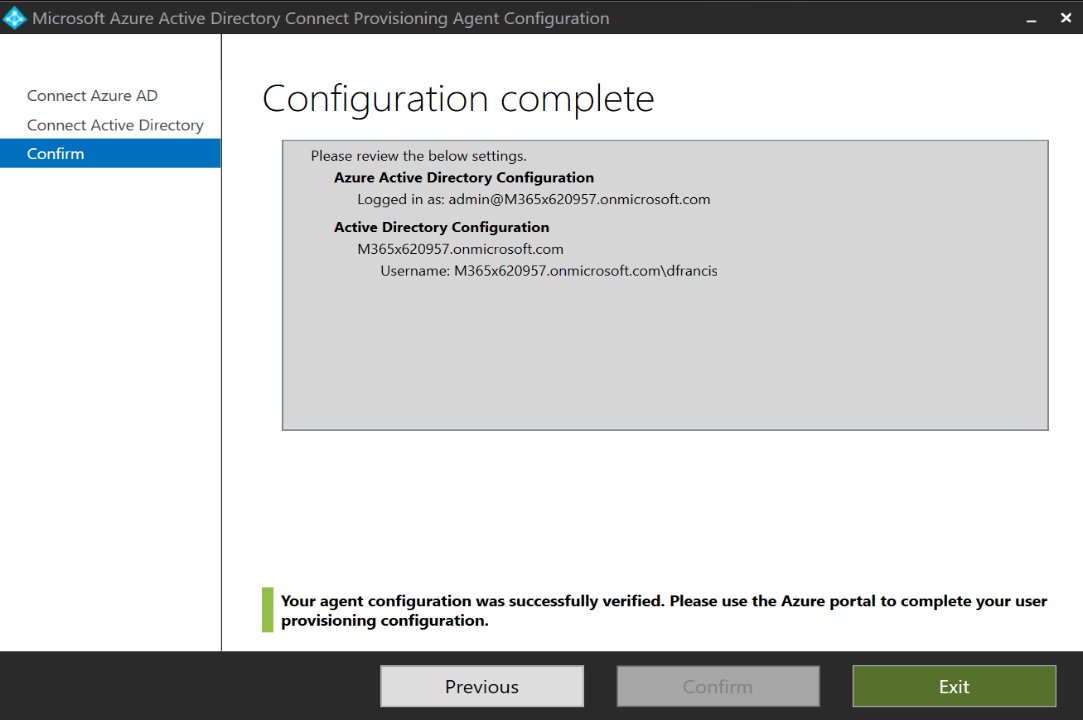
10. Once the installation is completed, the configuration wizard will open. On the first page, log in to Azure as a global administrator.
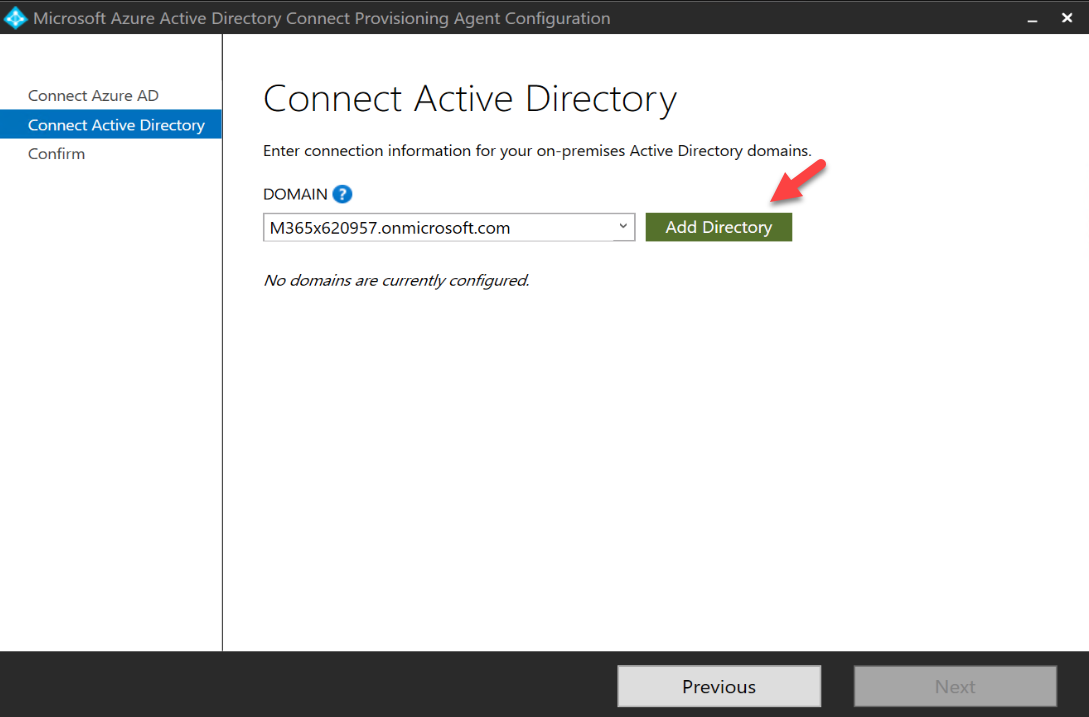
11. In connect Active Directory page, click on Add Directory
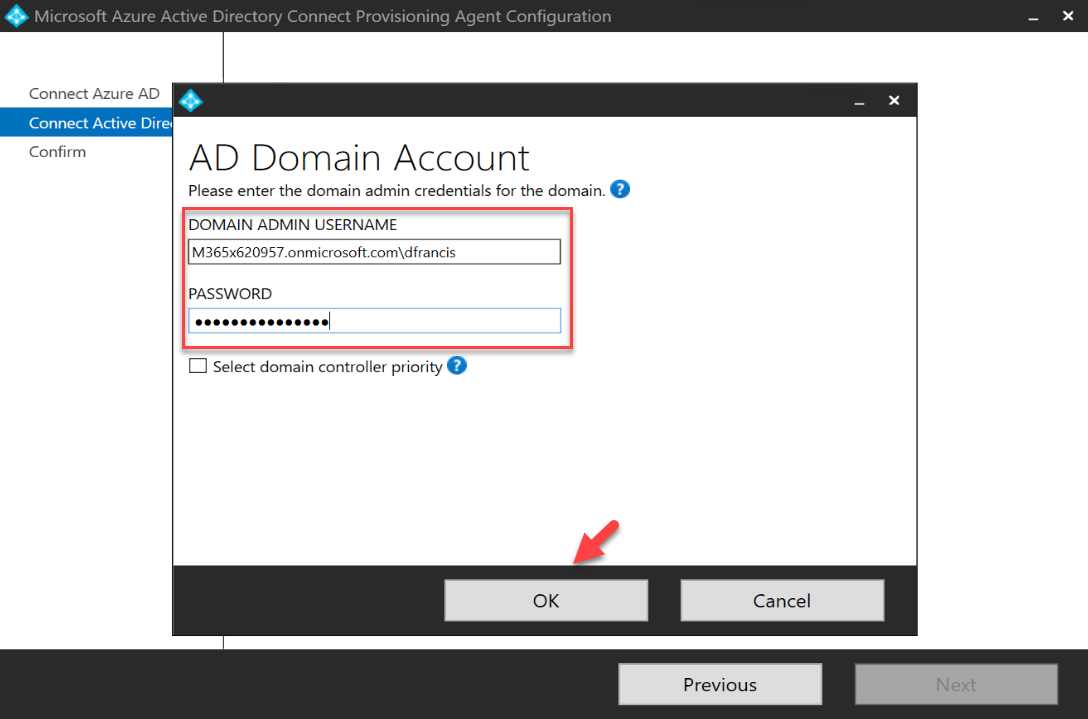
12. Then in the new window, provide domain admin account login details and click on OK.
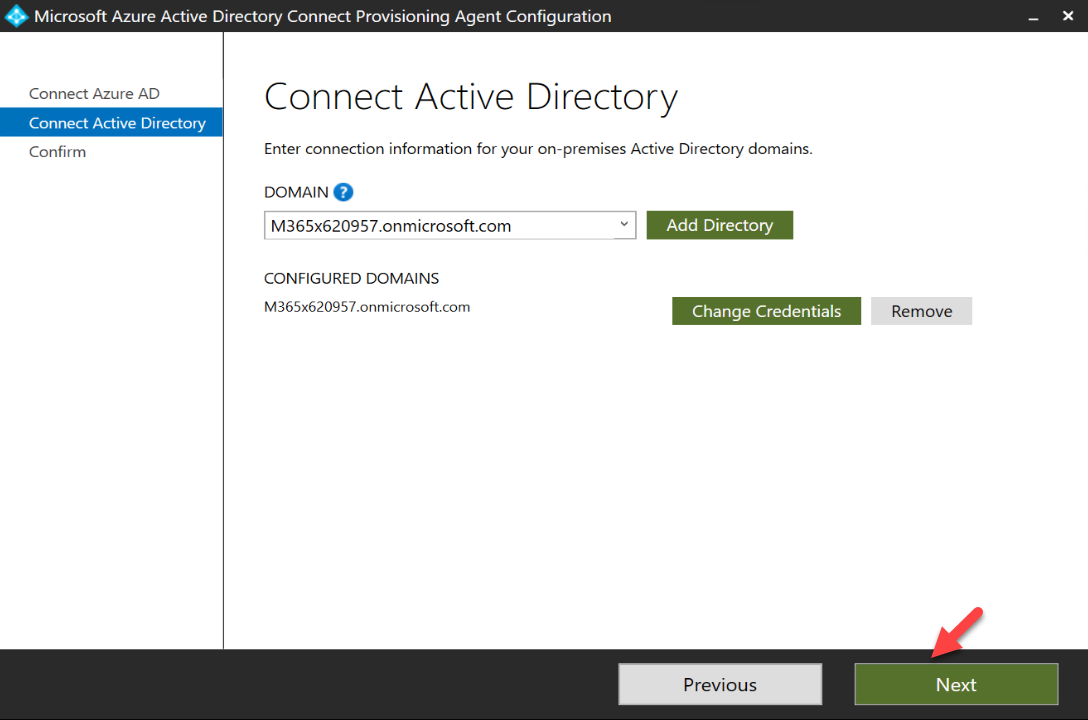
13. Once account verification is completed, click on Next to proceed.
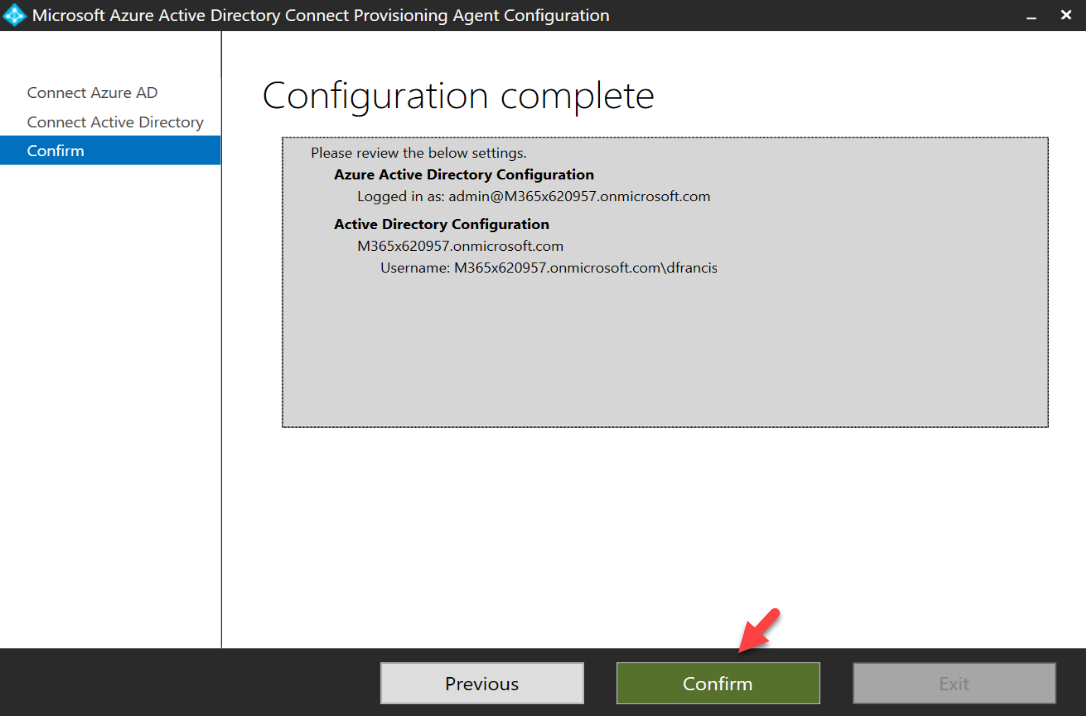
14. Finally, click on Confirm to complete the configuration.
15. Make sure the configuration process completes without errors.
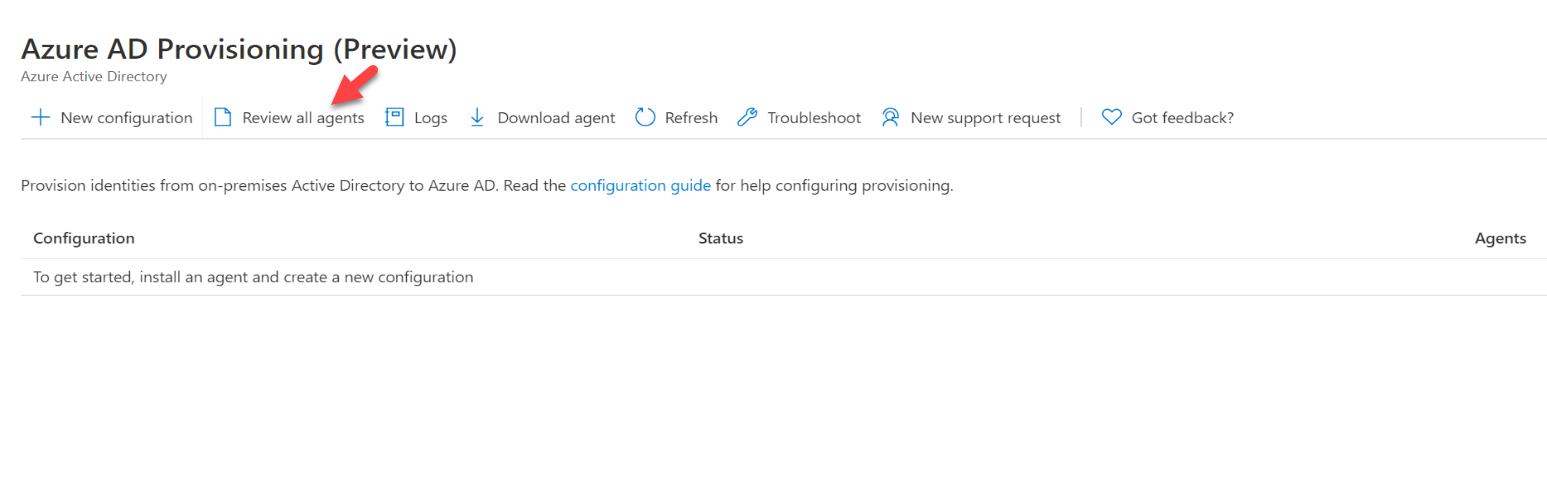
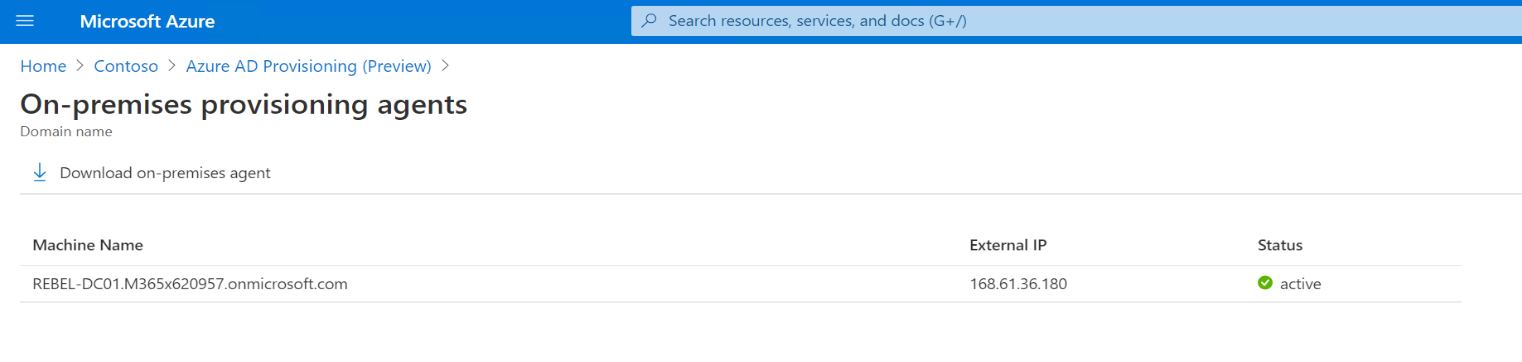
16. To verify the health of the agent, go to Azure AD Provisioning (Preview) page and click on Review all agents
Configure Azure AD Connect cloud provisioning
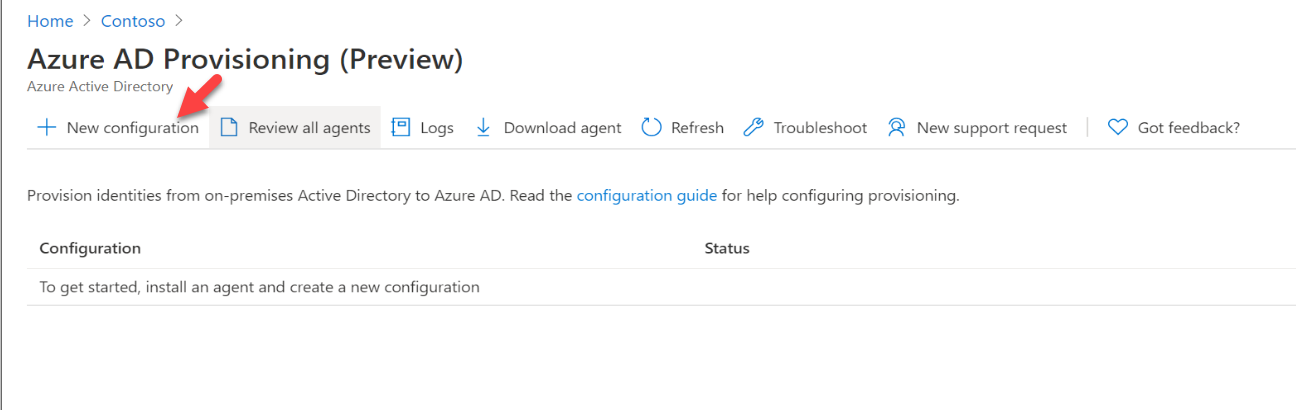
Now we have an agent in place, the next step is to apply a new configuration to it. To do that,
1. Go to the Azure AD Provisioning (Preview) page and click on + New configuration
2. In the new page select the relevant domain under Active Directory Domain
3. Under Scope users, filter the users you like to sync. In this demo, I am going to sync all users.
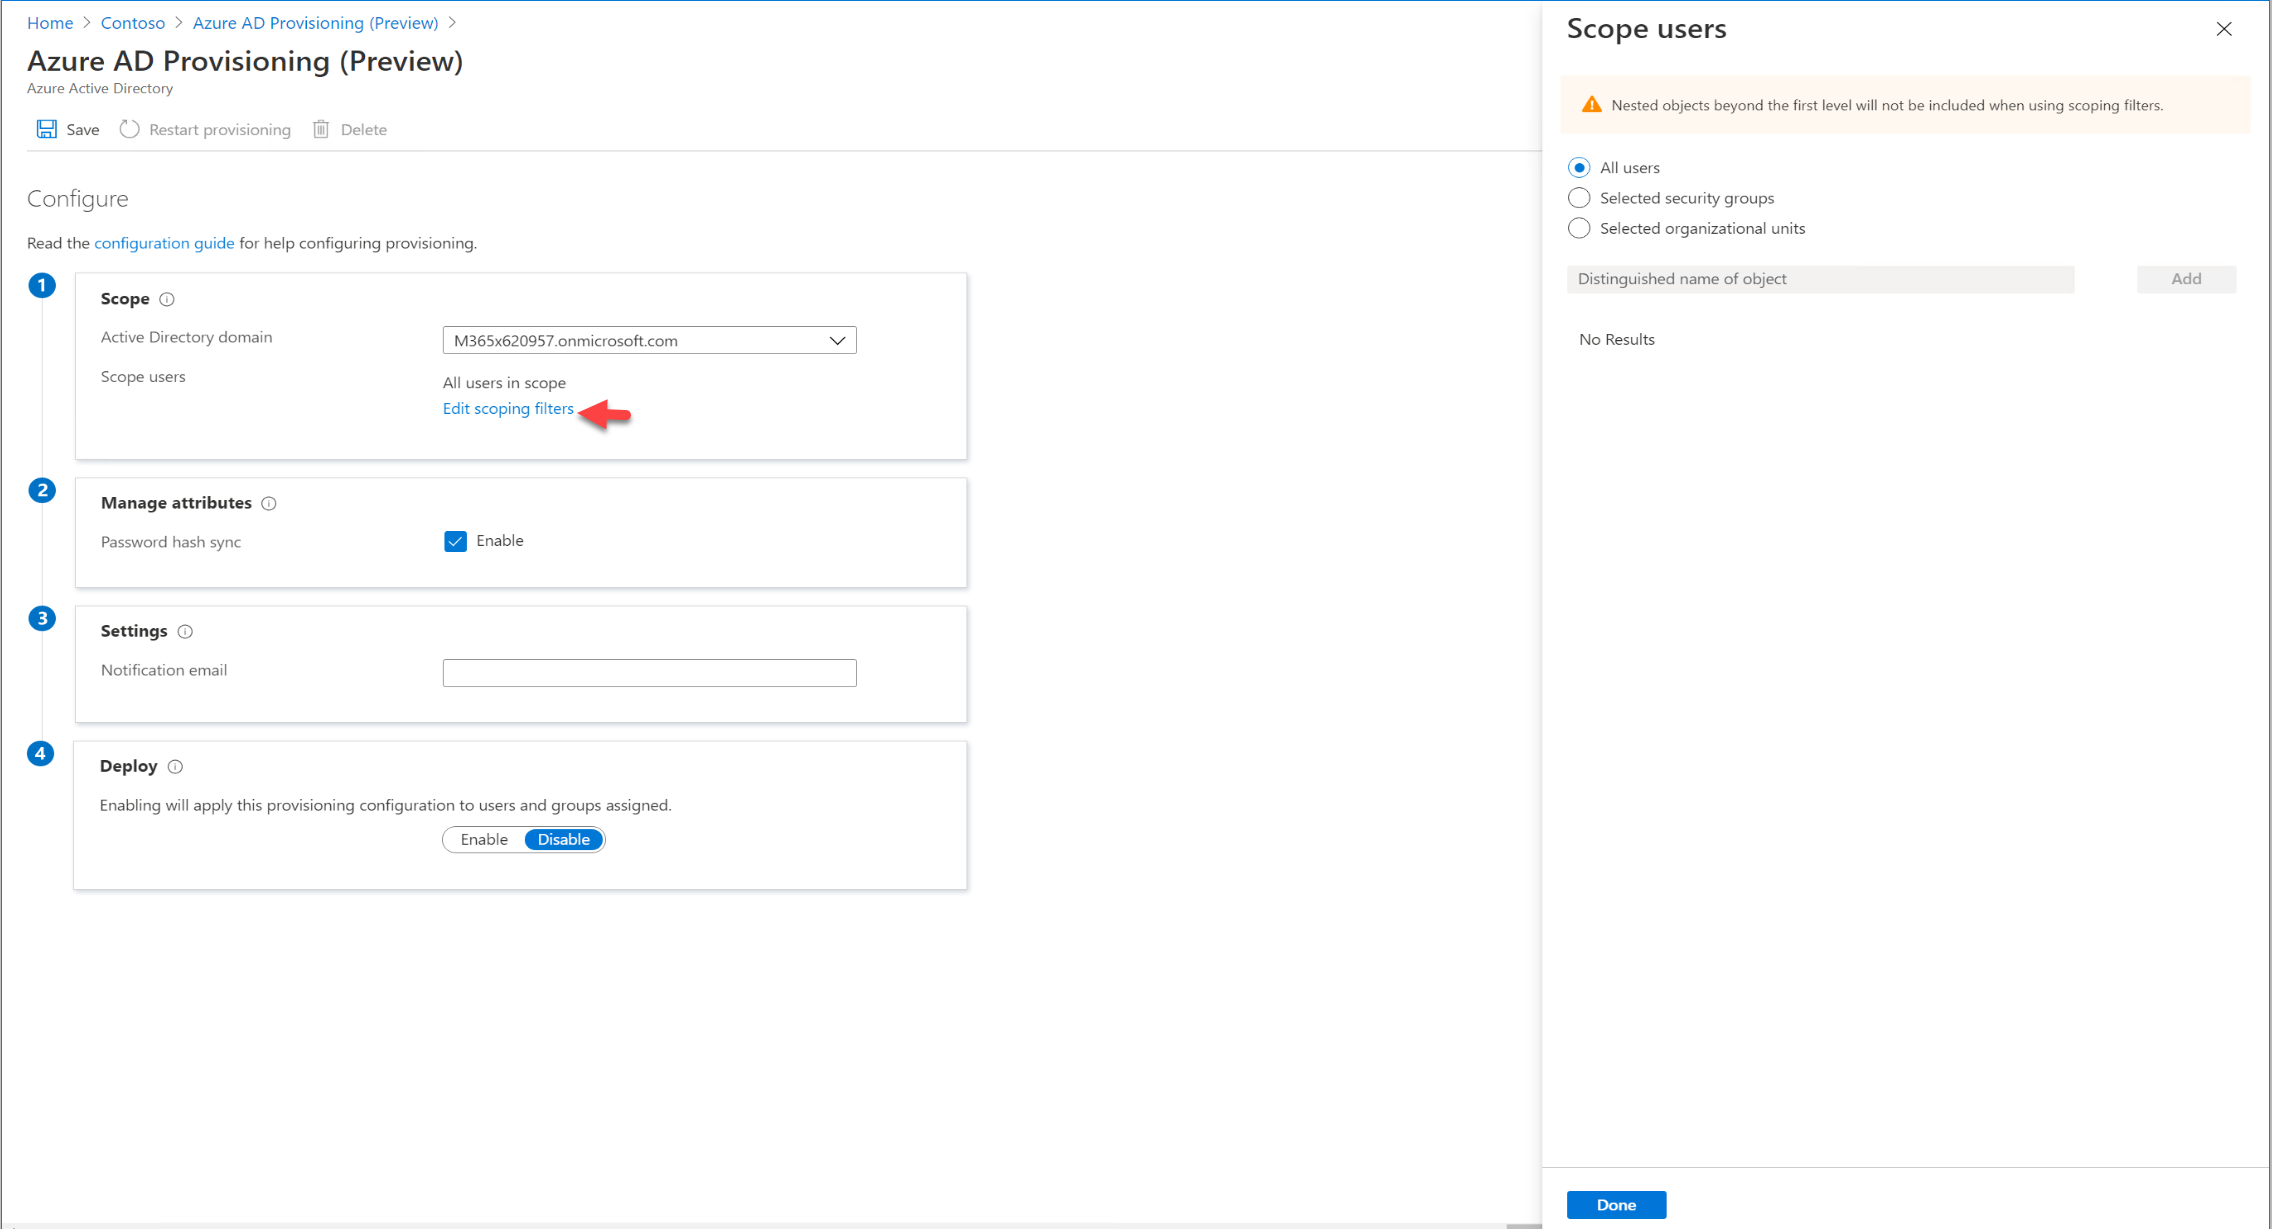
4. Also, make sure you have the password synchronization option is enabled.
5. In the Notification Email field, define the email address you like to receive notifications
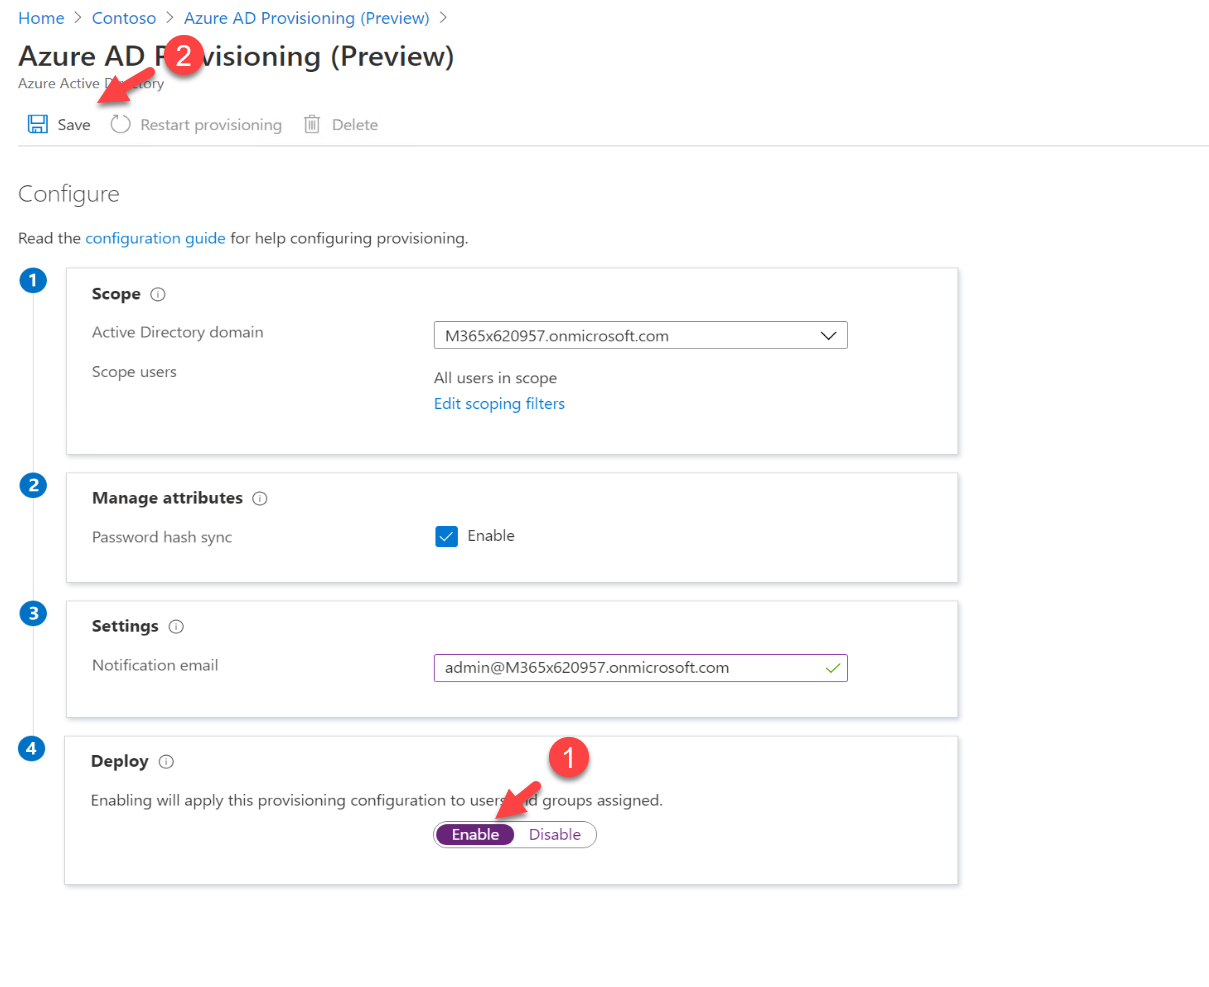
6. In Deploy section click on enable to apply this provisioning configuration to users and groups assigned.
7. In the end, click on the Save button to apply the configuration.
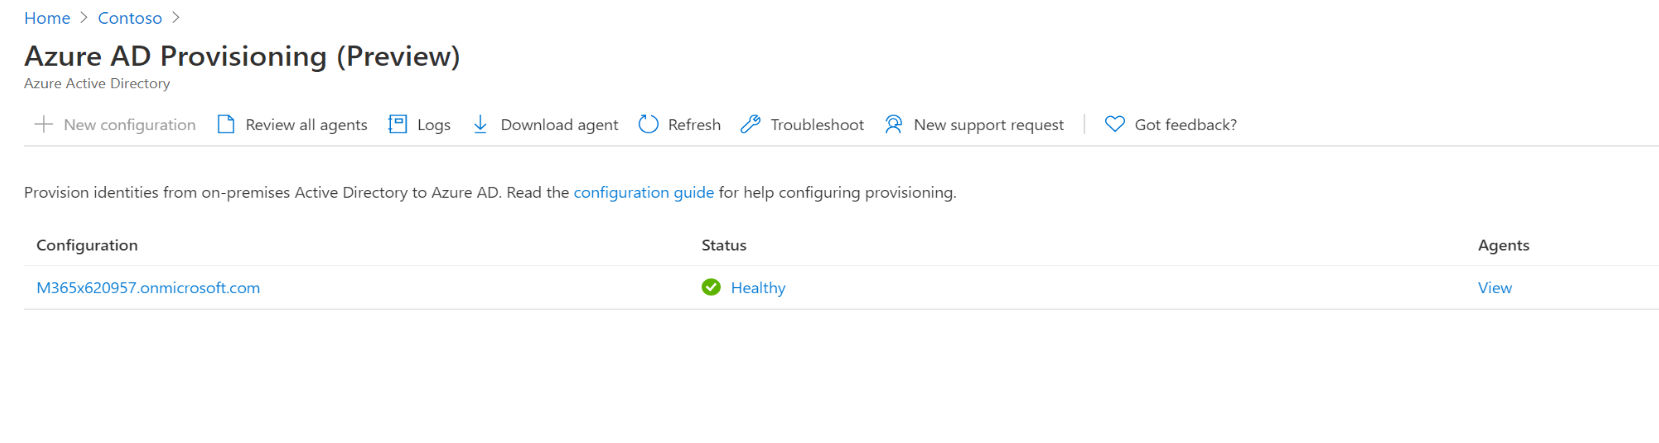
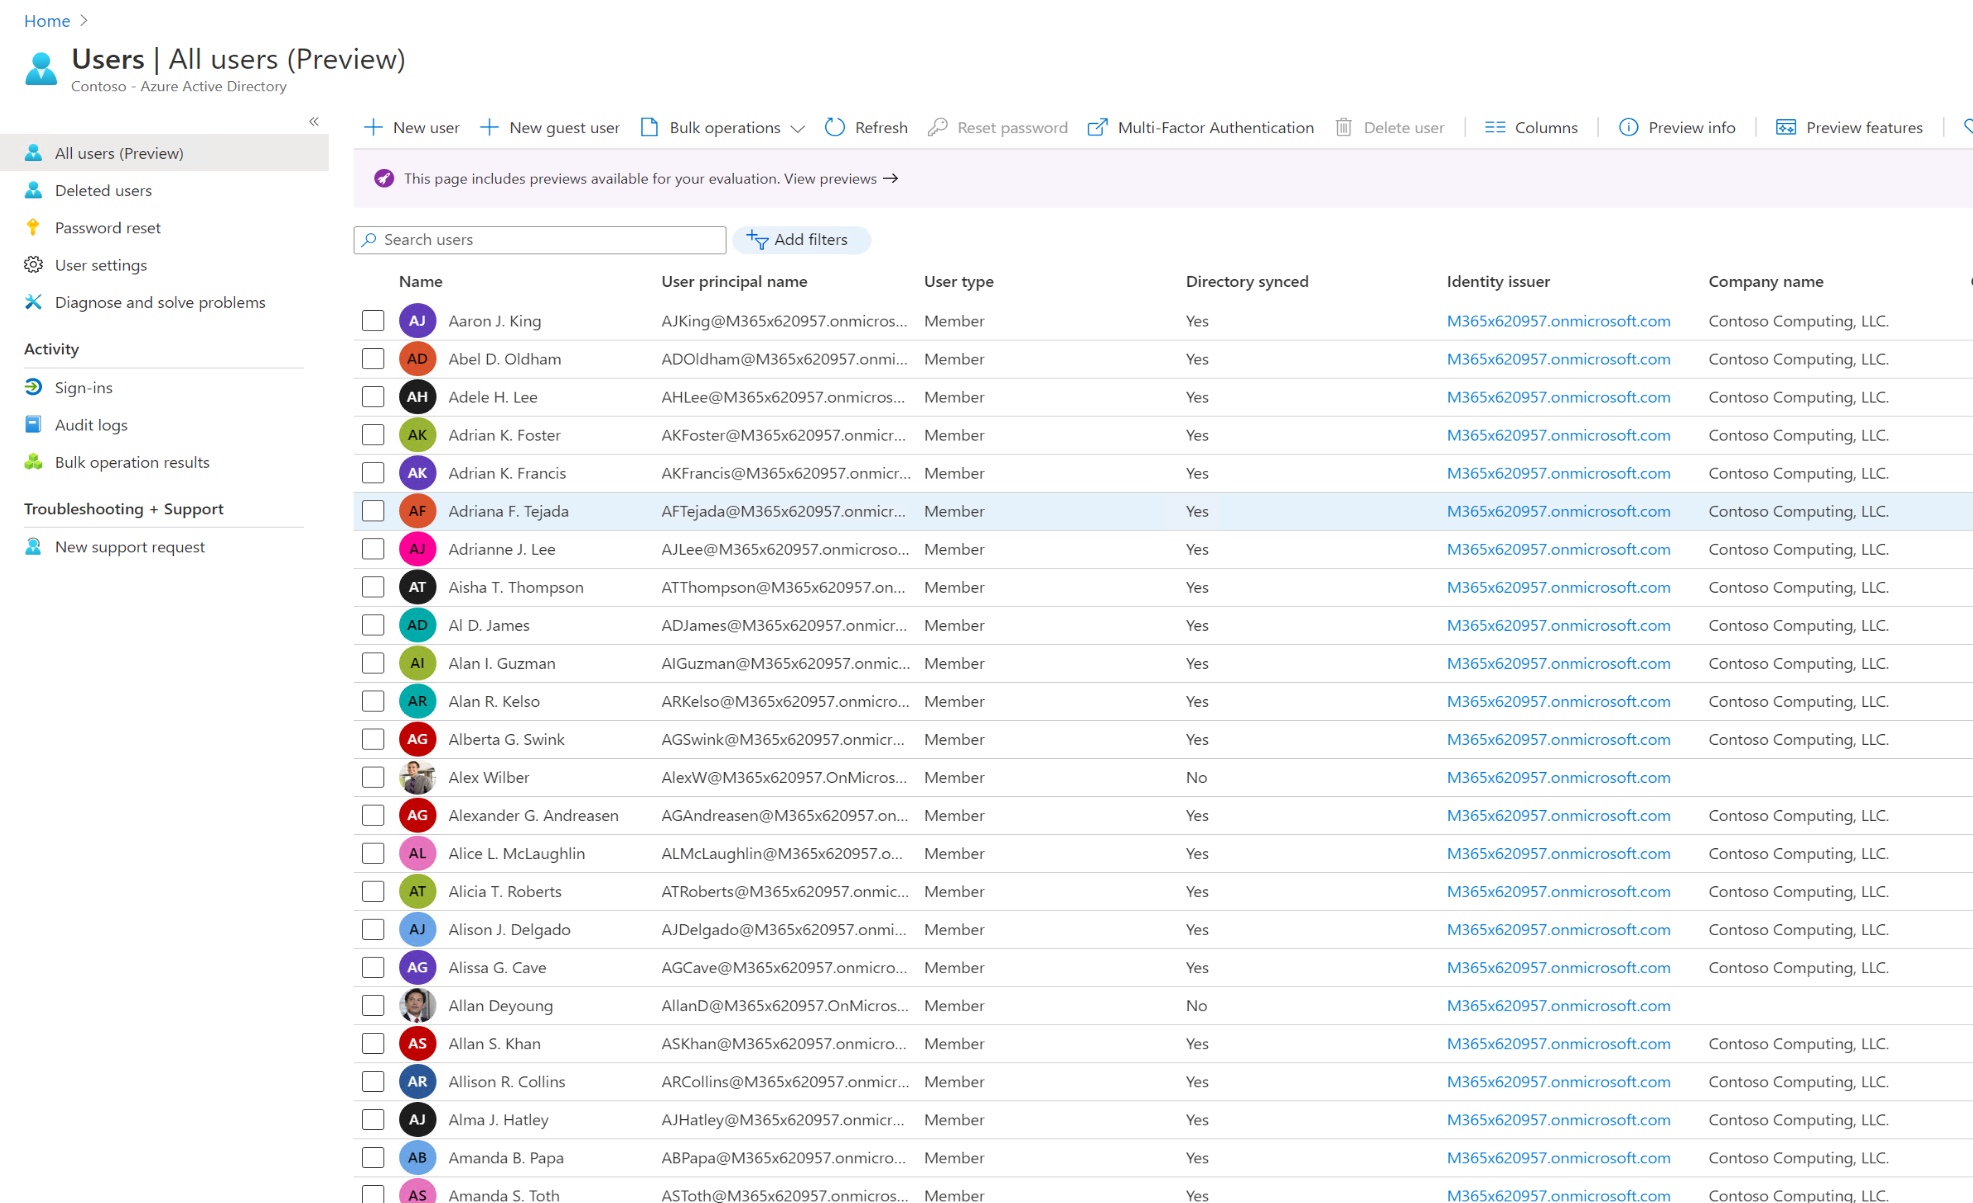
8. After a few minutes, I can see the users are syncing from Windows AD
Testing
1. For testing, I have selected a one user account which is sync from Windows AD
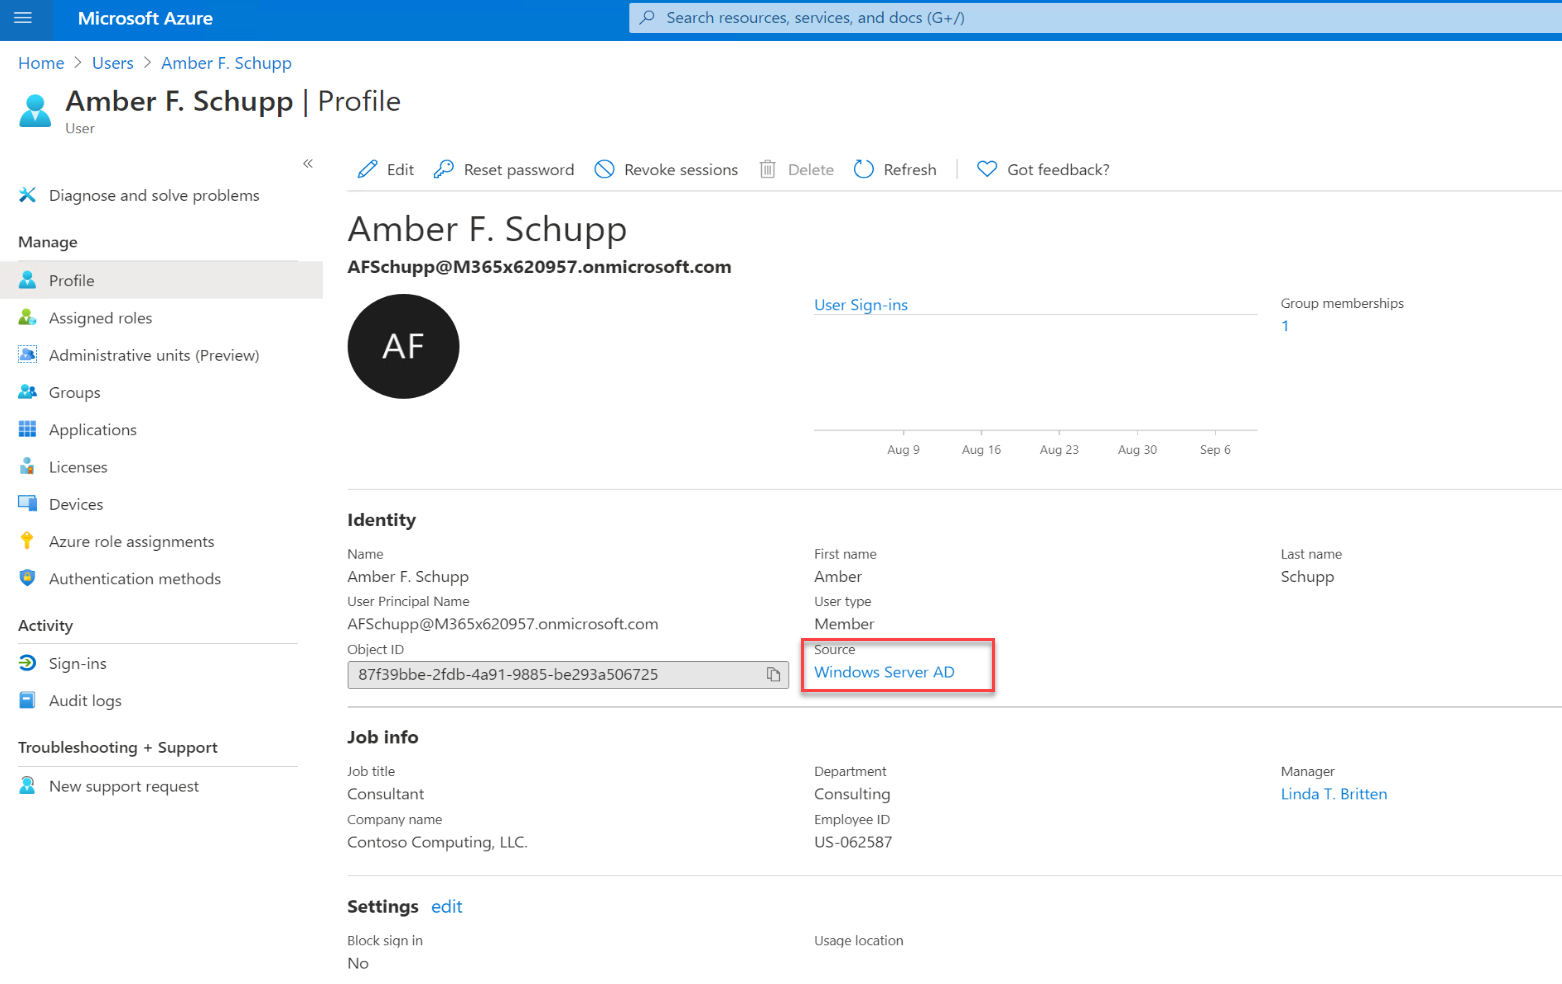
2. Then I try to login to https://office.com using this selected account. As expected, I was able to login to the portal successfully.

This marks the end of this blog post. Hope now you have a better understanding of using Azure AD Connect cloud provisioning to simplify identity synchronization. If you have any further questions about this feel free to contact me on rebeladm@live.com also follow me on twitter @rebeladm to get updates about new blog posts.


Hi,
Great Job.
If you have already deploy azure ad connect, what are the step to migrate to azure ad cloud connect ?