
In any identity infrastructure attack, attackers are going after the "privileges". The more privileged account they own, the more damage they can do. There can be privileged accounts in a system that only used once a month to do a privileged task. In any IT system, we used to believe administrators are trustworthy people. Therefore, most of the time we do not really worry about what they are doing with given privileges. what if they misuse the permissions? how we can ensure they only doing what they supposed to do? also if a privileged account got compromised, how we identify genuine activity from a malicious activity?
Privileged access management in Azure AD & Office 365 provides an answer to all of the aforementioned challenges and protect cloud resource from identity attacks. With this solution, users will not have privileges attached to their accounts all the time. instead, they have to request privileges when they required. Then a workflow attached to it will decide if it should grant or not. Once permissions are granted, users can do the relevant privileged task. The permissions, however, will not be available for the users all the time. It is time-bounded. After the approved time, permissions will be removed automatically. In one of my previous blog post series, I demonstrate how to set this up with Azure AD. You can find it here http://www.rebeladmin.com/2016/07/step-step-guide-azure-ad-privileged-identity-management-part-1/
In this blog post, I am going to demonstrate how to do the same with office 365.
As the first step, we need to create a group to approve the privilege access requests. If you already have an IT admin/management group, you can
Create Admin Group
1. Log in to Office 365 Admin panel as a global administrator
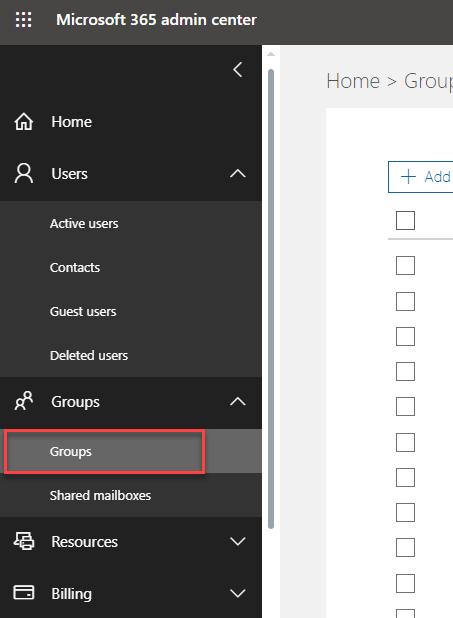
2. Then go to Groups | Groups
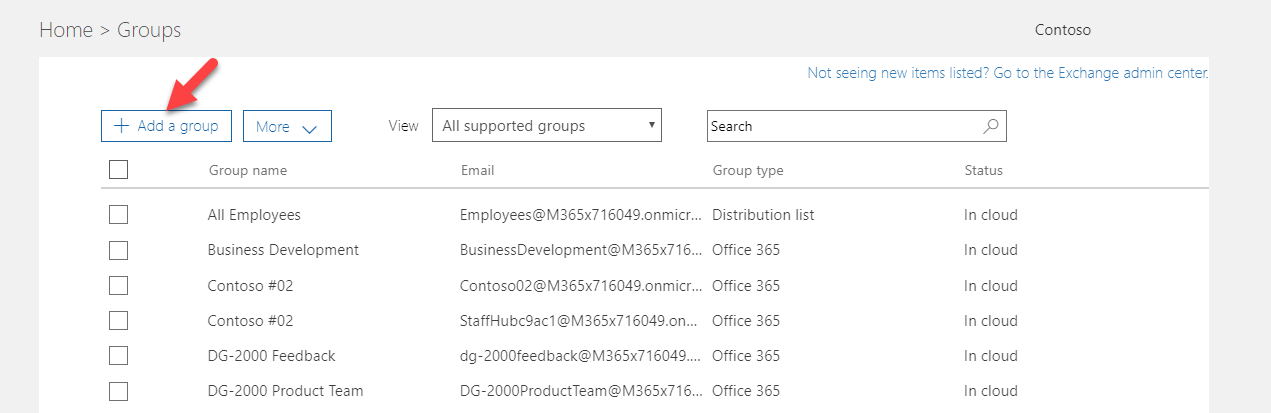
3. Then click on Add a Group
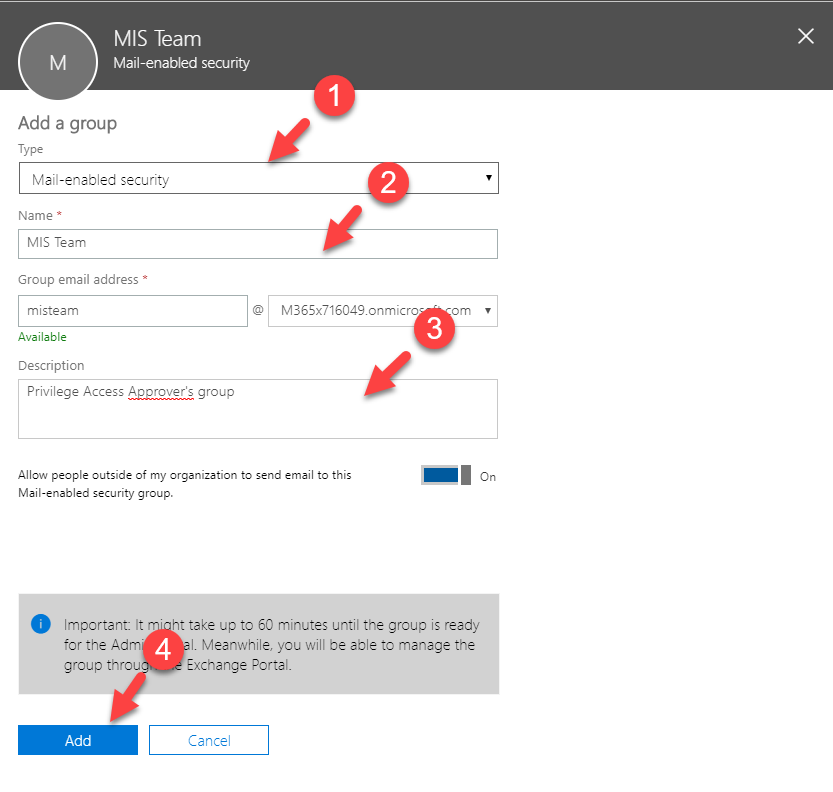
4. In the new group window, select mail-enabled security as the group type. Then provide a name for the group. you also can add a description if you like. At the end click on Add to proceed.
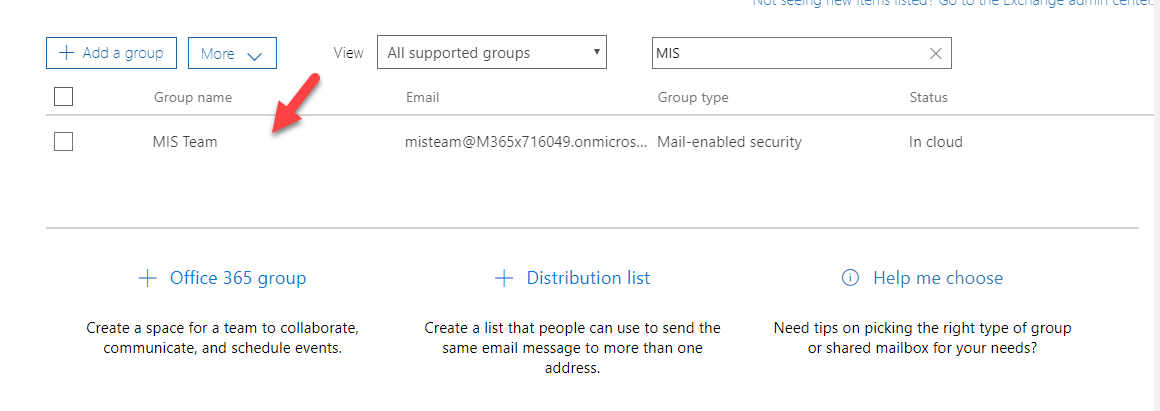
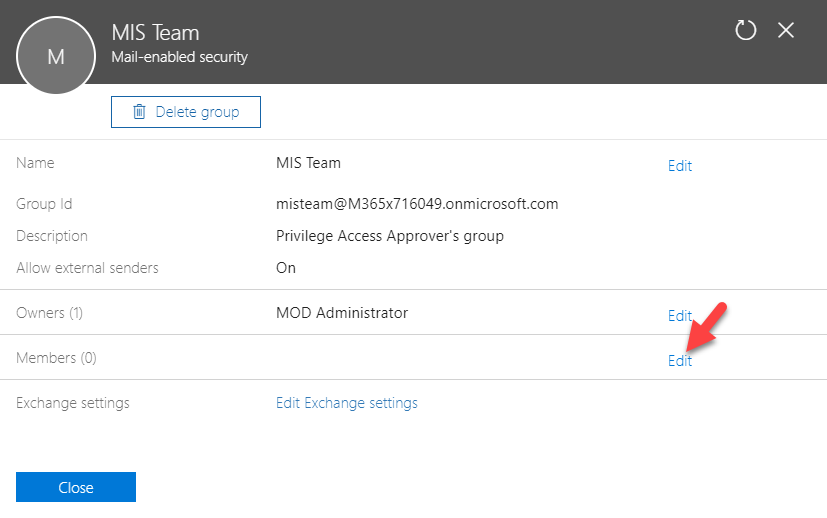
5. Once a group is created, search for the group and click on it.
6. Click on Edit next to Members.
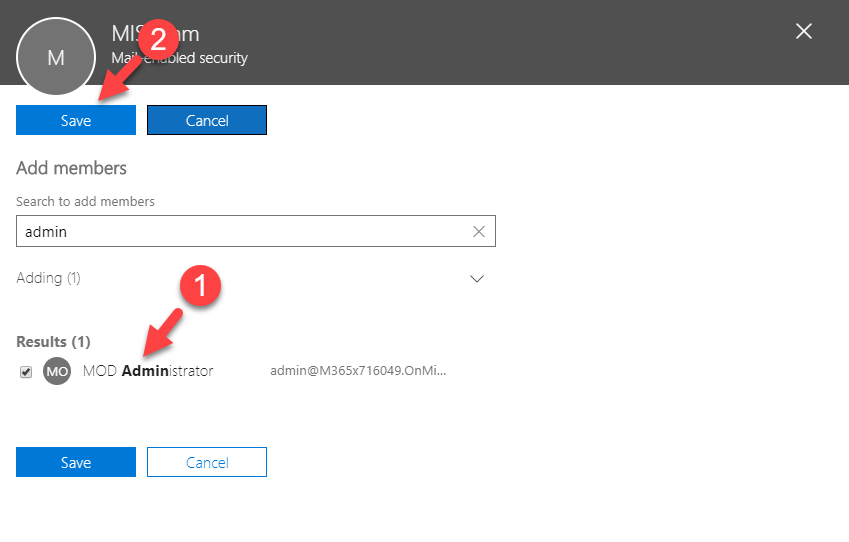
7. Then click on Add members.

8. Add the required users to the list and then click on Save.
Enable privileged access
1. Log in to Office 365 Admin panel as a global administrator
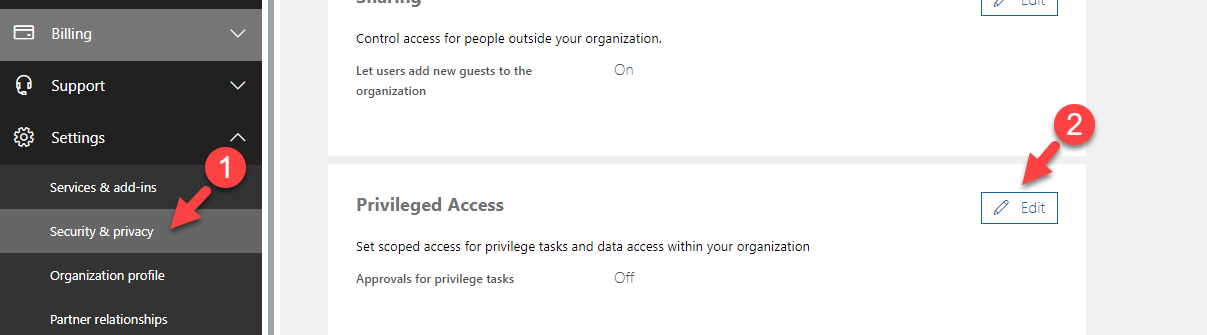
2. Go to Settings | Security & privacy | Privileged Access, and then click on Edit
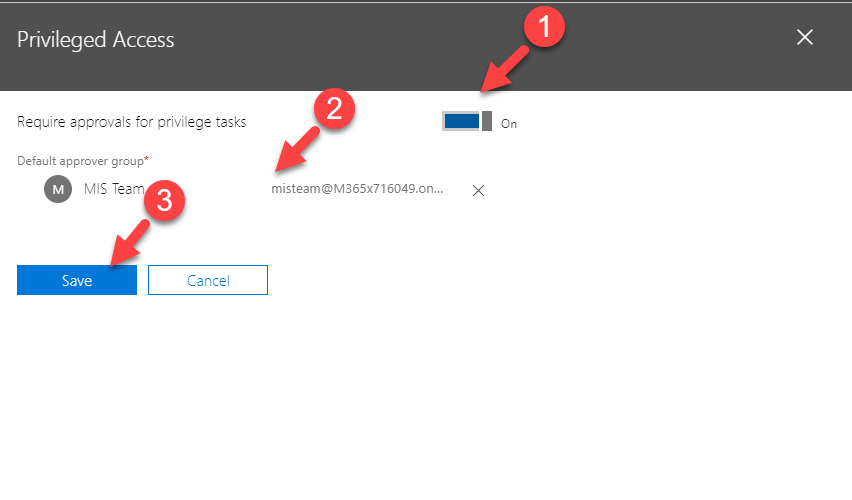
3. Turn on Require approvals for privilege tasks and select newly created group as default approver group. At the end click on Save to apply changes.
Create a Policy
The next step is to create a new access policy. you can have up to 30 policies.
1. Log in to Office 365 Admin panel as a global administrator
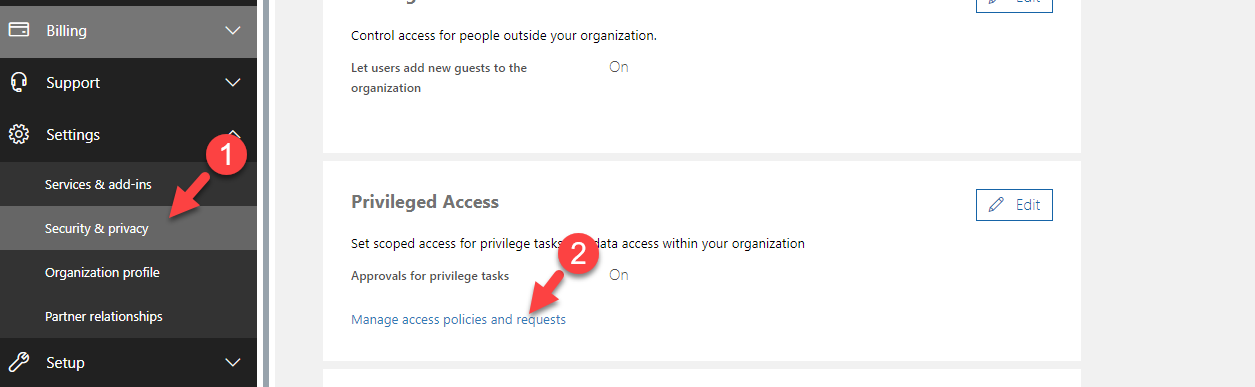
2. Go to Settings | Security & privacy | Privileged Access and then click on Manage access policies and requests
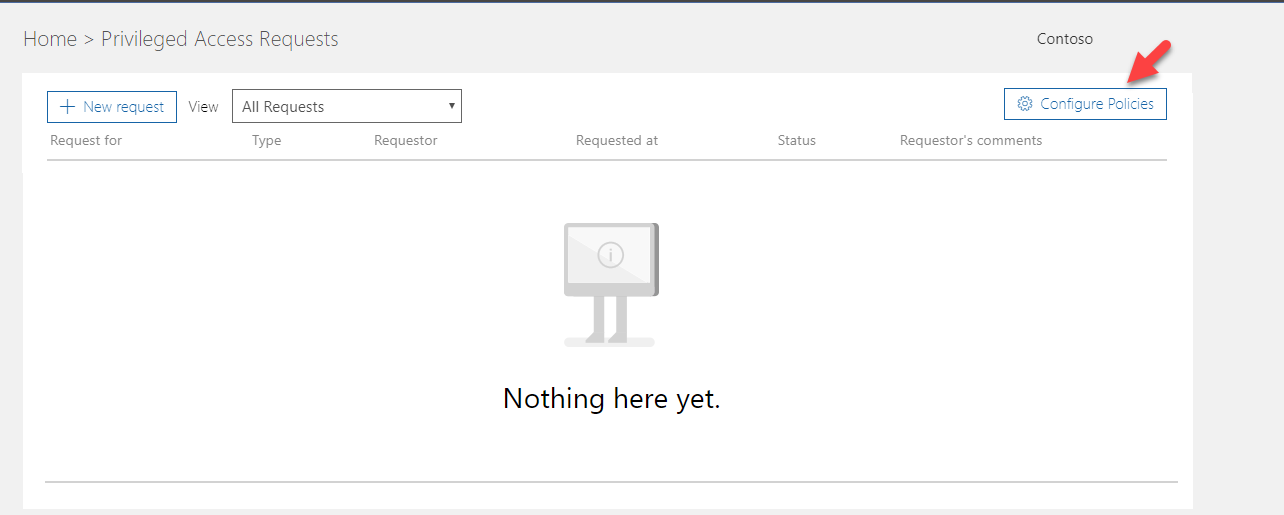
3. Click on Configure Policies
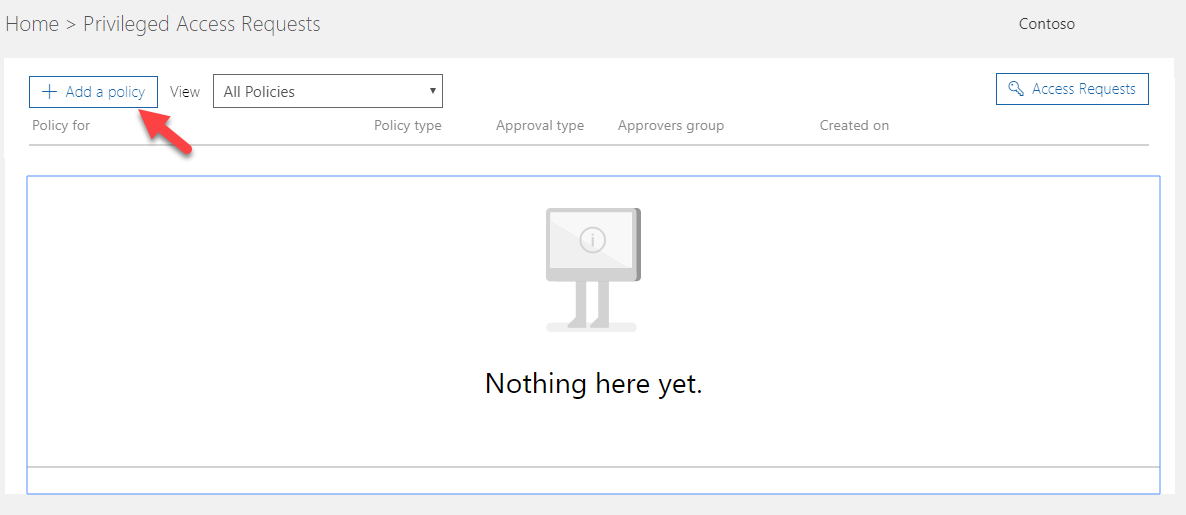
4. Click on Add a Policy
5. In a new policy window,
Policy type: Select Task, Role, or Role Group
Policy scope: Exchange
Policy name: This will change based on the option you selected for policy type.
Approval type: select Manual or Auto
Approval group: Select the approvers' group created in the previous step
In my demo, I am creating a policy to control mailbox permissions. When someone tries to add mailbox permissions it will ask for approval. I set it as a manual approval policy so someone from approval grove needs to allow it.

So, let's go ahead and test it.
In my setup, I have gone ahead and log in as a Global Administrator to Office 365 portal. Then I launched the exchange admin panel.
Then I have opened a user account and went to mailbox delegation.
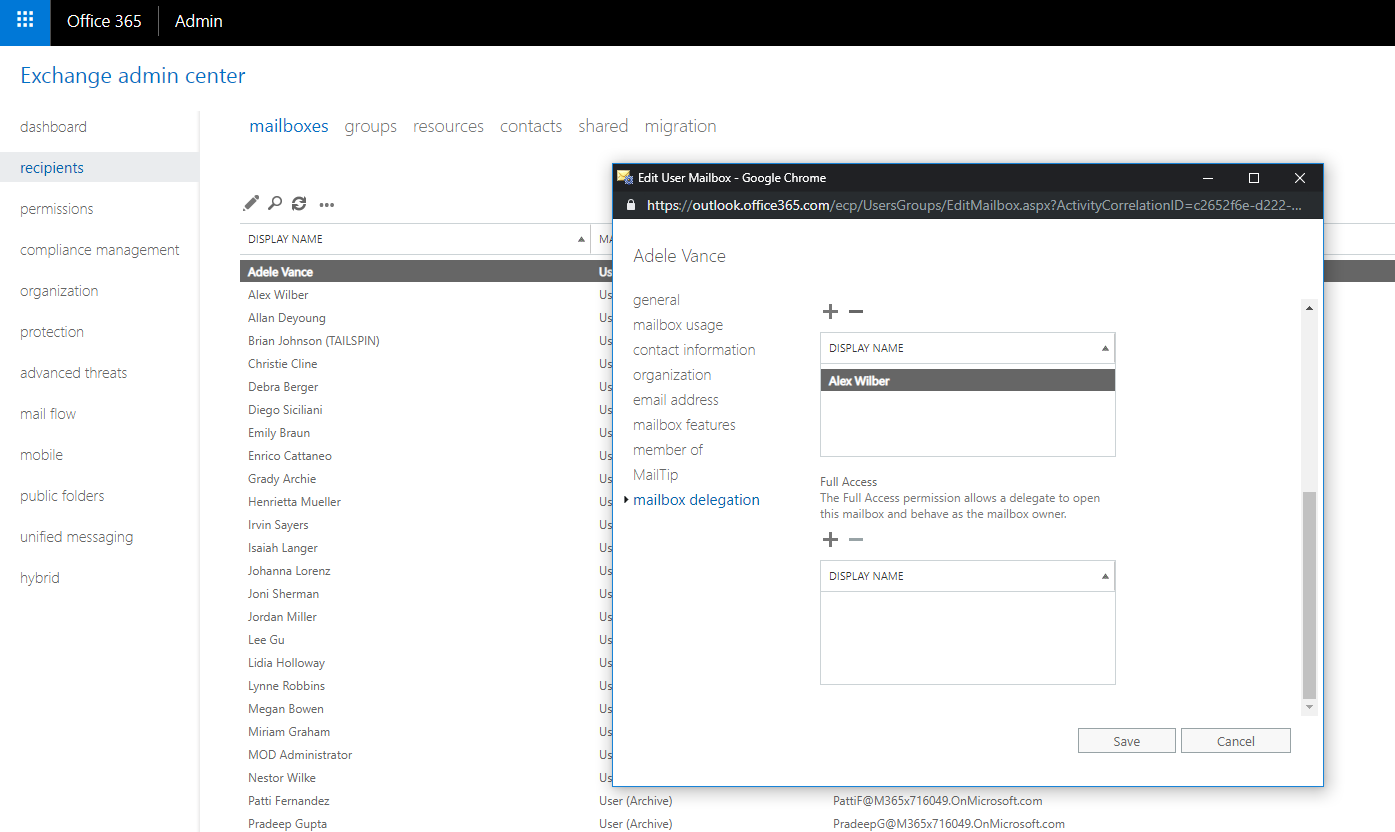
Then I try to add full access permission to a mailbox.
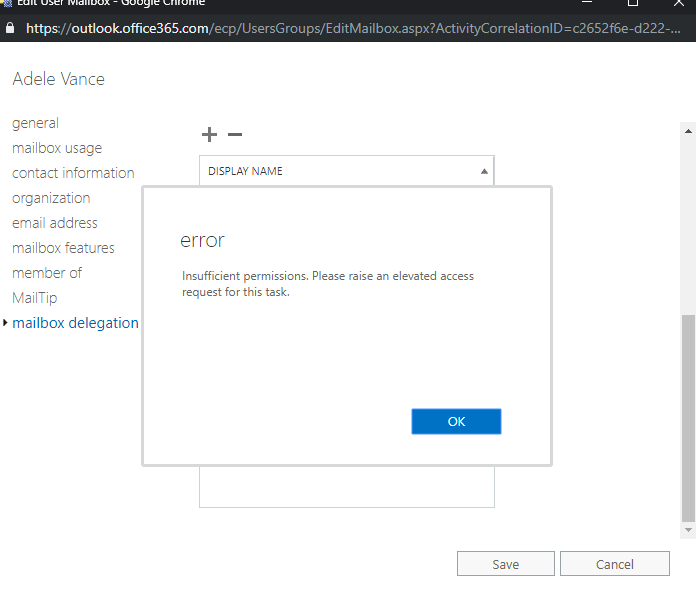
Then as expected, it didn't allow.
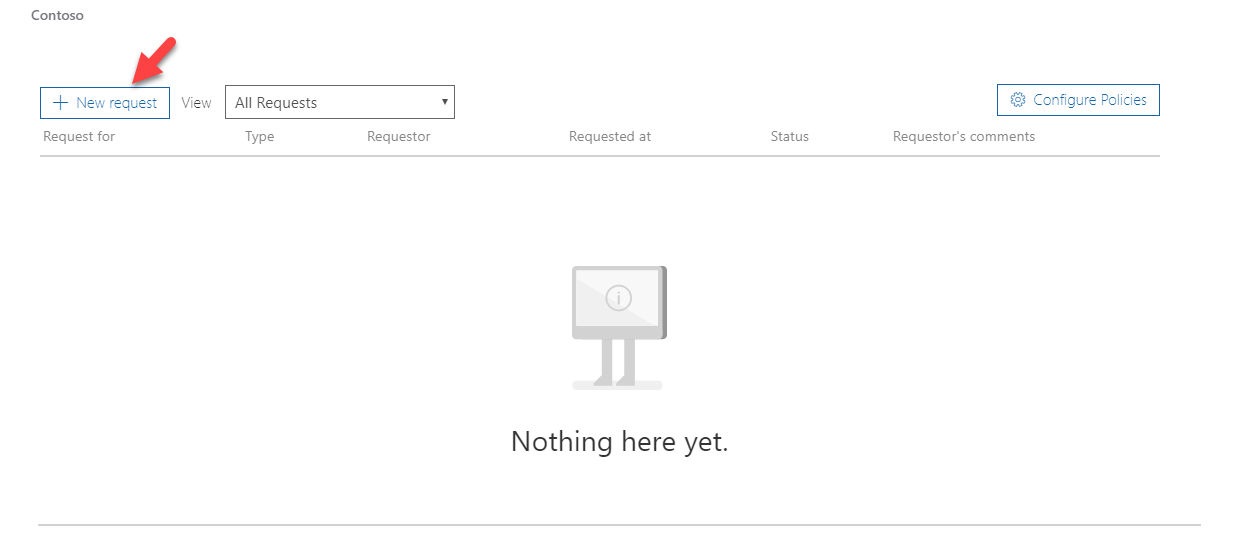
Now we need to request the permissions. To do that, go to Settings | Security & privacy | Privileged Access and then click on Manage access policies and requests
Then click on New request
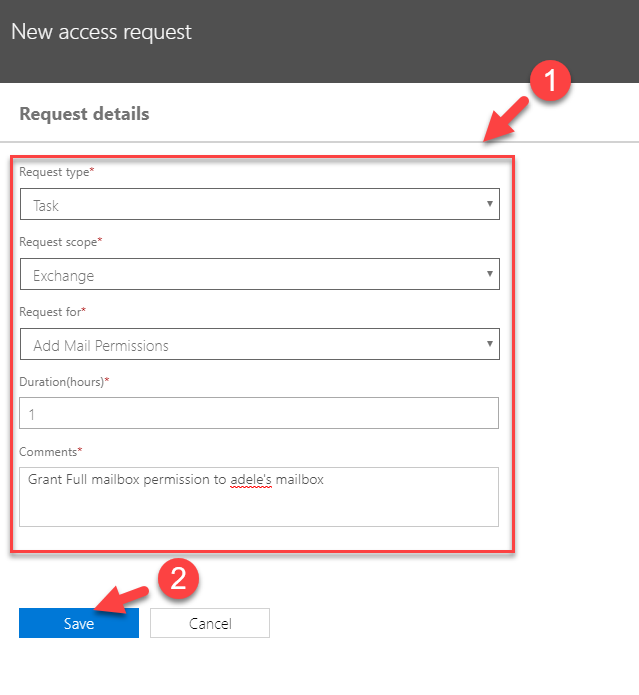
Fill the form to match the policy. We also need to specify the time it should valid for. Then, to complete the request click on Save
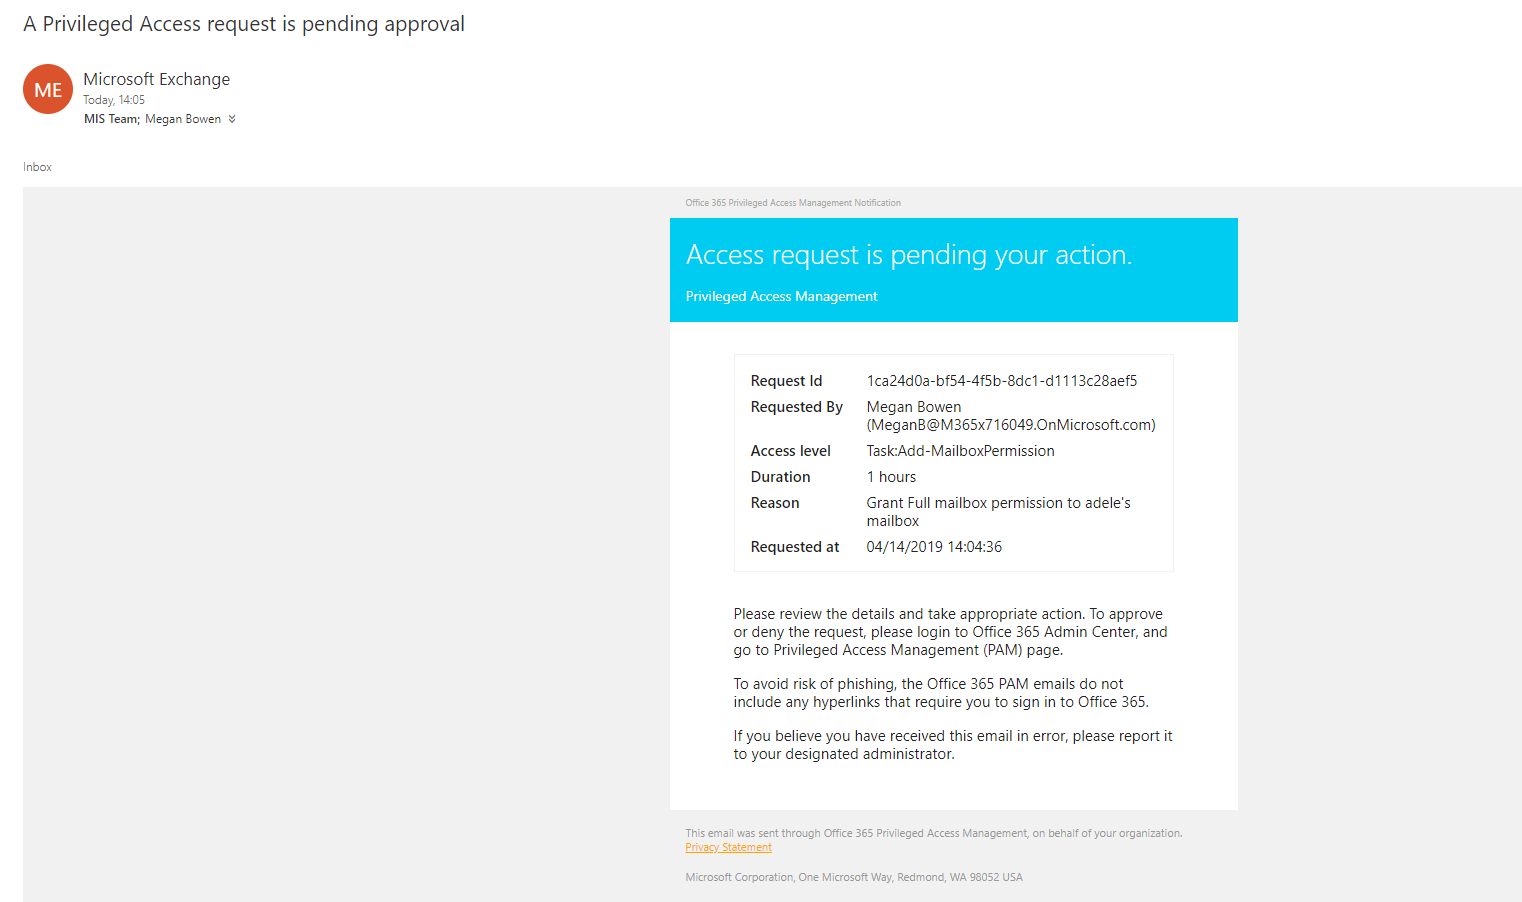
As expected, Users in the approval group receive an email about the request.
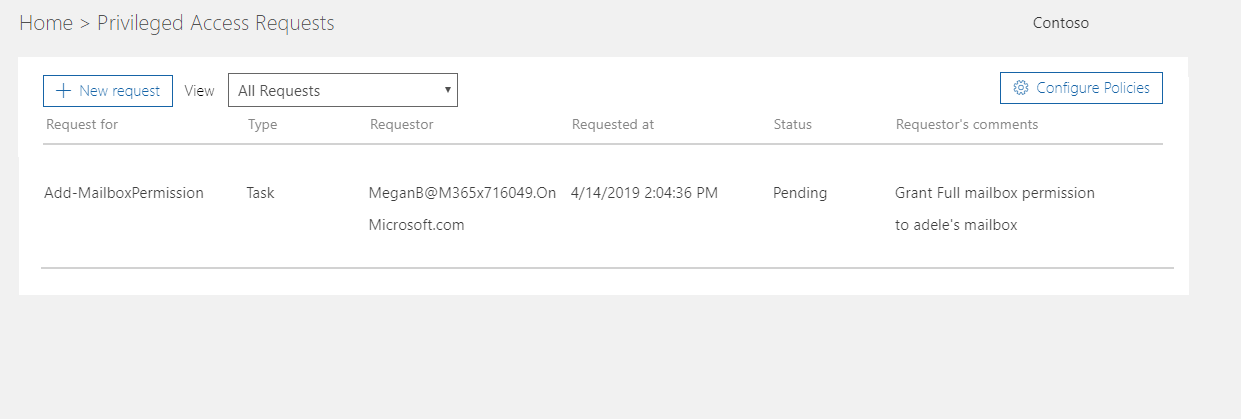
When I log in as approval, I can see this new pending request under Security & privacy window.
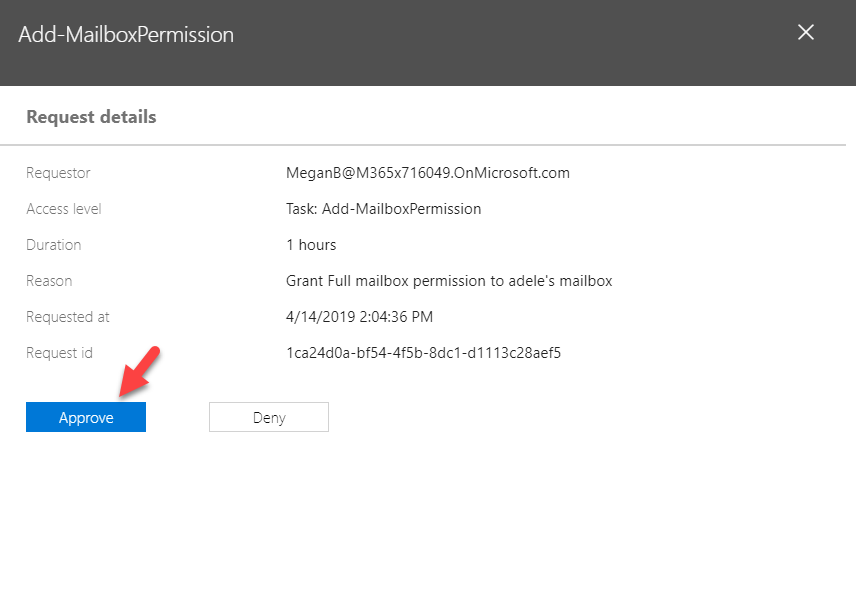
Open the request and click on Approve
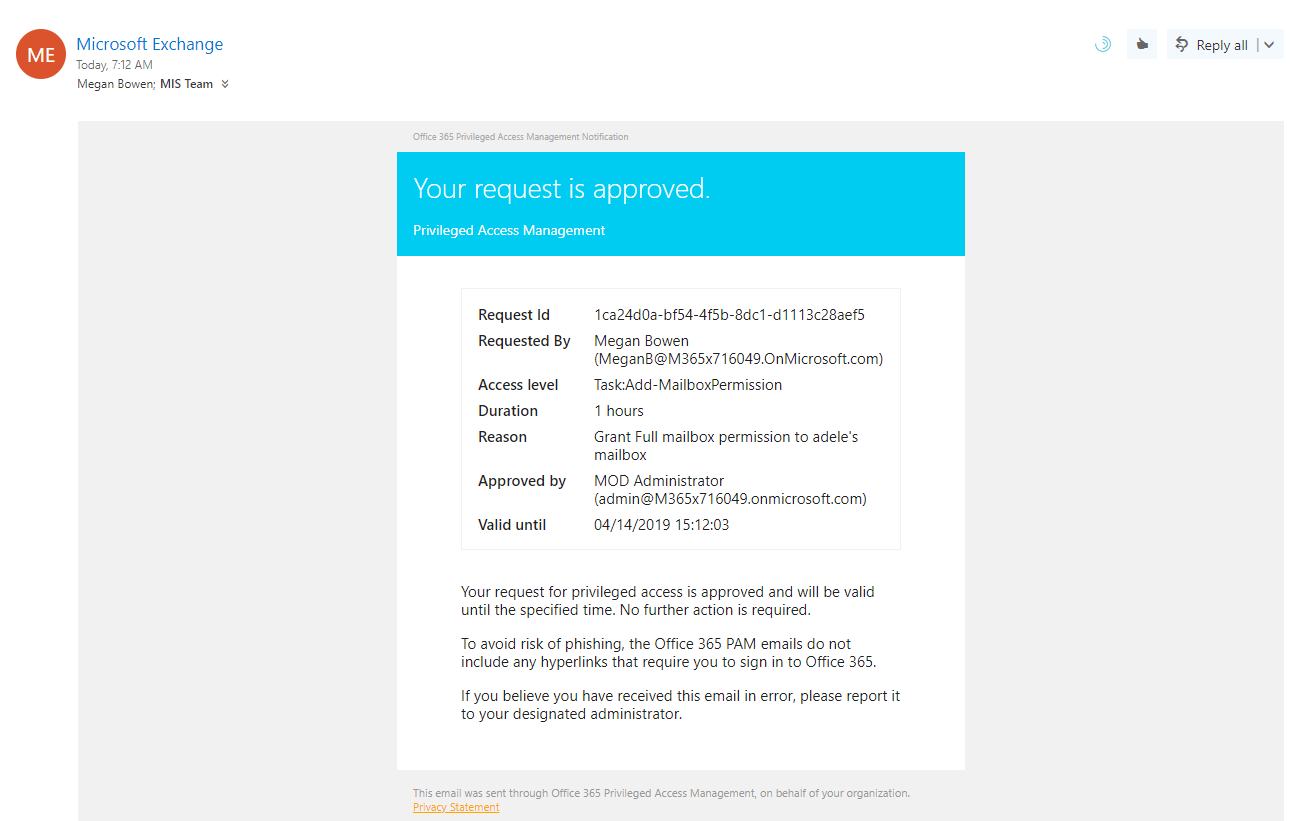
Then the end user gets an email with the decision.
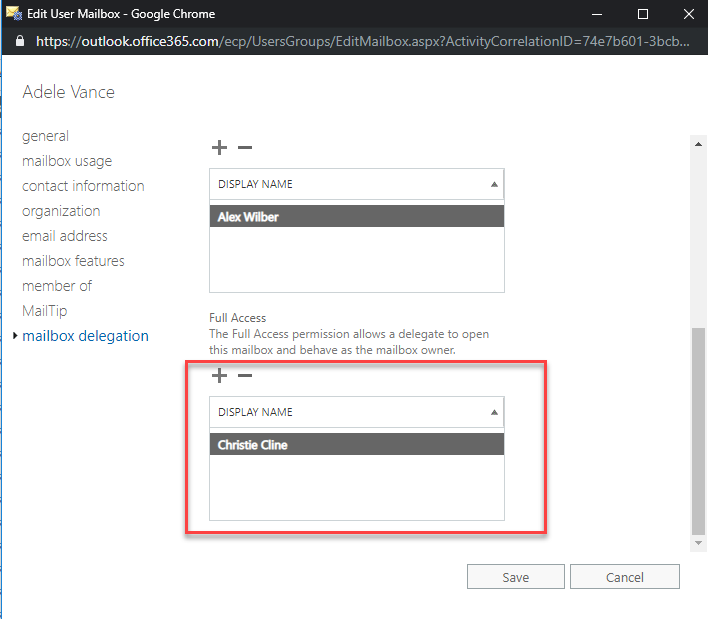
And now as expected, the user can add the mailbox permissions without issue.
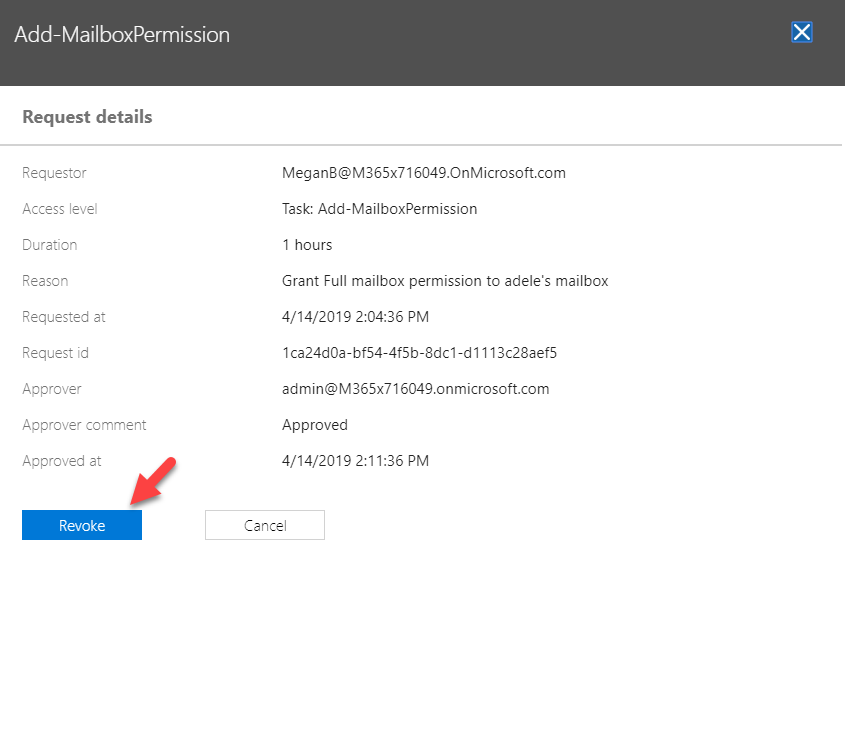
After 1 hour the permissions will be revoked automatically. However, if required admin can revoke permissions by using revoke option under the request.
This marks the end of this blog post. I hope now you have a better understanding of privilege access management in office 365. If you have any questions feel free to contact me on rebeladm@live.com also follow me on twitter @rebeladm to get updates about new blog posts.


This is the only practical post on the internet for M365 PAM others only give definitions.
Thanks