
From early days of computing “password” is used to protect access to services or data. Passwords are breakable so people start using multi-factor authentication to add extra security to authentication process. With multifactor authentication we have to provide additional PIN or secret. However, it still not eliminates the password fact. The modern identity attacks are getting more and more sophisticated. So, we need to think about all possibilities of a breach.
Microsoft Azure AD is now ready to provide password-less authentication experience to Azure AD connected apps using Microsoft Authenticator mobile app. with authenticator app we can replace password with fingerprint, face recognition, or PIN. This is still in public preview but it is not too soon to try it out. In this demo I am going to demonstrate how to enable password-less authentication with Azure AD.
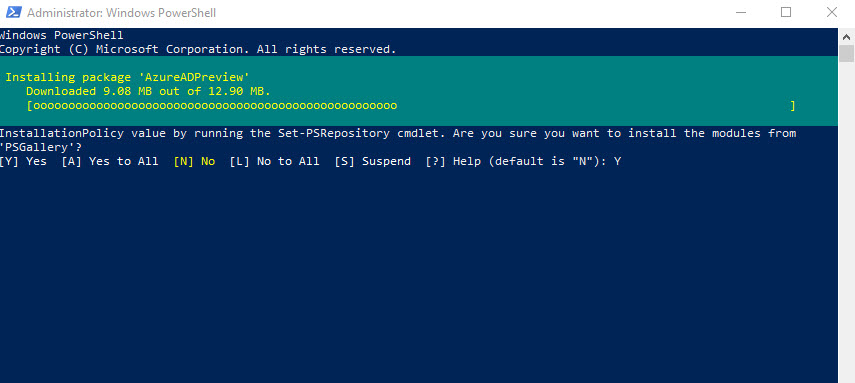
1. As first step we need to enable public preview for password less authentication. To do that first install the public preview release of the Azure Active Directory V2 PowerShell Module using https://www.powershellgallery.com/packages/AzureADPreview/2.0.0.114
2. Then type Connect-AzureAD and login with global admin account.

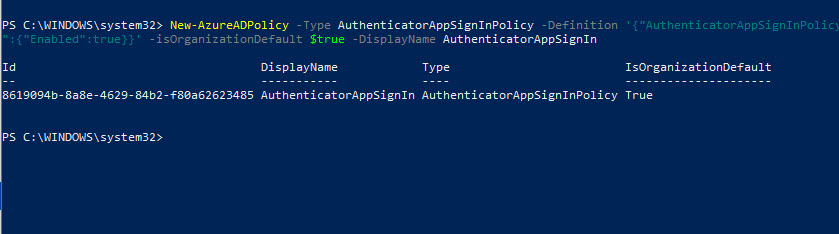
3. Once successfully authenticated, run New-AzureADPolicy -Type AuthenticatorAppSignInPolicy -Definition '{"AuthenticatorAppSignInPolicy":{"Enabled":true}}' -isOrganizationDefault $true -DisplayName AuthenticatorAppSignIn
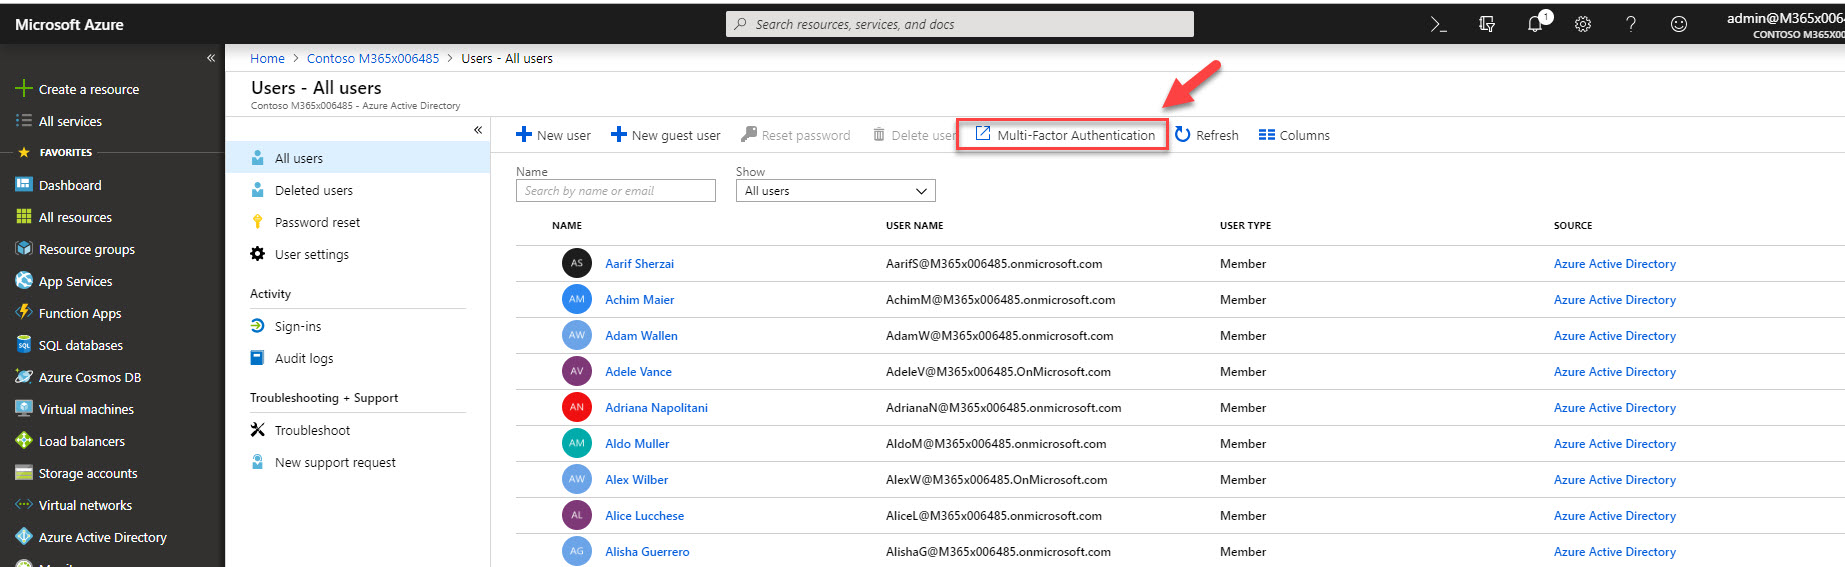
4. As next step I need to enable MFA for the Azure AD user that I am going to test. To do that, log in to https://portal.azure.com as Global Administrator.
5. Then go to Azure Active Directory | Users

6. In new window click on Multi-Factor Authentication
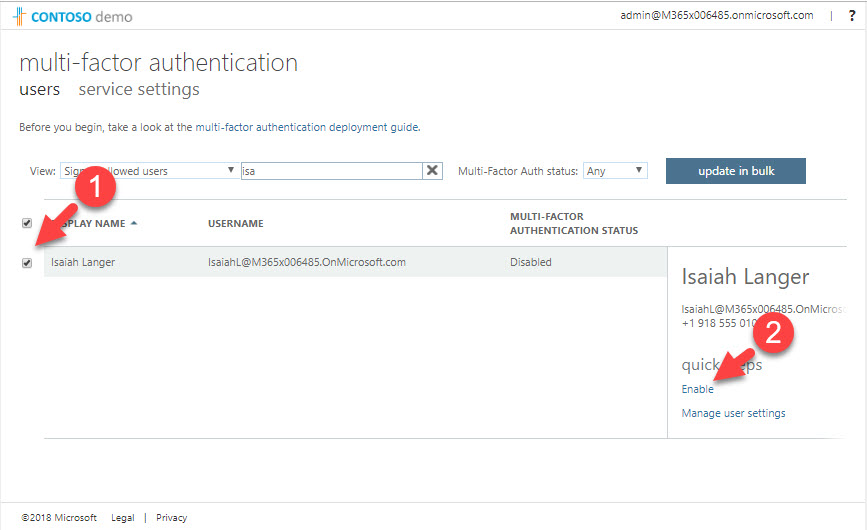
7. It will open up new page for MFA, in page, search for the user you trying to test.
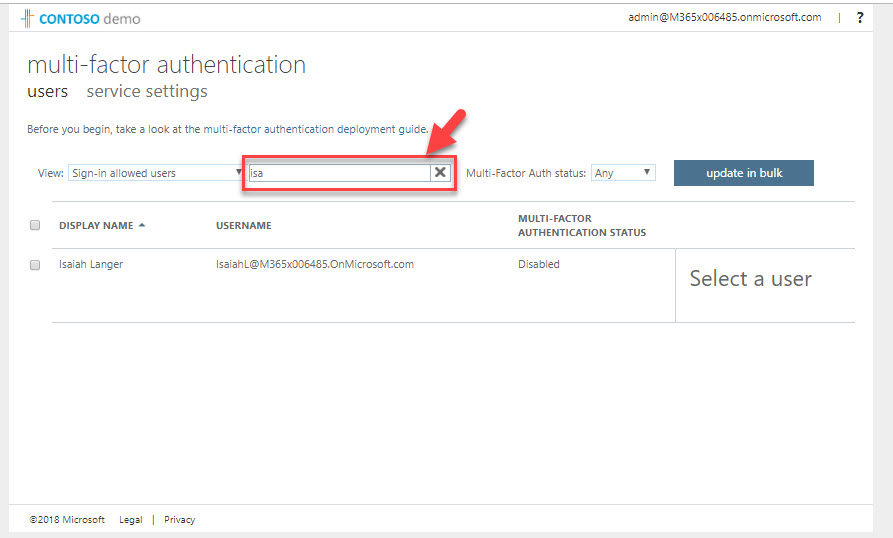
8. Then select the user and click on Enable from the right-hand panel.
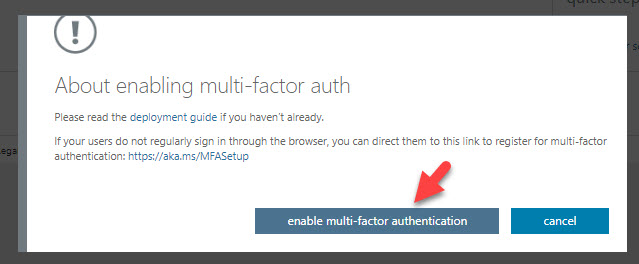
9. It will open up a pop-up, click on enable multi-factor authentication
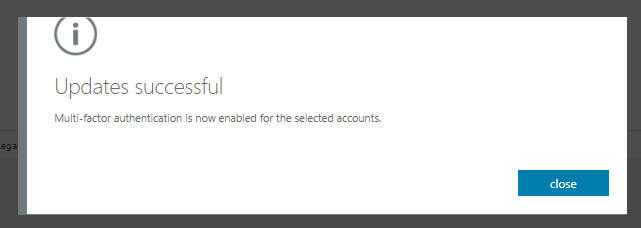
10. Wait for the confirmation and close the window.
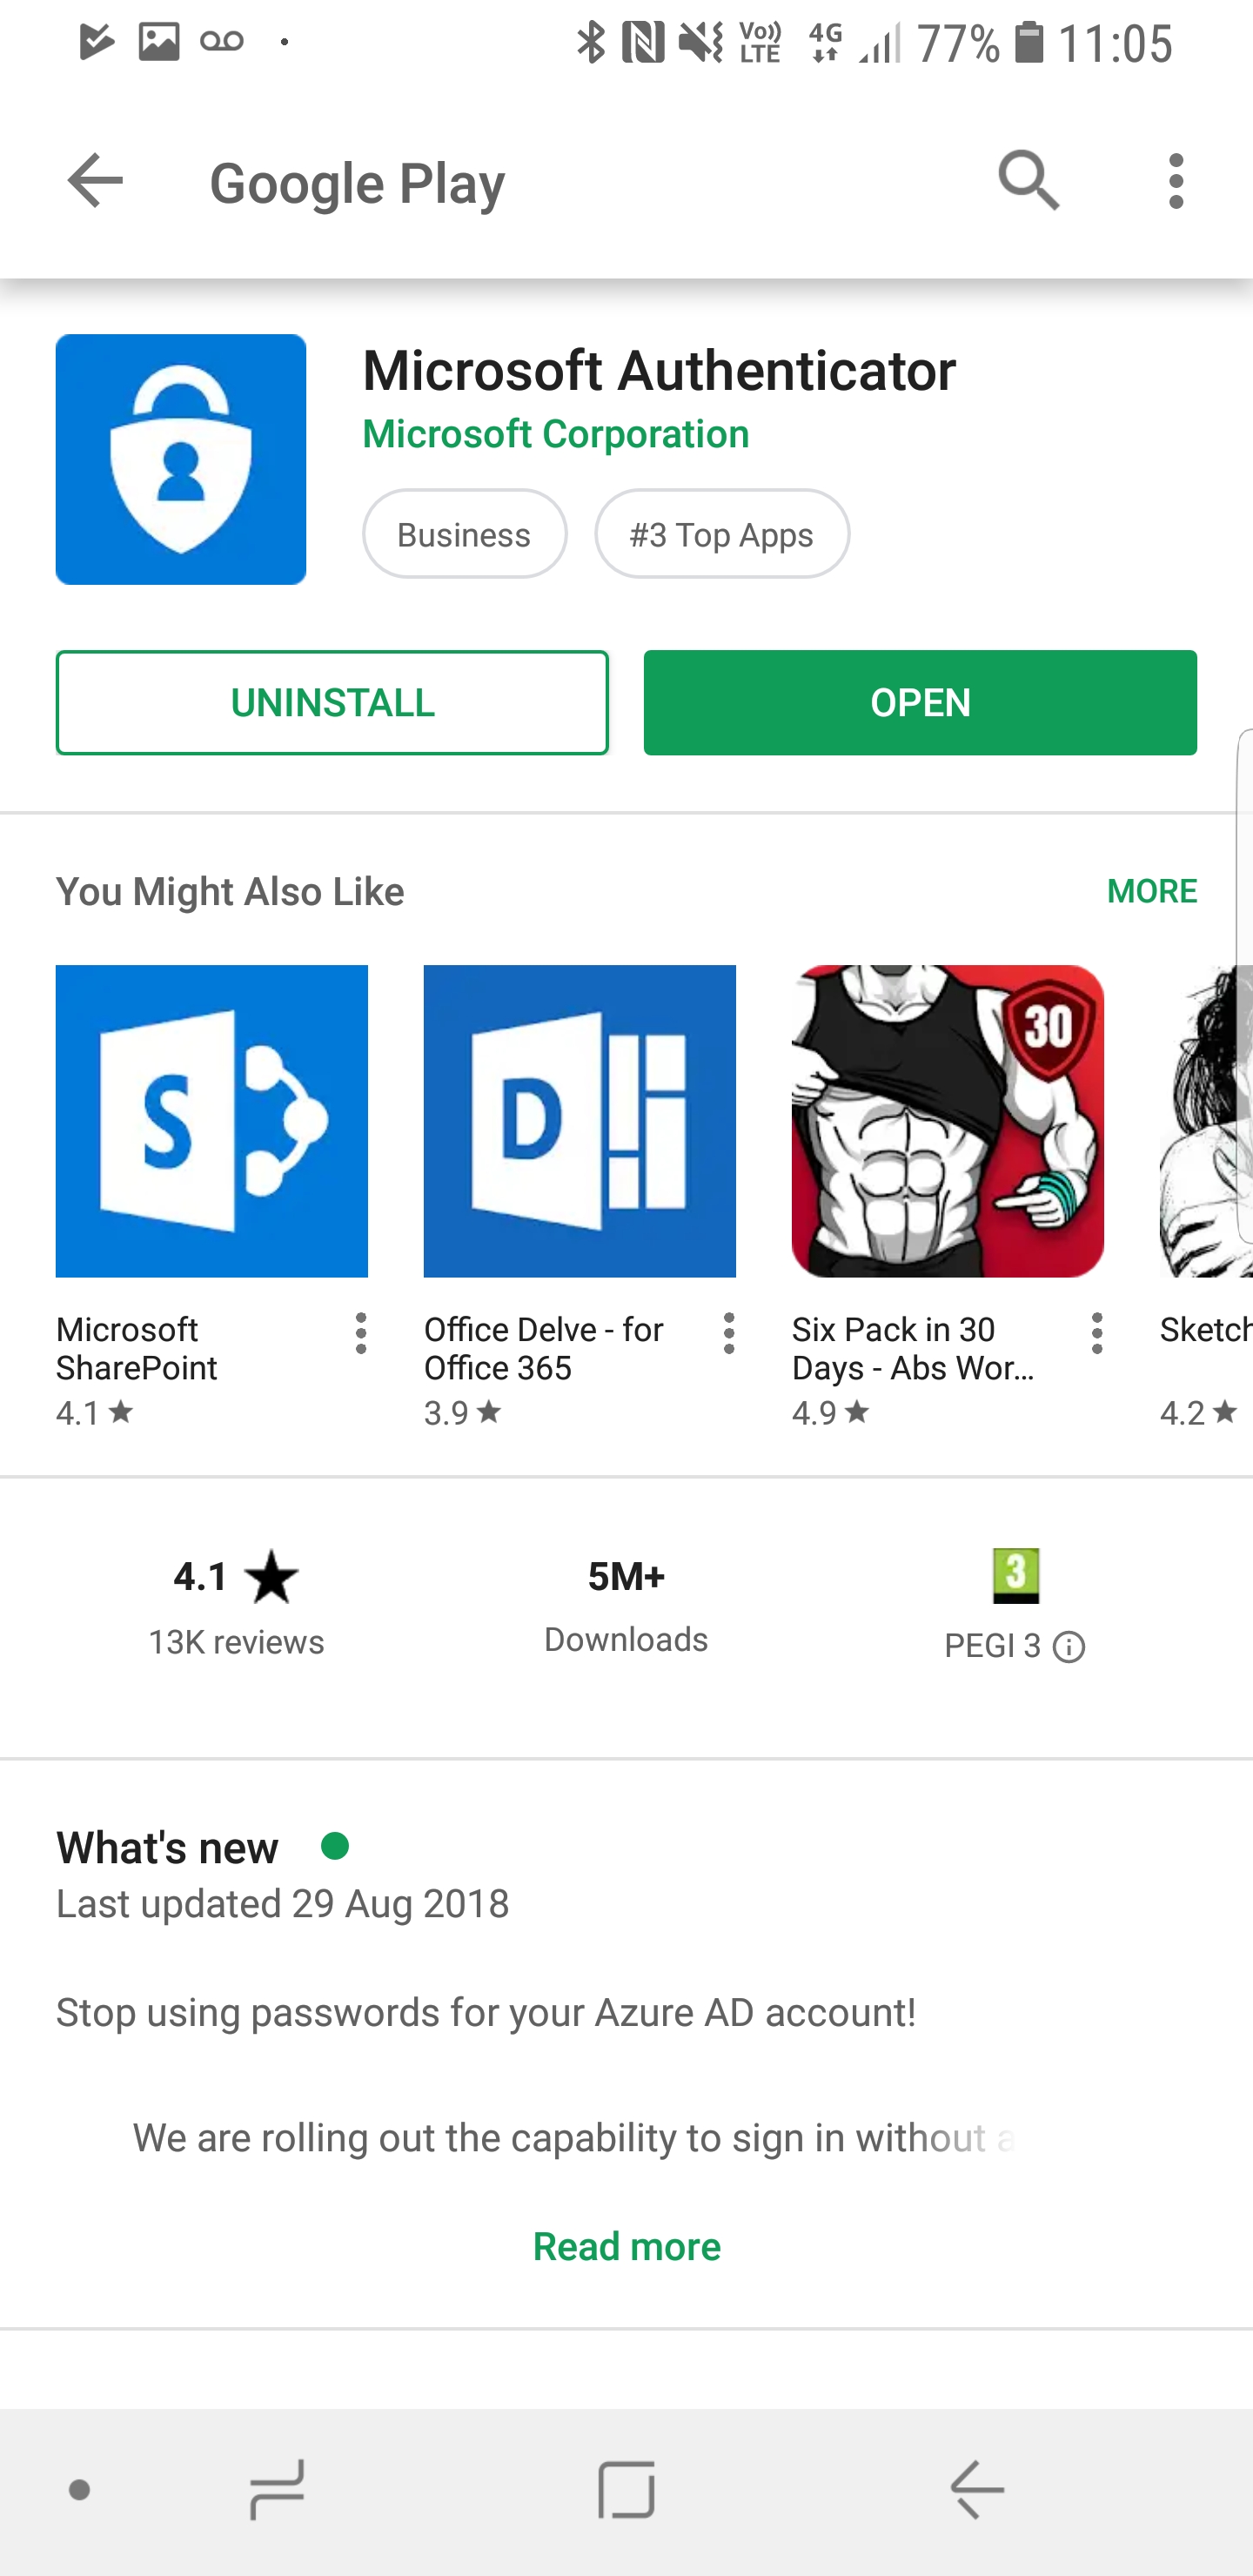
11. Now we have a user with MFA enabled. Next step is to setup authenticator app. To do that go to app store in your phone and search for it and then install it.
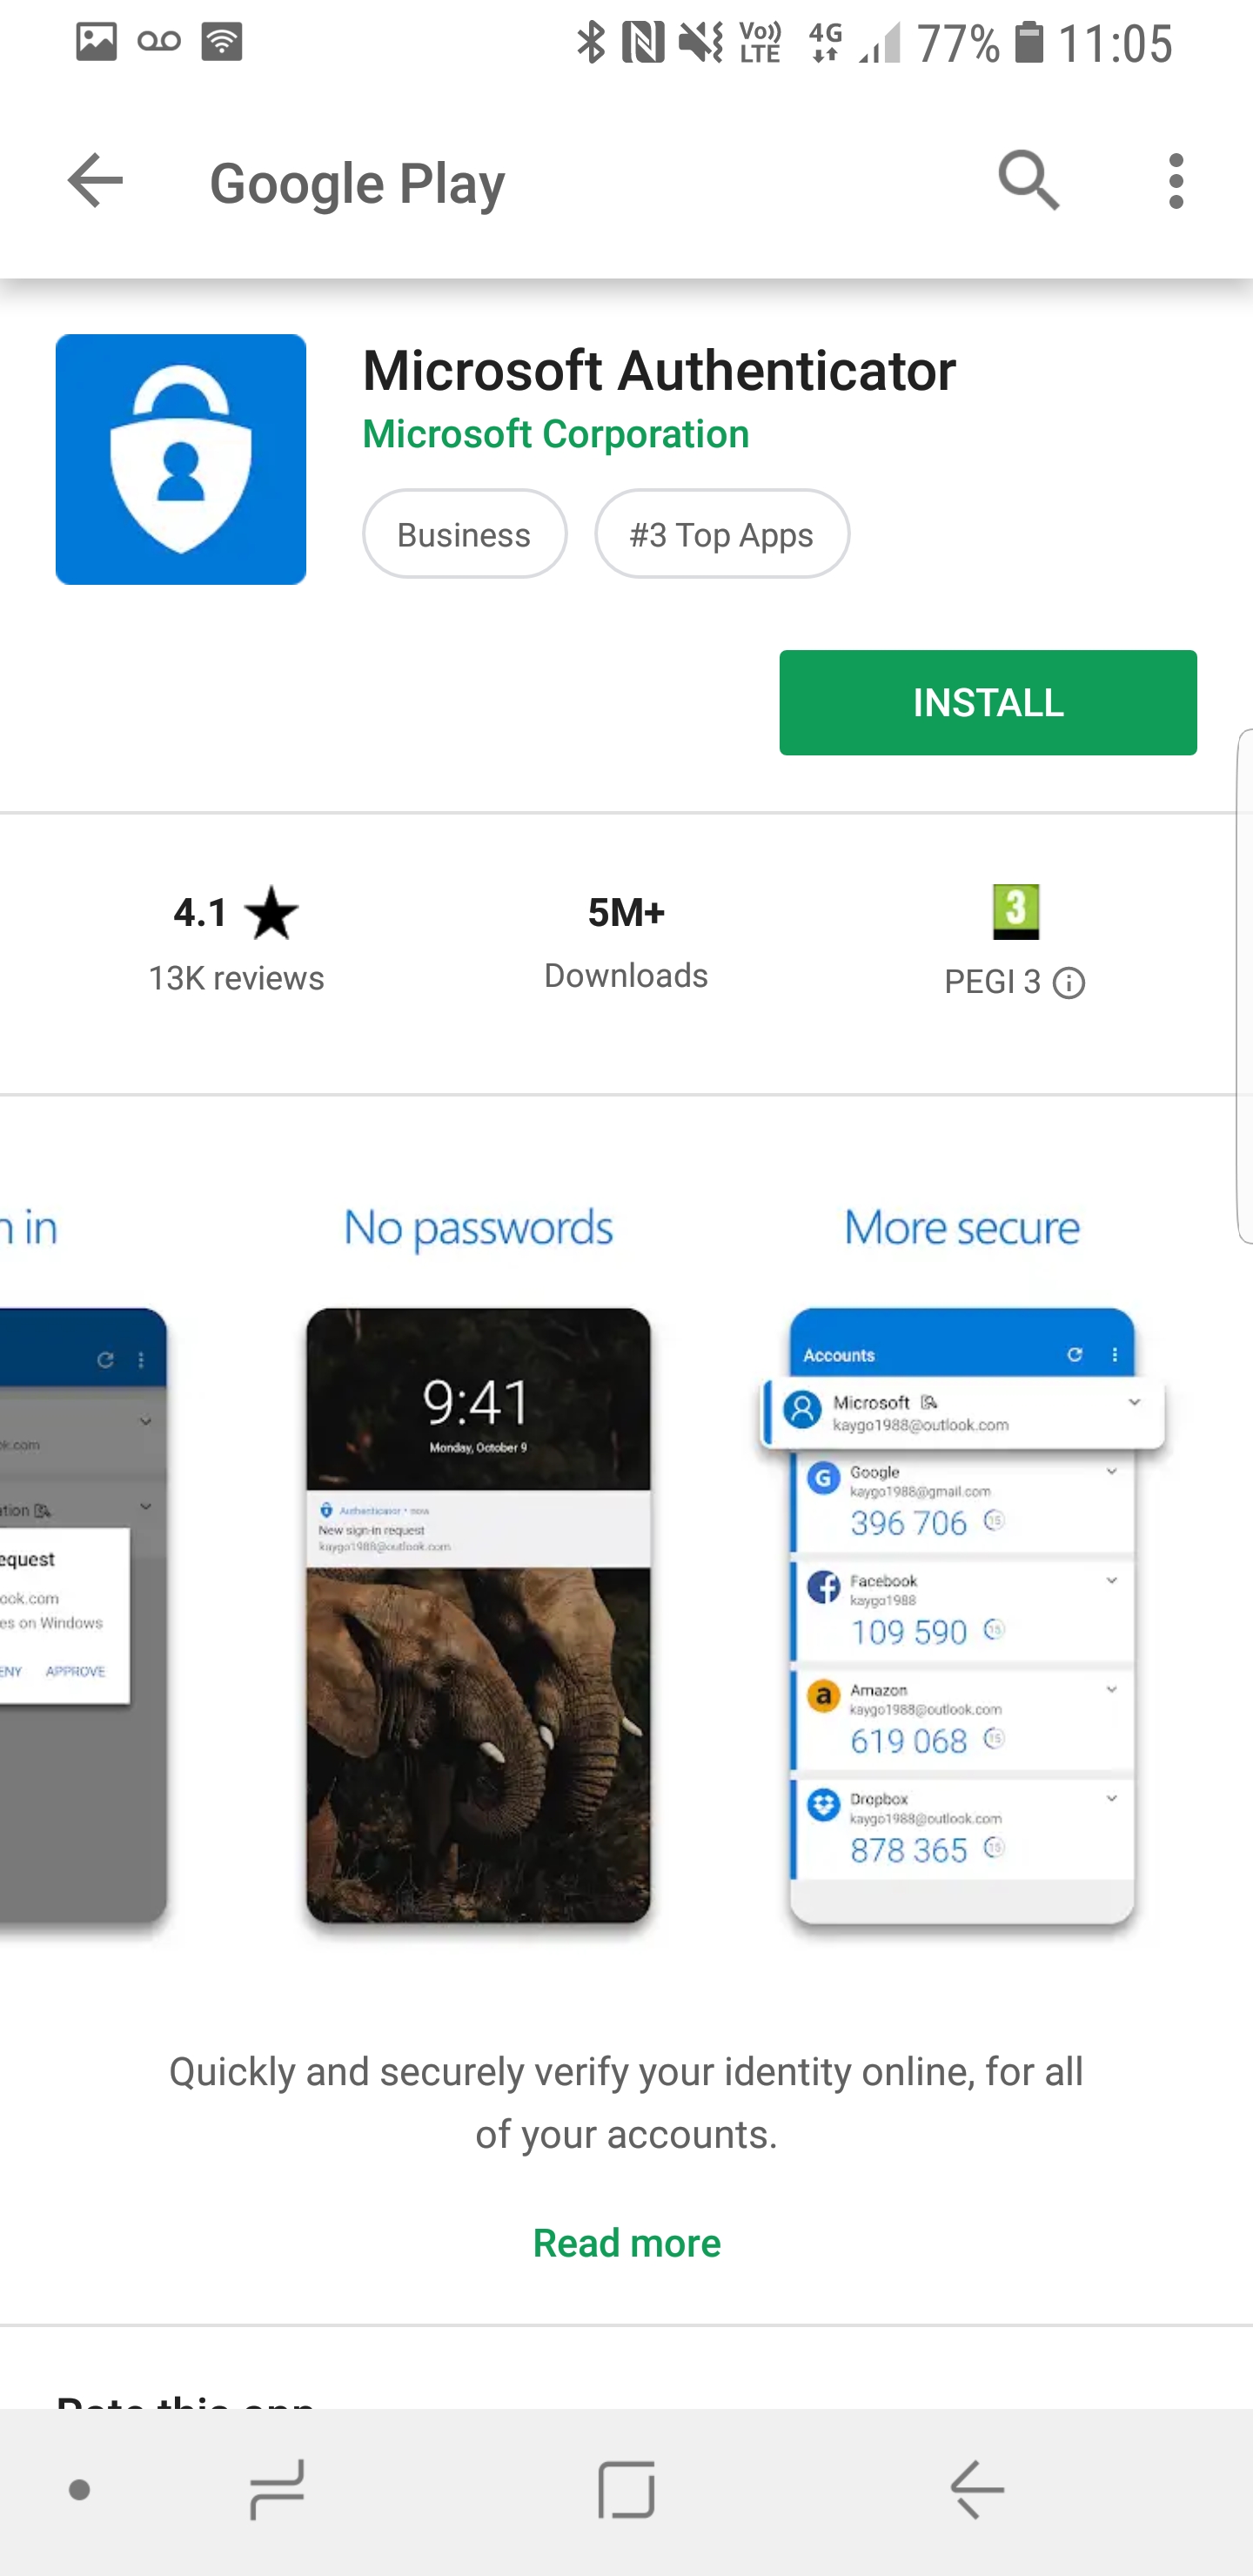
Note – In preview you can’t use an existing user with MFA setup. you need to disable, re-enable it and then reset up the app.
12. Once installation is completed, click on Open.
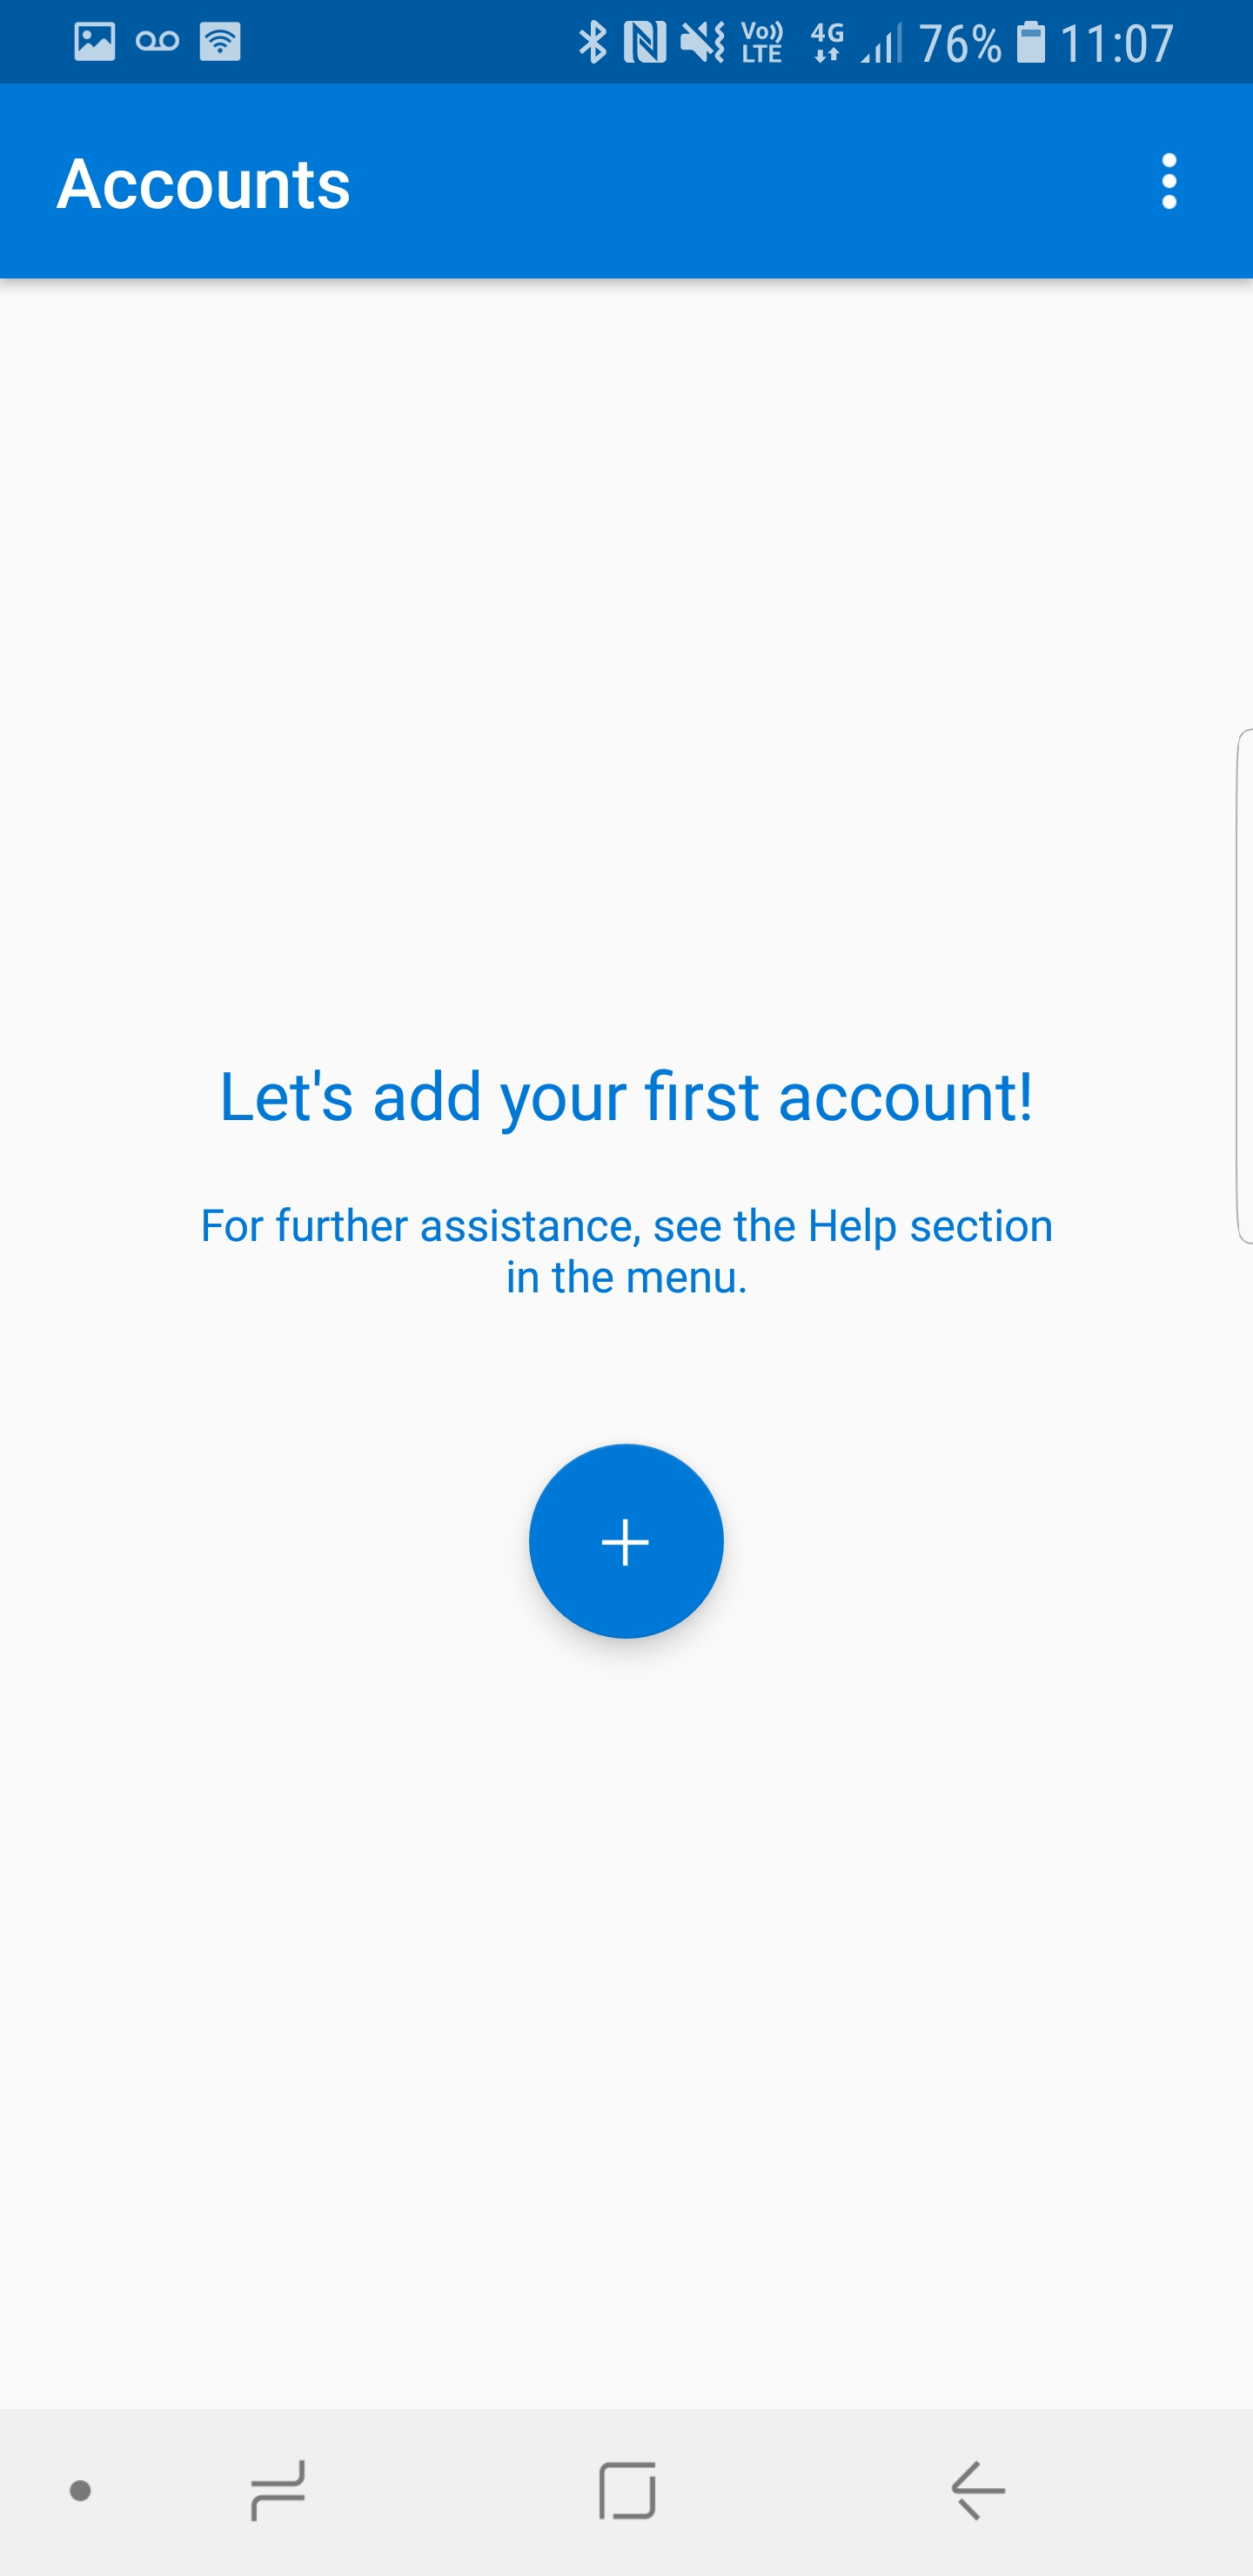
13. In app, click on Add first account option.
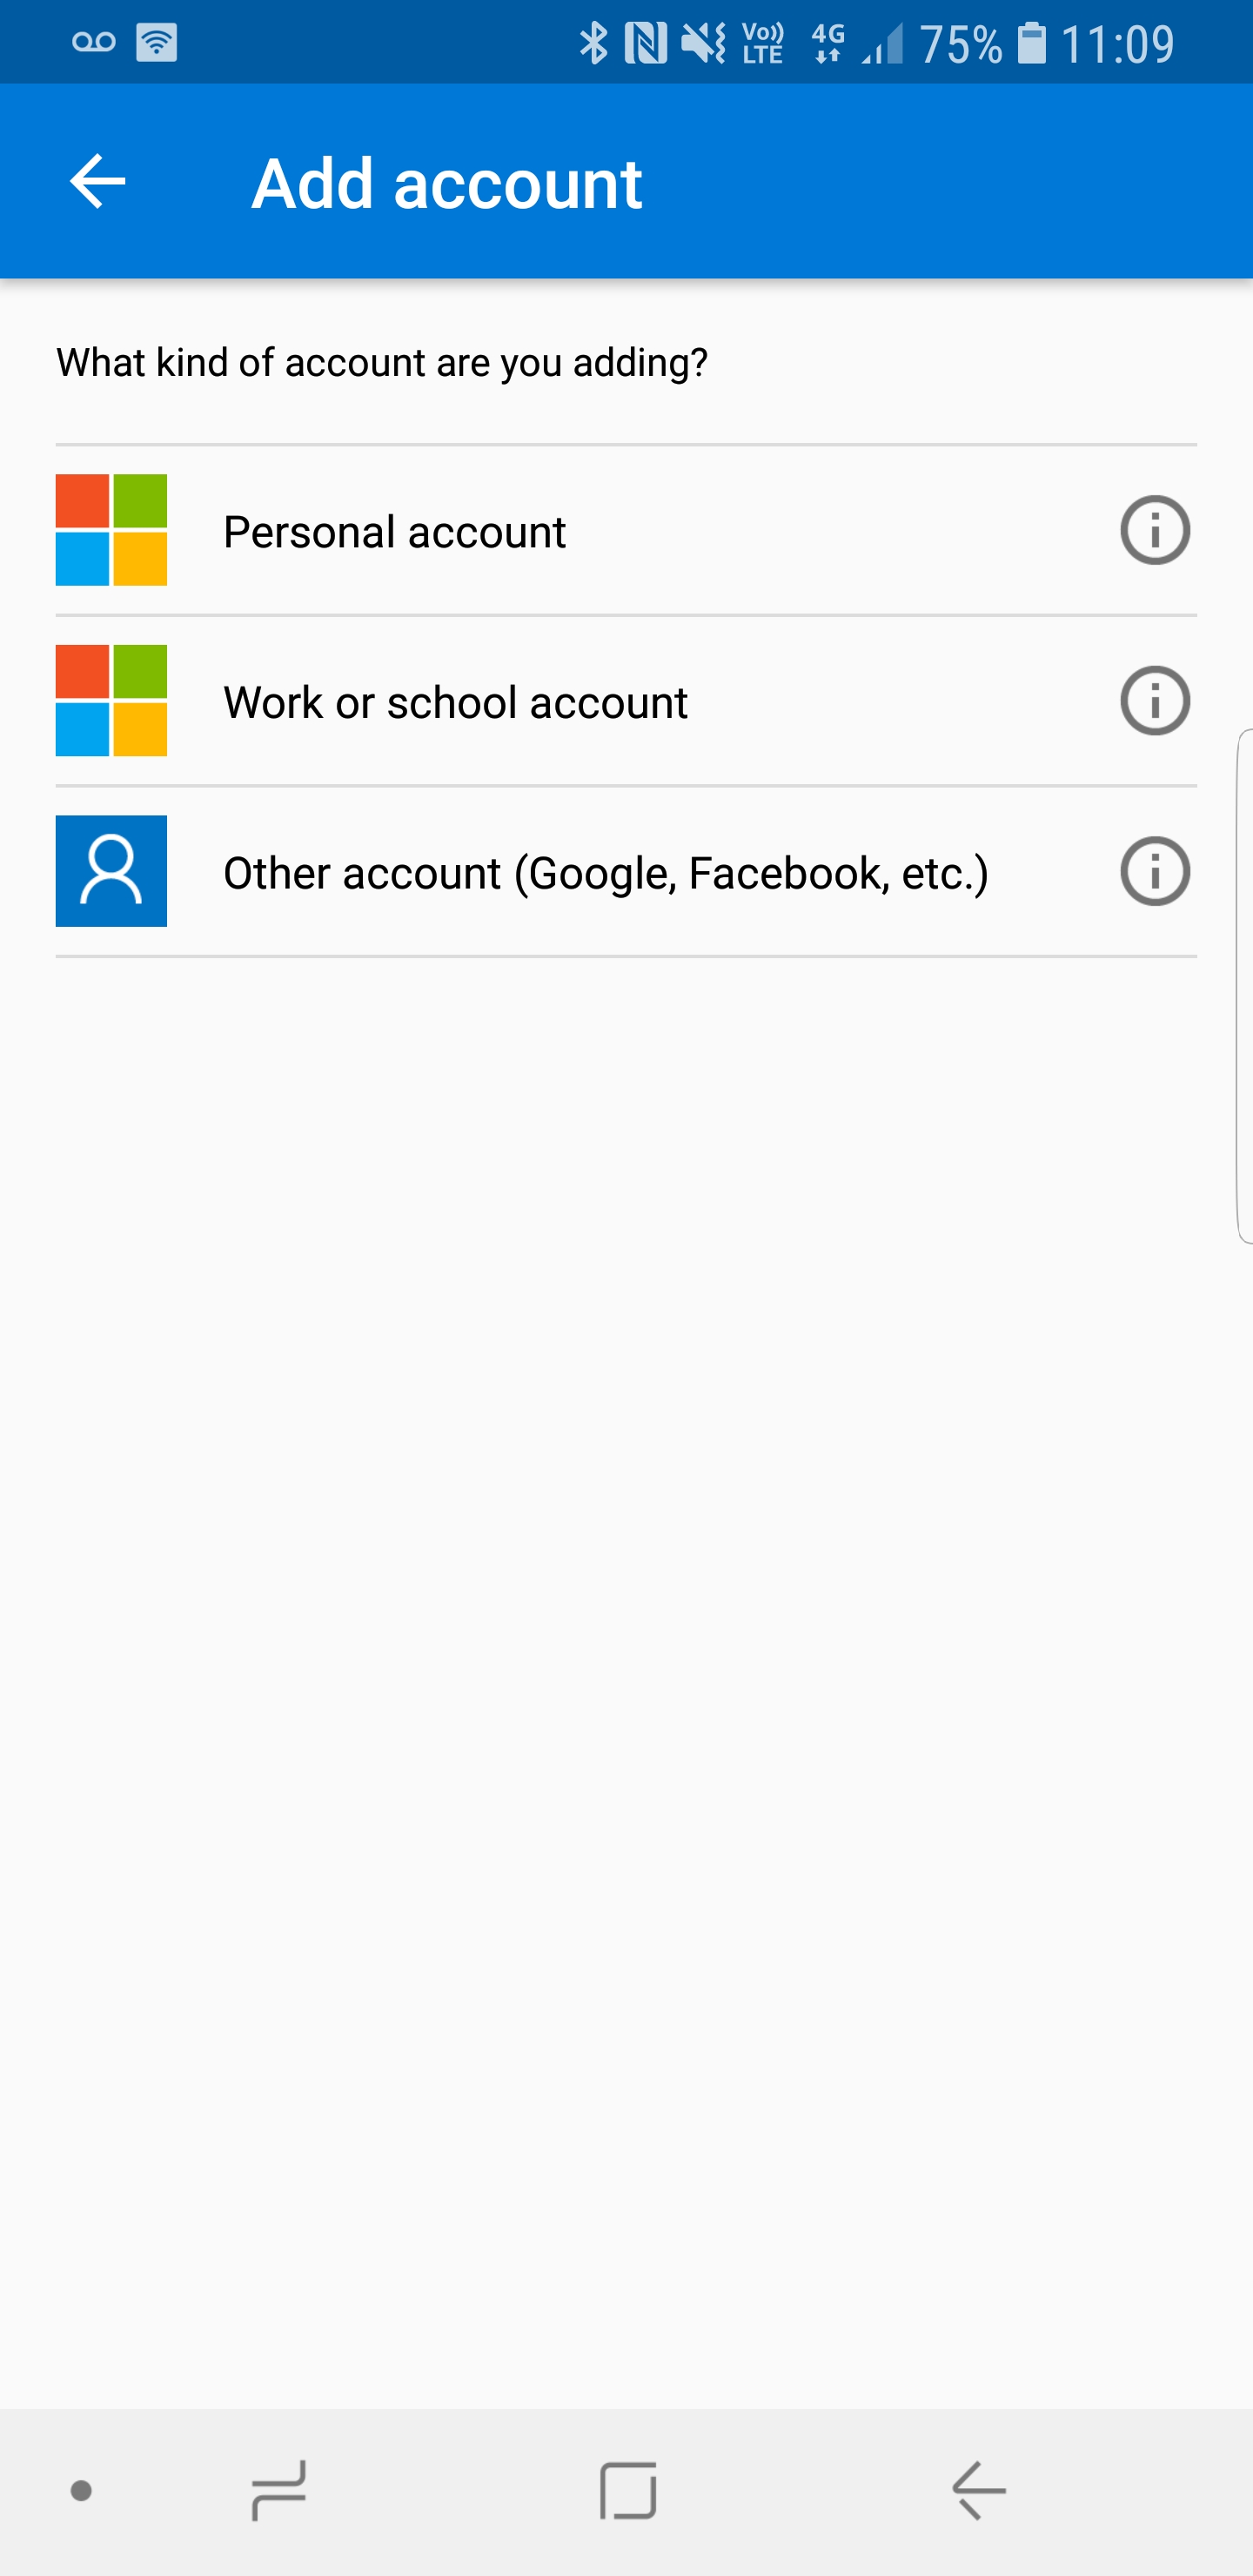
14. In next window, click on Work or school account
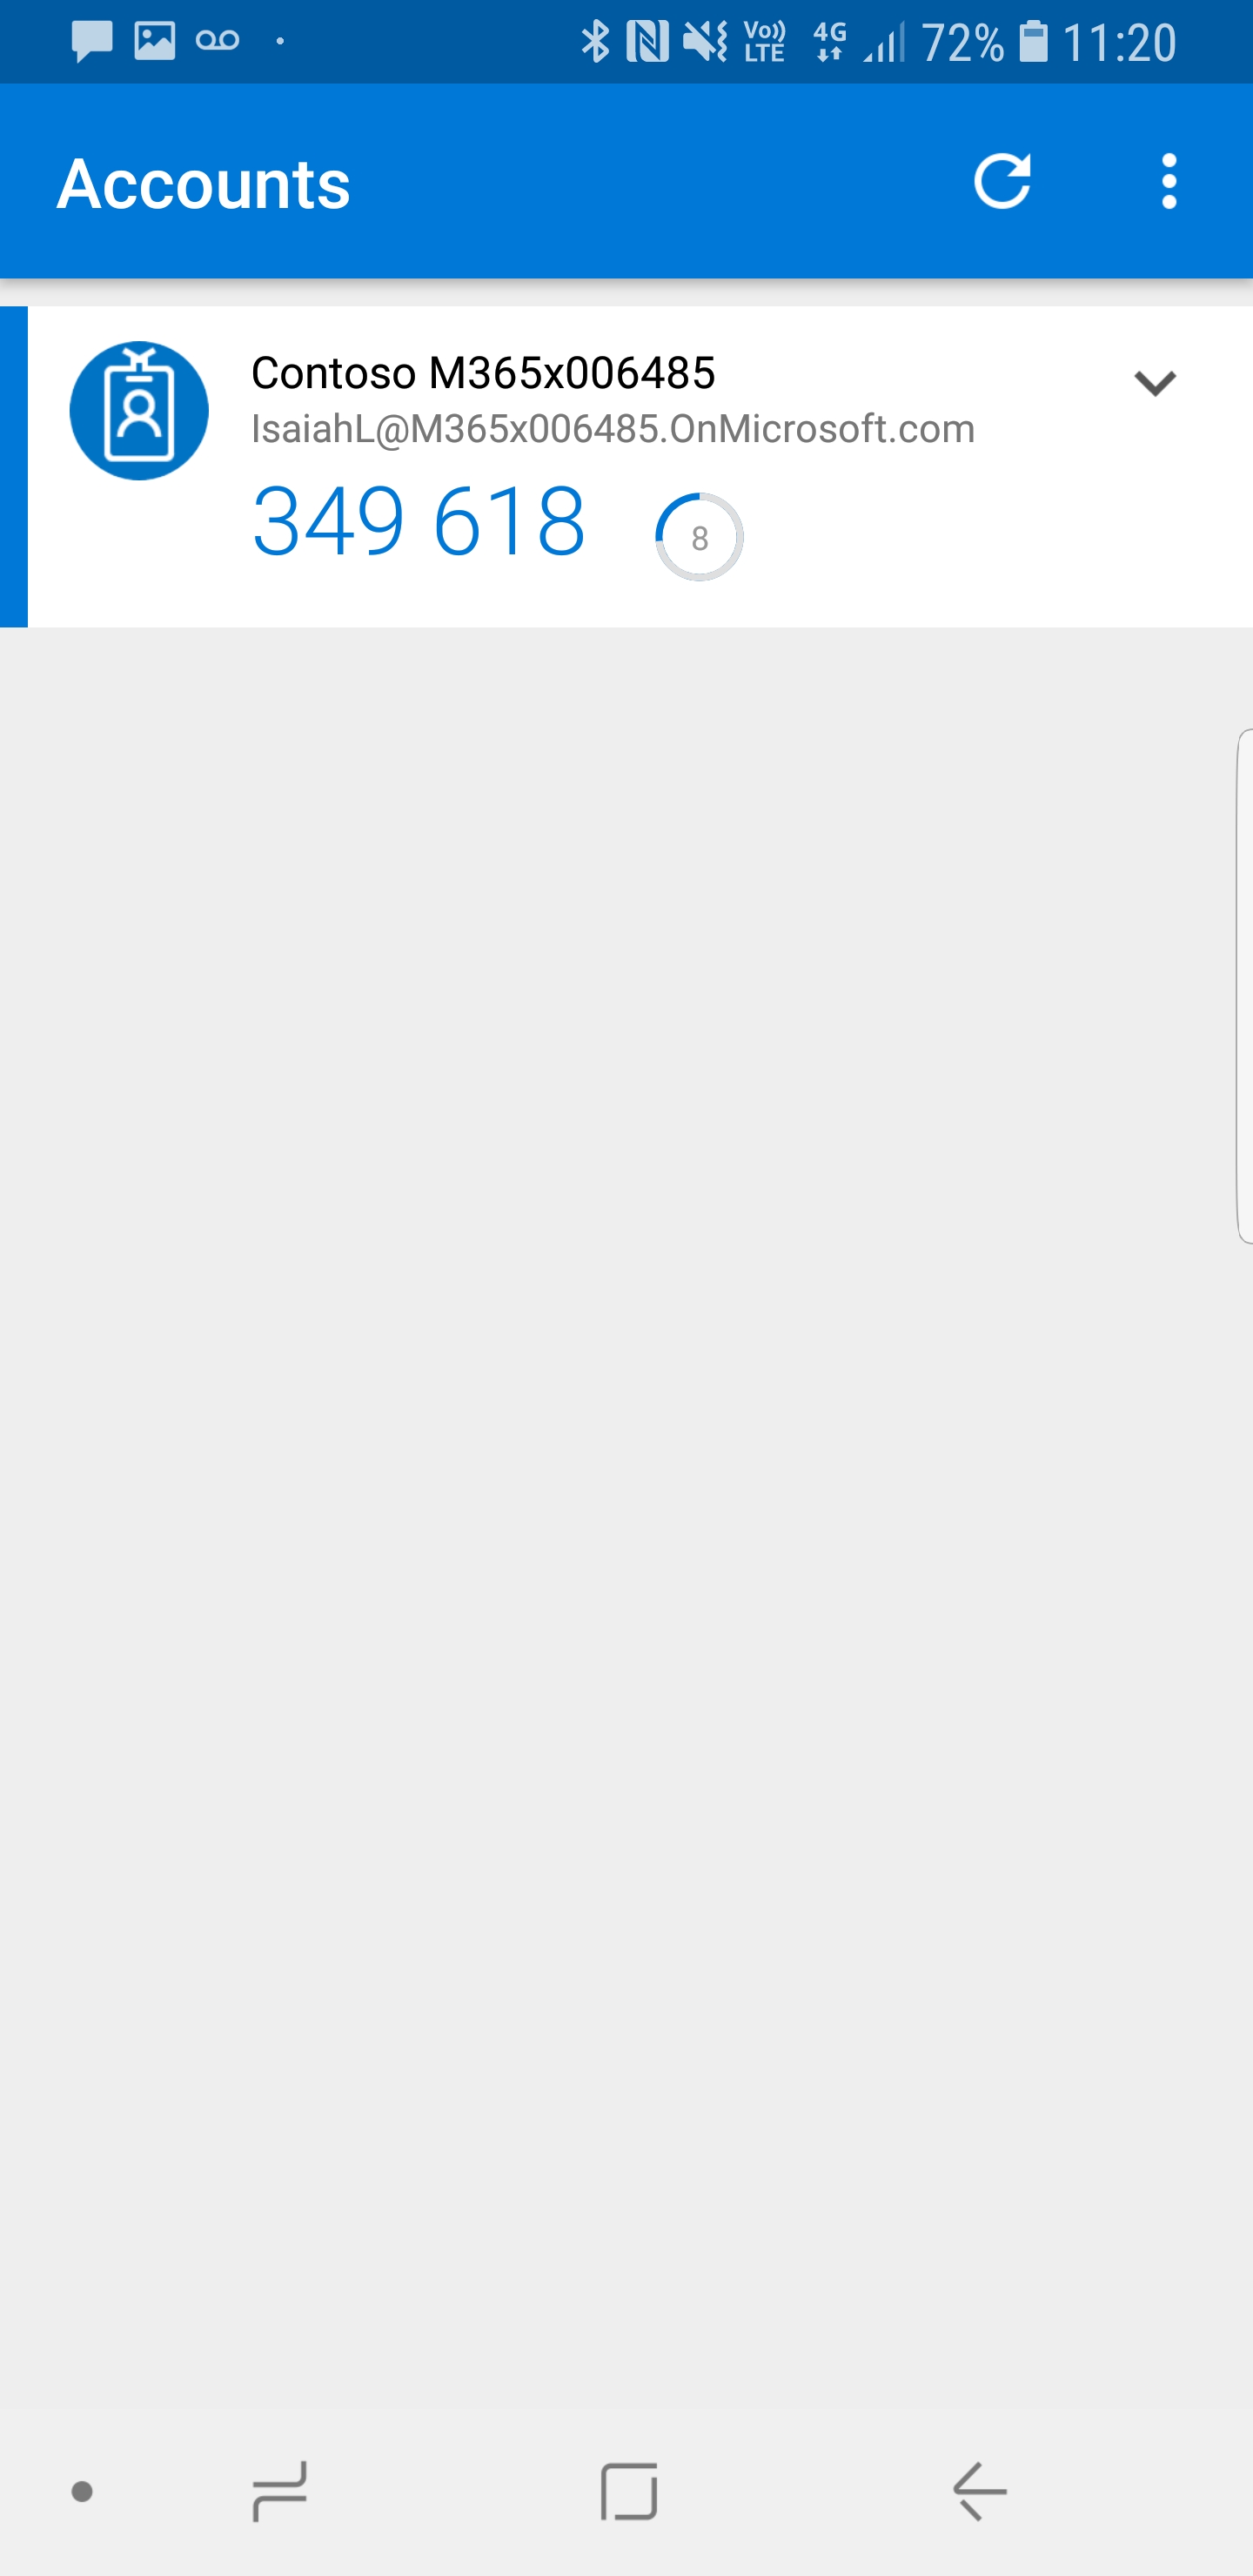
15. Then go back to your PC and log in https://myapps.microsoft.com as the user we selected. In first login it will sign you up for MFA, you can use the text method to sign in. once sign in completed go to profile.
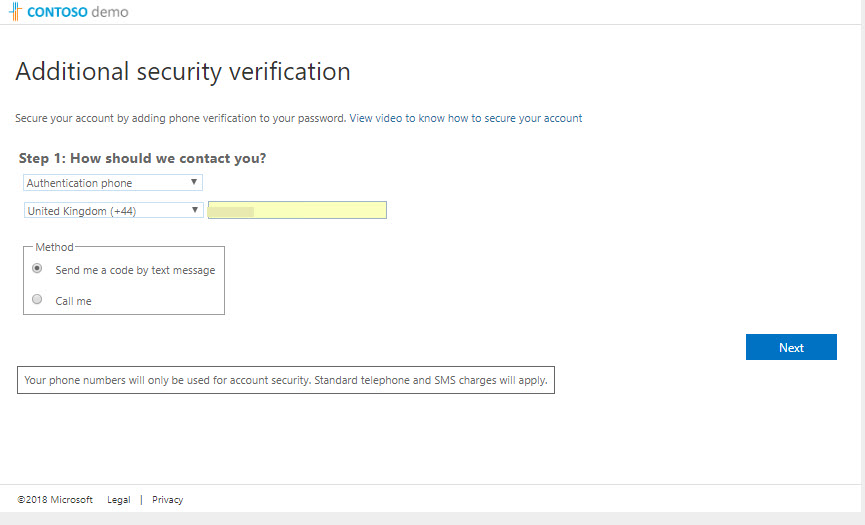
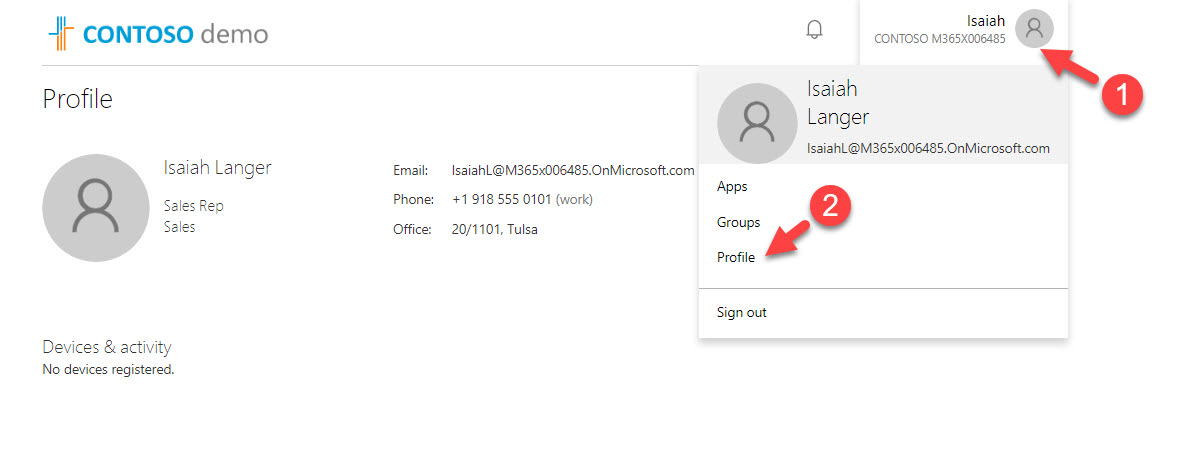
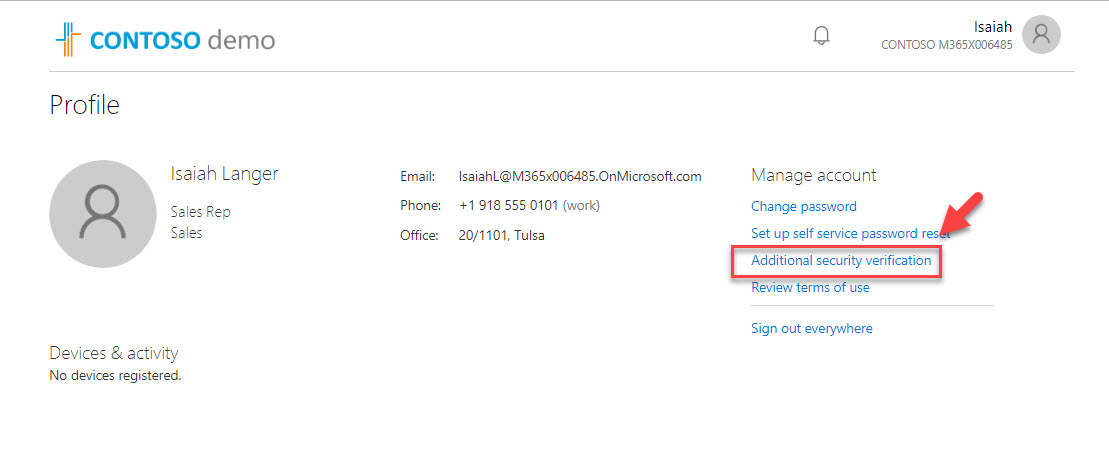
16. Then click on additional security verification
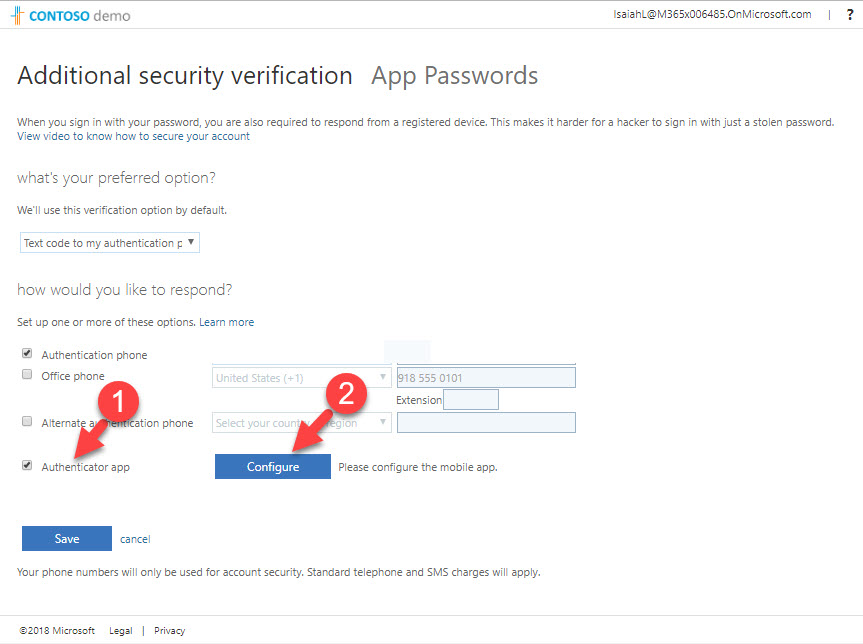
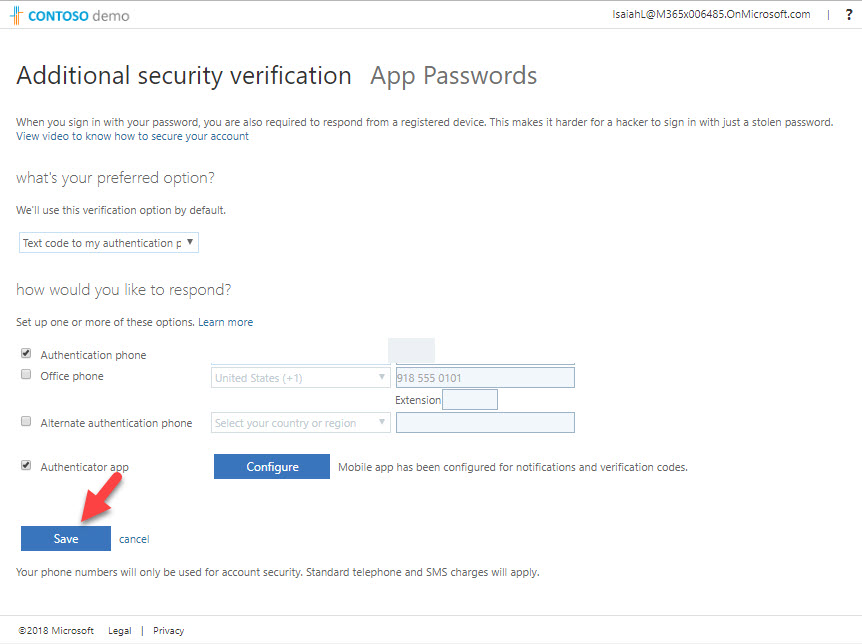
17. In next page, put a tick to select authenticator app and then click on configure.
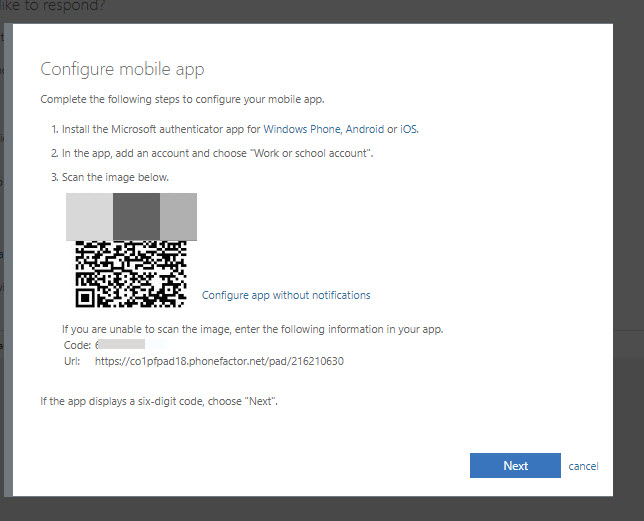
18. Then it shows up the QR code and scan it using your phone app.
19. Now I have it added to my app.
20. Go back to browser and complete the process by clicking on save.
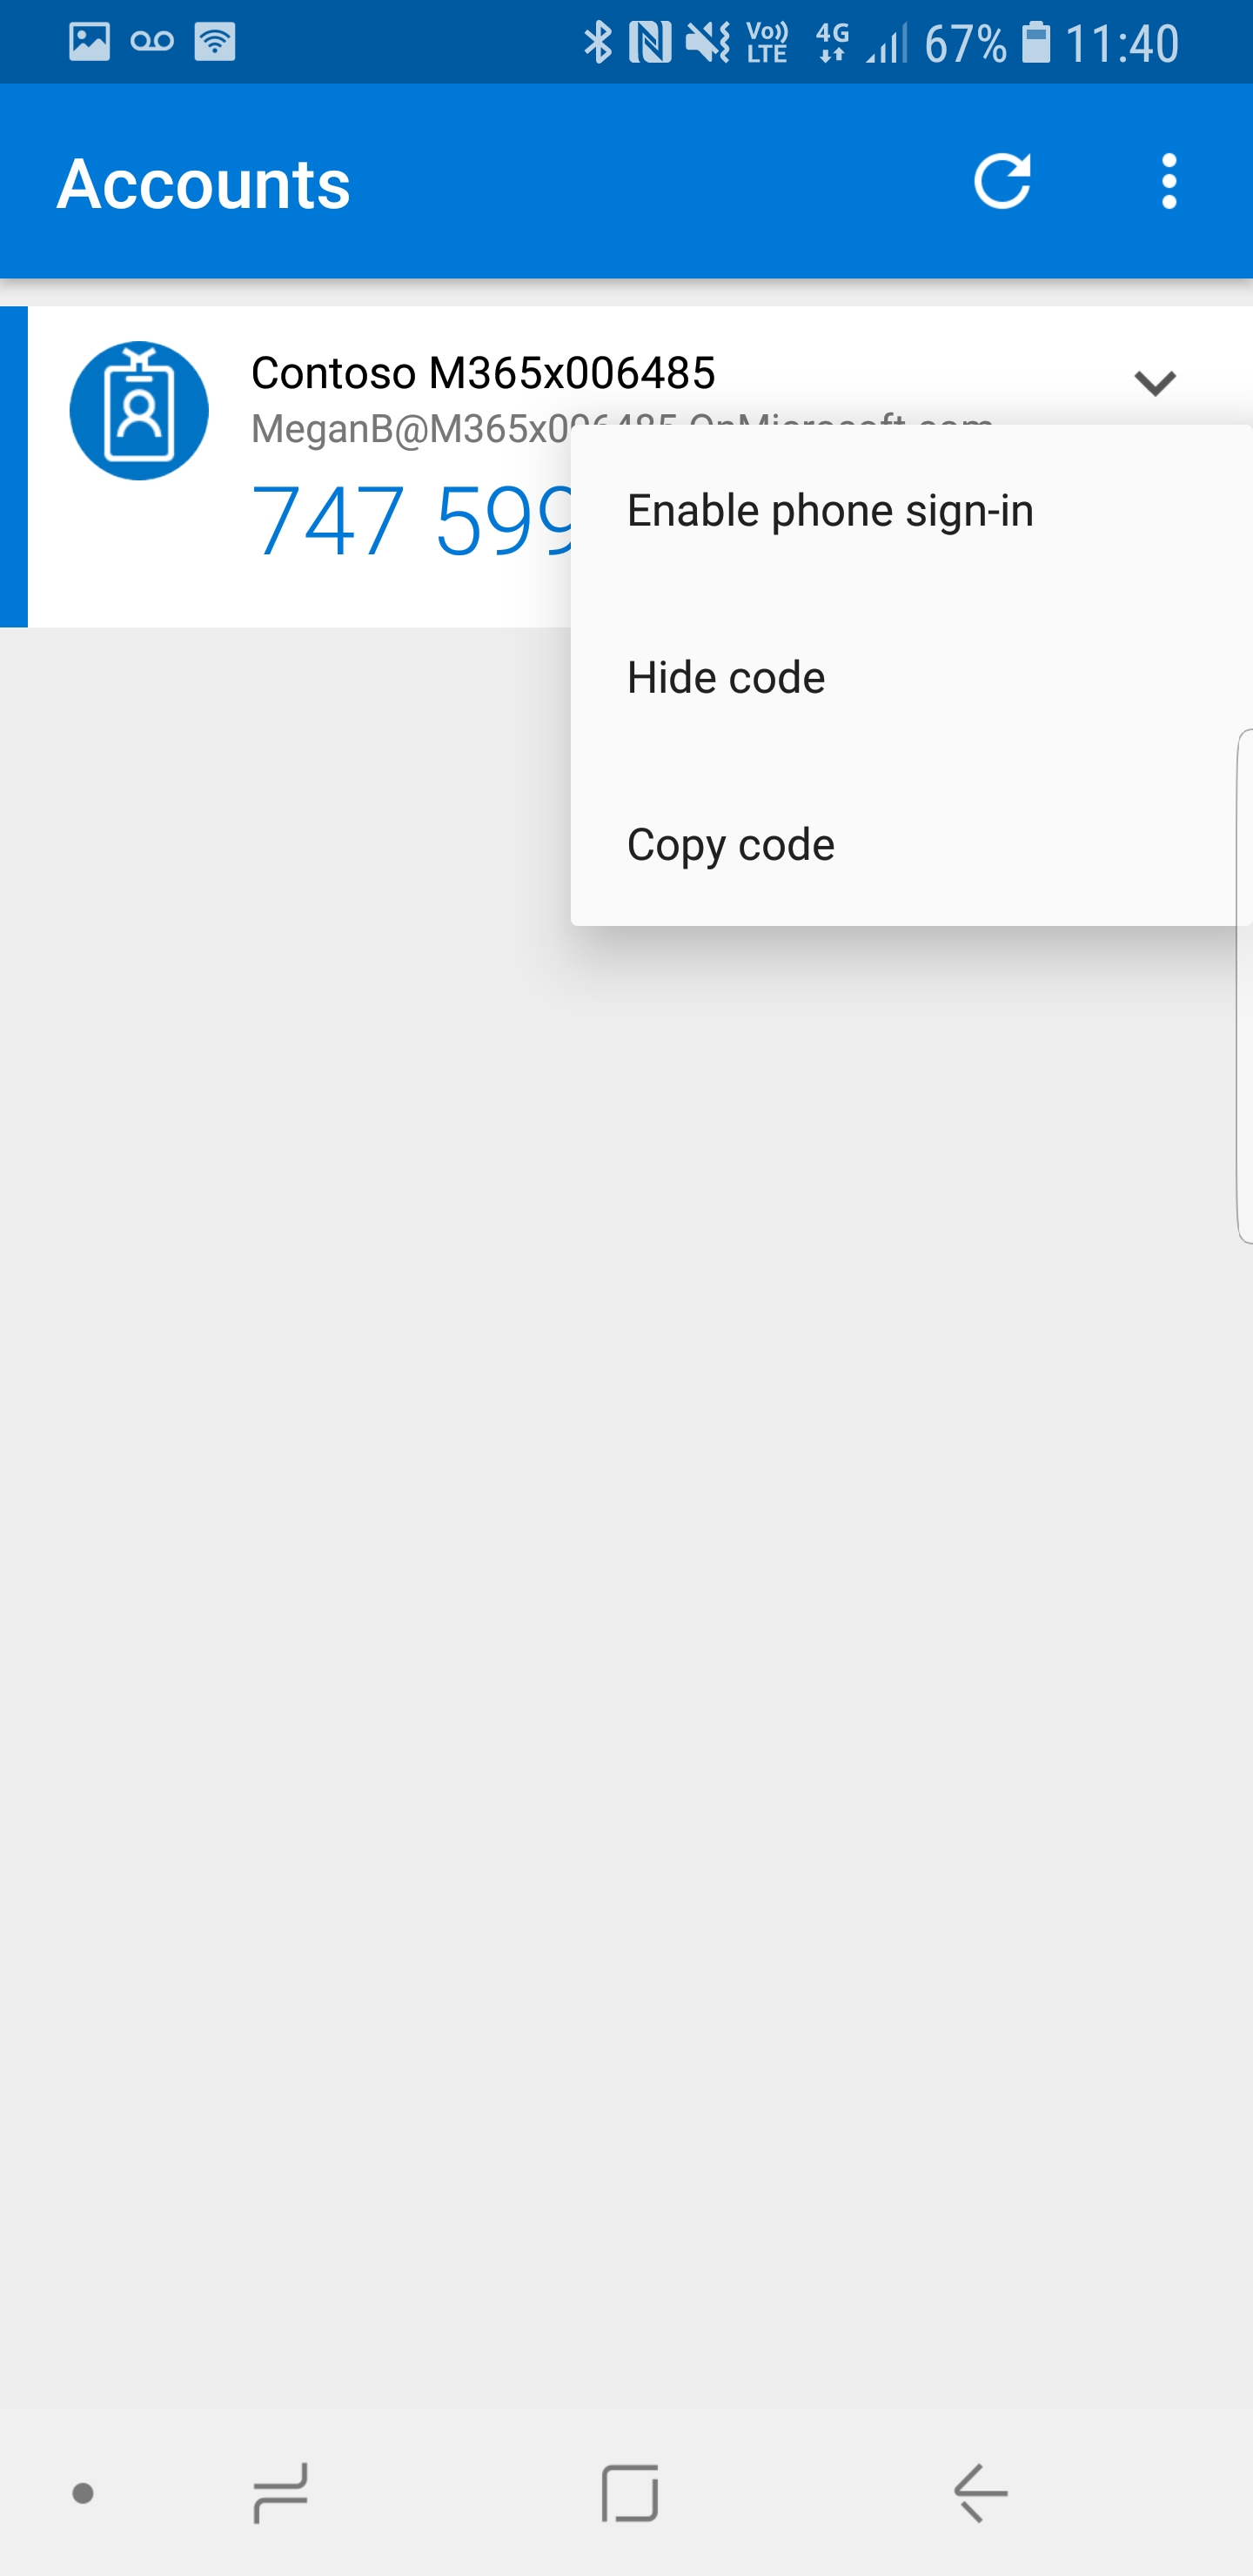
21. Go back to phone app, then click drop down next to user and click on enable phone sign-in
22. Then in new window click on continue
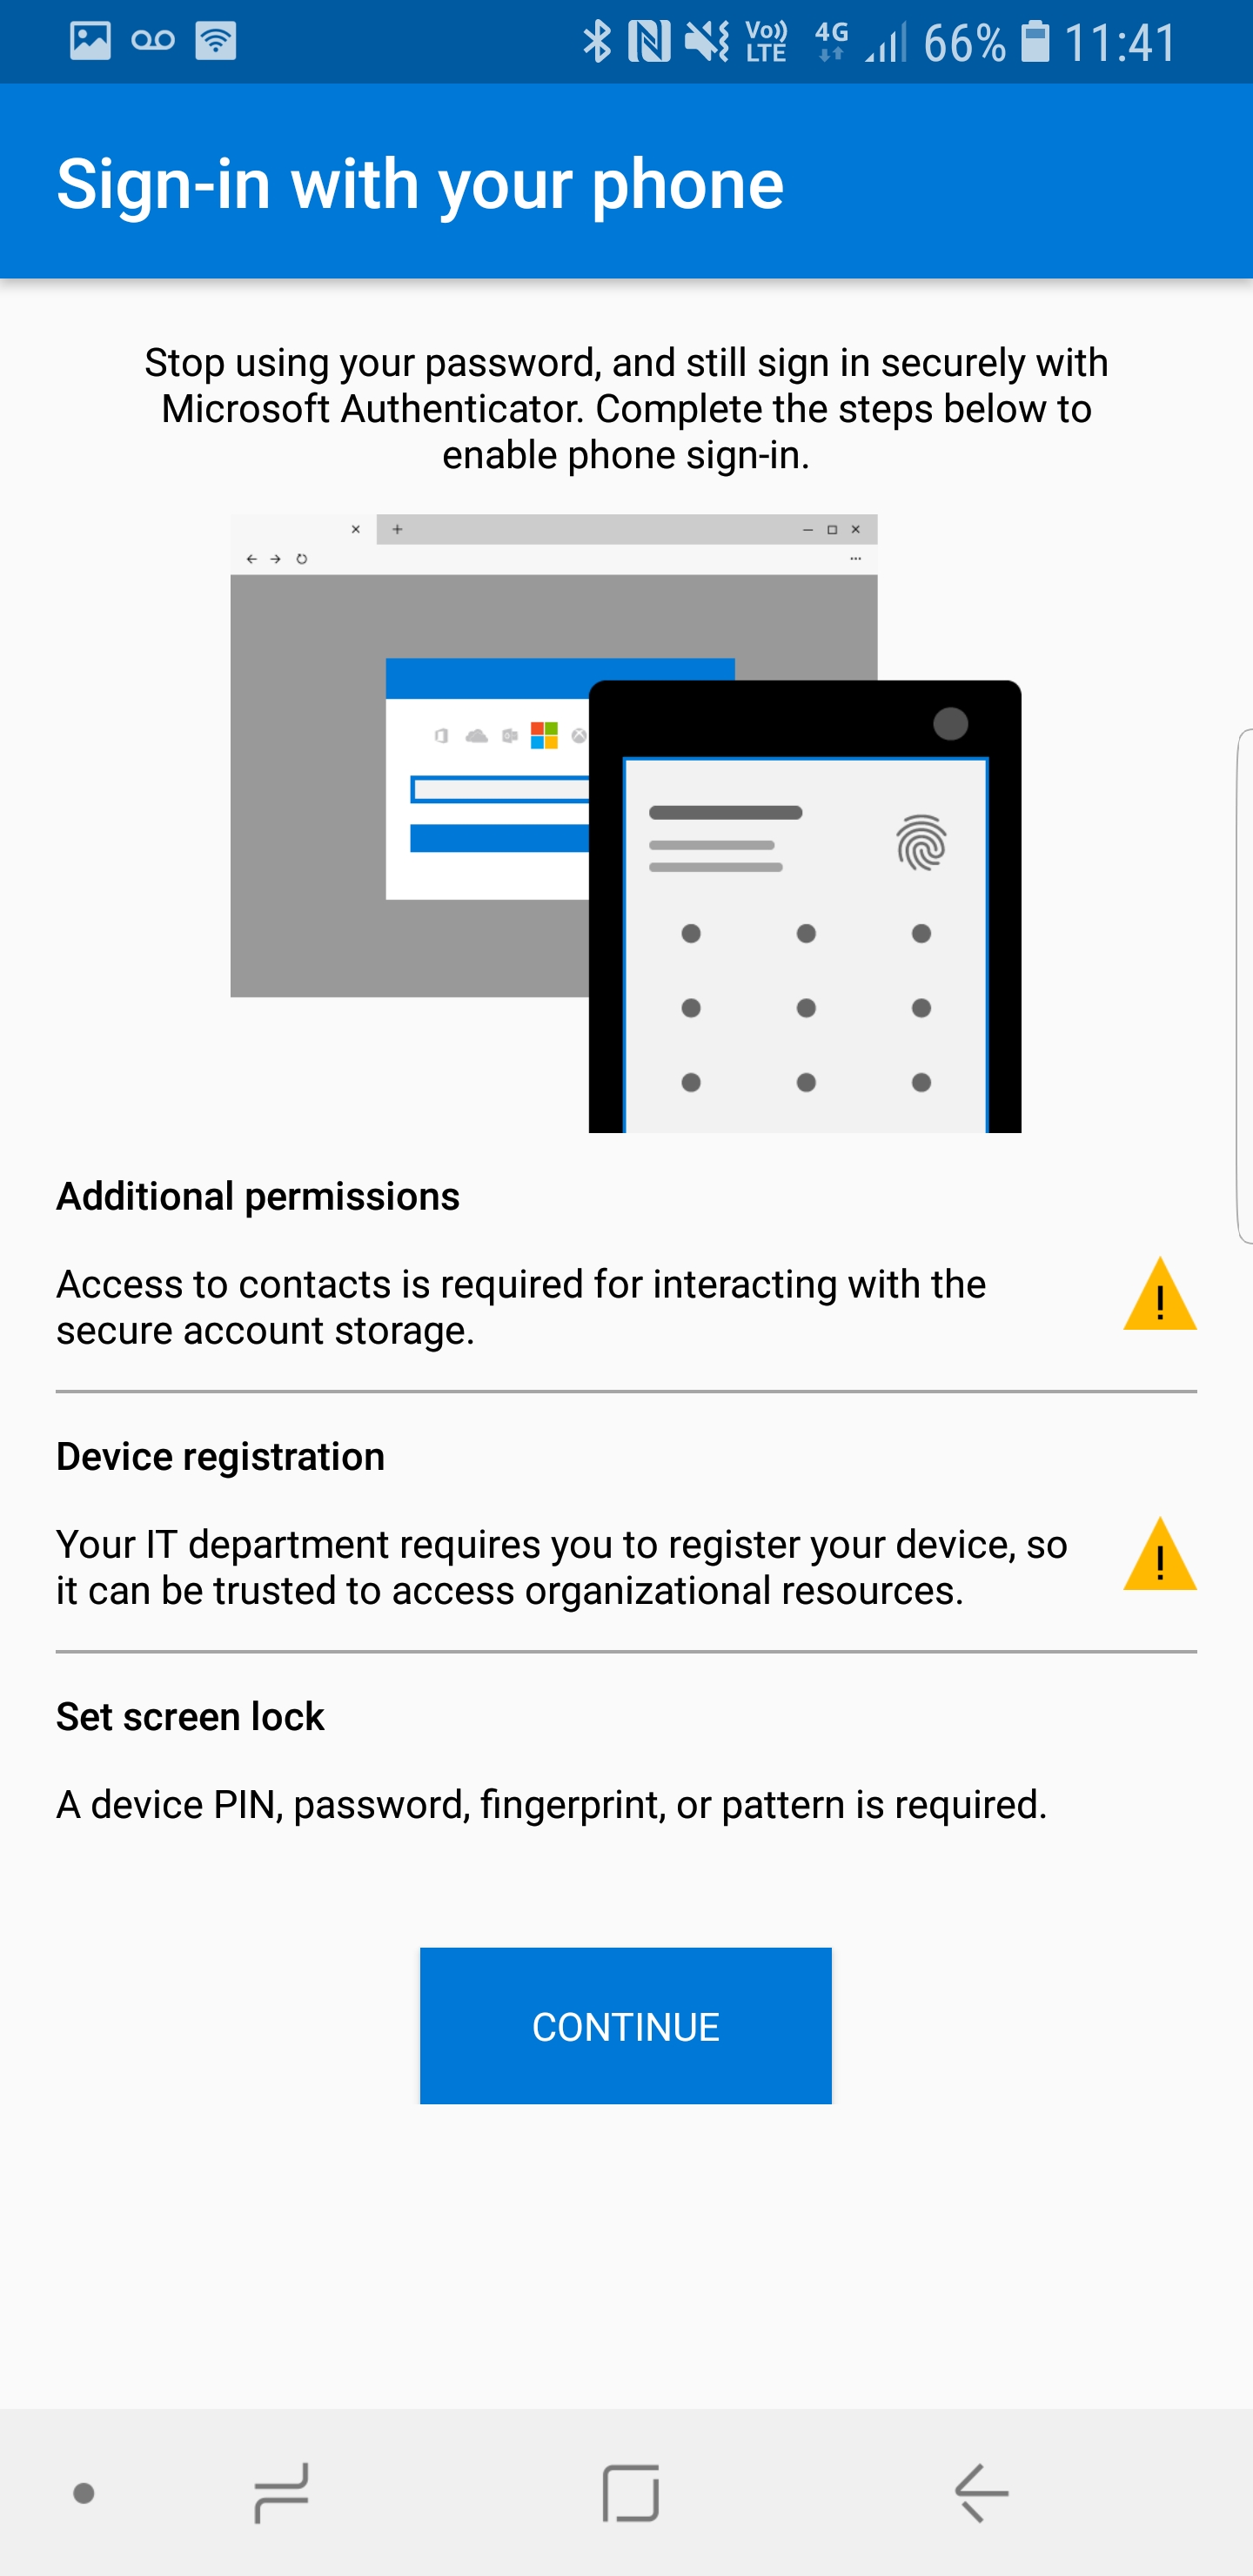
23. It will take few extra steps to complete the process such as account login, accepting app permissions etc. follow the steps and complete the process. believe me it is not that complicated.
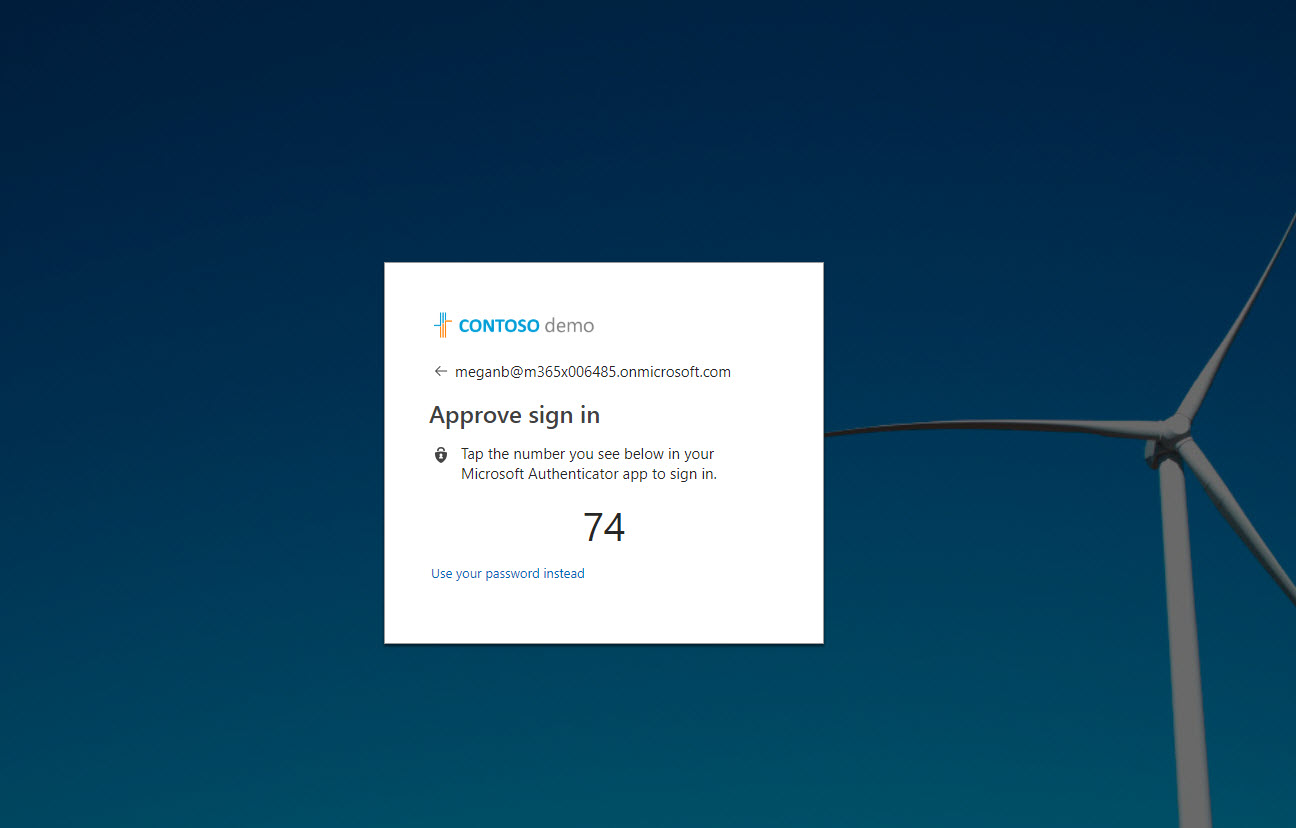
24. After process complete, load up a browser and try to log in to https://myapps.microsoft.com with relevant user. Now instead of password it shows a pin, same time it is appear in your phone app. you can just select the relevant PIN and press approve.
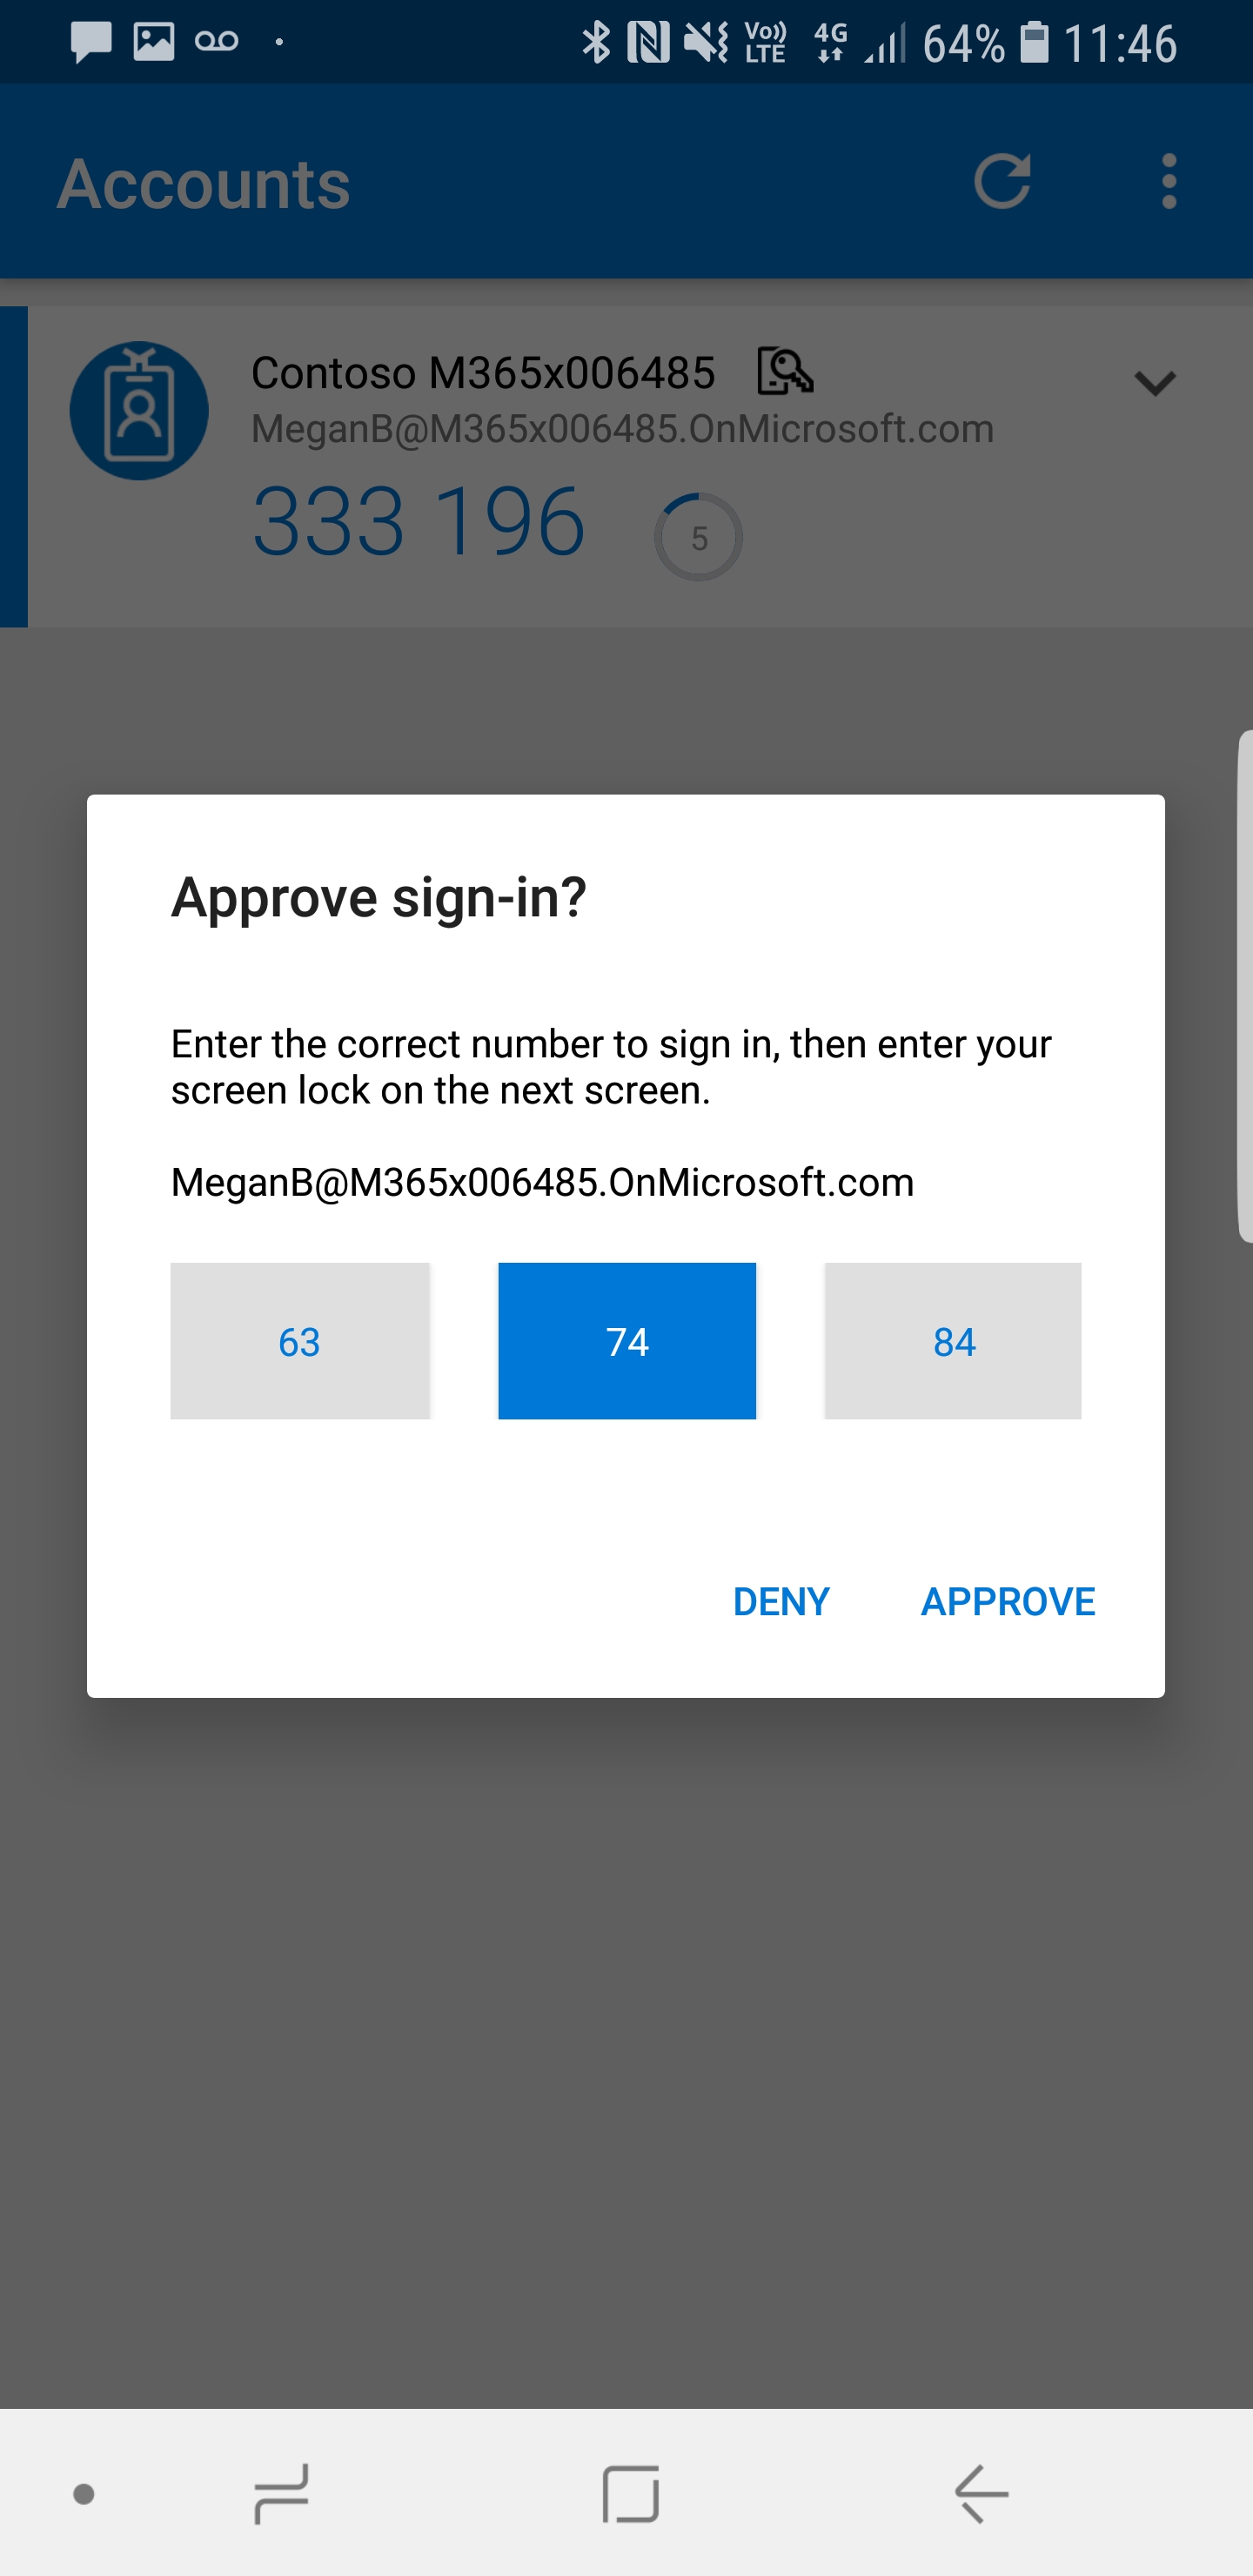
25. Then it asks for fingerprint, PIN or Eye scanner setup with your phone. In my demo I have Samsung s8 with eye scanning. It prompts to use it and once I complete it, it just logs me in to the account.
Cool ha? No more troubles with passwords ?
This marks the end of this blog post. If you have any further questions feel free to contact me on rebeladm@live.com also follow me on twitter @rebeladm to get updates about new blog posts.

