Last Updated on April 15, 2018 by Dishan M. Francis

In last ignite (2017) Microsoft Released technical preview of “Project Honolulu” which aimed to provide light weight but powerful server management experience for windows users. I already covered it with detail blog post https://www.rebeladmin.com/2017/10/project-honolulu-better-windows-server-management-experience/ . Now the waiting is over and it is generally available as Windows Admin Center

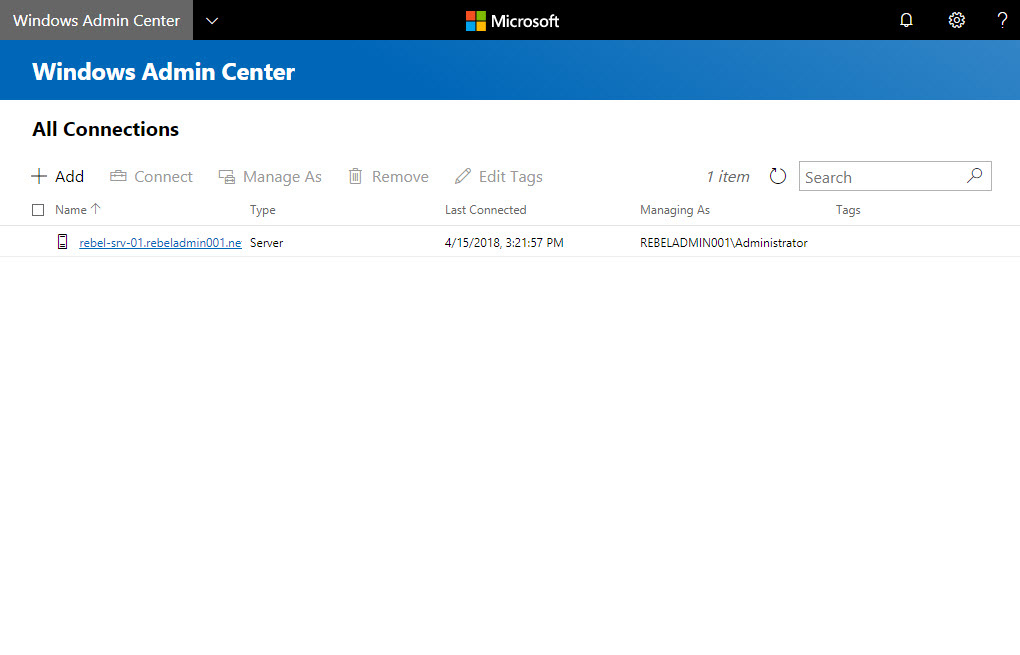
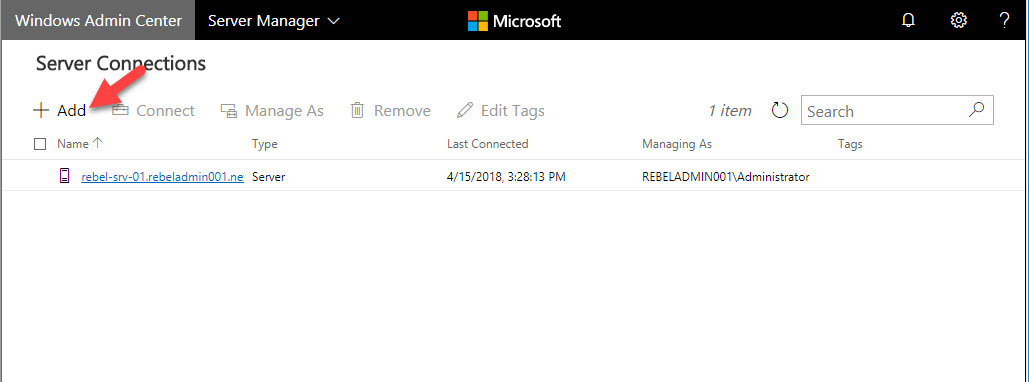
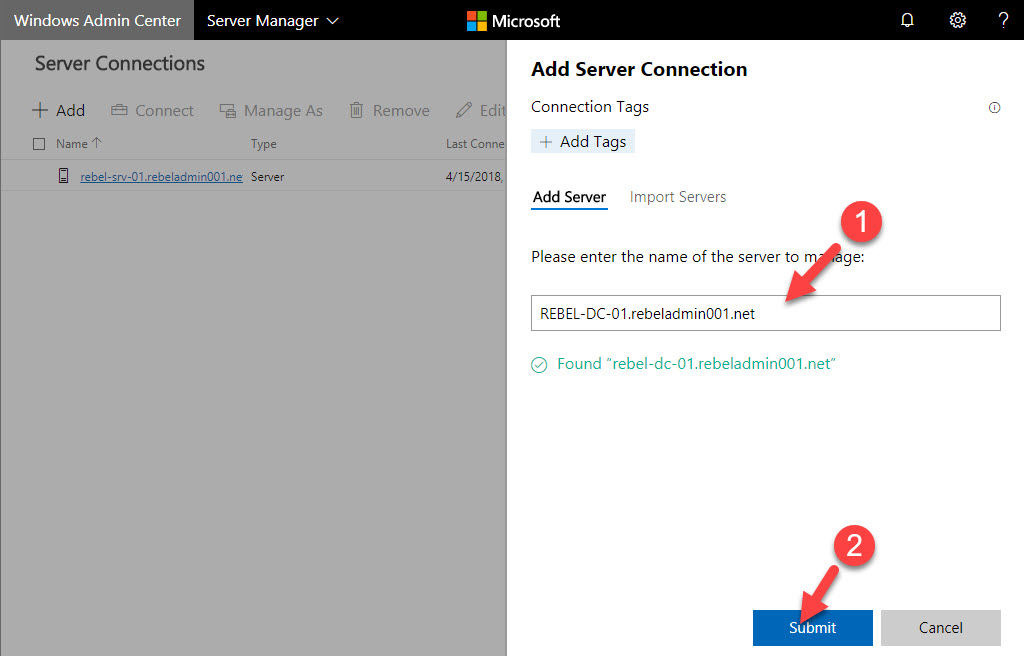
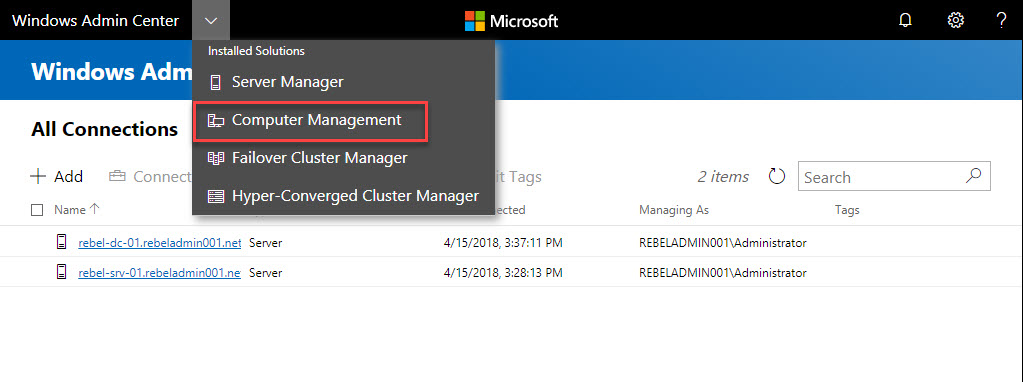
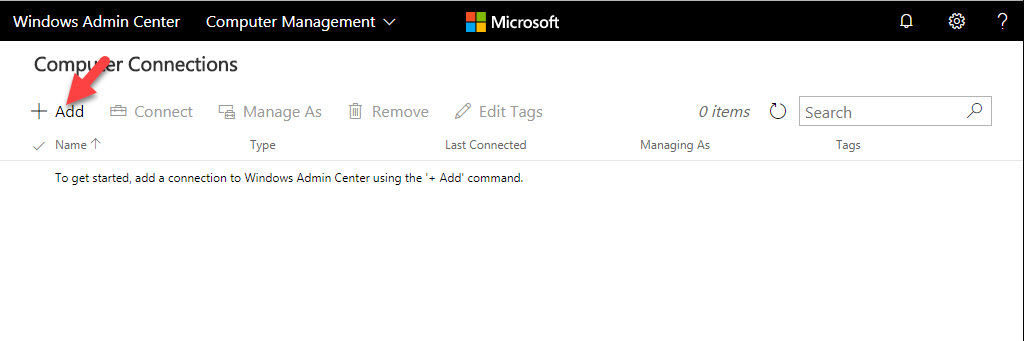
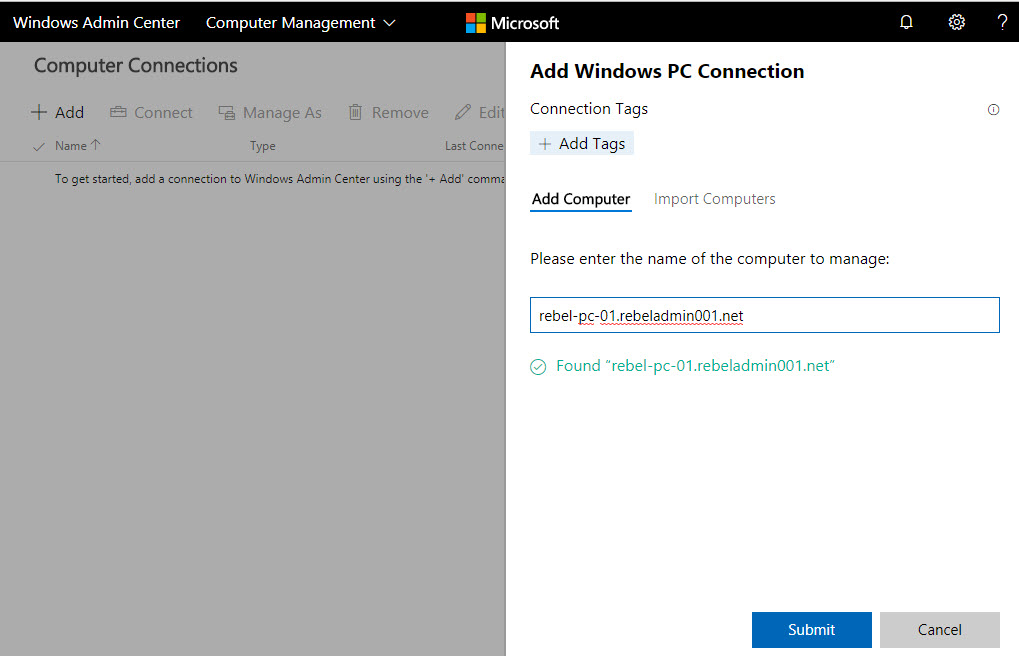
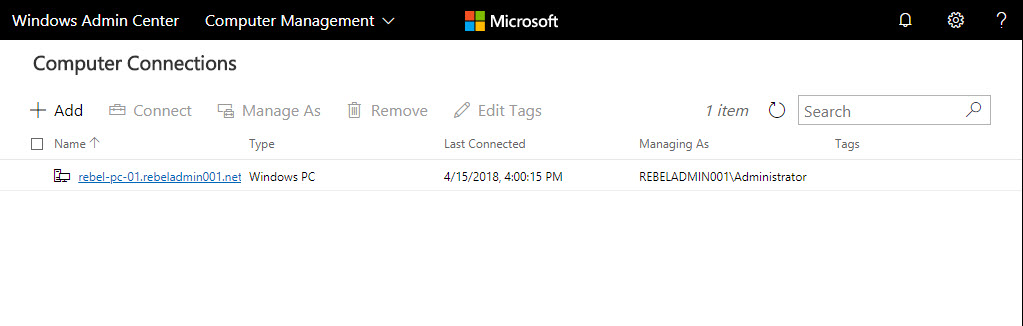
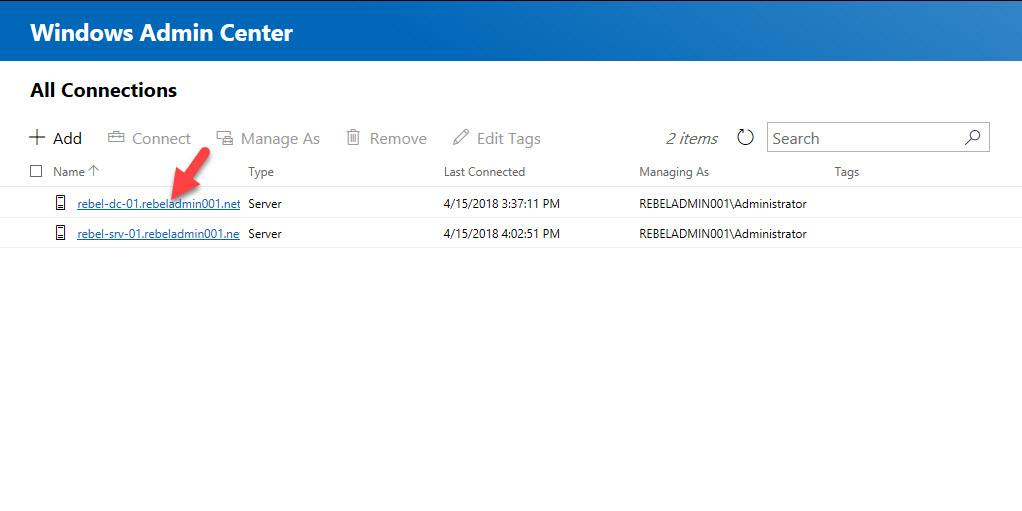
As Windows Users we use many different MMC to manage roles/features.  We also use those to troubleshoot issues. If it is remote computers most of the time we keep RDP or use other methods to dial in. With Windows Admin Center now we can access all these consoles in one web based interface in secure, easy, well integrated way. It can connect other remote computers as well. 

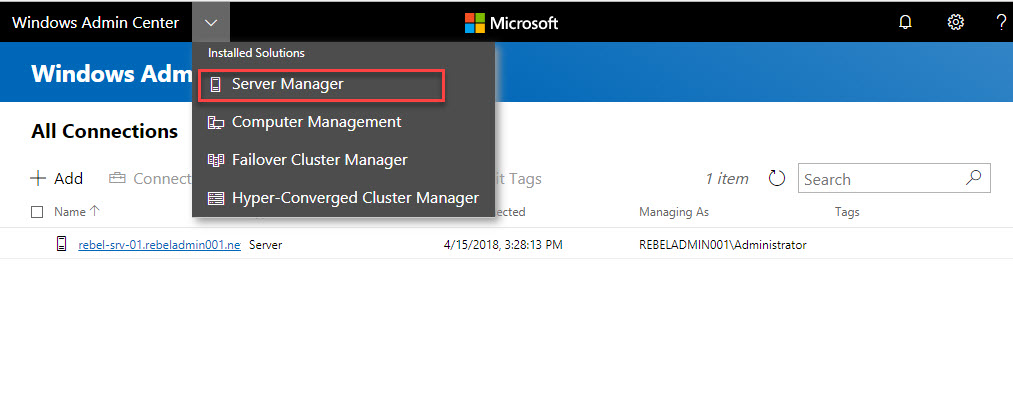
Windows Admin Center features can list down as following,

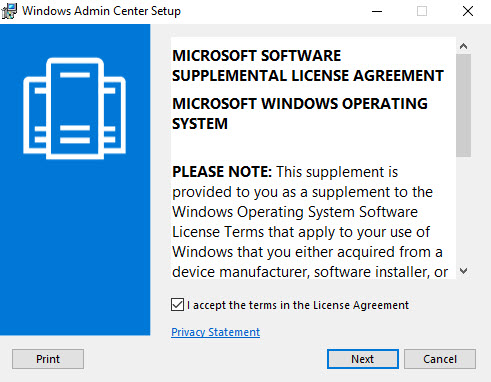
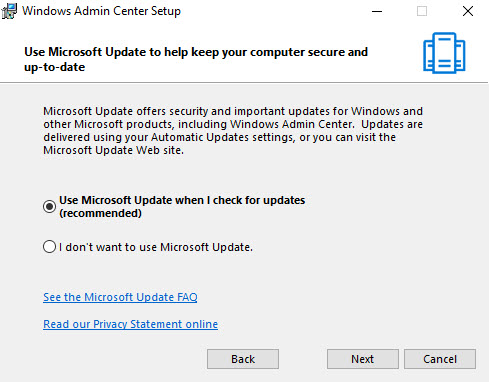
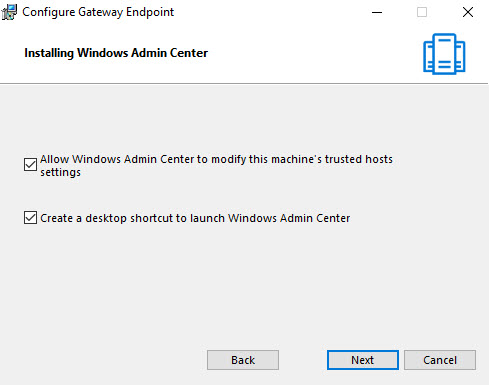
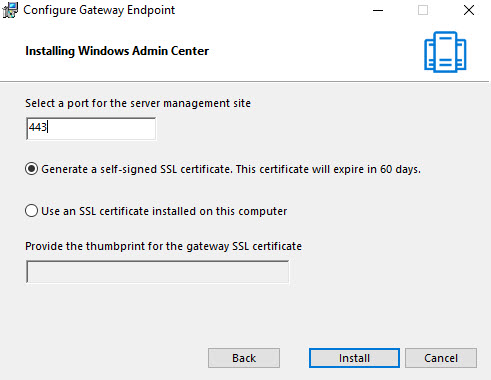
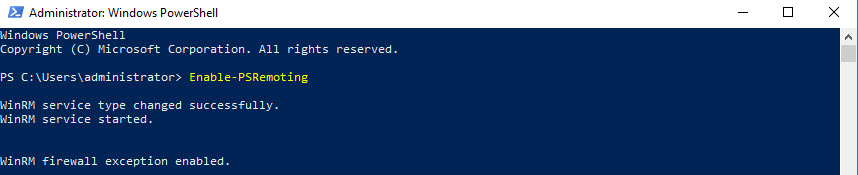
Easy to Deploy –  It is easy to deploy. Can install in windows 10 or Windows 2016 server and start to manage device with in few minutes. 

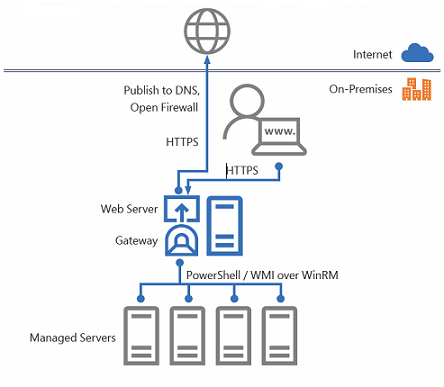
Manage from Internal networks or external networks – This solution is web based. It can be access from internal network and same can publish to external networks with minimum configuration changes. 

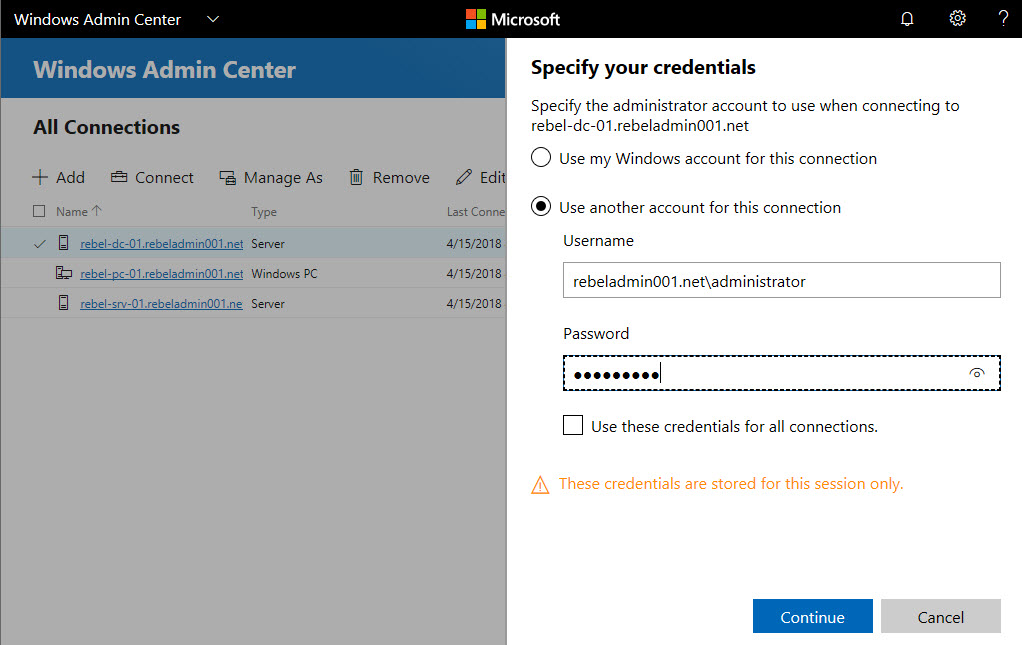
Better Access Control – Windows Admin Center supports role based access control and gateway authentication option included local groups, Windows Active Directory and Azure Active Directory. 

Support for hyper-converged clusters – Windows Admin Center well capable of managing hyper-converged clusters including, 

Single console to manage compute, storage and networking

Create and Manage storage space direct features

Monitoring and Alerting 

Extensibility – Microsoft will offer SDK which will allow 3rd party vendors to develop solutions and allow to integrate with windows admin center to manage their solutions. 

How it Works?
 
Windows Admin Center have two components.
 
Web Server – It is the UI for Windows Admin Center and users can access it via HTTPS requests. It also can publish to remote networks to allow users to connect via web browser.
Gateway – Gateway is to manage connected servers via Remote PowerShell and WMI over WinRM. 
 
wac1
 
Image Source – https://docs.microsoft.com/en-us/windows-server/manage/windows-admin-center/media/architecture.png 
 
Which Systems Will Support?
 
WAC will come default with upcoming windows server 2019. At the moment it can install on windows 10 in desktop mode which connect to the WAC gateway from the same computer where it is installed. It can also install on windows server 2016 in gateway mode which allows to Connect to WAC gateway from a client browser on a remote machine. 
WAC can manage any systems from windows server 2012. 
 
What about System Center and OMS? 
 
This is not replacement for high end infrastructure management solution such as SCCM and OMS. WAC will add additional management experience, if you already have those solution in place. 
 
Azure Integration? 
 
Yes, WAC supports Azure Integration. Azure AD can use for WAC gateway authentication. By providing gateway access to Azure VNet, WAC can manage Azure VM. WAC can also manage Azure Site Recovery activities. 
 
Let’s see how we can get it running,
In my demo I am going to install WAC in windows server 2016. 
 
To install WAC,
 
1) Log in to the server as Administrator
2) Download WAC installation from http://aka.ms/WindowsAdminCenter
3) Double click on the .msi file to begin the installation.
4) In initial window accept the license terms and click Next
 
wac2
 
5) Then it asks how you like to update it, select the default and click Next to proceed. 
 
wac3
 
6) In next window select option to allow installed to modify trusted host settings. In same window we also can select to create desktop shortcut if needed. 
 
wac4
 
7) In next window we can define the port and certificate for the management site. The default port is 443. In demo I am going to use self-sign cert. 
 
wac5
 
8) Once installation completes, we can launch WAC using desktop icon or https://serverip (replace server ip with the IP address of the server or hostname)
 
Note – WAC not supported on IE. So, you need to use Edge or another browser to access it. 
 
wac6
 
9) By default, it shows the server it is installed under “Server Manager”. In order to add another server, click on Windows Admin Center drop down, and select Server Manager
 
wac7
 
10) Then click on Add
 
wac8
 
11) Then type the FQDN for the server that you like to add. It should be able to resolve from the server. then click on Submit
 
wac9
 
12) We also can add Windows 10 computers to WAC. To do that click on Windows Admin Center drop down and select Computer Management
 
 
wac10
 
 
13) Then click on Add
 
wac11
 
14) Then type the FQDN for the PC that you like to add. It should be able to resolve from the server. then click on Submit
 
wac12
 
Note – Windows 10 do not have Powershell or WinRM remoting by default. To enable it you must run Enable-PSRemoting from PowerShell windows running as admin.
 
wac13
 
wac14
 
15) Once servers/pc are added you can connect to it by just clicking on the server/pc from the list. 
 
wac15
 
16) For remote devices, it will ask as who you like to login. Provide the relevant admin login details and click on Continue
 
wac16
 
17) Then it loads the related info for the server/pc
 
wac17
 
Now we have basic setup of WAC. In next posts we are going to look in to different features of WAC. This marks the end of the blog post and hope it was useful. If you have any questions feel free to contact me on rebeladm@live.com also follow me on twitter @rebeladm to get updates about new blog posts.