
Azure Files is a managed, cloud based file share that can access via SMB protocol. Once you create Azure File share it can be access from anyware using Windows, Linux or macOS. It can also can be mapped as a shared drive to the system.
Azure Files have following benefits,
Simple – Easy to setup and easy to manage. It also can use with Azure Backup and Azure File Sync. It got everything to use as replacement for on-premises file server.
Future Proof – When people are moving on-premises workload to Azure, sometime applications needed access to file shares. Azure Files allows to facilitate that requirements easily. Also, if you are maintaining on-premises file servers, when windows versions change, you need to upgrade those as well. Azure File is fully managed service which means no need to worry about versions.
Reliable – High Availability of on-premises file share depend on many things such as power, File Sync between servers, Bandwidth etc. but with Azure Files you do not need to worry about it as it was already designed and operate with as high available service. You do not need to worry about keeping sync servers in different geographical locations either.
Integration – Azure Files uses industry standard SMB protocol. It can be manage using Azure CLI, PowerShell, file system I/O APIs, Azure Storage Client Libraries and Azure Storage REST API. There for it allow developers to integrate it with existing systems or new systems easily.
Let’s see how we can create Azure File Share and map it with Windows 10 PC.
In my demo I am going to use PowerShell for the setup. This is fully supported to setup via Azure Portal.
Setup Storage Account
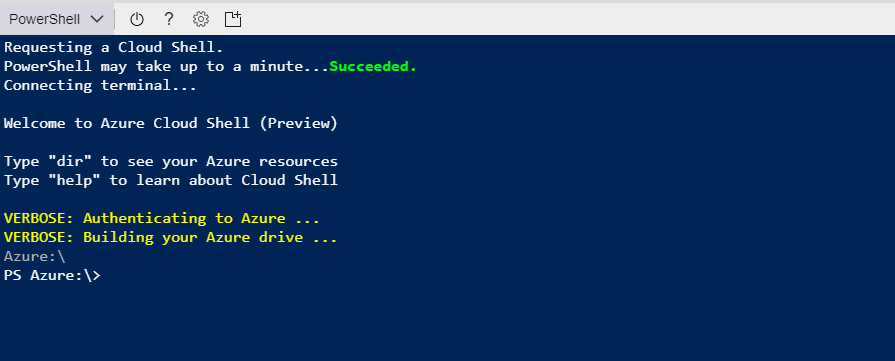
1) Log in to Azure Portal using Global Admin Account
2) Click on Cloud Shell in right hand corner

3) Make sure PowerShell console loaded. Same thing can be done by directly connecting to Azure using Azure PowerShell module. https://docs.microsoft.com/en-us/powershell/azure/install-azurerm-ps?view=azurermps-5.4.0
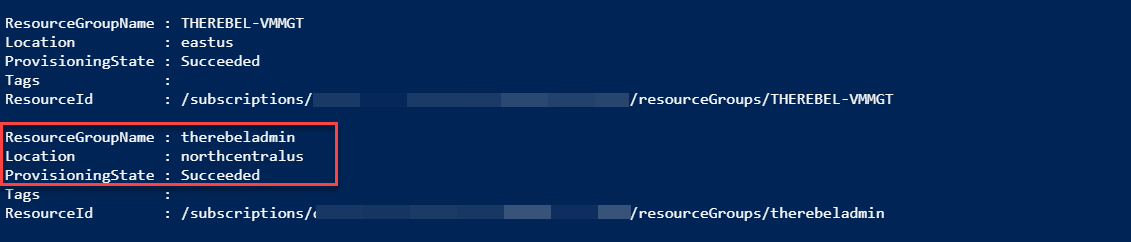
4) Before create storage account I need to find info about my resource group that I am going to use. to do that run Get-AzureRmResourceGroup it will list down the group details along with the location.
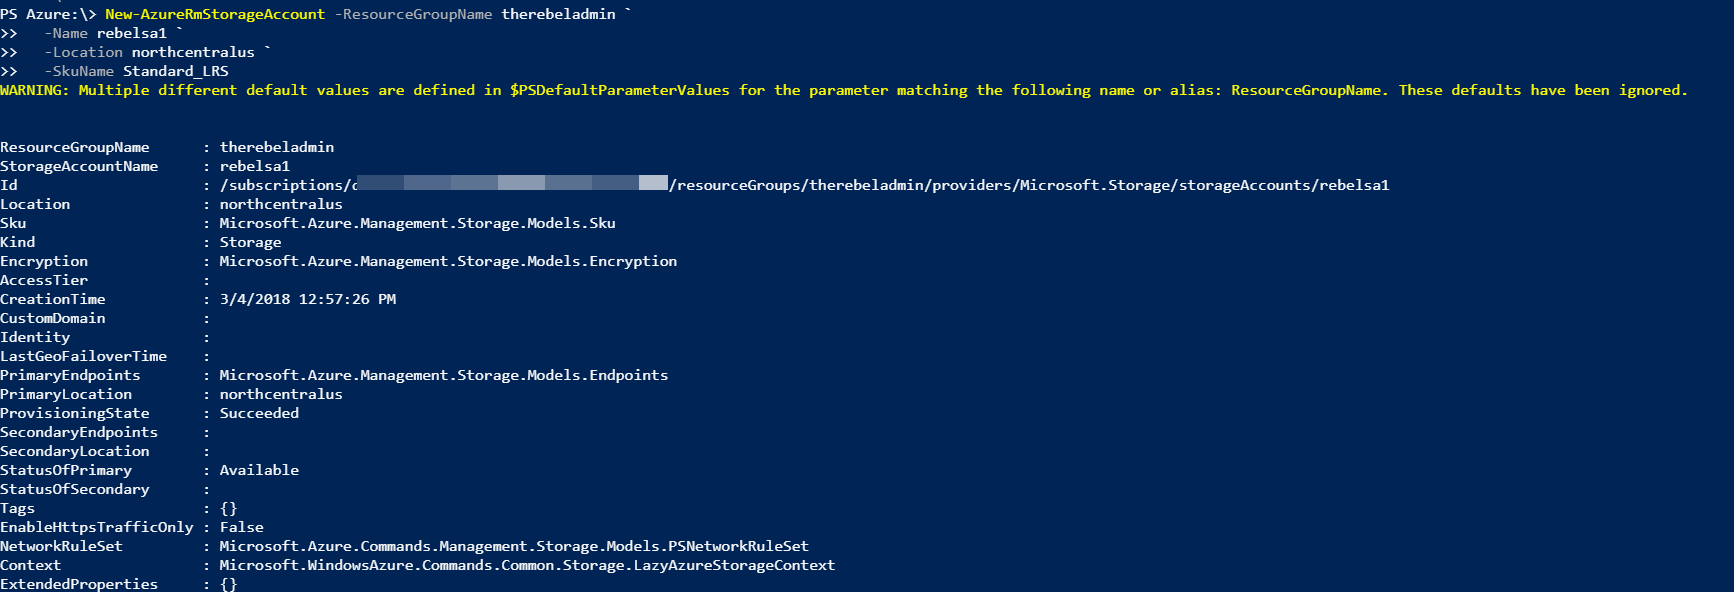
5) Once we retrieve info, we can create new storage account using,
New-AzureRmStorageAccount -ResourceGroupName therebeladmin `
-Name rebelsa1 `
-Location northcentralus `
-SkuName Standard_LRS
In above, -ResourceGroupName specify the resource group name that storage account will belongs to. -Name defines the name of the storage account. -Location defines the location for storage account. -SkuName defines the storage types.
Standard_LRS – Locally-redundant storage.
Standard_ZRS – Zone-redundant storage.
Standard_GRS – Geo-redundant storage.
Standard_RAGRS – Read access geo-redundant storage.
Premium_LRS – Premium locally-redundant storage.
Setup Azure File Share
1) Now we have storage account, before we create share, we need to find out storage access key for the account. To do that we can use
Get-AzureRmStorageAccountKey -ResourceGroupName "therebeladmin" -AccountName "rebelsa1"

2) Now we can create file share called “rebelshare” using
$SAContext = New-AzureStorageContext “rebelsa1” “<storage key>”
New-AzureStorageShare rebelshare -Context $SAContext
In above, rebelsa1 is the storage key and <storage key> need to replace by storage account key found on previous step.

In here it used the default quote which is 5tb.
Map it to Windows 10
To map folder to the Windows PC, we can use following PowerShell command,
net use R: \\rebelsa1.file.core.windows.net\rebelshare <storage key> /user:Azure\rebelsa1
In above, it will map the Azure File share we created as R:\ drive. <storage key> need to replace with Azure storage key.
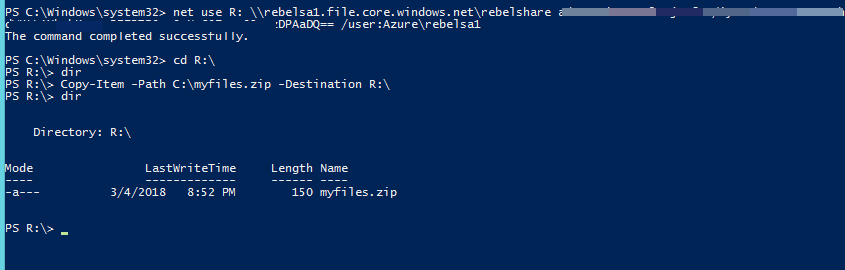
in above I successfully map the share and copied file from my local C: drive.
Note – In order to map this, share you need to have communication to Azure via SMB ports. If your firewalls blocking it, you will not able to map the drive. This is bit of an issue if you using the map drive in most of public wifi networks. However, you still can access the share using portal.
This marks the end of this blog post. If you have any questions feel free to contact me on rebeladm@live.com also follow me on twitter @rebeladm to get updates about new blog posts.


This was good and I was able to map a drive but once I rebooted the machine the mapping required to enter the password again!