
In most common scenarios hackers targets open ports in servers to gain access. It can be web server port, RDP ports, SQL ports etc. If genuine users also use same ports to access the system it’s hard to keep these ports closed. There are other methods such as firewalls that we can use to secure the access but it will still keep the ports open. when it comes to public clouds, its increase your infrastructure’s public facing part. Its clients, administrators may access services over the internet mostly. In that case it will give more time and room for attackers to target open ports.
Azure Just-in-Time VM Access is a great option to control this. As an example, if engineers need to do work in their VM’s mostly they RDP in to the system. Let’s assume they work 1 hour per day on servers. so, keeping port open for 24 hours not giving any benefits rather than risk. Using Just-in-Time VM Access we can limit the time it keeps RDP ports open.
When Just-in-Time VM Access enabled, we can define what VM and what ports will be controlled. In most scenarios you do not need to control access to ports used by your applications or services. It will be more in to ports related to management tasks. This all done by using azure network security group rules. You can find more about NSG using https://docs.microsoft.com/en-us/azure/virtual-network/virtual-networks-nsg
When this feature used with VM, upon access request to a protected port, it will first check if the user have access permission to it using Azure Role based access control (RBAC). If it all good, then NSG automatically configure to allow access with the time you specified. Once it reached the allowed time limit, NSG will automatically revert configuration in to original state.
This feature is still on preview but it is not too early to check its capabilities. Also, this feature is only can use with VMs created using Azure Resource Manager (ARM).
Configuration
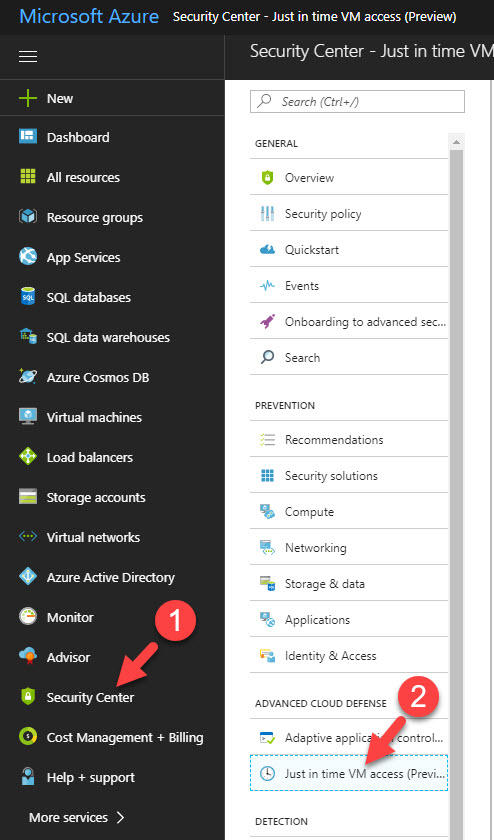
1. Log in to Azure Portal using Global Administrator account.
2. Go to Security Center > Just-In-Time VM Access
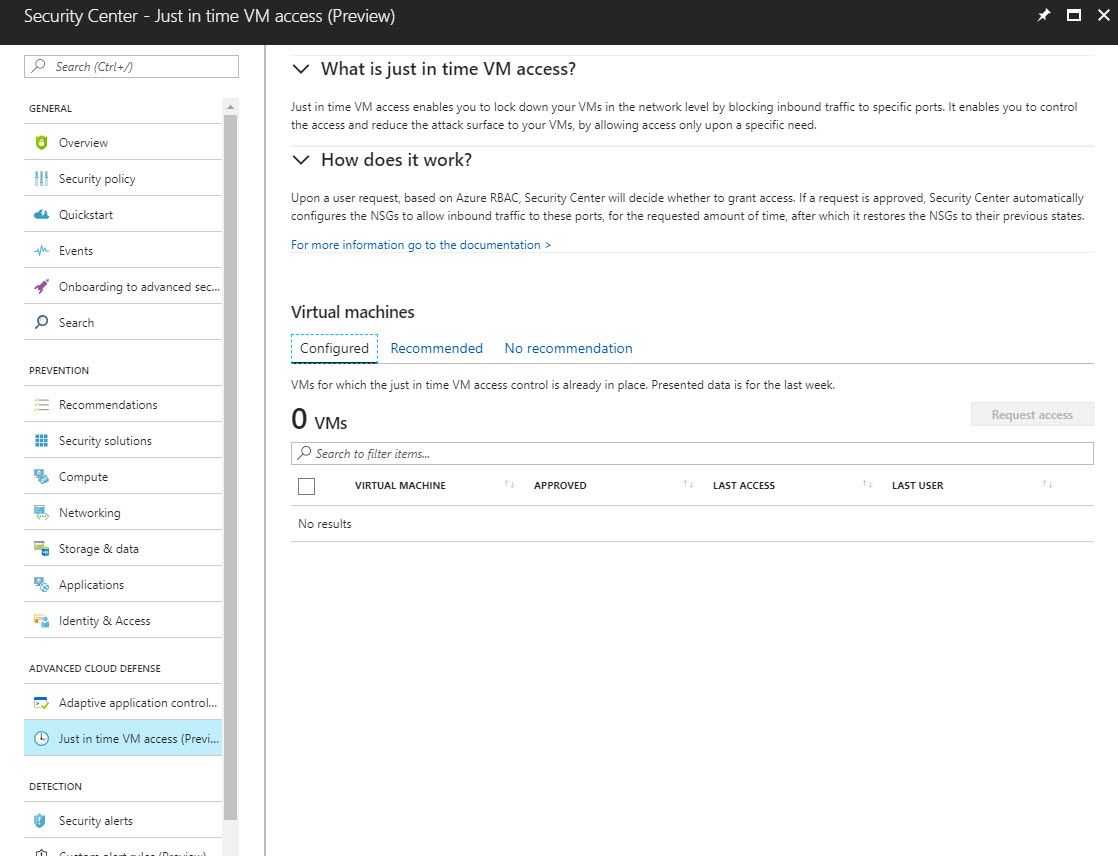
3. Then it will load the default page.
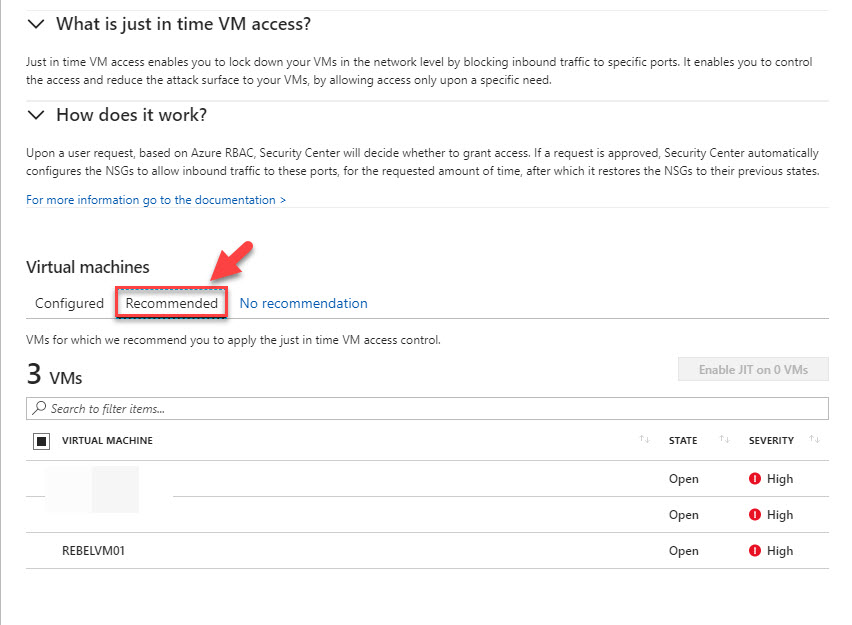
4. Click on Recommended Tab. It will list down the VMs you have.
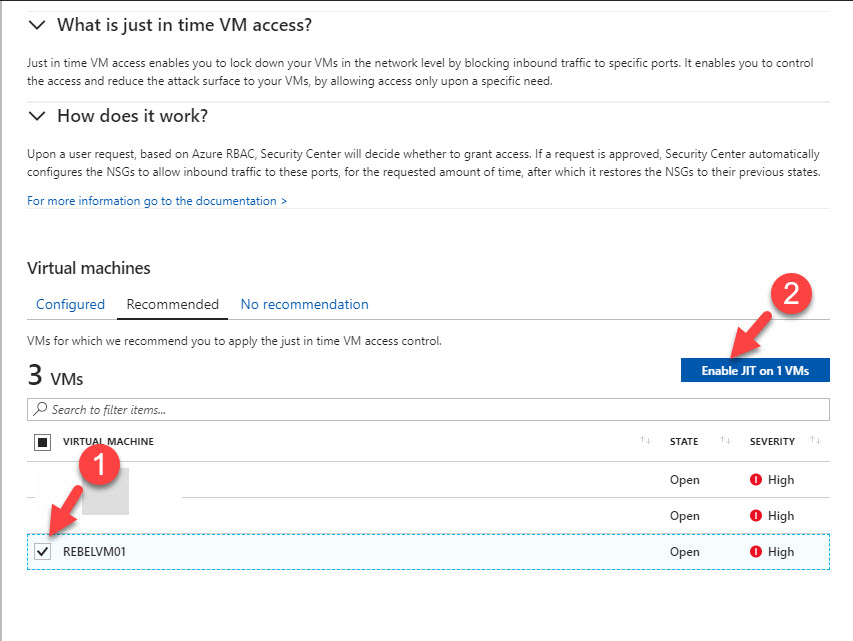
5. In order to enable JIT access, put a tick on the VM you like to protect and then click on Enable JIT on button. if need you can do it for multiple VMs in same time.
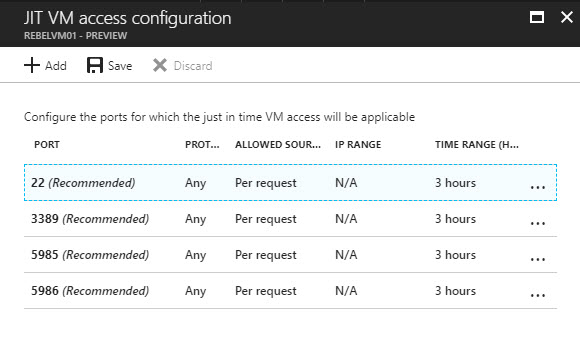
6. Then it lists down the default ports protected with JIT access.
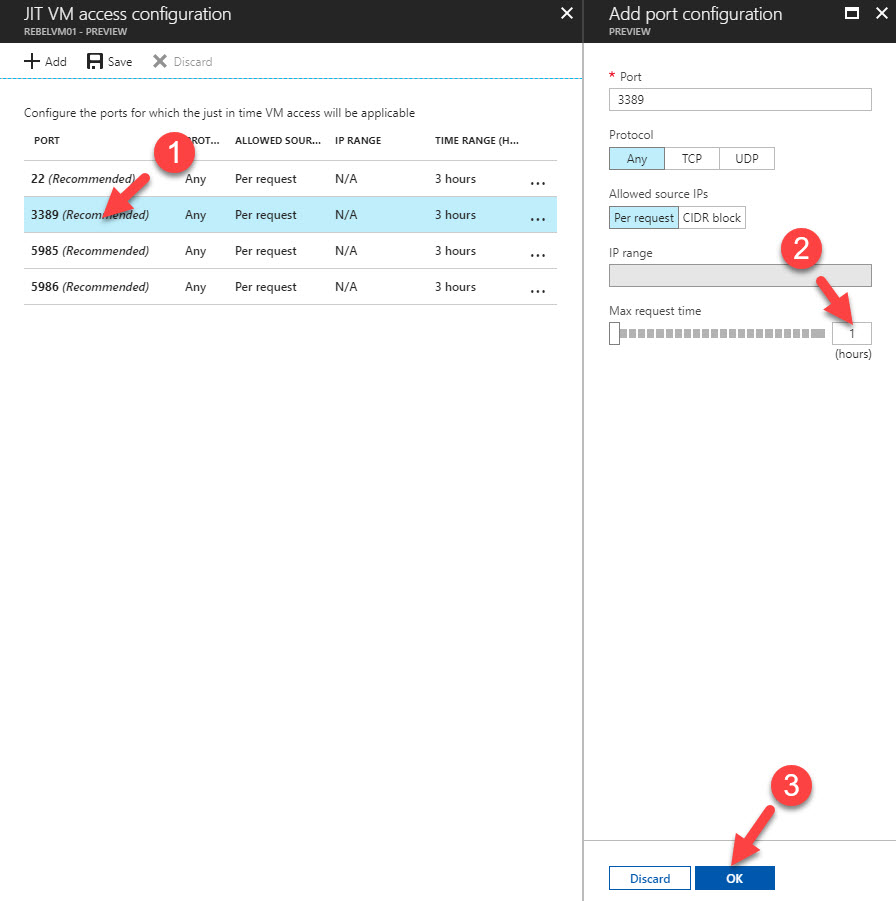
7. We still can adjust settings for these services. As an example, I need to limit port 3389 (RDP) port Max request time to 1 hour. By default, it is 3 hours. In order to do that click on rule for 3389 and change Max request time value to 1 hour. To apply changes, click on OK at the end.
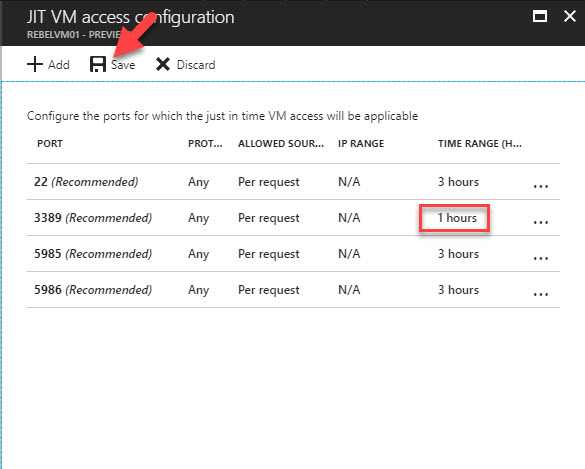
8. In next window we can see the new value, click on Save to save the config.
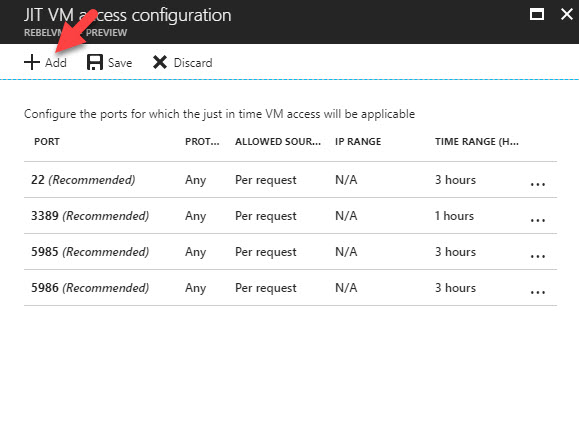
9. If need we also can add our own ports to protection. Let’s assume we need to protect port 8080 access. To do that click on Add button in access configuration page.
10. Then type port details in the window. Under Protocol we can select TCP, UDP or Any based-on requirement. Under Allowed source IPs access can controlled based on request or specific IP range. Max request time option is to limit the hours. Minimum time we can select is 1 hour. Once changes are done click on OK to apply changes
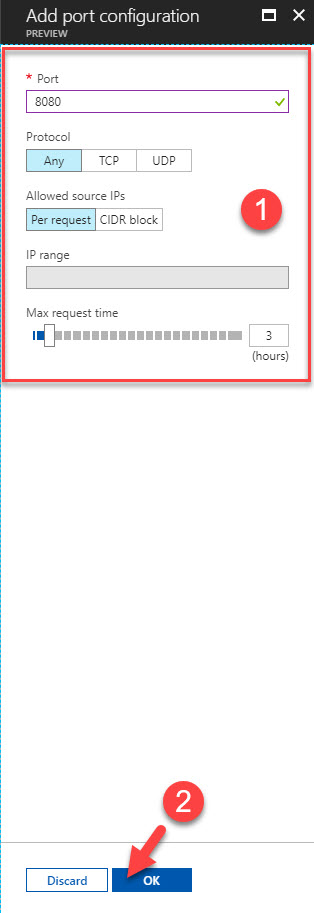
11. Then click on Save to save the config.
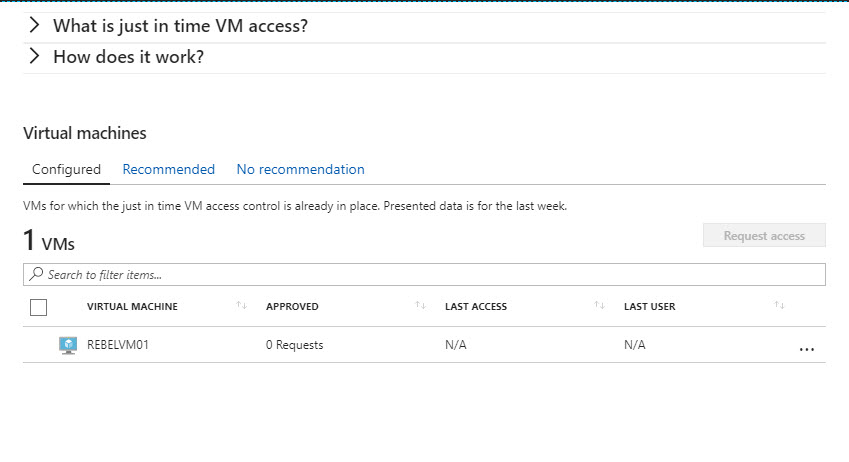
12. After that, once we go to feature home page we can see the protected VM under Configured tab.
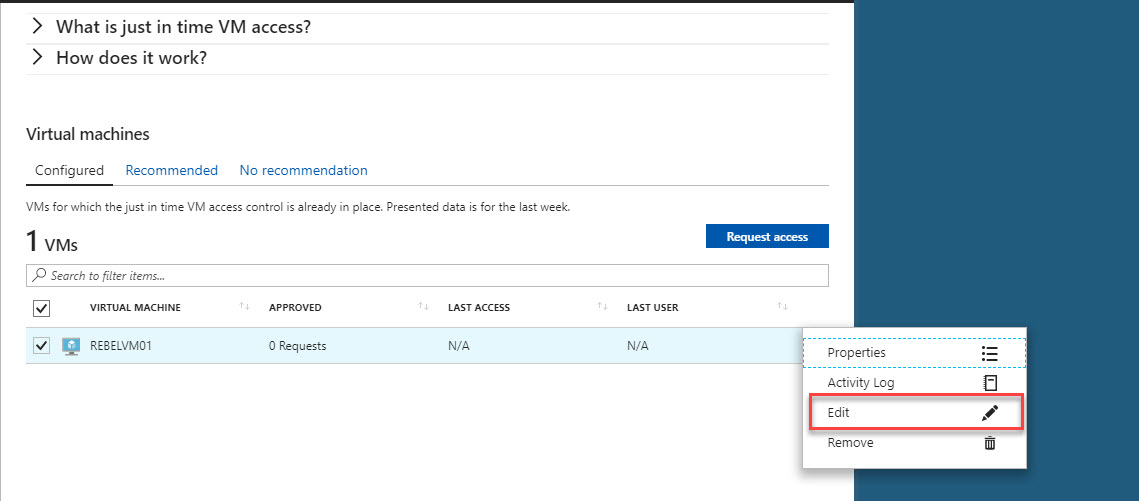
13. If need to edit the current configuration it can do using Edit option as below.
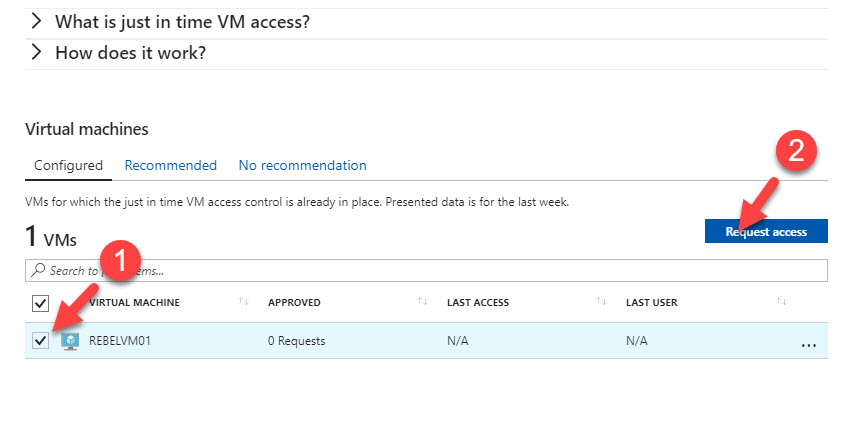
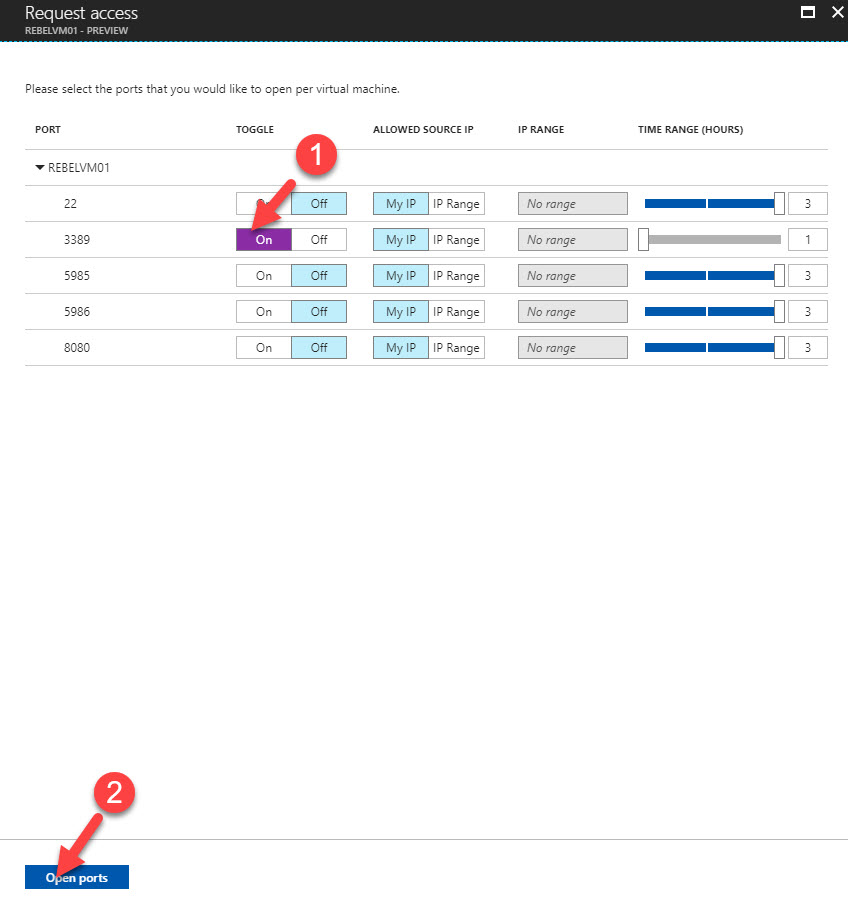
14. Now configuration is done. Let’s test it out. According to my configuration I have RDP port protected. To request access, select the VM with tick box and then click on request access option.
15. In next window, I am only going to request access to RDP port. To do that select the correct rule and click on On tab under toggle. Then click on Open Ports button.
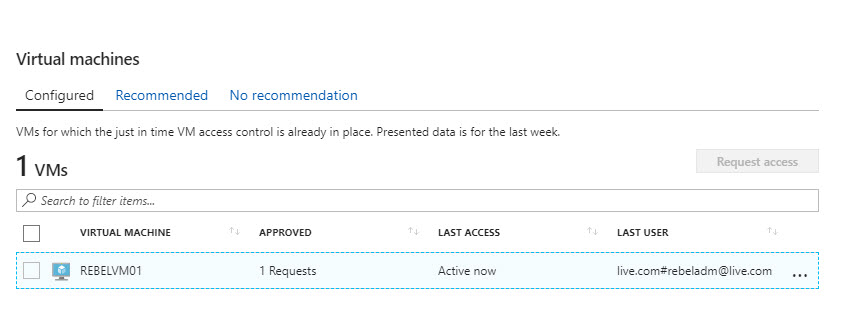
16. Then in the feature home page we can see it got 1 approved requests.
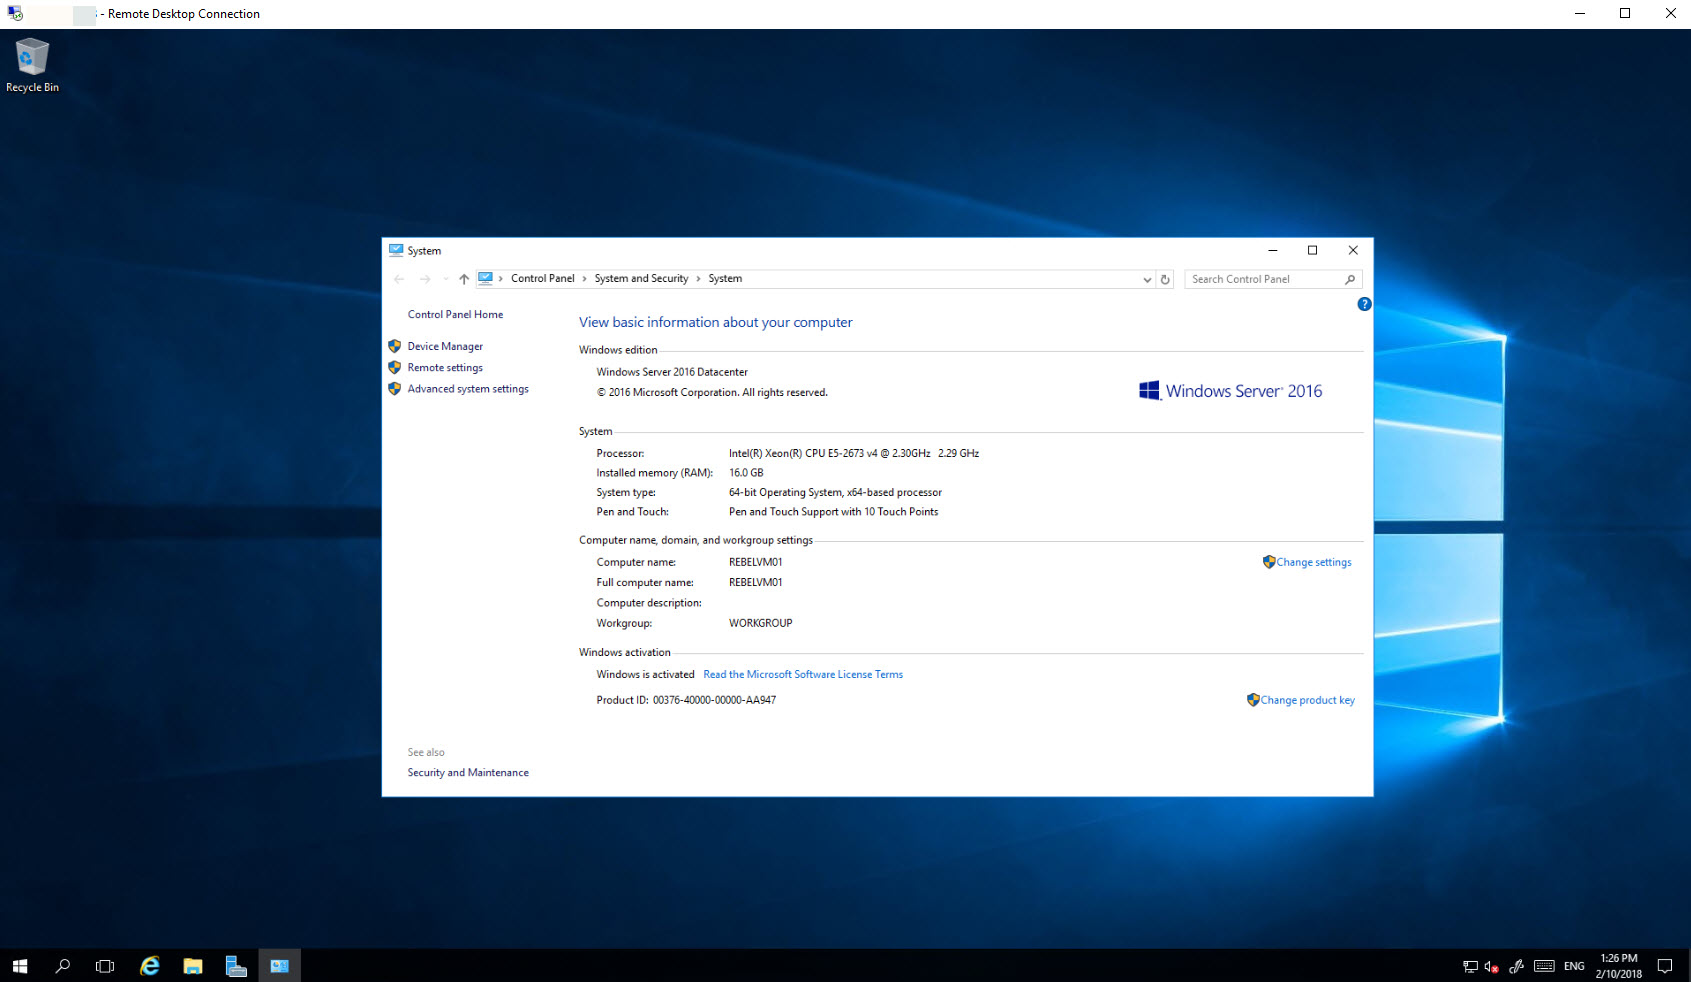
17. After configuration yes, I can access the server via RDP for 1 hour.
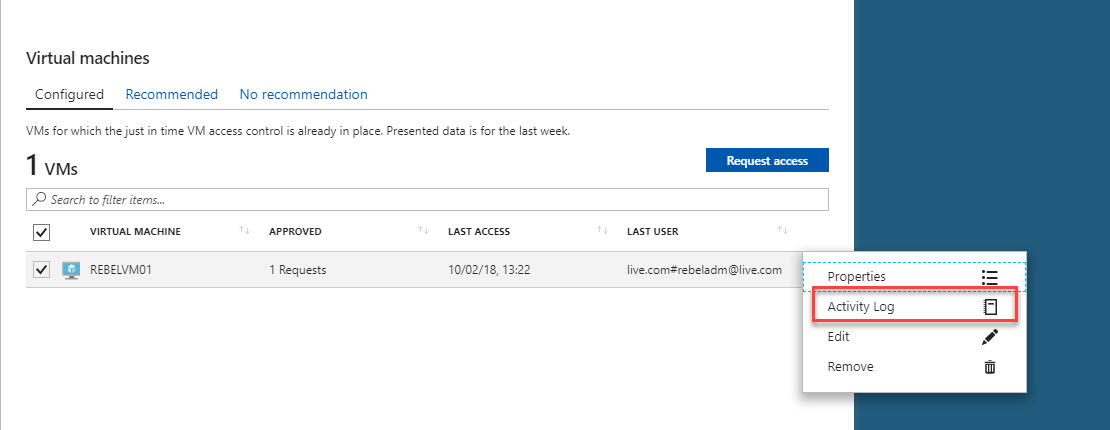
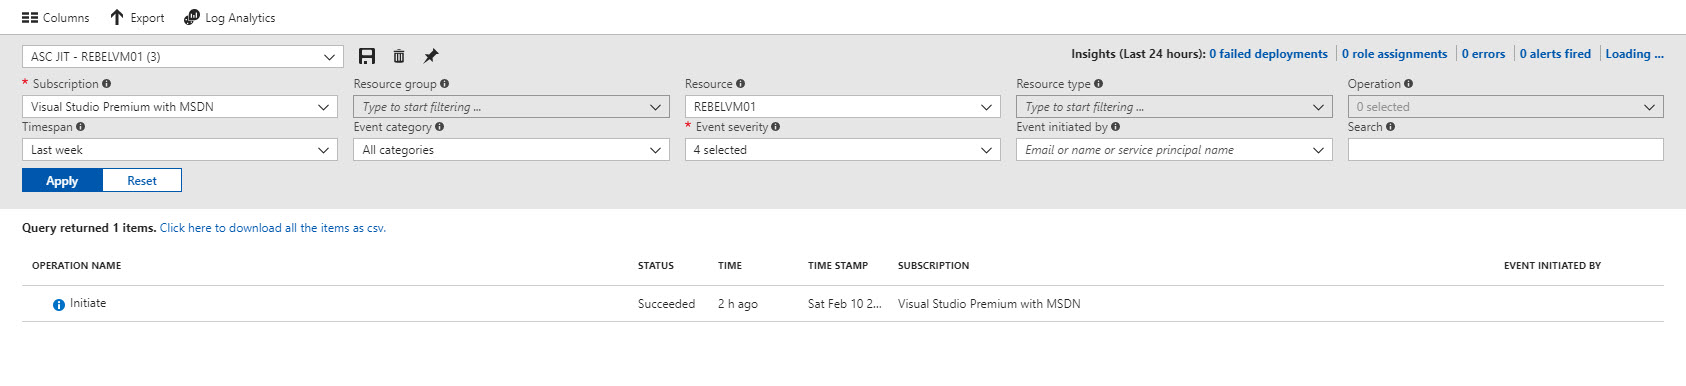
18. After one hour, I can’t initiate another new RDP connection. Using Activity log we can view logs related to past activities.
This marks the end of this blog post. Hope now you have better understanding what is JIT VM access and how to use it. If you have any questions feel free to contact me on rebeladm@live.com also follow me on twitter @rebeladm to get updates about new blog posts.


Very nice article 🙂
Thanks!
Hello Admin
Thank you for posting this article in detailed steps.
Could you please post JIT initiate request via Powershell? As we can initiate multiple JIT requests via Powershell, from the portal it’s very time-consuming.
Thanks in advance