
In my previous post I have explained what is Azure Accelerated networking and how it works. If you didn’t read it yet, you can do it using http://www.rebeladmin.com/2018/01/azure-accelerated-networking/ . In this post I am going to show how we can create VM with AN and verify its actions.
There are few limitations we need to aware before we use Azure Accelerated networking.
1. Can’t use with existing VMs – In order to use AN feature, Virtual machines must be created with Accelerated Networking enabled. This feature cannot enable in existing VMs.
2. A NIC with AN cannot attached to an existing VM – A NIC with AN enabled only can attached during the VM creation process. It is not possible to attach it to existing VM.
3. Azure Resource Manager only – This feature only can use with AR. It can’t use in classic portal.
In my demo I am going to create new VM in new resource group with Azure Accelerated networking enable. Please note this feature can only enable using Azure CLI and Azure PowerShell.
Here I am going to use Azure CLI. More info about Azure CLI can be found in my blog post http://www.rebeladmin.com/2017/08/step-step-guide-start-azure-cli-2-0/
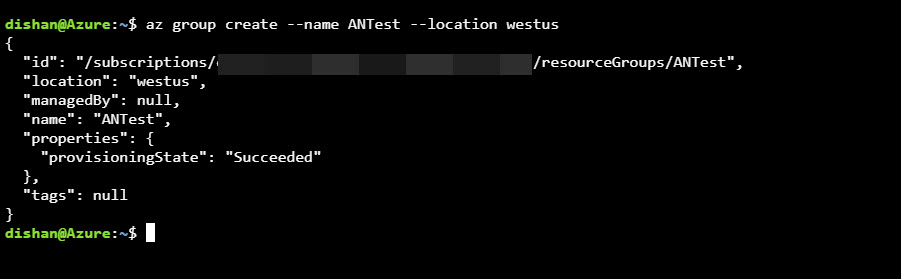
1. As first step I am going to create new resource group called ANTest in westus region.
az group create --name ANTest --location westus
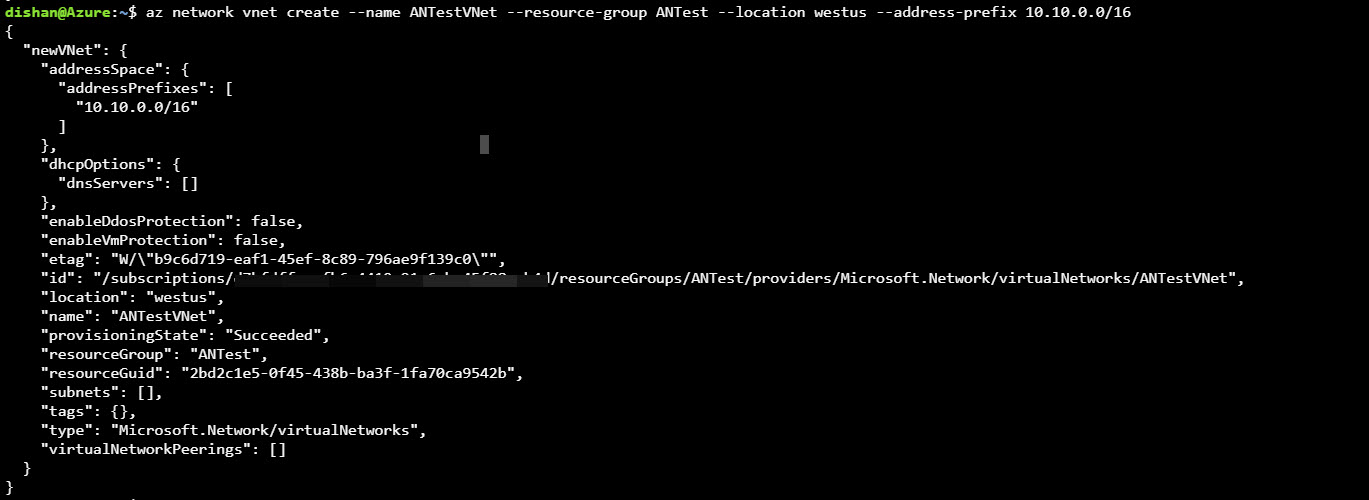
2. Then we need to create virtual network. In demo I am creating virtual network called ANTestVNet with address space 10.10.0.0/16
az network vnet create --name ANTestVNet --resource-group ANTest --location westus --address-prefix 10.10.0.0/16
3. Next step is to create a subnet under selected address space. In my demo I am creating 10.10.20.0/24 subnet with name ANTestsub1
az network vnet subnet create --address-prefix 10.10.20.0/24 --name ANTestsub1 --resource-group ANTest --vnet-name ANTestVNet

4. I like to access this vm from internet so I need a public ip attached to it.
az network public-ip create --name ANTestpubip1 --resource-group ANTest --location westus --allocation-method dynamic
in above I am using dynamically assigned ip rather than static public ip.

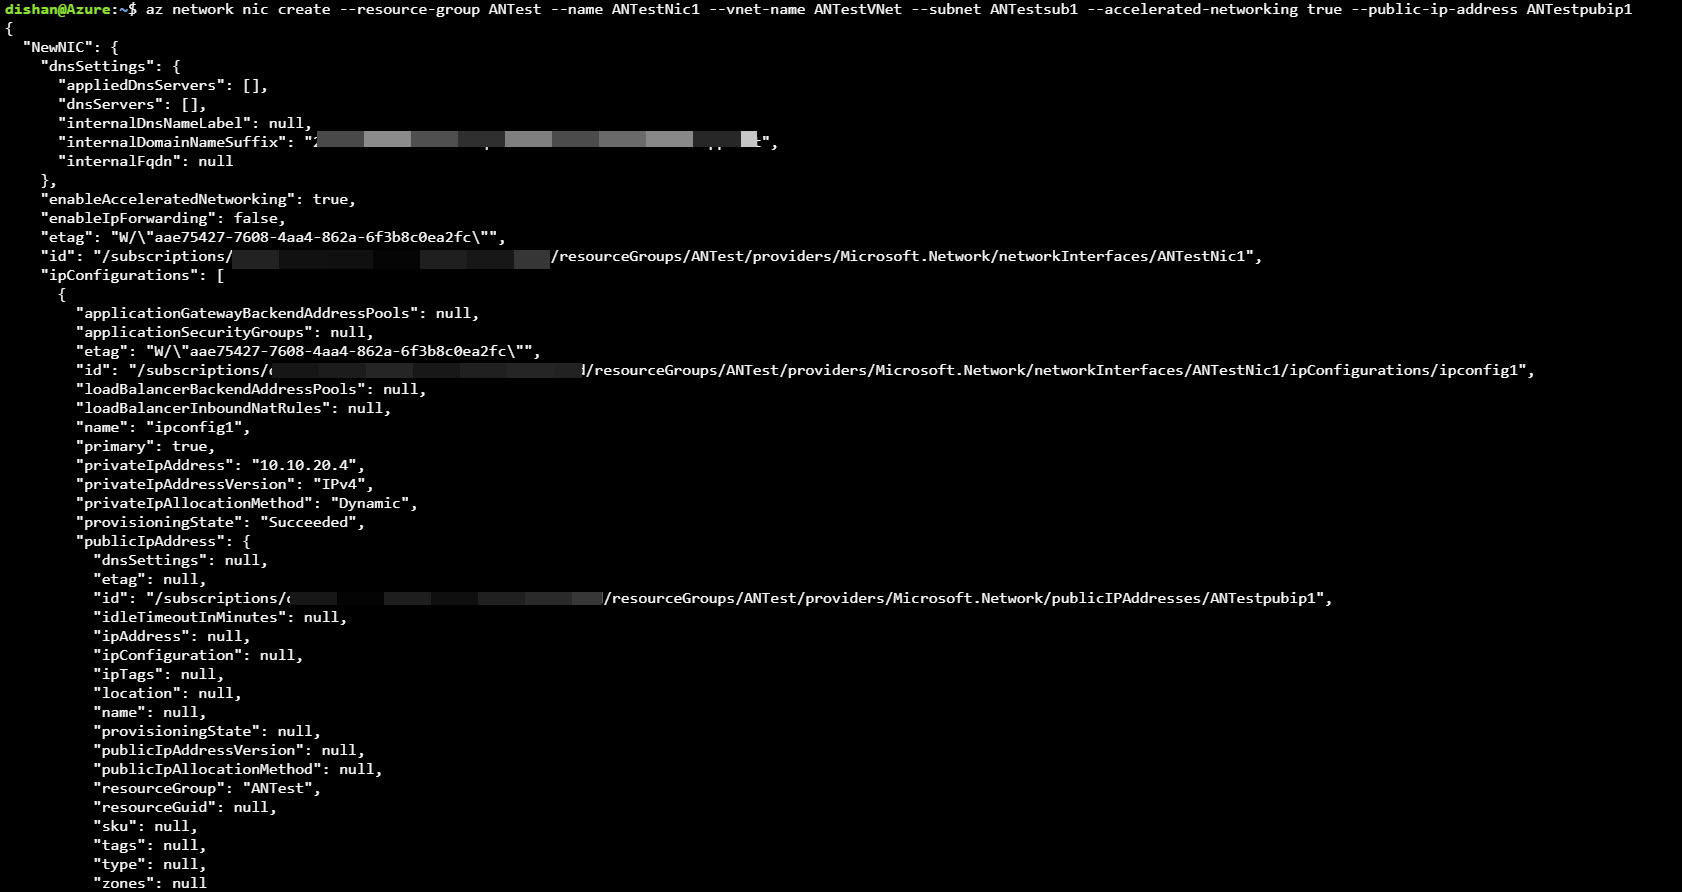
5. Now we have everything ready to create NIC. This is the most important part of the job. So the command I am using for it is,
az network nic create --resource-group ANTest --name ANTestNic1 --vnet-name ANTestVNet --subnet ANTestsub1 --accelerated-networking true --public-ip-address ANTestpubip1
in above ANTestNic1 is the NIC name. –accelerated-networking true is the command to enable AN feature.
6. Next step is to create VM with this new NIC attached. Please note there are only some OS and VM templates support this AN feature. So, make sure you select the correct size. if you use unsupported template, you can’t change enable AN by just changing the template. In my demo I am creating windows server 2016 server with Standard_DS4_v2 vm template.
az vm create --resource-group ANTest --location westus --nics ANTestNic1 --name REBELVM101 --image win2016datacenter --size Standard_DS4_v2 --admin-username rebeladmin --admin-password L0nd0n3322$

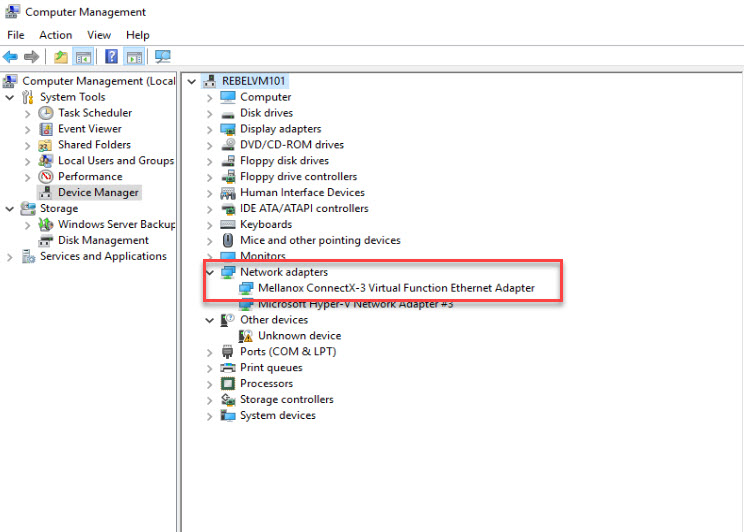
once it is completed we can log in to VM and verify. Once this feature enabled you will be able to see Mellanox ConnectX-3 Virtual Function Ethernet Adapter in device manager.
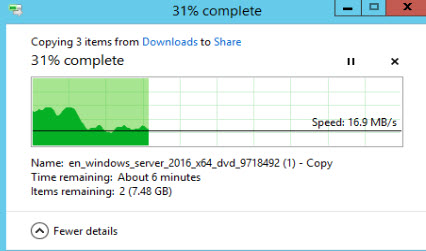
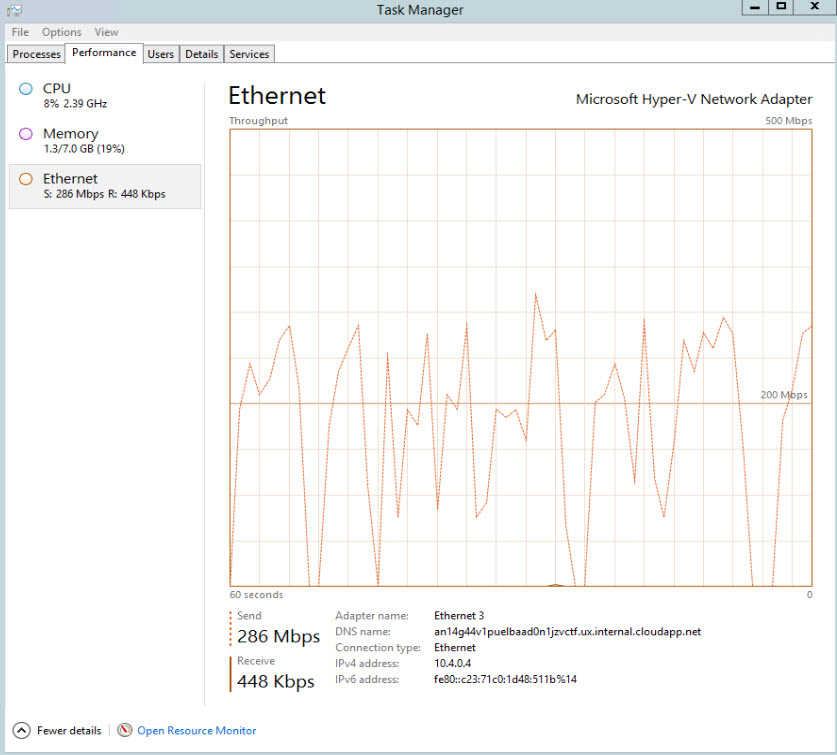
Let’s see how it affecting performance. I do have 2 VM created using old method and I am transferring a folder with 10Gb data between them. So, let’s see how the performance looks like.
And when I do transfer same file between 2 VM with AN enabled I get following performance.
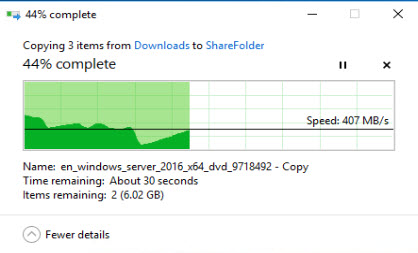
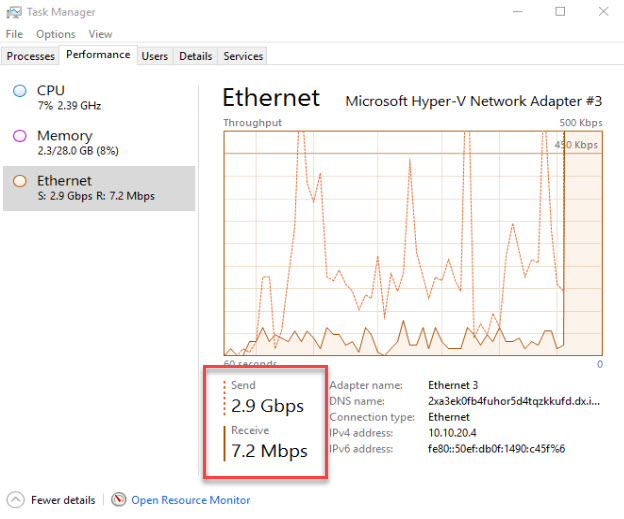
It’s pretty amazing ha???
This marks the end of this blog post. Hope this was useful. If you have any questions feel free to contact me on rebeladm@live.com also follow me on twitter @rebeladm to get updates about new blog posts.

