
To implement network printing I would like to use printer server installed on server and share the printers and control them from the server. So the printer first configured on server and users are getting connected to printer share from server and print things. in this demo I used server 2003 r2 server.
1) Go to Start > Administrative Tools > Configure your server wizard. It will give wizard and click next on initial welcome screen and also click on next for initial scan page.
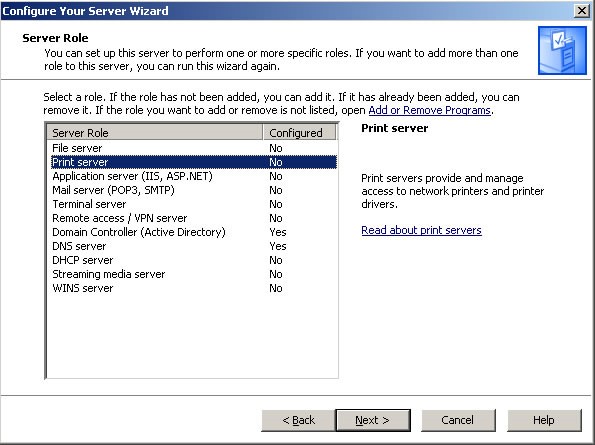
2) Then it will show up roles page and select print server role and click next
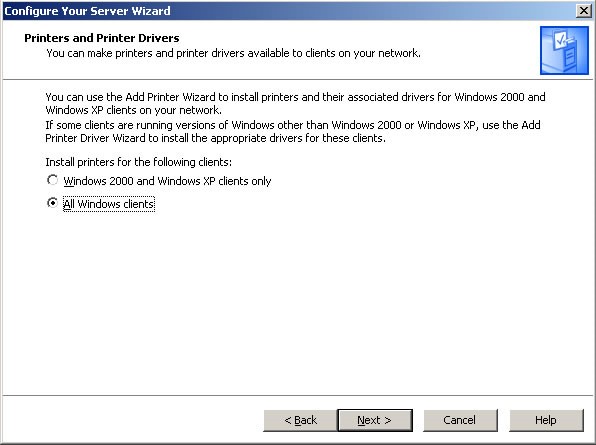
3) In next window its ask for which windows client the drivers of printers should available. And select all windows client from radio buttons and click next
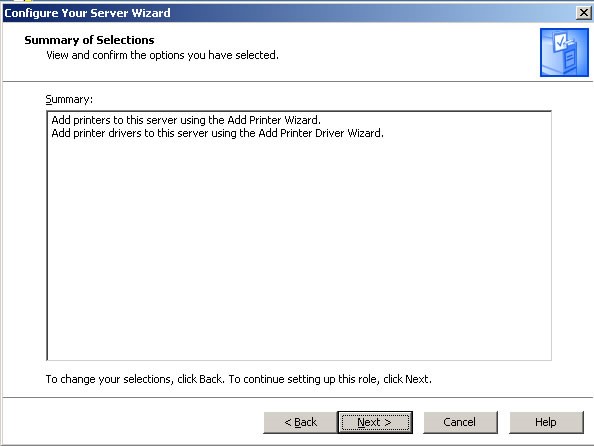
4) In next window it gives summary about installation and click next to install the print server role
5) Then it will prompt to add printers to the print server.

6) Click next to start the printer configuration to server.
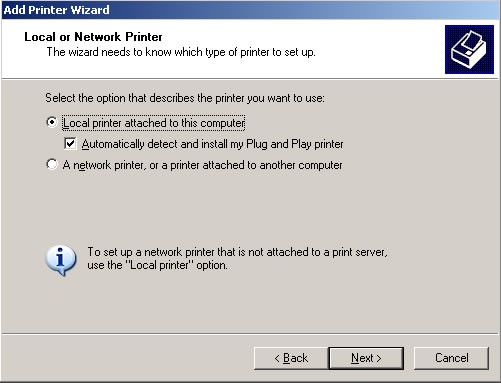
7) In next window it gives opportunity to select the installation type. It can be attached to this server or the printer can be network install. In our case I need to connect printer that in network with ip address so I select option “Local Printer Attached to this computer” its not connected to pc but this give me option to connect network printer in later step. click next to continue
8) It will search and give error that there is no printer plug in. click next to install the printer manually.

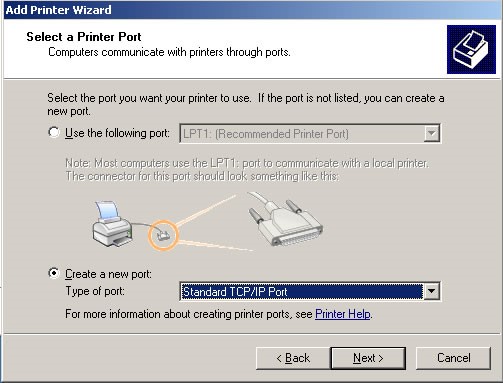
9) Next windows it question about the printer port. Since we going to connect via ip address select create new port option and select “Standard TCP/IP port” and click next
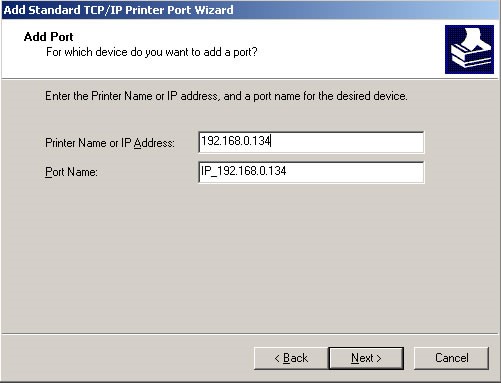
10) It will open new wizard for ip information and provide the ip of the network printer that connected.
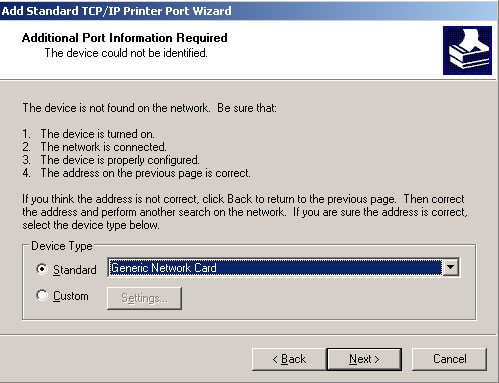
11) Next windows its ask if need to provide additional port information in here I select default and click next.
12) Then in next window click on finish to go back to printer wizard.
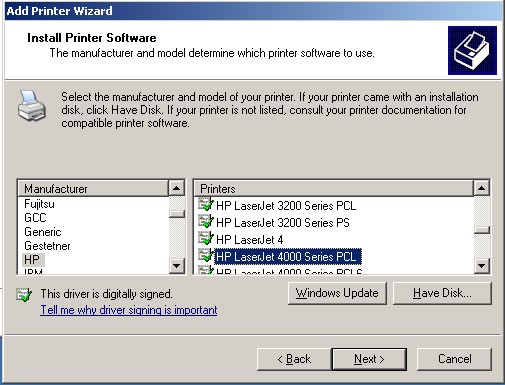
13) Then in window it asks to provide the drivers. You can select driver from the available list or provide drive disk that comes with printer. Then click next to continue
14) Then its ask to provide a name for the printer and you also can set it as default printer if you wish. Click next to continue after changes

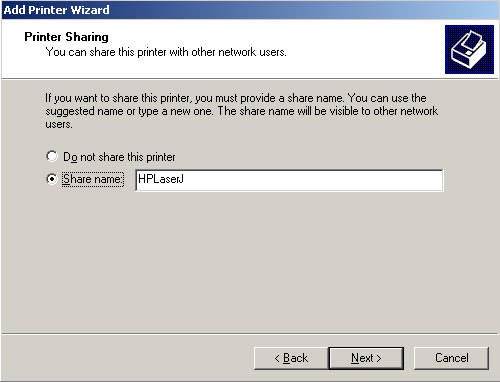
15) Next Windows is important as it ask if this network need to be share. In our requirement yes it is. And you can change the share name how it should display in network. Click next to continue.
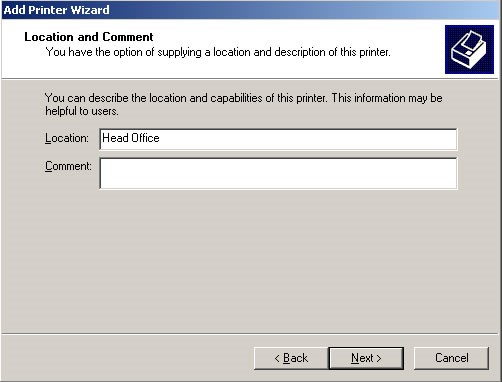
16) Next window give you opportunity to add comments if you like about the printer.
17) Next window it ask if need to print test page.
18) In next window click on finish to finish the install of printer.
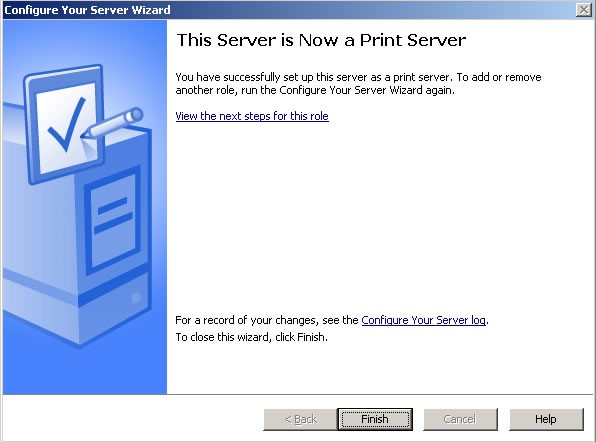
19) After it if need can more printer or can finish the wizard by canceling it. It will then go to finish screen of print server.
20) Now we have done with configuring server. Now next step is to check if its install correctly.
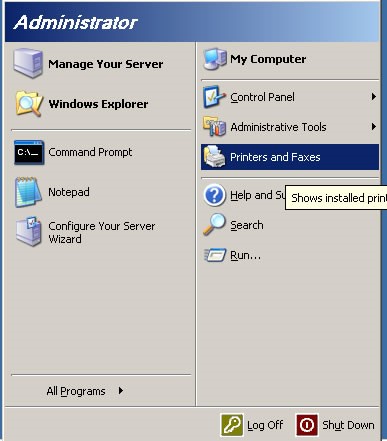
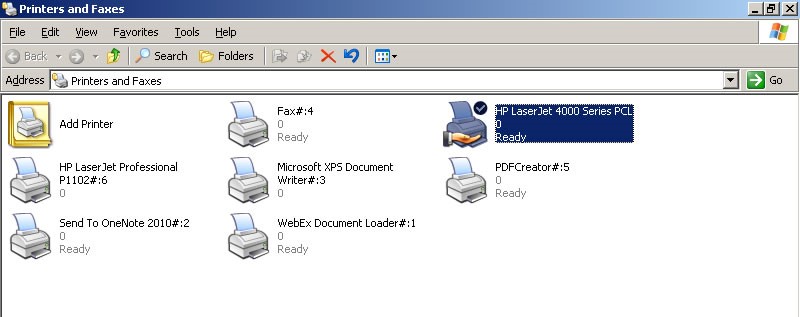
21) To do that click start > printers and faxes
22) In window can see the printer is installed and shared.
23) Let’s see if its have permissions for users to prints.
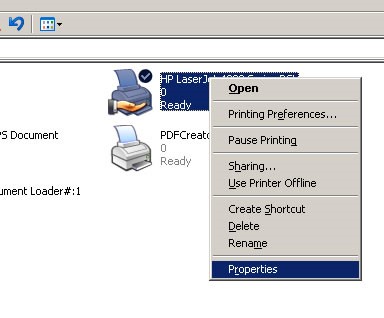
24) For the right click on the printer and click on properties
25) In properties window click on security tab. In that can see the “Everyone” have permissions to print using the printer. This can be break in to groups if need can provide the permissions to print only for that group.
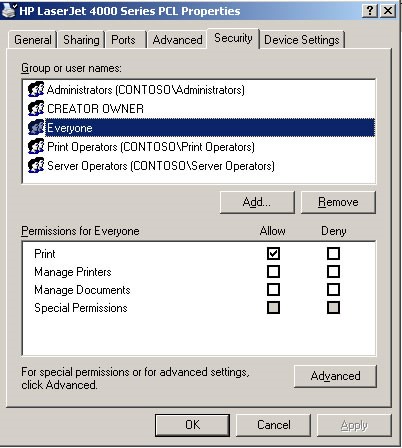
In the server only the administrator have permissions to do following
• Manage printers
• Manage Documents
• Special Permissions setup
As administrator now from server he can monitor the que, change the priority as needed and even cancel the printing documents. So these way administrators have full control over the managing printers in the organization.
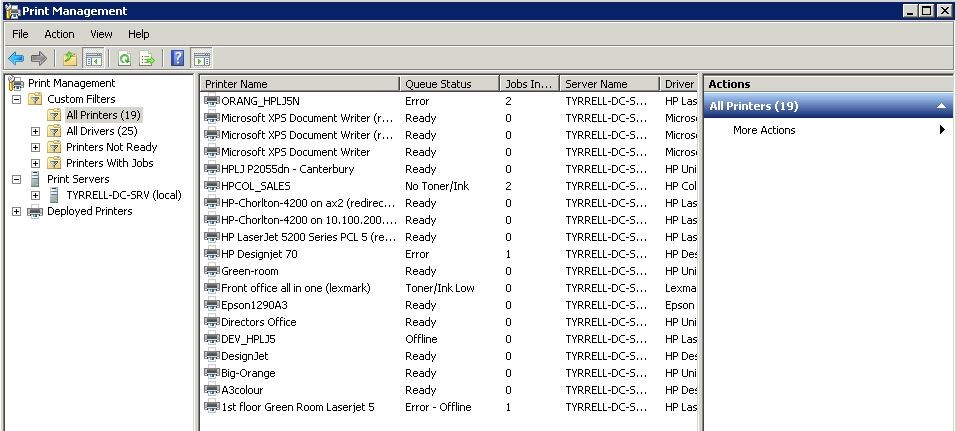
The same permission apply can do via “Printer Management” mmc.
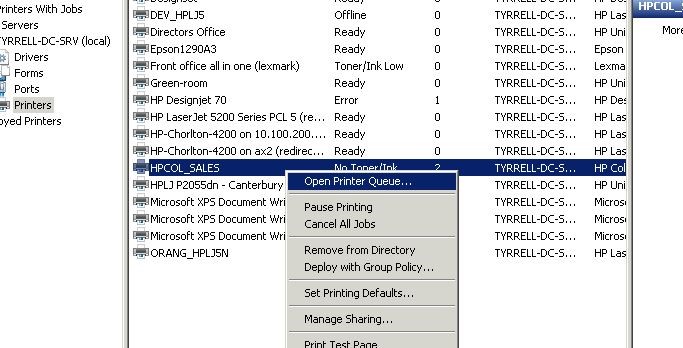
In below I have added several printers to the server and in printer manager window it will look like following
To go to Print Management, go to Start > Administrative Tools > Printer Management

Let’s see how to define the priority for the documents in the printing queue.
26. Right click on the printer which running the queue and select the “Open print queue”
27. It will open the running print que of the printer.
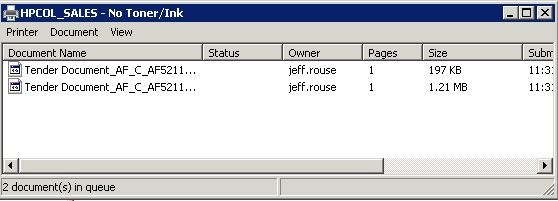
28. Right click on the document which needs priority change and select properties.
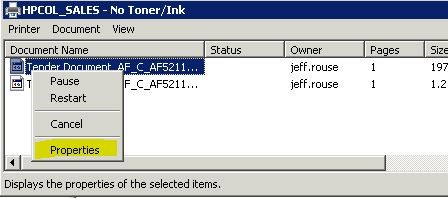
29. It will open the properties window and move to the general tab.
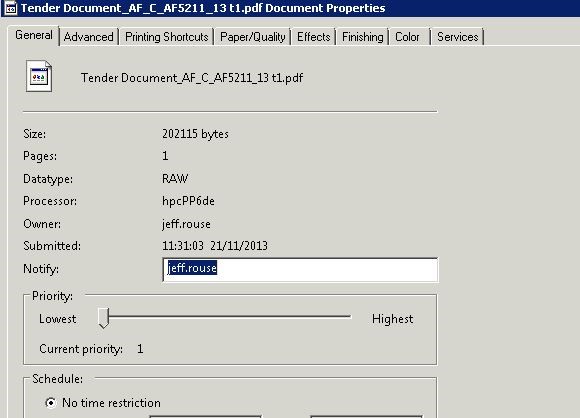
30. In the priority section moving the indicator can change the priority of the document
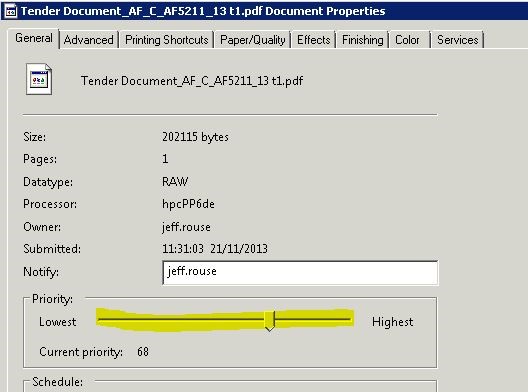
31. To apply the settings click “Ok”
Using this process can control the order of the printing queue by changing the priority.

