
Just-in-Time Administrations protects high-privileged accounts been compromised. Administrators will have their privileges when they “required”. It minimizes the lateral movements of identity attack. Azure AD PIM allows to create time-based temporally admin accounts. In this demo I am going to demonstrate how to create time-based admin accounts in azure using PIM. If you are new to privilege identity management, I highly recommend to check my previous blog post about it. you can access it using http://www.rebeladmin.com/2016/07/step-step-guide-azure-ad-privileged-identity-management-part-1/
In my demo environment I have a user called Isaiah Langer from finance department. At the end of every month this user runs some reports which required admin privileges. I do not want to make this user a permanent global administrator. I like to give these privileges when “required”. Let’s see how we can configure it.
1. Log in to Azure portal https://portal.azure.com as global admin.
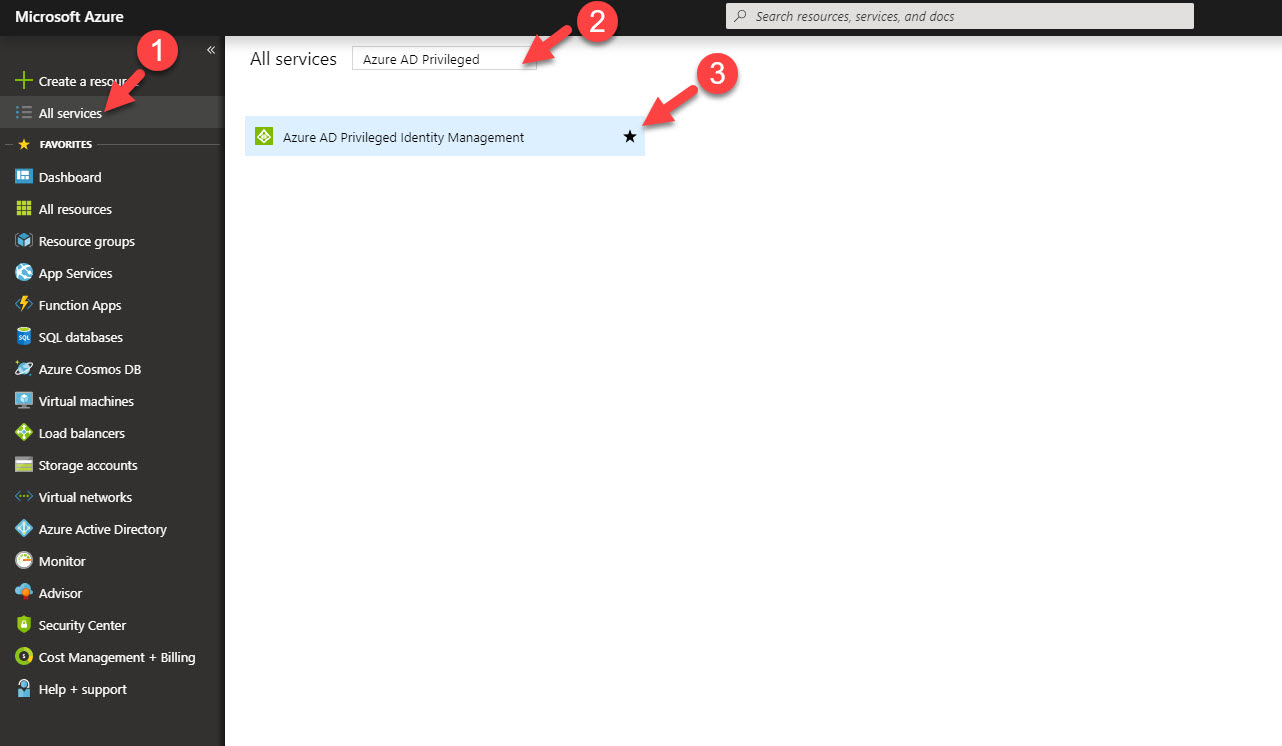
2. Click on More Services from the left-hand panel and search for Azure AD PIM.
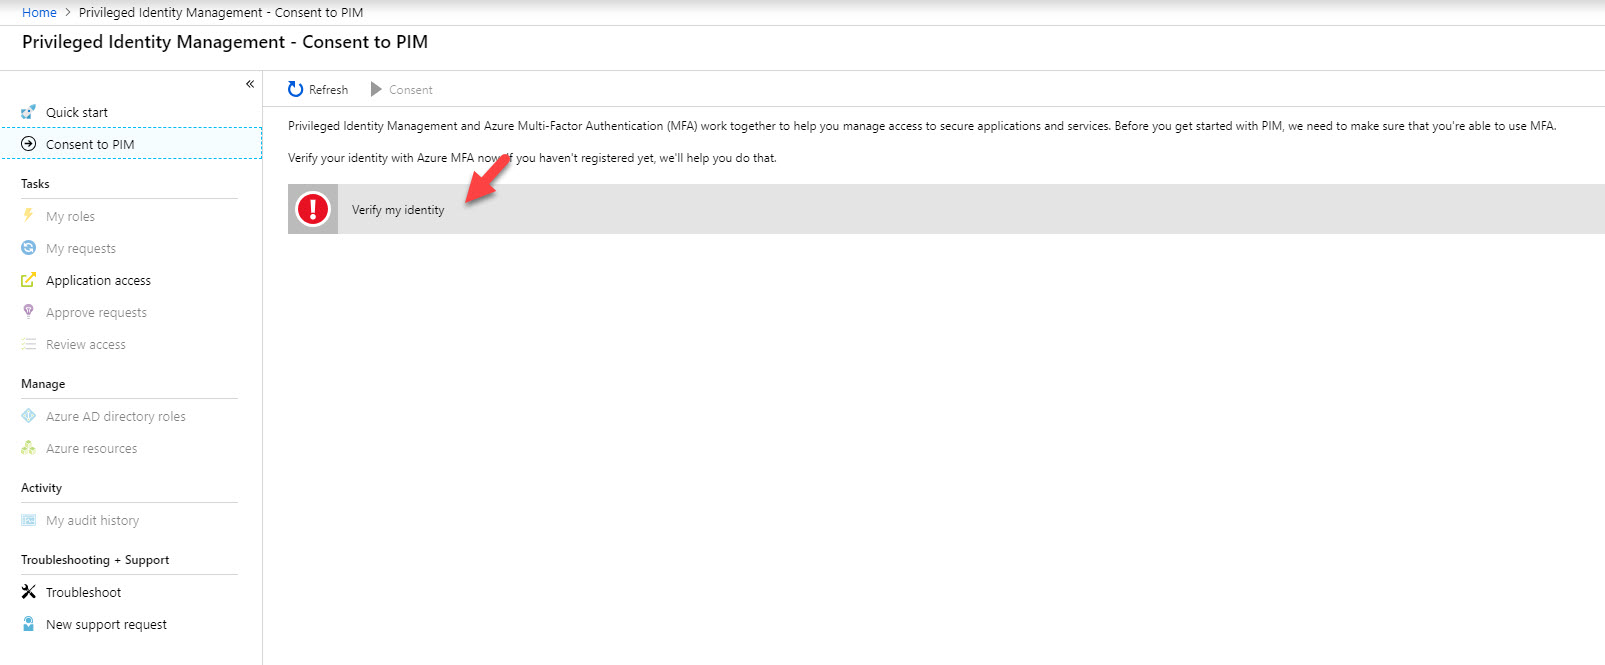
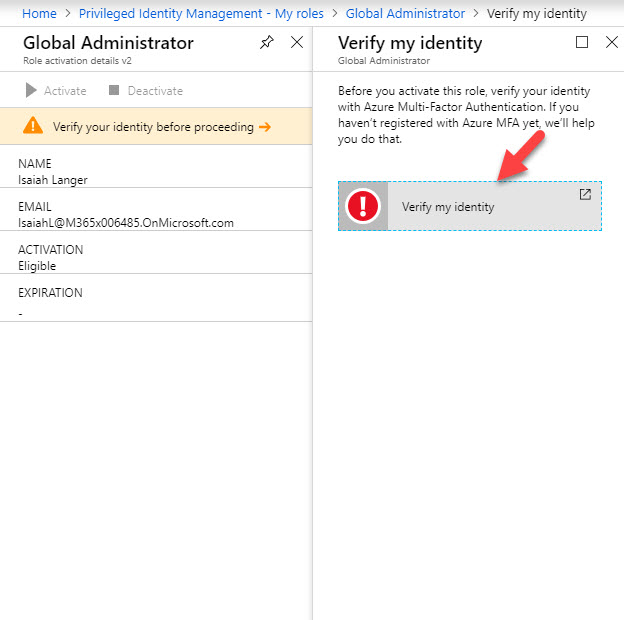
3. In first window it asks me to verify my MFA before proceed. This is because I do not have MFA setup for my account. Click on verify my identity option.
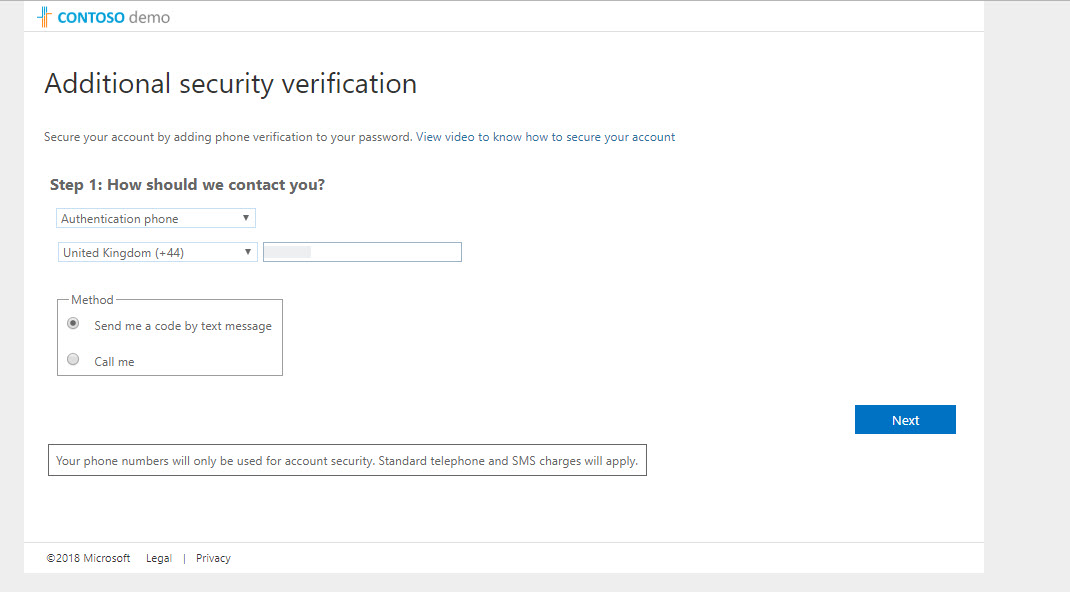
4. Then it goes through MFA setup process. Please complete sign up process to continue.
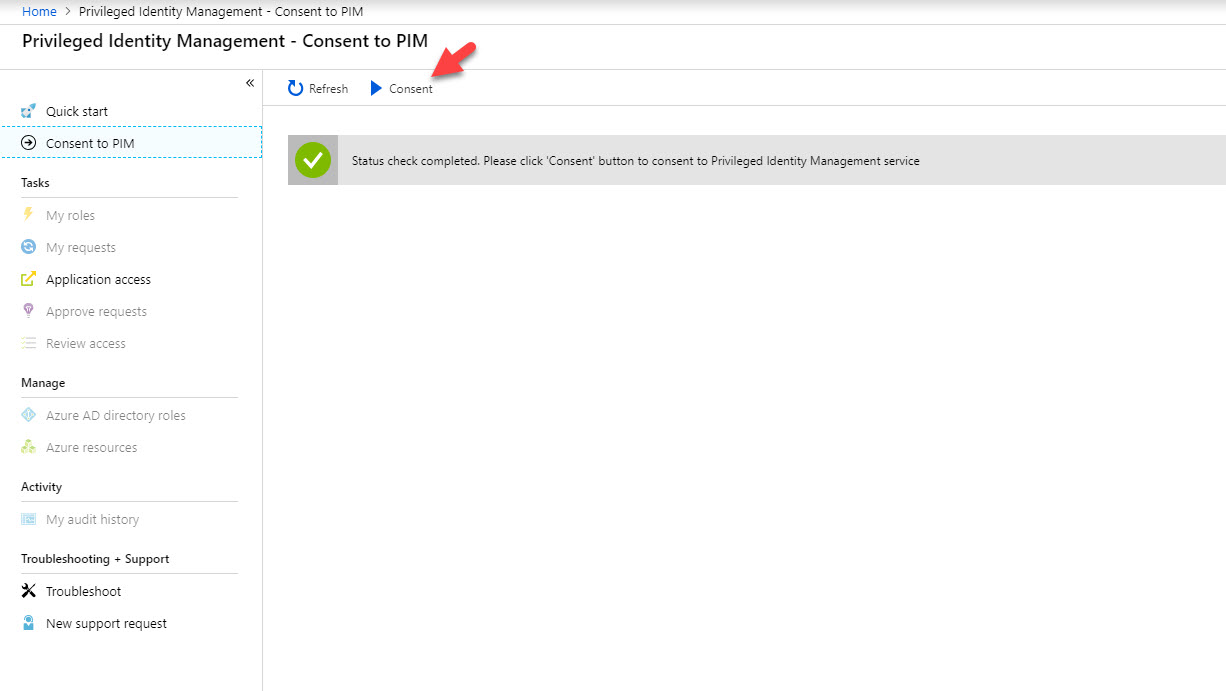
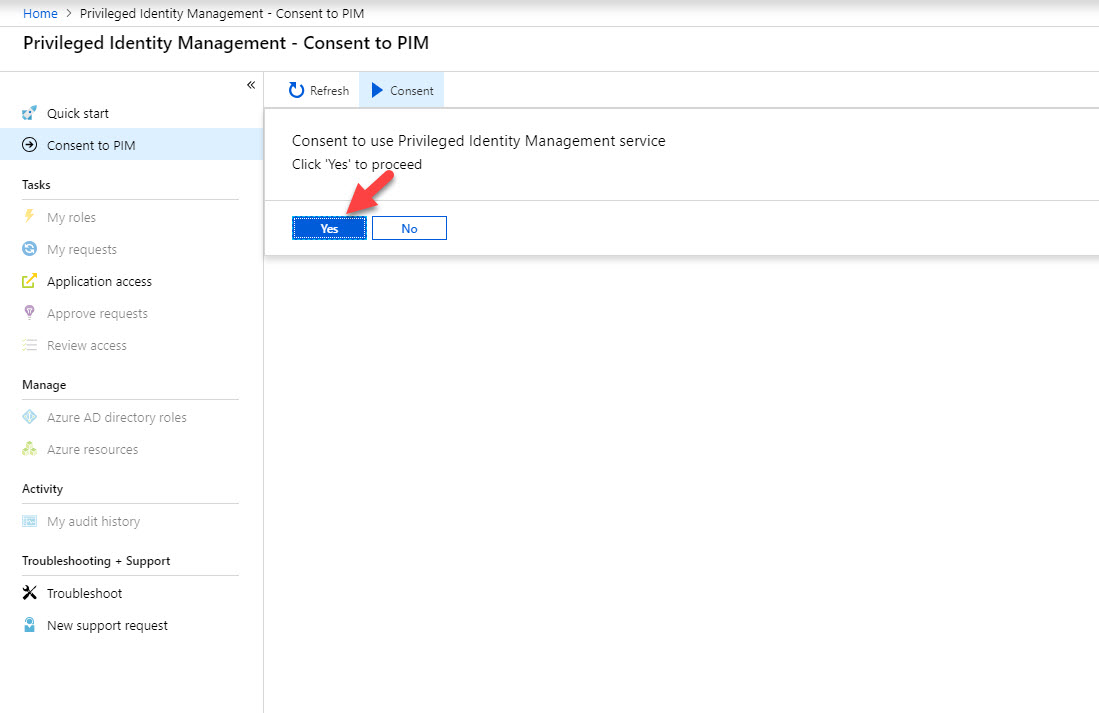
5. Once process is completed it will load the PIM page again. Click on Consent to proceed.
6. Then click on Yes to proceed.
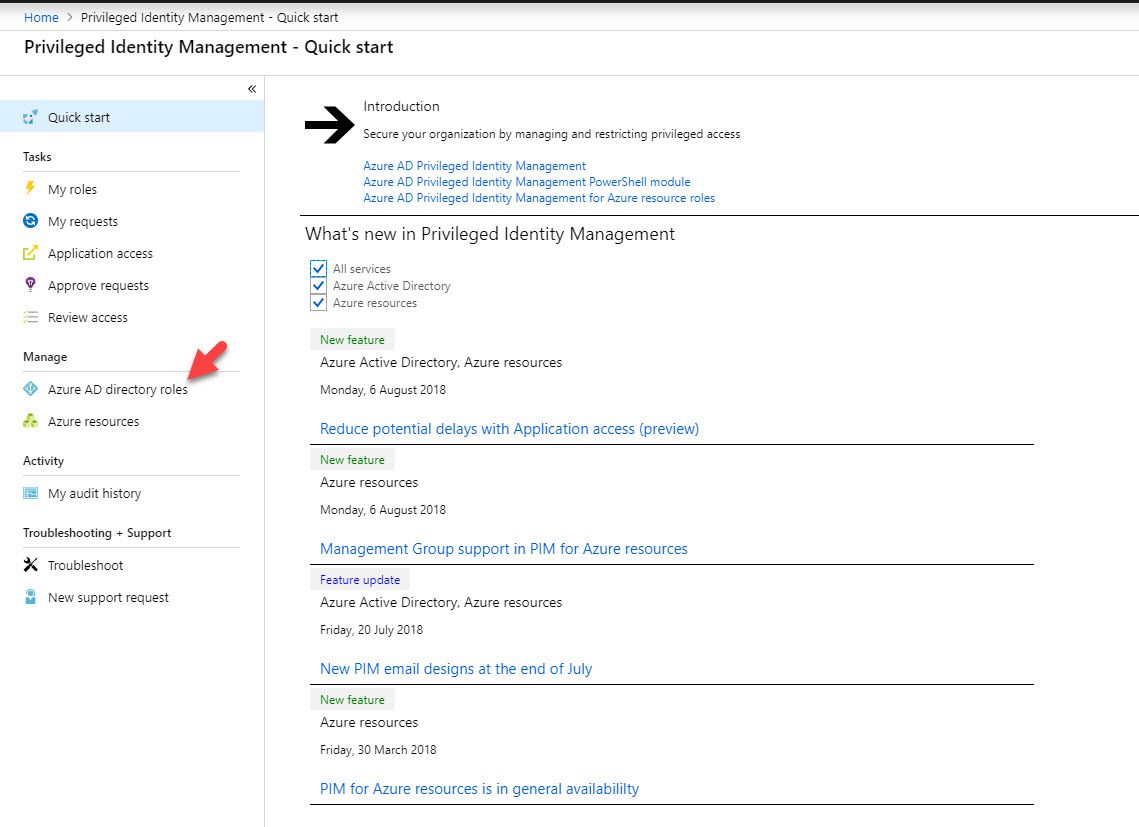
7. After service is initiated, click on Azure AD directory roles.
8. Then click on Sign up to proceed.
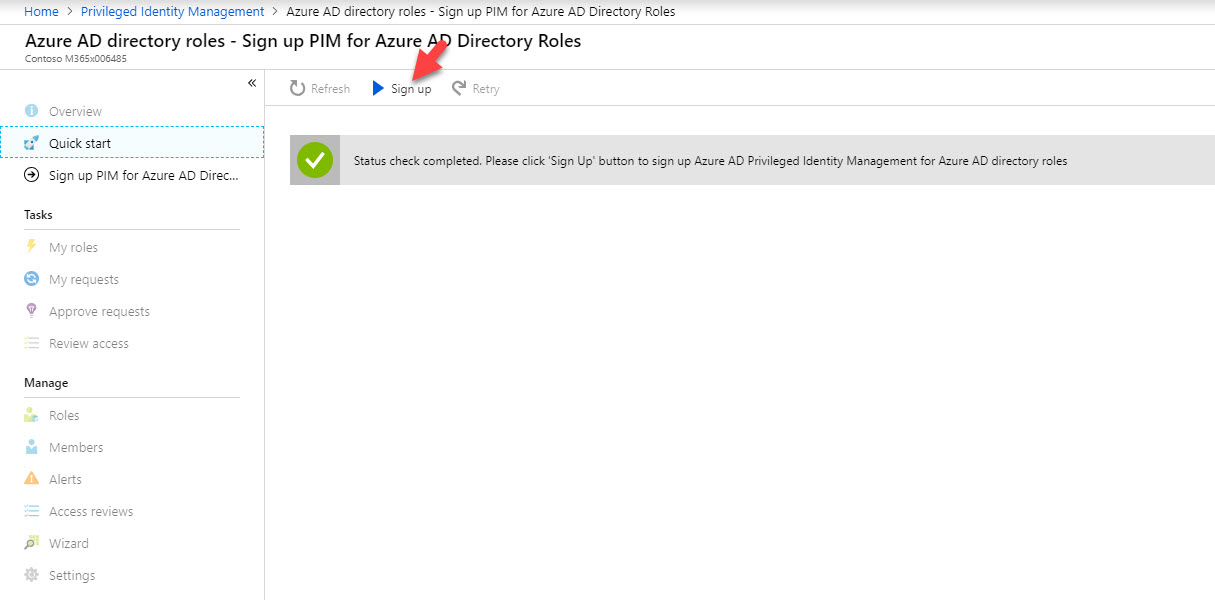
9. Click Yes to proceed

10. In new page, click on Admin View
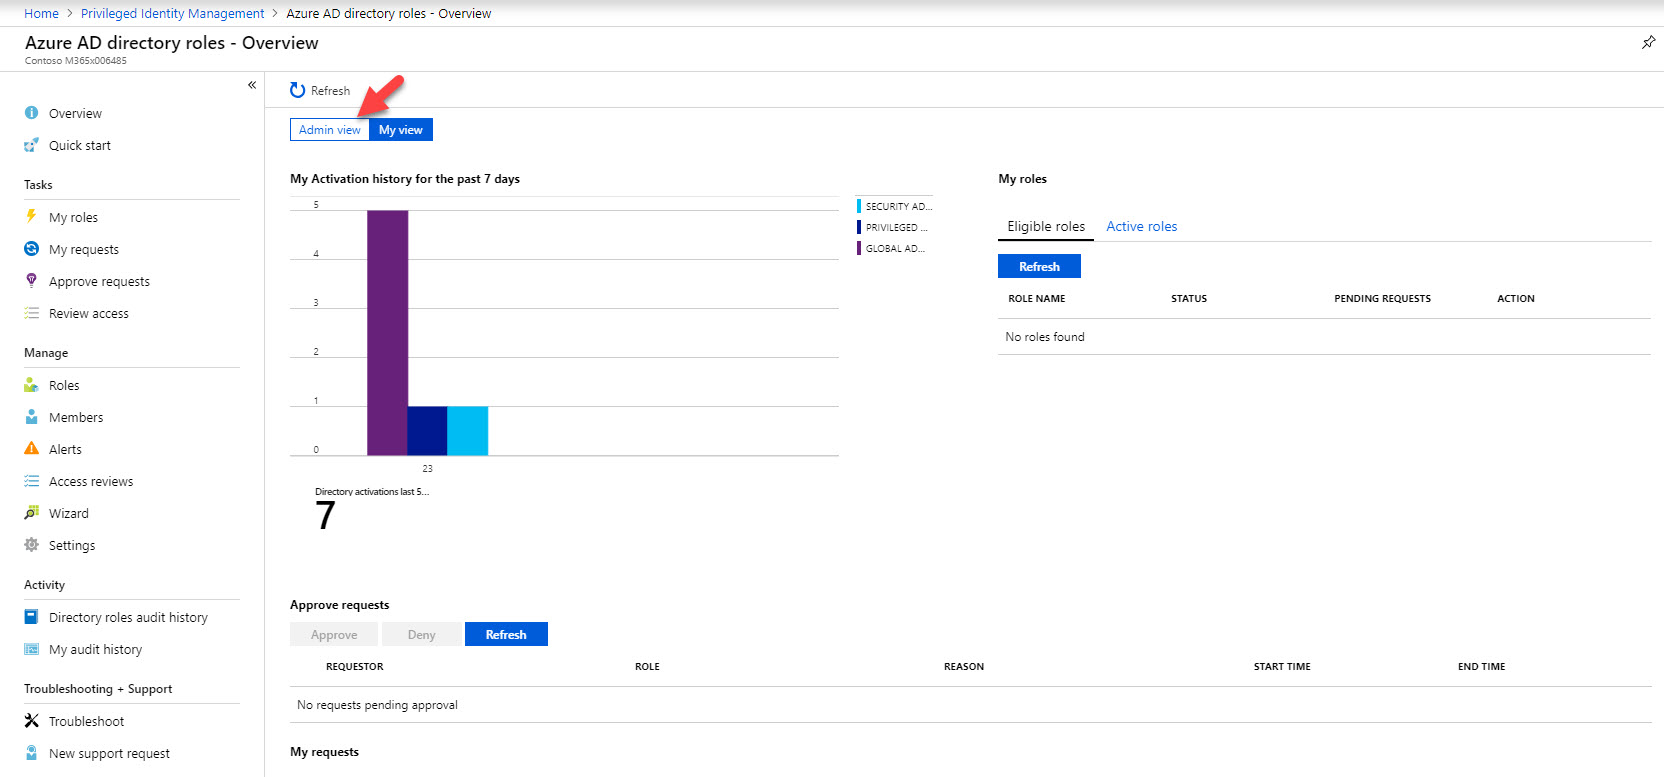
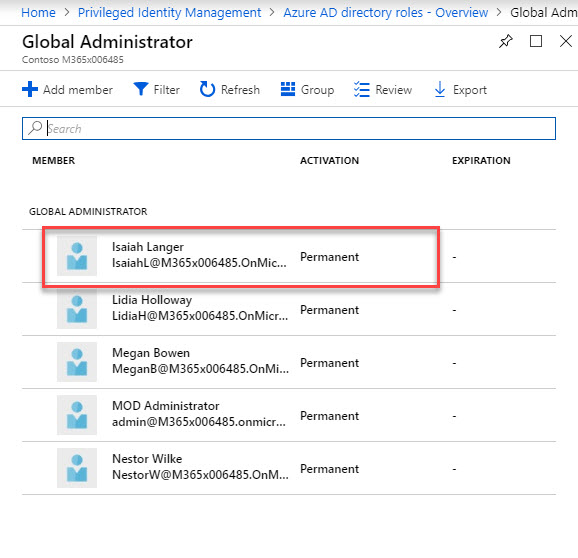
11. Then under directory roles click on Global Administrator.
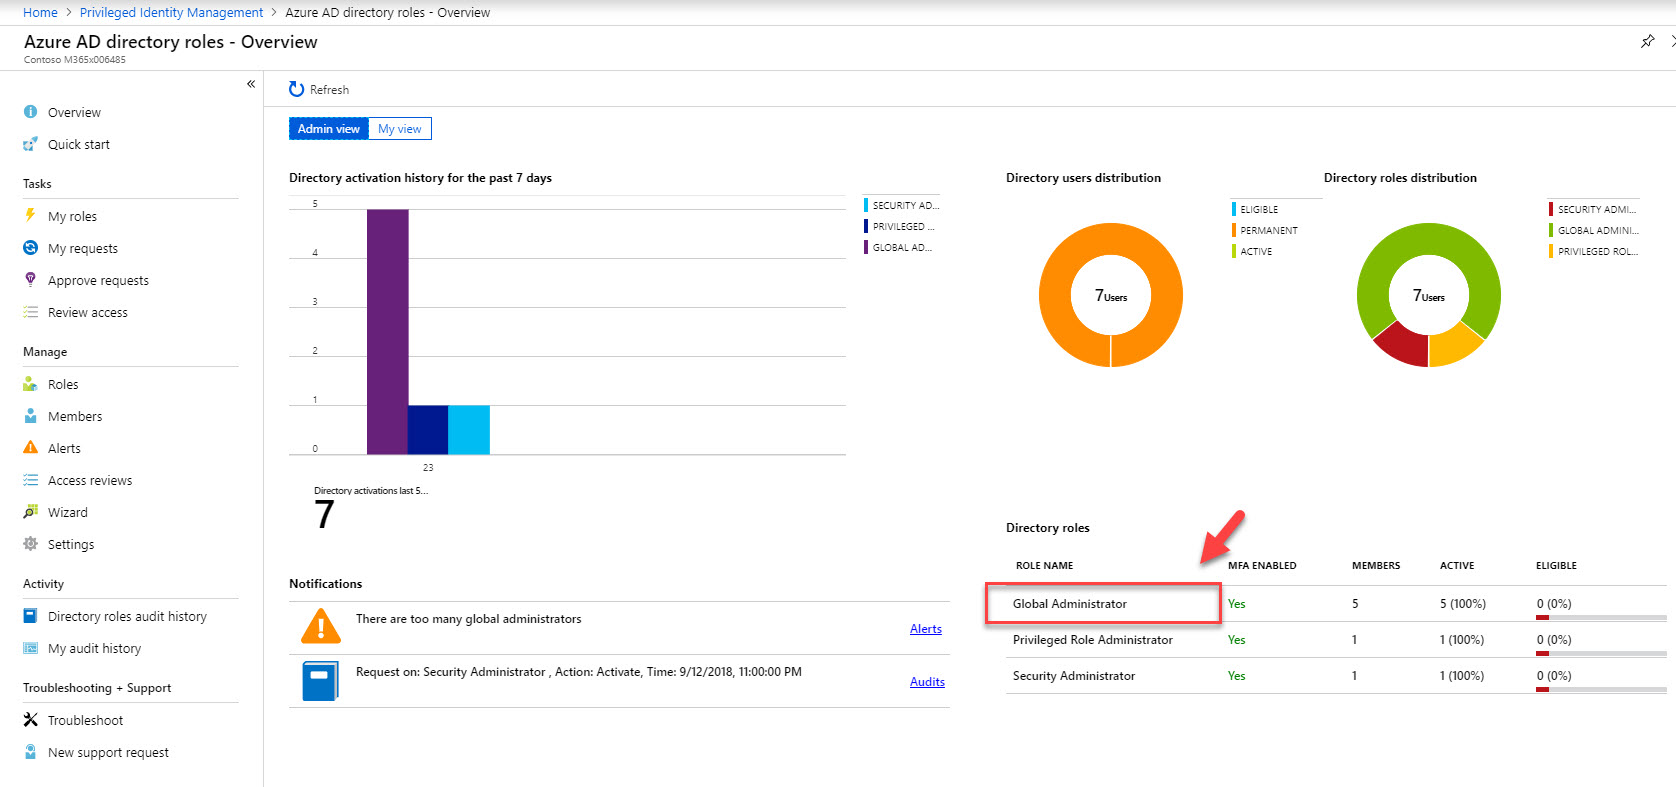
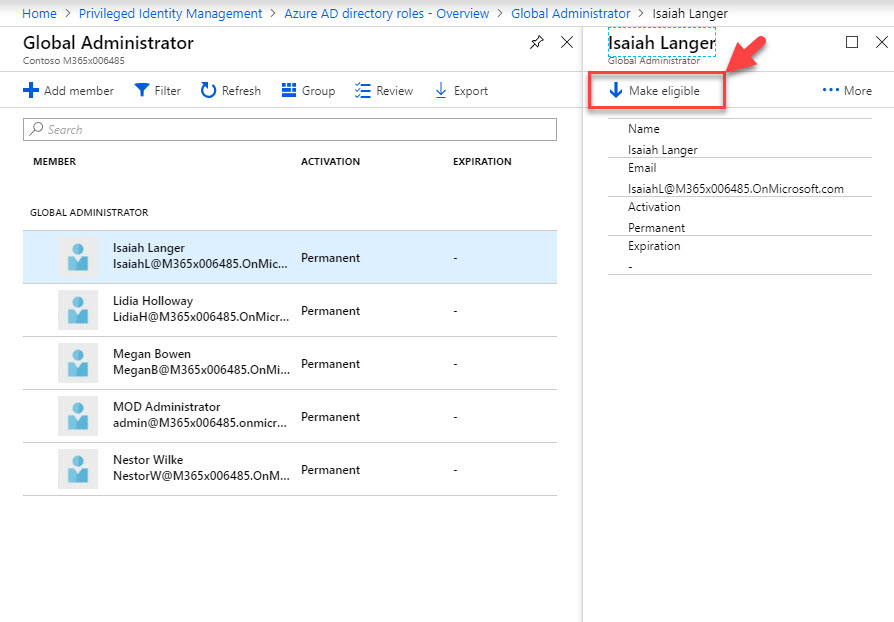
12. According to this, Isaiah Langer is a permanent global admin at the moment. I need to change it to time based membership. To do that click on user and then click on Make eligible.
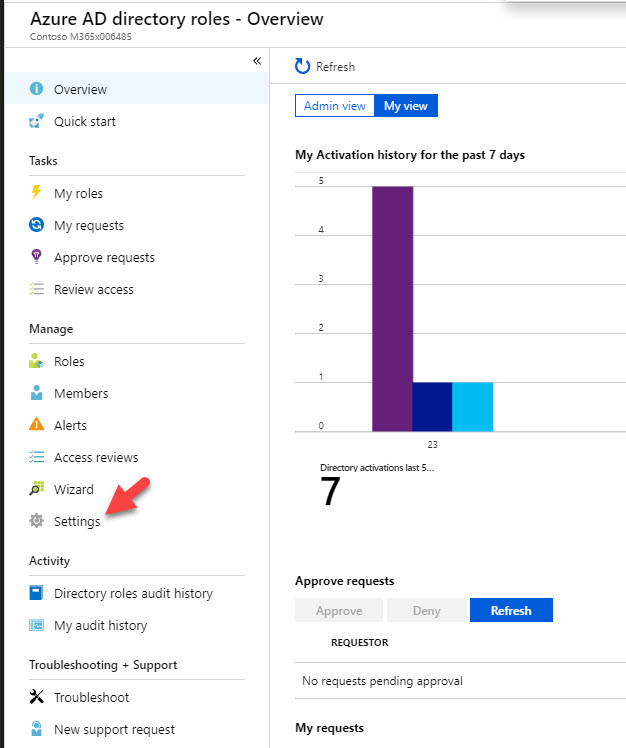
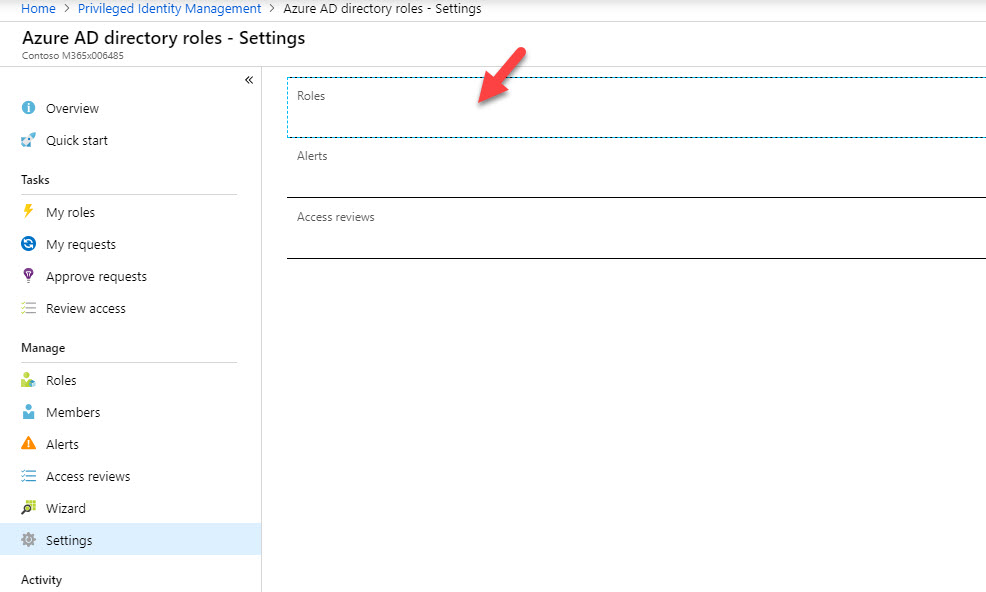
13. Once it is completed, go back to Azure AD directory roles home page and click on Settings
14. Then click on Roles
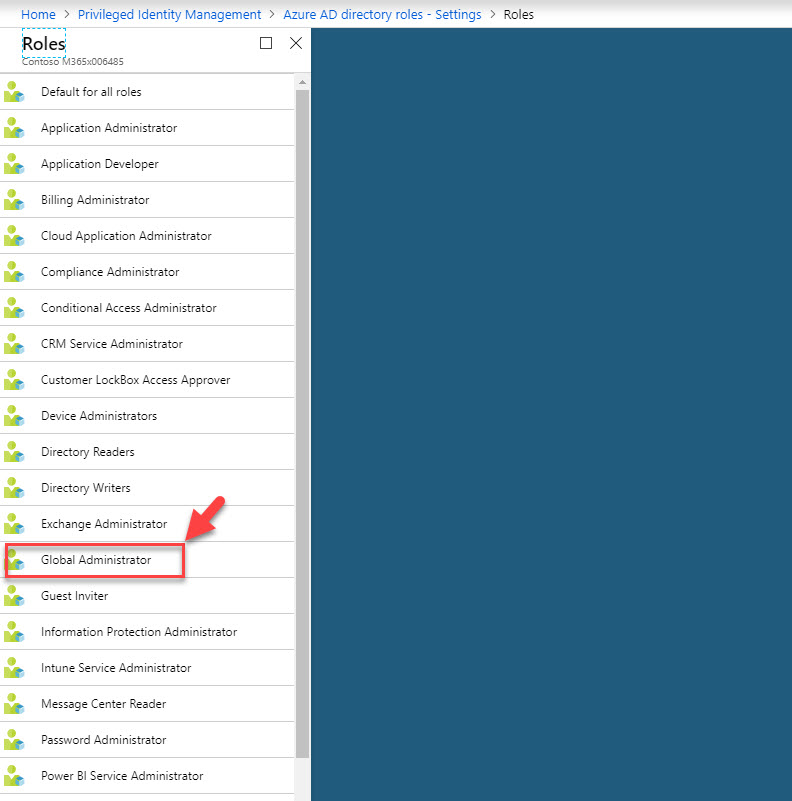
15. From the roles list, click on Global Administrator
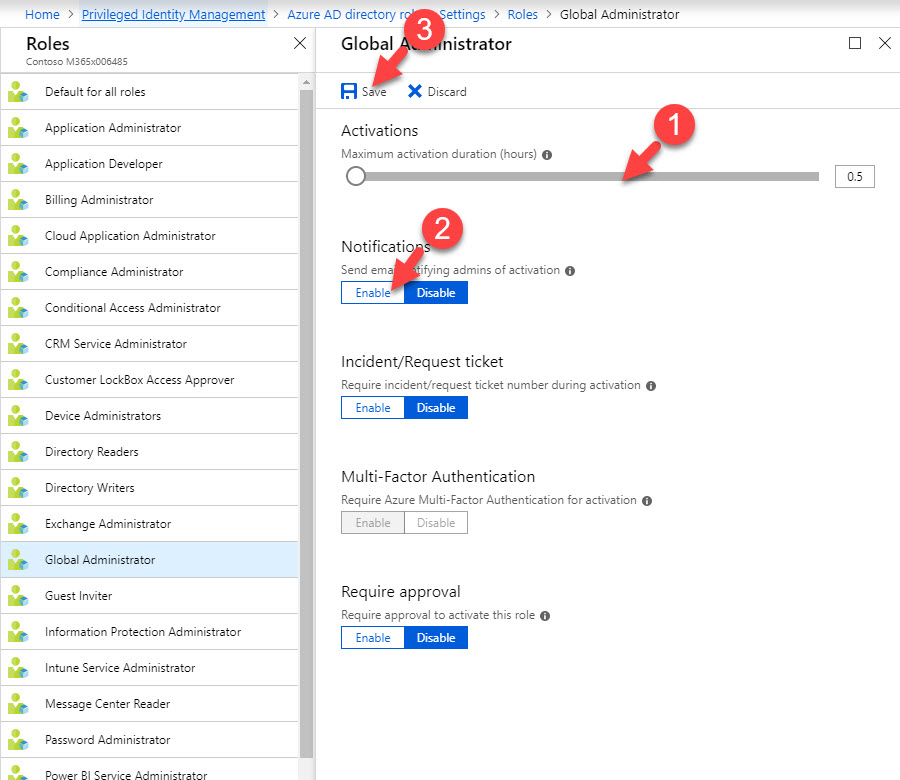
16. In new panel, set Maximum activation duration as 0.5 hours. Also click Enable under notification. Once settings in place, click on Save.
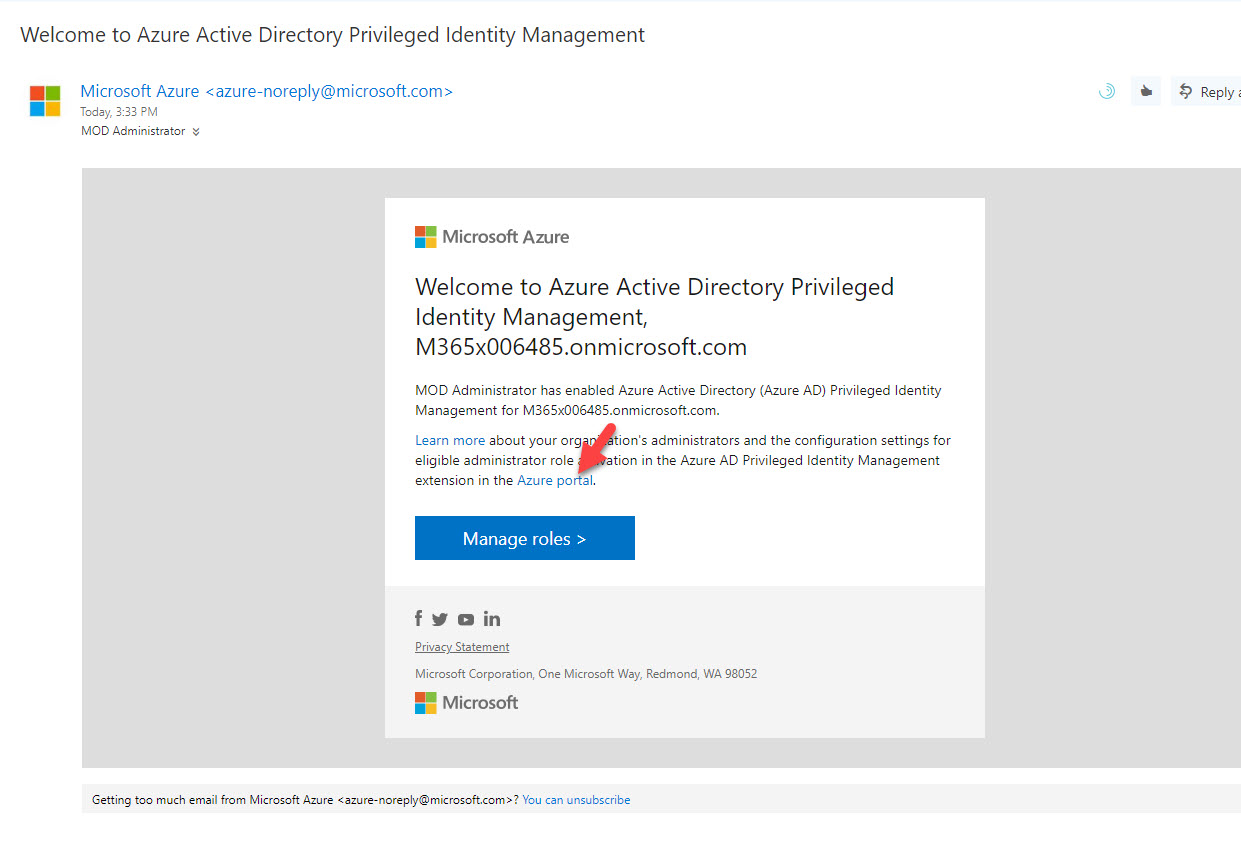
17. Now we have settings in place. To test it, go to https://outlook.office365.com/ and login as user Isaiah Langer. In there I can see an email from Azure PIM. Click on Azure Portal link.
18. Then log in to portal as Isaiah Langer
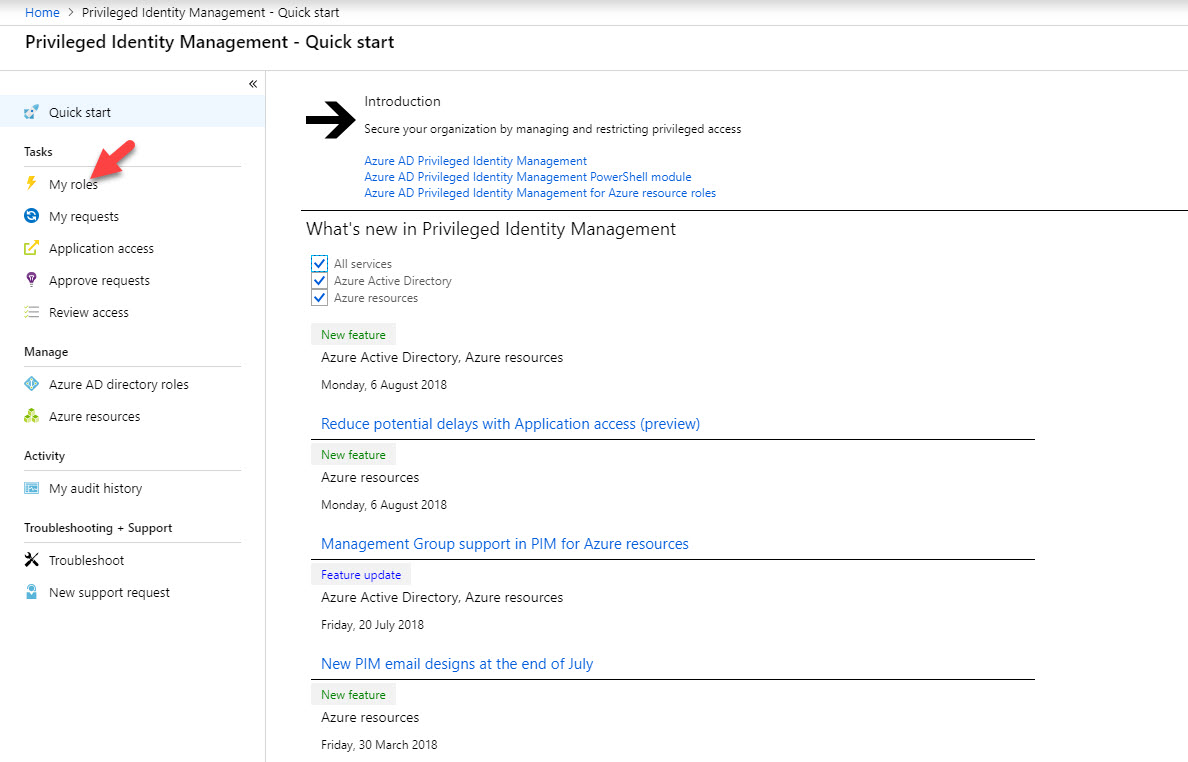
19. After login go to More Services | Azure AD PIM
20. Then click on My Roles. If you do not have MFA activated for this account, you have to follow same steps to complete MFA sign up process.
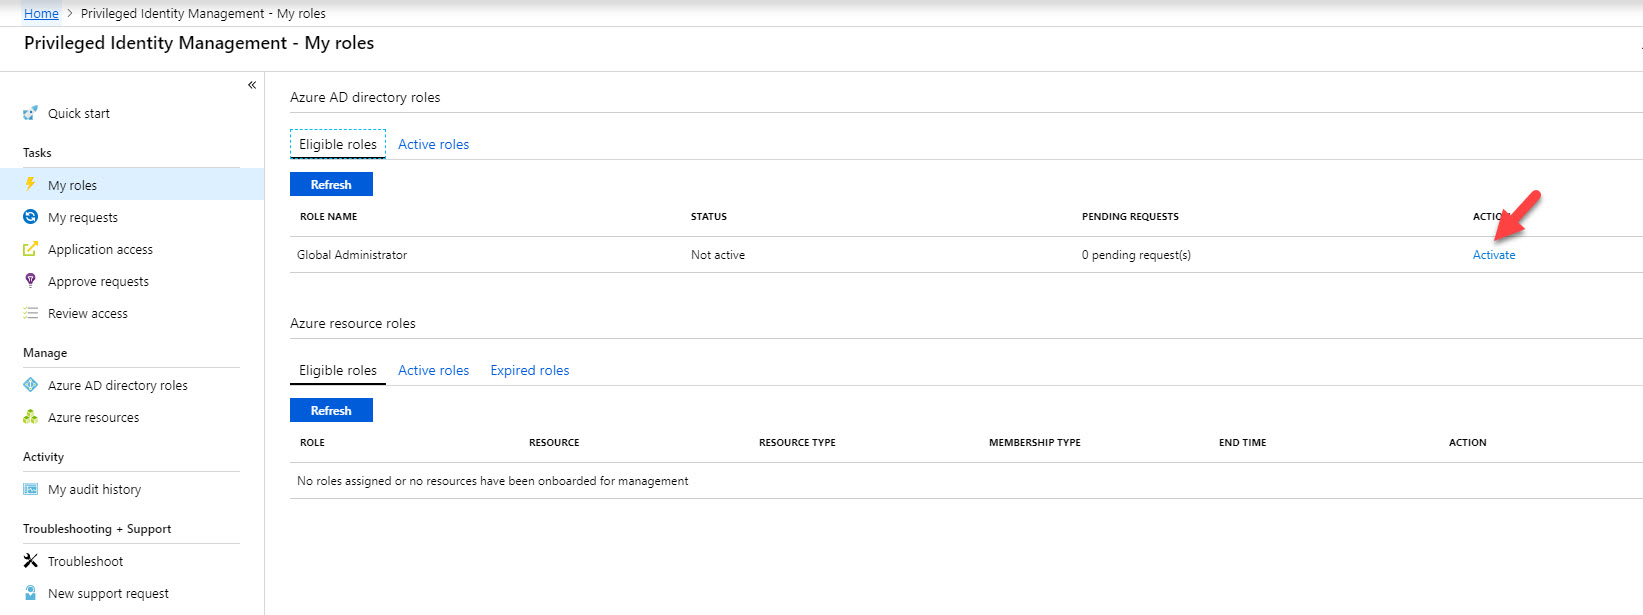
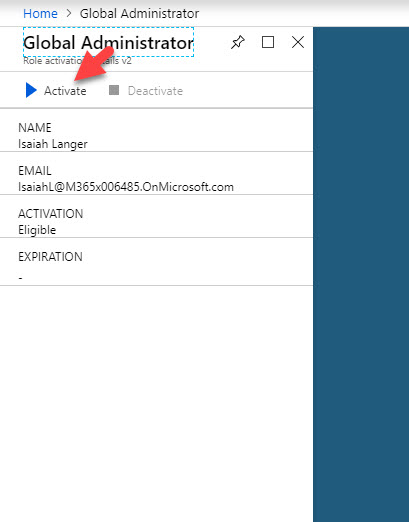
21. Now we can see Global Administrator role under eligible role. Click on Activate.
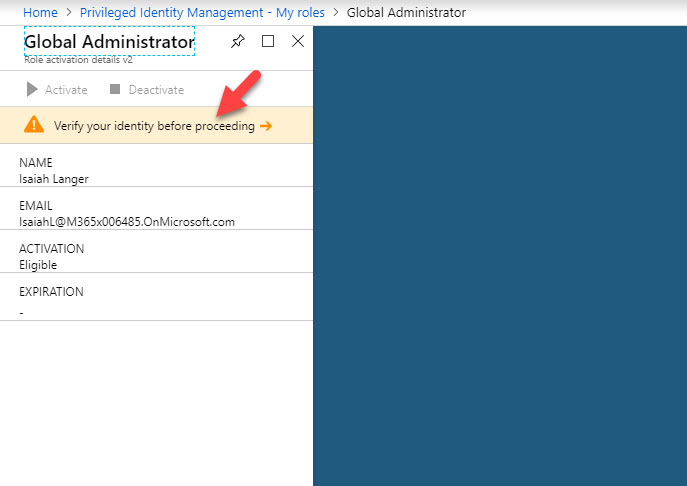
22. In next window it asks to use MFA to verify account before proceed.
23. Once account verification is done, click on Activate
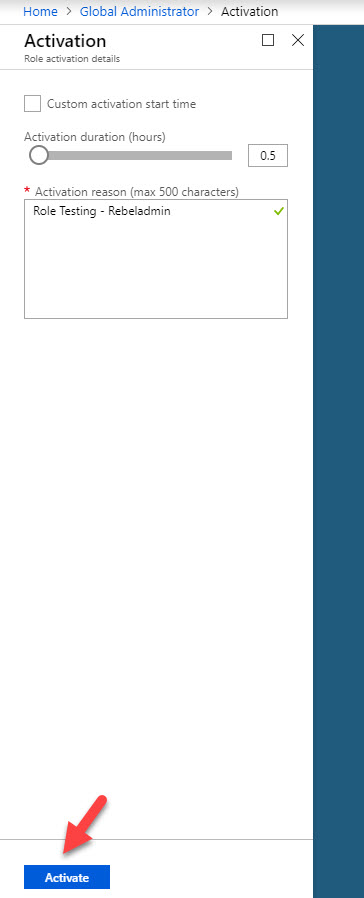
24. In next window, type reason for activation and click on Activate. If you need, using custom activation start time option we can set time to initiate the activation.
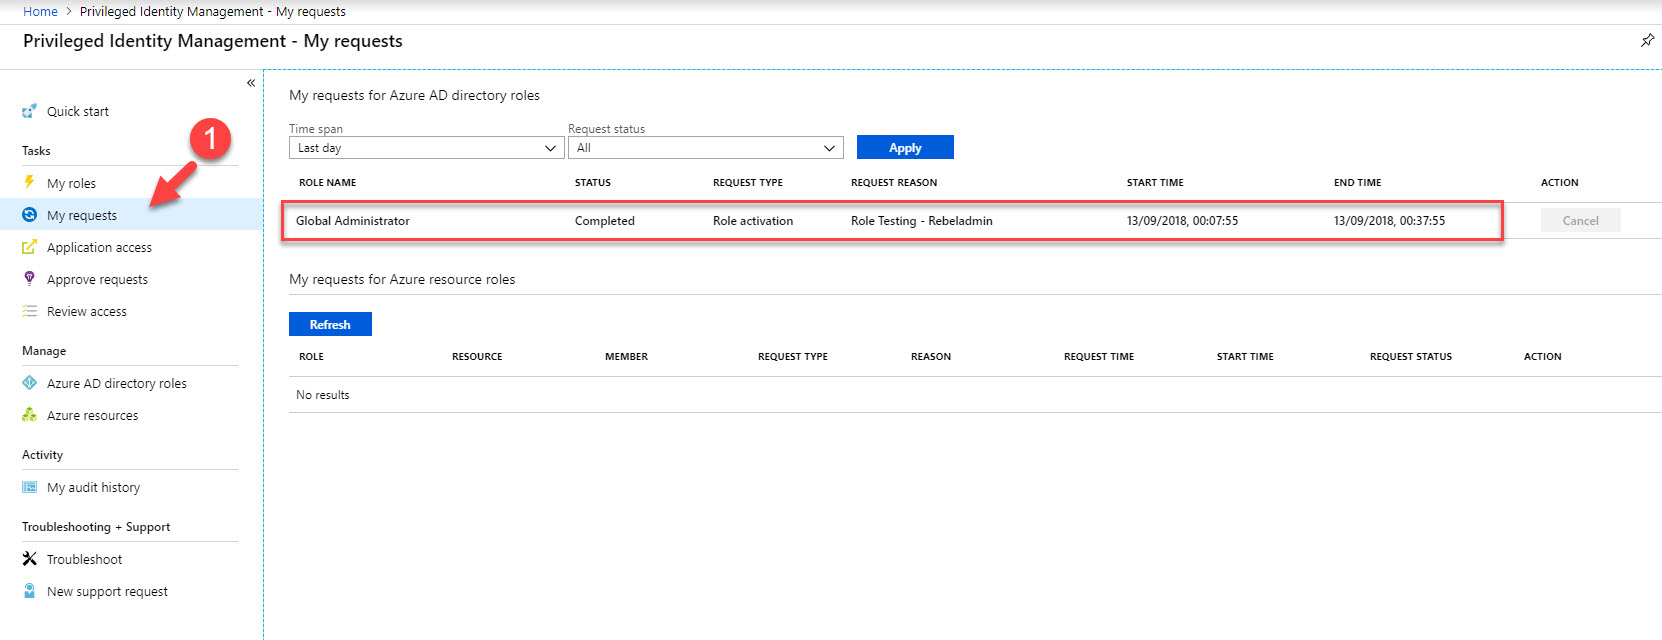
25. Then go back to home page and click on My requests. there we can see the status of the request. In here the request was completed and user got global admin privileges for 30 minutes.
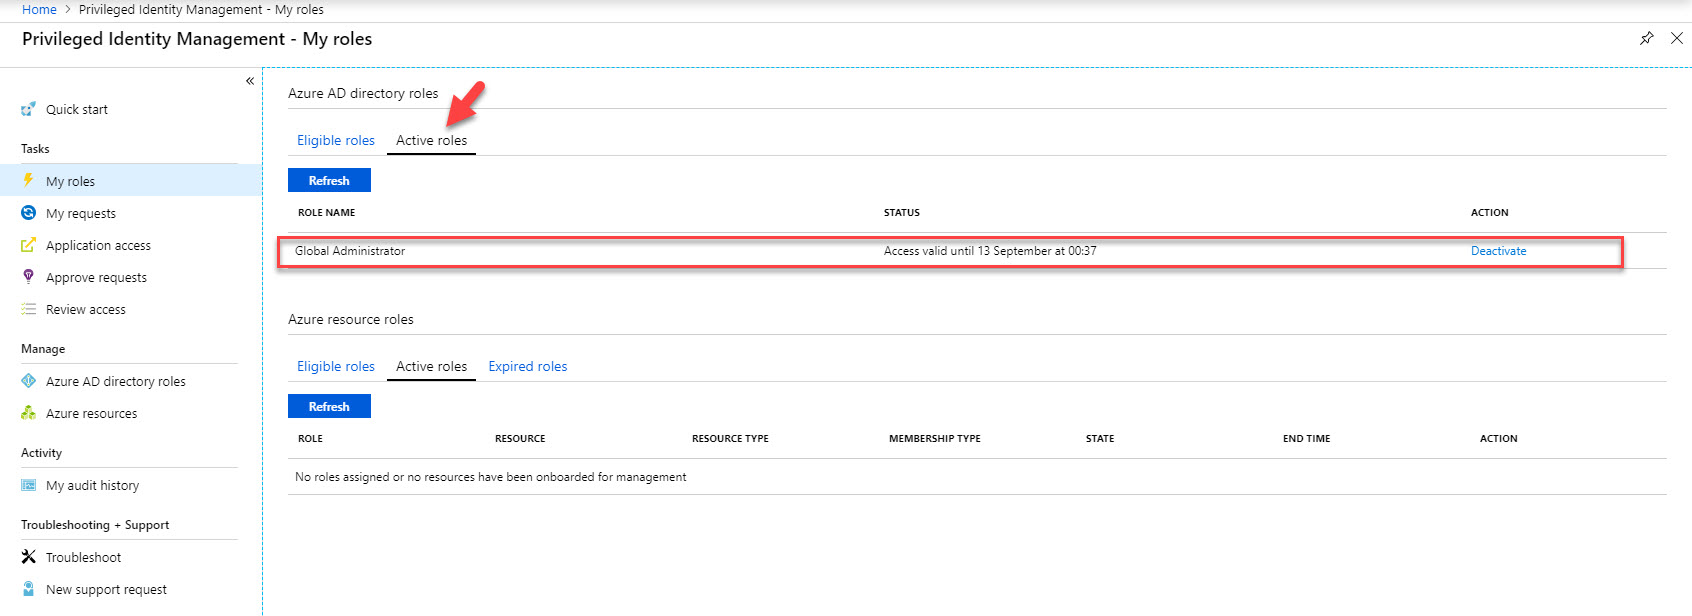
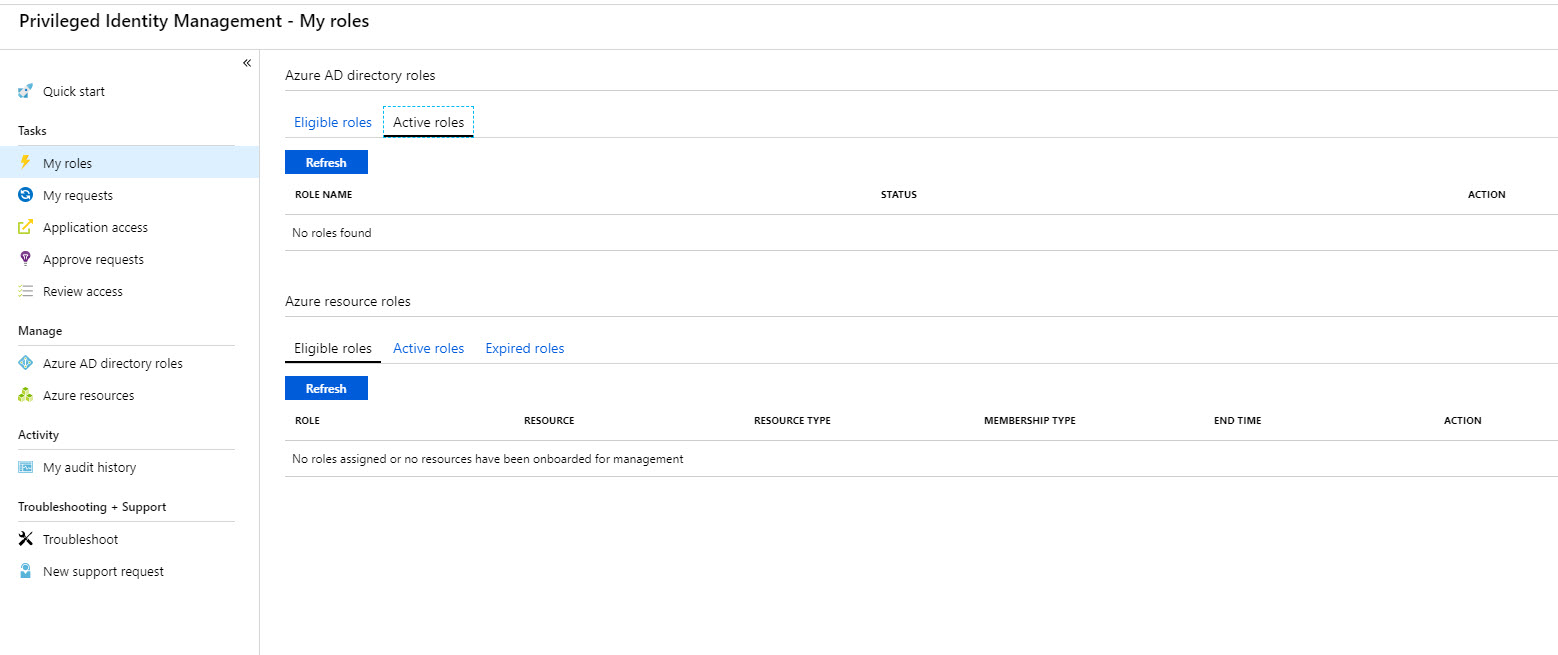
26. Also, under My Roles | Active Roles now I can see the Global Administrator role.
27. As expected, after 30 minutes no longer can see global admin role under active roles.
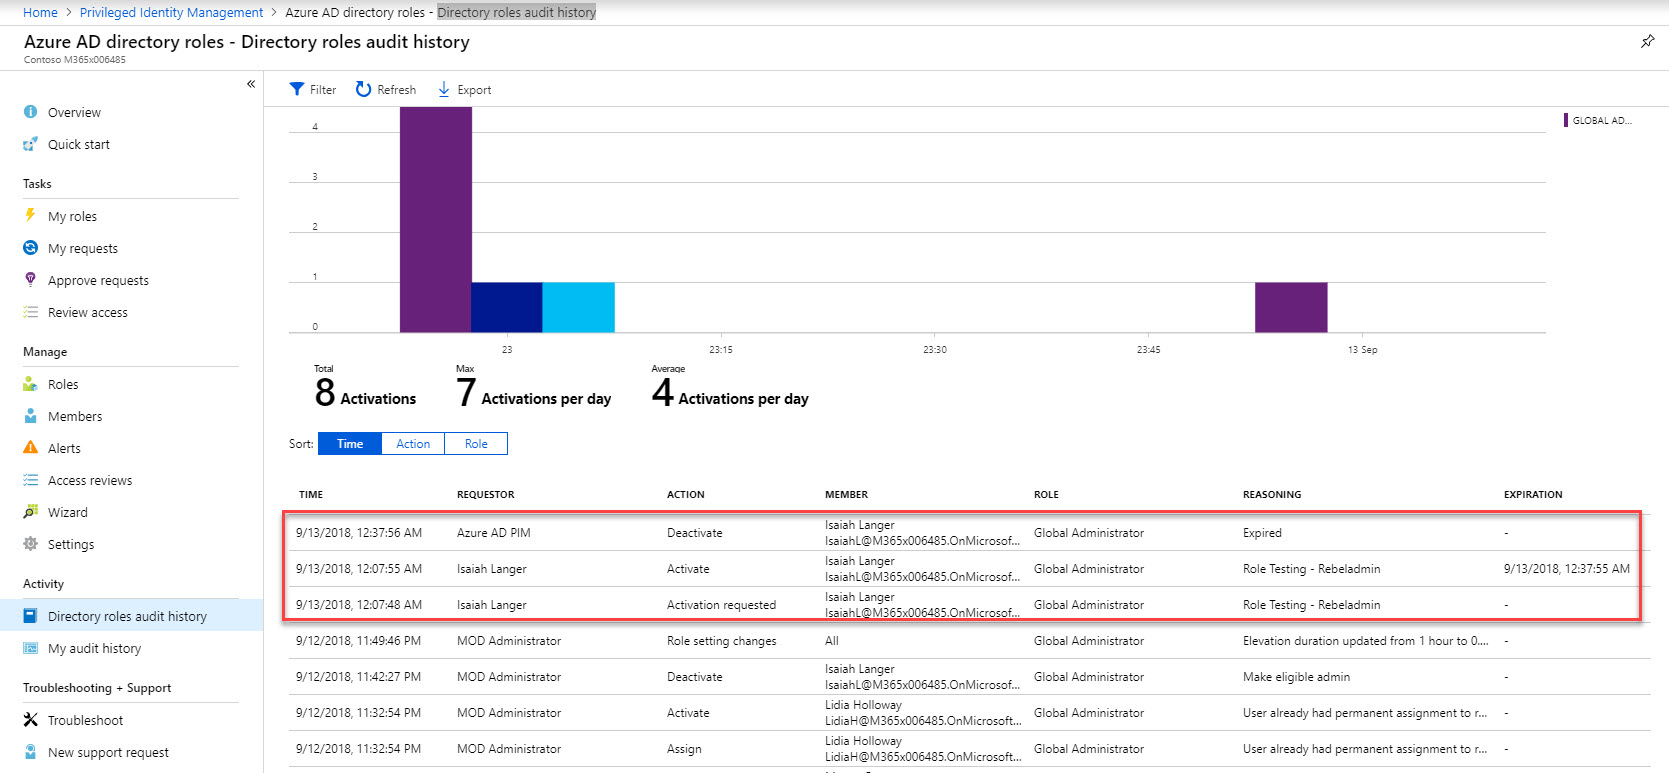
28. If we log in to azure portal as global admin and navigate to PIM | Azure AD directory roles | Directory roles audit history we can see all the activity history for role activation.
This marks the end of this blog post. Hope now you have better understanding how enable time-based privilege access using Azure AD PIM. If you have any further questions feel free to contact me on rebeladm@live.com also follow me on twitter @rebeladm to get updates about new blog posts.


How about if we needed the Just In Time access for half an hour on a daily basis? What setting needs to be configured?