
From Windows server 2012 Microsoft introduce feature to allow clone on domain controller. It helps to quickly restore a domain controller in event of failure and also it helps to deploy test environments easily when needed.
In previous, if you clone a domain controller, it will not allow to deploy on same domain or the forest without running sysprep to remove security information before cloning. Then afterwards you need to promote the domain manually. But now when clone domain controller it will do the sysprep and promote process automatically.
For the demo purpose I am using a windows 2012 R2 domain controller which is deployed in Hyper-V environment.
1) Log in to the Source Domain controller as Domain admin or Enterprise administrator
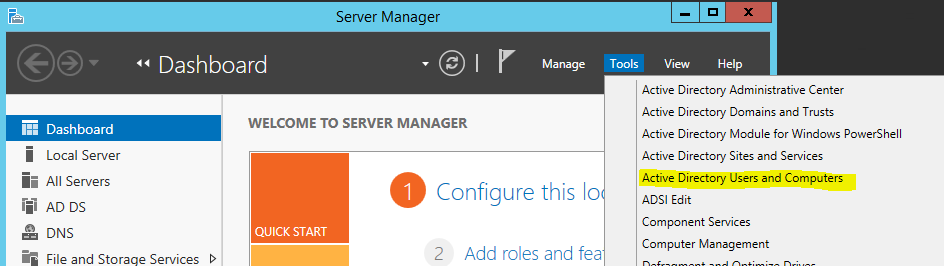
2) Go to Server Manager > Tools > Active Directory Users and Computers
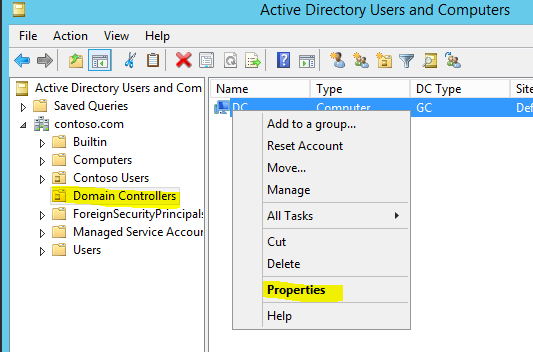
3) Then go to “Domain Controllers” OU. Select the DC needs to clone and right click to select properties.
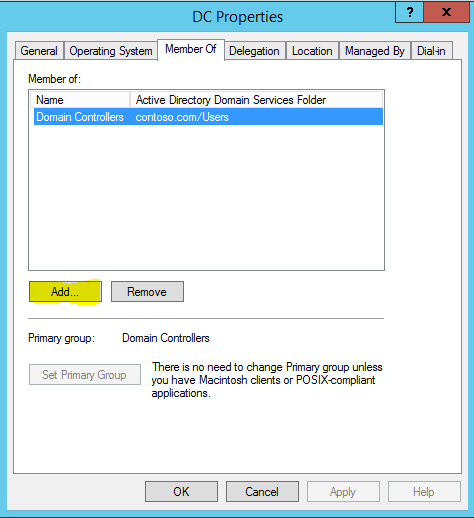
4) Go to member of tab and click on Add.
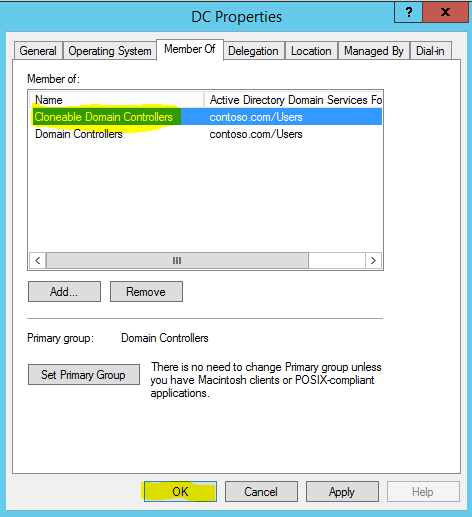
5) Then add security group Cloneable Domain Controllers and click ok.
6) Close the mmc and load the windows PowerShell with admin rights. Then type and enter Get-ADDCCloningExcludedApplicationList . This will check the system if there is program which will not compatible with the clone process.
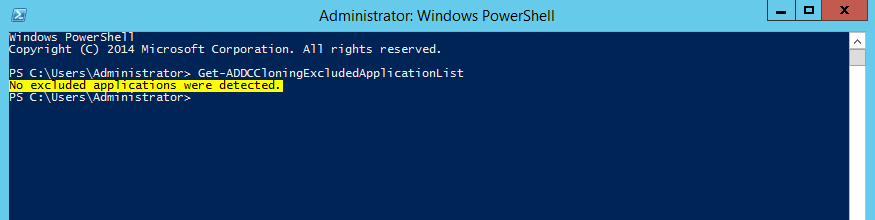
7) If it’s comes up with list make sure those services are removed before clone.
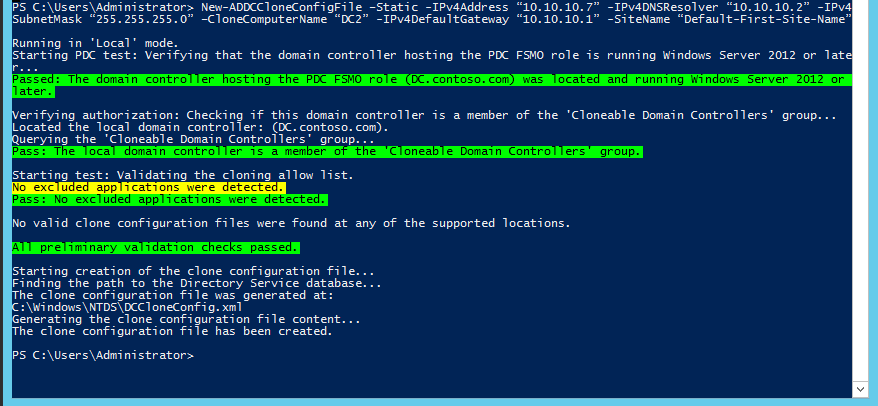
8) After cleanup process type
New-ADDCCloneConfi gFile –Static -IPv4Address “10.10.10.7” -IPv4DNSResolver “10.10.10.2” -IPv4SubnetMask “255.255.255.0” –CloneComputerName “DC2” -IPv4DefaultGateway “10.10.10.1” -SiteName “Default-First-Site-Name”
In here I specify the ip address information it (the clone server) will hold. Also the computer name and site name.
9) Once its pass and completed the process, exit from the console and the server.
10) For next steps we need to turn off the source domain controller. So before proceed make sure organization is aware about the downtime and the impact.
11) Load the Hyper-V manager and right click on the DC which needs cloning. Then select Turn-off.
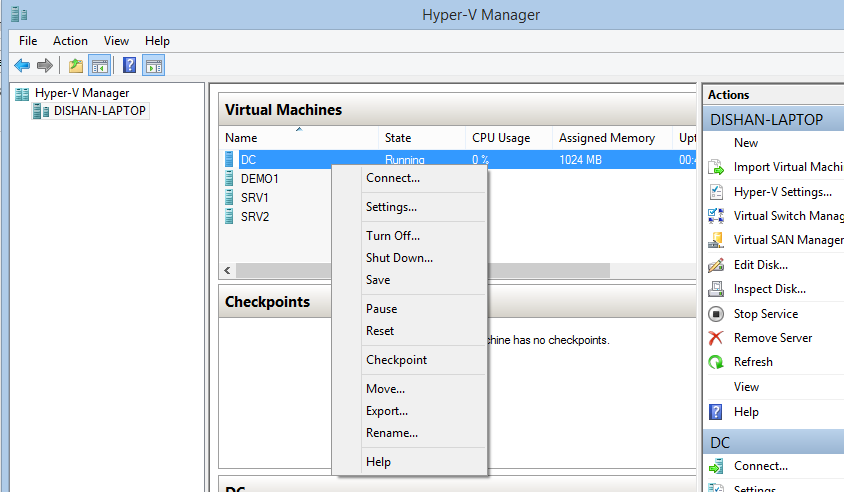
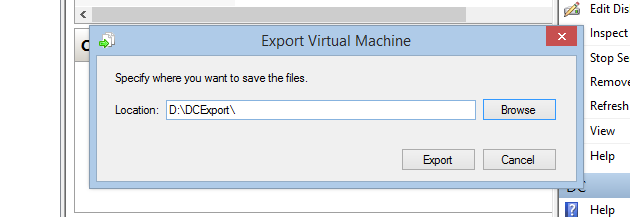
12) Once its turn off, right click on DC and select export. Then select the path to save the export file.

13) Once export process is completed, right click on the source dc and click on start.
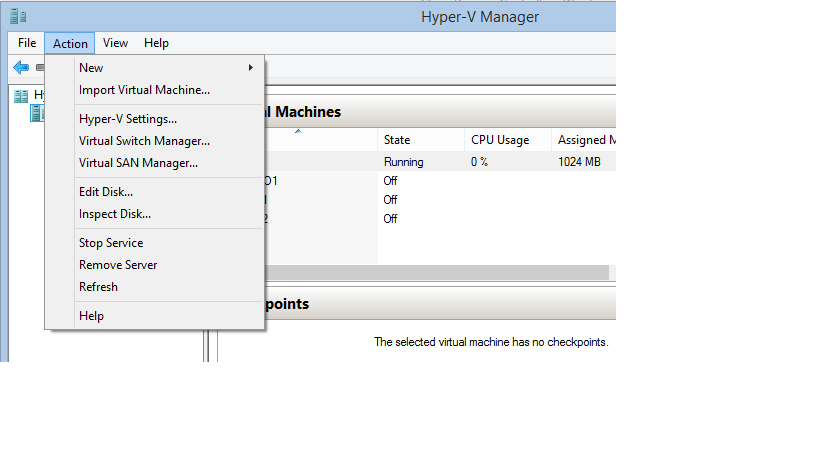
14) Then in Hyper-V go to Action > Import Virtual Machine
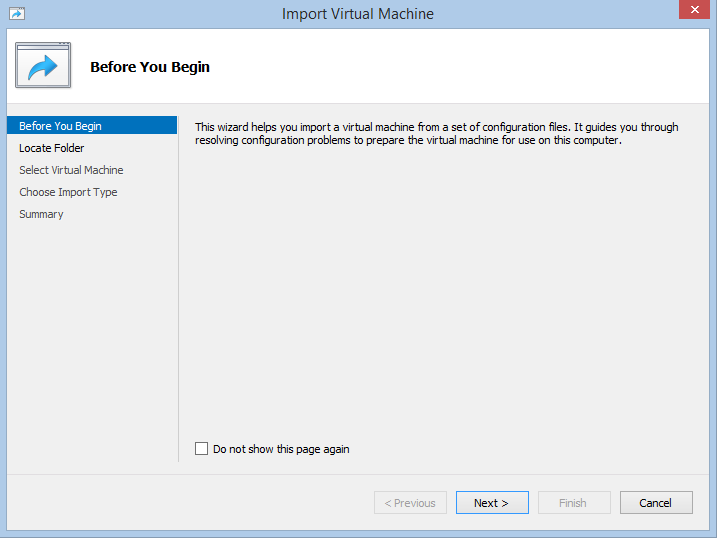
15) It will open up the import wizard and click next to continue.
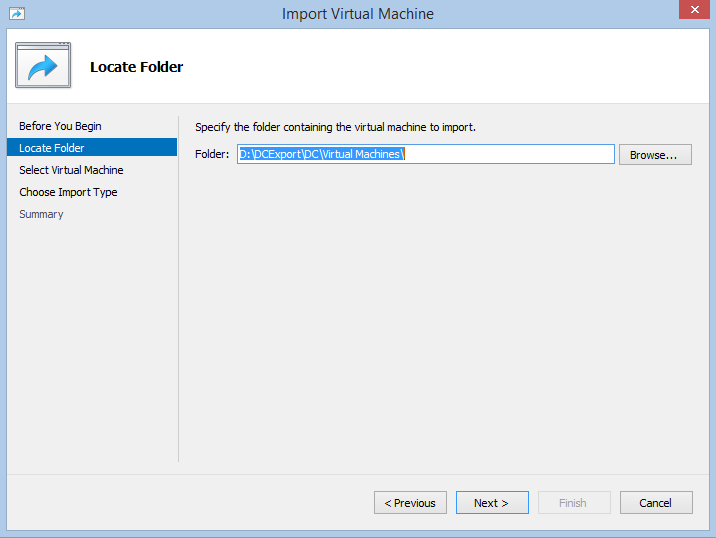
16) In next window specify the folder path to the exported DC. Then click next.
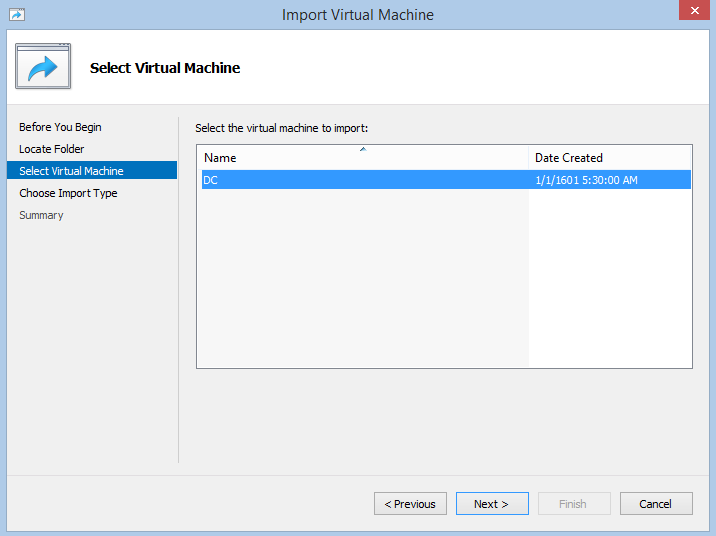
17) Next window to select the DC and click next
18) In next window from the list select “Copy the virtual machine (create a new unique ID )” option can click next.

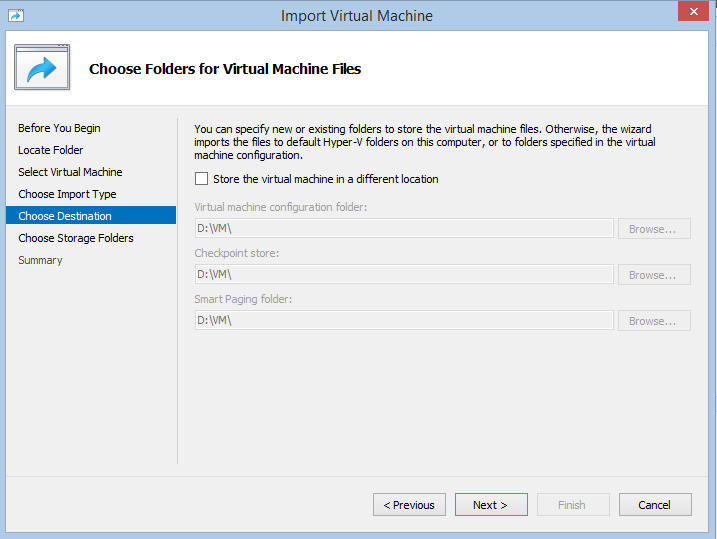
19) In next window it ask for the VM path. You can leave default or the different path based on your requirement. Once done click on next.
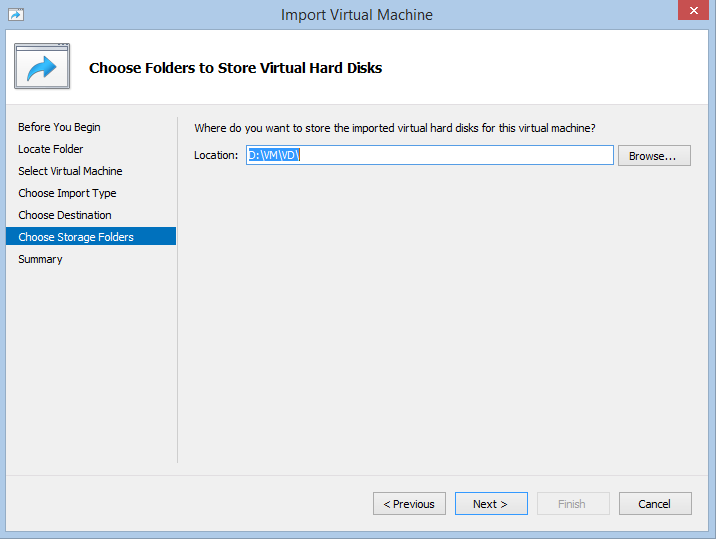
20) Next it’s ask for storage folder. Again it can change as per requirement. Once done click next.
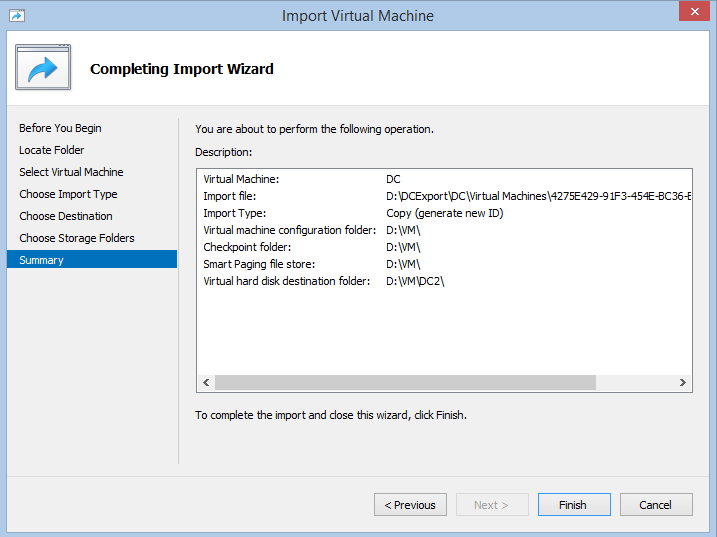
21) Then it gives a summary page. Click on finish to start the import process.
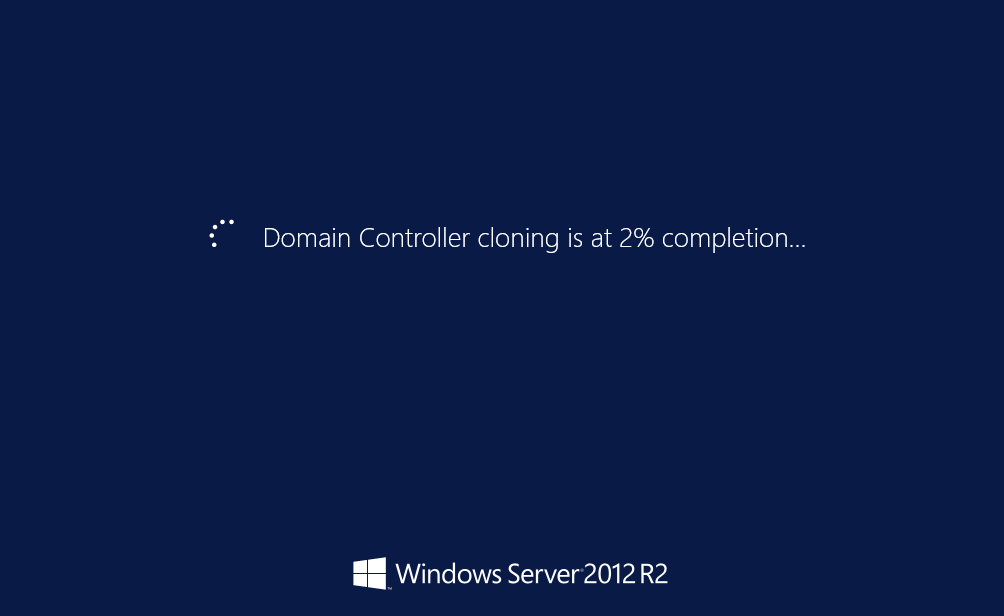
22) Once import is completed, right click on the clone dc and click on start.
23) It will runs under several stages preparing the AD.
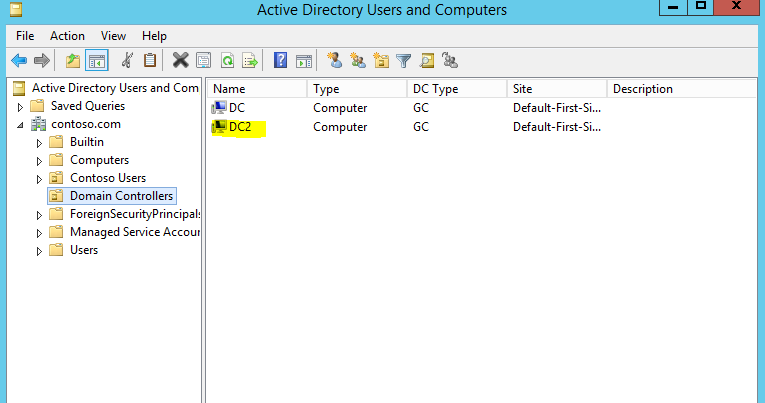
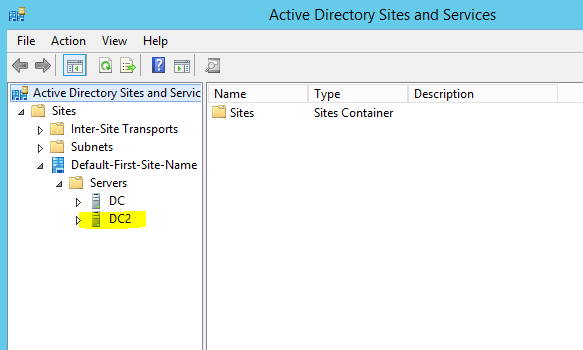
24) Once process is completed, l logged in to the server as domain admin. In Domain controller OU I can see the new clone dc. Also under site and services I can see the cloned dc located correctly.
This is the end of the post and if there is any question feel free to contact me on rebeladm@live.com


Thanks for this guide. I found it very helpful!
I have a lot of services listed when checking for incomatible software.
I would like to include my DHCP,DNS, Software like Firefox etc too. Is it true that this is not possible?
Thank you!
Thanks for Posting useful information