
This is the part 3 of the series of articles which explains about the AD FS and configuration. If you still not read the part 1 and 2 you can find it here.
Active Directory Federation Services (AD FS) – Part 1
Active Directory Federation Services (AD FS) – Part 2
In this post let’s see how we can install AD FS web application proxy. As I explain on part 1 of the series, web application proxy need to be installed in perimeter network. Using it we can authenticate AD FS users before allow access to published application in corporate network.
Installation of Web Application Proxy
External DNS record
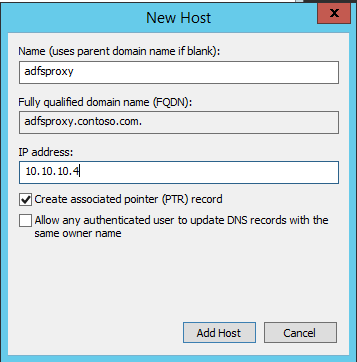
To access the web service from external it needs valid external DNS record which can use to connect from internet. If your organization DNS hosted in external make sure you create appropriate records and allow time for DNS propagation before proceed with the installation.
In here for the demo I have created DNS entry for host name adfsproxy.contoso.com and point it to the server which will use for the service install.
Valid SSL
To allow the HTTPS communication it is must to have valid SSL certificate in place to use with the proxy server. It can be from external SSL provider or via company CA. it needs to match with the DNS entry we created on previous step.
In demo I have created self-signed SSL and deploy it on the server.

Installation Steps
To start the installation, log in to the server you choose as domain admin or enterprise admin.
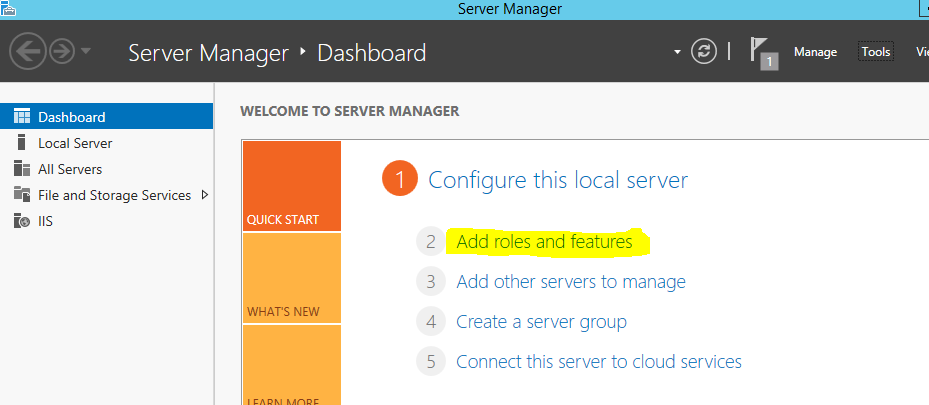
1) Load Server Manager > Add Roles and Features
2) It will open up the add roles and features wizard. Click next to continue.

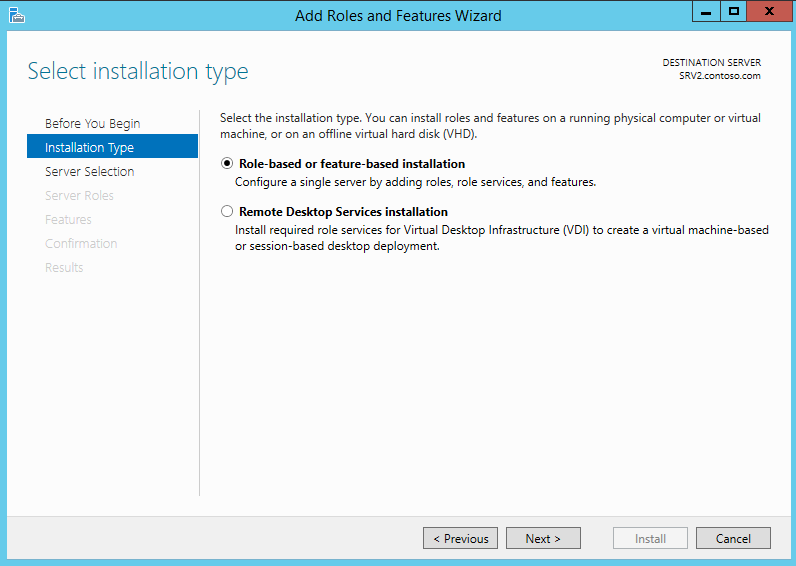
3) In next window keep selection as “Role-based or feature-based installation” and click next to continue.
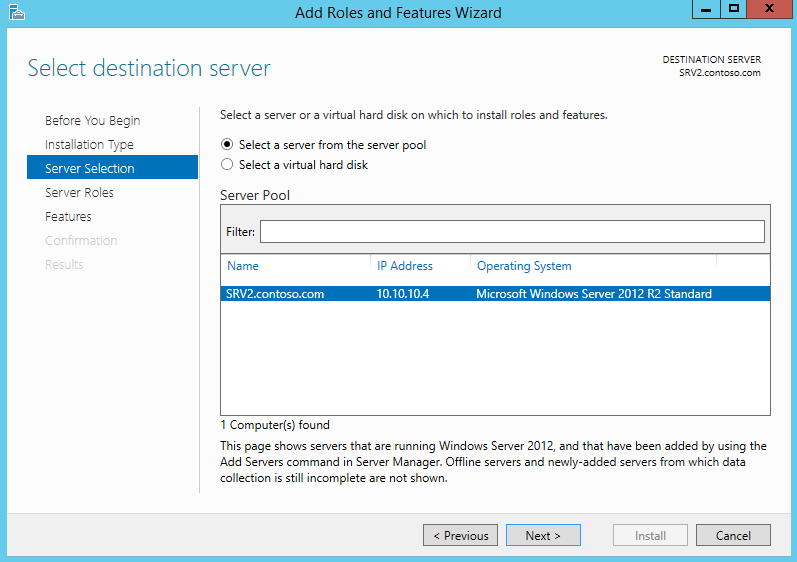
4) In next window keep the default selection and click next to continue.
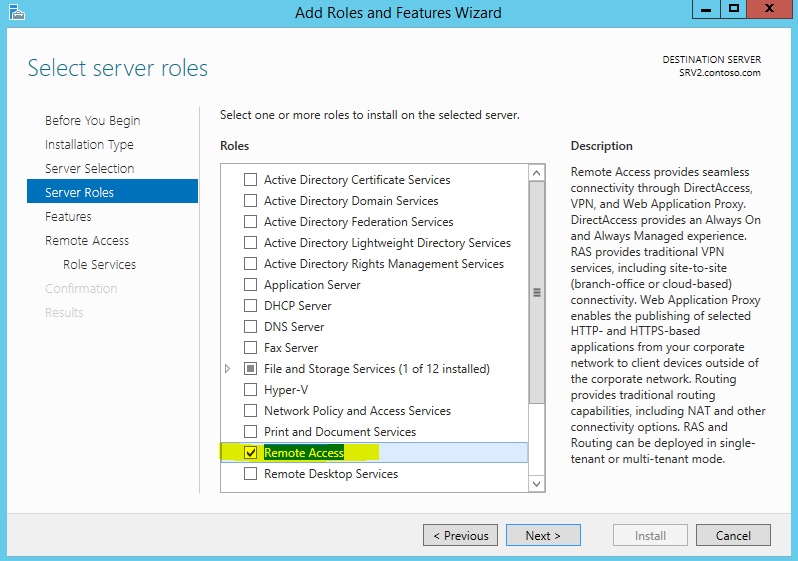
5) In role selection window select “Remote Access” and click next
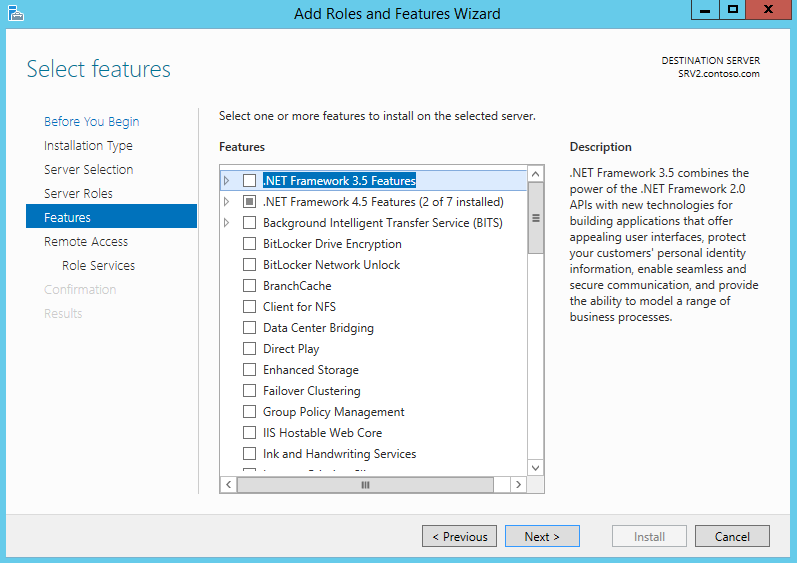
6) On the feature selection leave the default selection and click next
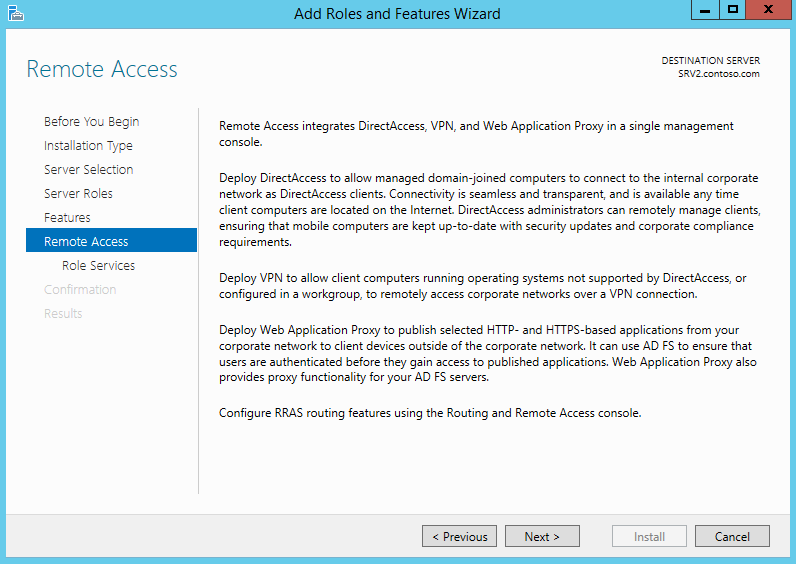
7) Then in next window it will give brief description about remote access role. Click next to continue
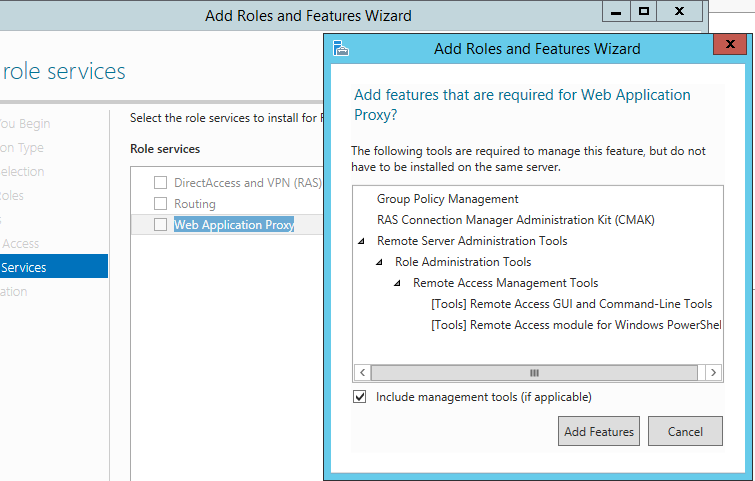
8) In next window select the option “Web Application Proxy” then it will prompt to add features. Click on “add features” button and then click next on window to proceed.

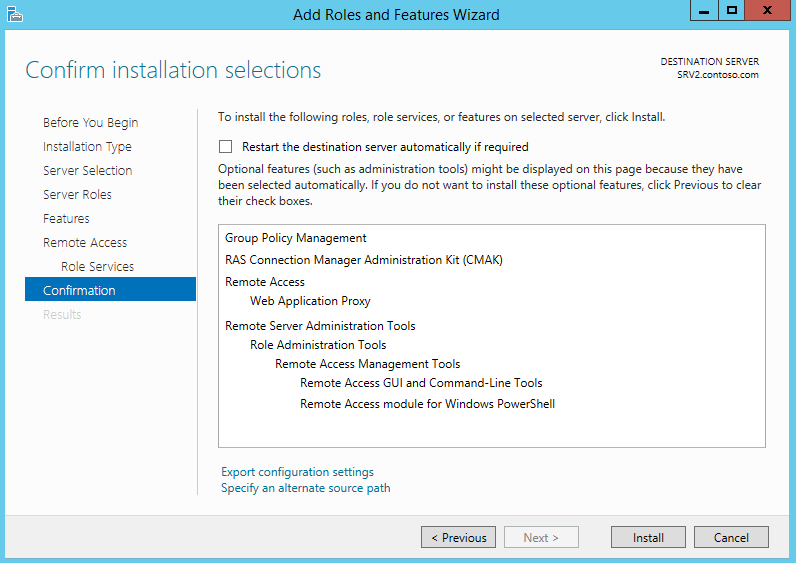
9) In next window it will give brief description about the selections you made so far and click install to begin the installation.
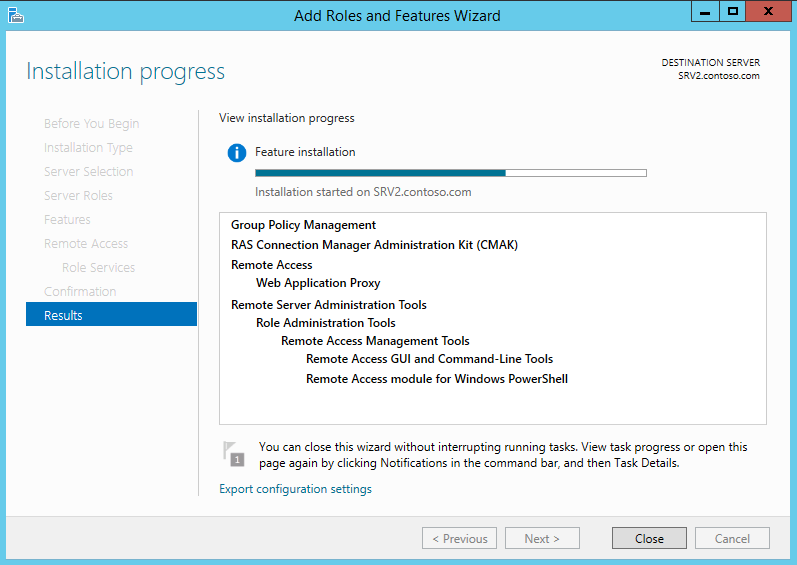
10) It will start the installation process.
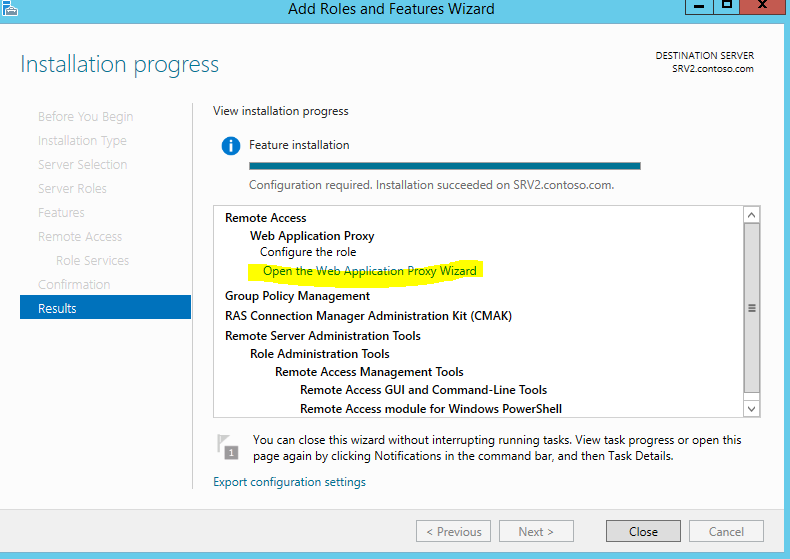
11) Once its completed, click on “open the web application proxy wizard” from the window
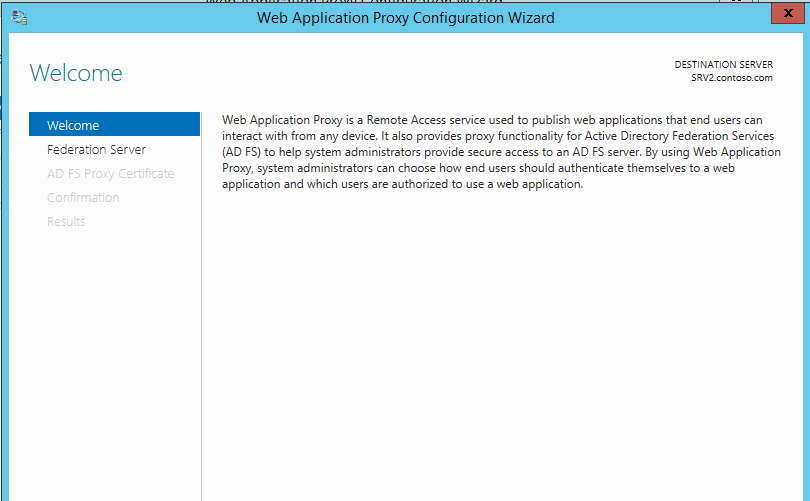
12) It will open up the web application proxy configuration wizard and click next to proceed
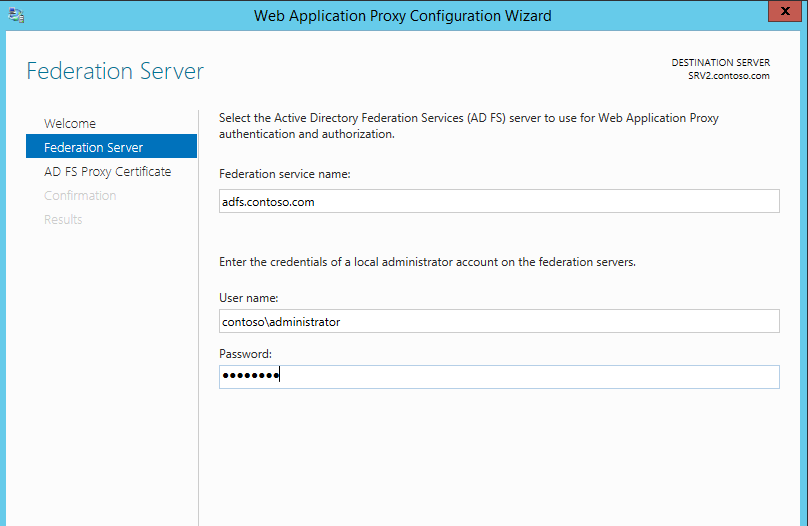
13) In next window needs to input ADFS server and admin account info to connect to it. It will use for the authentication. Once input data correctly, click on next to continue.
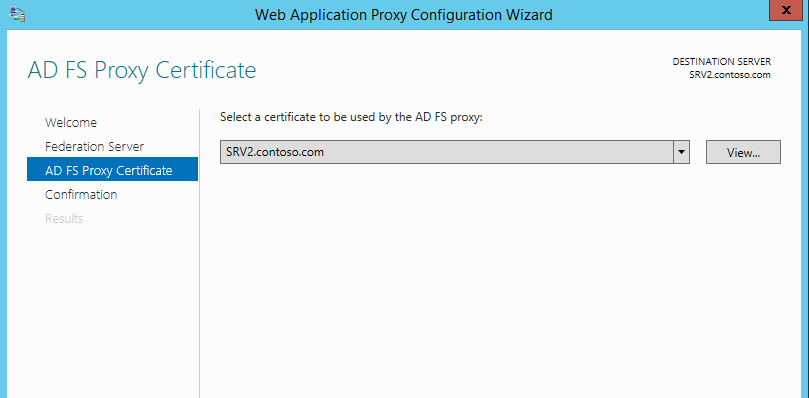
14) In the next window, need to specify the SSL cert which will use by the proxy server.
15) In next window it will give the confirmation about the configuration and to begin install click on configure.

This finishes the installation and configuration of the web application proxy. In next post let’s look in to some of the configuration options in ADFS. If you have any questions about the post feel free to contact me on rebeladm@live.com


Thanks a lot. Simple and useful.