
This is the part 2 of the series of articles which explains complete setup of VPN in windows server environment.
Allow VPN connections to the server ( 25 connections for the setup)
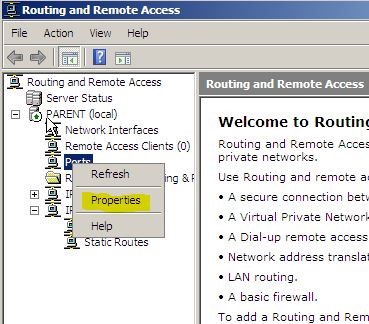
1. Open remote and routing mmc by start > administrative tools > routing and remote access.
2. in the routing and remote access mmc, expand the section with server name, and then right click on “ports” and then click “properties”
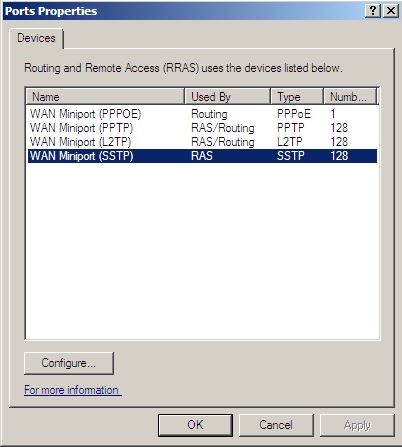
3. In the port properties dialog box. Double click “WAN Miniport (SSTP)”
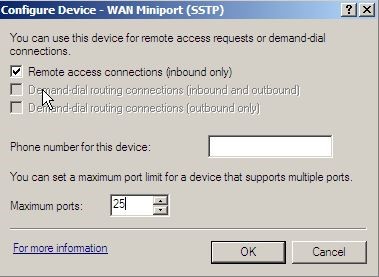
4. In the configure device – WAN miniport (SSTP) dialog box, assign a value of 25 in the Maximum ports box and click ok.
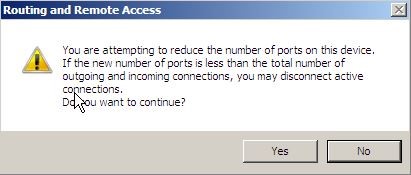
5. In routing and remote access dialog box, click yes to continue
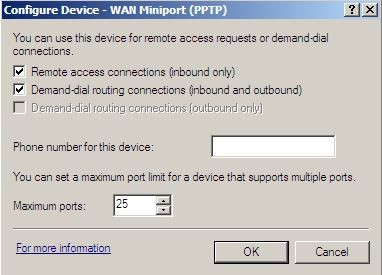
6. In the port properties dialog box, double click WAN Miniport(PPTP), and in the configure device –WAN Miniport (PPTP) dialog box, assign the value of 25 in the maximum ports box and click ok.
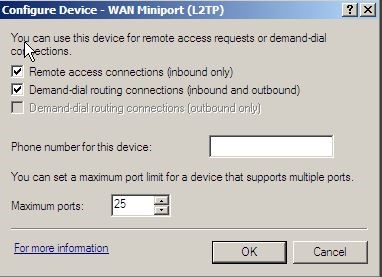
7. In the routing and remote access dialog box, click yes. Then repeat the step to do the same config for WAN Miniport (L2TP)
Configure Network Policy
It is import to apply the network policies to control the access. In this demo I will explain how to make custom network policy on the NPS.
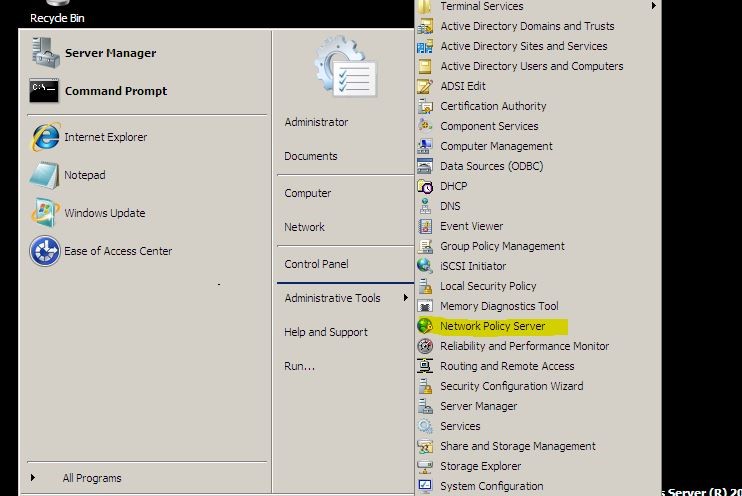
1. To open NPS mmc go to start > administrative tools > Network policy server
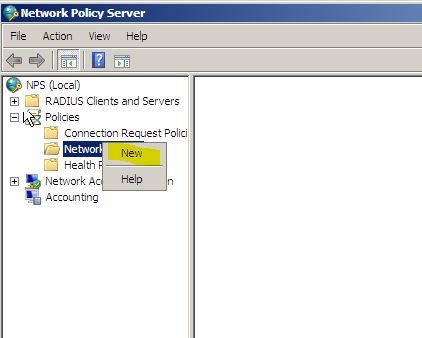
2. In the mmc expand the “Policies”, right click on “Network Policies” and then click new.
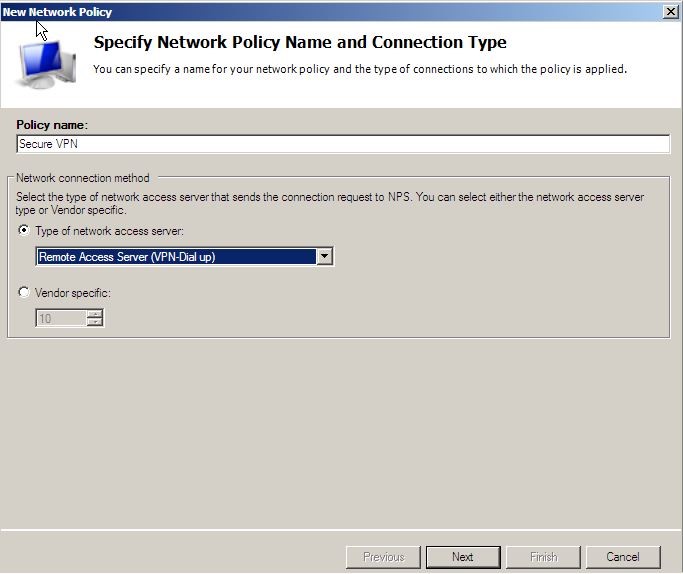
3. In the next windows type name for the policy in policy name box and in the “type of network access server” drop down list click “remote access server (VPN-Dialup) and then click yes.
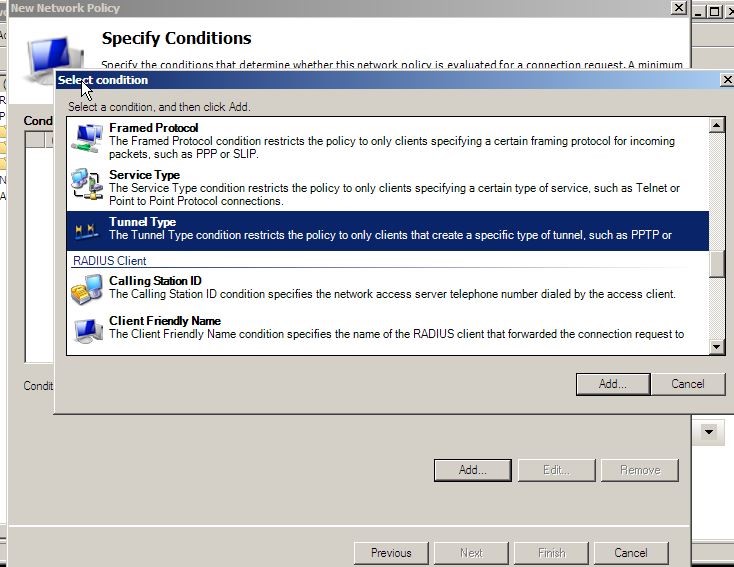
4. On the specify condition page, click add on the select condition dialog box, scroll down and double click on tunnel type.
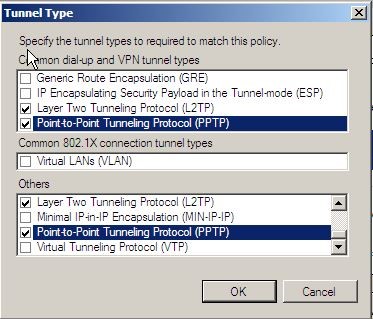
5. In tunnel type dialog box type L2TP,PPTP and SSTP click ok .
6. Also can configure the users group who allowed for the VPN connection. This is a good controlling method and secures method rather than allowing every one for VPN.
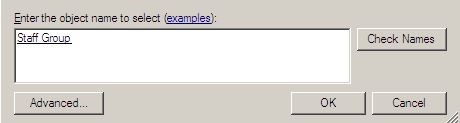
7. To do it again in condition page click add and then from the pop up select “users groups” and double click
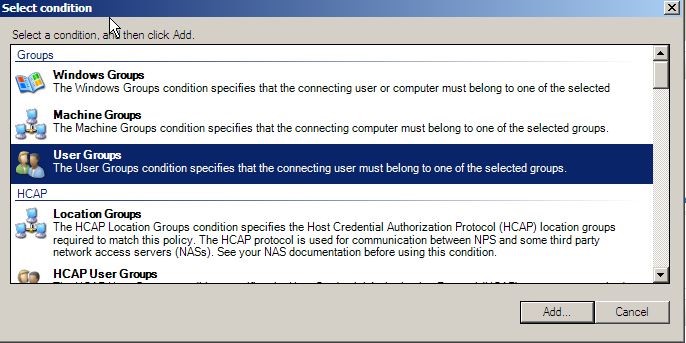
8. On the next window can select the groups’ needs to allow for the connection. Then click ok twice on open windows to continue.
9. After define conditions, click next to continue.
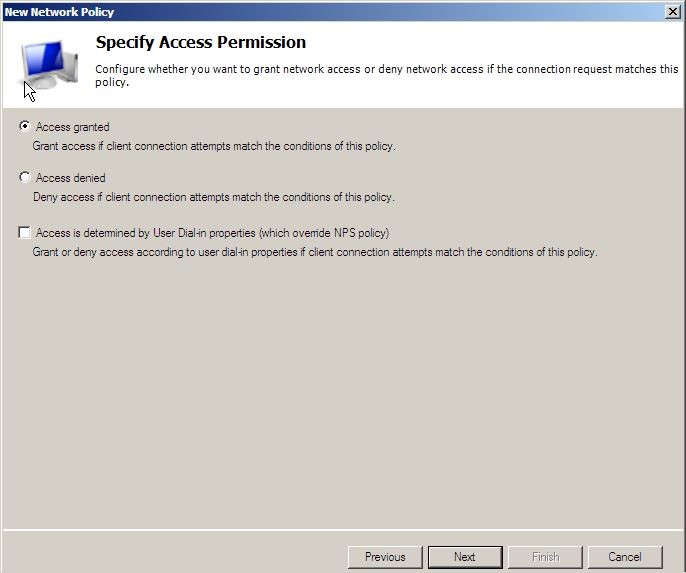
10. On the specify access permissions page, leave the default of access granted and click Next.
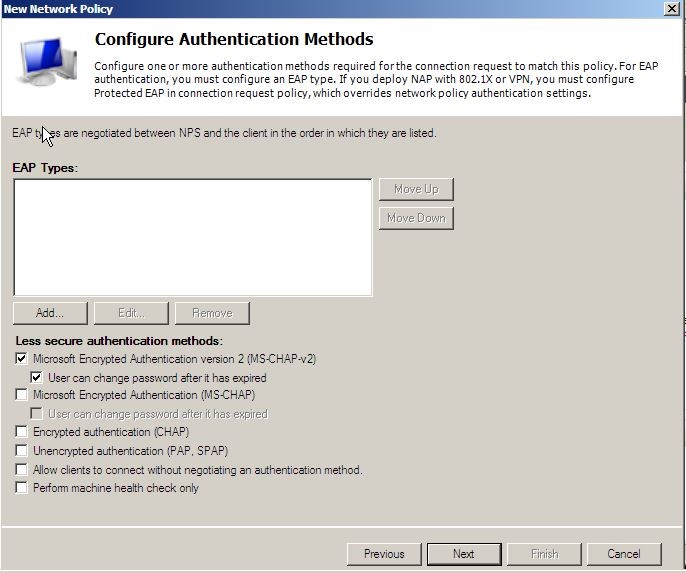
11. On the configure authentication methods page, clear MS-CHAP and click yes as in this setup not using it.
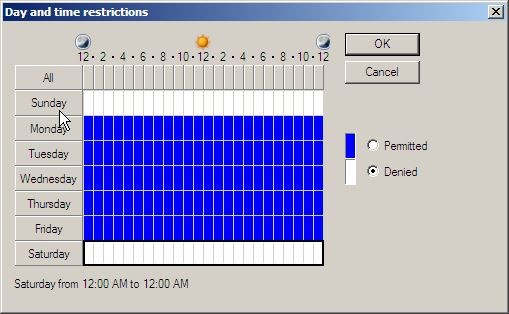
12. On the next page, under constrains, click day and time restrictions and in the detail panel select allow access only on these days and times and click edit.
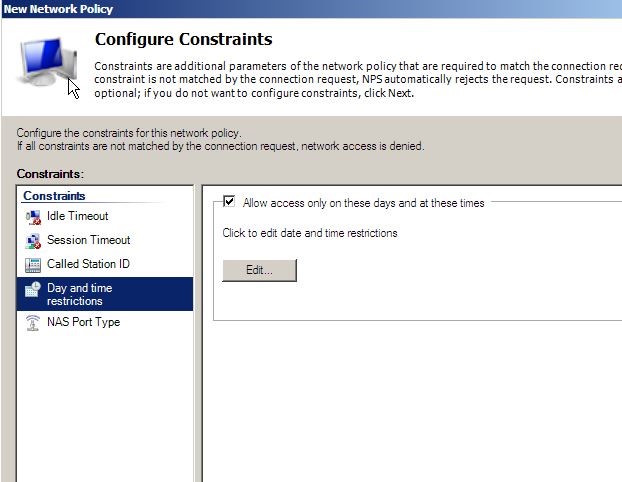
13. Using this method it’s possible to control when its open for VPN connections. In the day and time restriction box, click on the first blue rectangle in the left hand corner the represent Sunday midnight to 1am. Hold the mouse button and drag the cursor ot highlight all of Sundays. Click denied. Repeat this for Saturday. The idea of this is to prevent VPN dial in over the weekends. To complete click ok and then next.
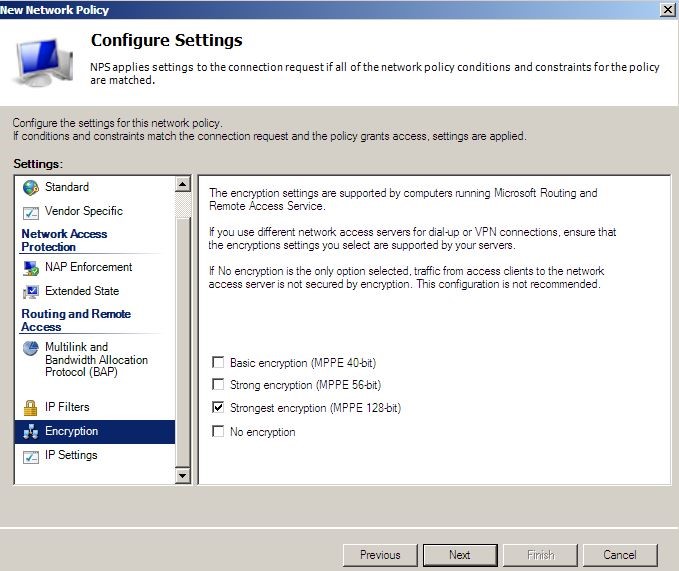
14. On the configuration setting page, under settings click encryption and in details window clear all settings except strongest encryption (MPPE 128-bit). This is the encryption standards which only allow. Click next then finish.
This will create the custom policy to apply for the vpn connections.


Big thanks for point 4.