Last Updated on October 15, 2017 by Dishan M. Francis

If you worked with windows server 2003 or earlier before, I am sure you know how painful it was to install roles and manage those. We had to go through “Add or Remove Windows Components” and many “MMC”. Also, it was recommended to run “Security Configuration Wizard” before install roles as security settings not come default with role installation. To address these difficulties Microsoft introduced “Server Manager” with windows server 2008. It replaced many of wizards’ server 2003 had. It made roles and feature management easy. It was further developed and was available with every server operating system released after windows server 2008. 

Project “Honolulu” from Microsoft is to bring server management in to next level. It is simple but powerful web based interface which can install on windows 10 or windows server 2016. It can use to configure and troubleshoot servers locally or remotely. 

Why it is good? 

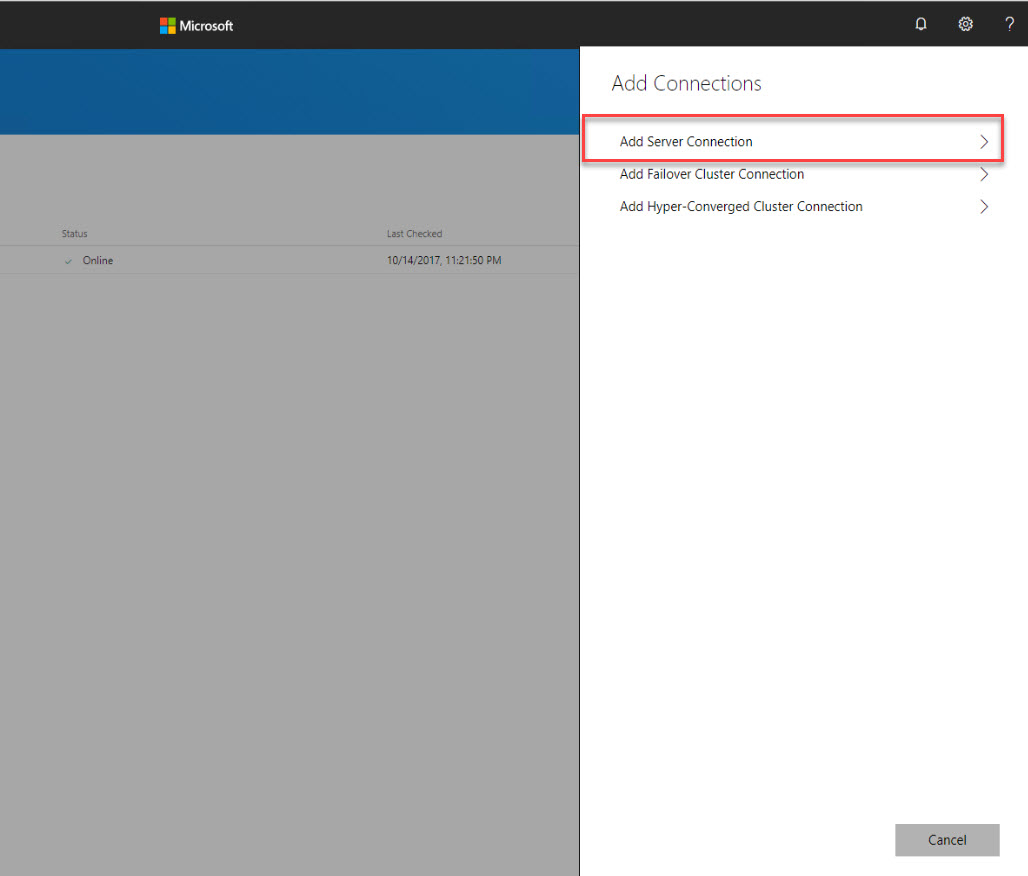
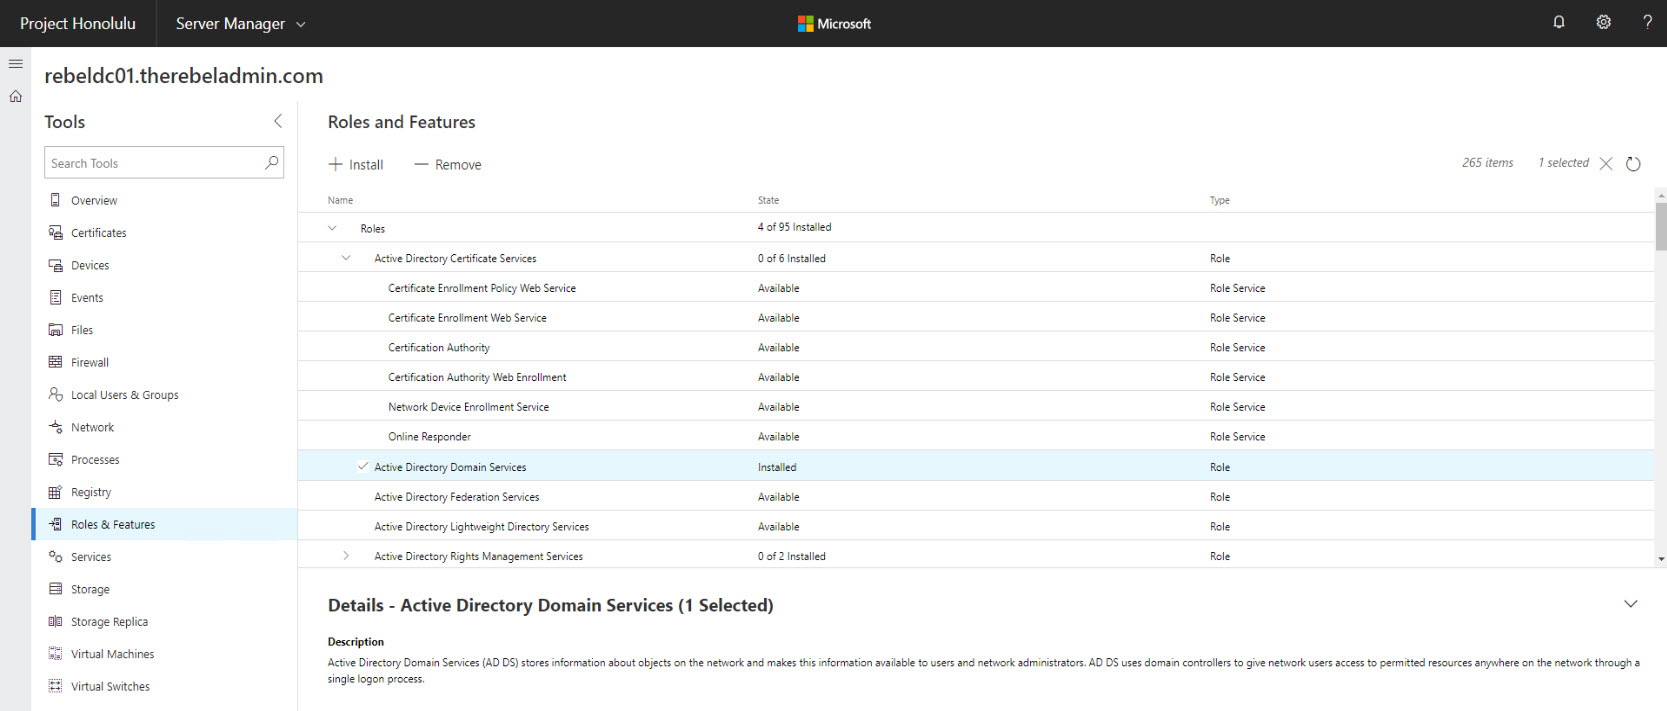
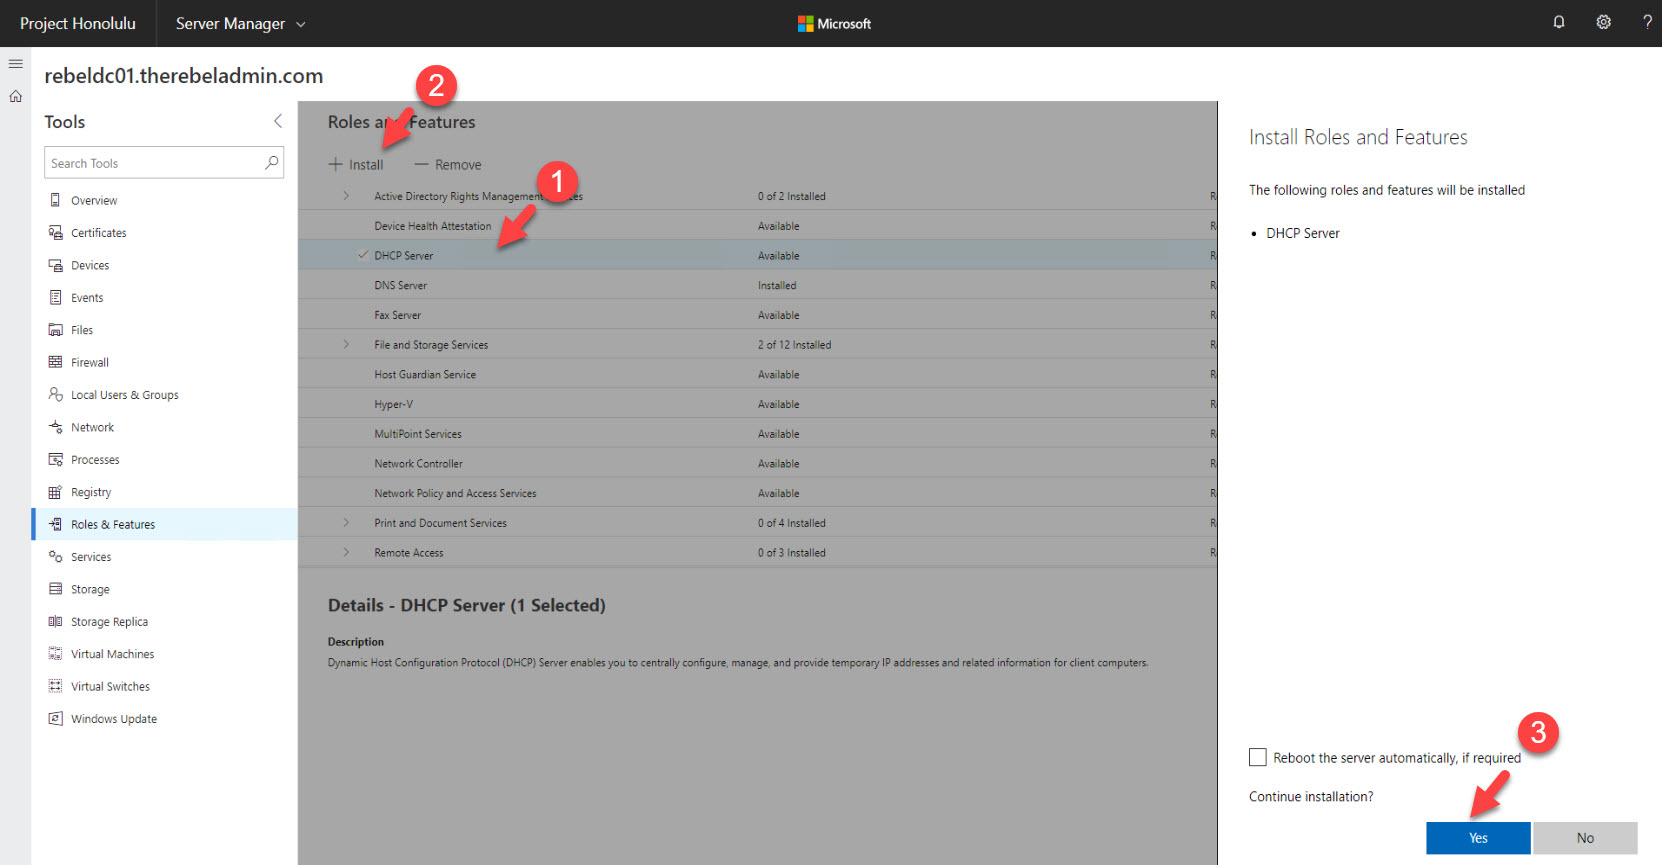
1. Simplified one web console for server management – Instead of using multiple MMC to manage resources, Honolulu gives simple web based interface to do it. It also allows to go from simple role install to advanced troubleshooting using same console.  

2. Better interconnection – With Honolulu we can connect windows server 2016, windows server 2012 R2, windows server 2012, Hyper-V 2016/2012R2/2012 in to one console. It also allows to manage failover cluster, hyper-converged environments from same console. Microsoft also working with partners to refine their SDK and extension model.

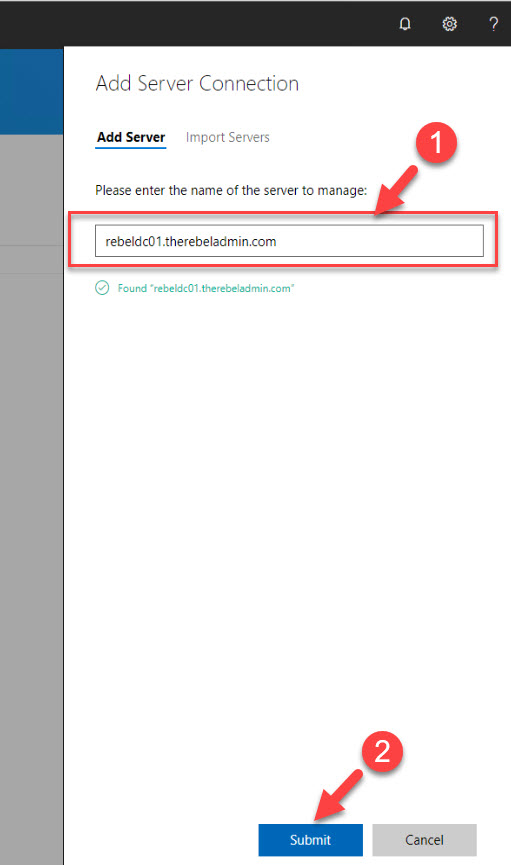
3. No Agents or No additional configurations – To connect servers to console it is not required agents or any other additional configuration. Only requirement is to have connectivity between gateway server and member servers. 

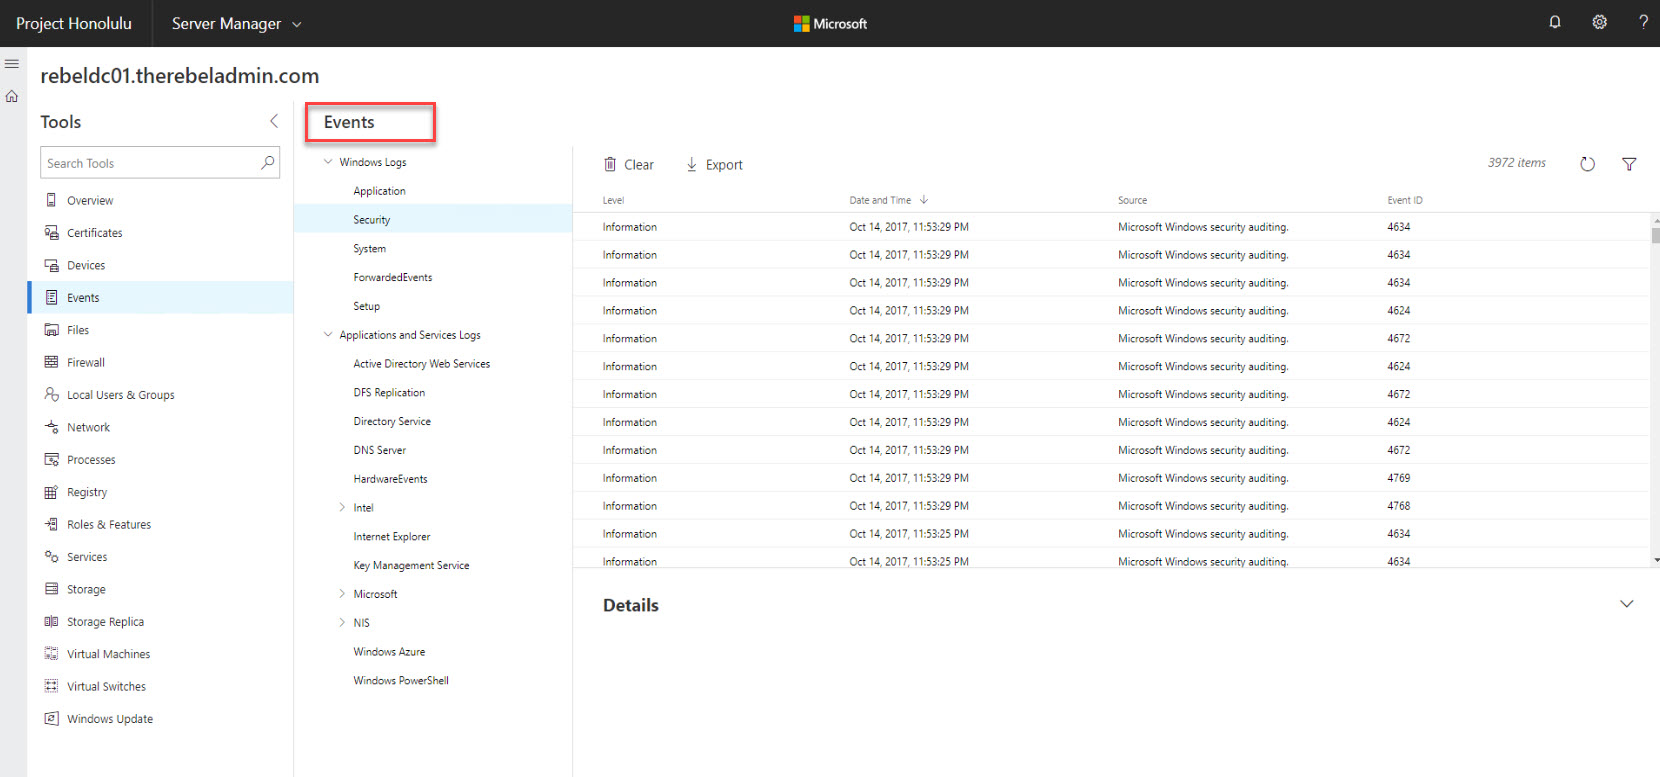
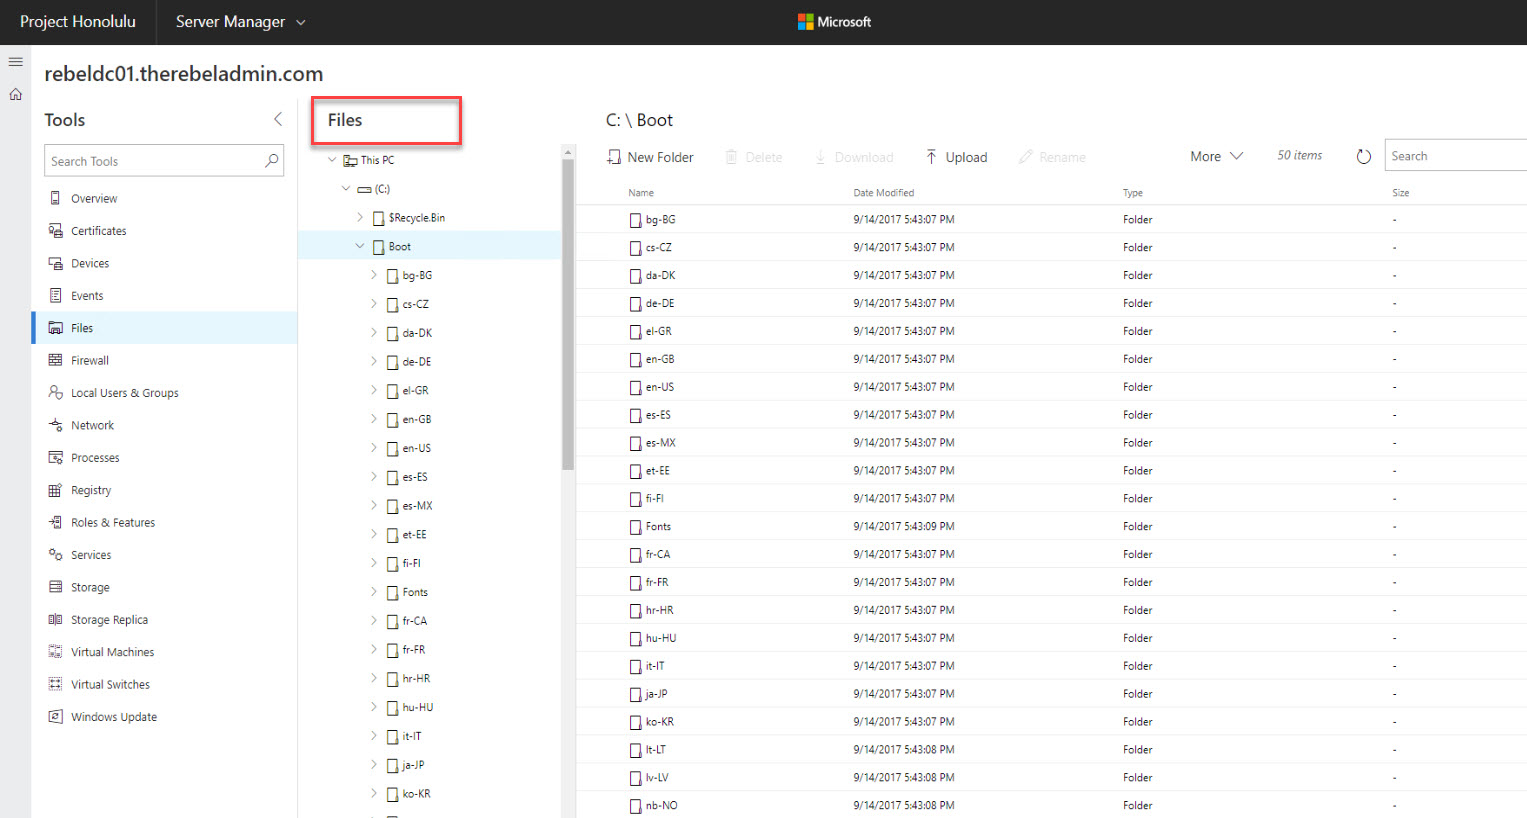
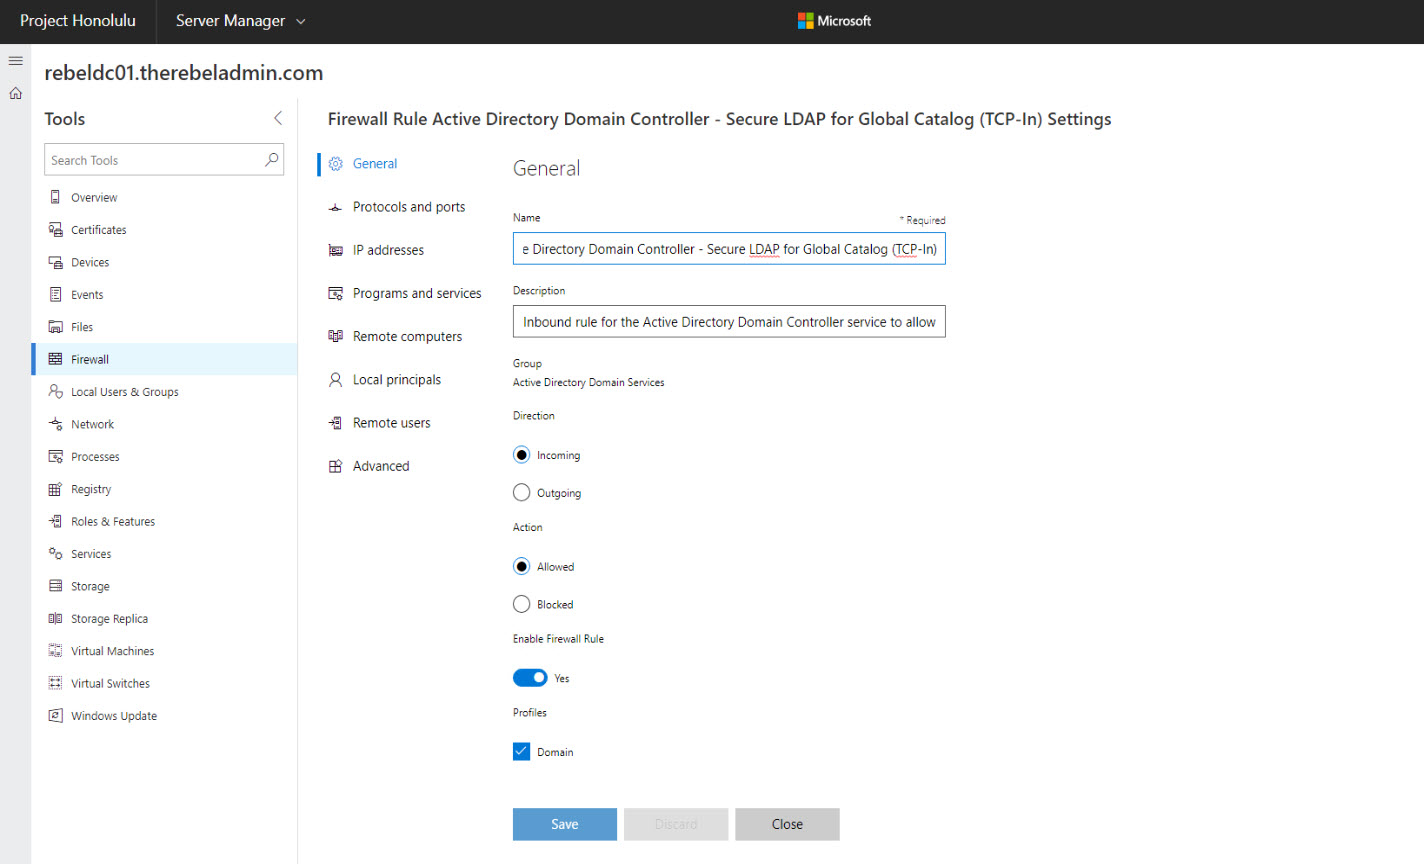
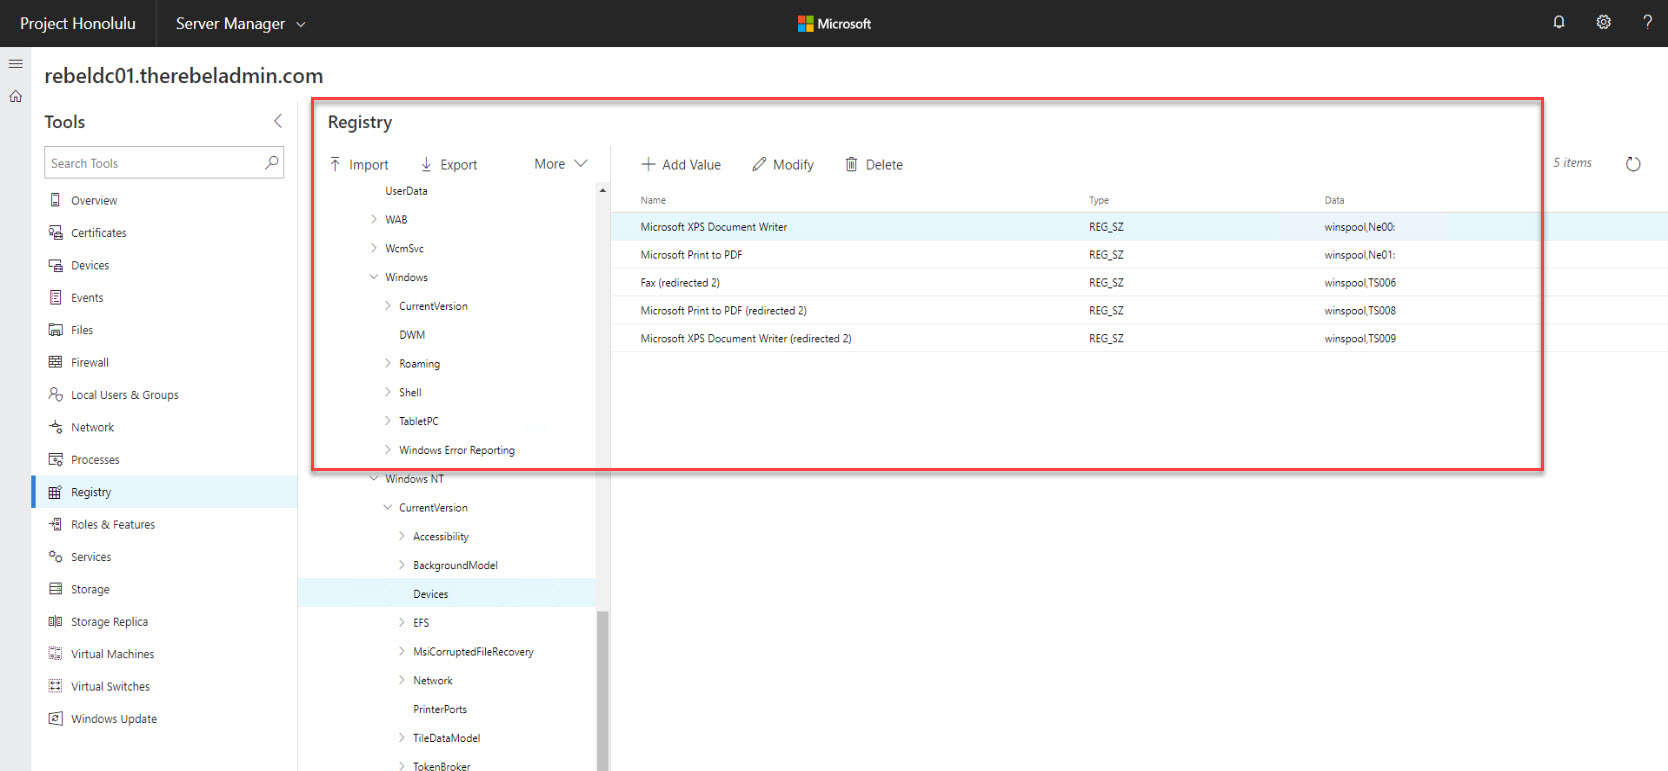
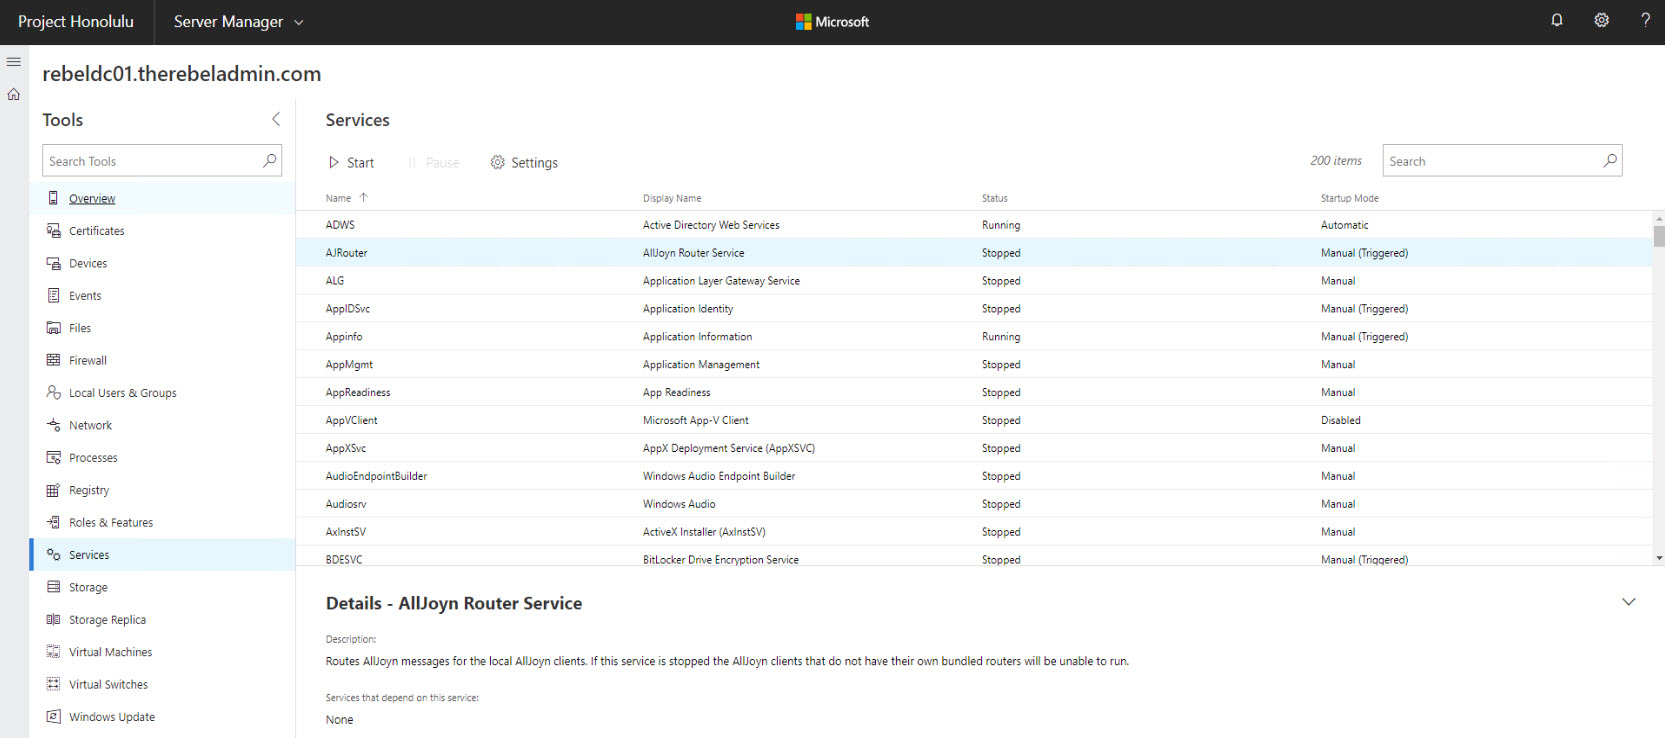
4. Familiar tools packaged together – web based console allow you to access familiar tools from one place. For an example, you can access Server management, registry editor, firewall tools via console. Before we had to use different methods to open those MMC. This also make it easy to adopt without additional trainings. 

5. Flexible for integration – the design itself welcoming third parties to create modules and integrate it with Honolulu so those applications or services also can manage via same console. 

6. Can use to manage resources via internet – Honolulu web console (web server components) can publish to remote networks and allow engineers to manage servers without using traditional management methods such as VPN, RDP etc. 

Will it replace other management tools? 

At the moment System center and Operation Management Suite (OMS) provides advanced infrastructure management capabilities. Project Honolulu will be complementary to those existing tools but it is not mean to replace in any mean.

Is it got anything to do with Azure? 

No, it is not. It can use with in azure VMs too. Console doesn’t need internet access even to operate. 

When it will release? 

At the moment, it is in technical preview stage. It will be released in year 2018. However, this will not prevent you from testing and providing feedback to improve it further. 

Is it supporting all operating systems?

It can only install on windows server 2016 or windows 10. 

Version

Install Honolulu

Managed node

Managed HCI cluster

Windows Server 2016

Yes

Yes

Future

Windows Server version 1709

Yes

Yes

Yes, under insider program

Windows 10

Yes

N/A

N/A

Windows Server 2012 R2

No

Yes

N/A

Windows Server 2012

No

Yes

N/A

However, if you need to manage windows server 2012 R2 and 2012 you need to install Windows Management Framework (WMF) version 5.0 or higher first as required PowerShell features not available in earlier versions.  

Architecture 
 
Honolulu has two components.
 
Gateway – Gateway is to manage connected servers via Remote PowerShell and WMI over WinRM. 
Web Server – It is the UI for Honolulu and users can access it via HTTPS requests. It also can publish to remote networks to allow users to connect via web browser. 
 
Feedback is important 
 
The project is still in early stage. We all can contribute to make it perfect. Feel free to submit your feedback via https://aka.ms/HonoluluFeedback 
 
Let’s take a look!
 
Now it’s time to install and play with it. In my demo environment, I have two windows servers 2016 under domain therebeladmin.com. I am going install it on one server and get both servers connected to the console. 
 
1. Log in to the server as administrator 
3. Double click on .exe to install. In initial window accept the license terms and click Next to continue. 
4. In next window click on tick box to select “Allow project “Honolulu” to modify this machine’s trusted host’s settings”. In same window can select “create a desktop shortcut to launch project “Honolulu”” option to create desktop shortcut. 
 
hon1
 
5. In next window, we can define a port for management site. For demo purpose, we can use self-sign certificate to allow HTTPS requests. once selections are made, click Install to proceed. 
 
hon2
 
6. Once installation is completed, double click on shortcut to launch the console.
 
Note : Console is recommended to use on Edge or Chrome browser. If you using IE, it will give error saying to use it on recommended browser. 
 
7. In initial window, it will launch a tour to explain project Honolulu. You can either follow it or skip. 
8. In home page, it lists the servers added to console. By default, it has the server it is installed on. 
 
hon3
 
9. To add new server to the list, click on Add button.
 
hon4
 
10. Then it shows the list of connections types available. In demo, I am going to add single server so I am going to choose “Add Server Connection” 
 
hon5
 
11. In next window, it asks the name of the server. please provide server name and click on Submit
 
hon6
 
You need administrator account to add server to console. In my demo, I am using domain admin account to install and configure Honolulu. If you are in workgroup environment, it will give option to define admin account user name and credentials. 
 
hon7
 
We also can import multiple servers using .txt file. 
 
hon8
 
Once its added, it will show up on home page. 
 
hon9
 
12. In order to manage server, click on the server name in homepage. Then it will bring up the server overview page. 
 
hon10
 
In this page, it gives real-time information about server performance. It also provides data about server resources. not only that it also gives options to restart or shutdown server, access settings and edit computer name. 
 
hon11
 
13. Using Device tab, we can view the details about the server hardware resources. 
 
hon12
 
14. Certificate tab allows to view all the certificates in server. more importantly it shows certificates for local machine and current user in same window. If its traditional method we have to open this using MMC. 
 
hon13
 
15. Events tab shows all the events generated in server. 
 
hon14
 
16. Files tab works similar to file explorer. You can create folders, rename folders and upload files to folders using it. unfortunately, you can’t change permissions of the folders at the moment. 
 
hon15
 
17. Firewall Tab is one of my favorites. Now it is easy to see what each rule does. It also allows to modify rules if needed.  
 
hon16
 
hon17
 
18. Registry tab is also very useful. Using same console now we can add or modify registry entries. 
 
hon18
 
19. Roles and Features tab allow you to install/remove roles and features.
 
hon19
 
hon20
 
20. Services tab work similar to traditional services mmc. It can use to status of services, start services, stop services or change startup mode. 
 
hon21
 
21. Storage tab helps to manage allocated storage to server. 
 
hon22
 
In this blog post, I tried to go through each option but I like to encourage you to go and check its capabilities in details. It is easy to implement yet powerful. This marks the end of the blog post and hope it was useful. If you have any questions feel free to contact me on rebeladm@live.com also follow me on twitter @rebeladm to get updates about new blog posts.