
In Part 01 of this series I have explained what is Azure AD application proxy and how it works. If you didn’t read it yet you can find it in http://www.rebeladmin.com/2017/06/azure-active-directory-application-proxy-part-01/
In this part of the series I am going to demonstrate how we can configure Azure AD application proxy.
Demo Setup
In my demo environment I have following,
1. Azure AD Premium Subscription
2. Active Directory 2016 on-premises setup
3. Web application running on IIS
Enable Azure AD proxy
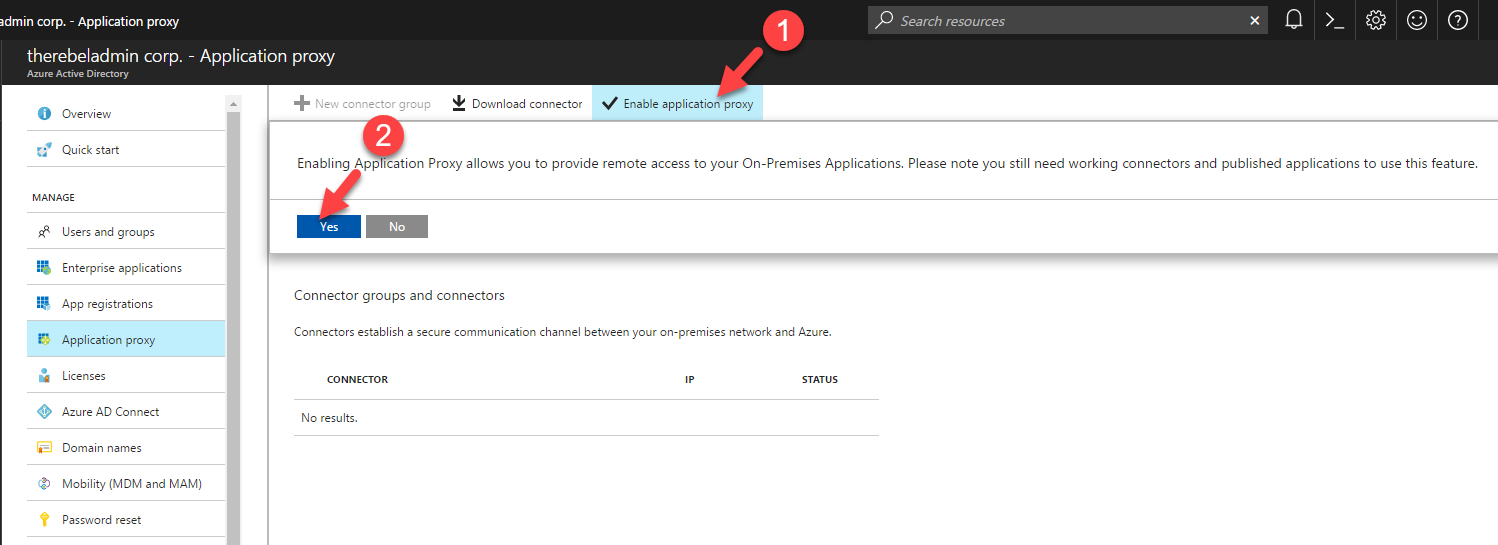
Before we install application proxy connector, we need to enable application proxy. This only need to enable when setup first application proxy.
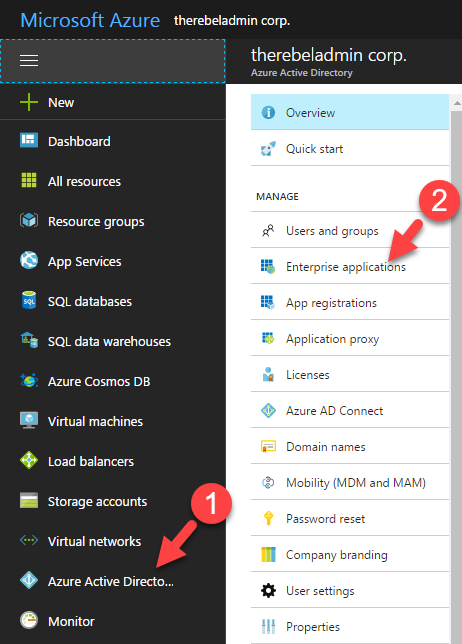
1. Log in to Azure as Global Administrator
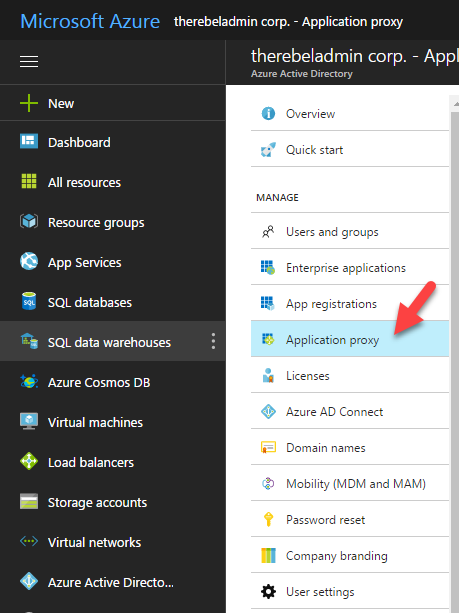
2. Then open Azure Active Directory
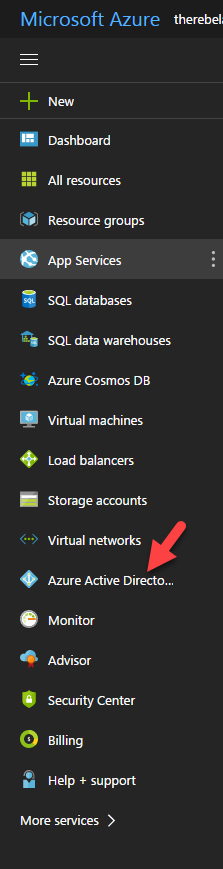
3. In next window click on Application proxy
4. In next window click on Enable Application Proxy. Then it will explain about feature and click on Yes to enable.
Install Application Connector
Next step in configuration is to install Application Connector. I am going to install this on same application server.
1. Log in to Azure as Global Administrator
2. Then go to Azure Active Directory | Application Proxy
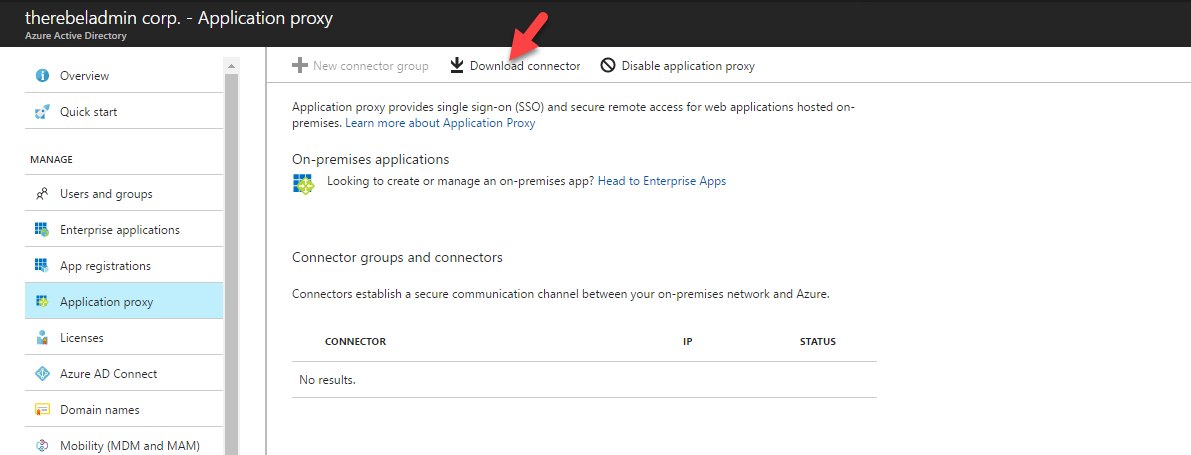
3. Then in window click on Download connector
4. It will redirect to a page where you can download the connector. After Accepting terms click Download

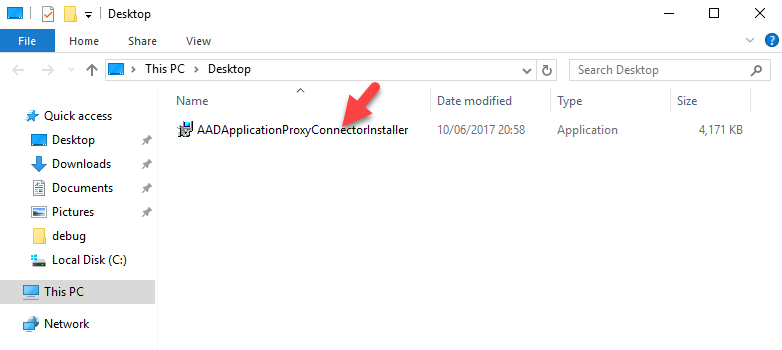
5. Once file is downloaded, double click on AADApplicationProxyConnectorInstaller.exe to start the connector installation.
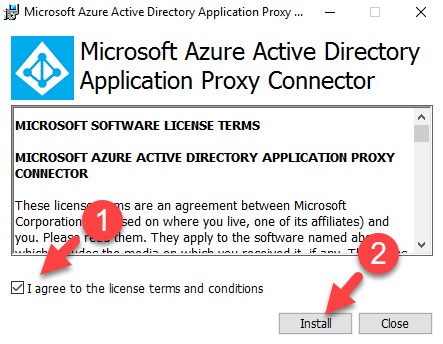
6. Then it will open up a wizard. Agree to licenses terms and click on install to proceed.
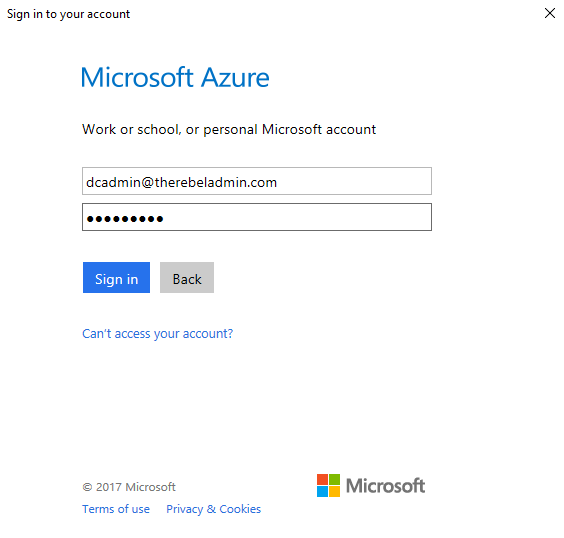
7. During the installation, it asks for Azure login details. Provide an account which have azure global admin privileges.
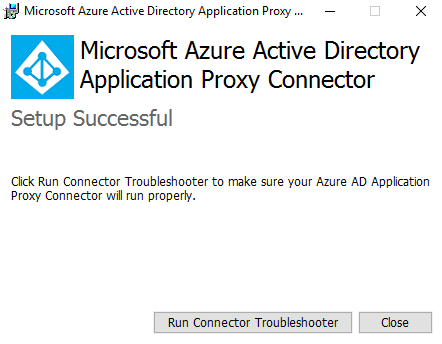
8. After login details validates it will continue with the setup. Once it completes we ready to publish the application.
Publish Application
Next stage of the configuration is to publish the application.
1. Log in to Azure as Global Administrator
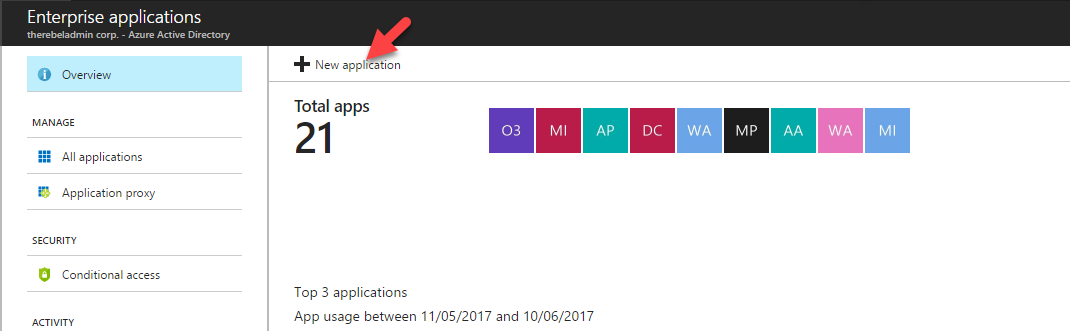
2. Then go to Azure Active Directory | Enterprise Applications
3. Then in next window, click on New Application
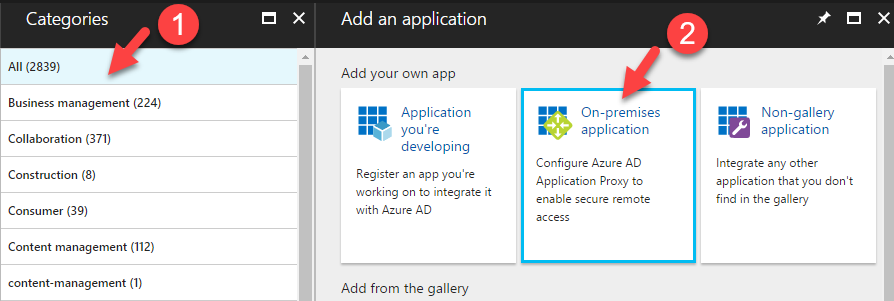
4. In categories page, Click on All and then click on on-premises application
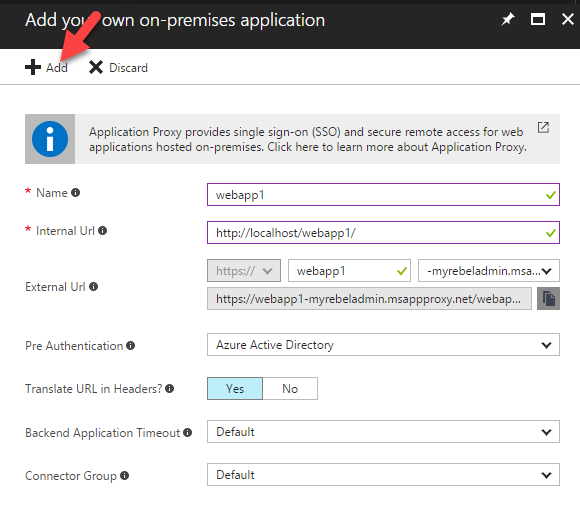
5. Then it’s opens a new window where we can provide configuration data for application.

In this form,
Name – Unique name to identify the application
Internal Url – Internal Url for the application.
External Url – This is auto generated by azure and this url will be the one use to access the application via internet. If need certain url changes can be made.
All other values we can leave default unless there is specify requirement.
Once information added, click on Add button to publish the application.
6. Once application is published, we can see it under Enterprises Application.

Testing
Now we have everything ready. Next step is to verify if its working as expected. by default, application do not have any users assigned. So, before we test, we need to allow application access.
1. Log in to Azure as Global Administrator
2. Then go to Azure Active Directory | Enterprise Applications | All Applications
3. Click on the web app that we published on previous section.
4. Then click on Users and Groups
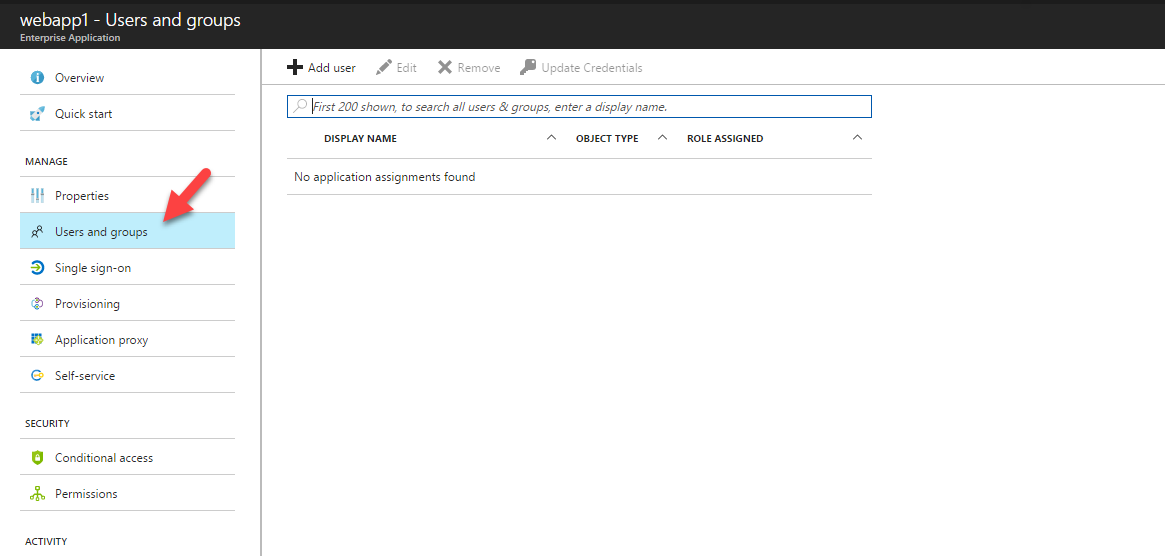
5. Then click on Add User in next window

6. From the list select the users and click on Select.
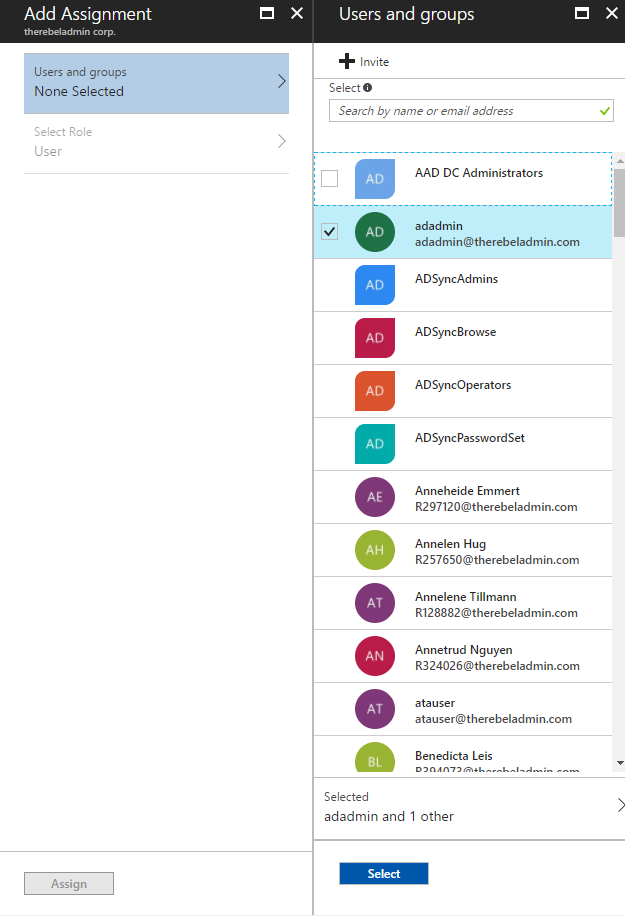
7. Click on Assign to complete the process.
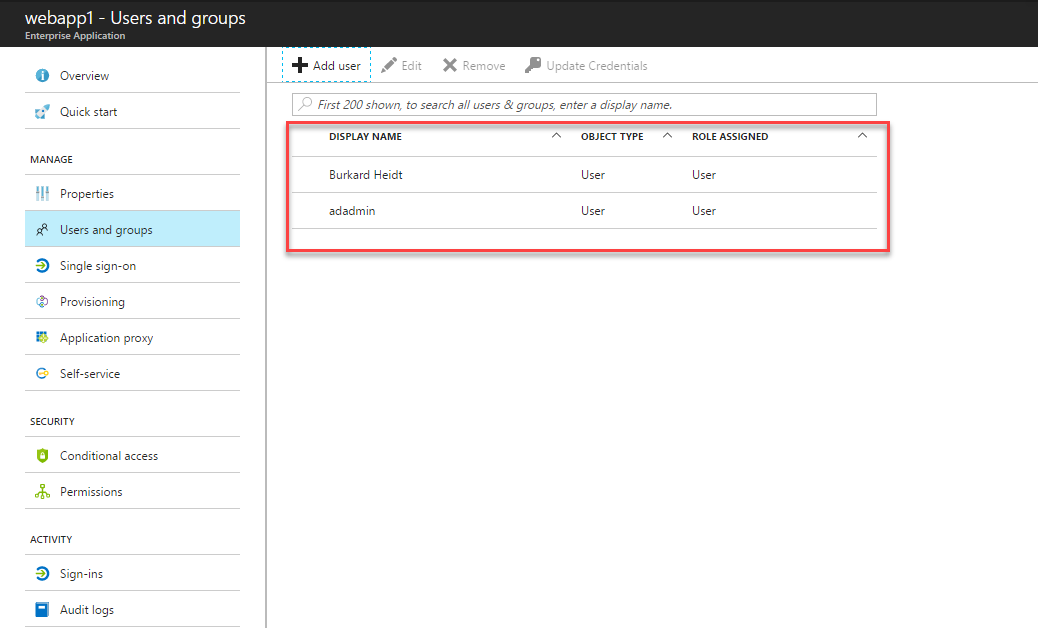
8. Now under the users you can see the assigned users and groups.
9. Now everything ready! Type the public URL in your browser which is generated during application publish process. For our demo, it was https://webapp1-myrebeladmin.msappproxy.net/webapp1/ . As expected it goes to the Azure login page.

10. Log in using a user account assigned for the app.
11. After successfully authentication I can see my local web app content!
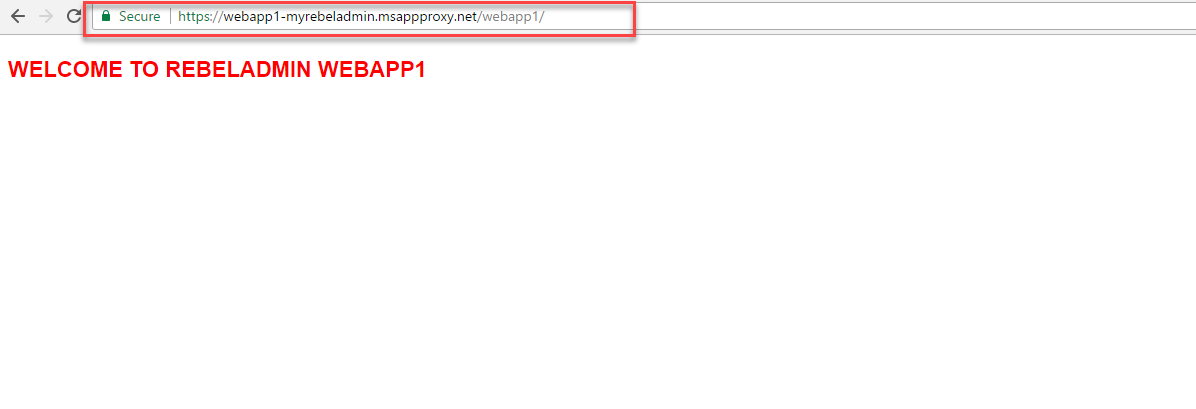
So as expected, we were able to publish a local application to internet without any DNS, firewall or application configuration change.
Hope this was helpful and if you have any questions feel free to contact me on rebeladm@live.com


nice article!