
This is the Part 02 of the series of posts which explains about methods, tools which can use for group policy troubleshooting. In Part 01 I explain about tool called “Group Policy Results Wizard” which can use for troubleshooting purpose against group policy issues. If you not read it yet you can find it in http://www.rebeladmin.com/2015/08/group-policy-troubleshooting-part-01/
In this post let’s look in to some of other tools.
GPResult.exe command
This is the command version of “Group Policy Results Wizard”. To run it,
1) Log in to the server
2) Open command prompt
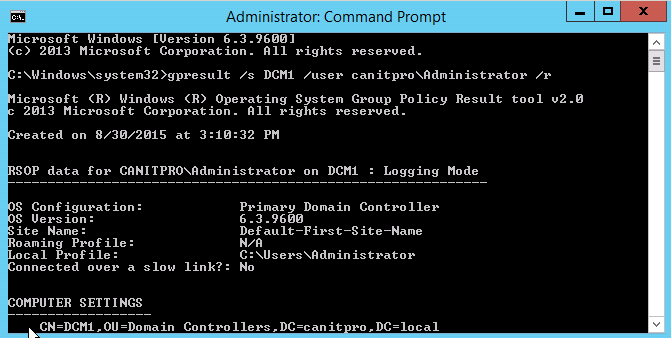
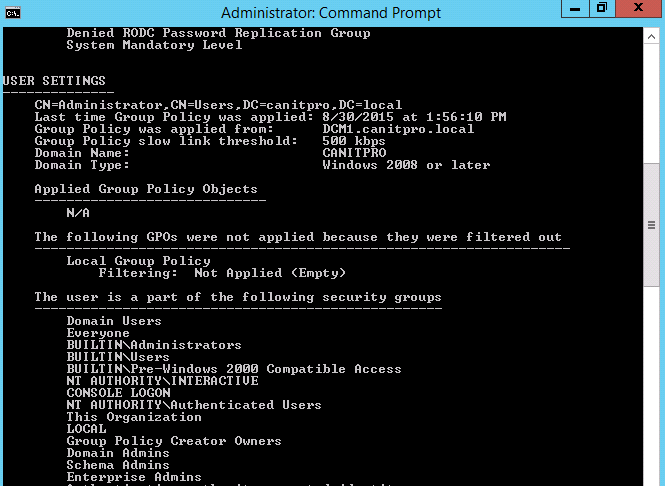
3) Type gpresult /s serverorcomputername /user username /r
In here serverorcomputername should replace with the device host name. username should be replace with the username of the account which will evaluate with group policy.
In the demo I used gpresult /s DCM1 /user canitpro\Administrator /r
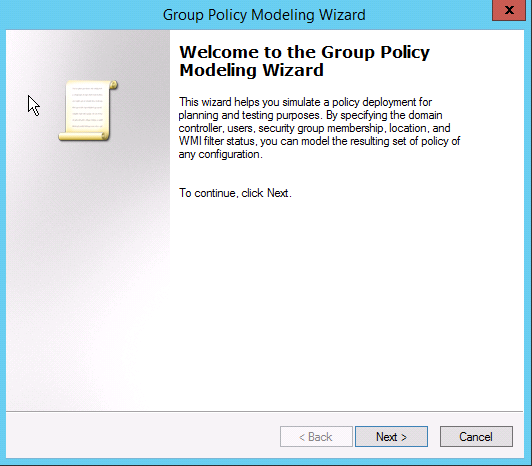
Group Policy Modelling Wizard
This is the advanced and powerful tool which can use on GP troubleshooting. It also gives greater results. Using this we can perform test upon computer, user account using in more detail level and see the impact of different group policies.
To run the tool,
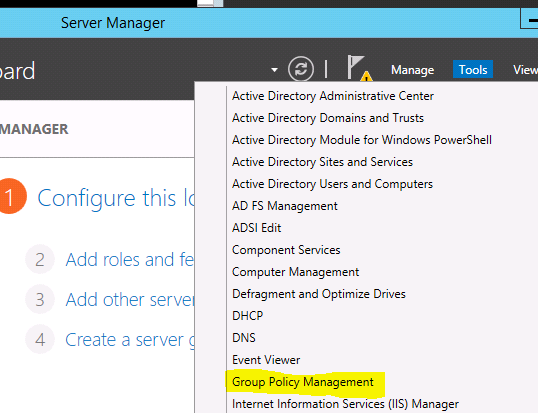
1) Log in to the DC as domain admin or enterprise admin
2) Load server manager > tools > group policy management
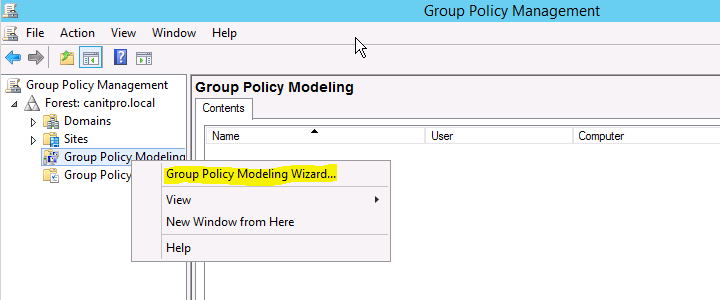
3) Then expand the tree, go to Group policy modelling and then right click on it and select Group Policy Modelling Wizard
4) Then it will open the wizard, click next to continue
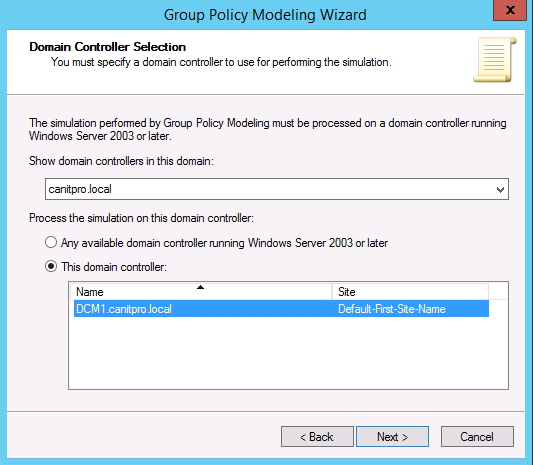
5) Then it’s ask about the domain controller, in here you even can select different domains, sub domains. Do the selections and click next
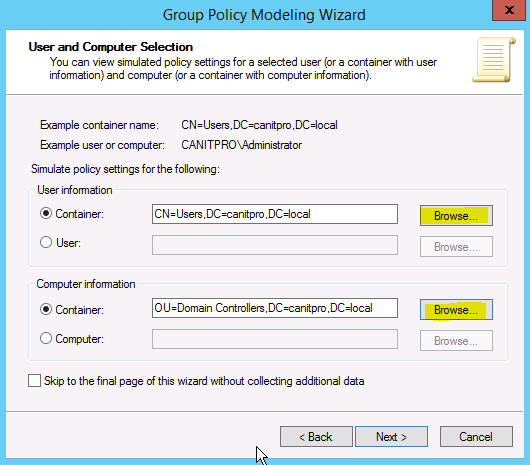
6) Then it’s ask which OUs should use for test. First one is for users and second one is for computers. After the selection click next
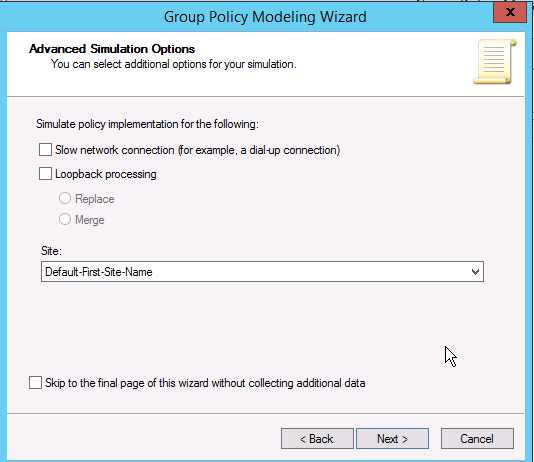
7) Then it gives option to select the site. Also you can select to simulate slow link processing and loopback processing, after selection click next to continue
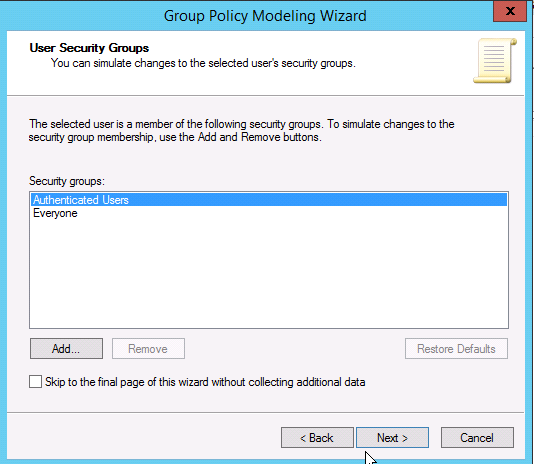
8) Then its list down the security groups for the current use. If you need you can select different groups. Click next to continue.
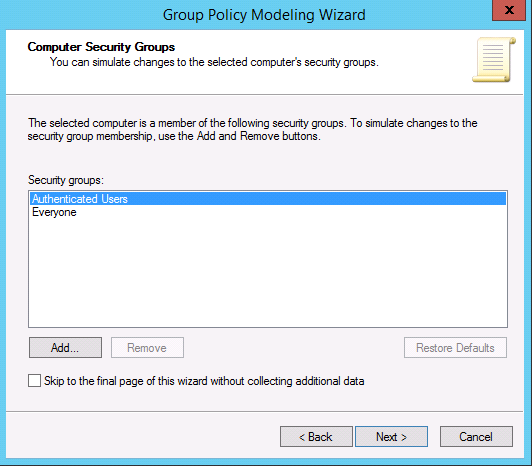
9) In next window it list computer security groups, if you need you can add more, click next to continue
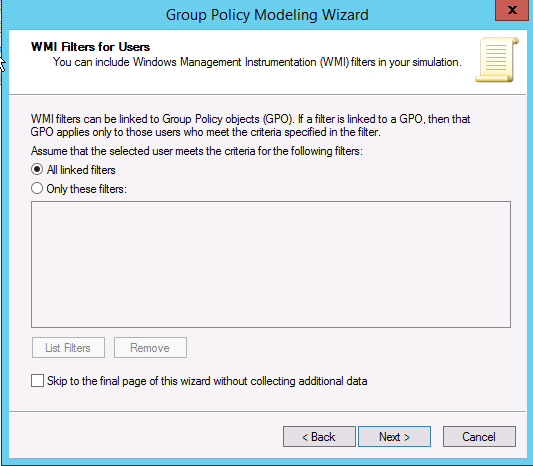
10) In next window you can add the WMI filters or just use the all linked WMI filters for the users. It depend on the configuration and troubleshooting process. Click next to continue
11) In next window you can add the WMI filters or just use the all linked WMI filters for the computers. Click next to continue.

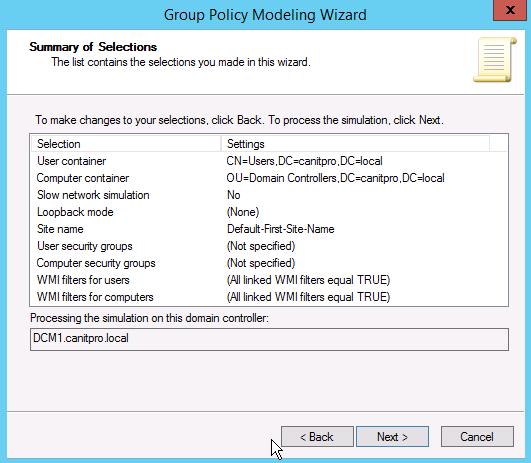
12) In next window it gives the summary of the selection. Click next to continue
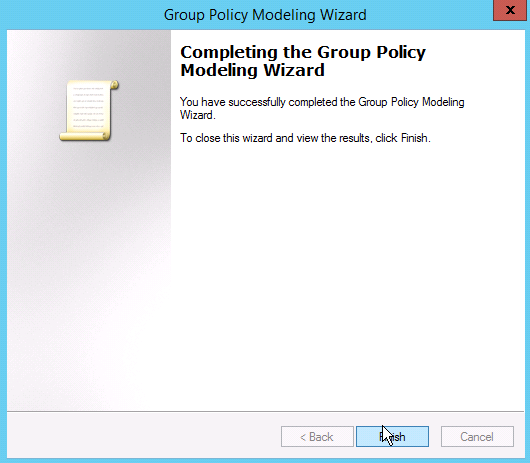
13) Then in next windows click on finish to complete the wizard.
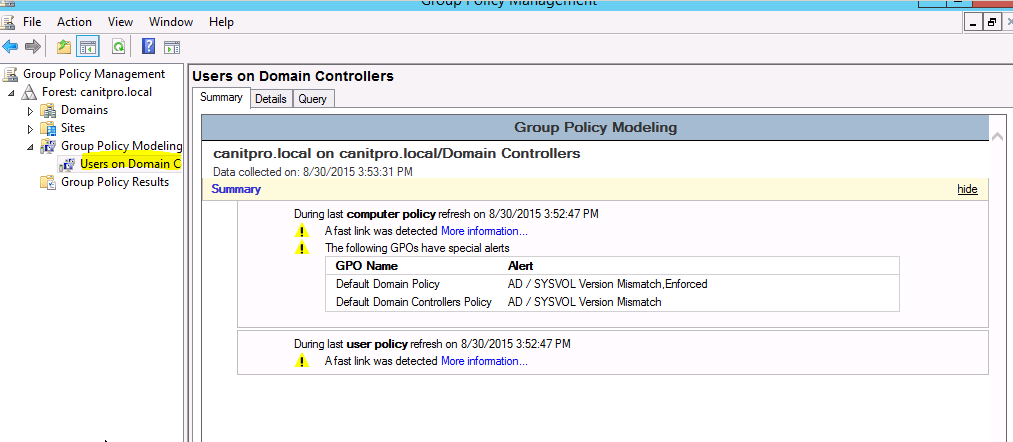
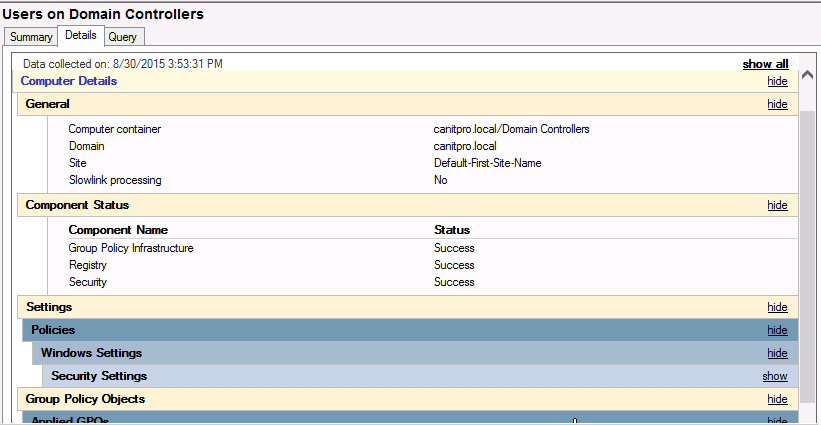
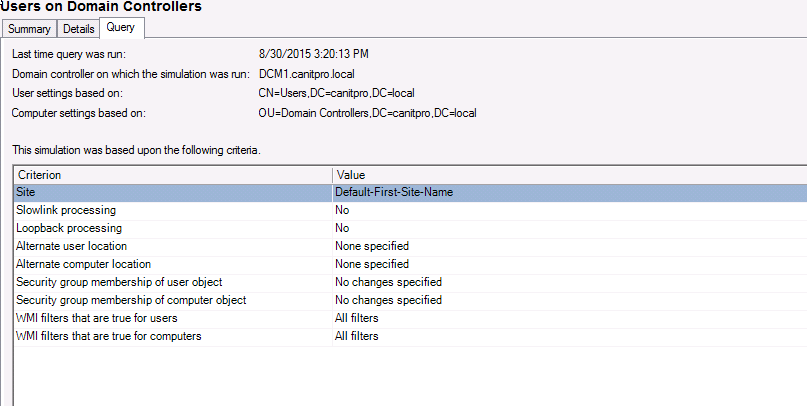
14) Then go to console and click on the new object it created and you can see the detail report
If you have any question about the post feel free to contact me on rebeladm@live.com

