
This is the part 2 of the series of articles which explains about the AD FS and configuration. If you still not read the part 1 you can find it here.
Active Directory Federation Services (AD FS) – Part 1
In this post let’s look in to the configuration of the AD FS.
Active Directory Federation Services (AD FS) Installation
DNS Record
Before start on the installation process, it is important to create appropriate DNS record for AD FS name. This need to be setup on the appropriate DNS service provider which company uses. In here I did setup A record for adfs.contoso.com and point it to the server where AD FS will install.
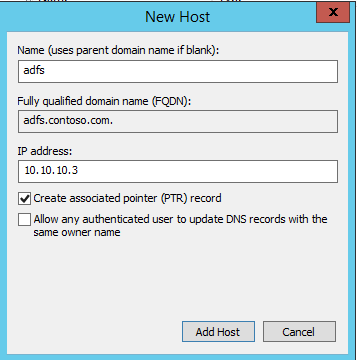
Please note AD FS will not have concept of internal and external URLs. This given URL should be resolve from internal and external access to the same server.
SSL Certificate
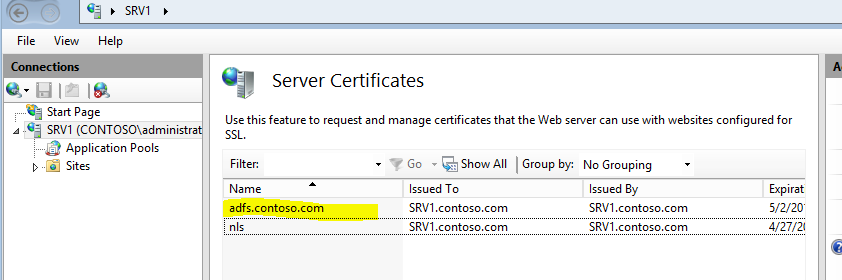
AD FS required valid SSL in place as all the communication will happen via only secure connection. So prior to the installation in the server which will hold AD FS, you need to deploy valid SSL to match with the URL created on above step.
In here for the demonstration, I have created SSL for adfs.contoso.com and deploy it on the server as following.
Installation Steps
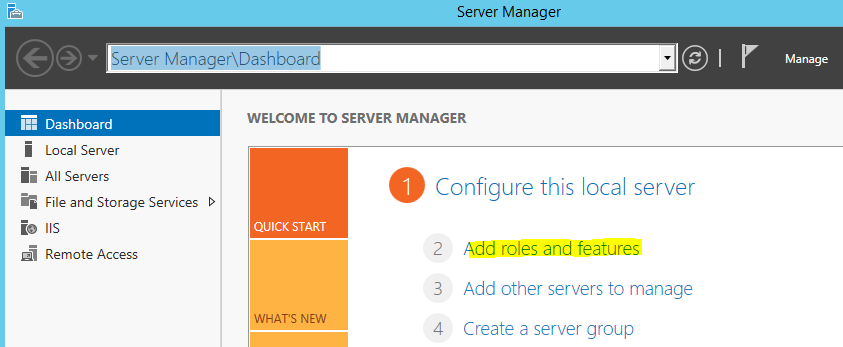
To begin the installation log in to the selected server (This must be added to the domain) as domain admin or enterprise admin.
1) Load the Server Manager > Add roles and features
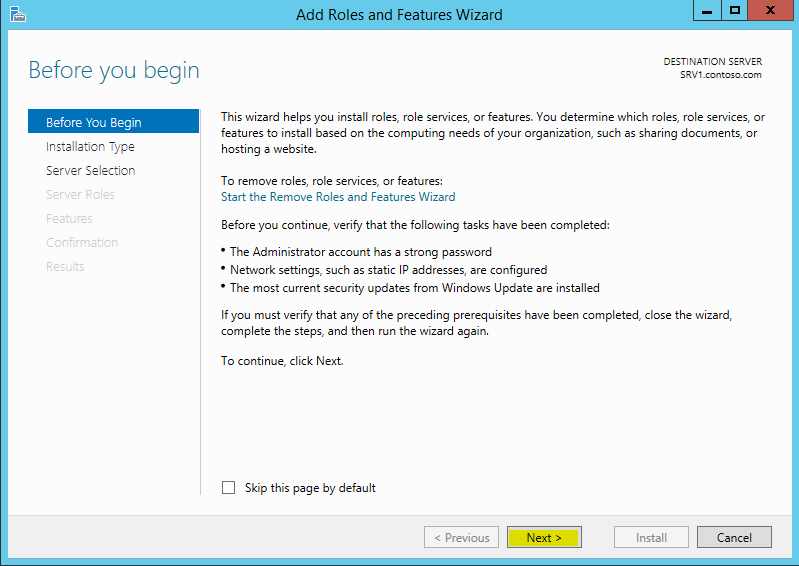
2) Then it will load “Add roles and features wizard” and click next to continue
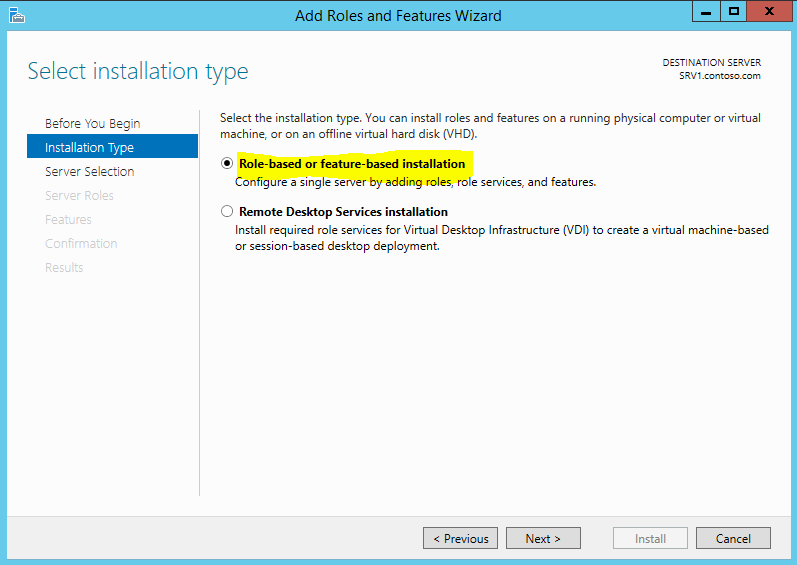
3) In next window select “Role-based or feature-based installation” and click next to continue
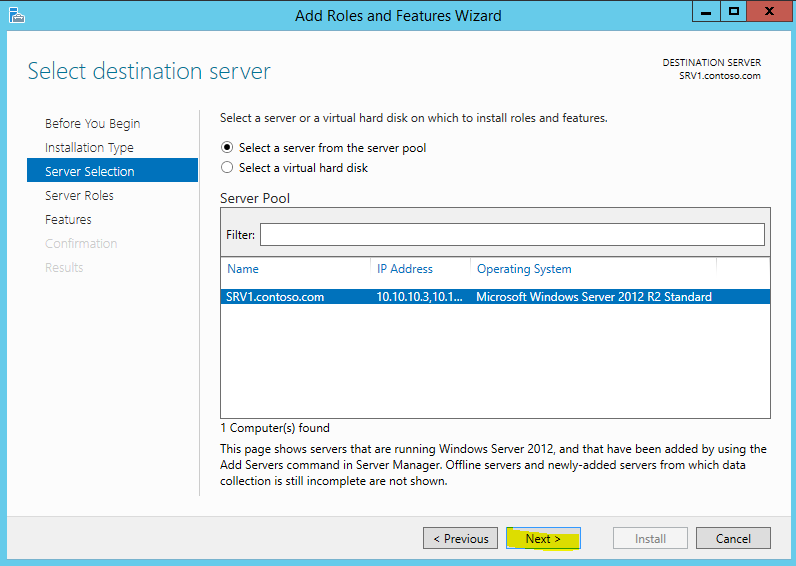
4) Then leave the default selection in next window and click next
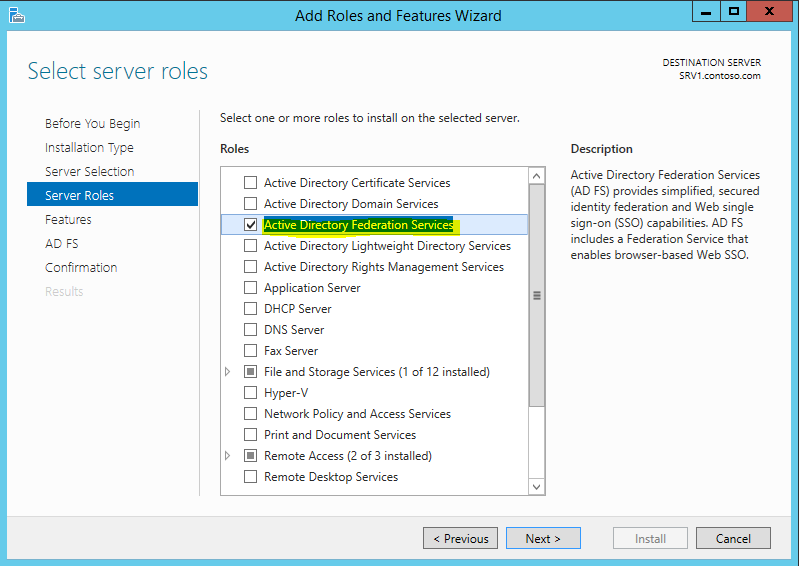
5) In server role selection select “Active Directory Federation Services” and click next
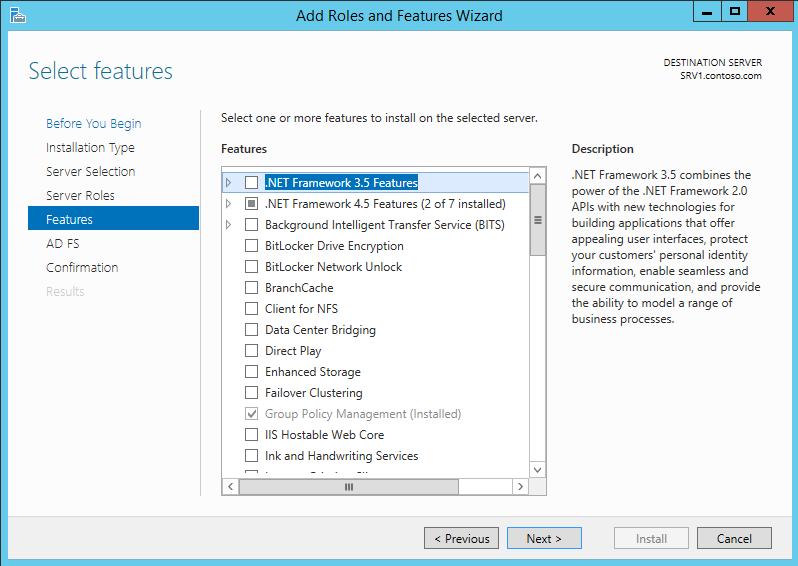
6) In features selection window, leave the default selection and click next to continue
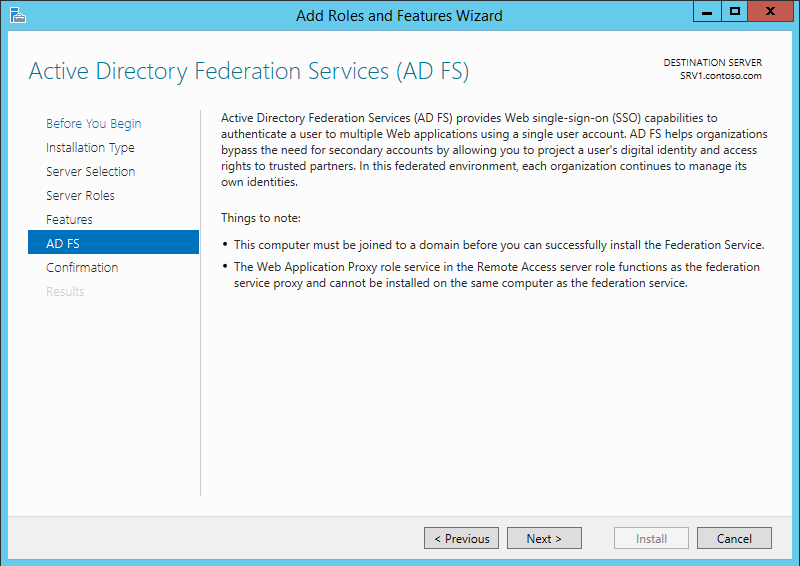
7) Then in next window it gives description about the AD FS and click next to continue
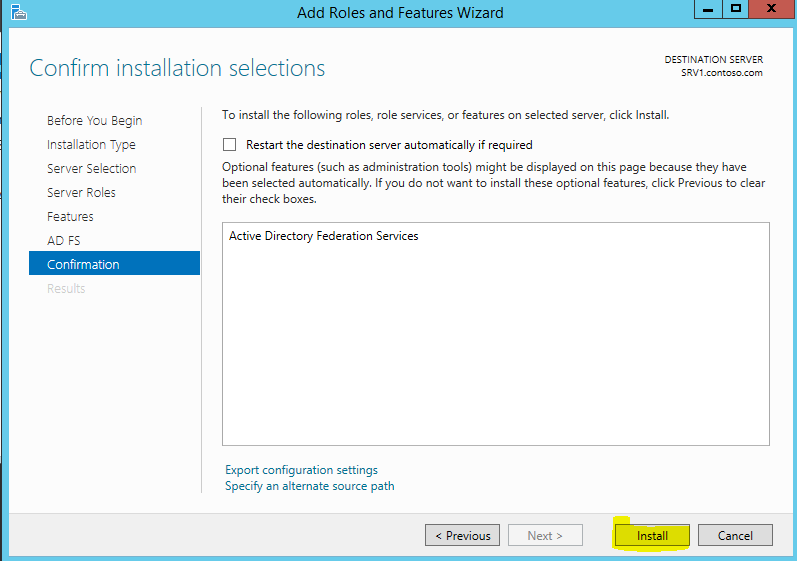
8) In next window, click on install to begin the installation.
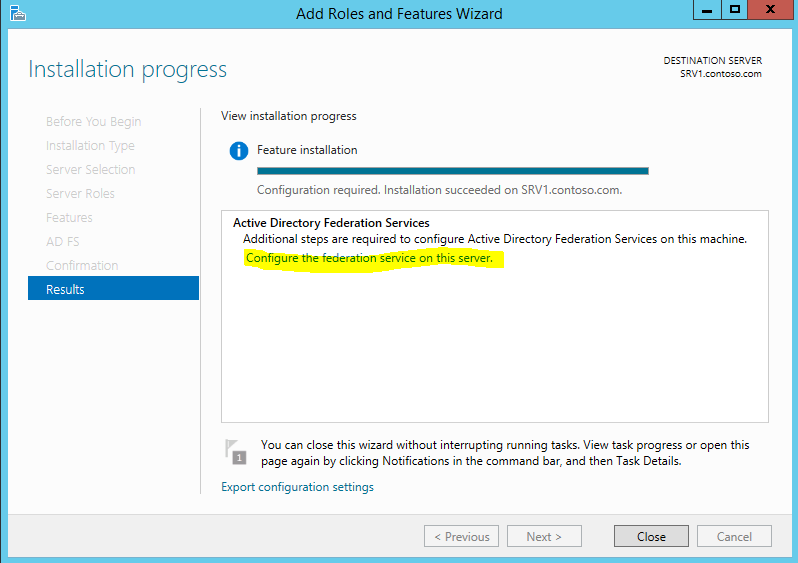
9) Once installation completed, click on option “configure the federation services on this server” to start the configuration process
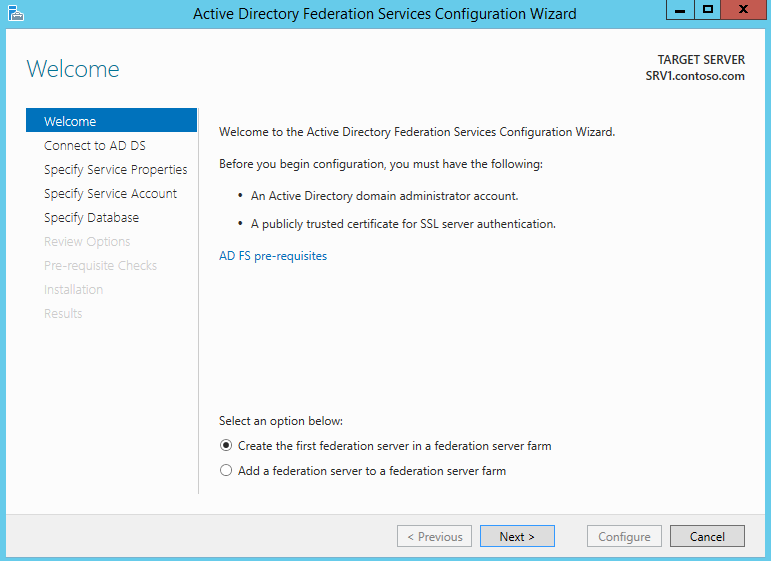
10) Then it will open up the AD FS configuration wizard. Select the “create the first federation server in a federation server farm” and click next
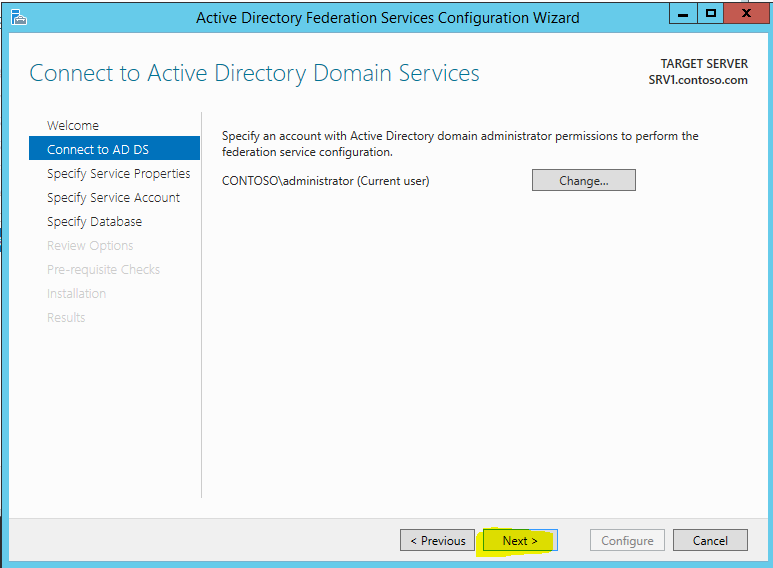
11) In next window leave the default and click next
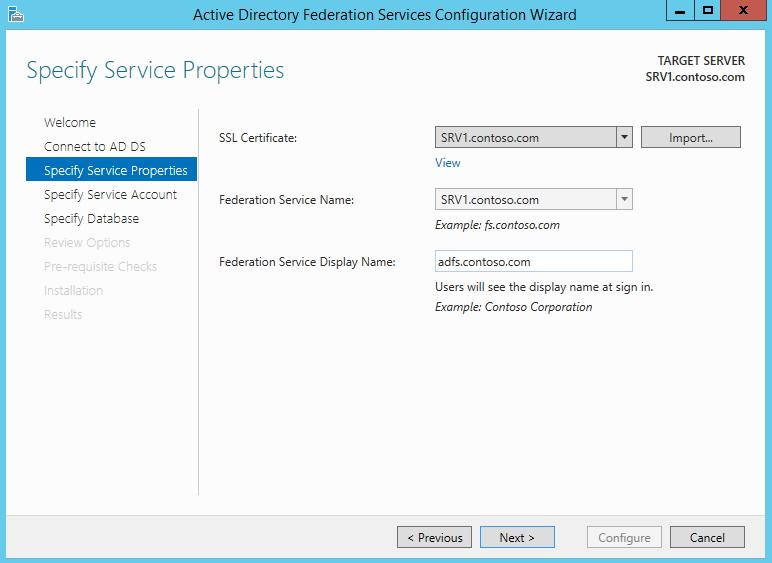
12) In next window select the SSL certificate which will use for the AD FS and provide the name space as well. ( Note – in demo I used self-signed SSL so it is not match with the A record I created )
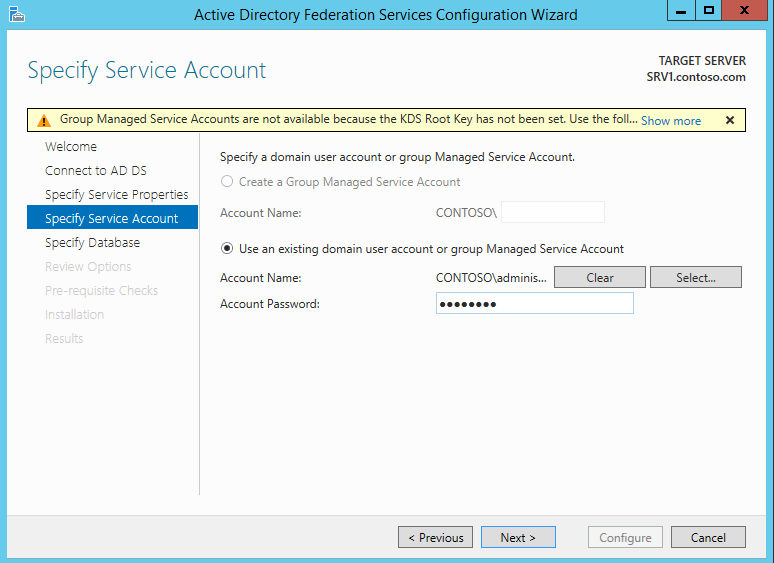
13) If required you can use GMSA as an ADFS service account. In this window, can select the service account and click next to continue.
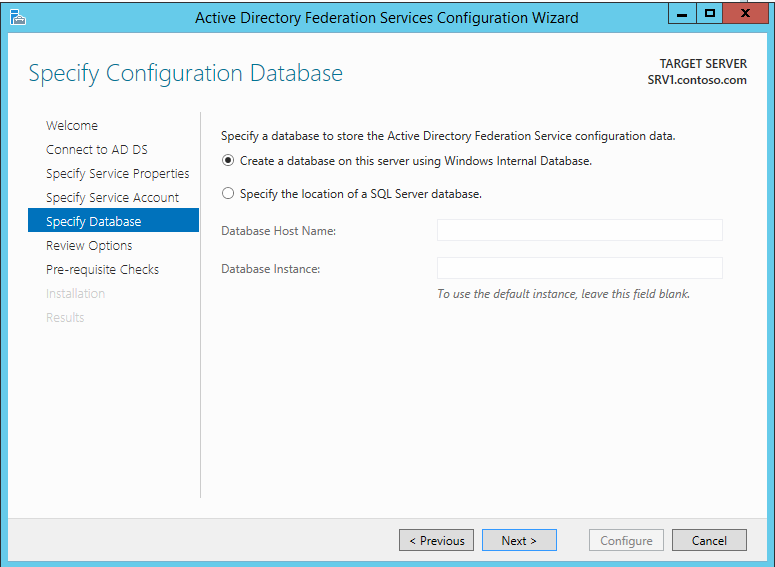
14) In next window, if need we can save the configuration database on separate SQL server in network. For demo I will just use the default option.
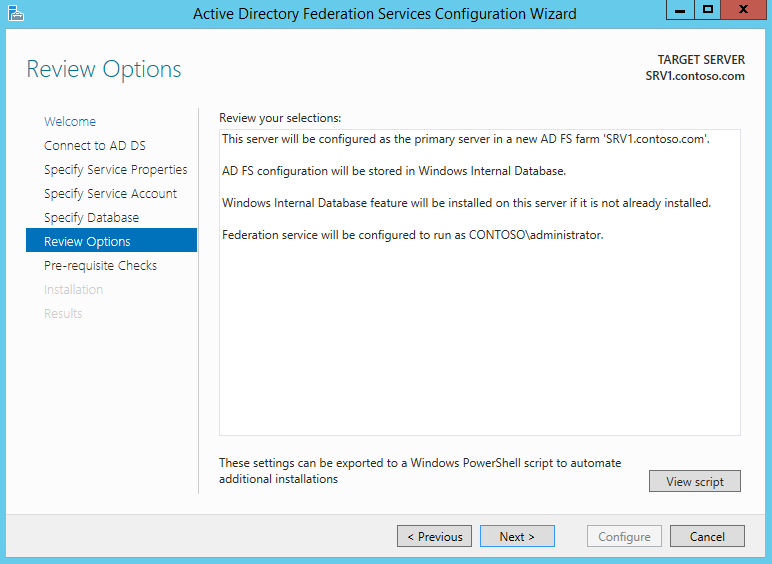
15) In next window it will give brief review about the option selected and click next to continue
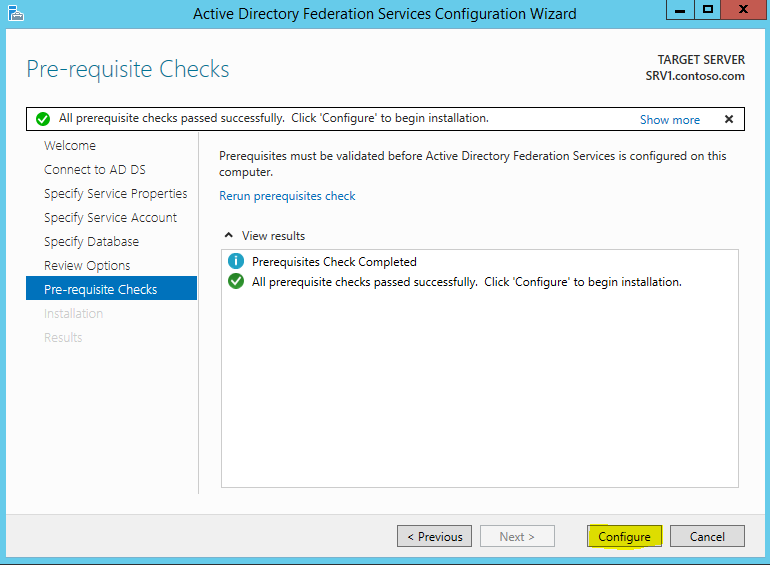
16) Then it will proceed with pre-requites check, once it completed click on configure to proceed.
17) Once process completed, click on close to exit from the wizard.
This completes the AD FS role installation and configuration. In next post I will explain how to install the proxy services. If you have any questions about the post, feel free to contact me on rebeladm@live.com

