
In today post lets look in to another DS command which we can use to administer active directory. Today command is "DSMOD". This command is use to modify the attributes of a object. For example lets assume we need to edit the attributes like Display name, Department of an object or a group of object. This command can easily use for the task.
Another advantage of this command is you can use it combine with DSQuery command. so you can simply search the object and modify the attributes of results it passes.
The common syntax for the command is
dsmod objecttype "ObjectDN" -attribute "New Value"
in here objecttype describe the type of the object. for example if its user account the object type will be user. ObjectDN defines the DN of the object which going to modify. attribute defines the attribute which will be modify.
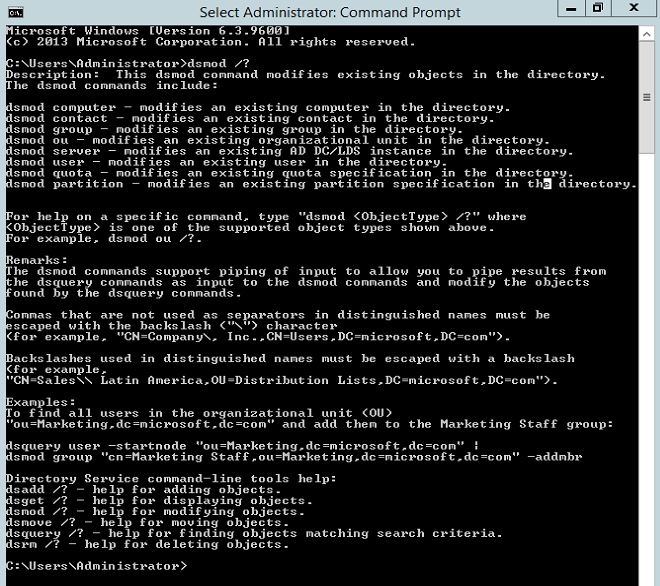
The help file of the command can be open using dsmod /? and these command need to be run as administrator on DC server.
Lets look in to some of examples using this command.
The first command i am using is dsmod user "CN=Sales B,OU=Sales Department,DC=contoso,DC=com" -email "SalesB@contoso.com" in here i am going to edit the "Email" attribute of the user Sales B and add email address SalesB@contoso.com. before run the command lets check and verify the existing attribute values.
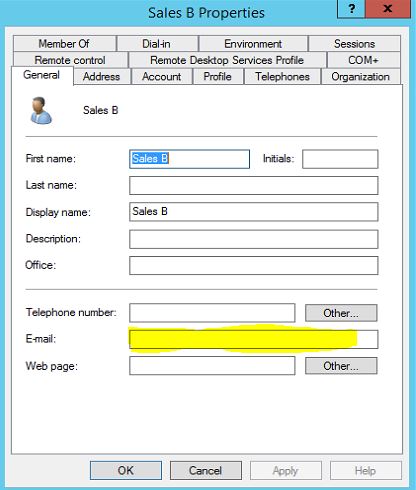
as we ca see it is empty. lets run the command now and see the outcome.
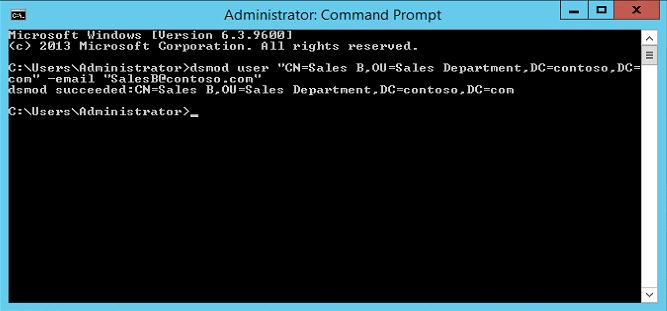
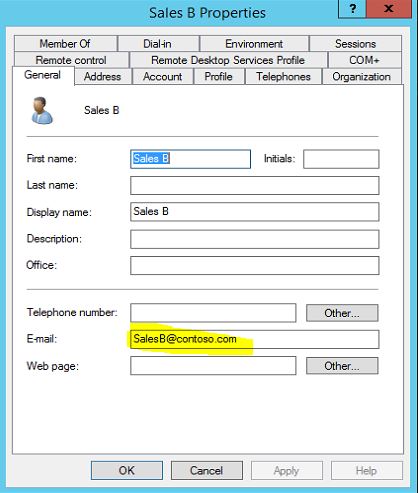
as we can see it successfully updated the attribute.
Also as i mentioned earlier in the post we can use this command along with the DSquery command. lets look how we can use it.
as per demo i will be using dsquery user -name "Sales*" | dsmod user -dept "Sales Department". on this command it will first query all the users who starts the name with text "Sales" and modify the department attribute of all of them and add Sales Department
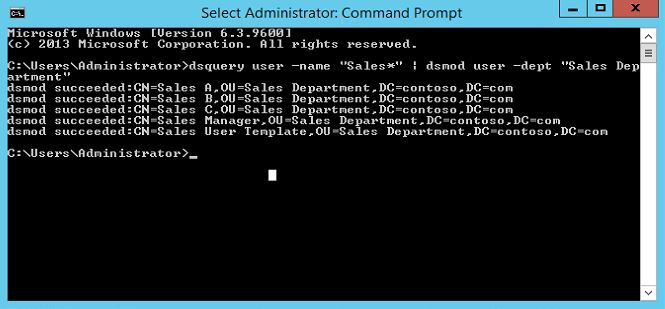
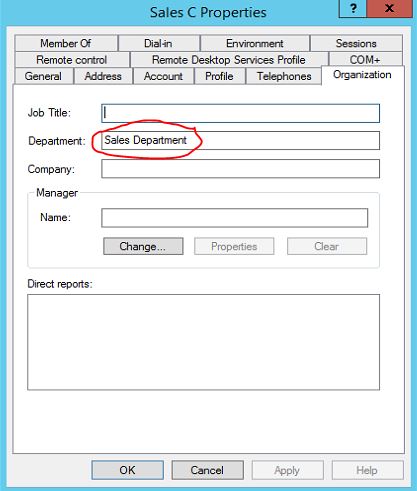
According to above it successfully modify 5 user objects and we can see its applied on user account Sales C as expected.
This is the end of this post and lets look in to another DS command in next post.

