
In here with the demonstration I will show how to install active directory certificate services and how we can use the issued certificate for different tasks. specifically i will demonstrate how to issue company’s trusted certificates for each and every client who connects to the domain.
Here i am using a server which is already added to the domain. i have explain how to install domain services in windows 2008 server in one of my previous posts.
The demo environment using windows 2008 standard R2 server and as the client pc i am using windows 7 sp1 pc. This is still valid for windows 2012 as well.
Let’s go ahead and install the certificate services.
To start, log in to the domain server as a domain admin and the open server manager.
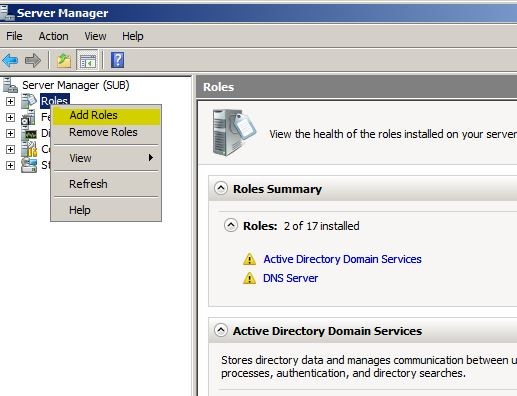
Once it open, right click on roles and select add roles.
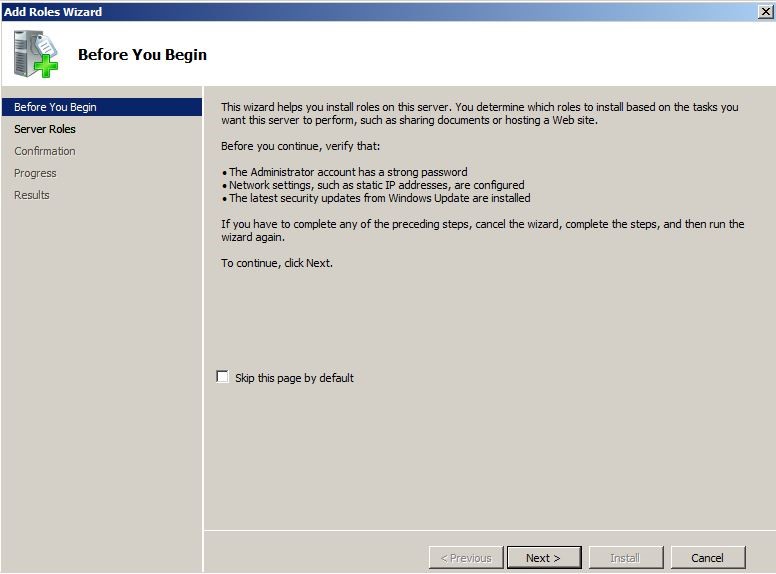
Once the wizard is open click on next to continue.
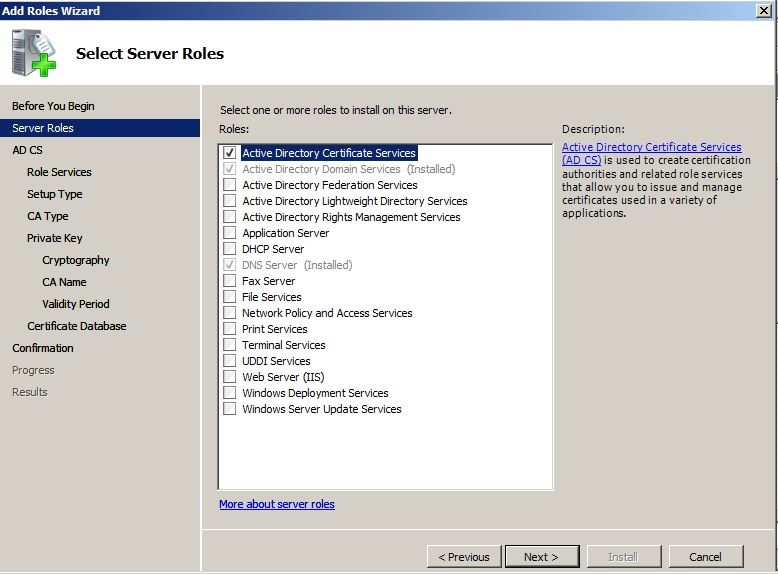
From the list select “Active Directory Certificate Services” and click next.
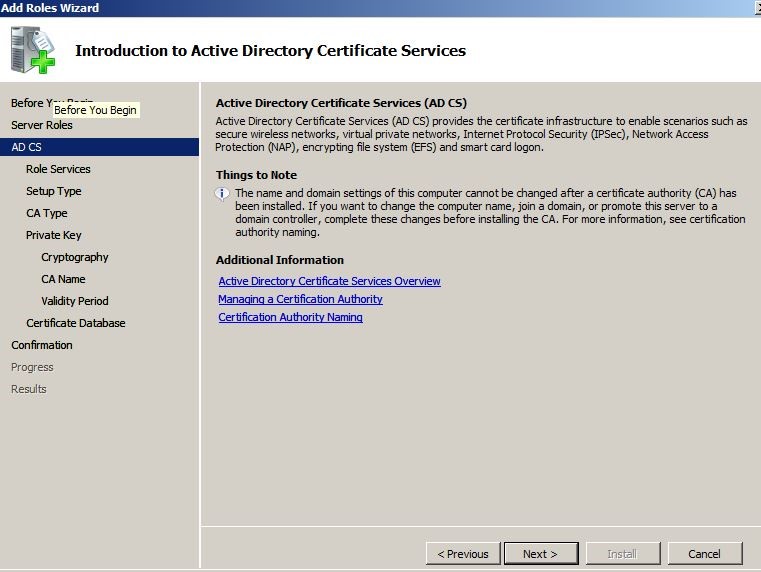
In next window it displays some warning about service and the use of it. Click next to continue.
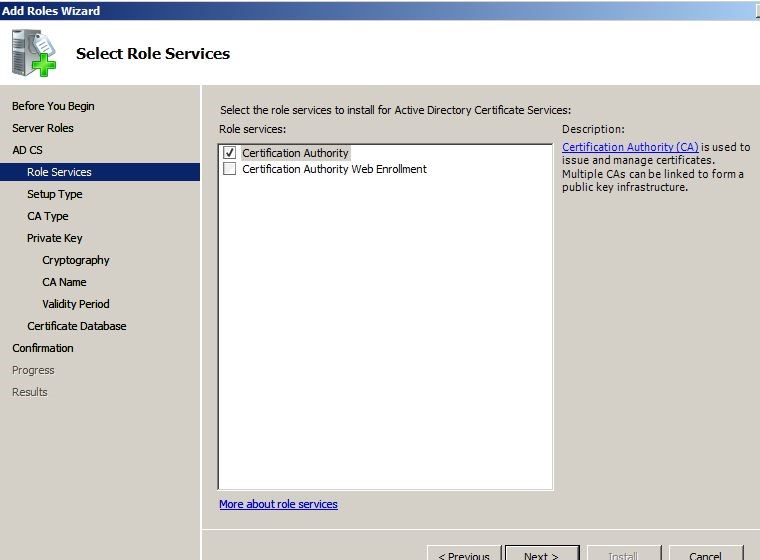
From next window select the “Certificate authority” as the service and click next to continue.
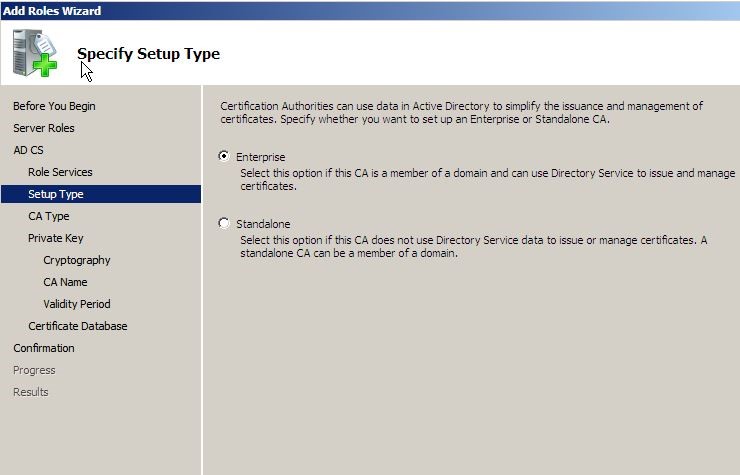
In next window can select the setup type. Use the default enterprise setup as this is a dc server. Click next to continue.
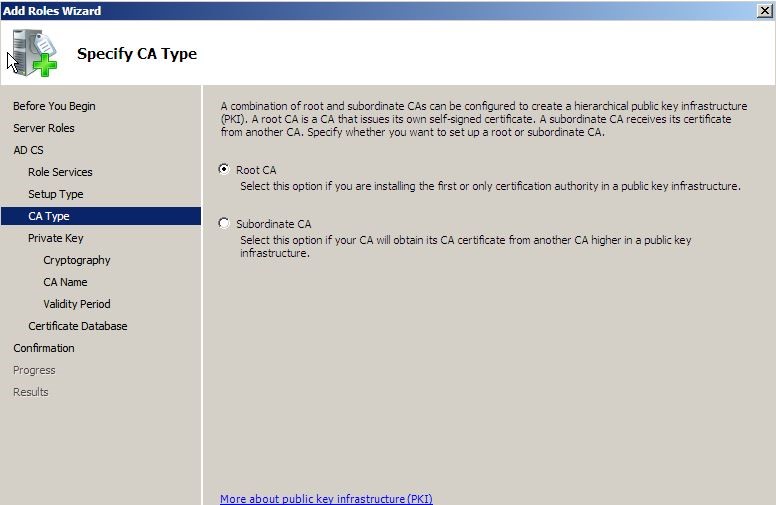
In next window select the CA type, in here I used the root as this will be the only one used for the demo.
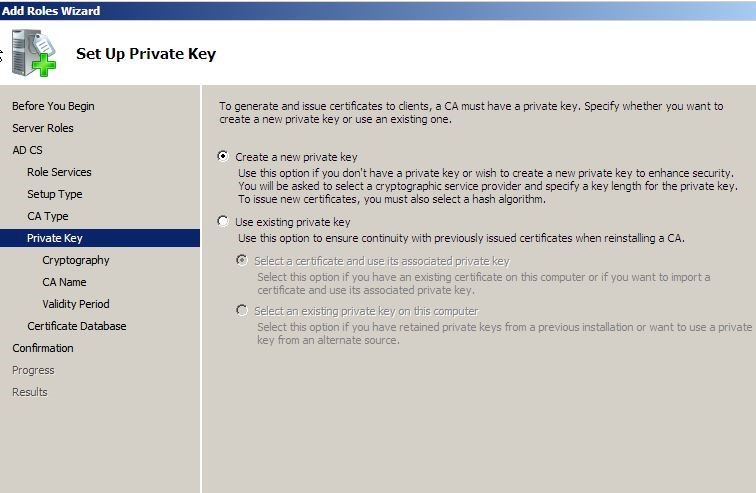
In next window select “create a new private key” option and click next to create pk for the server.
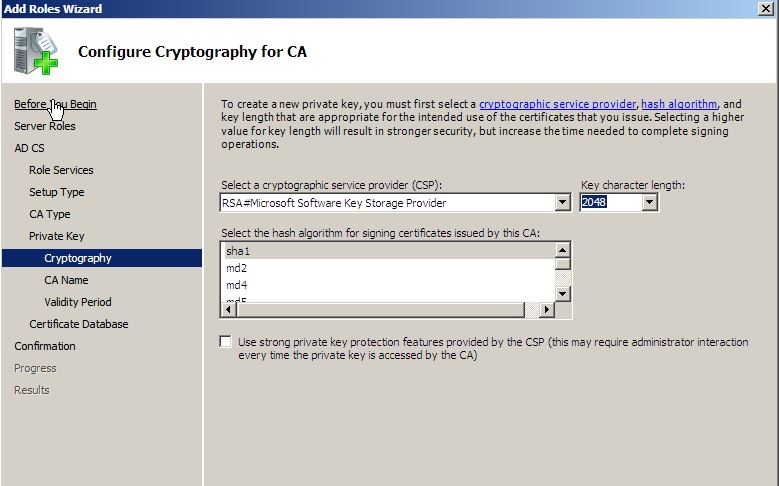
In next window you can change the cryptography settings but I will be using default.
In next window you can change the CA name if need. I will be using the default.
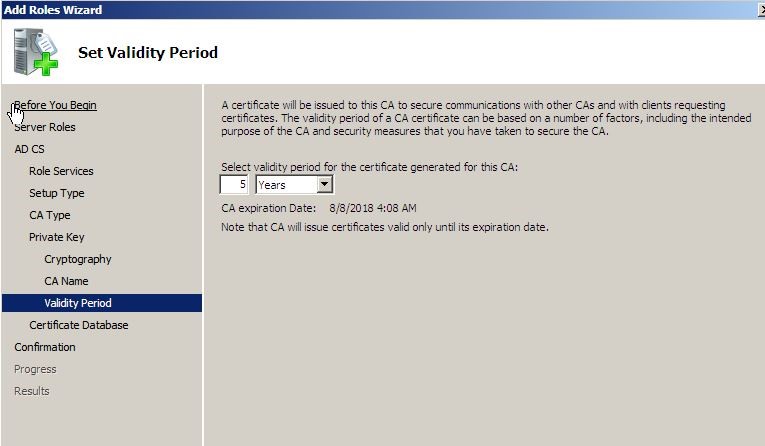
In next window you can define the validity period of the certificates. I will use the default 5 years.
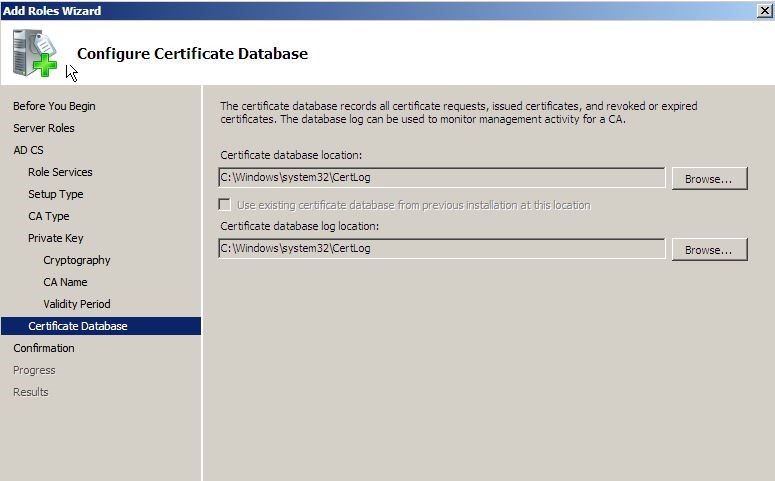
In next window it will ask about the file path to save the certificates database.
The next window it will confirm about the installation and click on install to start the installation.
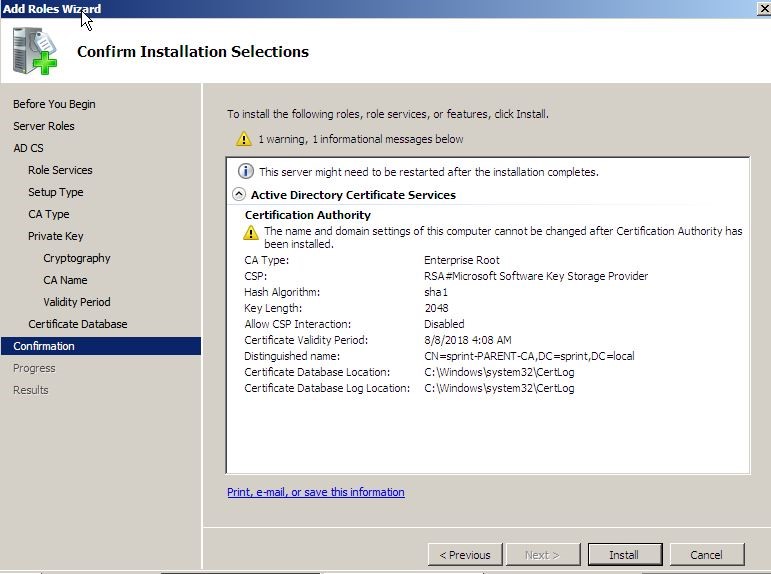
Once it is installed it will pass the confirmation.
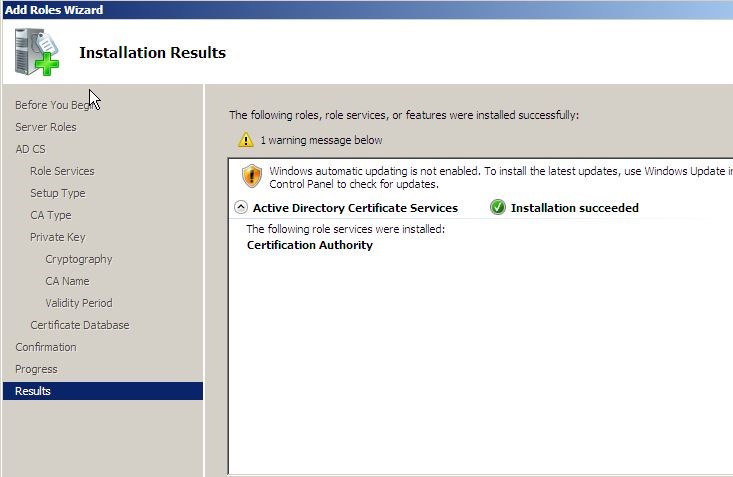
Now we do have the AD CS is installed. Next step is to configure it to issue secure certificate for the computers which are connecting to the domain.
By default there will not be any certificate issues for the computer. To test this I will be log in to a pc which is connected to greenwich.local as user “cs1”(This user is having local admin rights as if not it want show up the certificates which assigned for the computer level).
Once log in go to start > run > mmc
Then it will open the mmc.
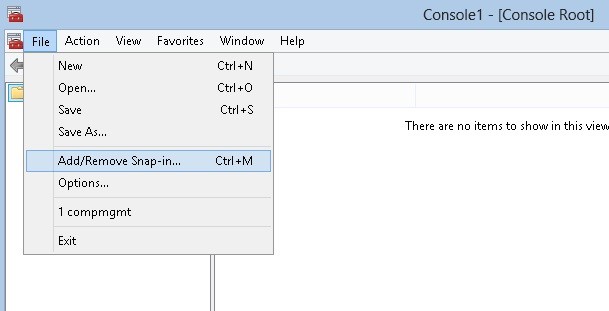
Once it open go to File > Add/Remove Snap in
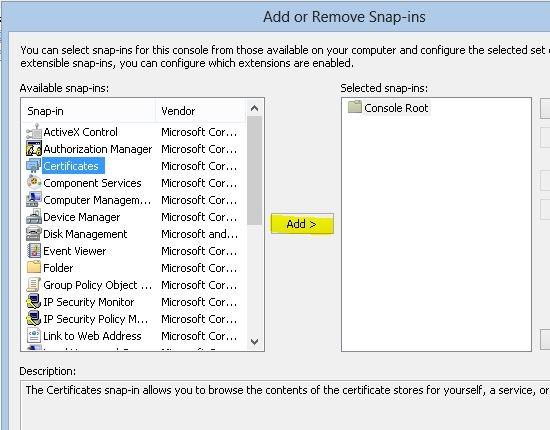
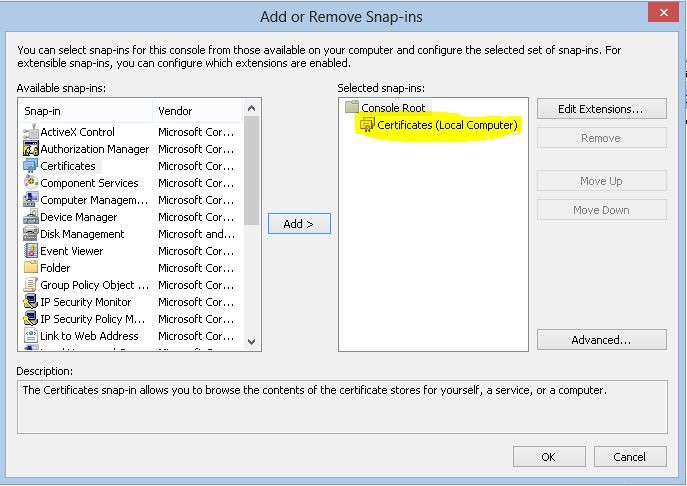
From the window click on certificates and click on add button.

Then in next window select “computer account” as we need to view the certificates issue for the computer. Then click next.
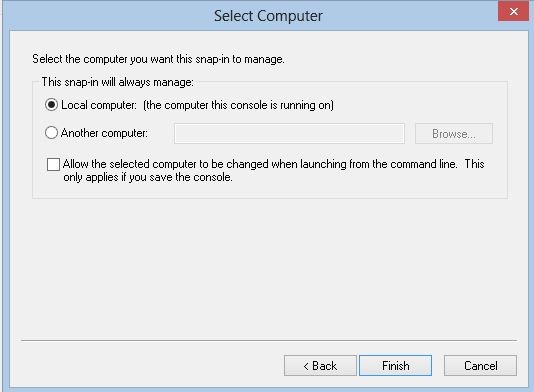
In next window select local computer and click on finish.
Then it will show the added snap in and click on ok to open the snap in.
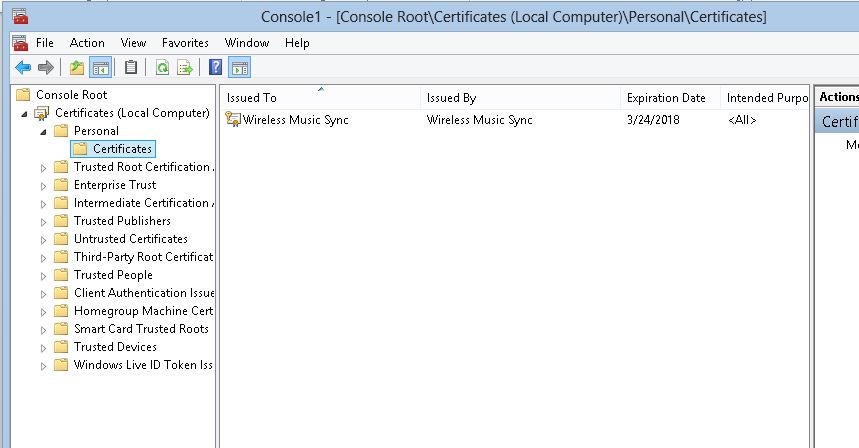
Once it’s open expand the tree and go to personal > certificates. Then you can see there is on certificate issued for the pc.
Now we need to configure the AD CS to issue certificates for the client computers.
To do that first we need to log back to the server we have installed the AD CS services as domain admin or enterprise admin. Then need to open mmc console like we did on above.
Then go to add/remove snap in as previous step.
From the available snaps-in select “Certificate Authority” and add it.
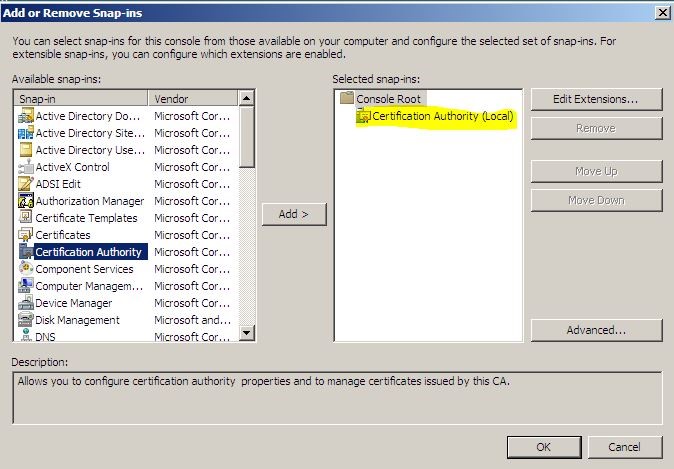
Then also select “Certificate Templates” and click ok.
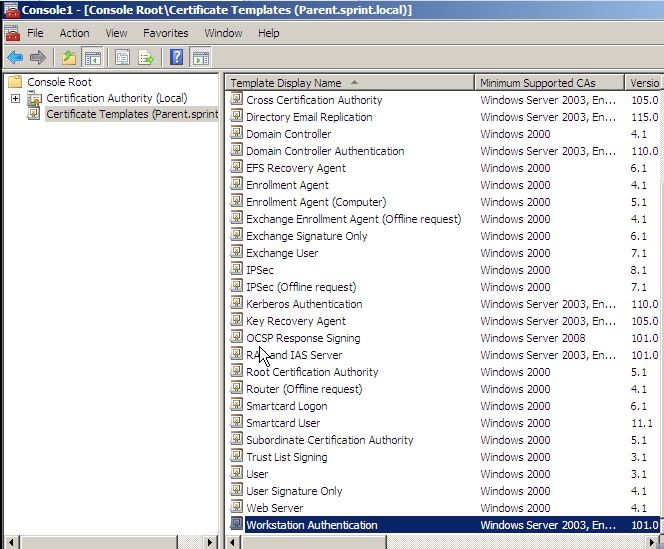
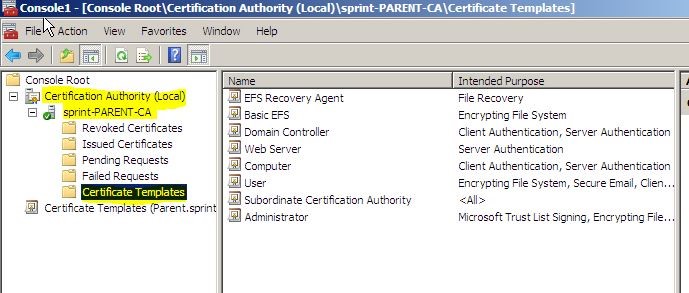
Then it will open the console as following
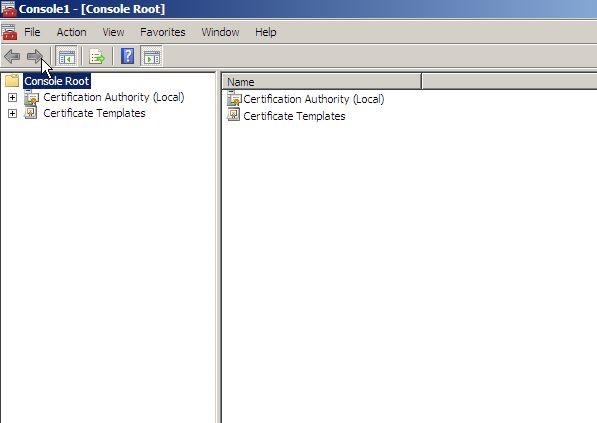
Then click on Certificate templates and from available templates select “Workstation Authentication template”
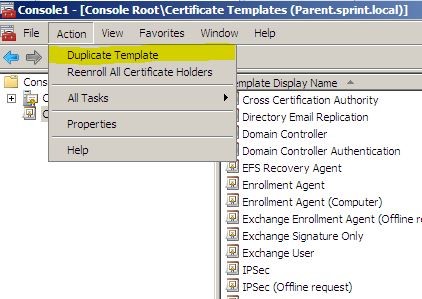
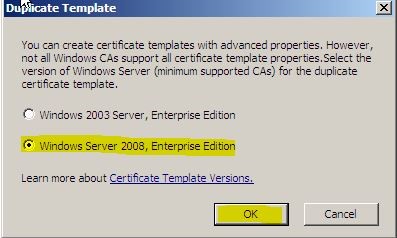
On the Action menu, click Duplicate Template. The Duplicate Template dialog box opens. Select the template version appropriate for your deployment, and then click OK . The new template properties dialog box opens.
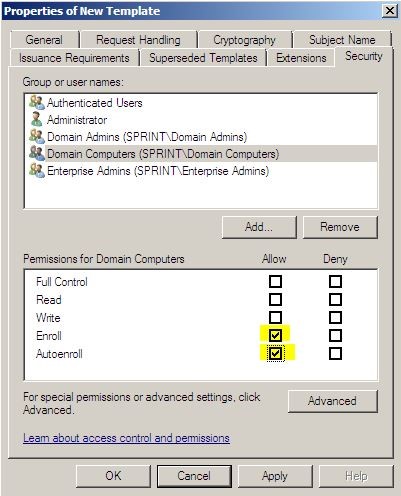
Once its open the window On the General tab, in Display Name , type a new name for the certificate template or keep the default name.

Go to security tab and then select “Domain Computers” from the list. Then from permissions, Under Allow, select the Enroll and Auto enroll permission check boxes, and then click OK .
Then click ok to apply the changes.
Then Double-click Certification Authority , double-click the CA name, and then click Certificate Templates .
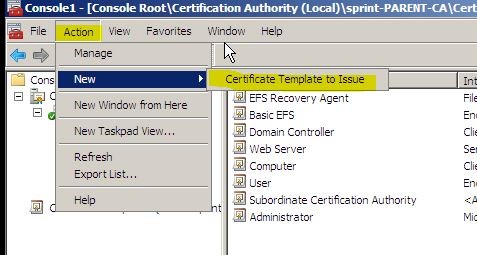
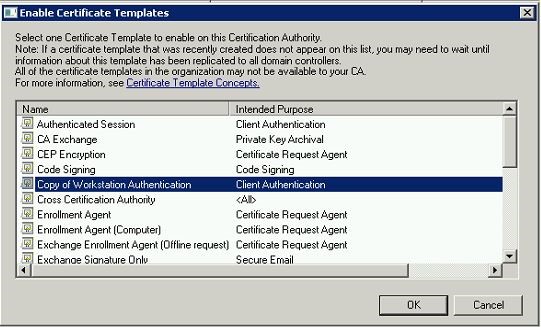
On the Action menu, point to New , and then click Certificate Template to Issue . The Enable Certificate Templates dialog box opens.
Click the name of the certificate template you just configured, and then click OK . For example, if you did not change the default certificate template name, click Copy of Workstation Authentication , and then click OK .
Then go to “Group Policy Object Editor” and right-click Default Domain Policy and select edit.
Open Computer Configuration, then Policies, then Windows Settings, then Security Settings, and then Public Key Policies.
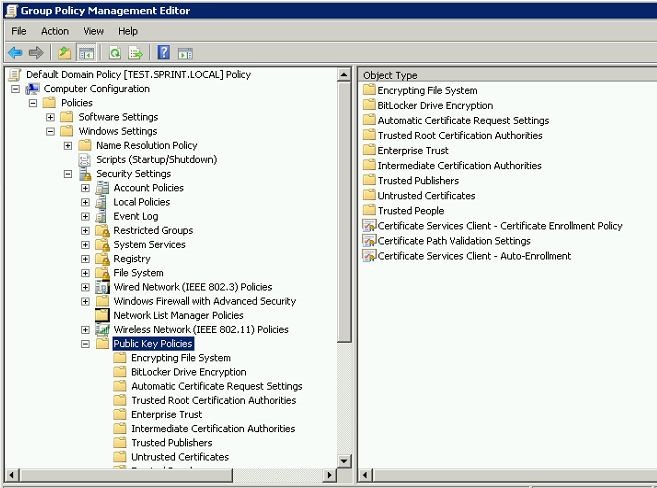
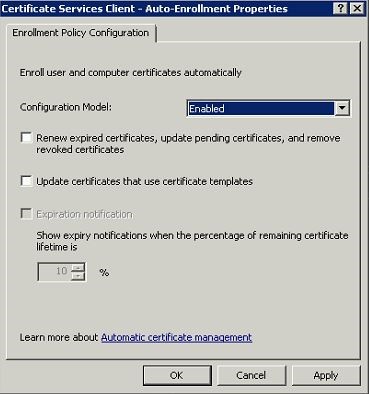
In the right hand panel, double-click “Certificate Services Client – Auto-Enrollment” . The Certificate Services Client – Auto-Enrollment Properties dialog box opens.
In the Certificate Services Client – Auto-Enrollment Properties dialog box, in Configuration Model , select Enabled .
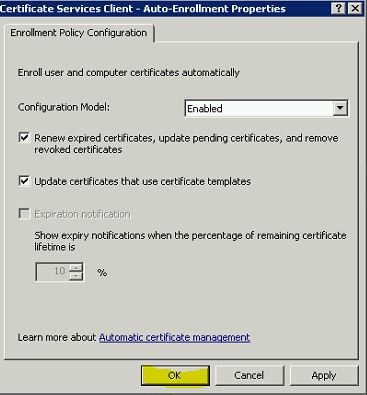
Select the Renew expired certificates, update pending certificates, and remove revoked certificates check box and click ok.
Now we have everything in place with the configuration. We need to test out by log in to the pc again to see if its issue the certificate now. I will be login in to same computer with user cs1 (these users have local admin rights for this pc otherwise user only can see certificate for the user). After login will load up the mmc as we did in beginning and browse to the same location.
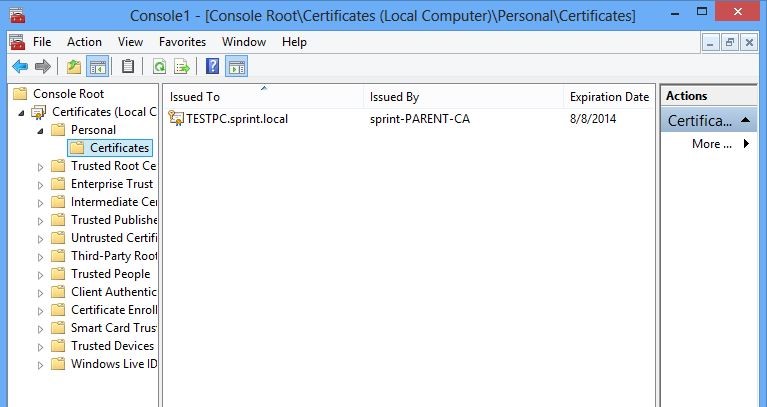
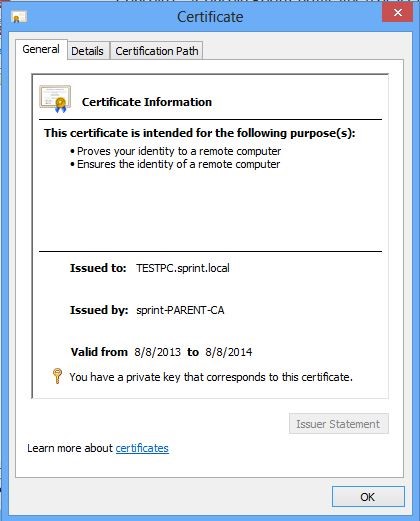
This shows clearly the new certificate which is created for the computer by the certificate server.

