
In my previous blog post, I have explained how we can collect custom attribute values by using Entra ID user flows. We had custom attributes setup in Entra ID and when a guest user accesses an application for the first time, the values for these custom attributes will be collected by using user flows. Entra ID entitlement management feature does identity governance by allowing organizations to manage identity and access life cycle with help of access packages, workflows, and reviews. In one of my previous blog posts, I have talked about Entra ID entitlement management in detail and it can be accessed using https://www.rebeladmin.com/2020/02/step-step-guide-azure-ad-access-package/ . Now we can also collect these custom attribute values when a user accesses an Entra ID entitlement management access package. In my Azure environment, I have an application and its access life cycle is managed by using Entra ID entitlement management. This application is also open for guest users. When a guest user requests access, I need to collect values for two custom attributes called “Organization ID” and “User Token”. After the guest user is provided this information, the approver will cross-check these values with the internal system to make sure the request is legitimate. Once the verification process is completed, the approver will go ahead and process the request.
In this blog post, I am going to demonstrate how we can set up this. Another important to mention in here is, similar to the user flow method, the collected custom attribute values will be saved in Entra ID and if required we can query these values using Microsoft Graph.
Current Setup
In my existing environment, I already created two custom attributes called “Organization ID” and “User Token”. I have covered the steps for that in my previous blog post.

I have also created an access package for the application under the Entra ID entitlement management. This particular application is hosted in on-prem server and it is using Entra ID application proxy for remote access.
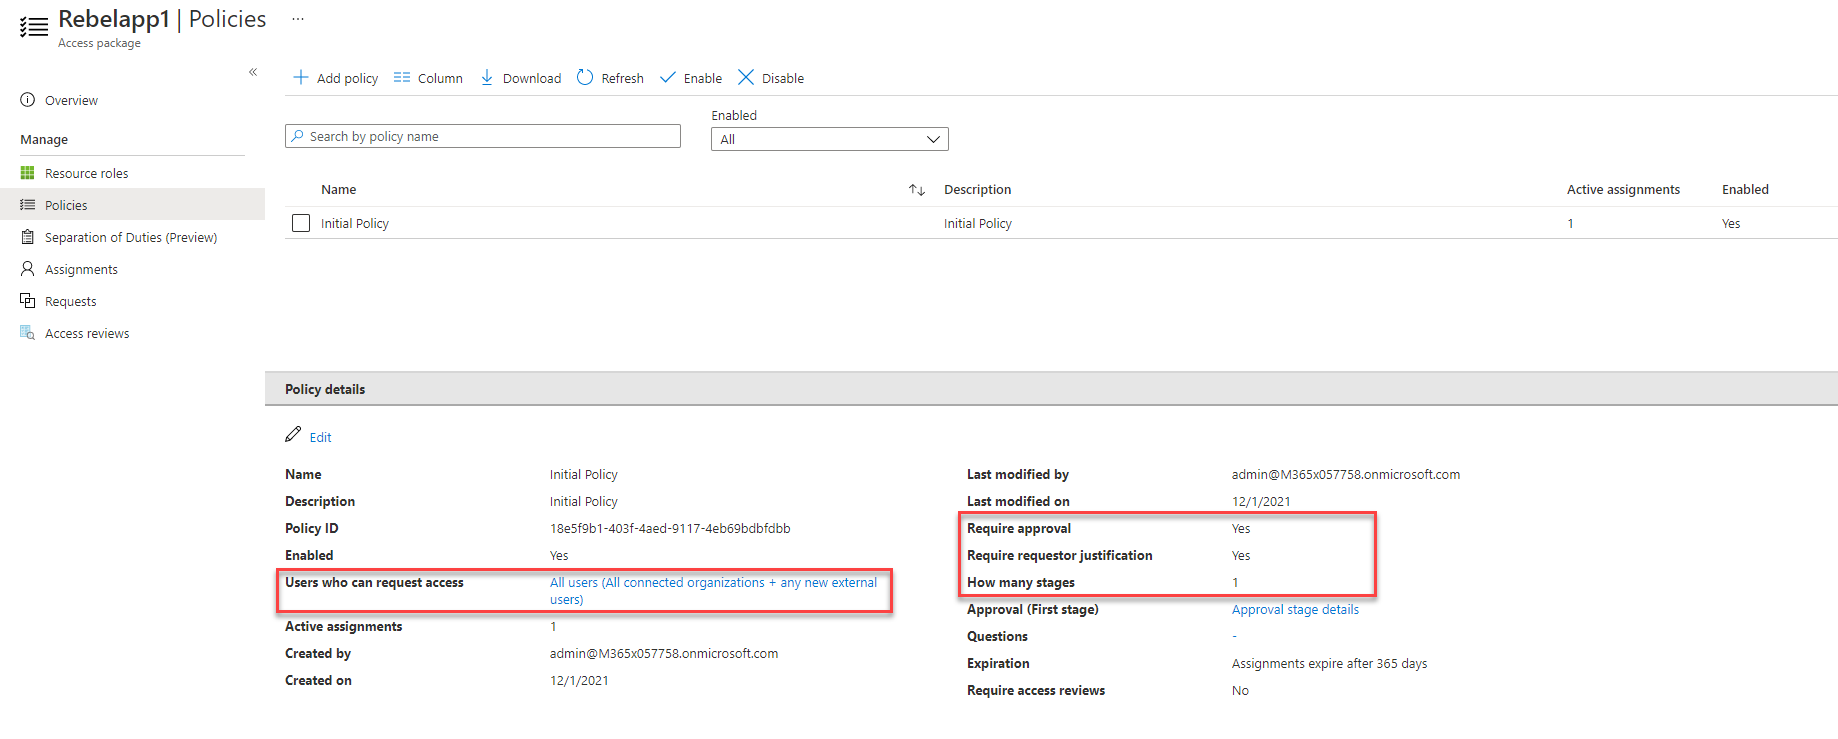
As per the policy, this application is open for any external user. Also, any access request will go through the approval process.
Configure required attributes for the application
Let’s go ahead and see how we can configure require attributes feature for the application.
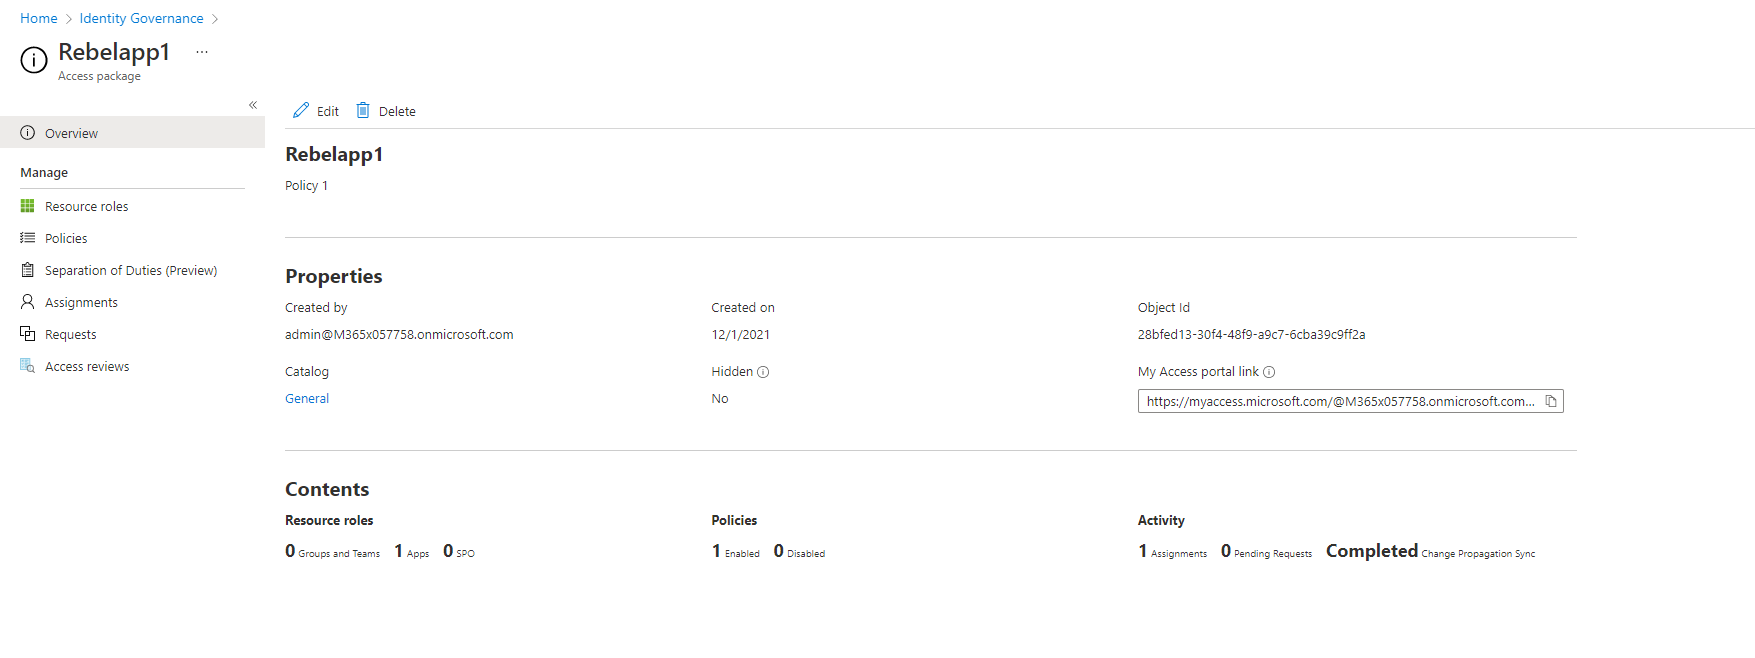
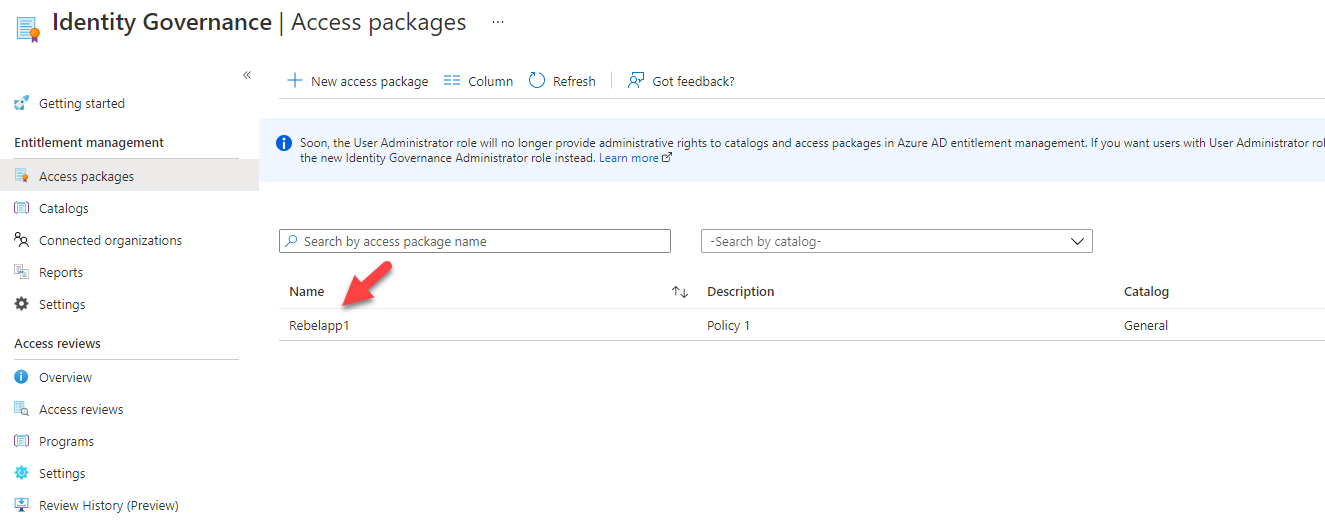
1. Log in to Azure Portal and go to Entra ID | Identity Governance | Click on the access package you want to modify (I assume you already have relevant access packages configured via Entra ID entitlement management)
2. Then click on Resource roles

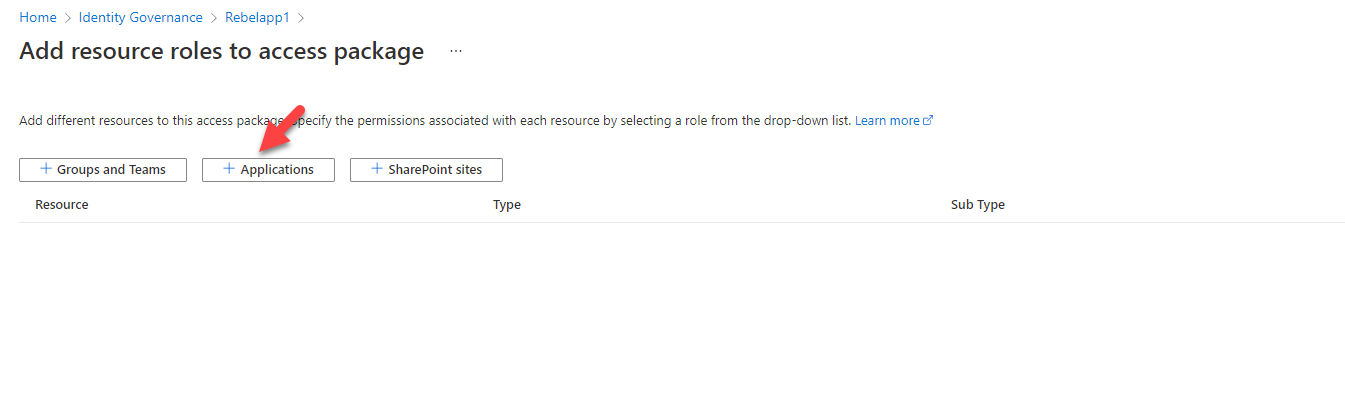
3. The next step of the configuration is to add the application to the access package. To do that click on + Add resource roles

4. Then, click on + Applications
5. It will list down the applications. From the list select the application you want to manage. In this demo, I am choosing an application called rebelapp01.
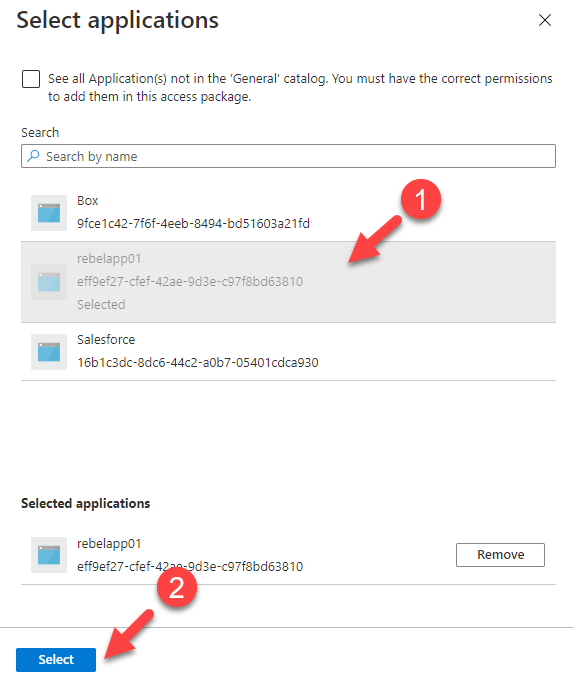
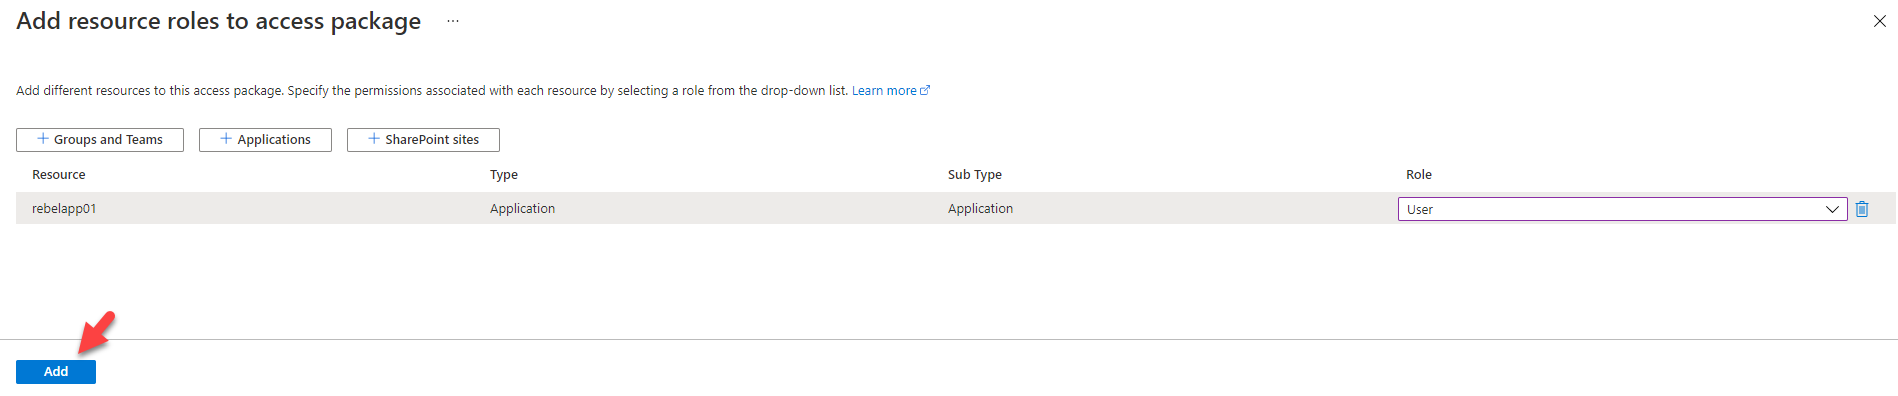
6. Once the selection is done, choose the role you going to manage by using the access package.

7. To complete the process, click on Add at the end.
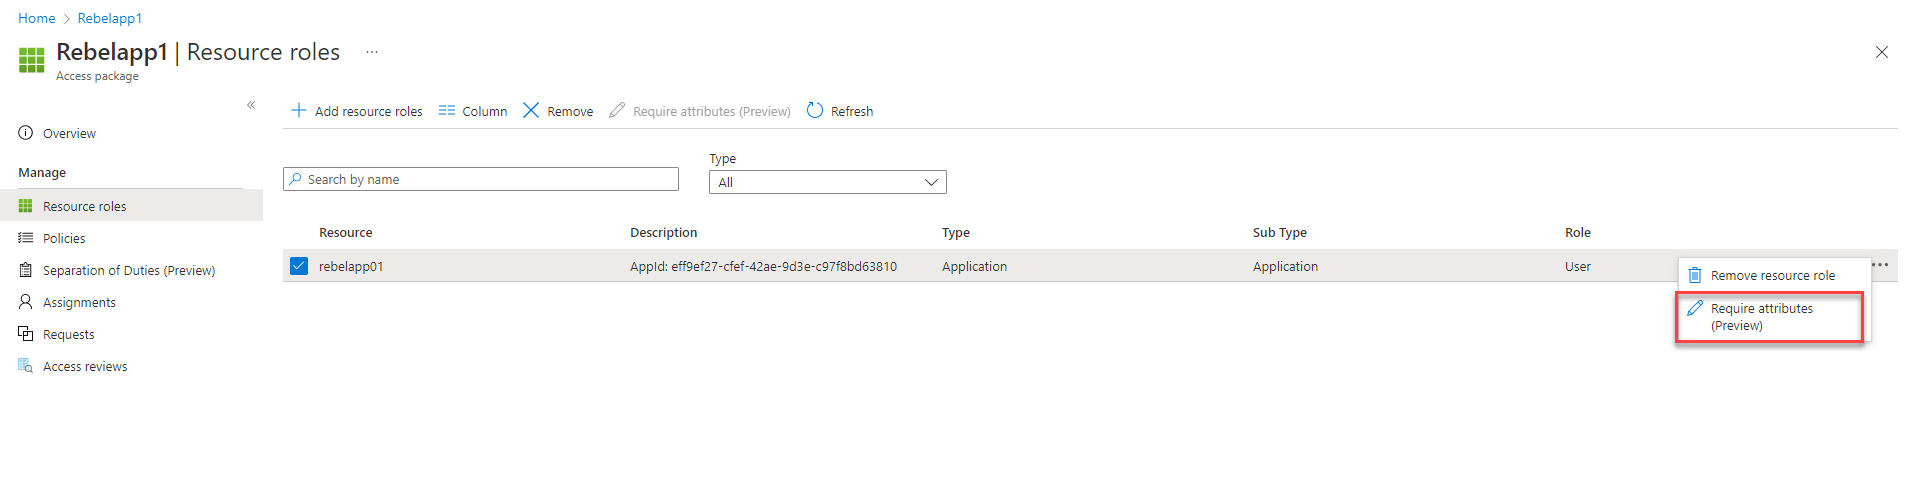
8. This completes the process of adding an application to the Entra ID entitlement management access package. The next step is to add the required attributes to the application. To do that, select the application and click on Require attributes (preview) option.
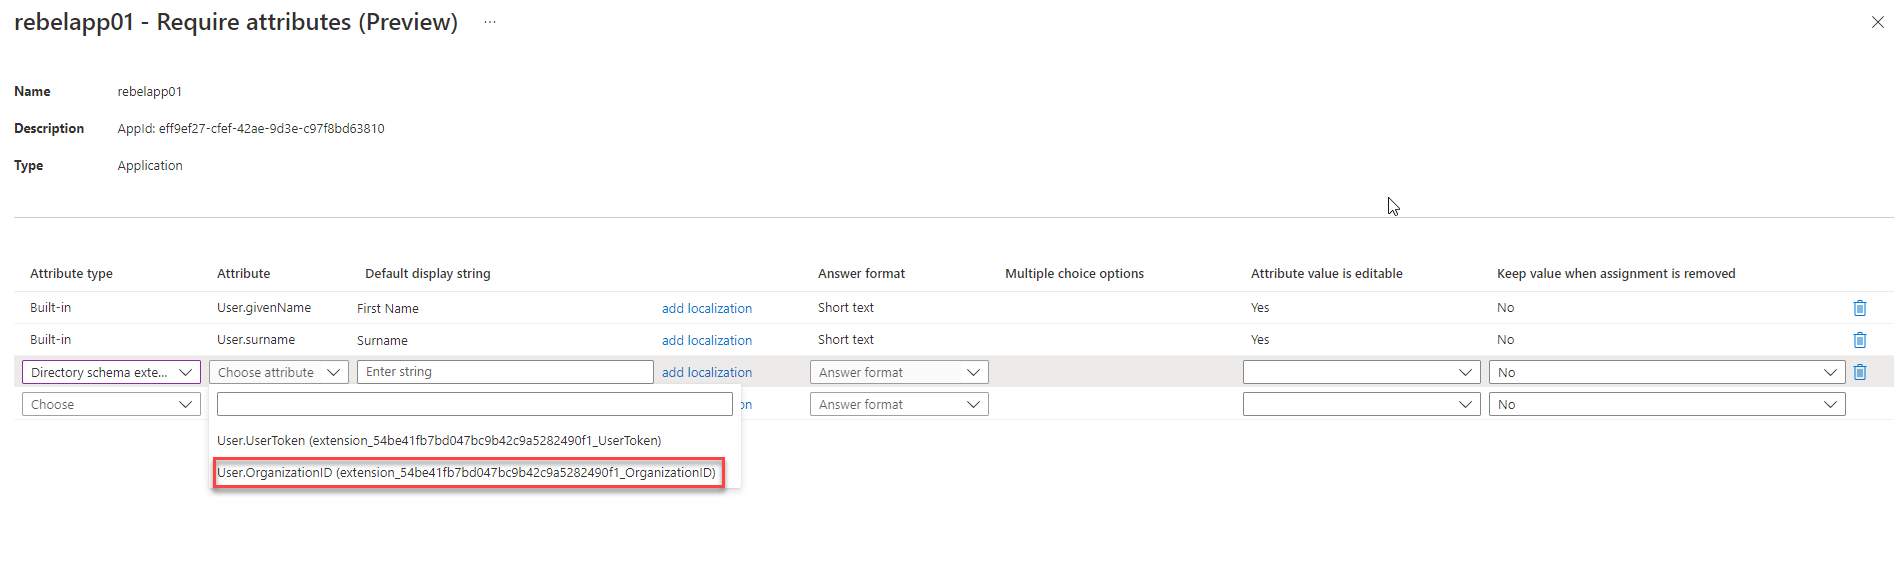
9. It opens up the attribute page. In there we can see two attributes and those are inbuilt attributes. We need to add the two custom attributes to the list. To do that, under attributes type choose Directory schema extension.
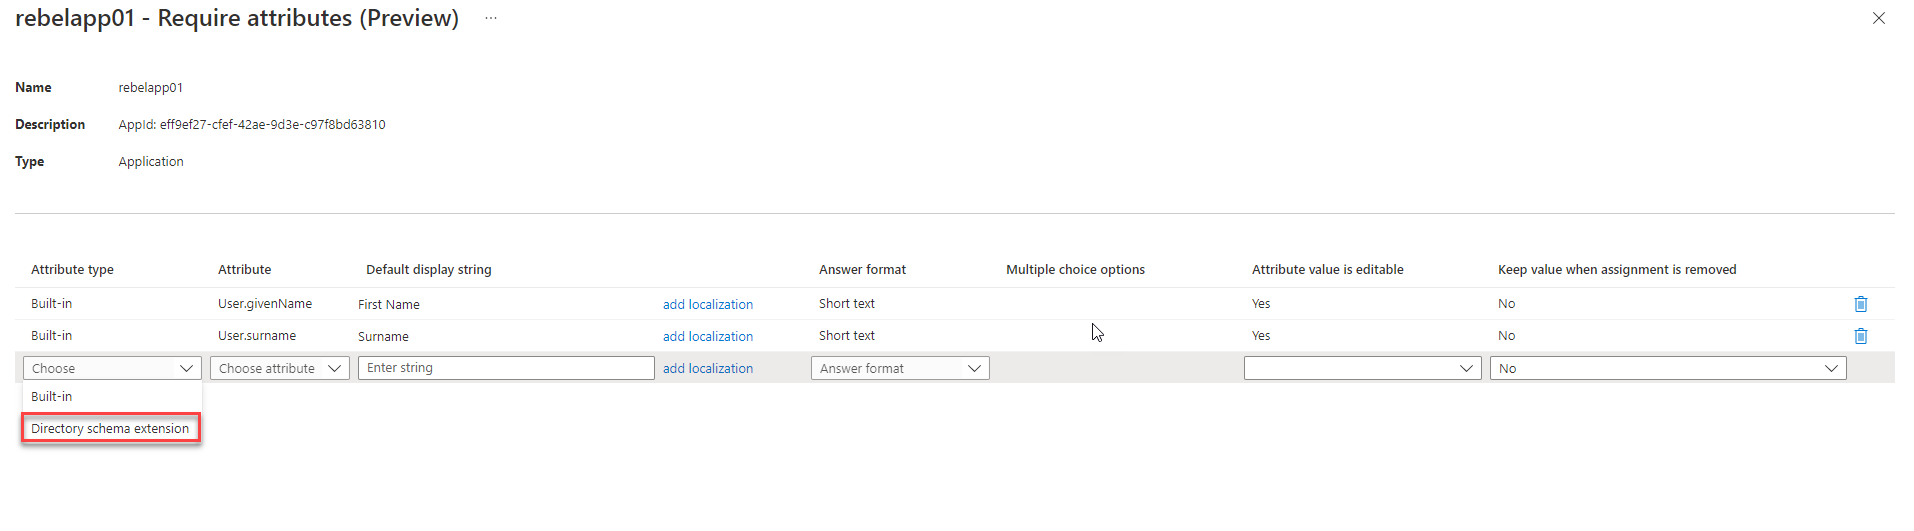
10. Then click on the drop-down in the attribute column to see the custom attributes values. In there I select the User.OrganizationID attribute first.
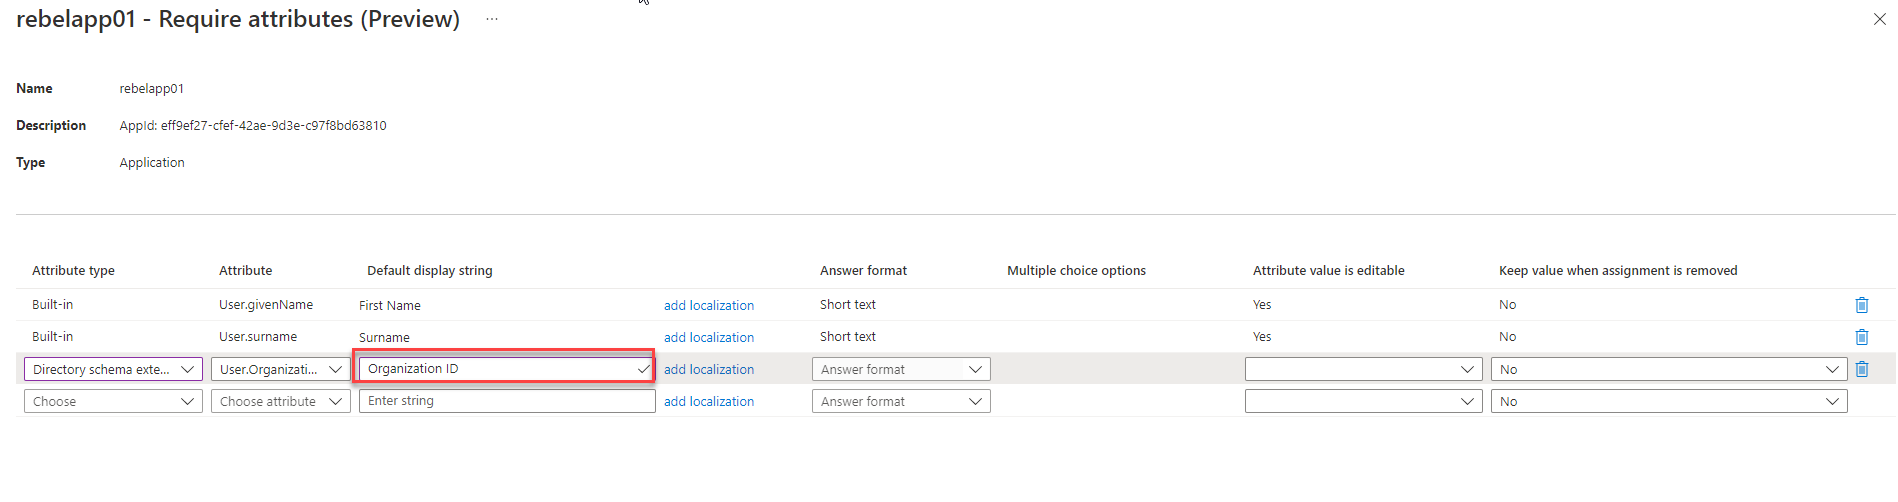
11. After that, we need to define the Default display string value for the attribute. This is what users will see in the form.
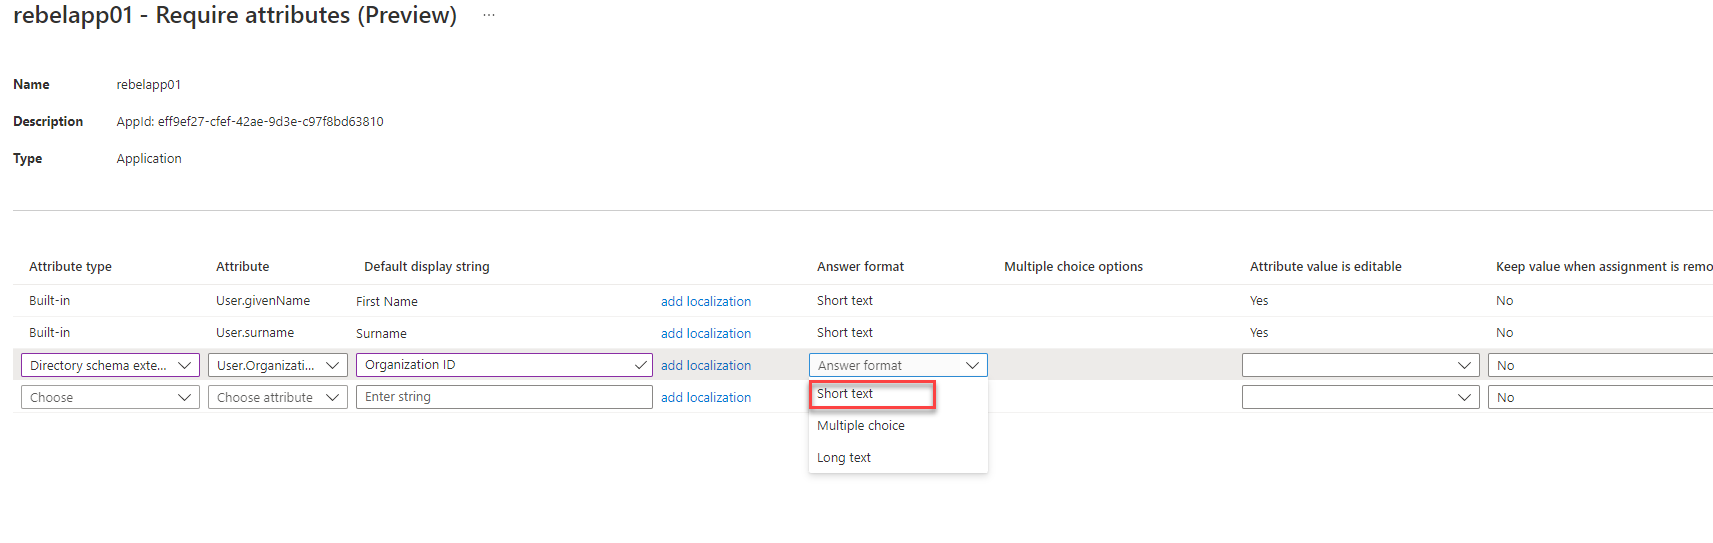
12. Answer format allows us to choose what sort of input to expect from the user. I am going to keep it as short text.
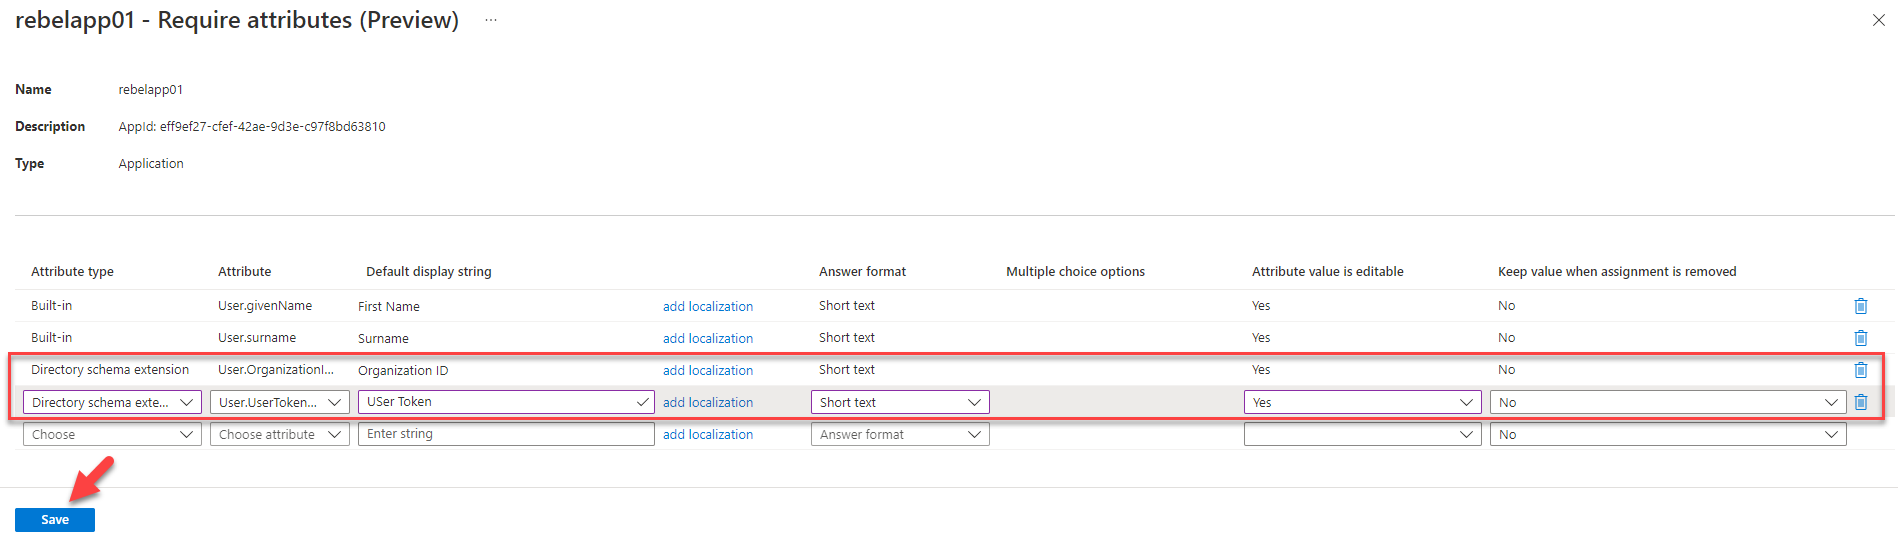
13. I also want attribute value to be editable during direct assignments and self-service requests. So, I select Yes for attribute value is editable option.
14. This completes the configuration for the custom attribute Organization ID. I did the same for User Token attribute and click on Save to apply changes.
Next, we need to do some testing to verify the configuration.
Entra ID entitlement management – Testing
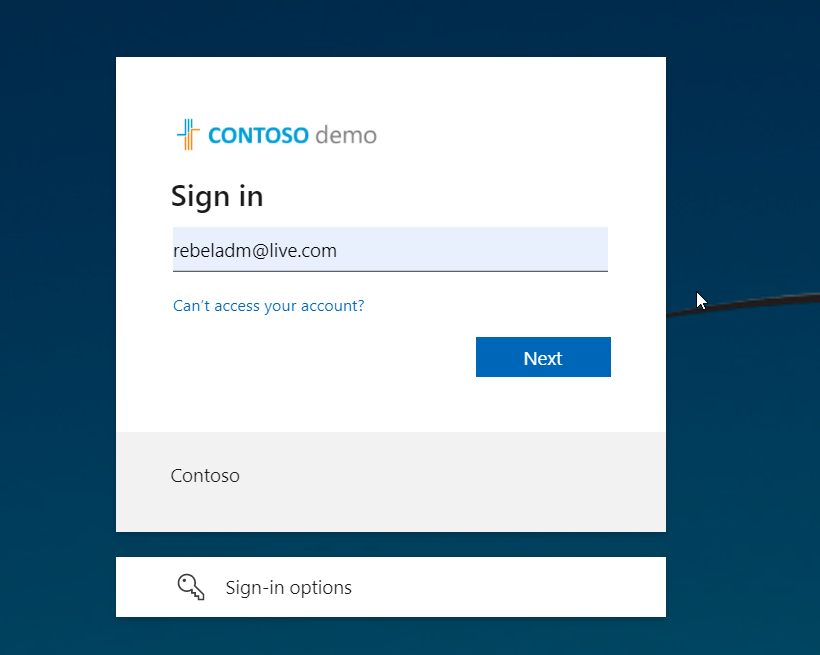
I am going to start the testing process by login into the corporate access portal using my Microsoft account (rebeladm@live.com).
After successful login, we can see the available Entra ID entitlement management access packages. Choose the relevant access package and click on Request.

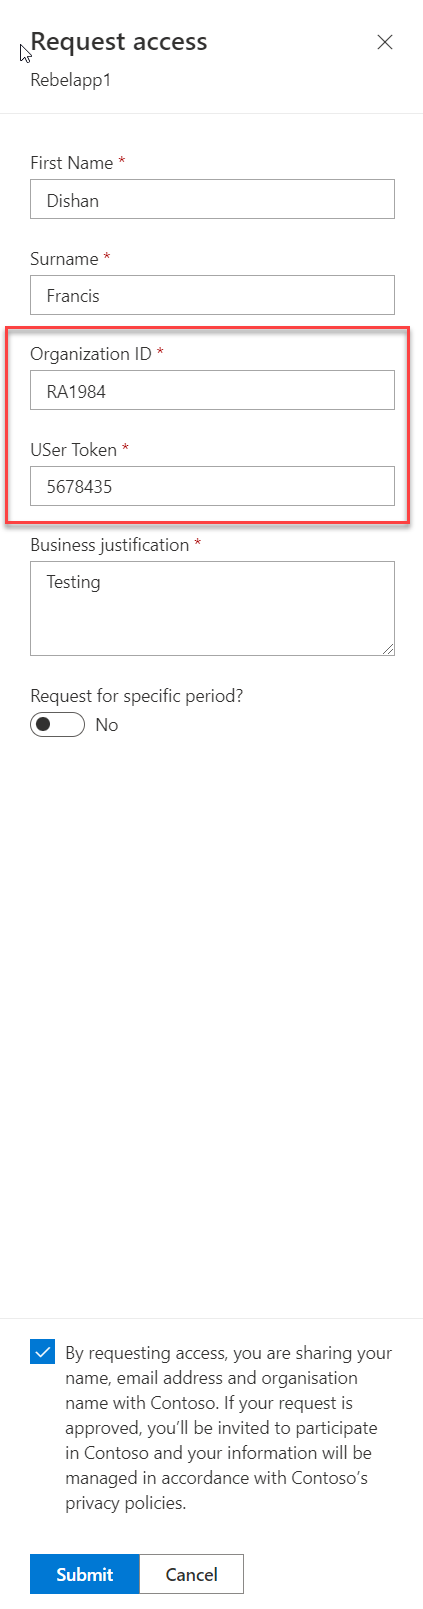
It will open up a new window. In there we can see the two custom attributes we added, as required fields. I went ahead and fill the form with relevant data, accept the privacy policy statement and click on Submit.
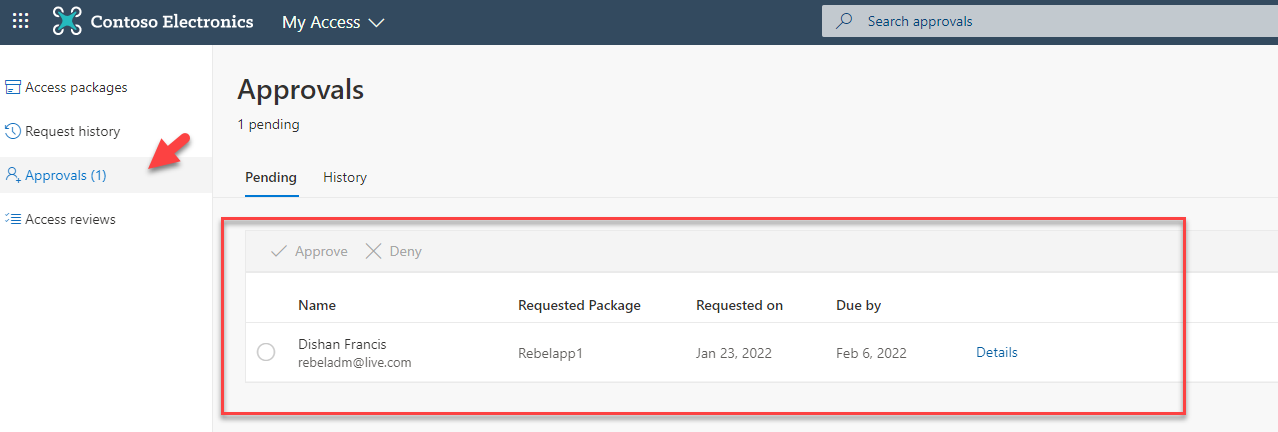
Then I log in as Approver to my access portal. In there under approvals, I can see the new access request we created.
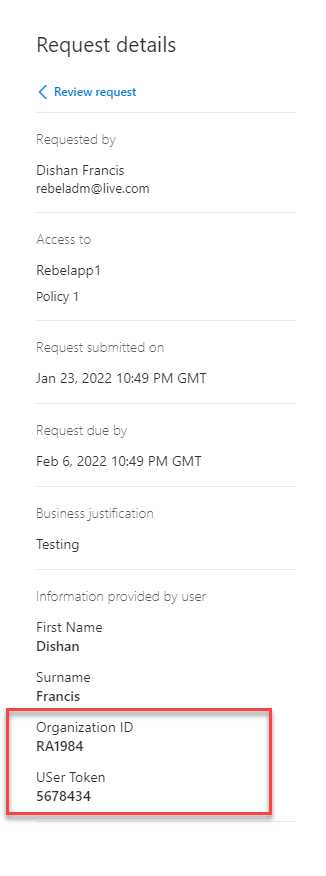
Before processing the request, let’s go ahead and check the access request details. To do that select the request and click on details.
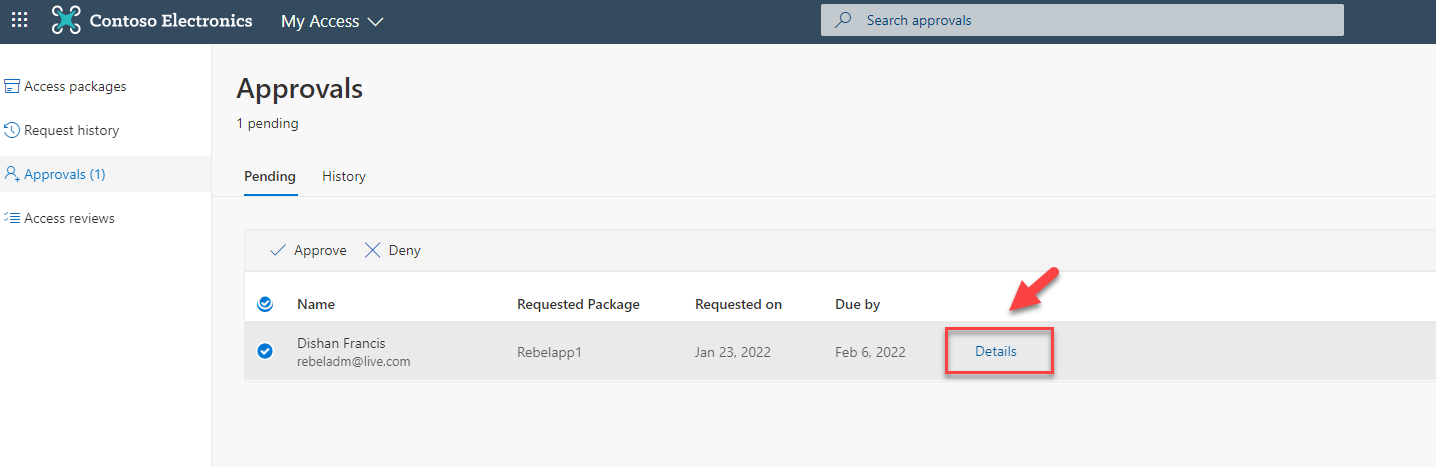
It opens up a new window, in there under request details we can see the Organization ID and User Token data as expected.
After review, I went ahead and approve the request. This created a new guest user in Entra ID with custom attribute values. We can query these values using Microsoft Graph.
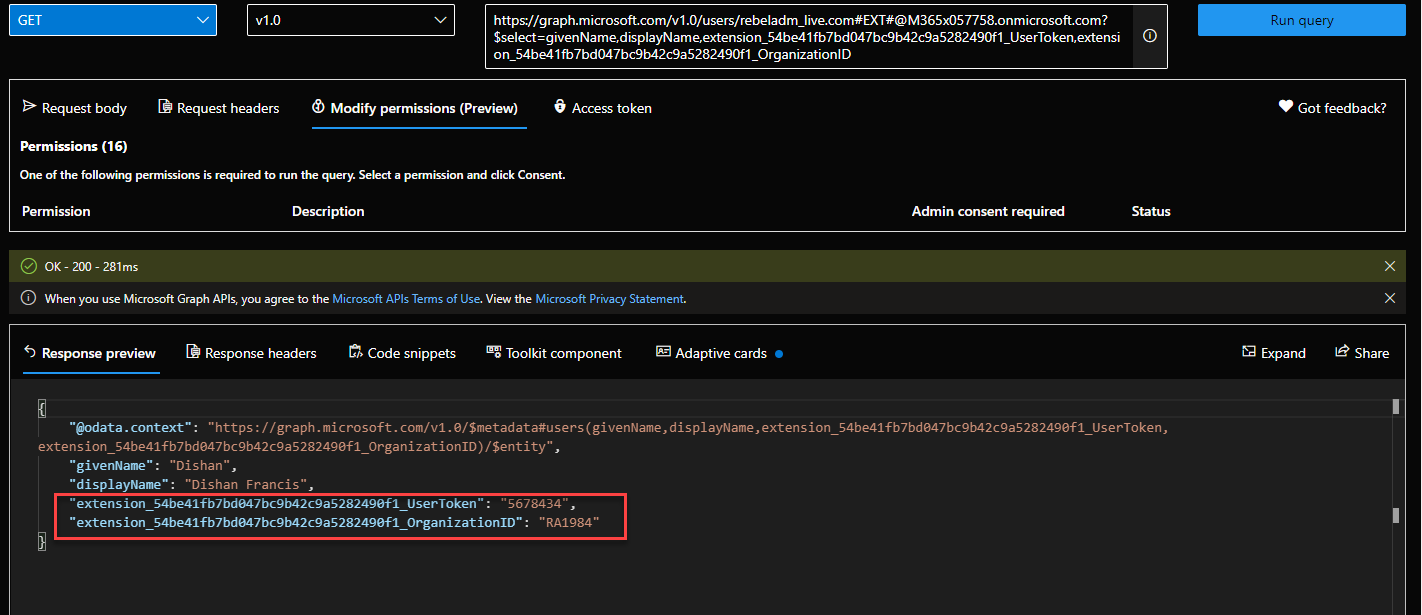
In above the attribute name has extension_54be41fb7bd047bc9b42c9a5282490f1_ . In there, 54be41fb7bd047bc9b42c9a5282490f1 is the app id of AAD extension app. This is used to store user data. You can find it under AAD app registrations.
This marks the end of this blog post. Hope now you have a better understanding of how to use the required attribute feature in Entra ID entitlement management. If you have any questions feel free to contact me on rebeladm@live.com also follow me on Twitter @rebeladm to get updates about new blog posts.


Very well explained and thanks for adding screenshots.