
Last Updated on September 9, 2017 by Dishan M. Francis
Multifactor authentication (MFA) is commonly use to protect applications, web services which is publish to internet. It helps to verify the authenticity of the authentication requests. There are many multifactor service providers. Some are cloud based and some are required on-premises installations.
Azure MFA first was introduced to use with Azure services and later developed further to support on-premises workload protections too. It is possible to configure Azure MFA with ADFS 2.0 and ADFS 3.0, however the configuration required to install additional MFA server for that. With ADFS 4.0 (windows server 2016) this is made simple and we can integrate Azure MFA without need of additional server.
In this post, I am going to walk you through the integration of Azure MFA with ADFS 2016.
Before we start we need to look in to the prerequisites.
1. Valid Azure subscription.
2. Azure Global Administrator account
3. Existing Federate Azure AD setup. More info about this configuration can find in https://docs.microsoft.com/en-gb/azure/active-directory/connect/active-directory-aadconnect-get-started-custom#configuring-federation-with-ad-fs
4. Windows Server 2016 AD FS installed in on-premises
5. Enterprise Administrator Account to configure MFA
6. Users with Azure MFA enabled – https://www.rebeladmin.com/2016/01/step-by-step-guide-to-configure-mfa-multi-factor-authentication-for-azure-users/
7. Windows Azure Active Directory module for Windows PowerShell installed in ADFS server
Create Certificate in each ADFS server to use with Azure MFA
First step of the configuration is to generate a certificate for Azure MFA. This needs to perform on every ADFS server in the farm. In order to generate the certificate, you can use following on PowerShell.
$certbase64 = New-AdfsAzureMfaTenantCertificate -TenantID “Your Tenant ID”
Please replace “Your Tenant ID” with actual azure tenant ID. You can find tenant ID by running Login-AzureRmAccount on Azure AD PowerShell.
Once it is generated, the certificate will be under local computer certificates.

Add new credentials to connect with Auth Client SPN
Now, we have the certificate, but we need to tell Azure Multi-Factor Auth Client to use it as
a credential to connect with AD FS.
Before that, we need to connect to the Azure AD using Azure PowerShell. We can do that
using this:
Connect-MsolService
Then, it will prompt for login and make sure to use Azure Global Administrator account to connect.
After that execute the command,
New-MsolServicePrincipalCredential -AppPrincipalId 981f26a1-7f43-403b-a875-f8b09b8cd720 -Type asymmetric -Usage verify -Value $certbase64
In the above command, AppPrincipalId defines the GUID for Azure Multi-Factor Auth Client.
Configure ADFS farm to use Azure MFA
Now we have the components ready and next step is to configure ADFS farm to use Azure AD. In order to do that run the following PowerShell command.
Set-AdfsAzureMfaTenant -TenantId “Your Tenant ID” -ClientId 981f26a1-7f43-403b-a875-f8b09b8cd720
In above command replace “Your Tenant ID” with your Azure Tennant id. ClientId in the command represent the GUID for Azure Multi-Factor Auth Client.

Once it is completed restart the ADFS service.
Enable Azure MFA globally
Last step of the configuration is to enable Azure MFA for authentication. In order to do that log in to ADFS server and go to Server Manager > Tools > AD FS Management. Then, in the MMC, go to Service > Authentication Methods > Then in the Actions panel, click on Edit Primary Authentication Method.
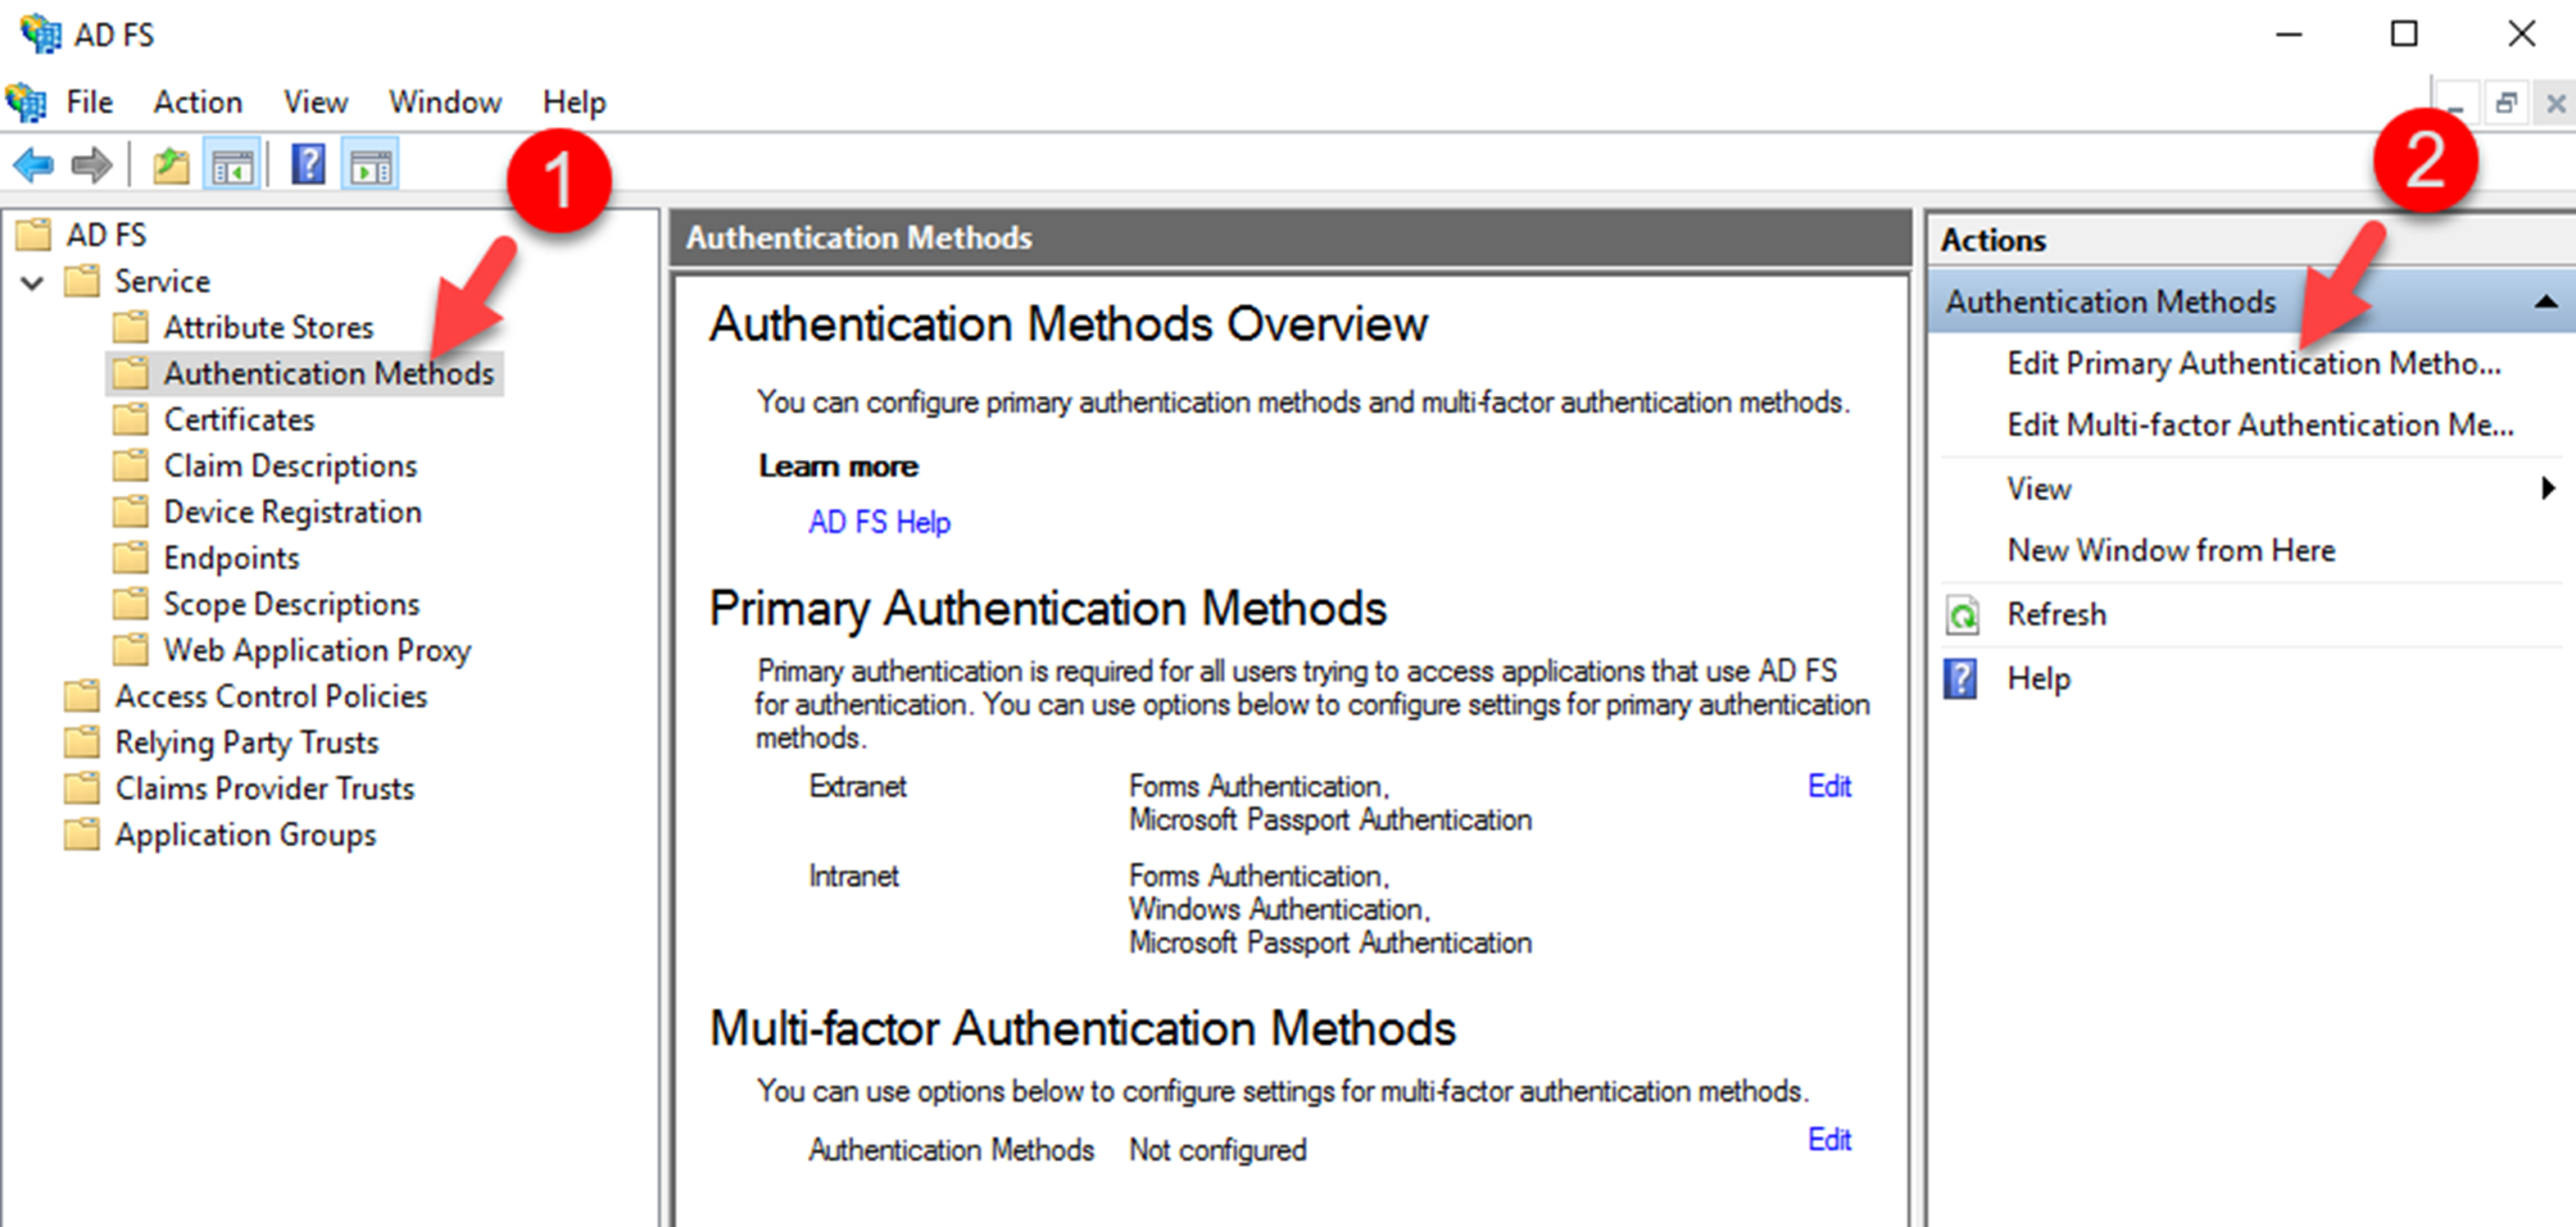
This opens up the window to configure global authentication methods. It has two tabs, and we can see Azure MFA on both.
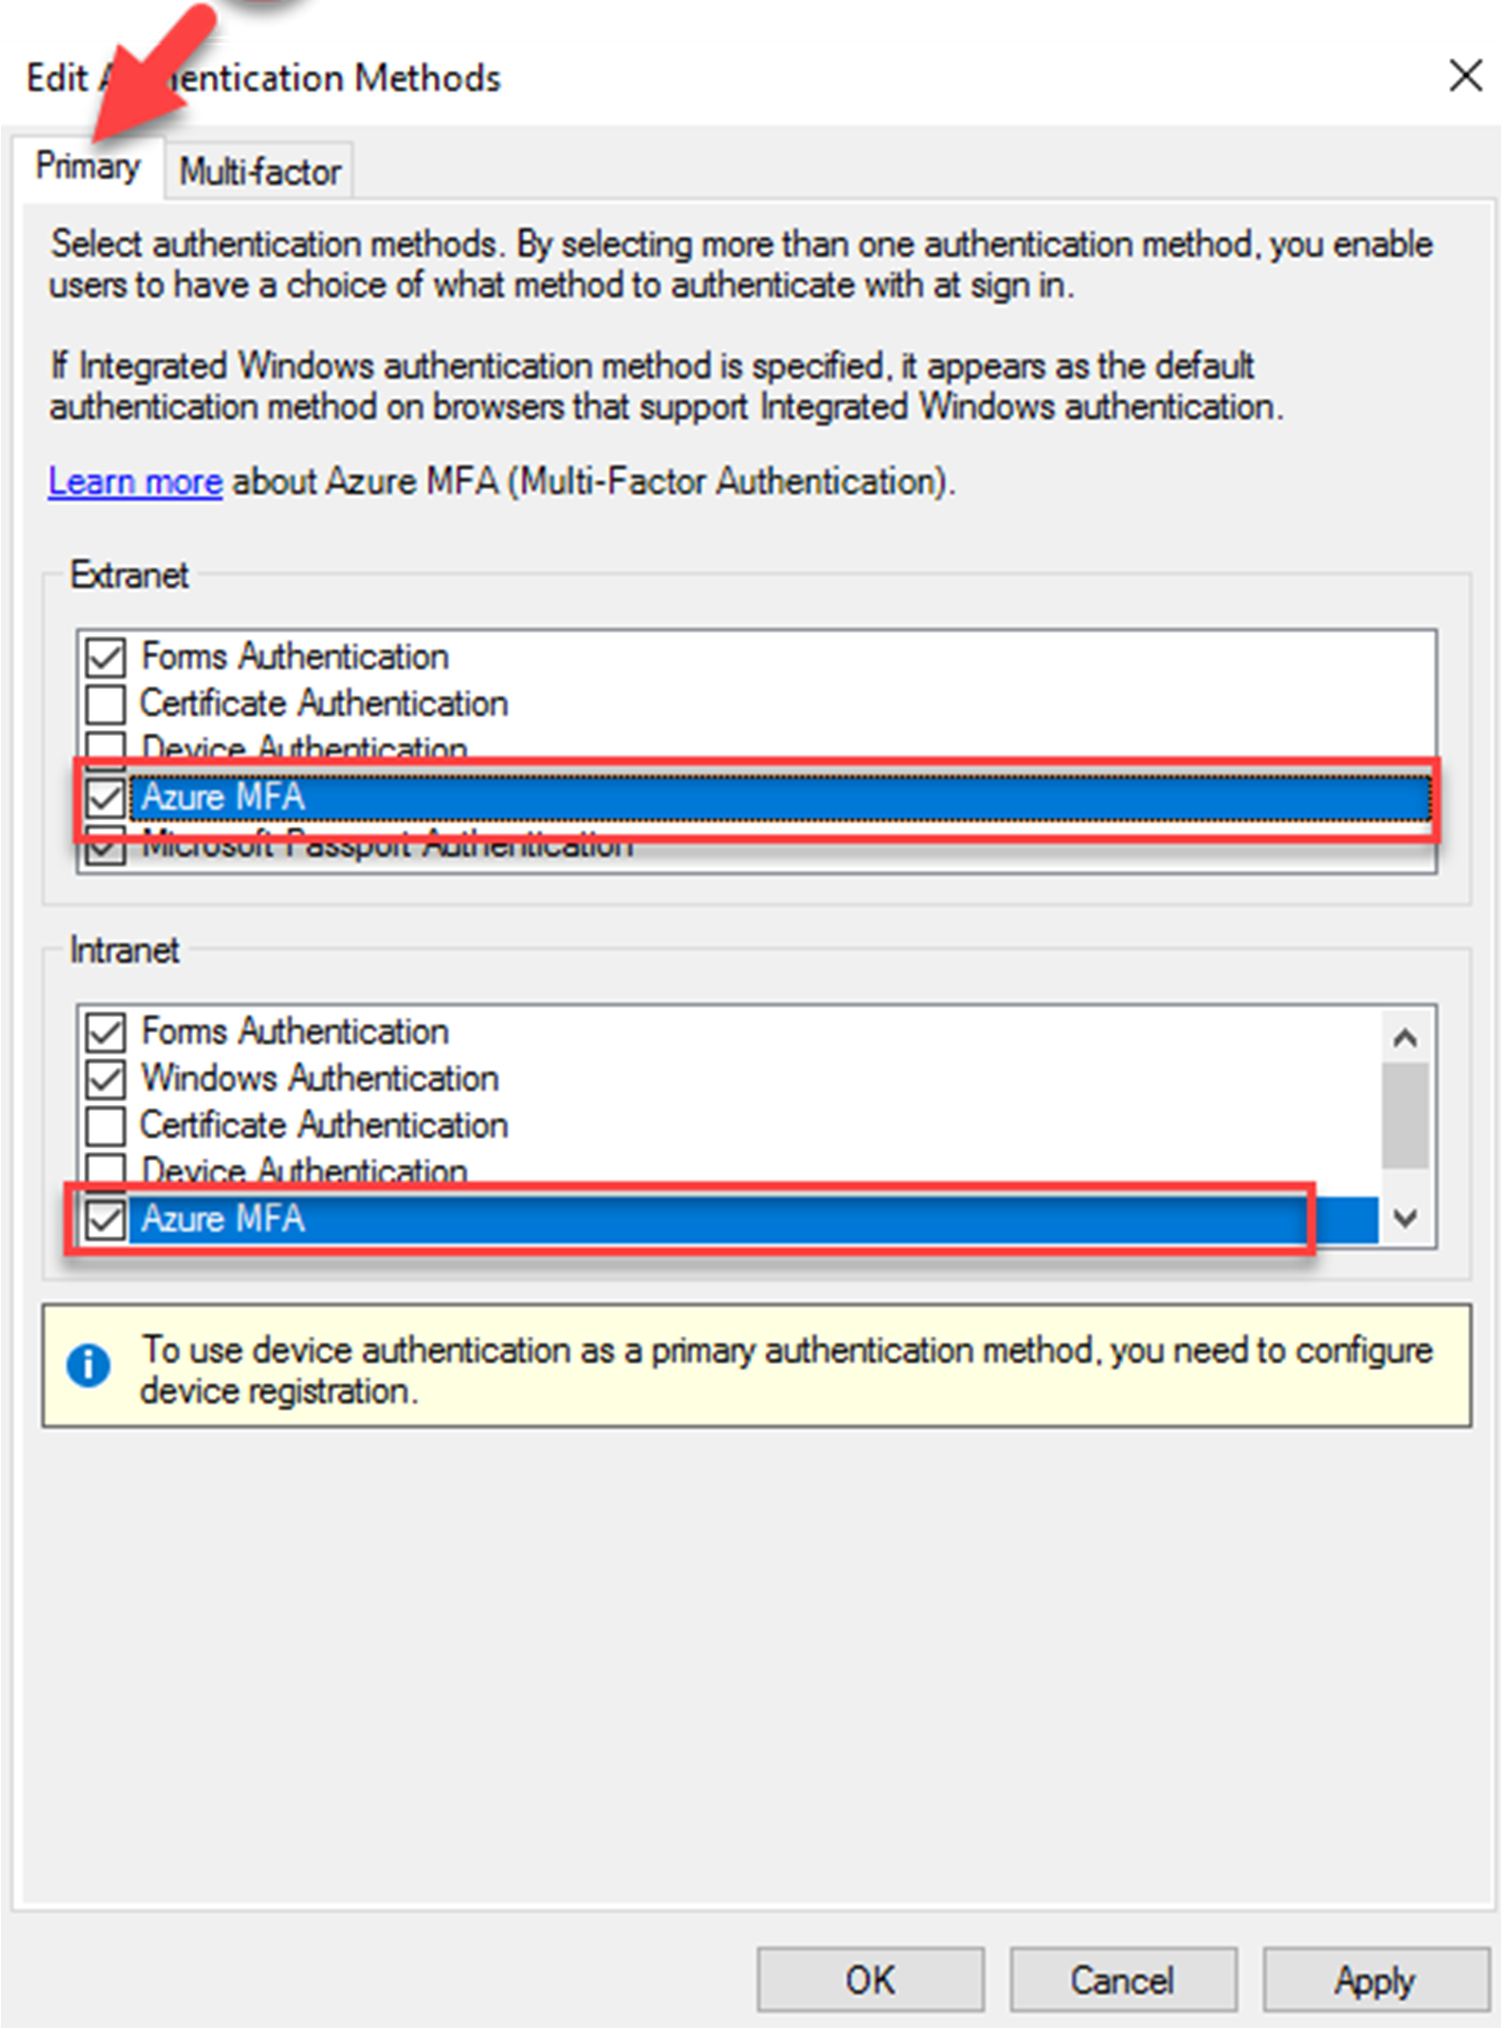
By selecting each box, you can enable MFA for intranet and extranet.
This completes the configuration. now you can use Azure MFA with your ADFS farm. Hope this was useful and if you have any questions feel free to contact me on rebeladm@live.com


Trackbacks/Pingbacks