

In my previous blog post, I demonstrate how to setup Azure Bastion with Global VNet peering. This blog post can access using this link. In there I used Azure PowerShell for the configuration. Some of the readers asked if it’s possible to set up similar using Azure Portal. Therefore, I am writing this blog post to demonstrate how we can set up Azure Bastion with VNet peering by using the Azure Portal. The only difference in here is, instead of Global VNet peering, I am using VNet peering (with in Azure Region). This will also confirm that Azure Bastion works with Global VNet peering as well as VNet peering.
Demo Environment
The following diagram explains what we going to set up in this demo.
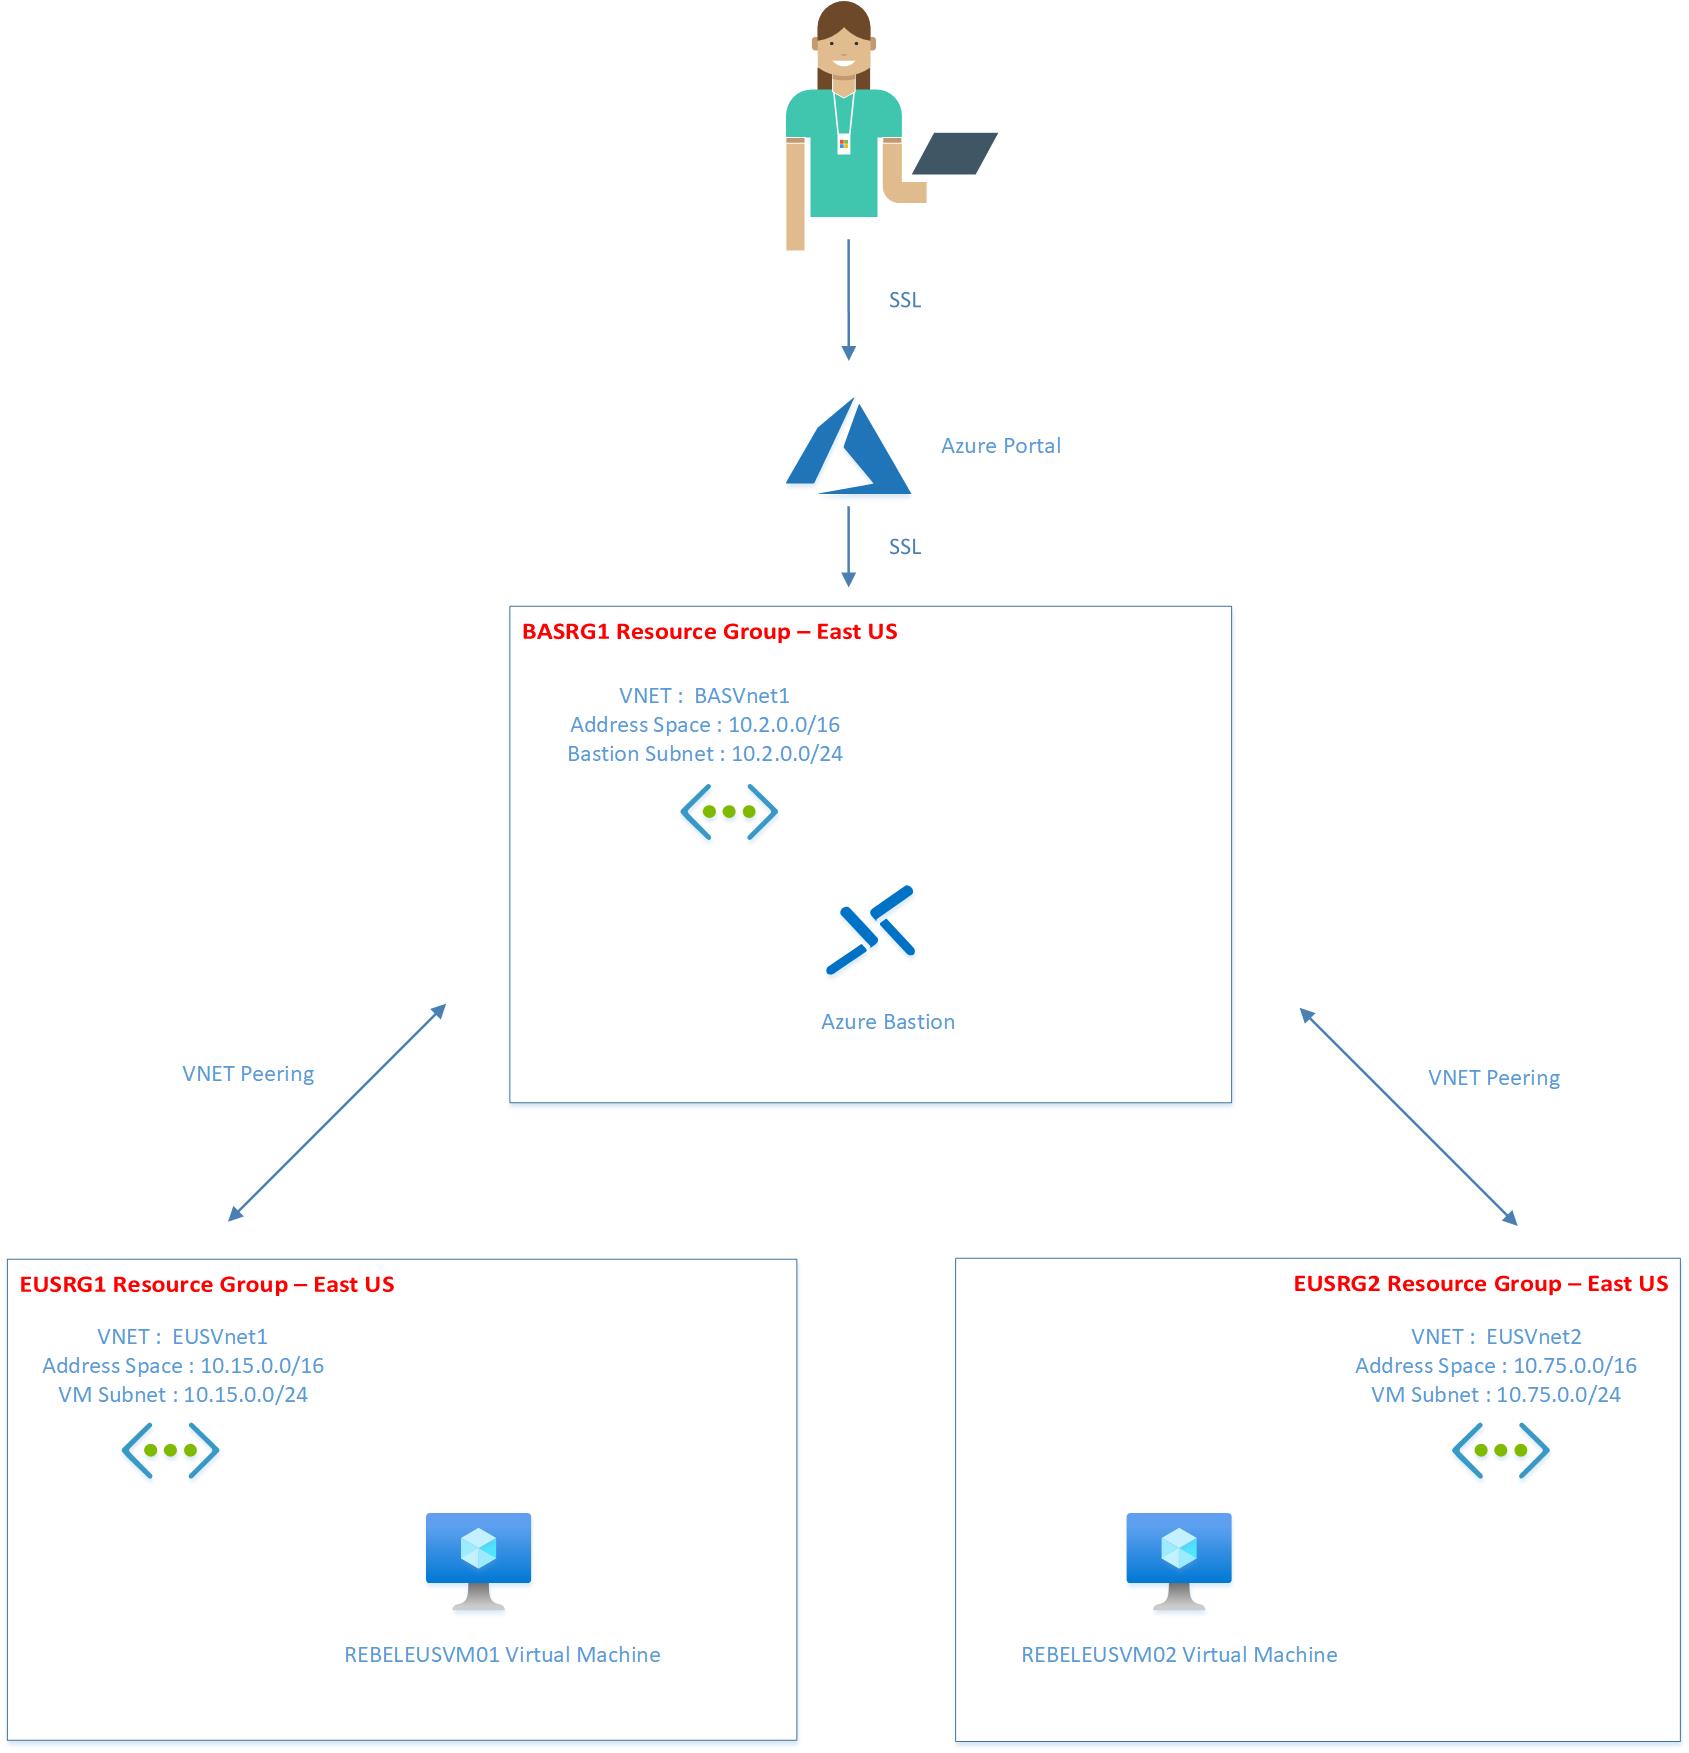
Here we are going to create three resource groups in the same Azure region. Each resource group will have its own Azure virtual network. For the connectivity, we will be using the hub-and-spoke network model. EUSVnet1 & EUSVnet2 will be Spoke virtual networks and BASVnet1 will be the Hub virtual network. Both Spoke virtual networks will have VNet peering with Hub virtual network. We will enable Azure Bastion service on hub virtual network (BASVnet1) and try to connect to virtual machines hosted in Spoke virtual networks. I have summarized virtual network configuration as follows,
| Resource Group | Azure Virtual Network | Address Space | Azure Region |
| EUSRG1 | EUSVnet1 | 10.15.0.0/16 | East US |
| EUSRG2 | EUSVnet2 | 10.75.0.0/16 | East US |
| BASRG1 | BASVnet1 | 10.2.0.0/16 | East US |
Create Resource Groups
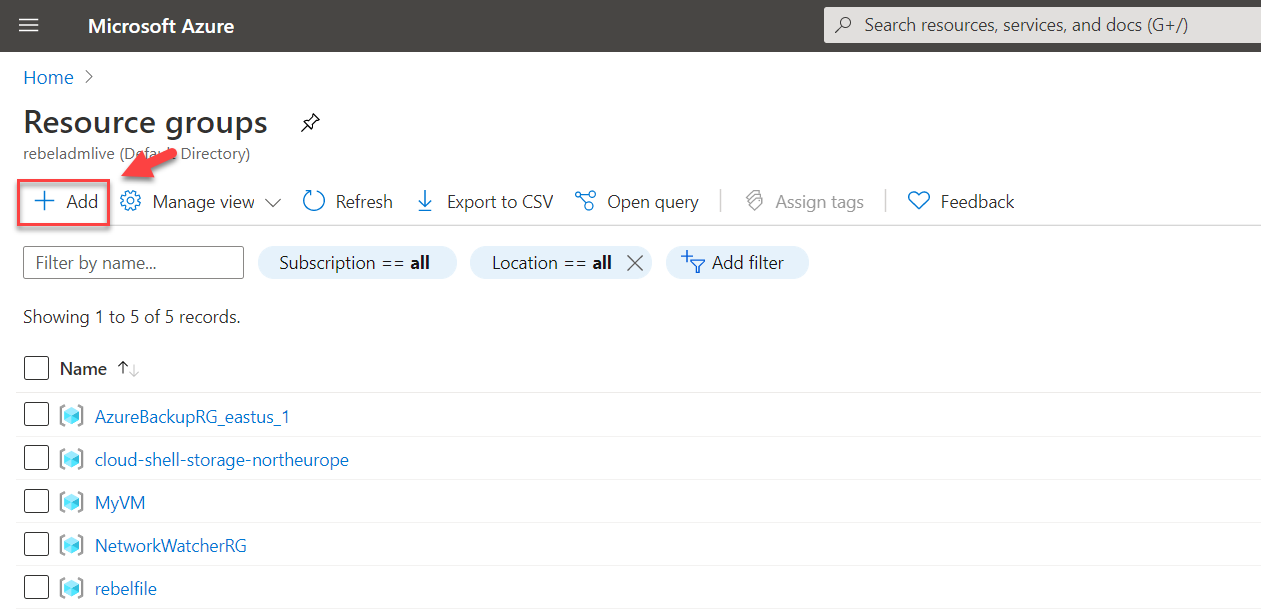
As the first part of the configuration, I am going to create three new resource groups. To do that,
1. Log in to Azure Portal (https://portal.azure.com) as Global Administrator
2. Search for the Resource groups using the search function

3. Then click on + Add
4. It will open up a new window. In the form type name for Resource group and select East US as Azure region. Then click on Review + create
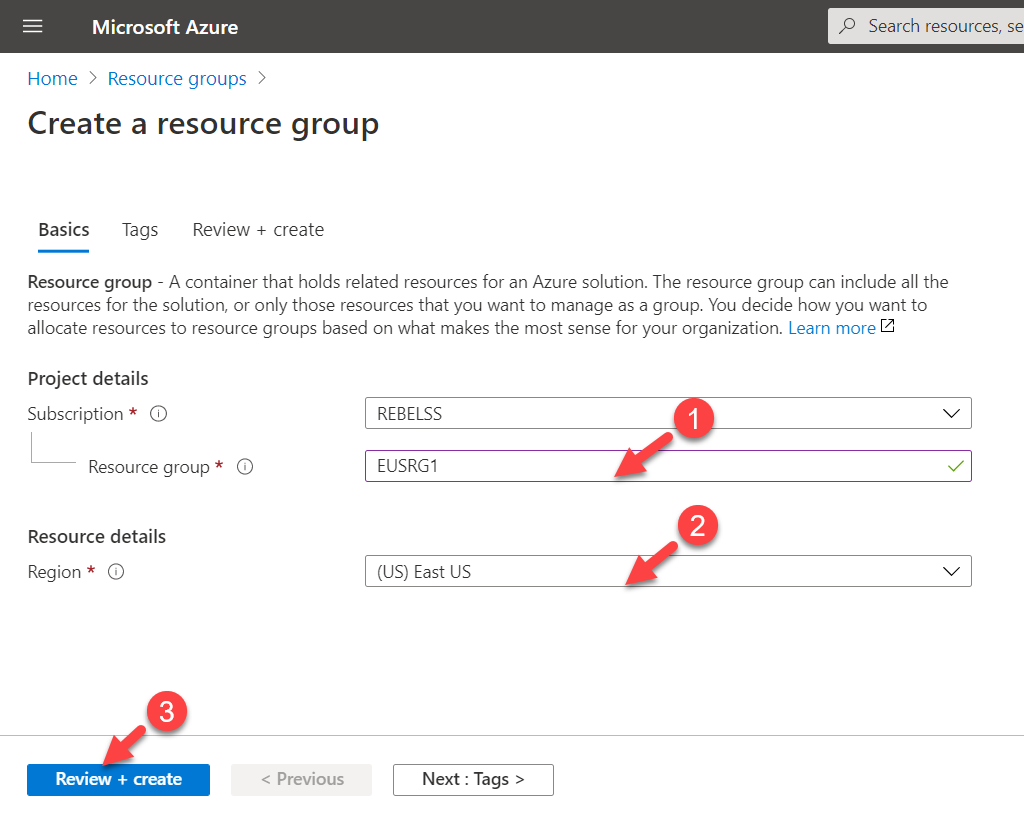
5. Once the validation is completed, click on Create to complete the resource group setup.

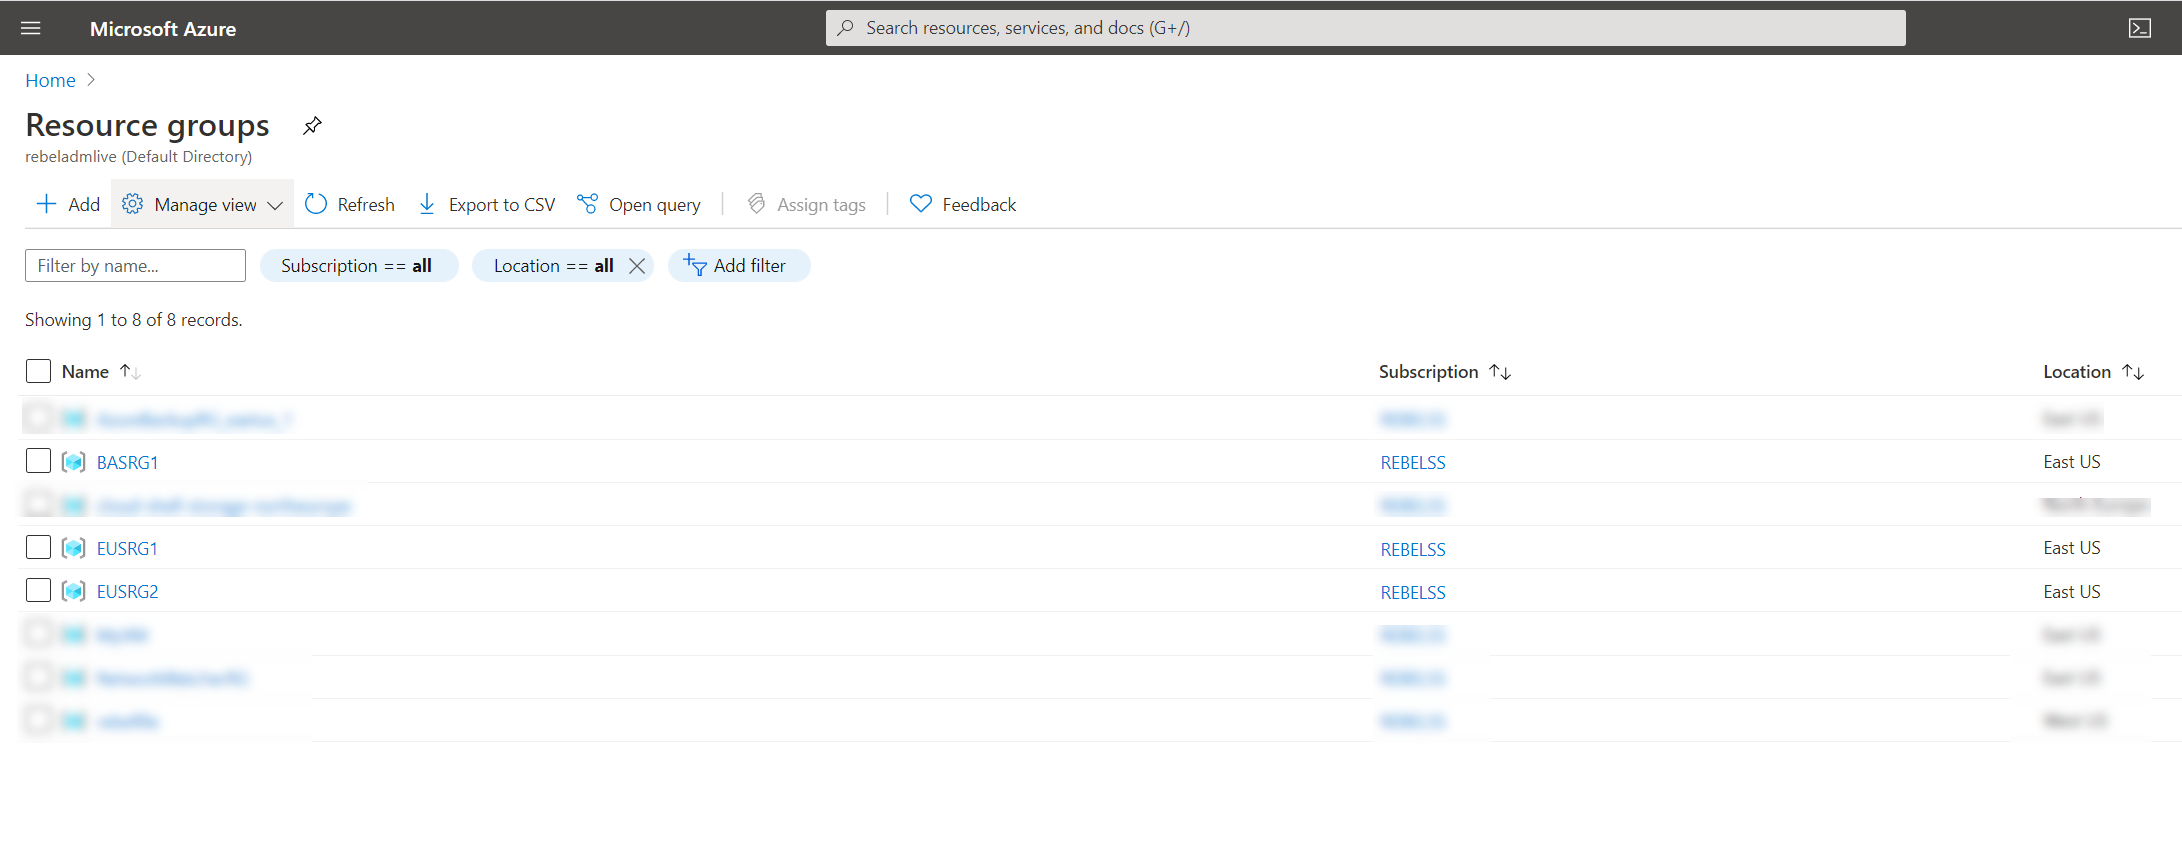
6. Follow the same method and create EUSRG2 & BASRG1 Resource Groups.
Create Spoke Virtual Networks
According to the plan, we need two virtual networks under EUSRG1 & EUSRG2 resource groups. Let’s start the configuration process by creating a virtual network under EUSRG1.
1. Log in to Azure Portal (https://portal.azure.com) as Global Administrator
2. Search for the Virtual Networks using the search function
3. Then click on + Add
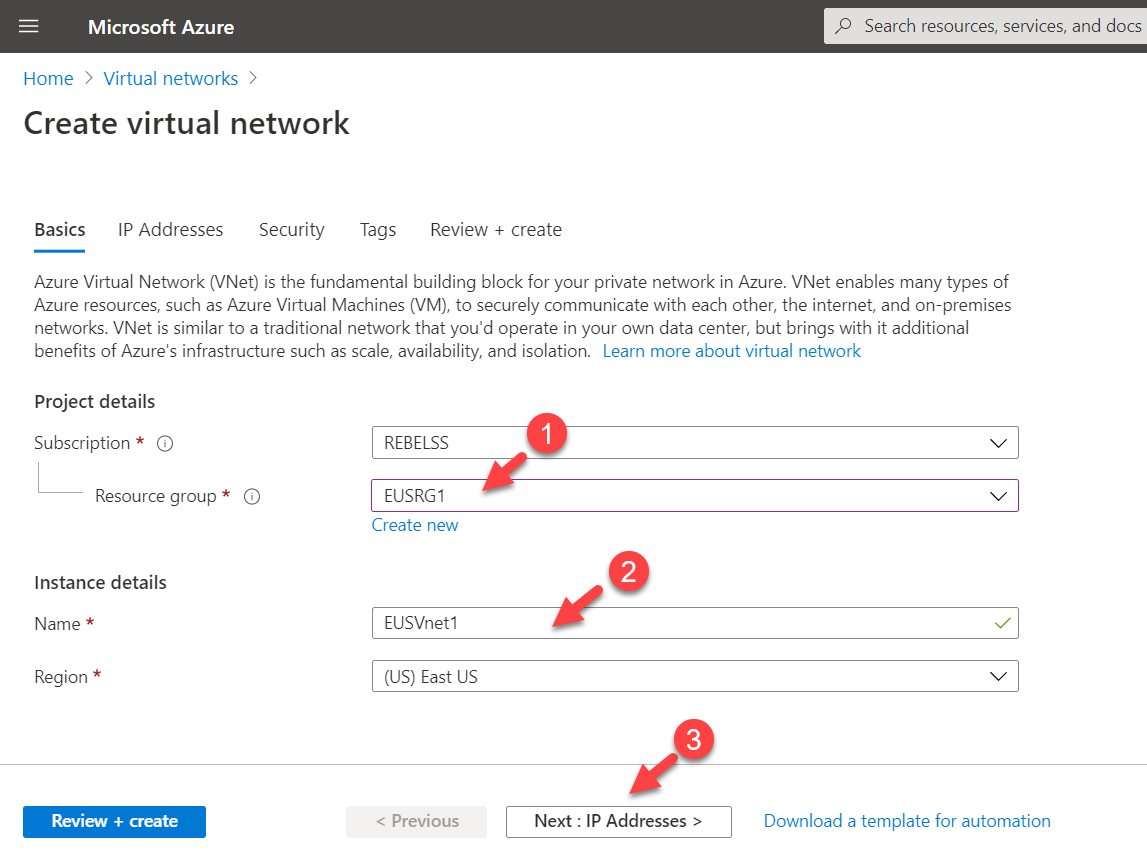
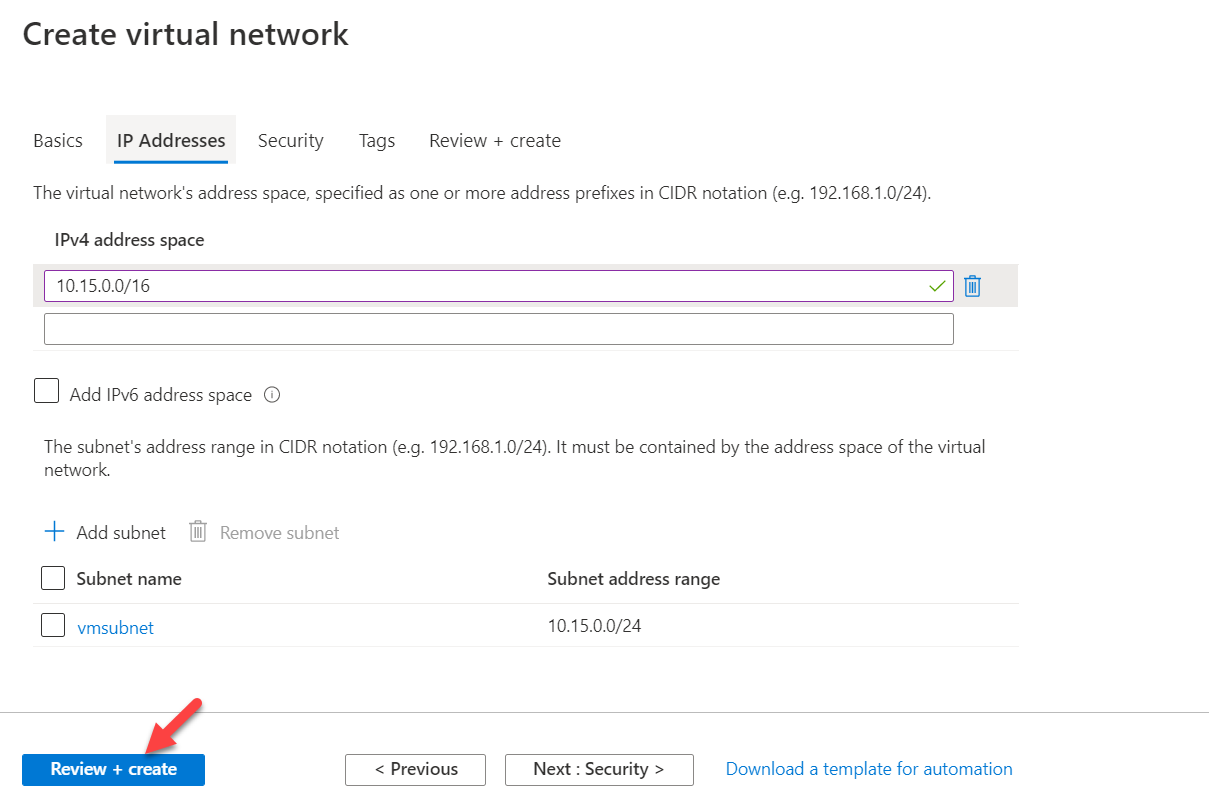
4. It will open up a new wizard. Using Resource group drop-down select the EUSRG1. Then use EUSVnet1 for the virtual network name. after, click on Next: IP Addresses >
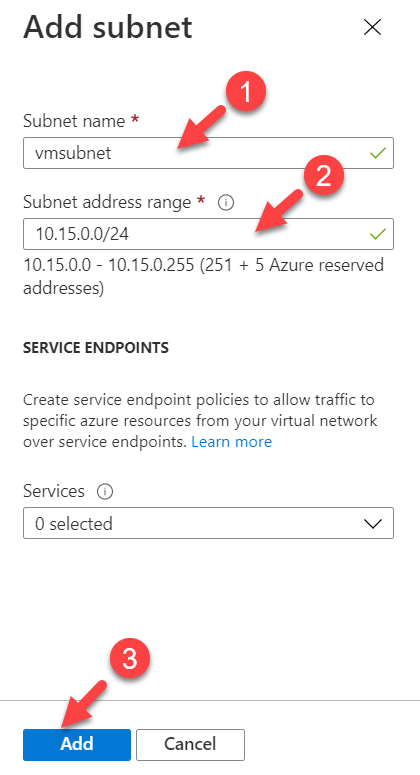
5. In the new window type 10.15.0.0/16 under IPv4 address space. Then click on + Add subnet
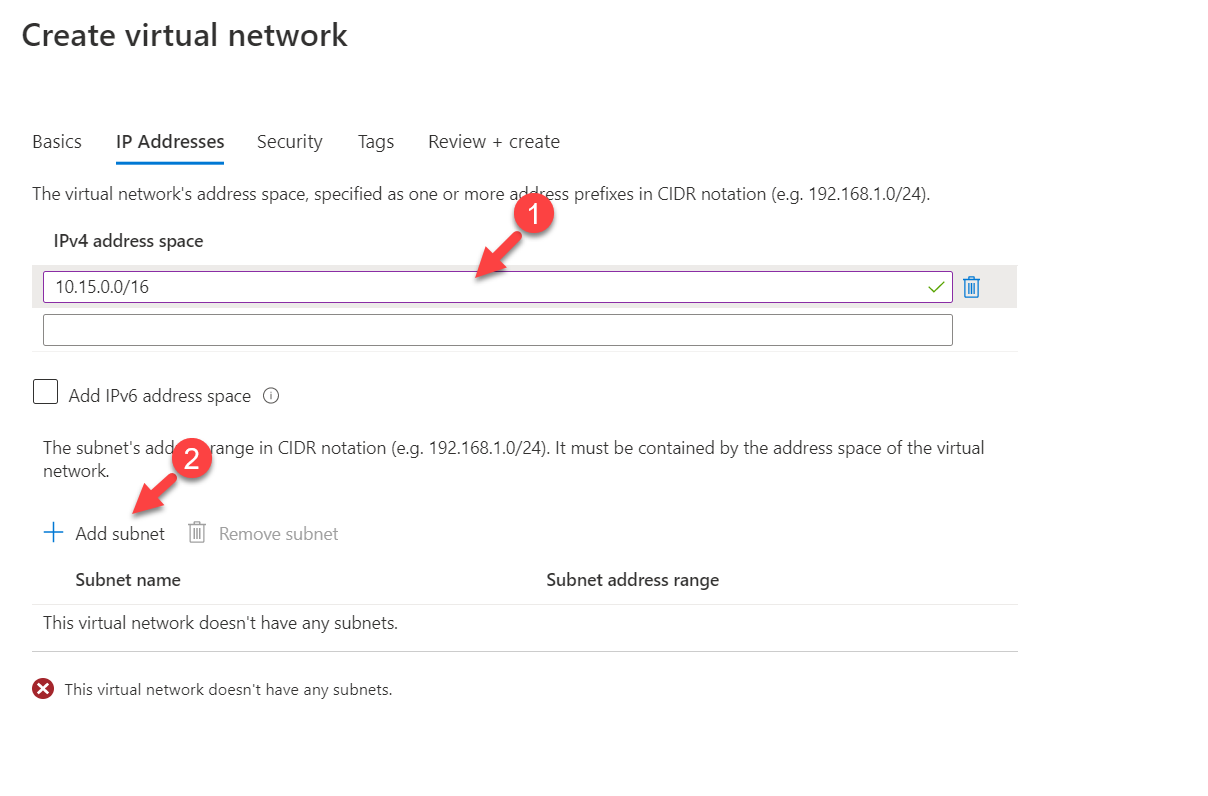
6. Next, type a name for the subnet and use 10.15.0.0/24 for the Subnet address range. This will be the subnet we will be using for the virtual machines. Once settings are in place, click on Add to return to the main window.
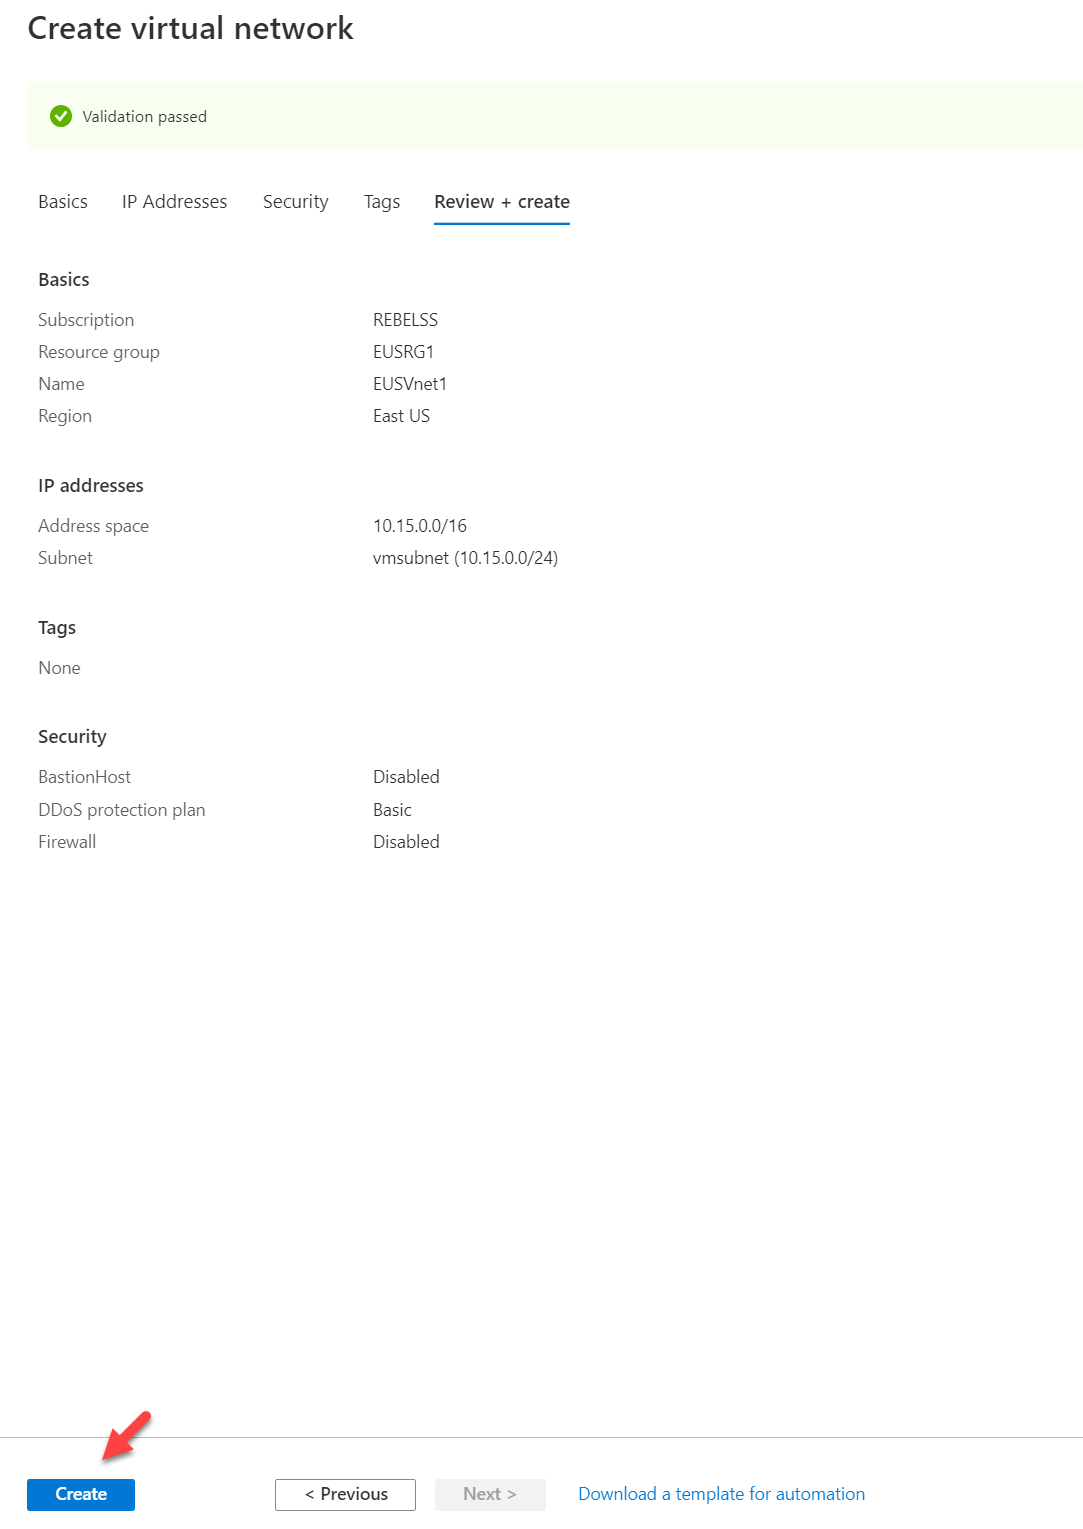
7. Once return to the main configuration window, click on Review + create
8. Once the validation is completed, click on Create to complete the virtual network setup.
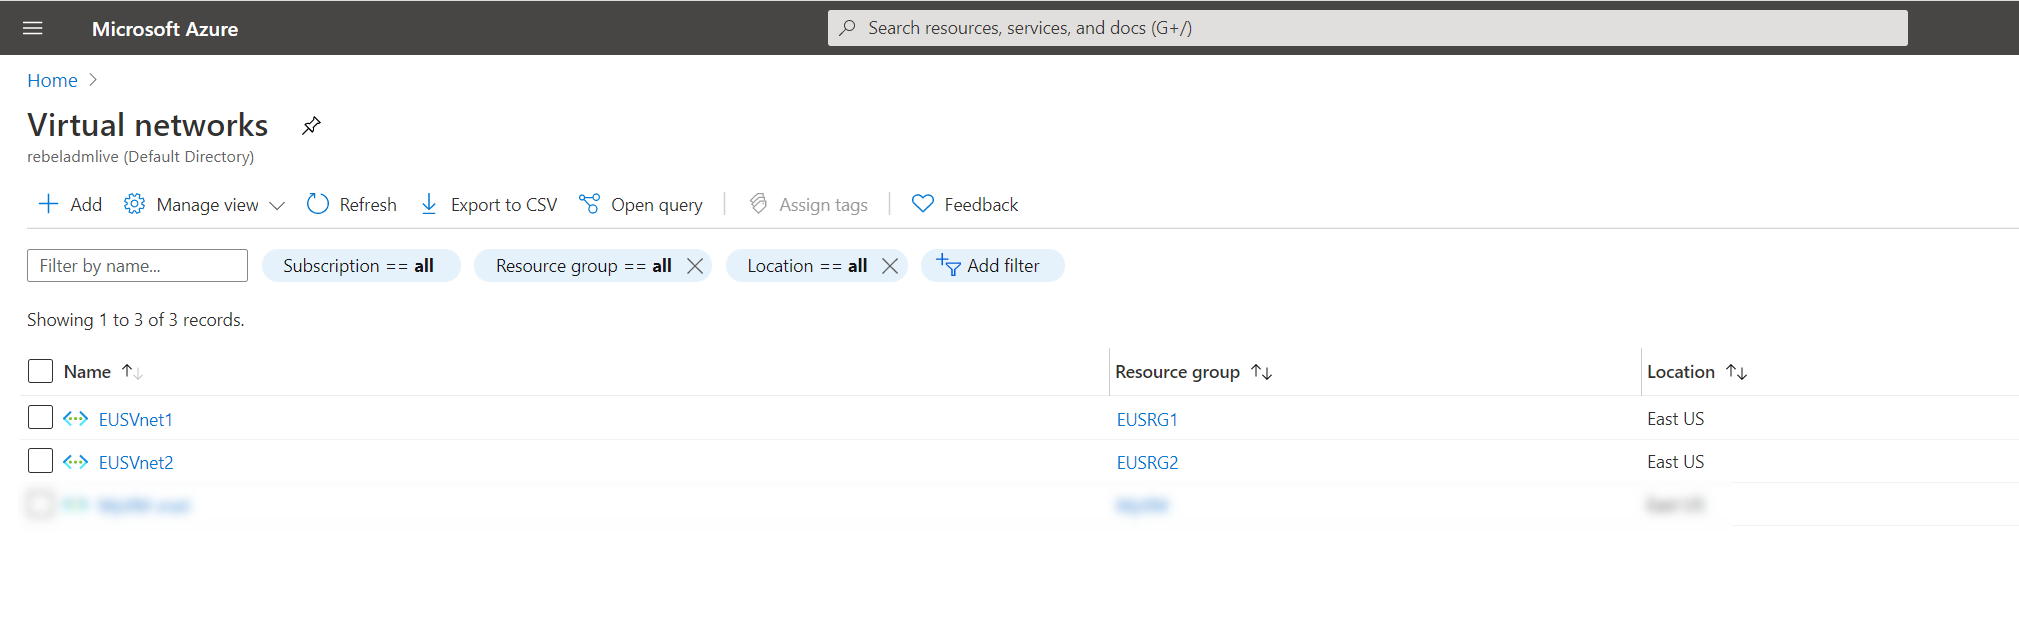
9. Follow the same method and create EUSVnet2 virtual network.
Create Virtual Machines for Testing
Later on, we are going to test remote access to virtual machines running on Spoke virtual networks by using Azure Bastion. For that, first, we need to create test virtual machines in EUSRG1 and EUSRG2 resource groups. Let’s start the process by creating a test VM in EUSRG1 resource group.
1. Log in to Azure Portal (https://portal.azure.com) as Global Administrator
2. Search for the Virtual machines using the search function
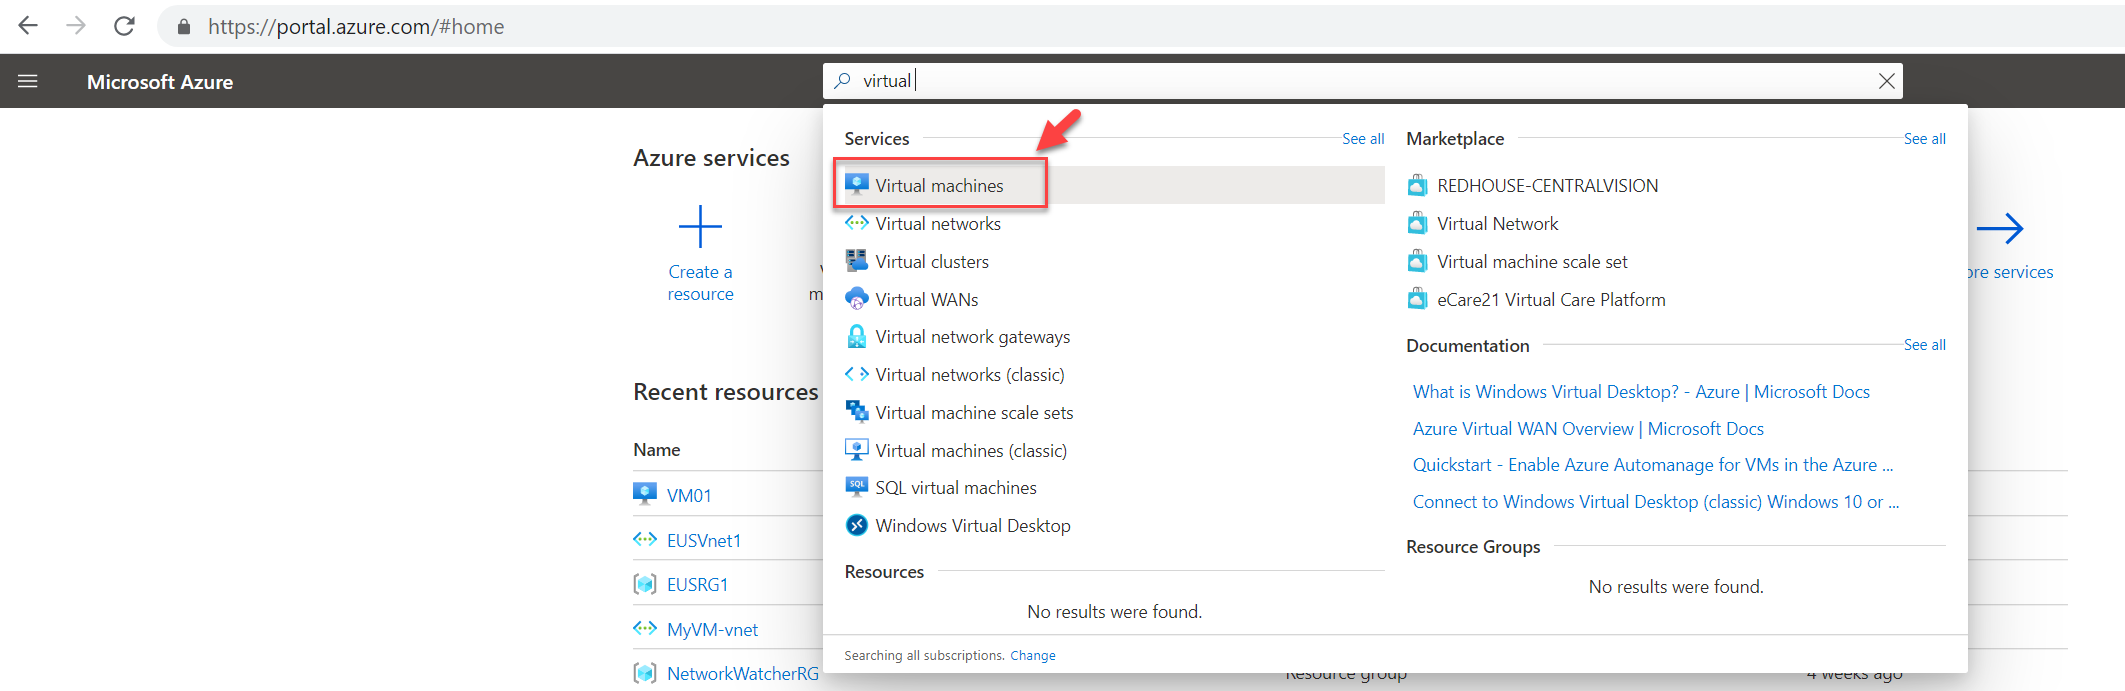
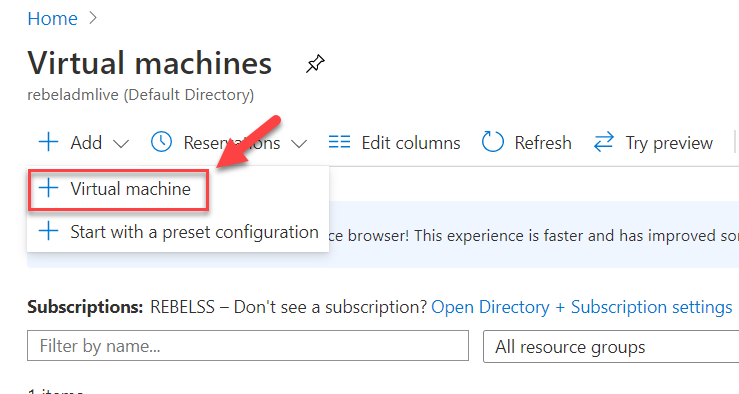
3. Then click on + Add | + Virtual machine
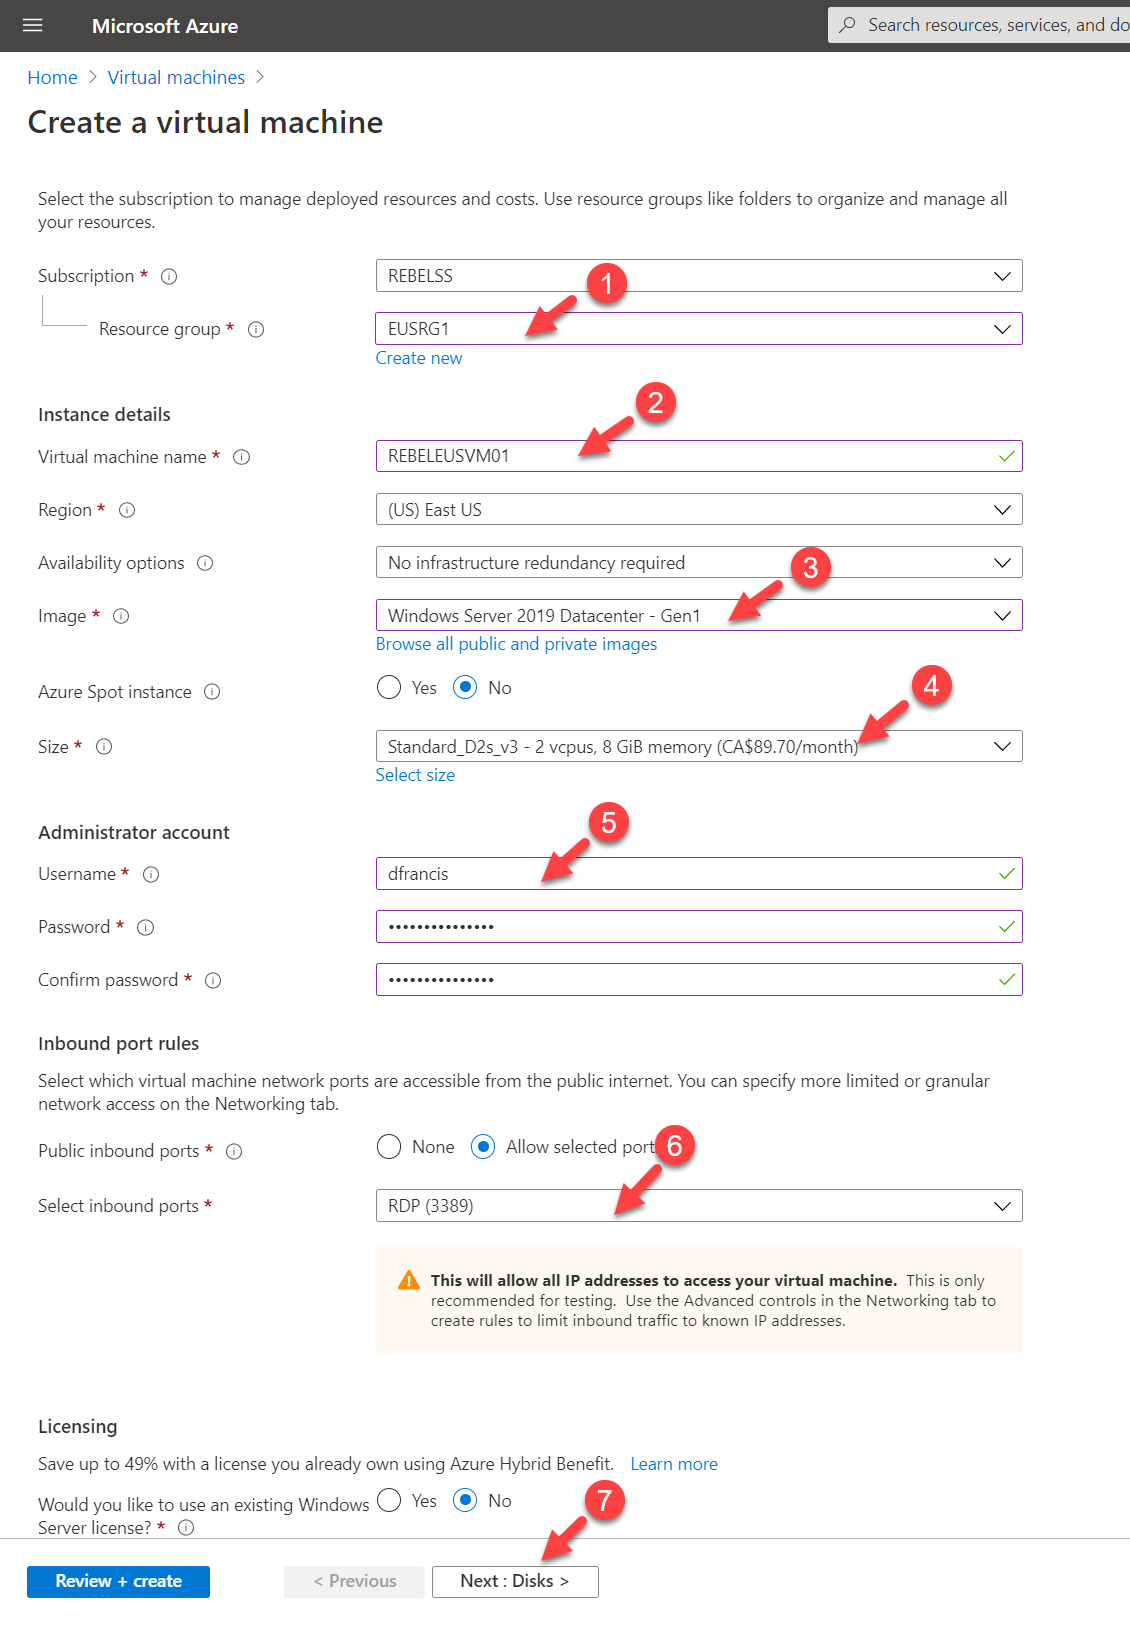
4. On the new page, I have used the following configuration values,
Resource group : EUSRG1
Virtual machine name : REBELEUSVM01
Region : East US
Image : Windows Server 2019 Datacentre Gen 1
Size : Standard_D2s_v3
User name & Password: my own
Select inbound ports : 3389
In the above, I am creating a virtual machine called REBELEUSVM01 in East US Azure region. It is running windows server 2019 data center edition. It also using Standard_D2s_v3 VM size.
Once settings are in, click on Next : Disks >
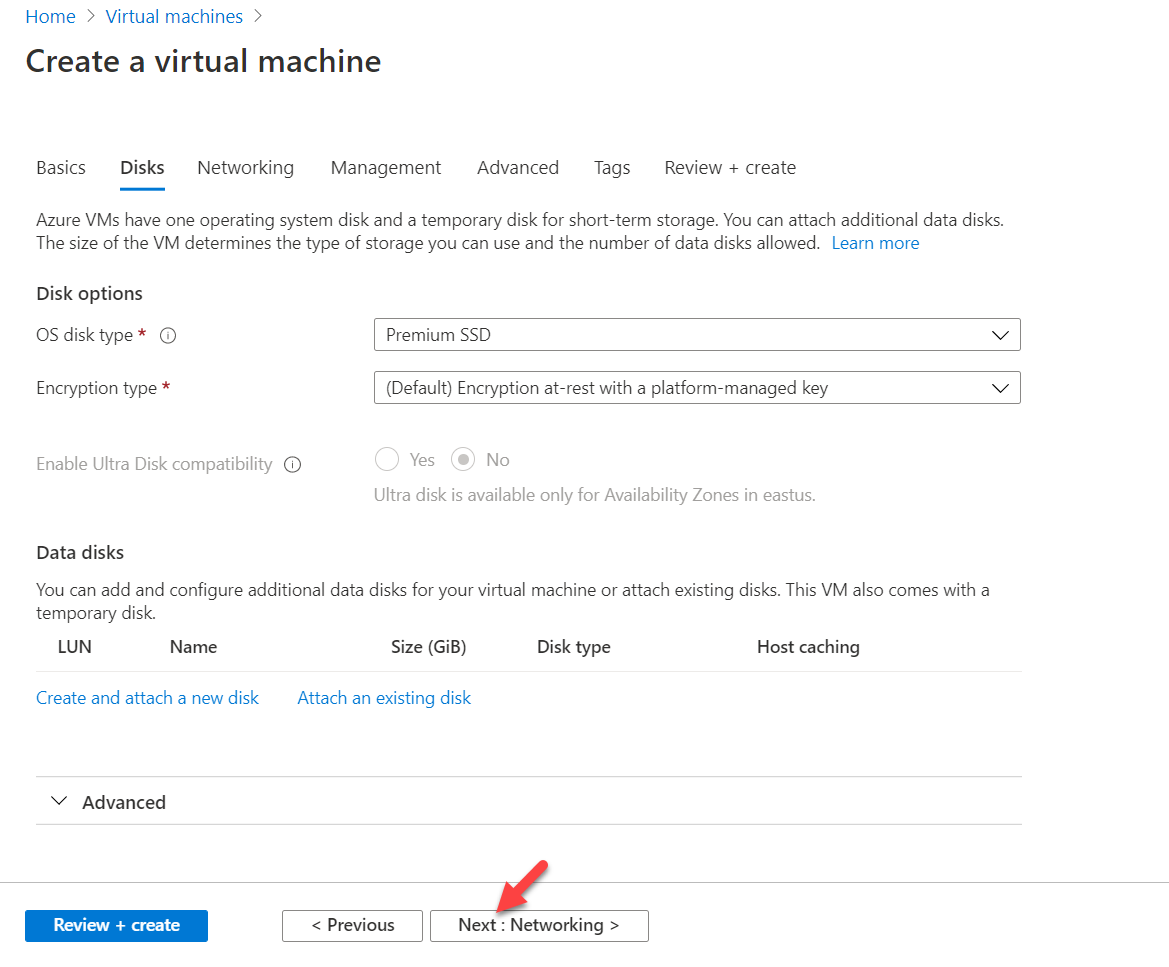
5. On Disks page, keep default settings and click on Next : Networking >
6. On networking page make sure you have the relevant virtual network and subnet selected. Then click on Review + Create
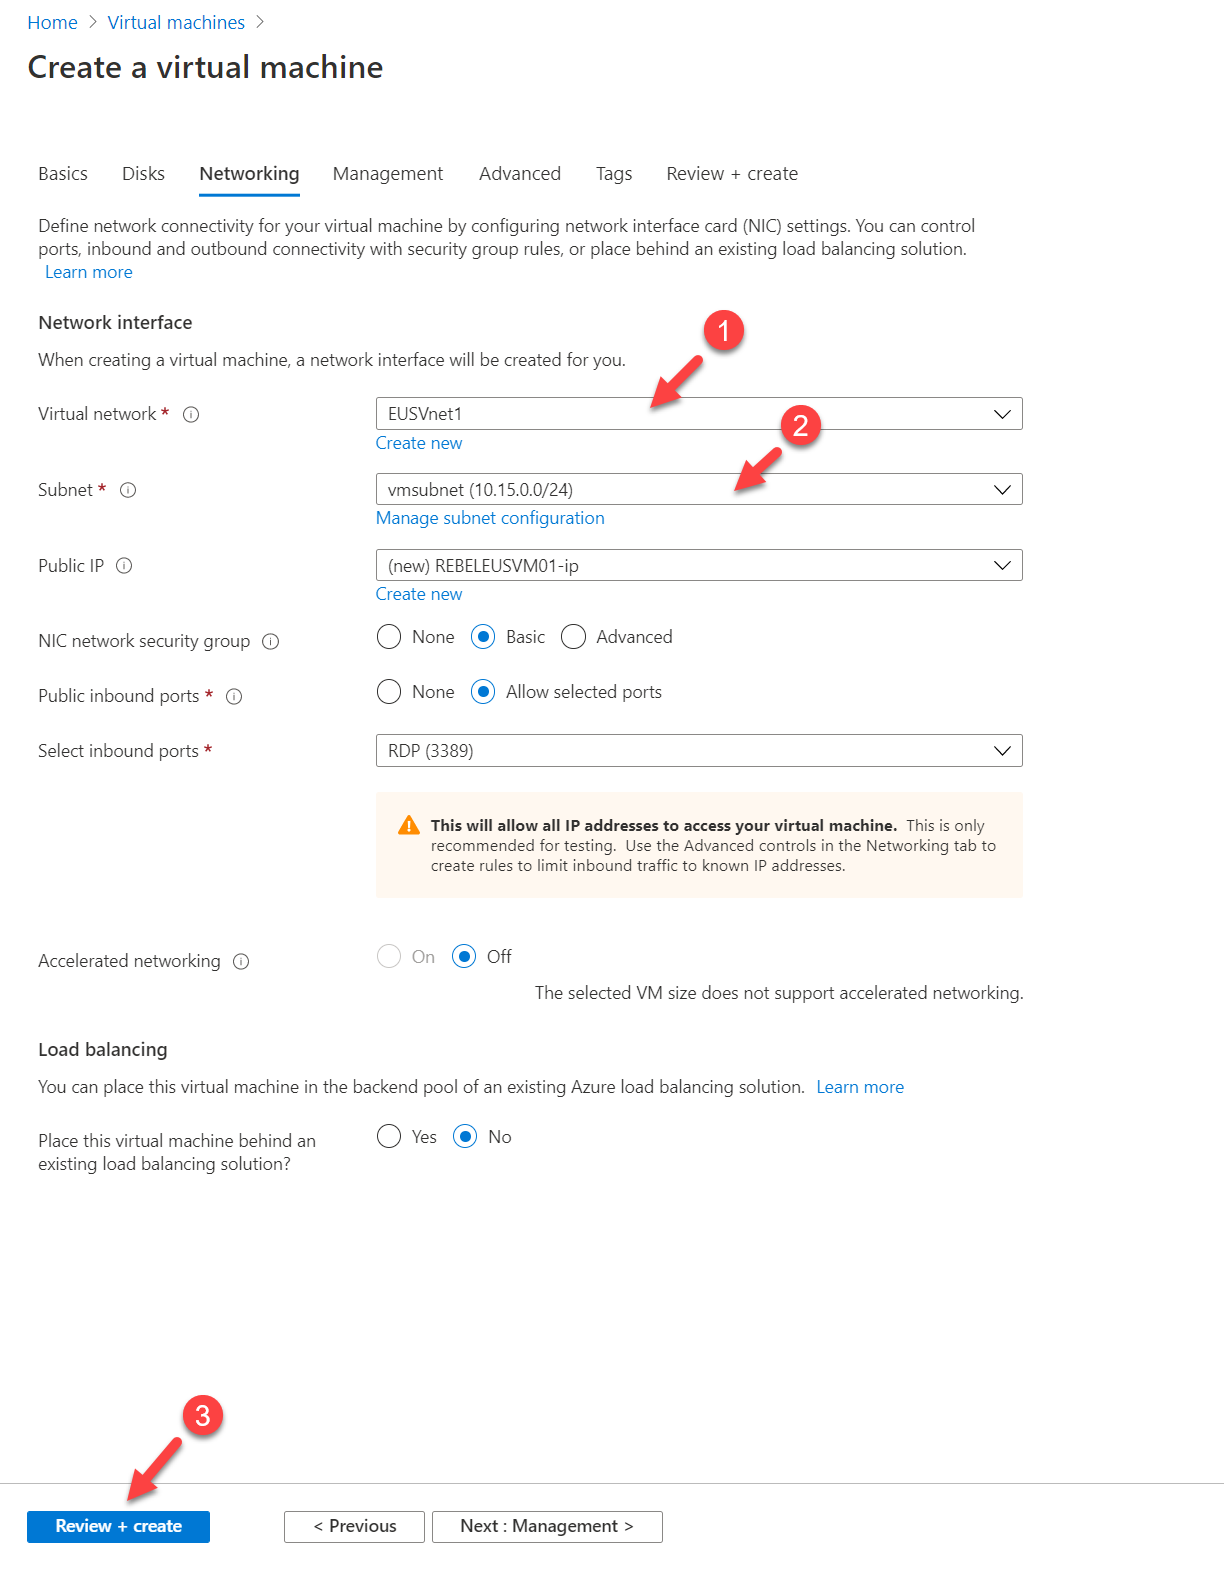
7. Once the validation is completed, click on Create to complete the VM configuration process.

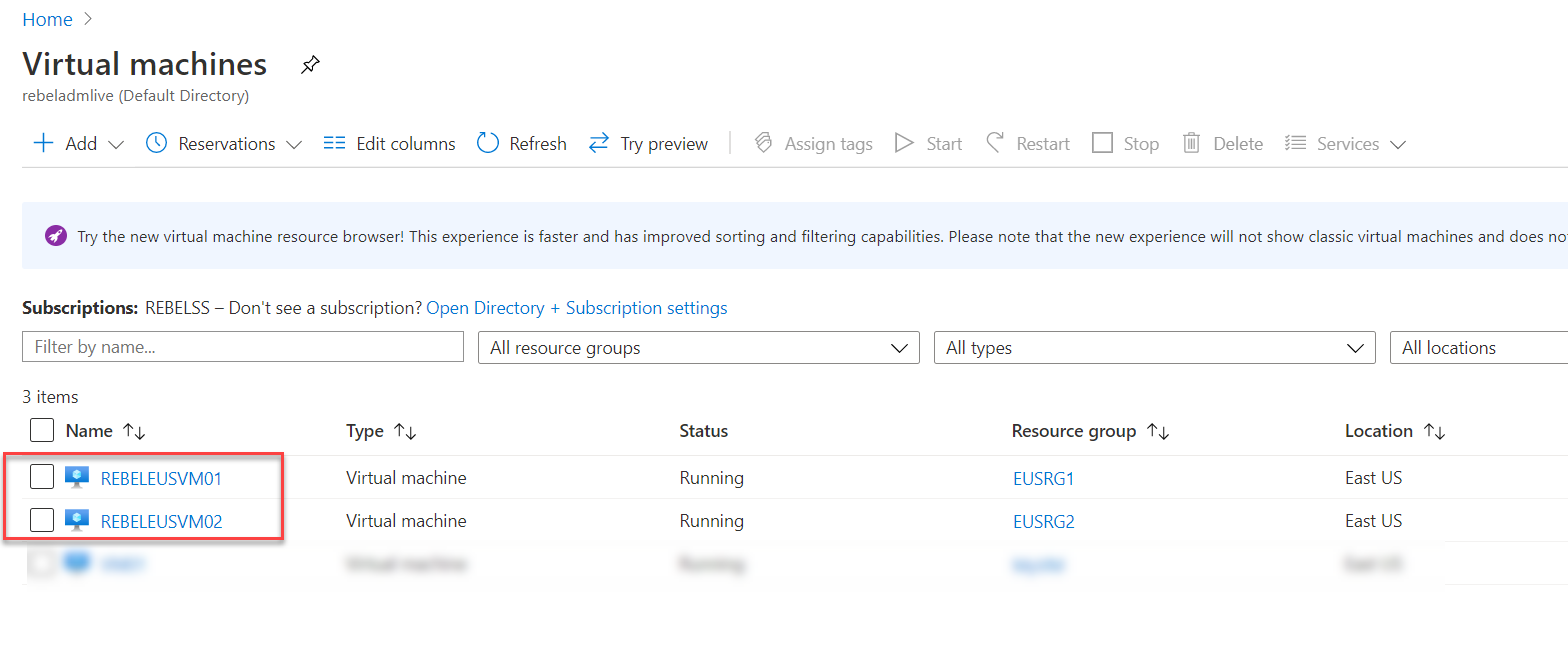
8. Follow the same method and create REBELEUSVM02 Virtual machine.
Create an Azure Bastion resources
The next step of the configuration is to create Azure bastion resources in the Hub network.
1. Log in to Azure portal (https://portal.azure.com) as Global Administrator
2. Click on + Create a Resource option
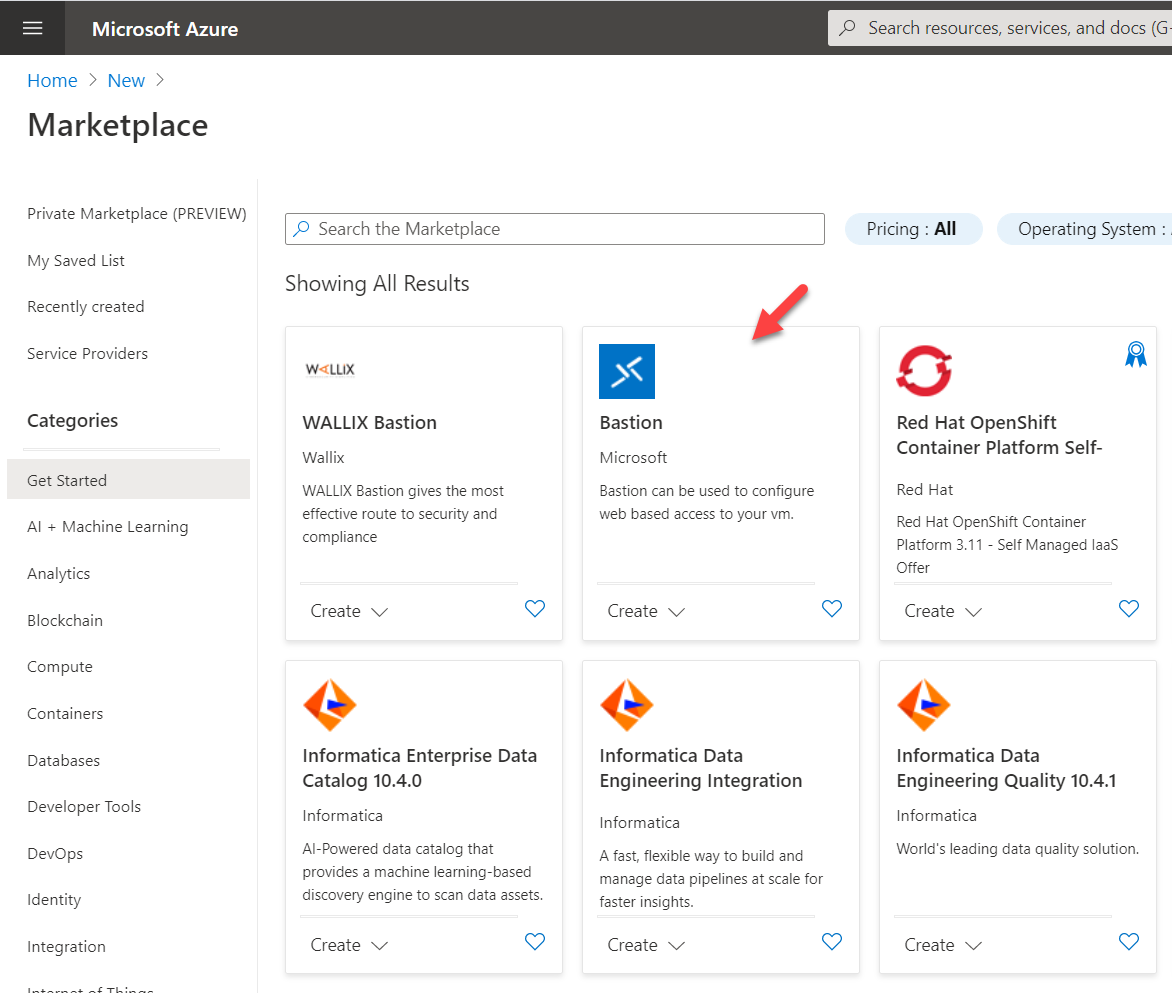
3. In the marketplace, search for Bastion and then click on it.
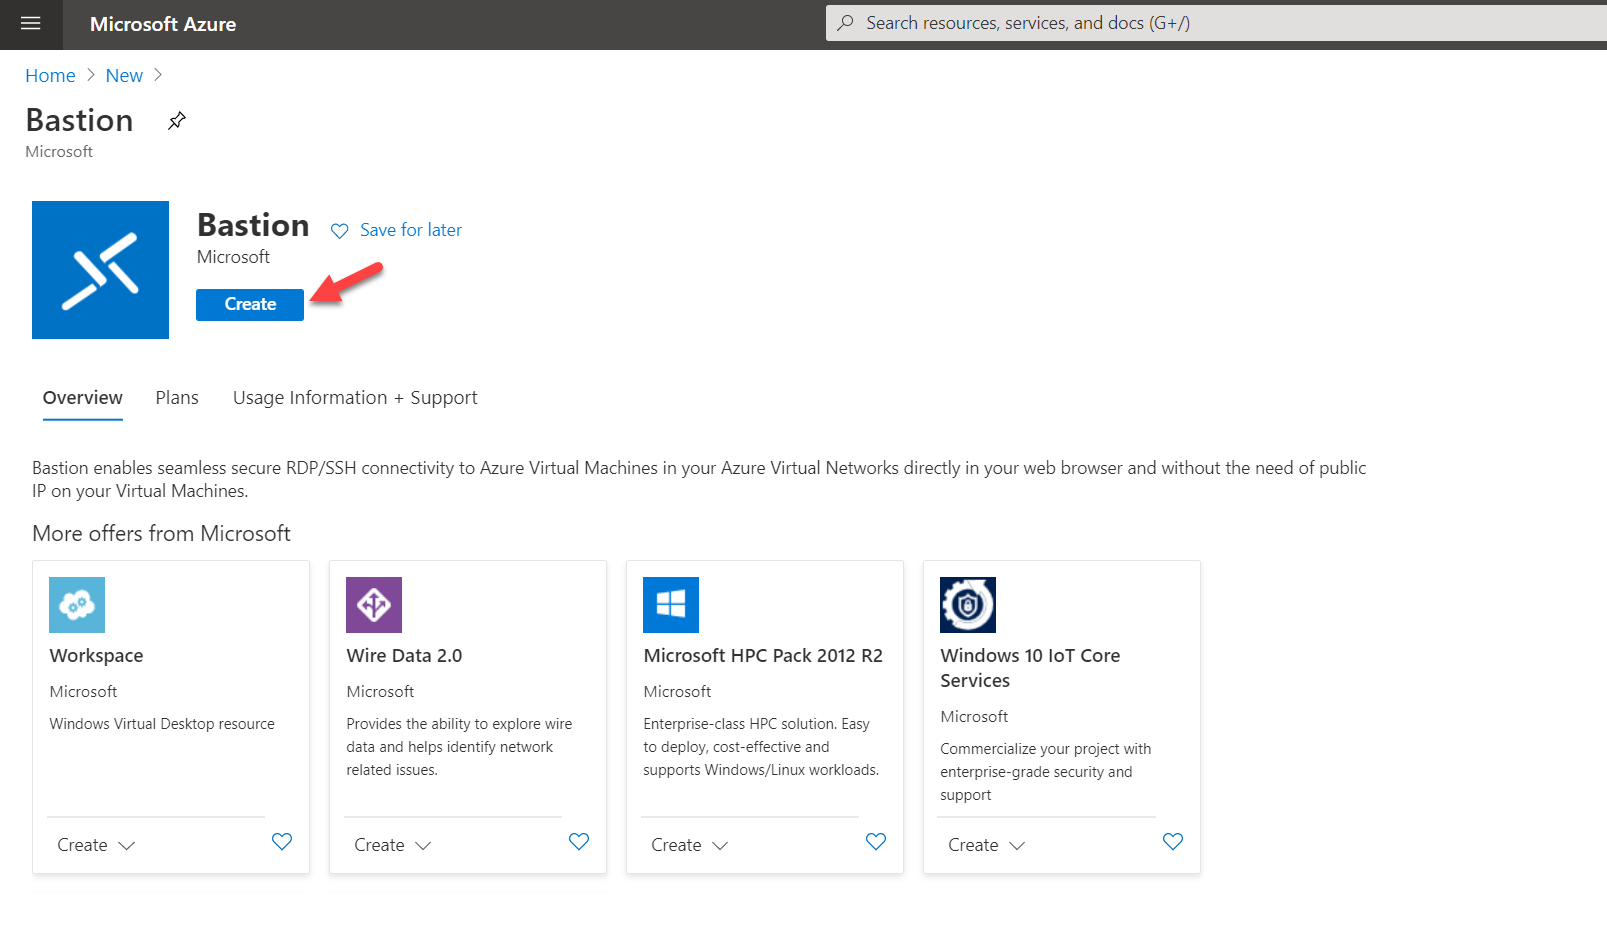
4. In the new window, click on Create.
5. In the new window, select the same resource group we created in the previous step which is BASRG1. Then define a name for the bastion service instance. In this demo, I am using REBELBastion. Under region, select East US.

Then for the Virtual network click on Create New. In the new window, I am using the following settings,
Name : BASVnet1
Address space : 10.2.0.0/16
Subnet name : AzureBastionSubnet
Address range : 10.2.0.0/24
Once settings are in place, click on OK to proceed.
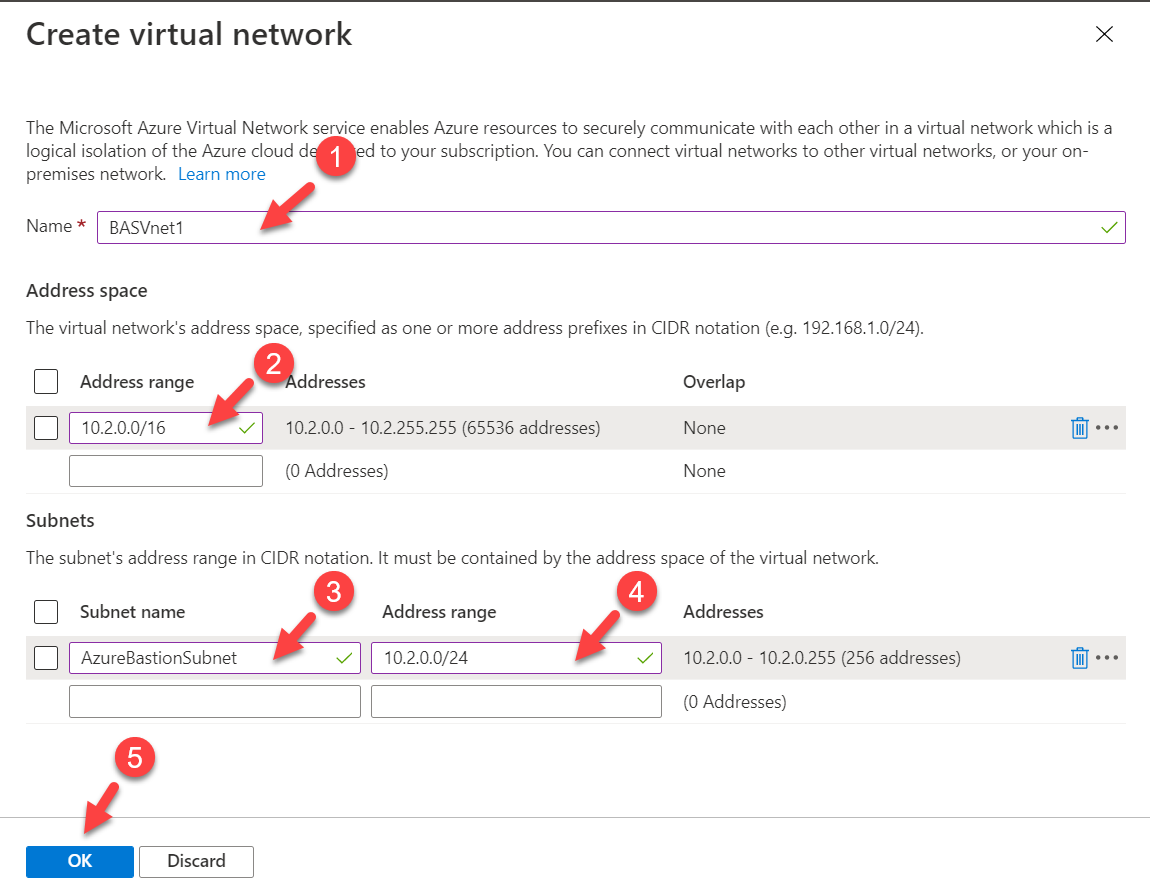
In the above, BASVnet1 is the new virtual network name. It has 10.2.0.0/16 address space. It also has a new subnet 10.2.0.0/24 for Azure Bastion. This subnet name must be set to AzureBastionSubnet. It should at least have /27 suffix.
6. Then we need to create Public IP address for Azure Bastion.

7. Once all settings are in place click on Review + create
8. Next, click on Create to complete the Azure bastion resource creation process.
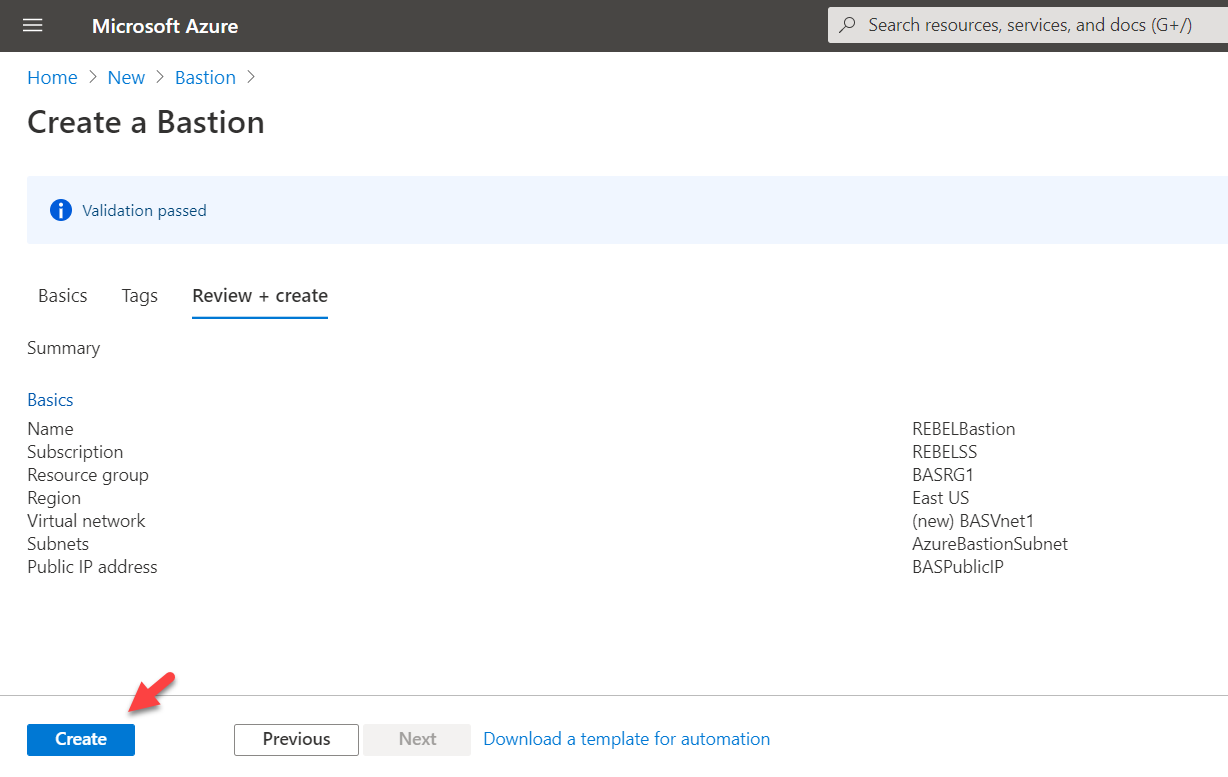
This will take 5-10 minutes to complete.
Create VNet Peering
As the next step of the configuration, we need to create VNet Peering between Hub and Spoke virtual networks.
First, I am going to create a peering between BASVnet1 and EUSVnet1.
1. Log in to Azure Portal (https://portal.azure.com) as Global Administrator
2. Search for Virtual Networks using the search function
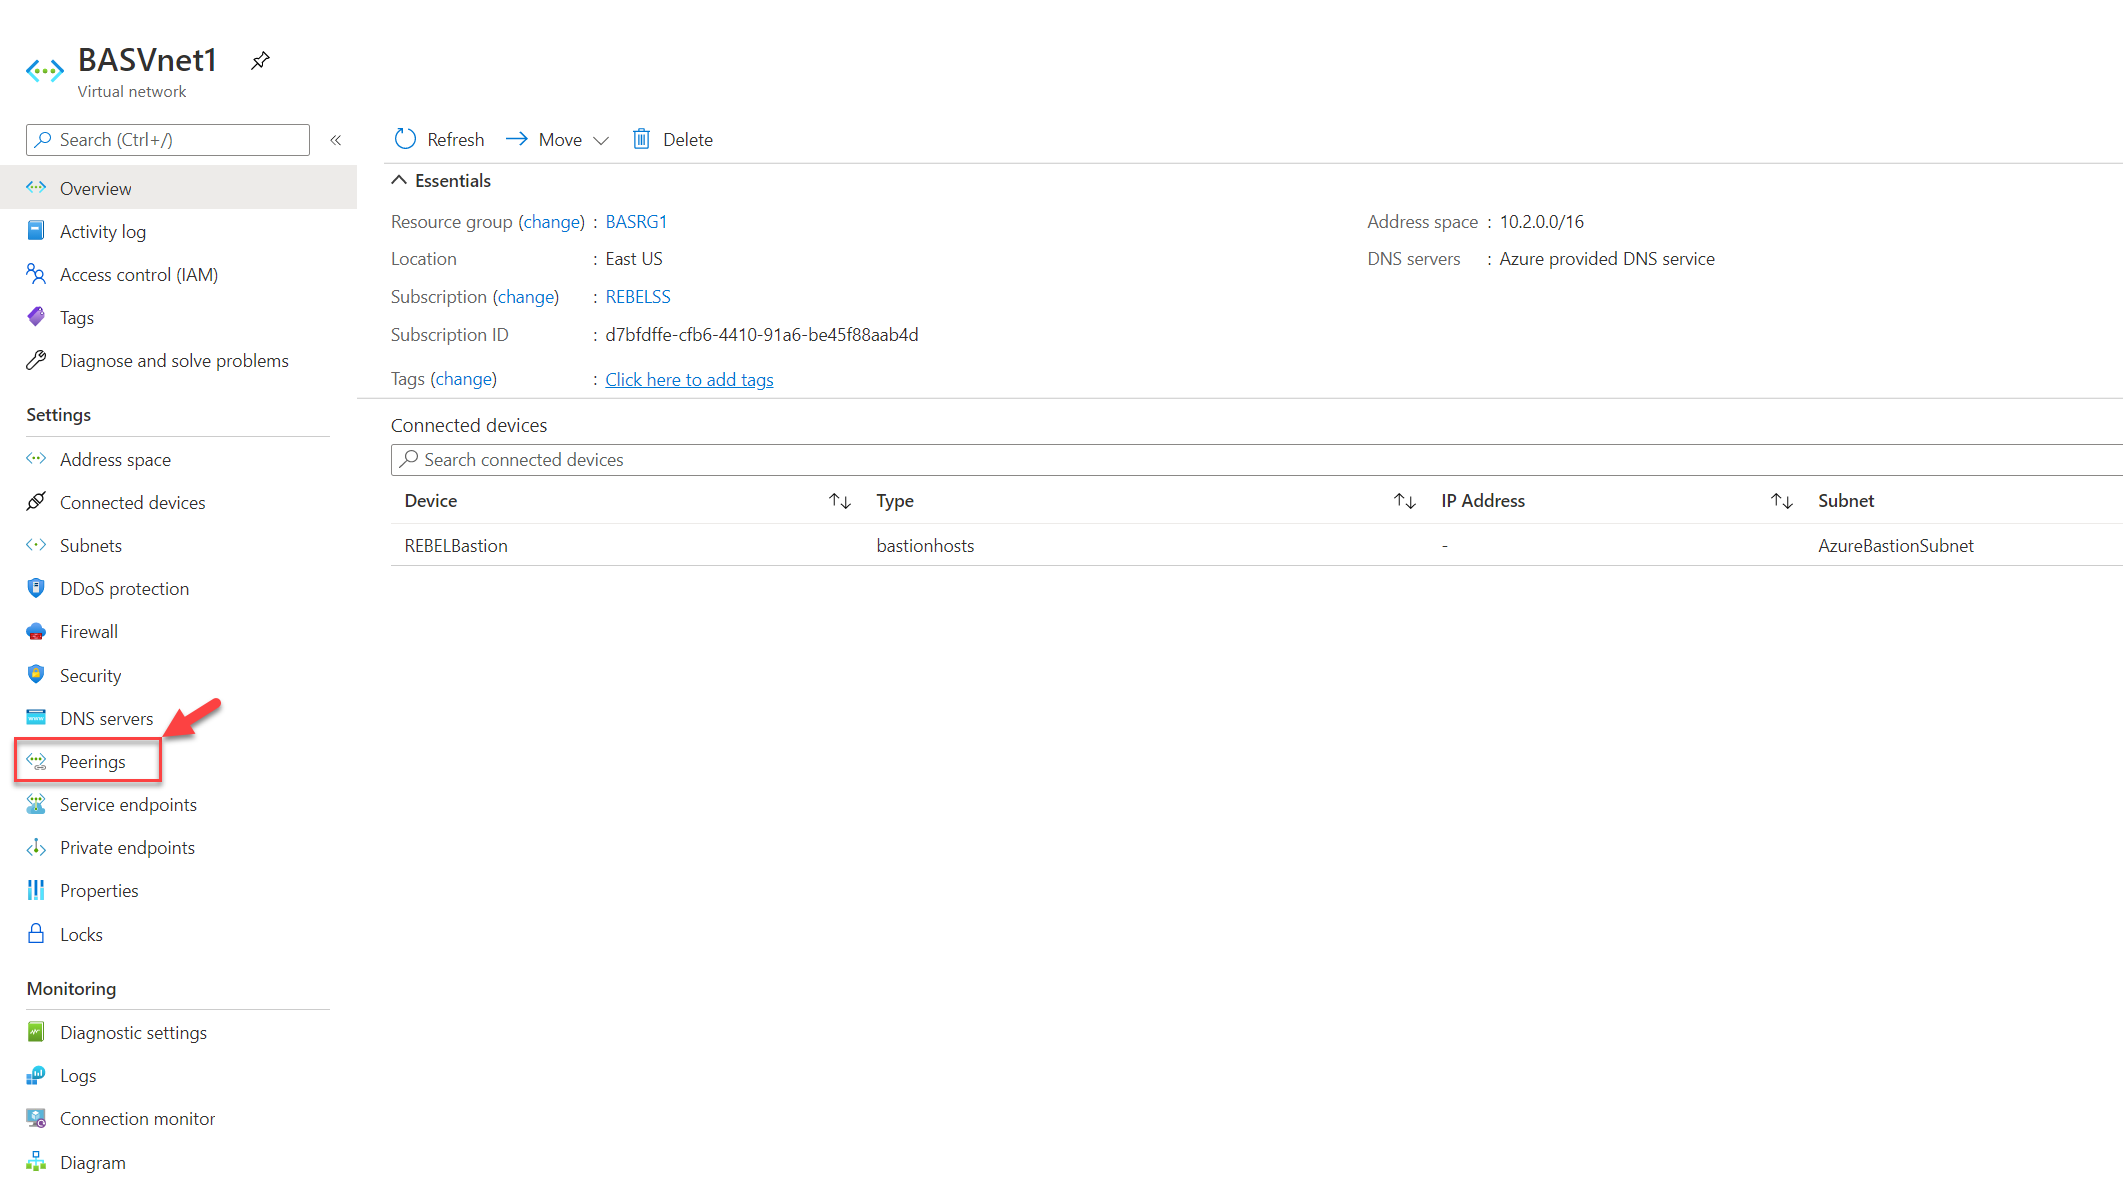
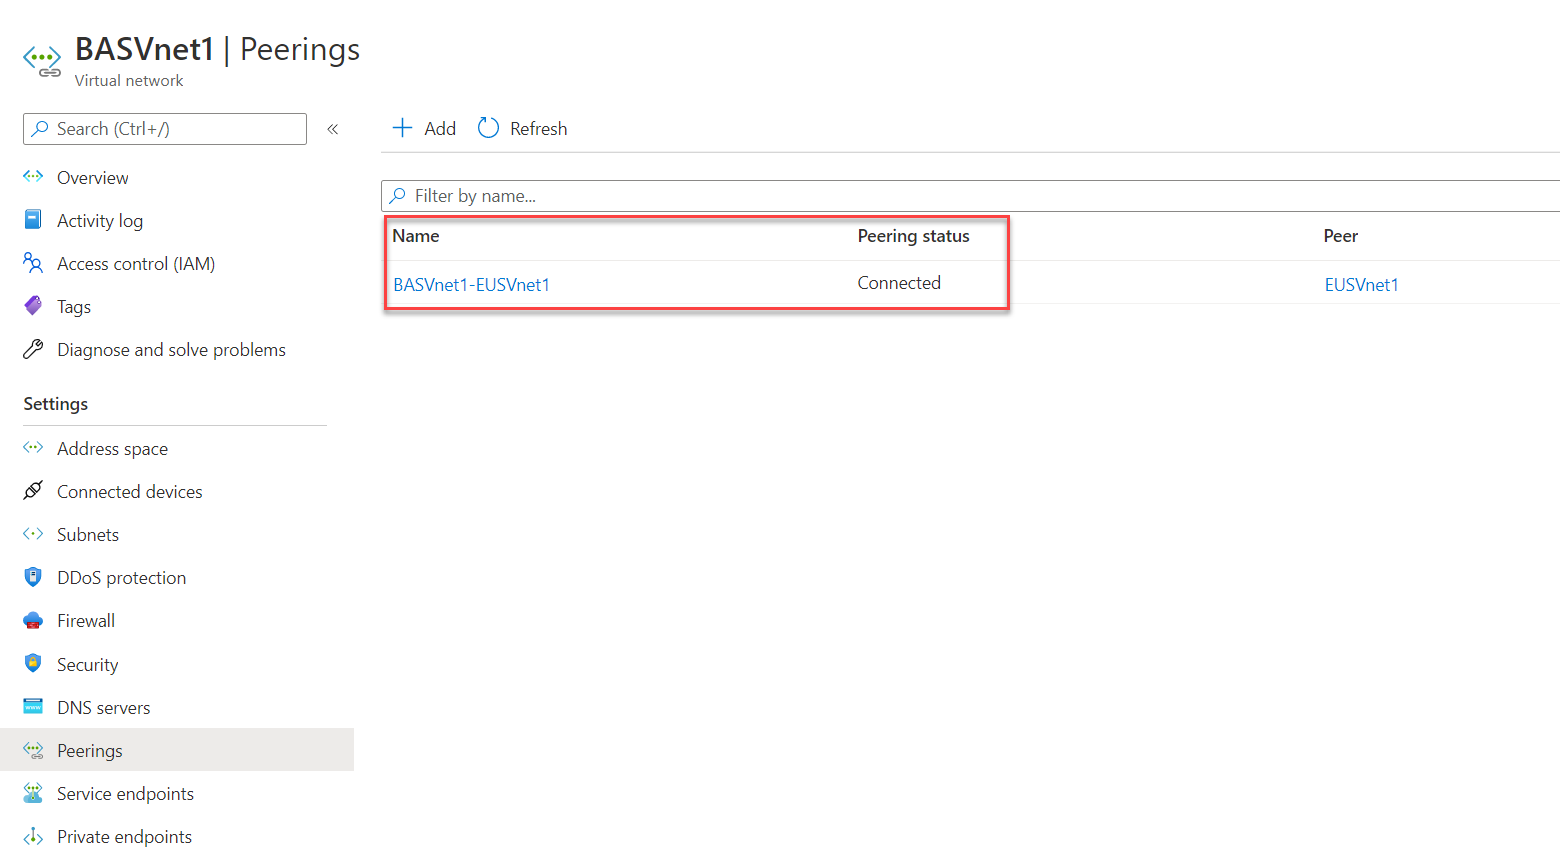
3. In the virtual network list, click on BASVnet1 virtual network.
4. On virtual network properties page, click on Peerings
5. Then click on + Add
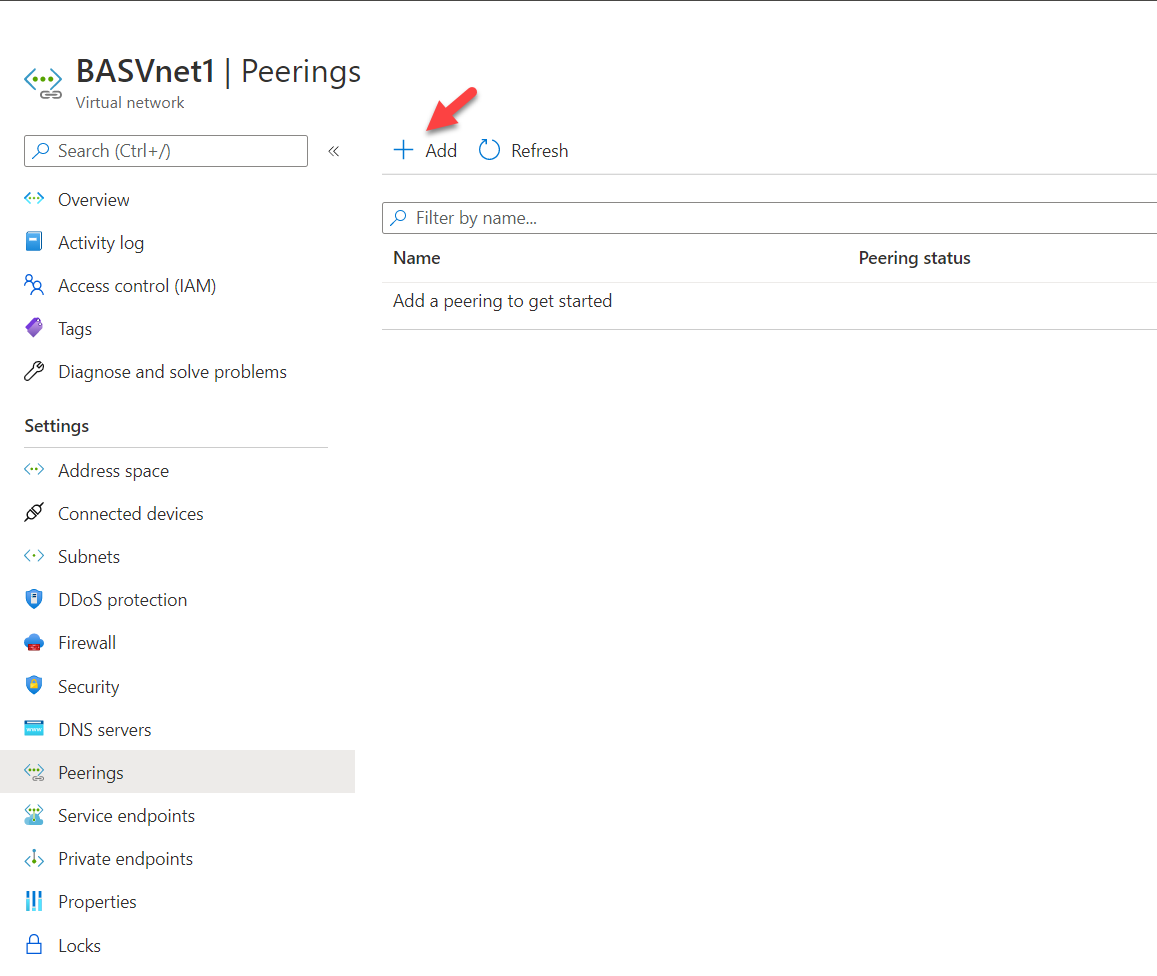
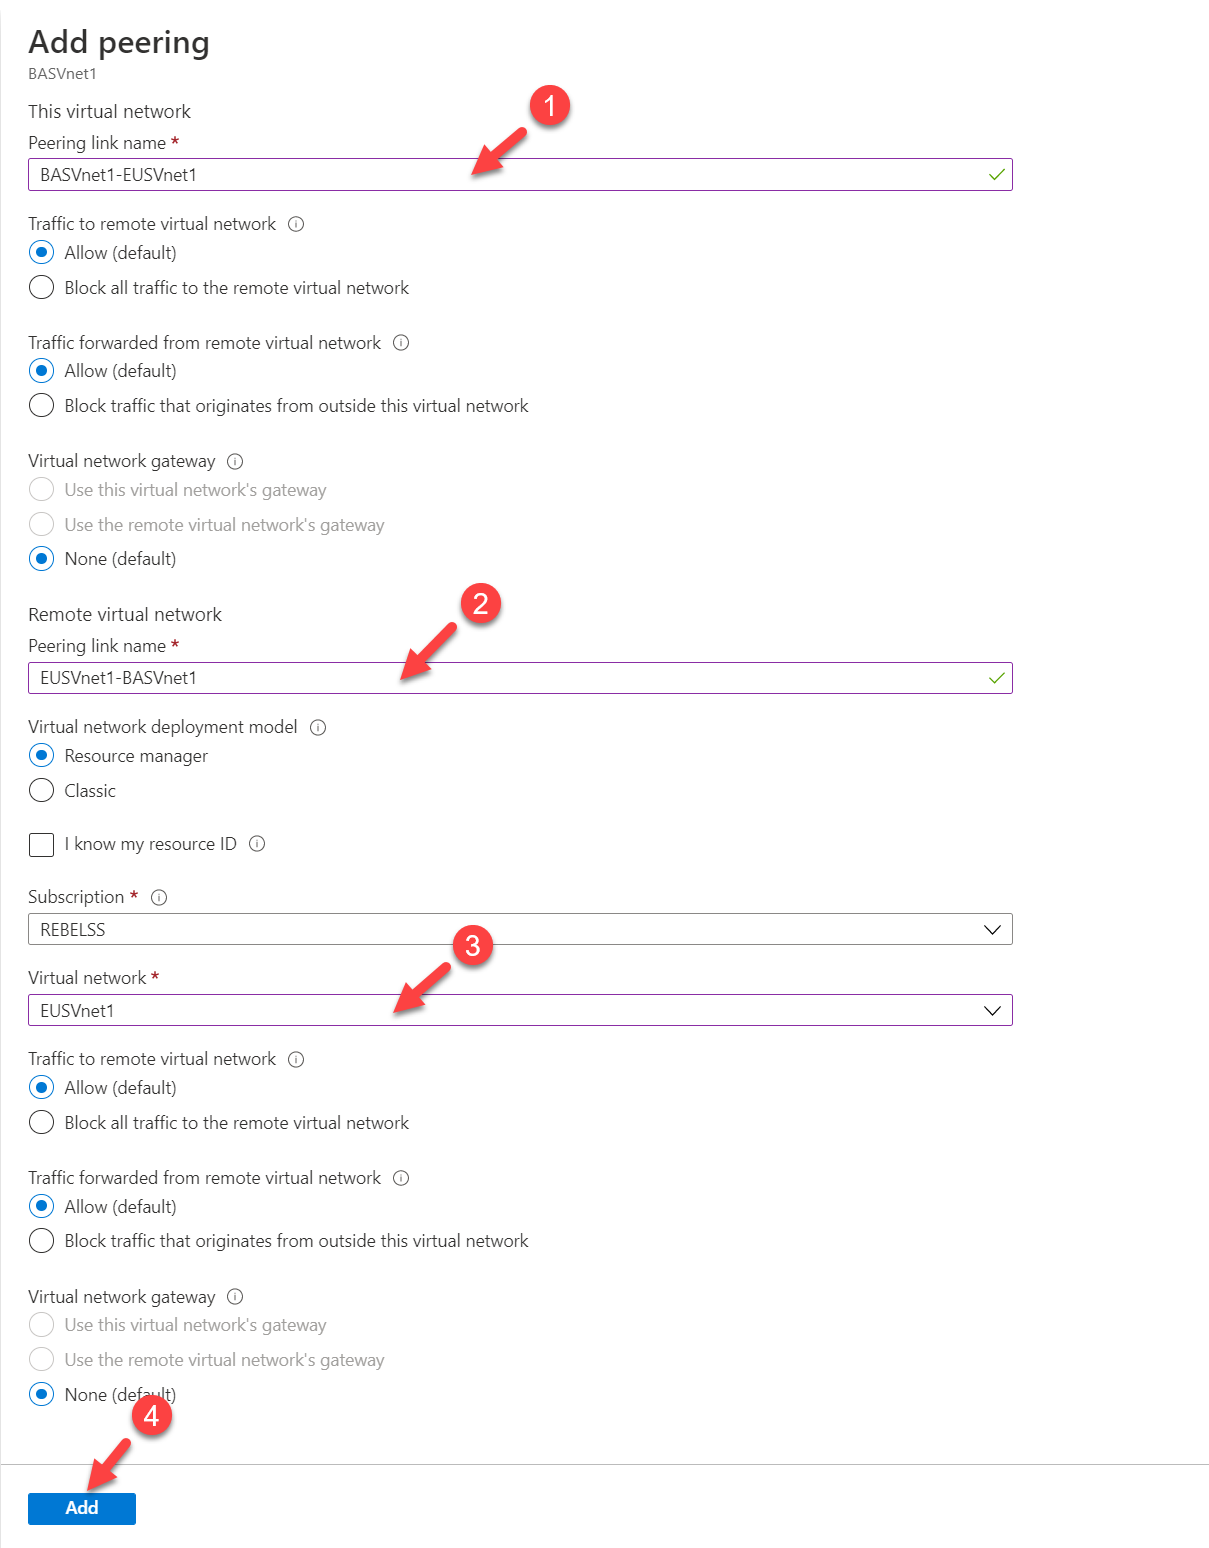
6. On the Add peering page, I am using the following settings.
Peering link name (This virtual network) : BASVnet1-EUSVnet1
Traffic to remote virtual network : Allow
Peering link name (Remote virtual network) : EUSVnet1-BASVnet1
Virtual network : EUSVnet1
Once settings are in place click on Add
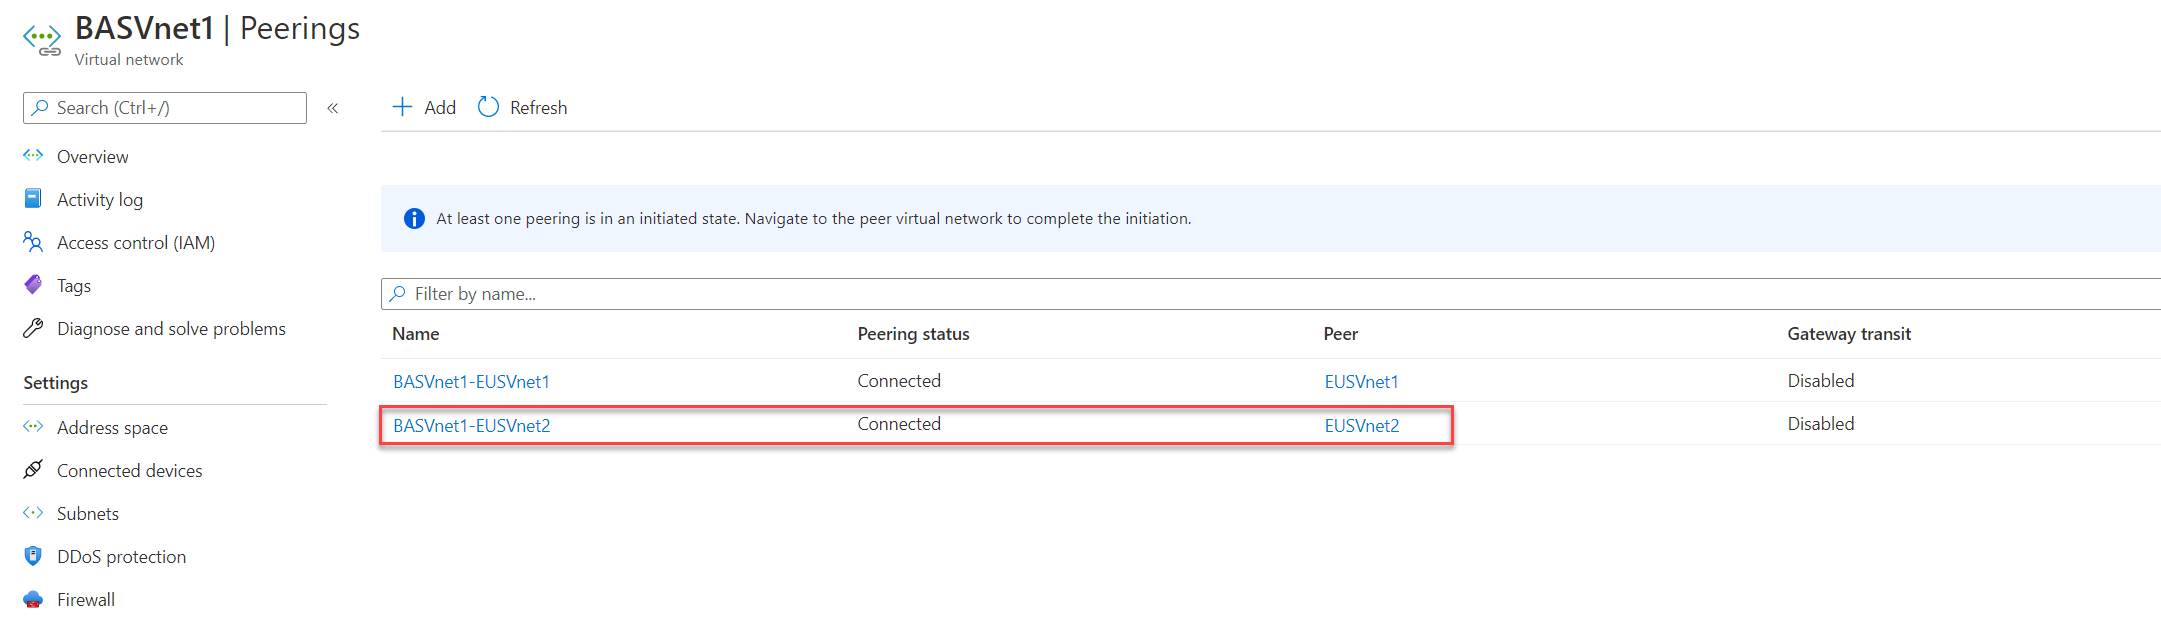
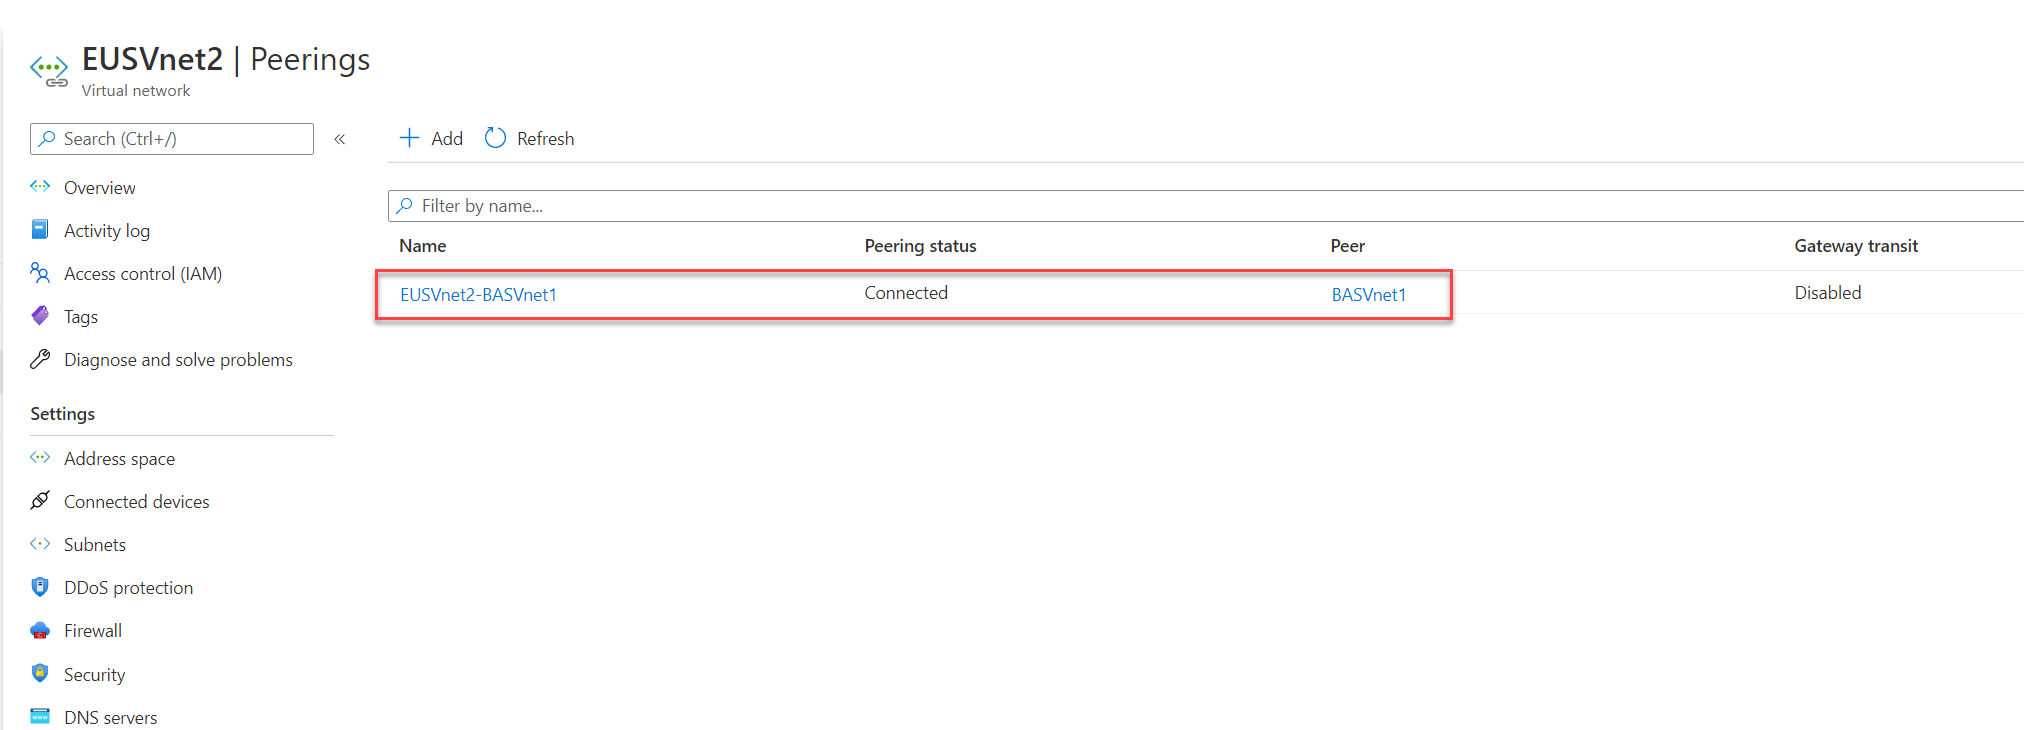
7. Follow the same method and create VNet peering between BASVnet1 and EUSVnet2.
Note: In here you need to go to EUSVnet2 and initiate peering to BASVnet1.
Testing
We have only enabled Azure Bastion on the Hub network. What we need to test is if we can use Azure Bastion with virtual machines running in Spoke networks.
To do that,
1. Log in to Azure portal (https://portal.azure.com) as Global Administrator
2. Go to Virtual Machines
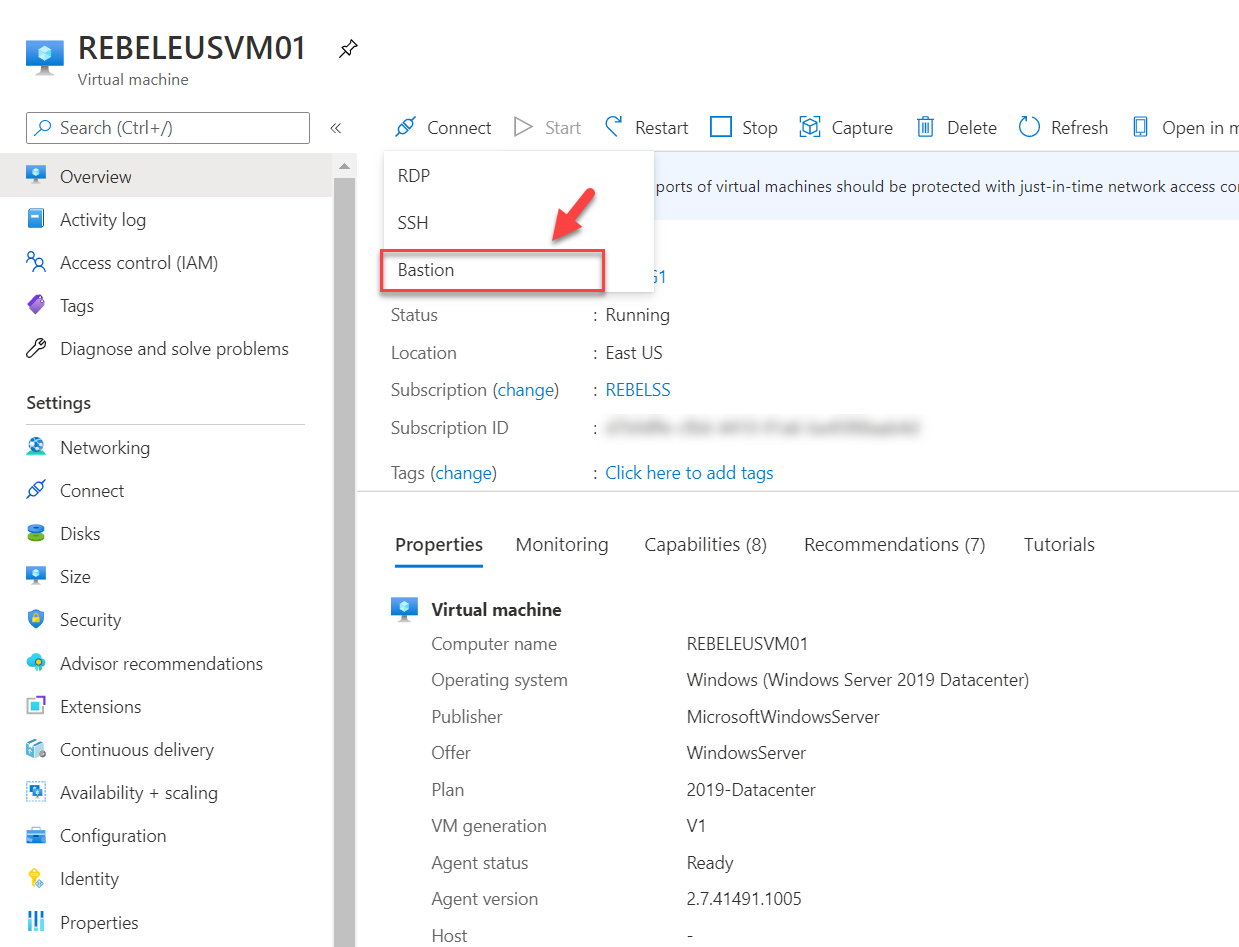
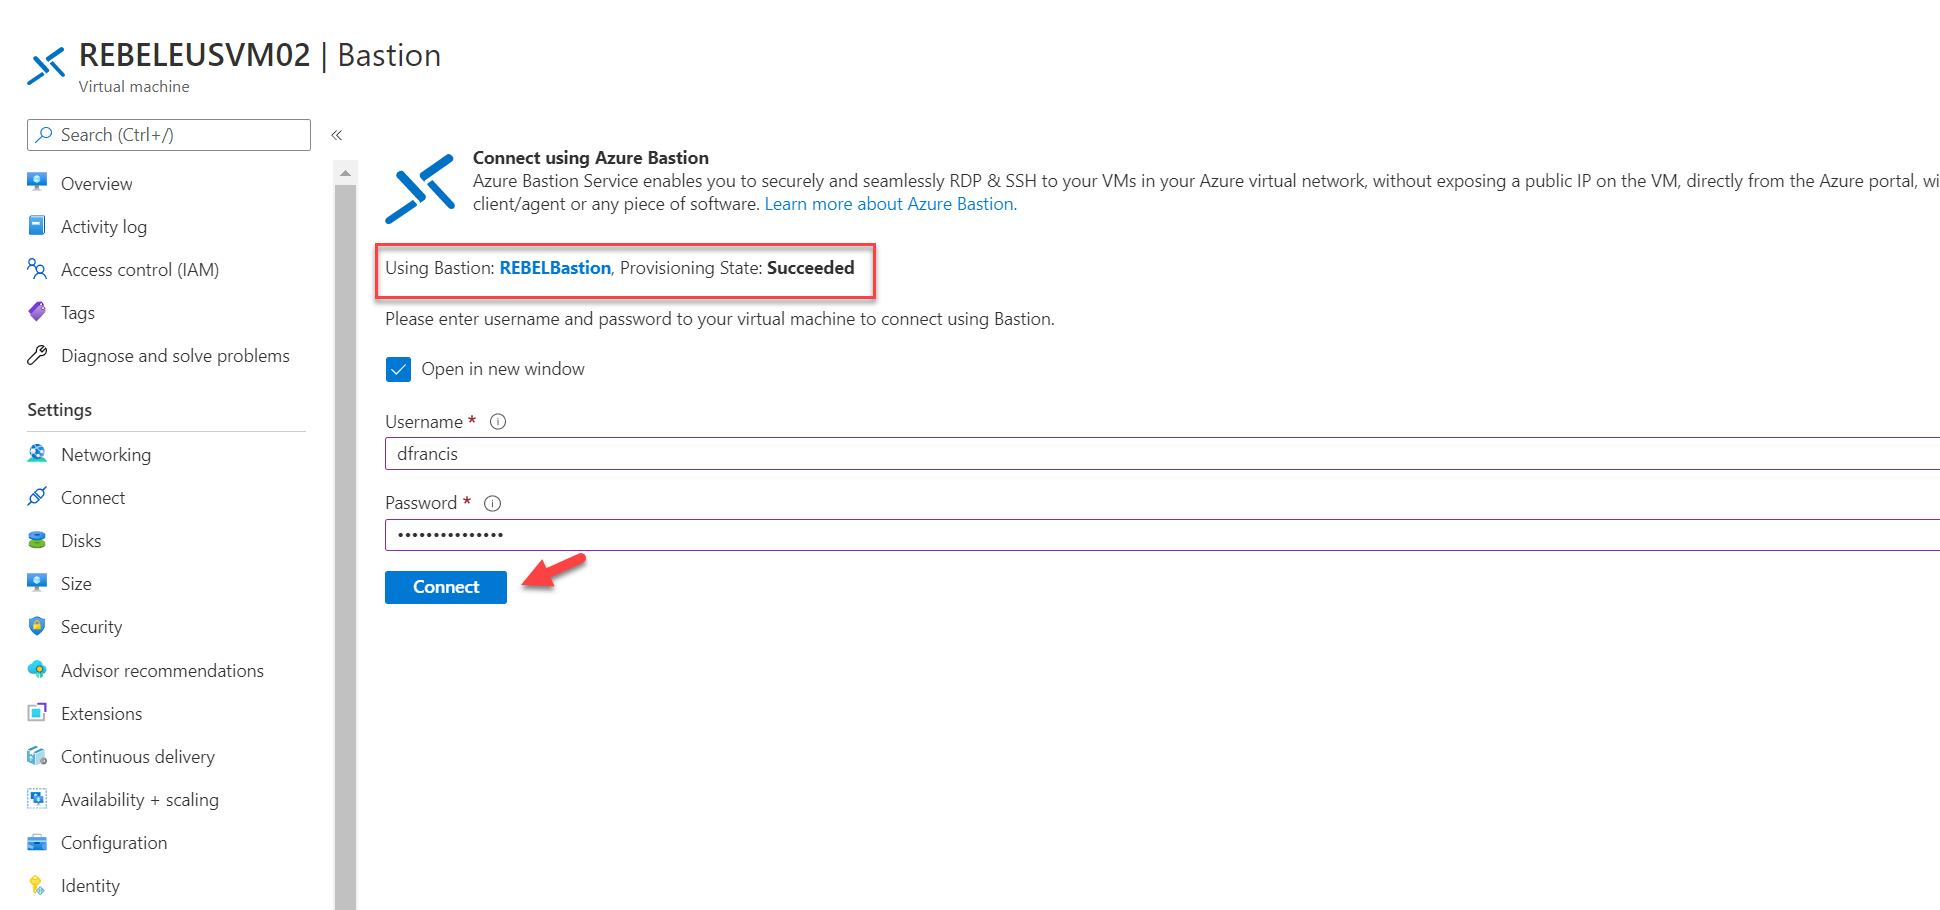
3. From the VM list, click on the REBELEUSVM01 virtual machine which we created in the earlier step.
4. On properties, page click on Connect
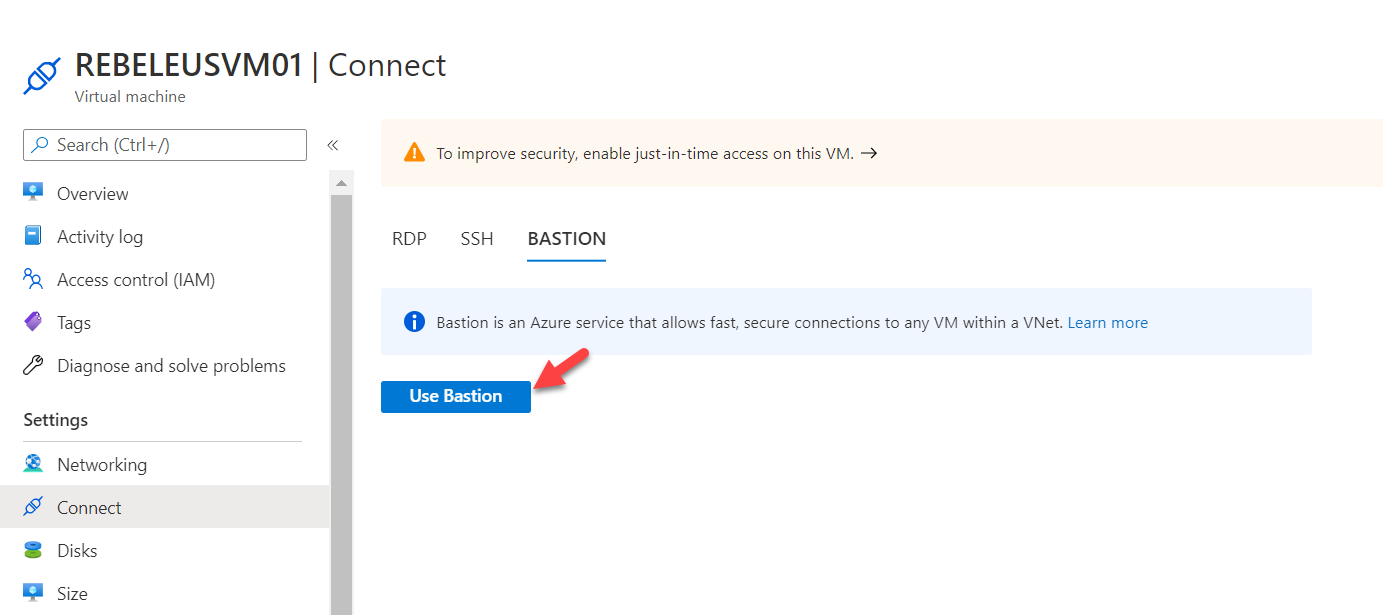
5. From the list select Bastion
6. On the Bastion service page click on Use Bastion
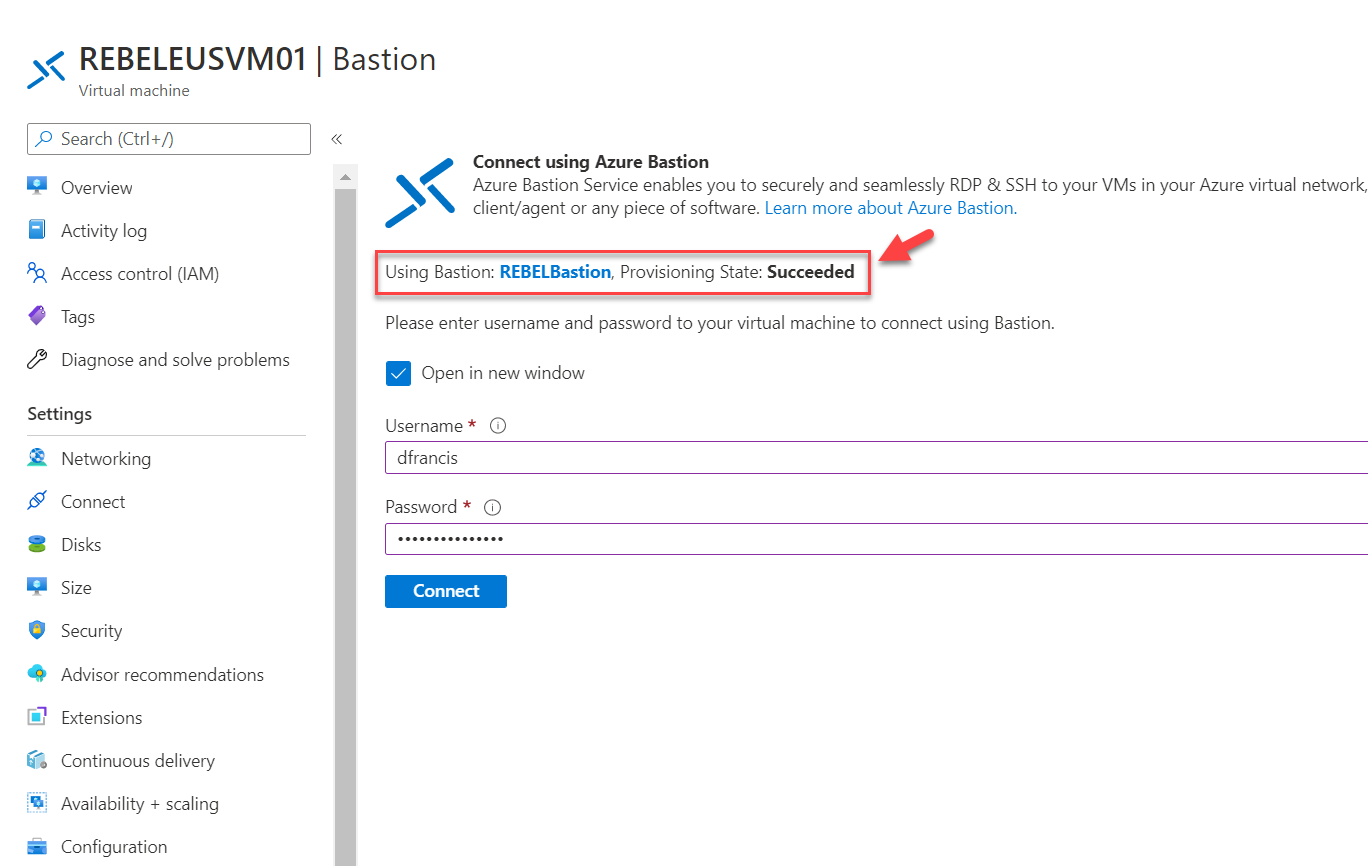
7. On the next page, we can see it is using Azure Bastion resources we created in the Hub network. To test the connectivity, type the VM login details and click on Connect
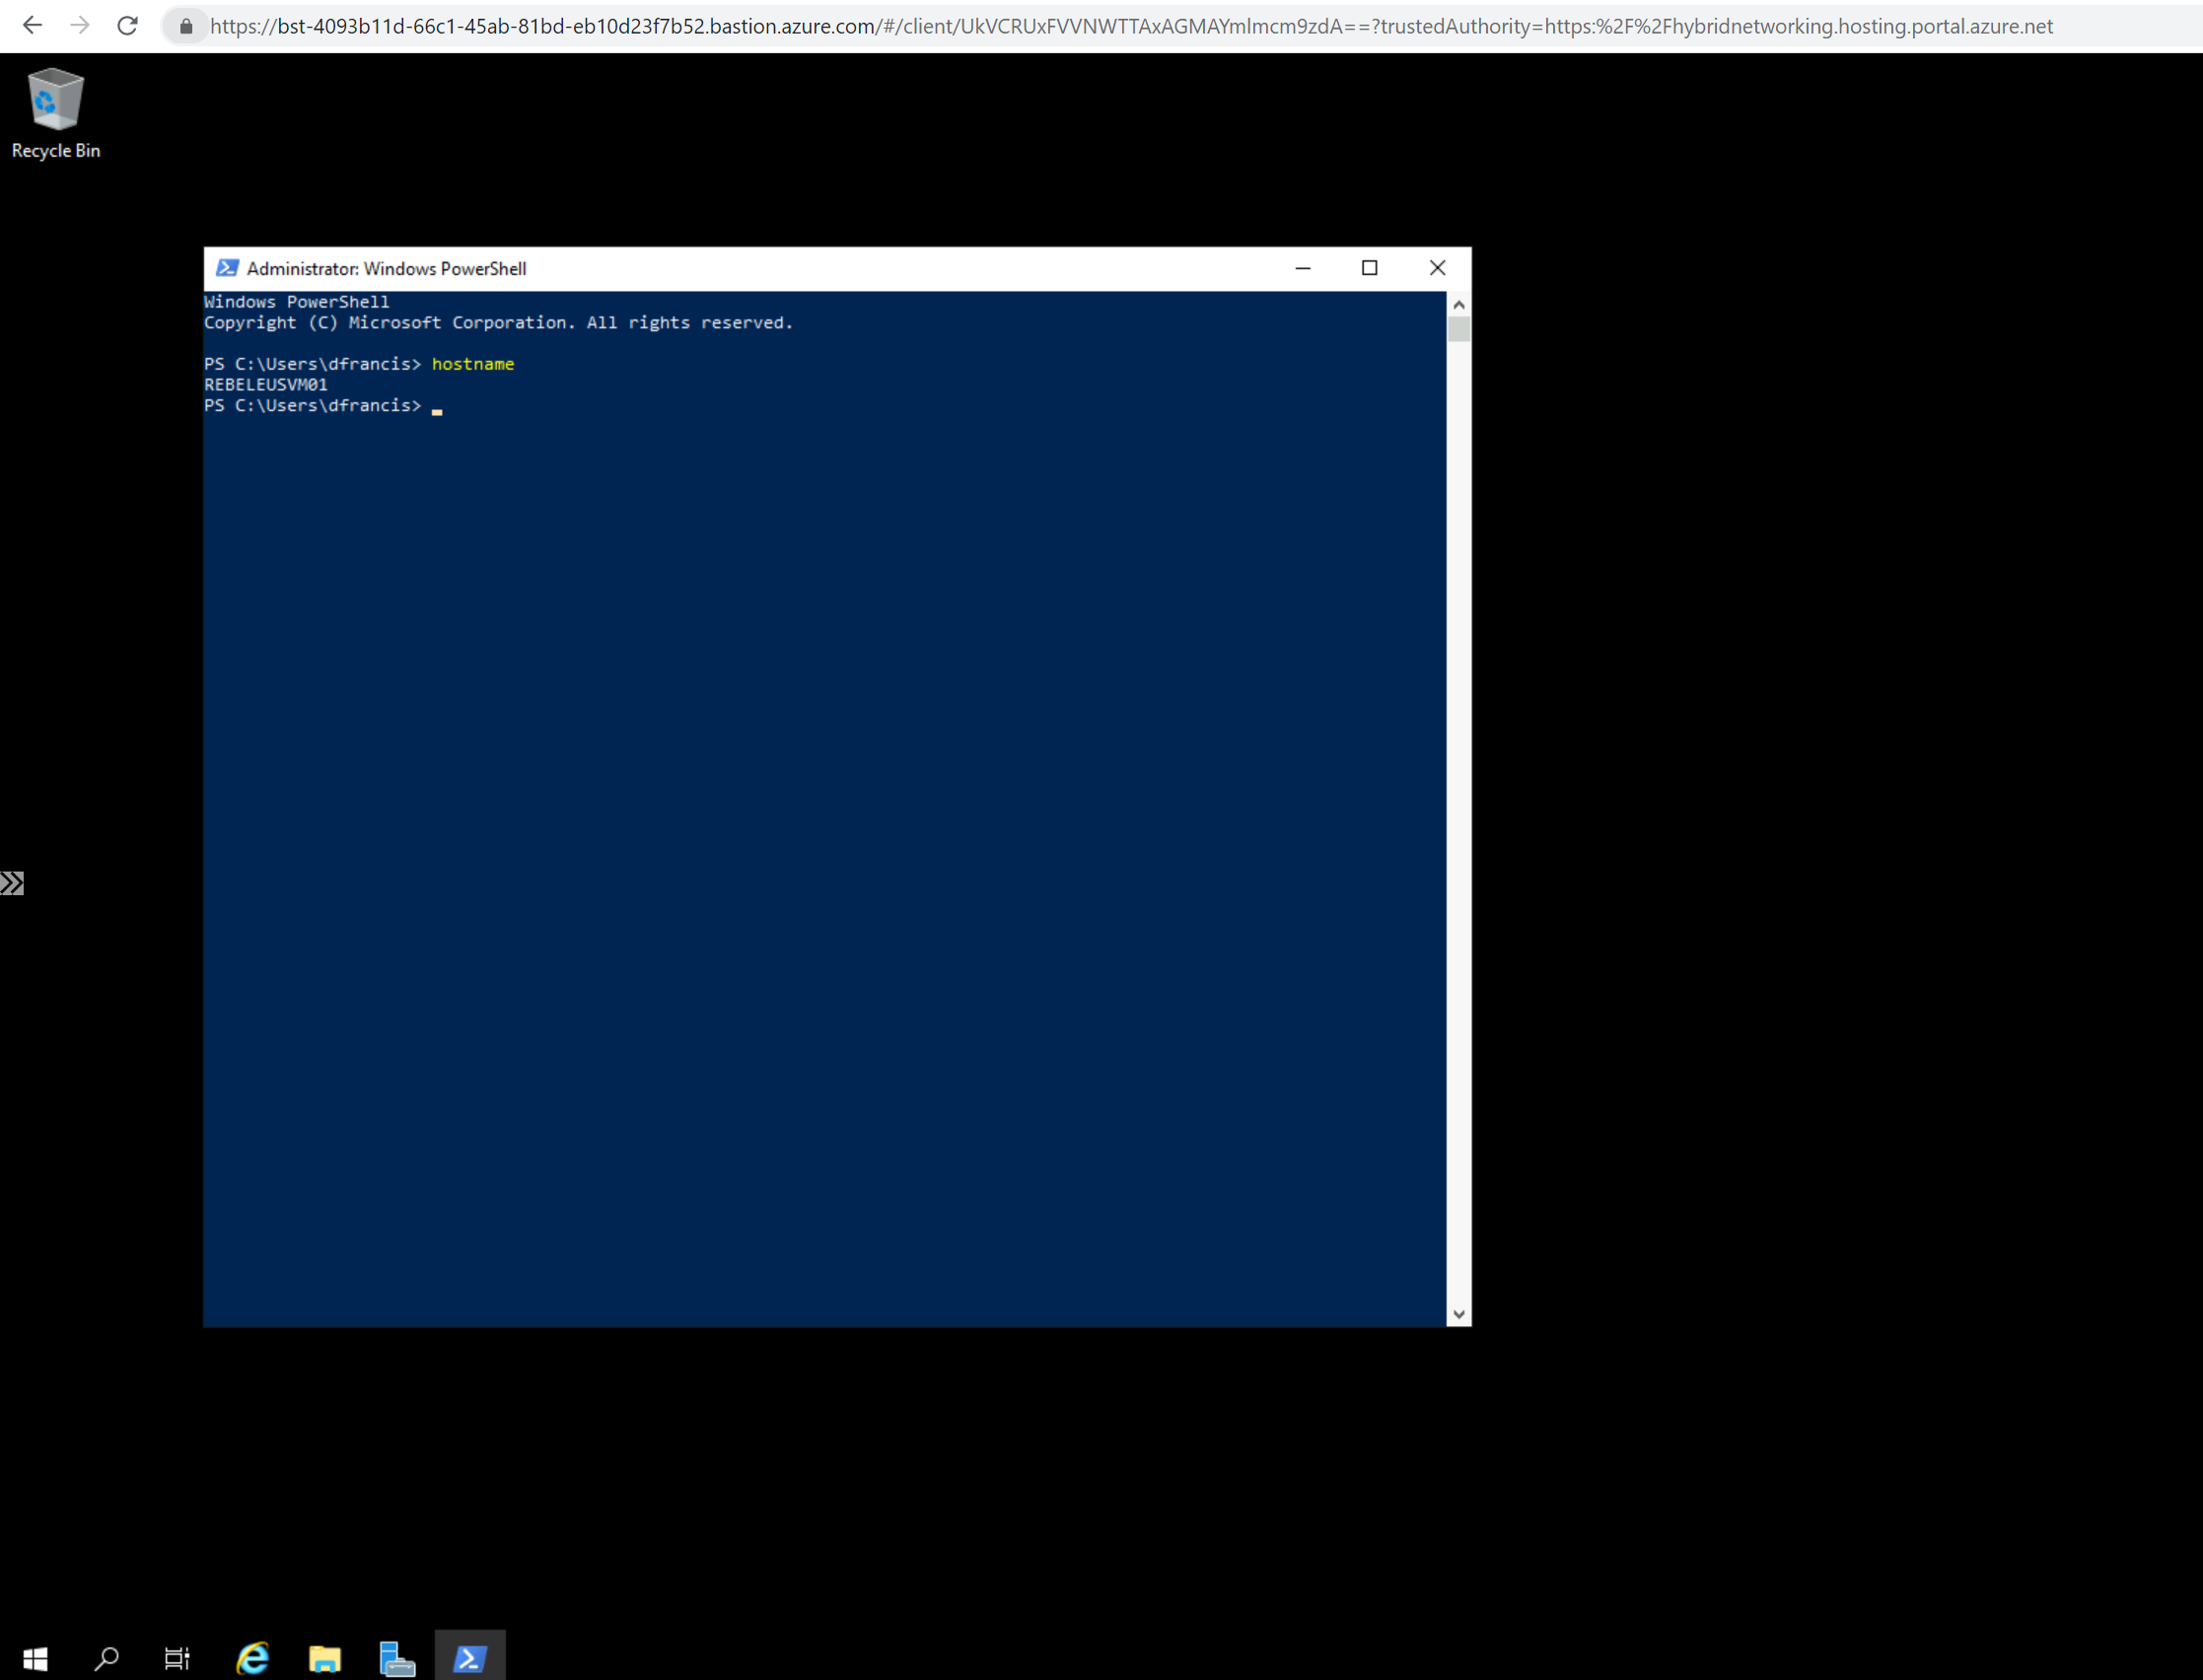
8. As expected, I can connect to VM without issue.
9. In the same way, I was able to connect REBELEUSVM02 virtual machine using Azure Bastion.
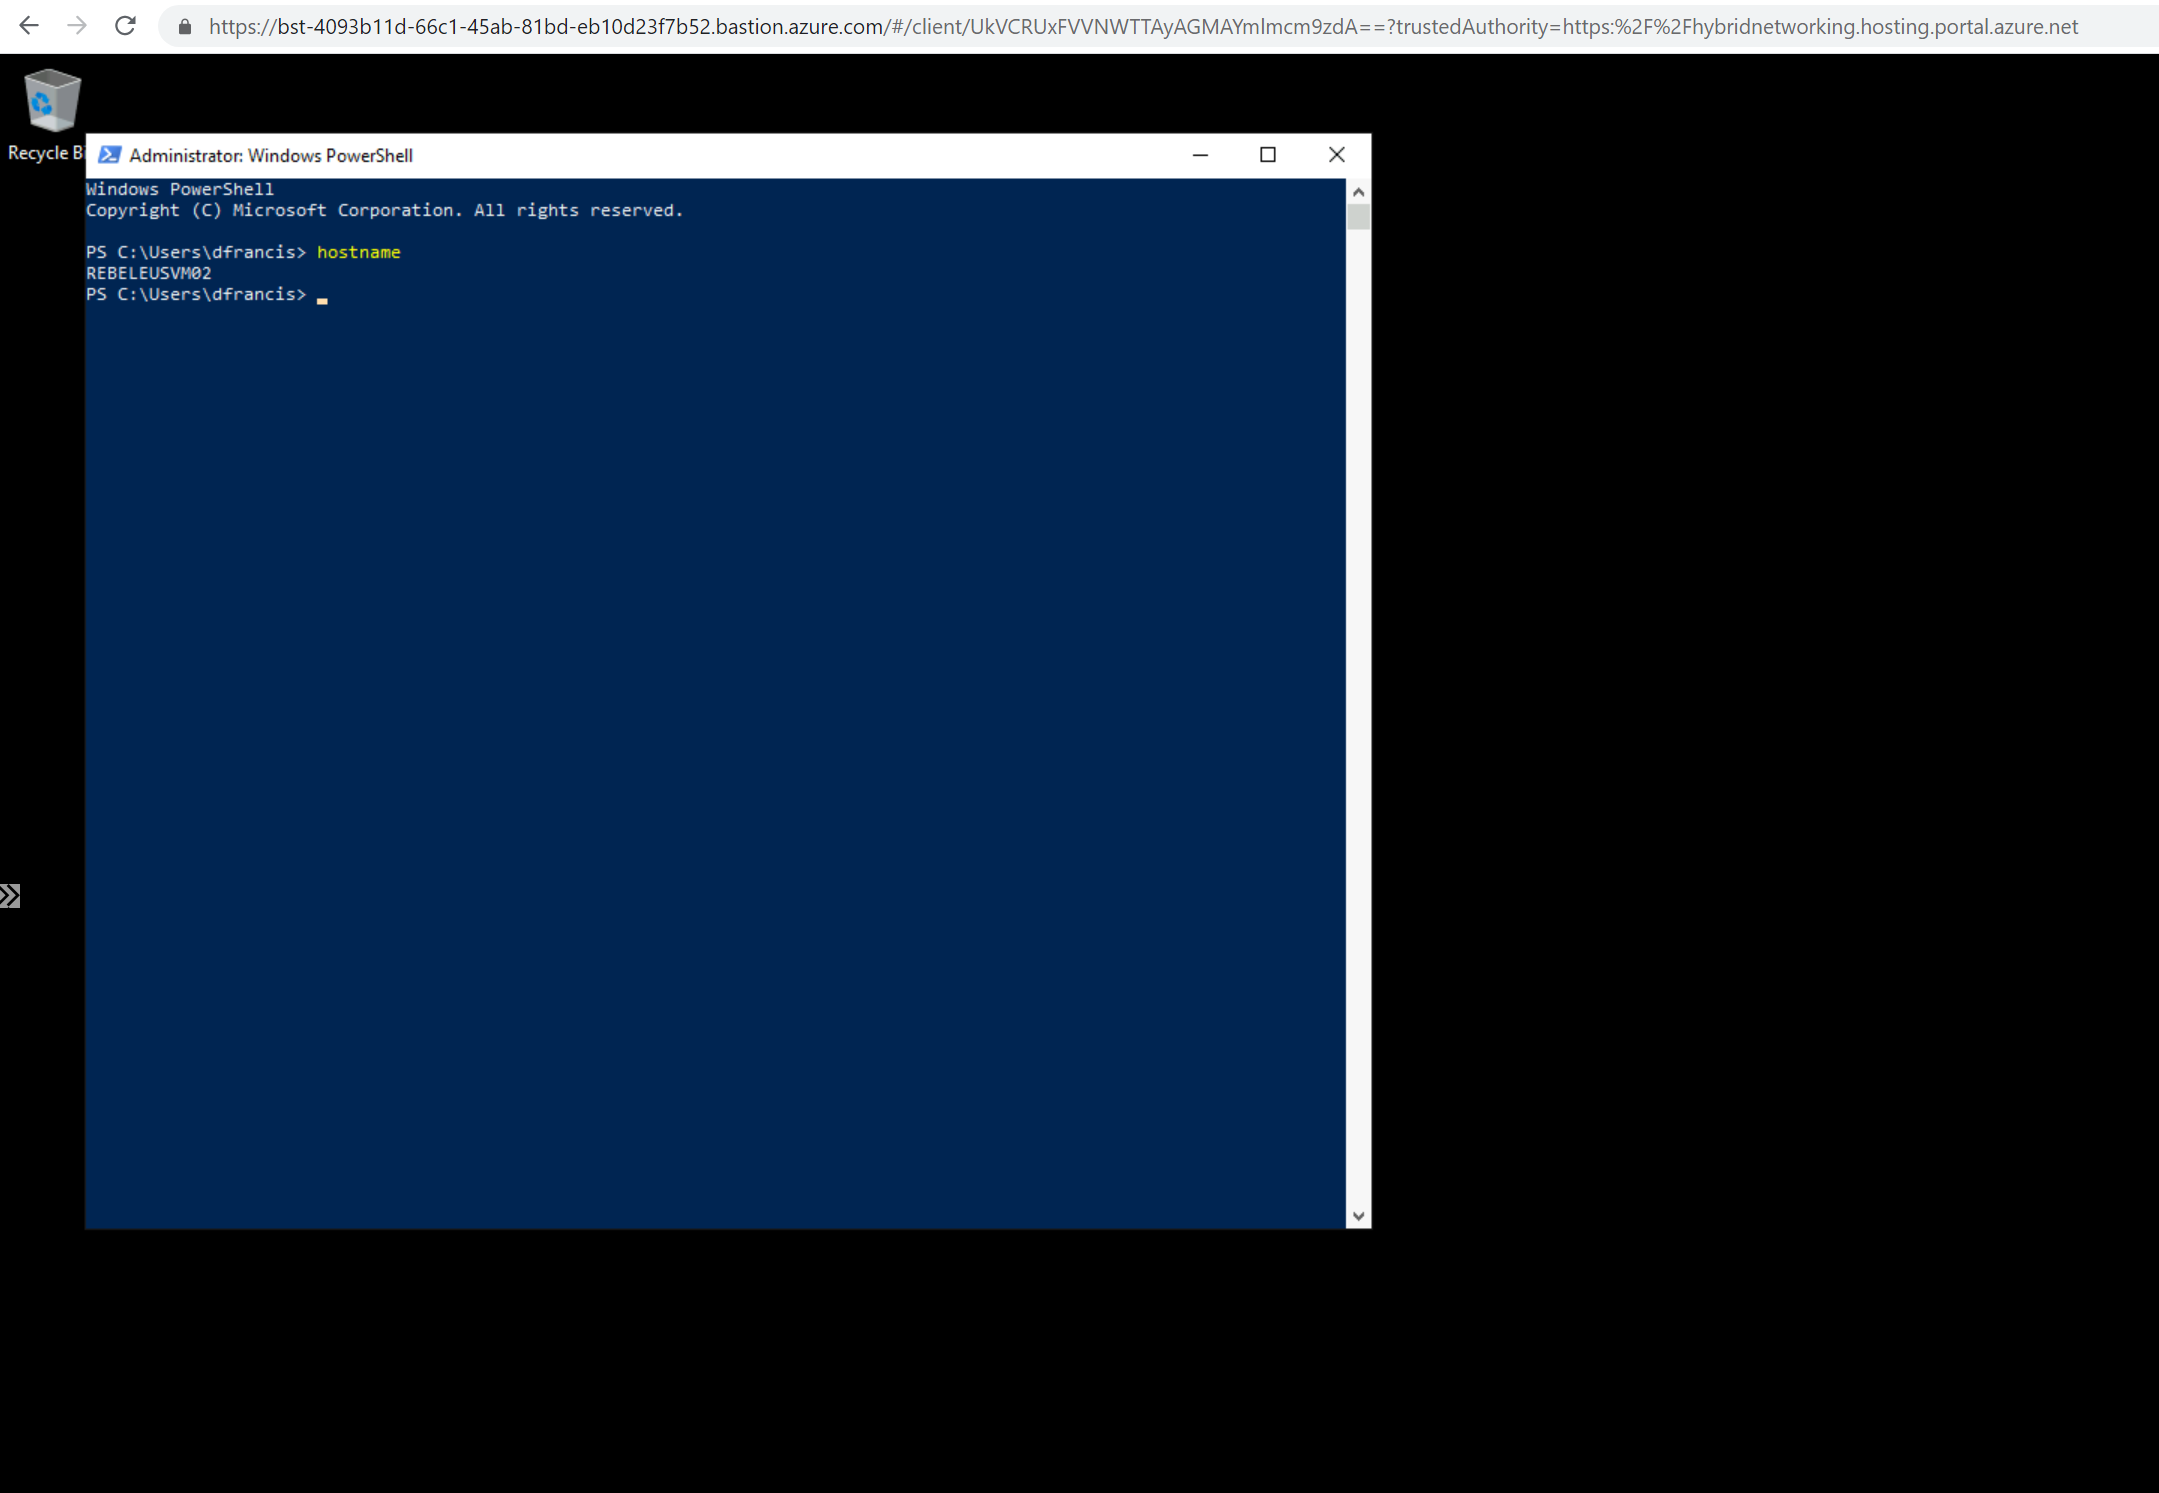
This confirms the Azure Bastion is working with VNet peering is working as expected.
This marks the end of this blog post. If you have any further questions about this feel free to contact me at rebeladm@live.com also follow me on Twitter @rebeladm to get updates about new blog posts.