

Microsoft Azure has various service, which can use to load balance your application traffic at the global level or regional level. Azure Front Door is also one of those services.
- Traffic Manager
- Application Gateway
- Load Balancer
Traffic Manager, is a DNS based traffic load balancer. It examines the incoming DNS request and replies according to traffic routing rules.
Application Gateway is a layer 7 load balancer which can make routing decisions based on the attributes of an HTTP request (URL based routing).
load balancer works in layer 4 (transport layer) and can distribute network traffic to endpoints in the same Azure region. It can use to distribute internet traffic as well as internal traffic.
Azure Front Door also a solution that can use for Global load balancing. It also works in layer 7 and it can provide dynamic website acceleration (DSA) to globally distributed applications. It examines incoming HTTP requests and route traffic to the closest back end based on availability and configuration rules. Azure front door can offer,
-
- Accelerated application performance by using split TCP-based anycast protocol
- Intelligent health probe monitoring for backend resources
- URL-path based routing for requests
- Enables the hosting of multiple websites for efficient application infrastructure.
- Cookie-based session affinity
- SSL offloading and certificate management
- Define your custom domain
- Application security with integrated Web Application Firewall (WAF)
- Redirect HTTP traffic to HTTPS with URL redirect
- Custom forwarding path with URL rewrite
- Native support of end-to-end IPv6 connectivity and HTTP/2 protocol
In this blog post, I am going to demonstrate how to set up Azure Front door and show how we can use it for application load balancing.
For the configuration process, I will be using PowerShell. Therefore, please make sure you have an Azure PowerShell module installed. More info about it can find under https://docs.microsoft.com/en-us/powershell/azure/install-az-ps?view=azps-3.8.0
Create New Azure Resource Groups
First, I am going to create two resource groups in Azure. One is in East US region and another one is UK South region. To do that,
1. Launch PowerShell console and connect to Azure using Connect-AzAccount
2. Then create new resource groups using,
New-AzResourceGroup -Name REBELRGEUS -Location “East US”
New-AzResourceGroup -Name REBELRGUKS -Location “UK South”
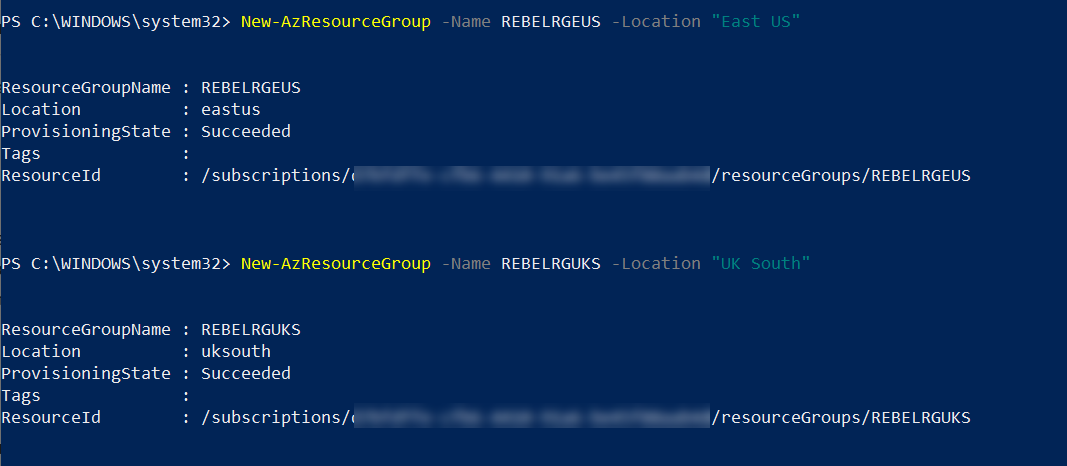
In here, we are creating two resource groups. The first one is called REBELRGEUS and it is created in East US Azure region.
The second group is called REBELRGUKS and it is created in UK South azure region.
Create Azure Web Applications
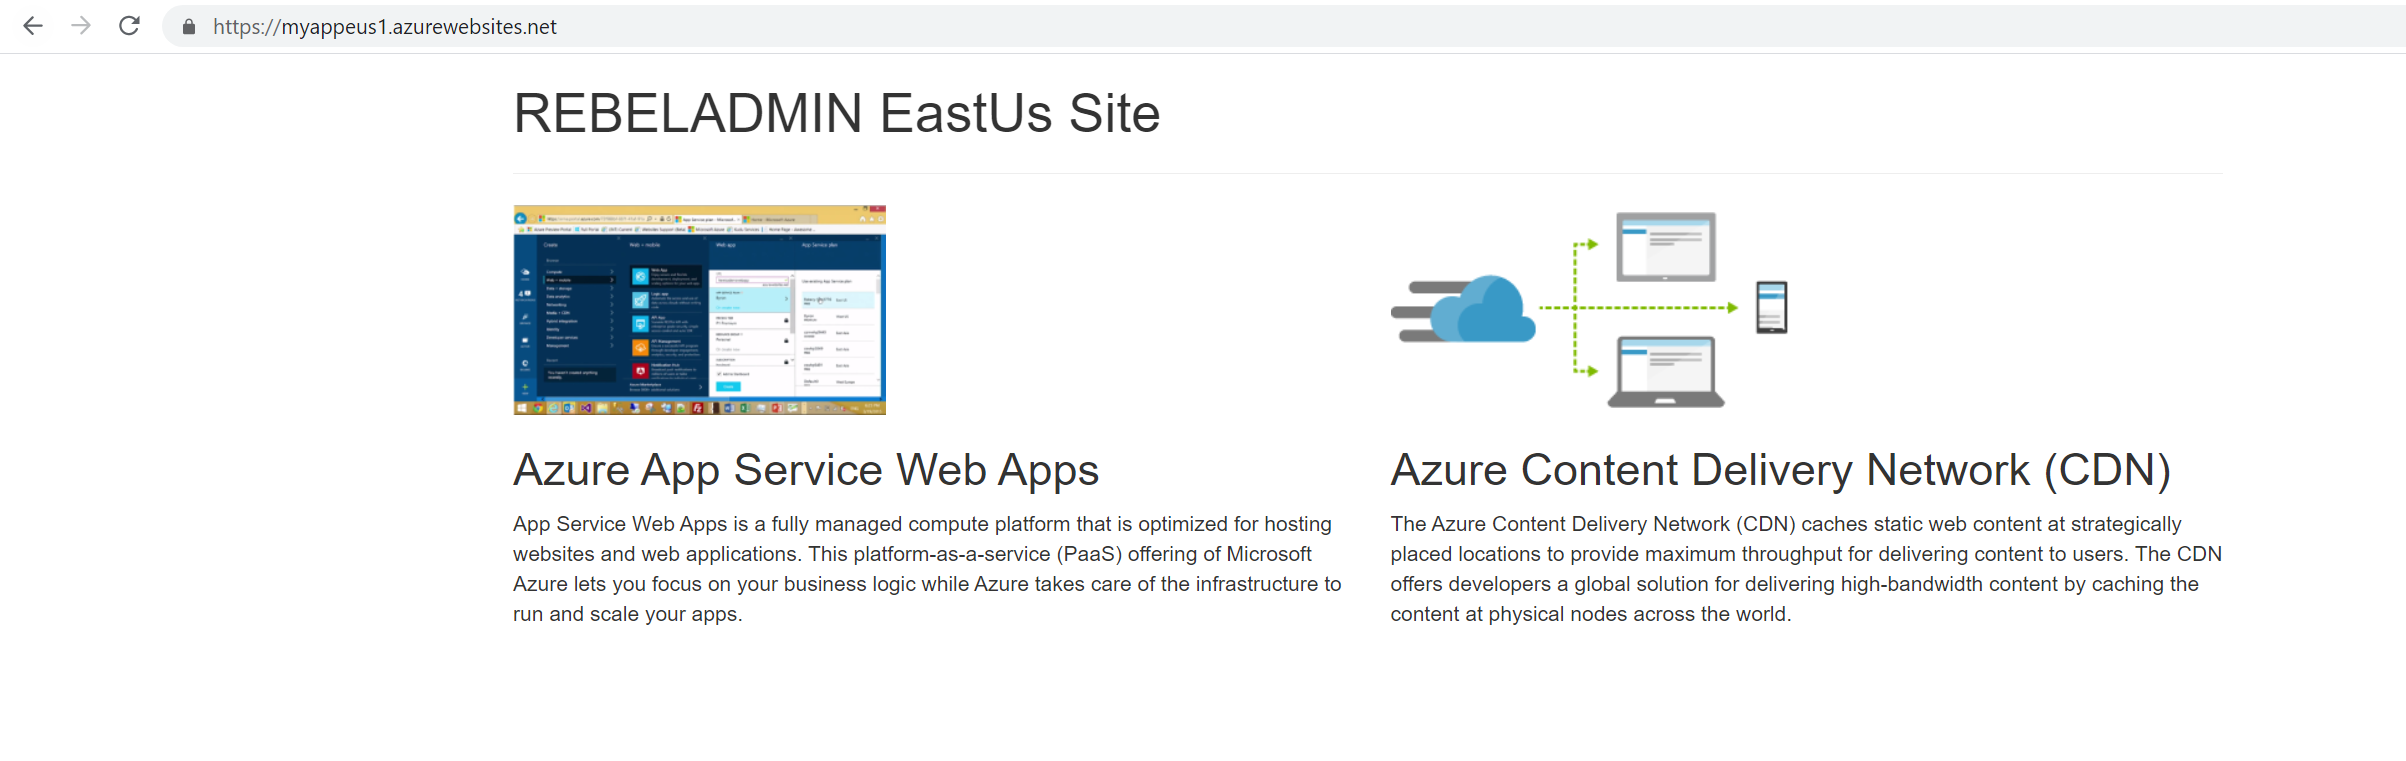
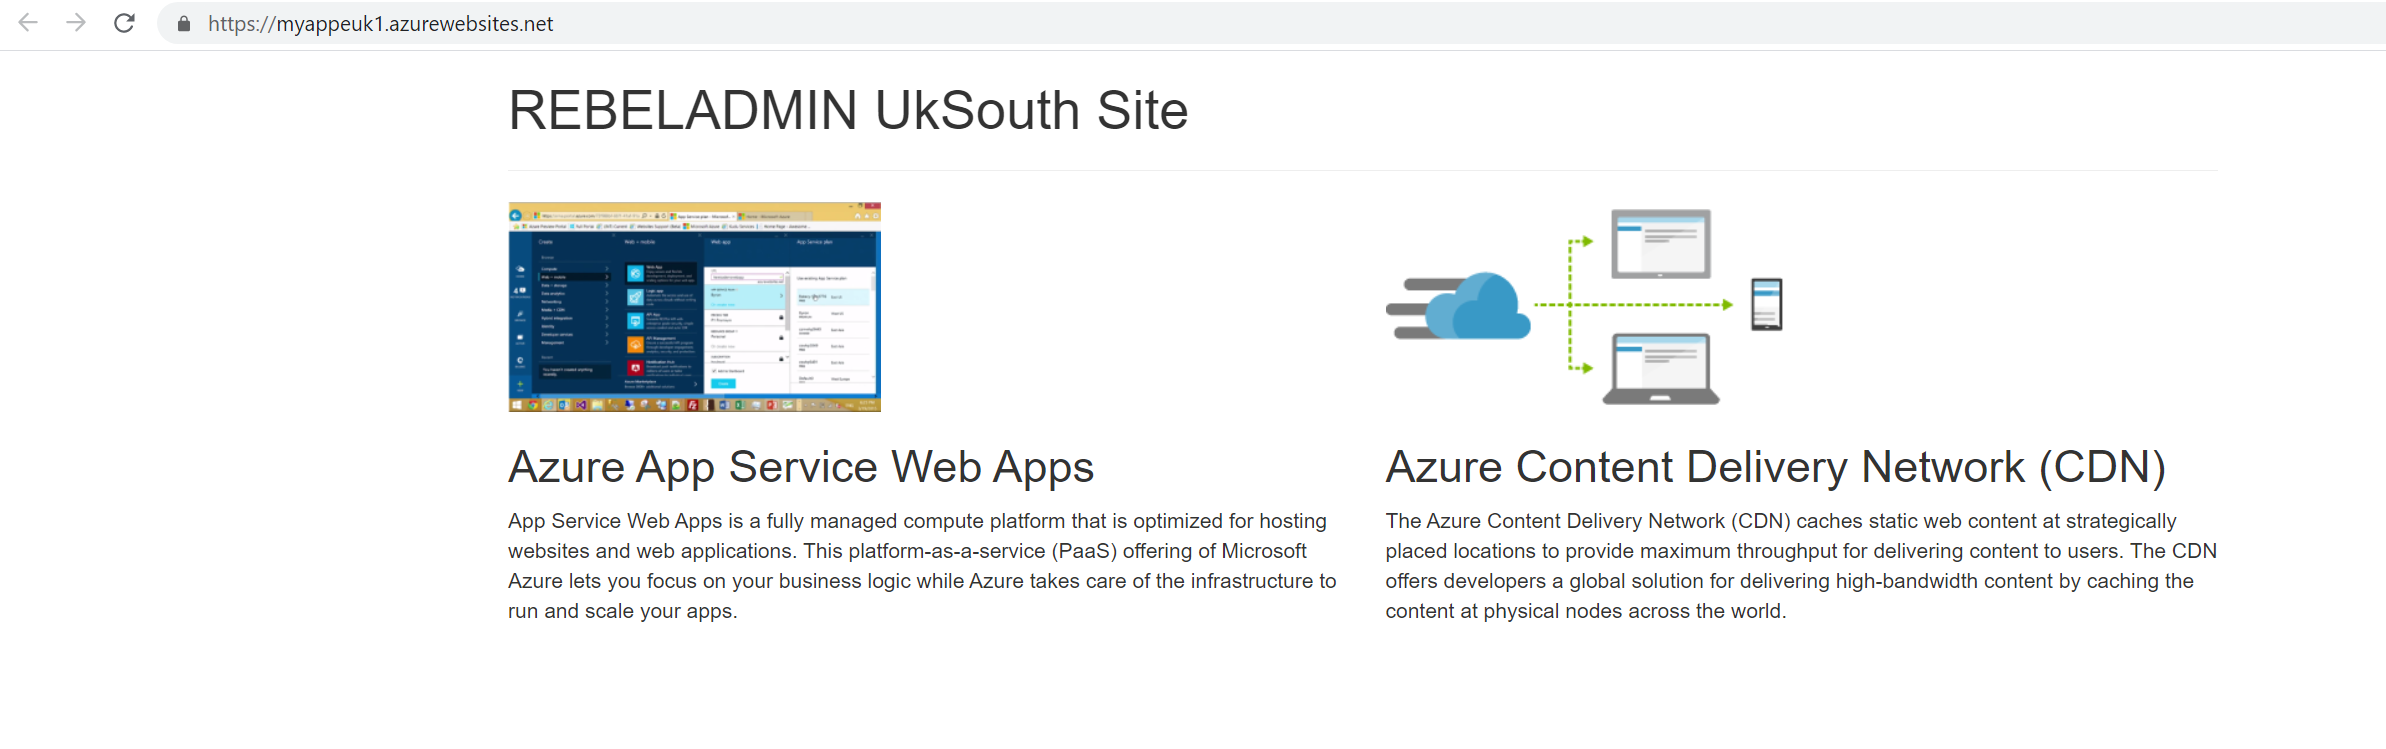
The next step of the configuration is to create two applications in these new resource groups. For that, I followed https://docs.microsoft.com/en-us/azure/app-service/quickstart-html and create two new Azure web applications.
East US Site
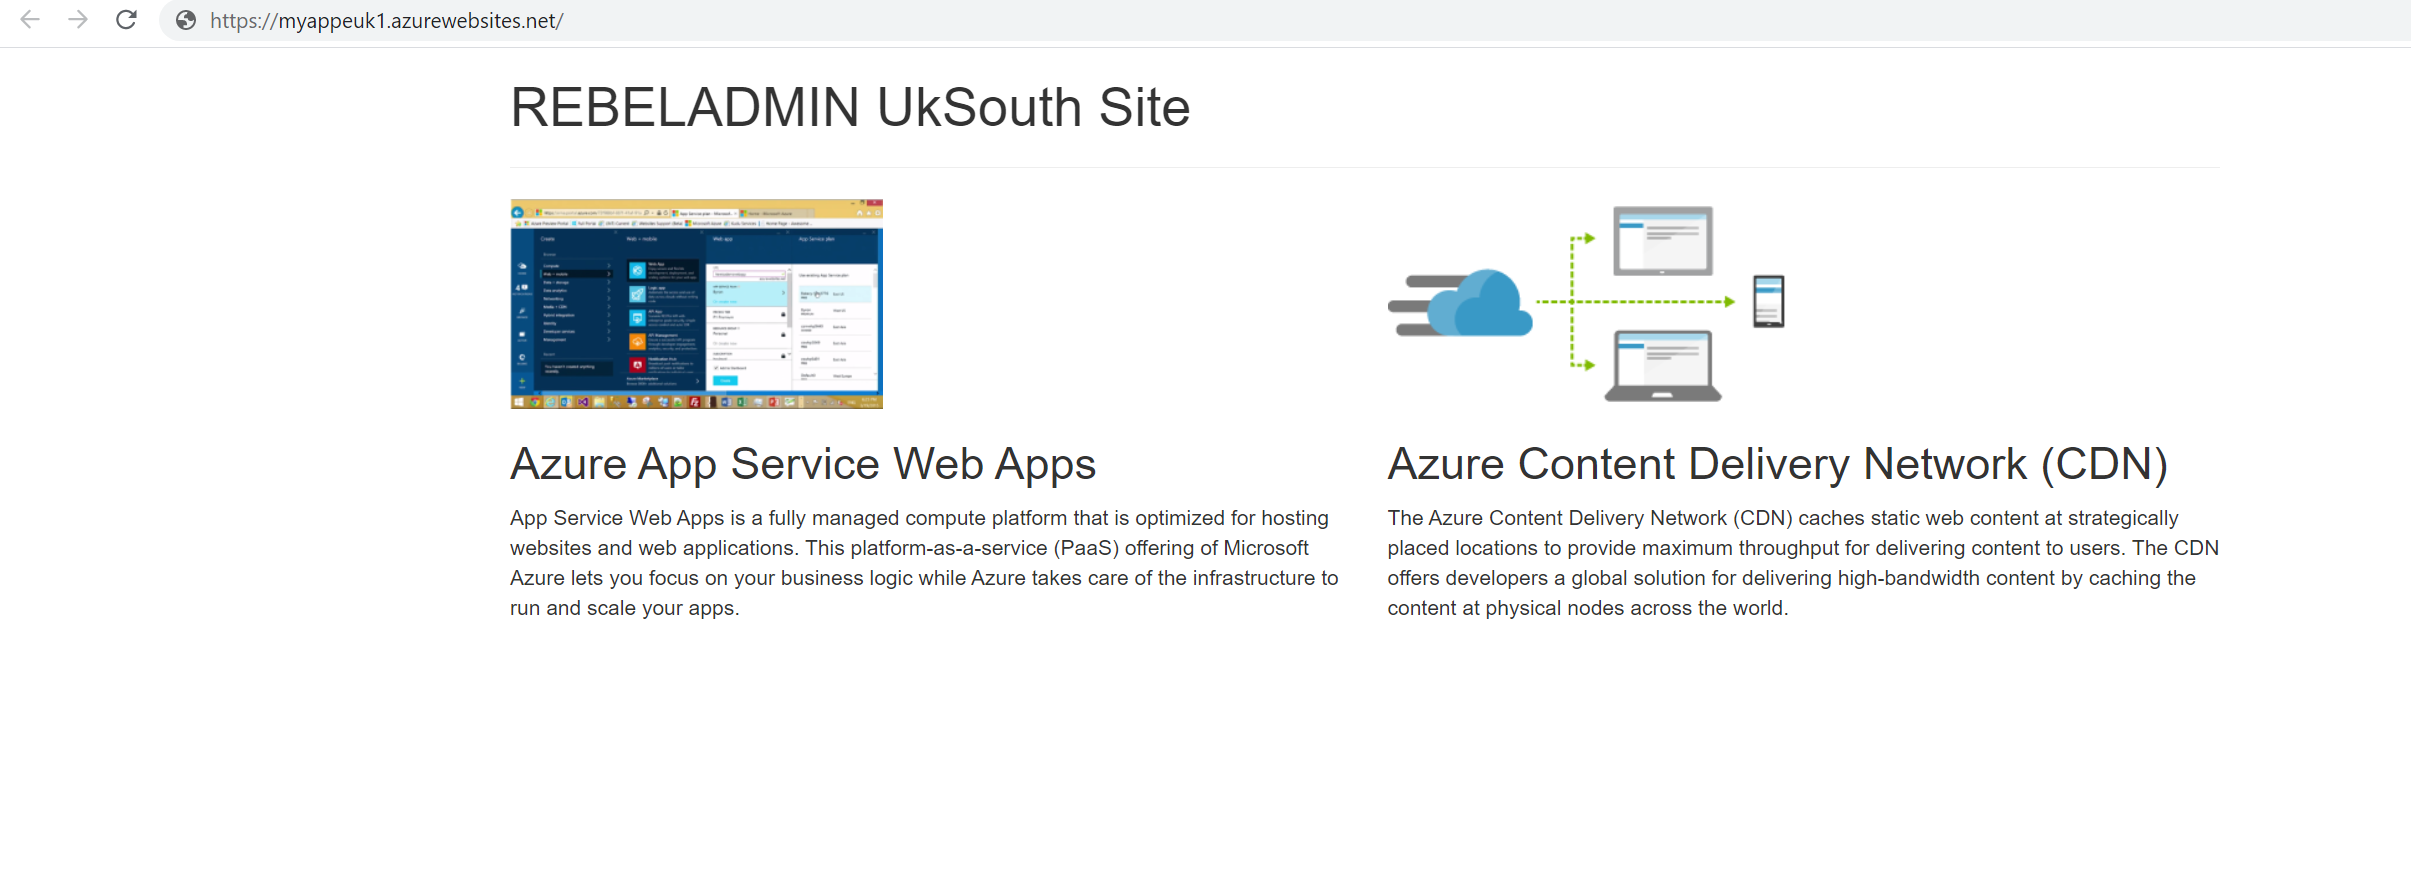
UK South Site
Create Azure Front End Object for Azure Front Door
We need a hostname for Azure Front Door. Then, users can access it from the internet. To do that we need to create Azure frontend object first.
$afd = “rebeladminapp-frontend-$(Get-Random)”
$feobject = New-AzFrontDoorFrontendEndpointObject -Name “rebelfrontend1″ -HostName $afd”.azurefd.net”
In here, New-AzFrontDoorFrontendEndpointObject command is used to create a new frontend object called “rebelfrontend1“. Also, in their rebeladminapp-frontend-$(Get-Random) value defines the hostname prefix.

In next step of the configuration, We are going to create a backend pool.
Create a backend pool for Azure Front Door
Before we create the front door, we need to create a backend pool with applications, probe, and load balancing rules.
Let’s start the configuration process with some variables.
$usapp = Get-AzWebApp -Name myappeus1 -ResourceGroupName REBELRGEUS
$ukapp = Get-AzWebApp -Name myappeuk1 -ResourceGroupName REBELRGUKS
By using above commands, I am gathering configuration data of two web apps.
Then based of collected data, we need to create two backend objects.
$beo1 = New-AzFrontDoorBackendObject -Address $usapp.DefaultHostName
$beo2 = New-AzFrontDoorBackendObject -Address $ukapp.DefaultHostName
After that, I am creating health probe for the backend pool by using,
$probe = New-AzFrontDoorHealthProbeSettingObject -Name “probesettings1”
In above, New-AzFrontDoorHealthProbeSettingObject command is used to create new health probe called probesettings1. In here I am using default probe settings. The default settings have following values,
| Settings | Value |
| Path | / |
| Protocol | HTTP |
| IntervalInSeconds | 30 |
| HealthProbeMethod | Head |
| EnabledState | Enabled |
Then let’s go ahead and create a load balancing setting object using,
$lb = New-AzFrontDoorLoadBalancingSettingObject -Name “lbsettings”
In the above, New-AzFrontDoorLoadBalancingSettingObject command is used to create a new load balancing setting object. The new object is created with default settings which have the following values,
| Settings | Value |
| SampleSize | 4 |
| AdditionalLatencyMilliseconds | 0 |
| SuccessfulSamplesRequired | 2 |
After that lets go ahead and create a new backend pool.
$backendpool = New-AzFrontDoorBackendPoolObject -Name “rebelbepool1” -FrontDoorName $afd -ResourceGroupName REBELRGEUS -Backend $beo1,$beo2 -HealthProbeSettingsName “probesettings” -LoadBalancingSettingsName “lbsettings”
The above command creates a new backend pool called rebelbepool1 in REBELRGEUS resource group.

Create a routing rule
We now have a backend pool and front-end object. The next step is to create a connection between these two using a routing rule.
$routingrule = New-AzFrontDoorRoutingRuleObject -Name rule1 -FrontDoorName $afd -ResourceGroupName REBELRGEUS -FrontendEndpointName “rebelfrontend1″ -BackendPoolName ” rebelbepool1″ -PatternToMatch “/*”

As we can see, I have created a routing rule called rule1 in REBELRGEUS resource group.
Create Azure Front Door
Now we have all the resources for the Azure Front Door configuration. So, let’s go ahead and create it,
New-AzFrontDoor -Name $afd -ResourceGroupName REBELRGEUS -RoutingRule $routingrule -BackendPool $backendpool -FrontendEndpoint $feobject -LoadBalancingSetting $lb -HealthProbeSetting $probe
Testing
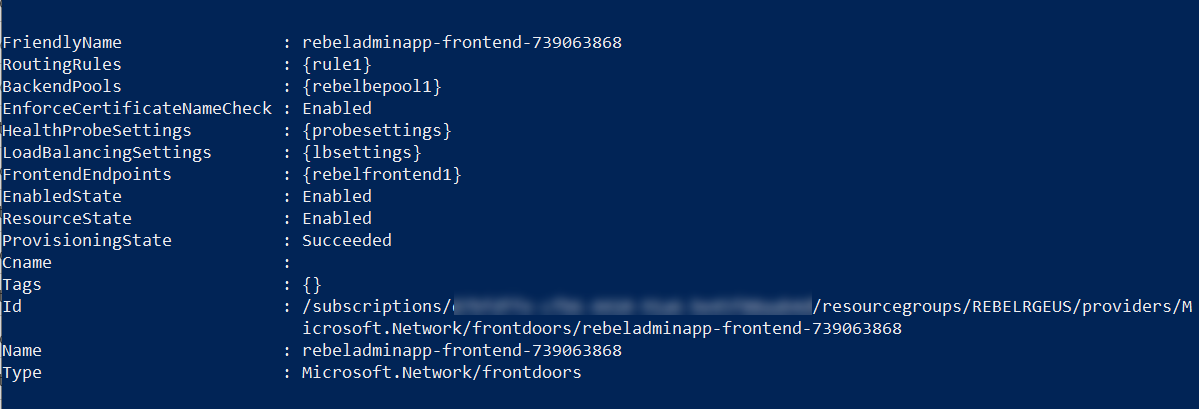
To do the testing first we need to find the hostname of the Azure Front Door. We can get this info using,
$front = Get-AzFrontDoor -ResourceGroupName REBELRGEUS
$front.FrontendEndpoints[0].Hostname

Then I went ahead and load the website and as expected, it is pointed to the web app.
I hope you now have a better understanding of how Azure Front Door works and how we can use it for layer 7 load balancing for globally distributed apps. This marks the end of this blog post. If you have, any further questions about this feel free to contact me at rebeladm@live.com also follow me on Twitter @rebeladm to get updates about new blog posts.