

This is the start of series of post which will explain installation and configuration of WAAD. In previous article I explain about the WAAD and its features. If you not read it yet you can find it here.
Windows Azure Active Directory (WAAD)
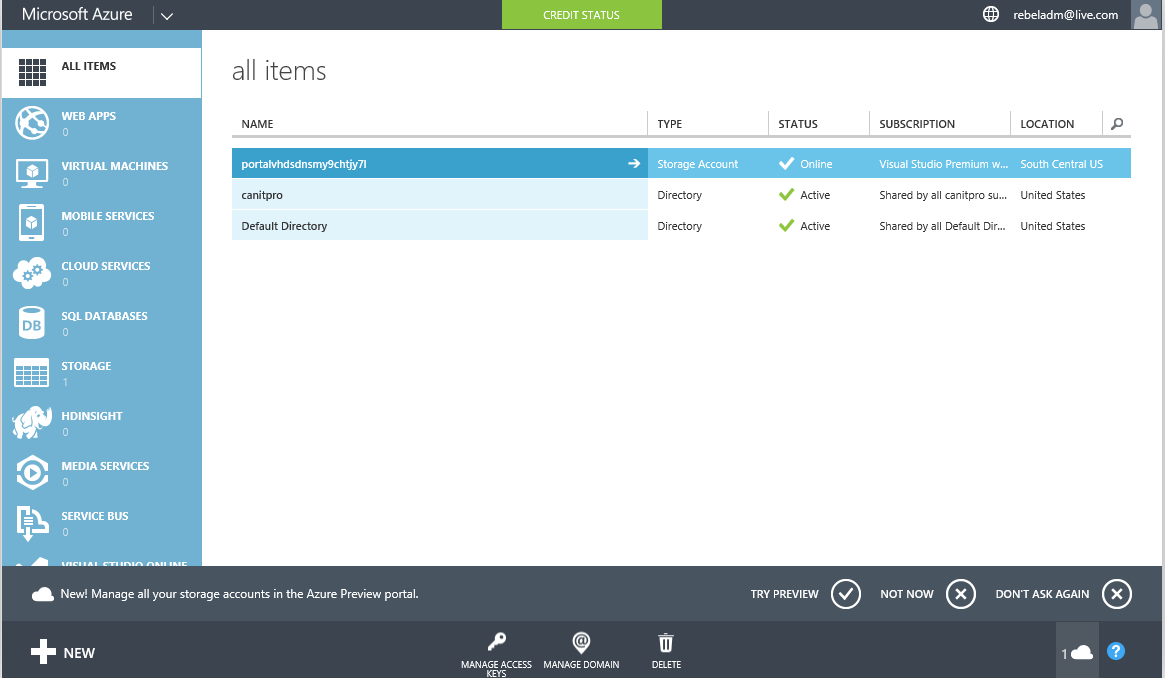
In this post I will demonstrate how we can do the WAAD initial setup. As explain on previous post Azure AD comes with 3 versions. Once you subscribed with required version, to setup log in to Azure Management Portal.
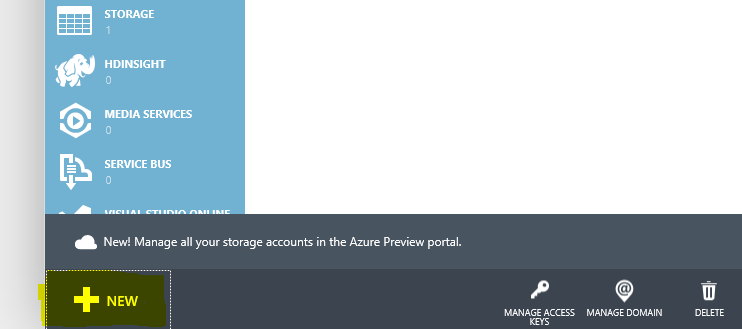
Then click on +New button on the left hand bottom corner.
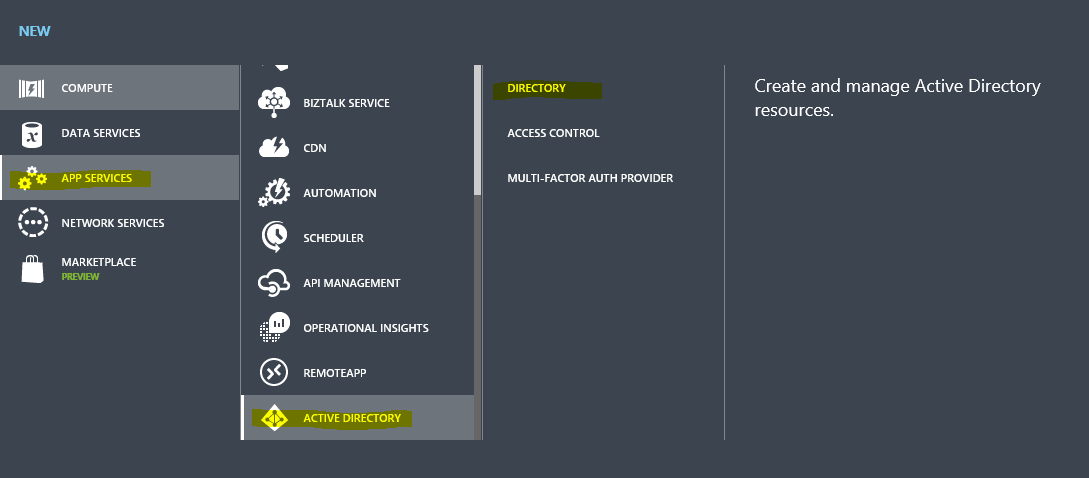
Then go and click on App Services > Active Directory > Directory
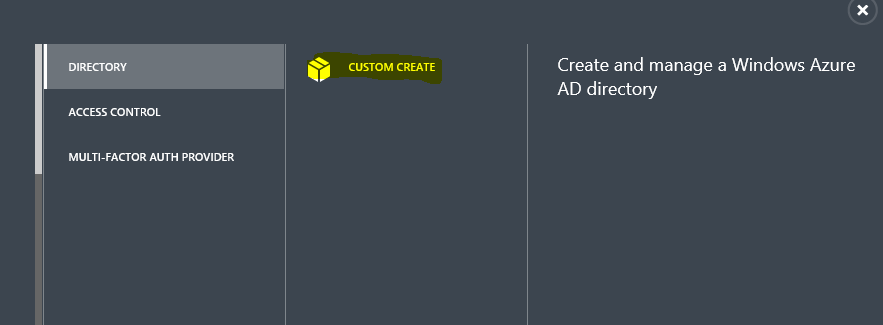
Then click on Custom Create to create WAAD instance with your requirements.
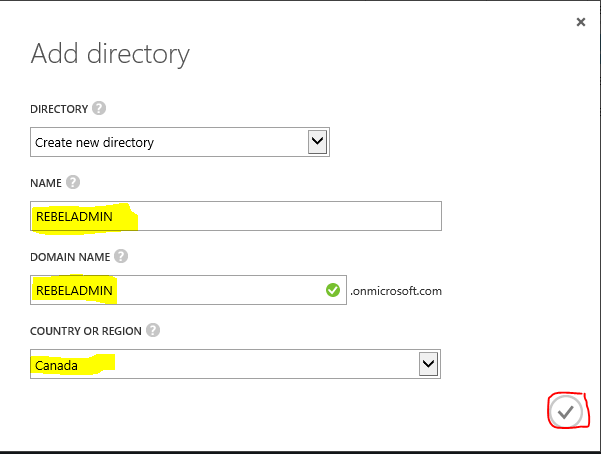
Once click on it will open a form. In here “Name” field refer to the instance name. “Domain Name” should be unique name. Initially it create with .onmicrosoft.com extension. But later you can change it to domain name your organization already using.
Once these info are filed in click on complete button.
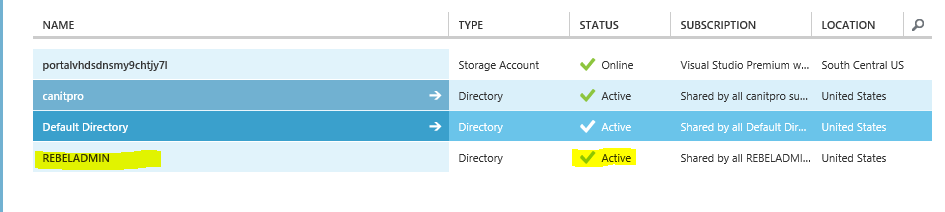
Once it’s complete it can see on the portal as active.
Then if you click on selected instance it will bring you to the page where you can configure the WAAD instance.
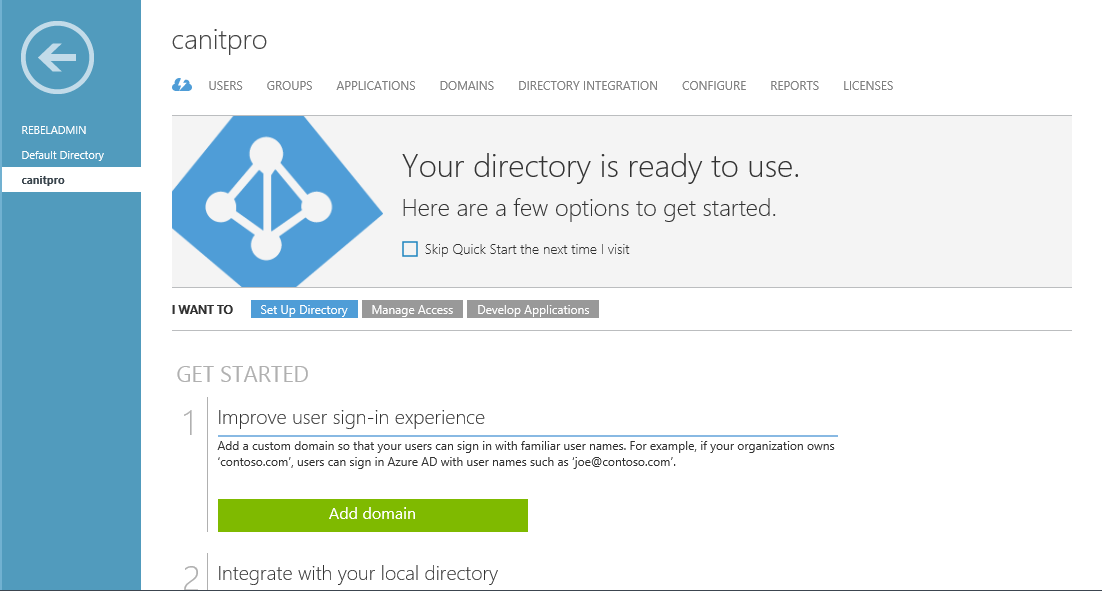
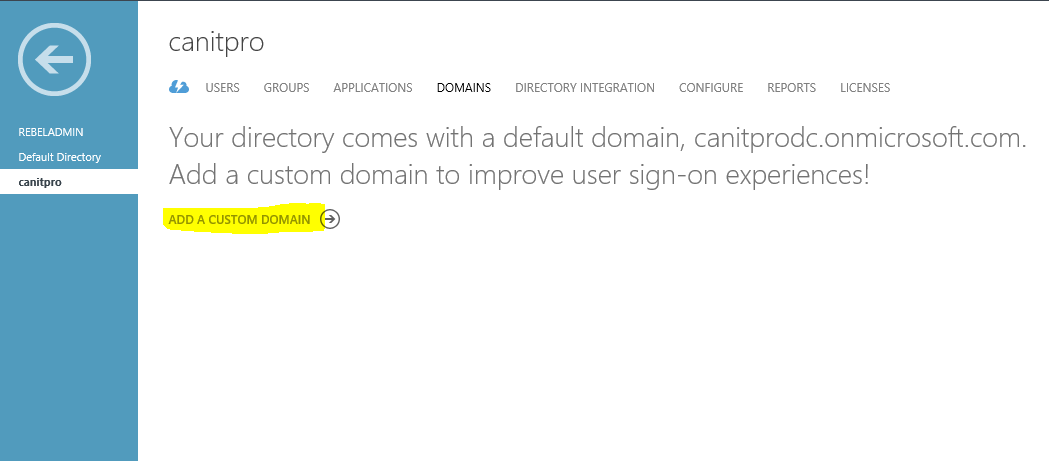
As the first configuration we need to add the domain to match with our existing organization. Because on setup it uses a name with .onmicrosoft.com extension. To do this click on domains tab.
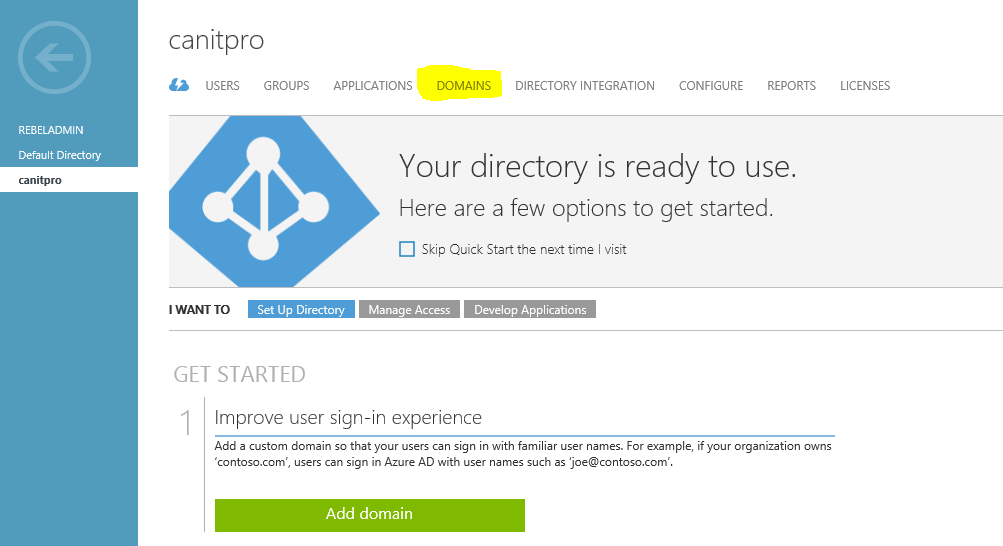
Then once load click on “Add a custom domain”
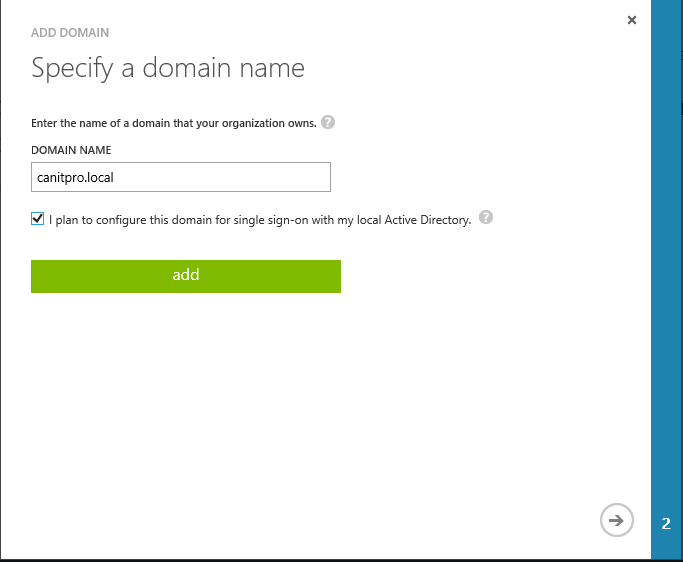
In new wizard, put the domain name to match with local active directory domain. In here later i will configure SSO with local AD. So I selected that option too. Once information are type in click on add to continue.
Once it’s done it will list on the page. But as we can see here it’s not yet “verified” and set as “primary domain”. To do that we need to do the AD integration with local organization. In next post let’s see how we can do that.

If you have any questions about the post feel free to contact me on rebeladm@live.com