

In my previous post I explain what Azure backup is and its features. If you not read it yes you can find it here. In this post I am going to explain how to configure azure backup and how to use it to back up your data.
Create Azure backup vault
1) Log in to the Azure Portal
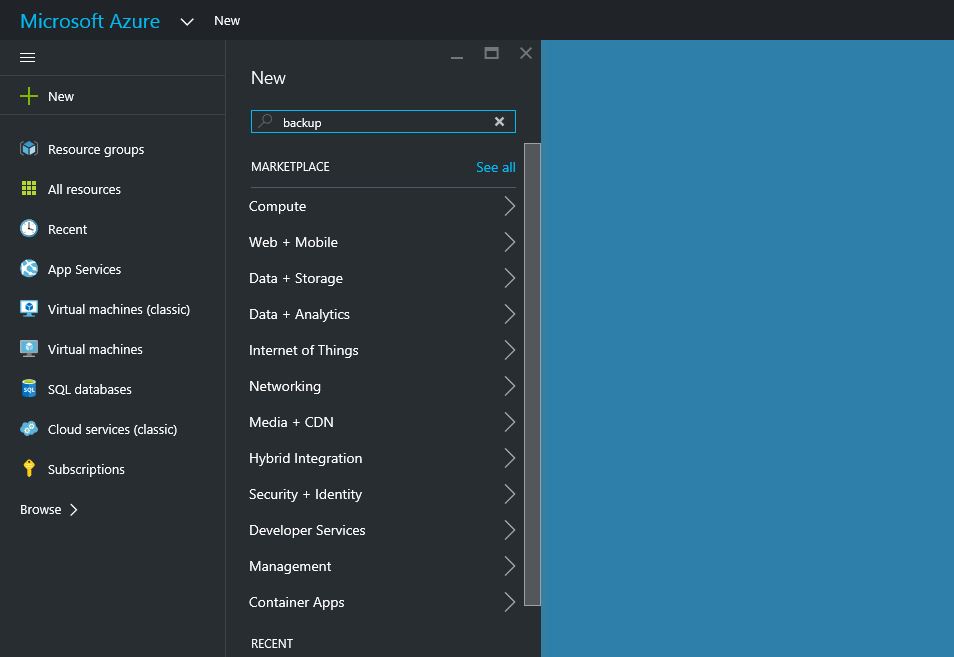
2) Click on +New and then in search type “backup” and press enter
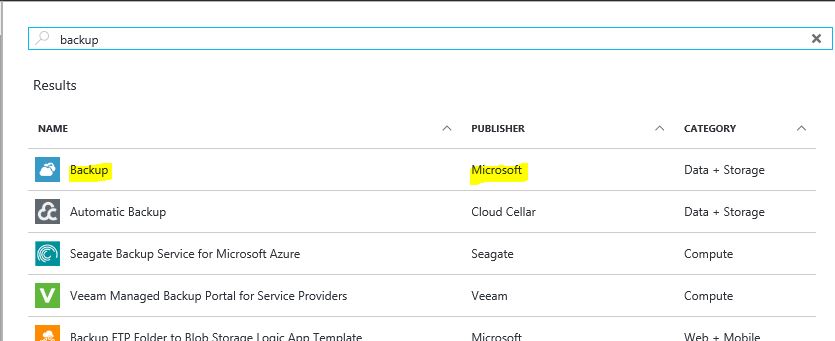
3) From the list click on Azure Backup
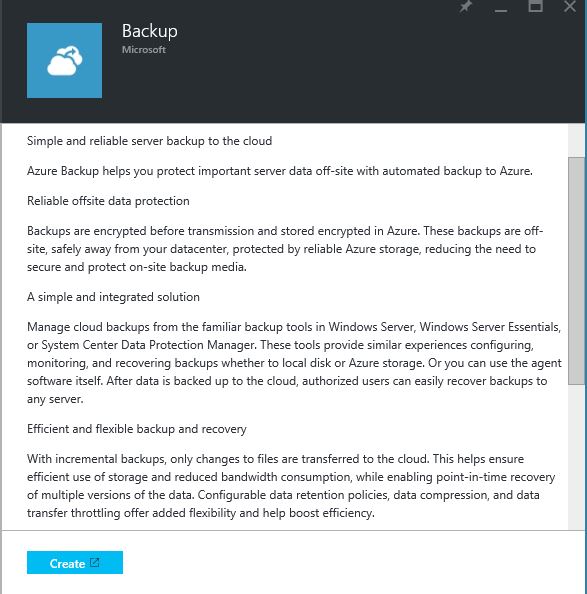
4) Then it will open the feature page. It will give you brief description about azure backup feature. Click on “create”
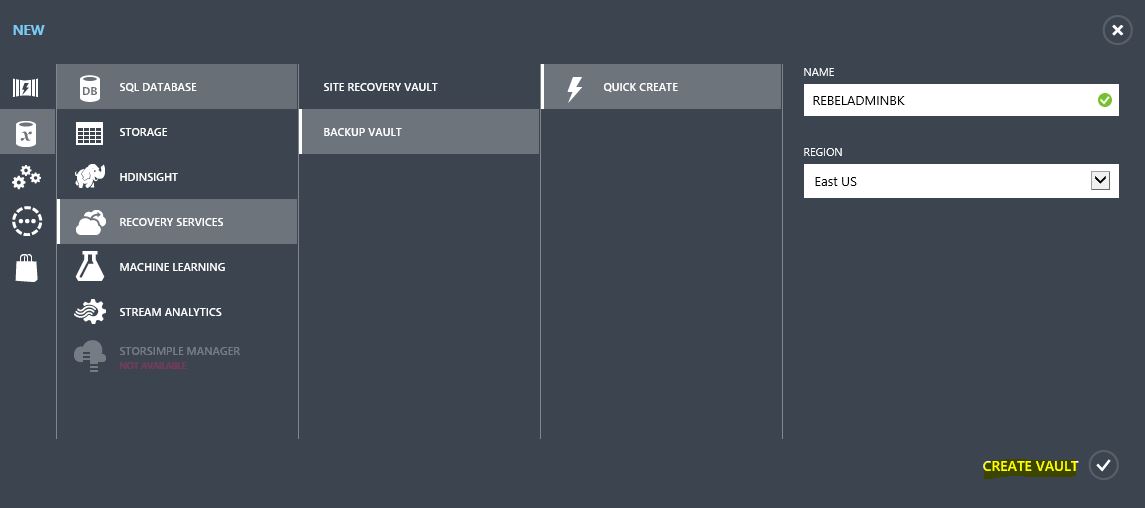
5) Then it will open up the azure management portal and give you option to create the backup vault. Type the name for the vault and also select the region you need. Then click create vault
6) Then it will create the vault

7) Now we need to download azure vault credential file. On-premise backup agent need to register with backup vault in order to backup data. Azure vault credential file is a certificate generate by the portal for each backup vault. Then the public key of the file will upload to the access control service. This file will use during the initial agent registration process. This credential file only valid for 48 hours. So if you need to register another machine you need to download the latest credential file from portal. Even someone else manage to get the keys it will prevent them using it to connect the backup vault. To download, click on the backup vault and then dashboard.
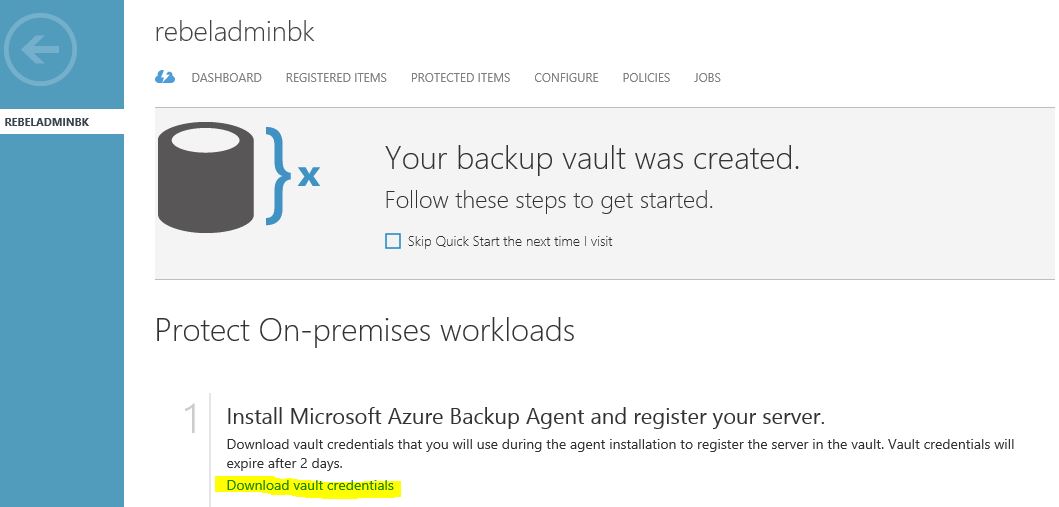
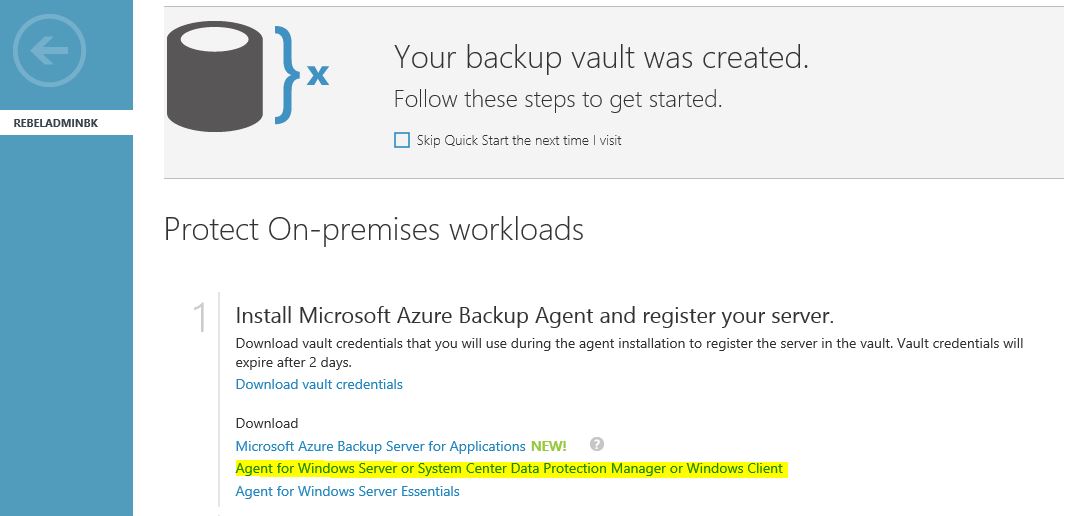
8) Next is to download the backup agents. It is can find on the same page.
Backup On-Premises Data
Now we have the backup vault created in cloud and next step is to start the agent install and register process.
1) Log in to the on-premises server or pc you like to backup as administrator
2) Download the agent and latest vault credential file as explain on previous
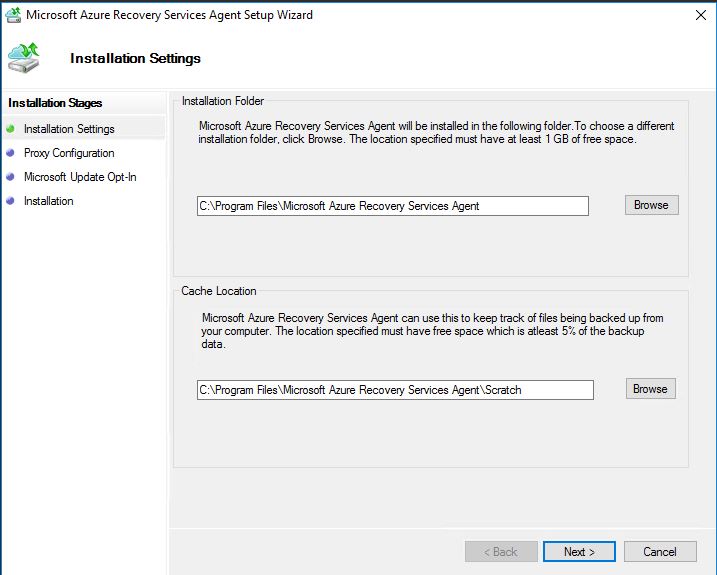
3) For demo I am using an on-premises DC server which running on windows server 2016 TP4. Double click on MARSAgentInstaller.exe to start the agent install
4) In first window select the folder path for installation and cache. You can change the paths as you like.
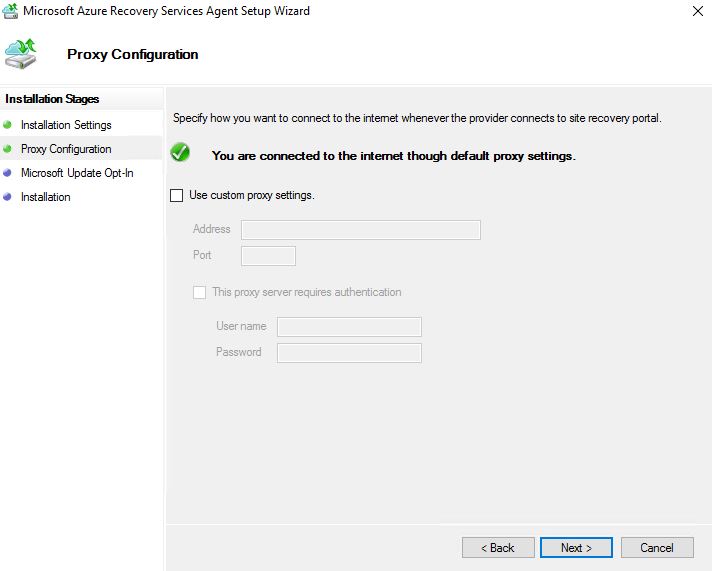
5) In next window you can define proxy settings if you behind proxy server. Click next to continue
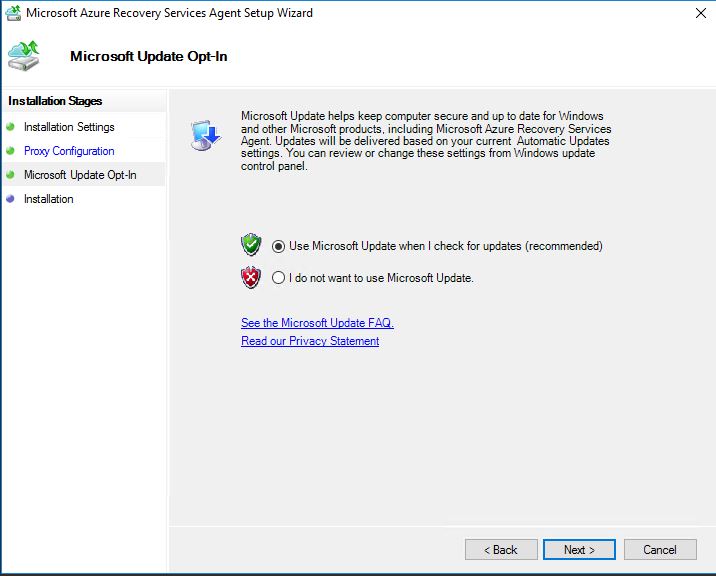
6) In next window it ask to allow windows update to update agent if any update available. Click on next to continue after selection
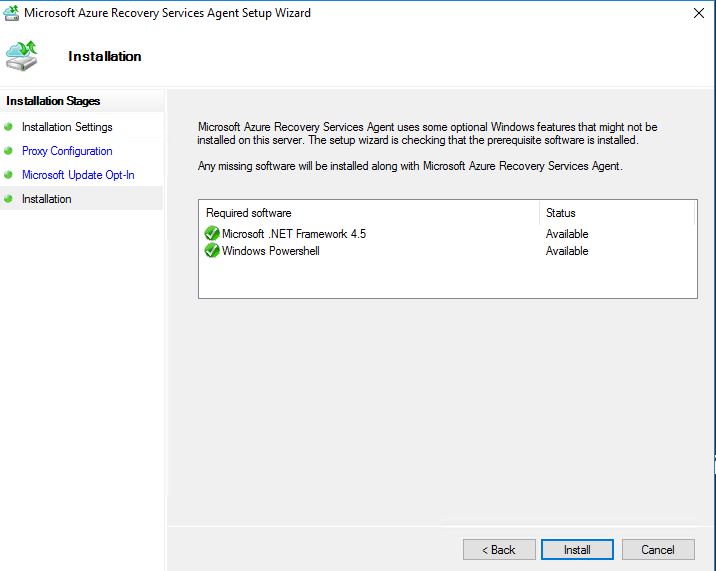
7) In next window click on install to start the agent installation
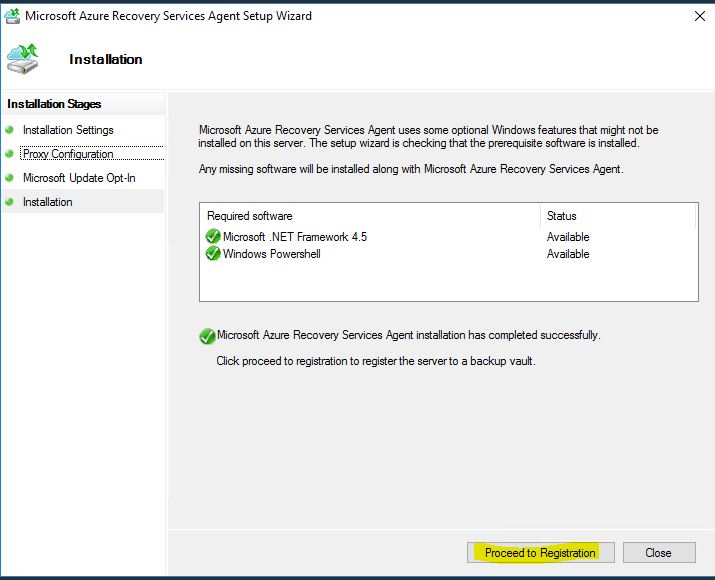
8) After install, need to start the registration, click on “Proceed to registration”
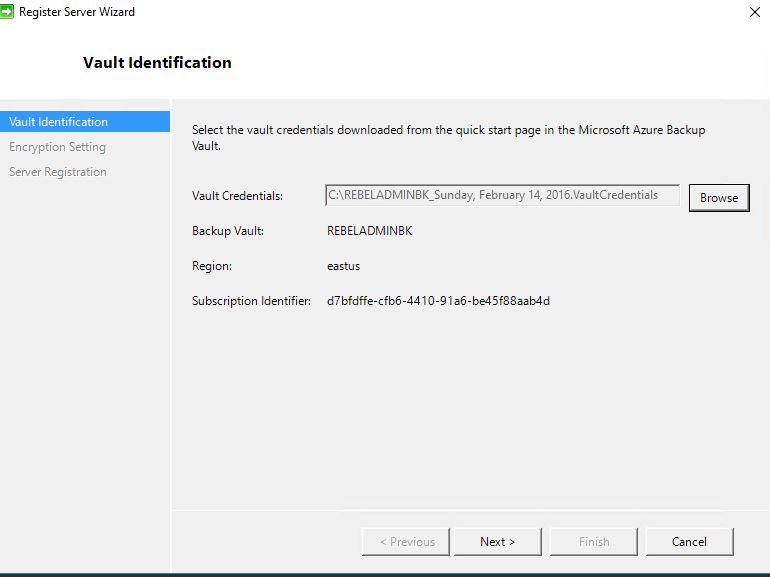
9) In next window it ask to brows for the vault credential file which is downloaded from the portal. Then click next to proceed
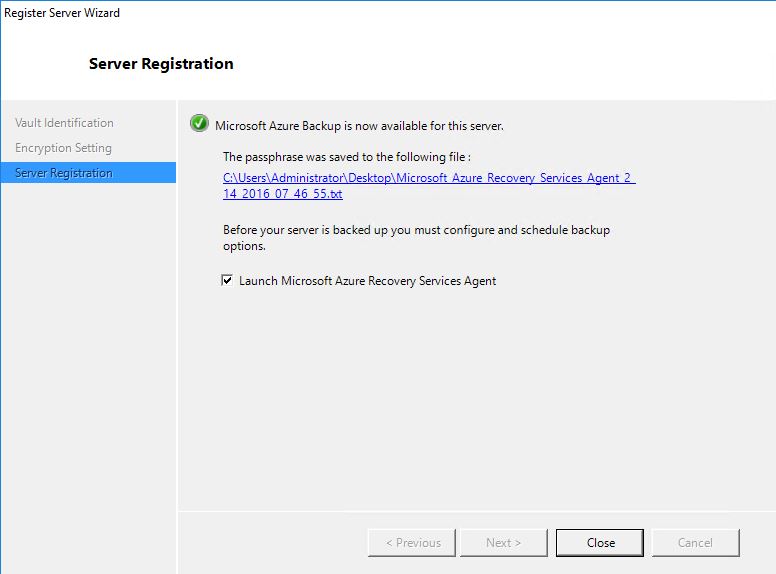
10) In next screen you can define a passphrase to encrypt and decrypt backup data. You must save this information as, if you do not have this info you will not be able to use backup data in recovery process. Then click on finish to complete the register process.

11) Once it’s done we can start to setup backup jobs by launching agent.
Azure Backup Job configuration
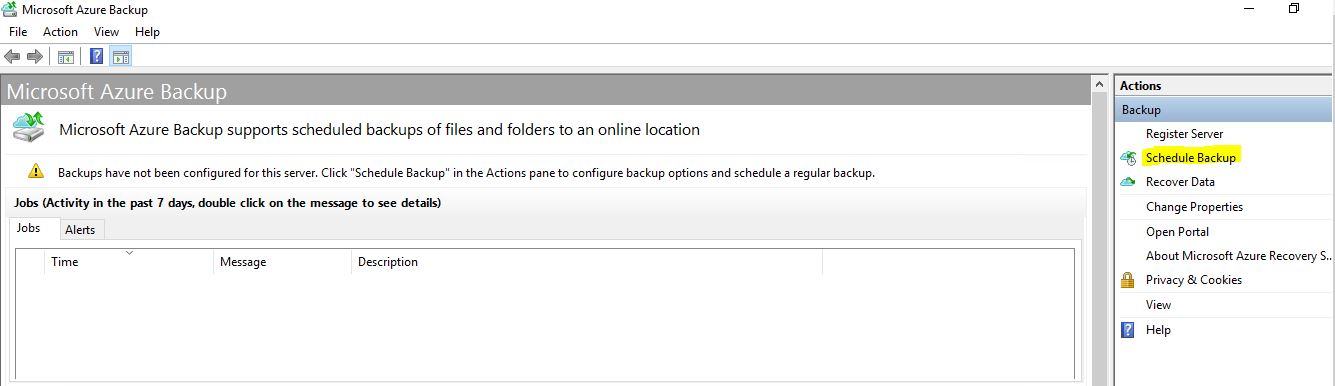
1) To configure backup job, double click on Microsoft Azure Backup icon in on-premises server
2) After open the console, you can start to configure schedule backup using “Scheduled Backup”
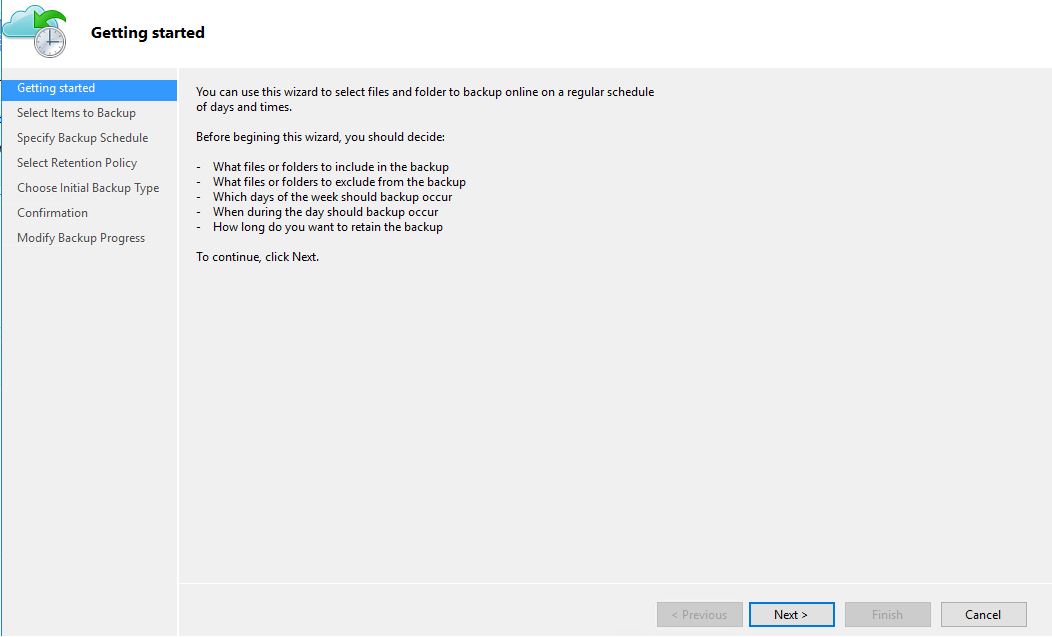
3) Then it start the console, click next to continue
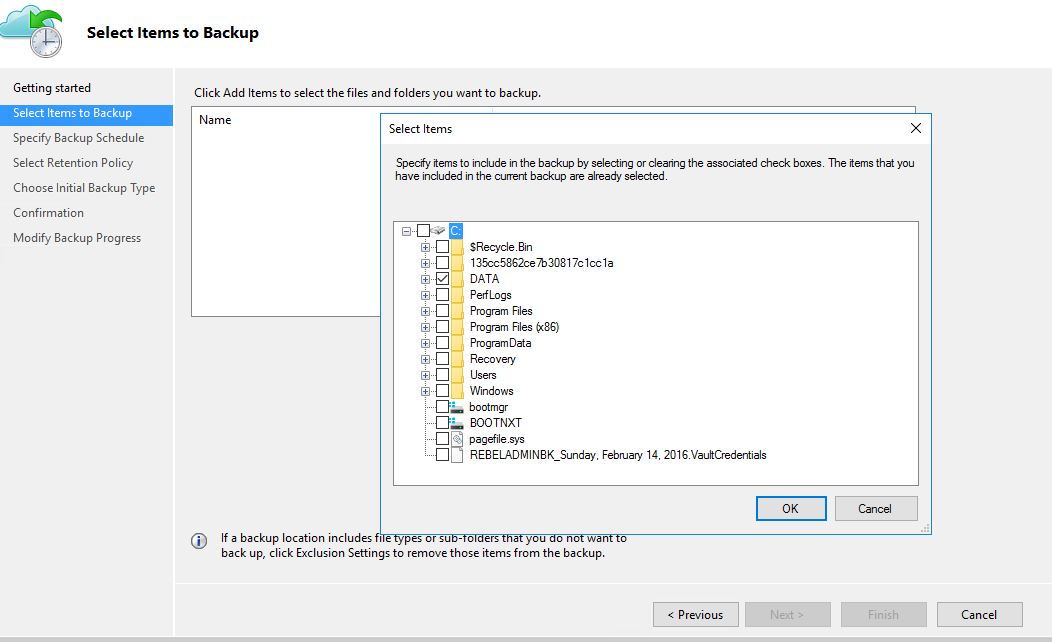
4) In next windows can select the data you need to backup, then click next to proceed
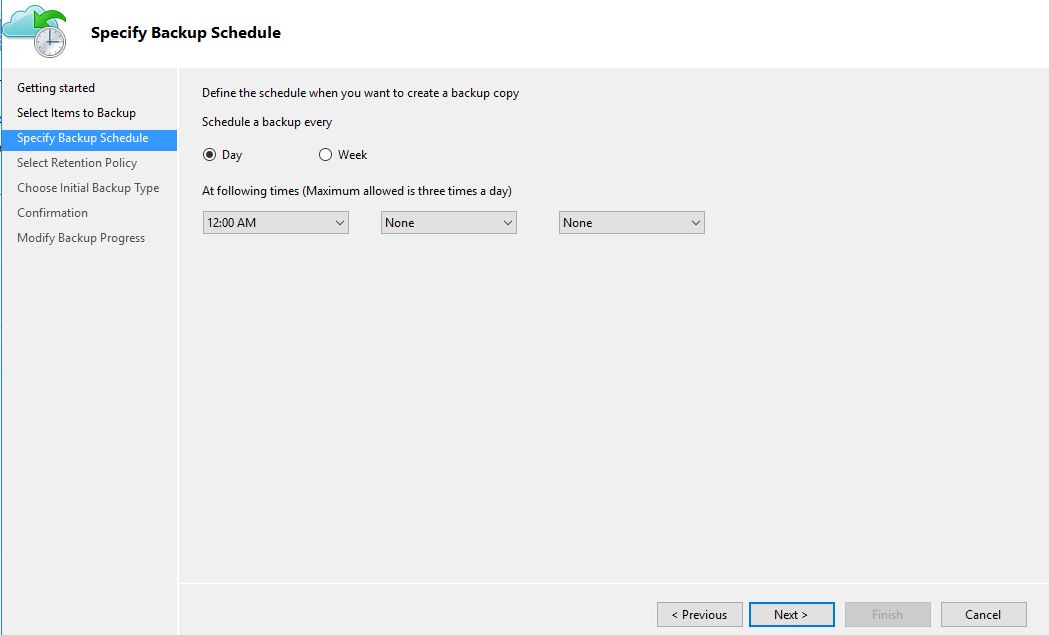
5) Here we can define the schedule for the backup, click next to proceed
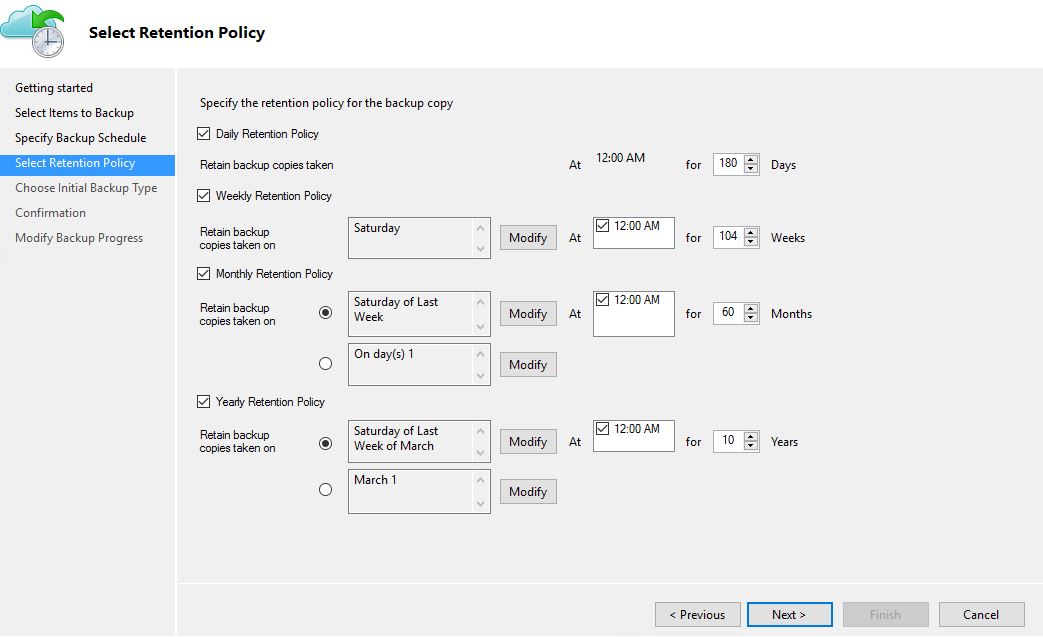
6) In next window we can define the data retention policy. You can keep data up to 99 years. Once done click on next to proceed
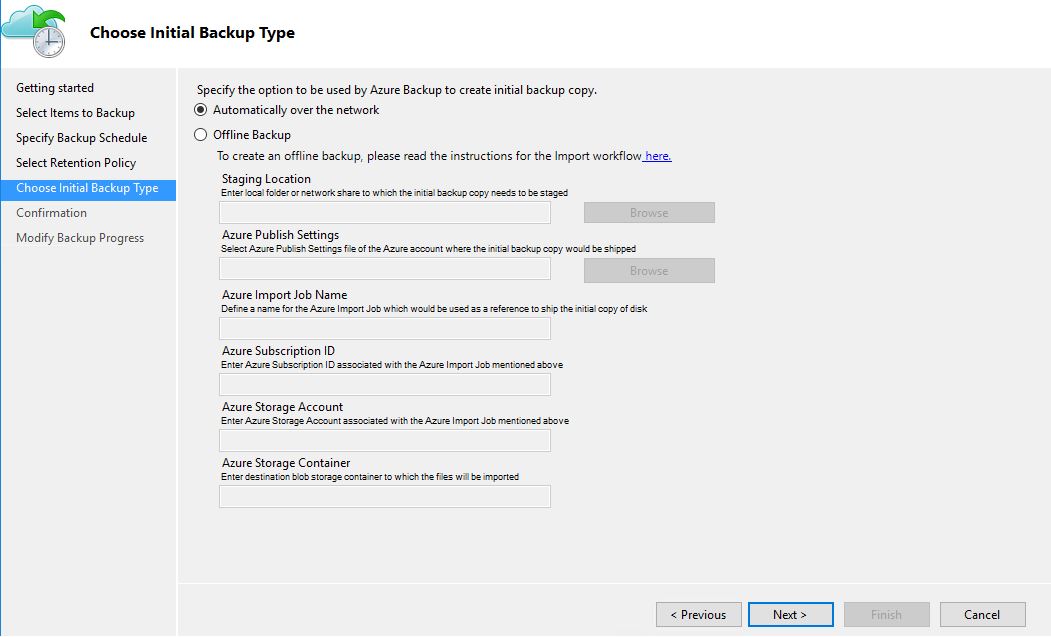
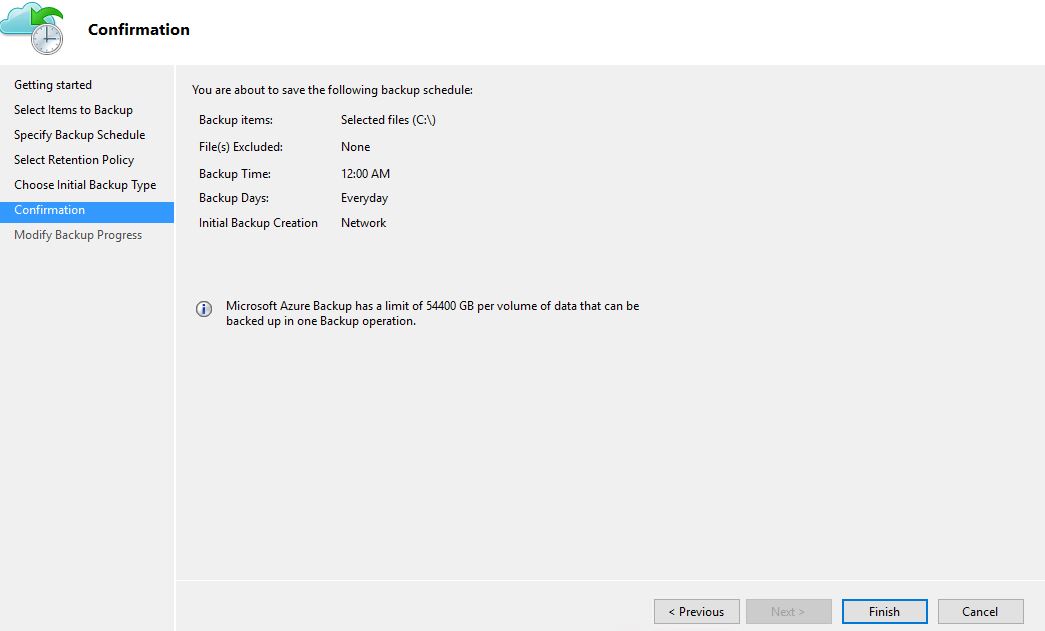
7) Next step is to define the initial backup settings. You can either do it via internet or offline seeding.
8) Next it will give the confirmation about backup and click on finish to exit
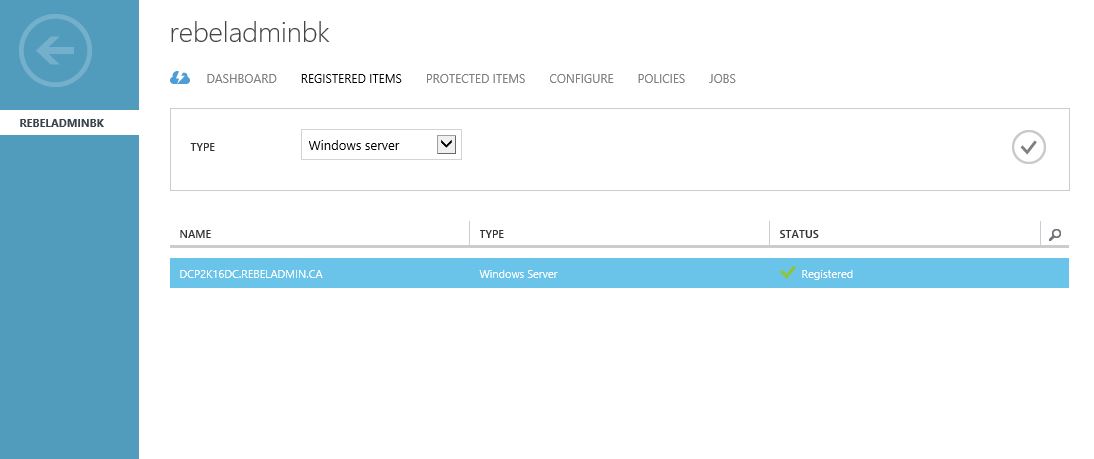
Now it’s all done, let’s check azure backup portal to see the registration status.
Under the registered item now we can see the new server we added and its status.
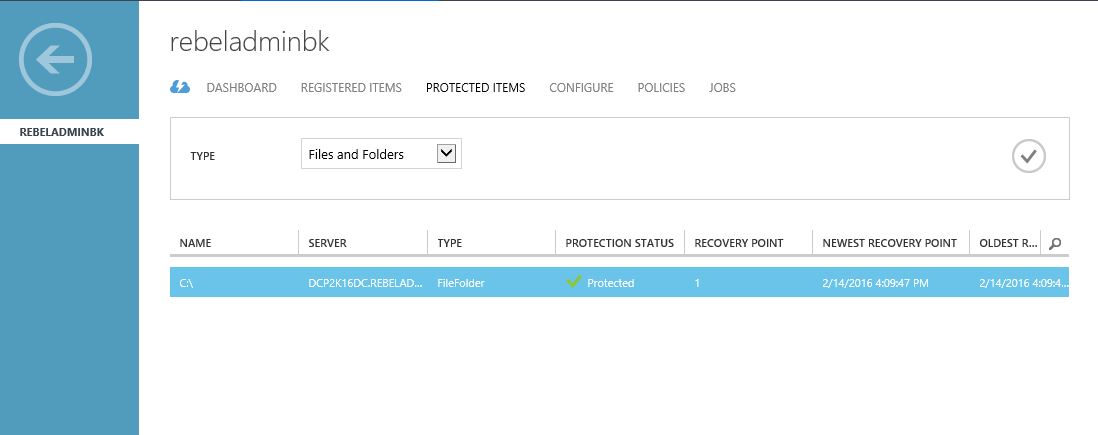
Under the protected items can see the status of the protection, how many recovery points etc.
Recover an Item
Let’s see how to recover a file easily.
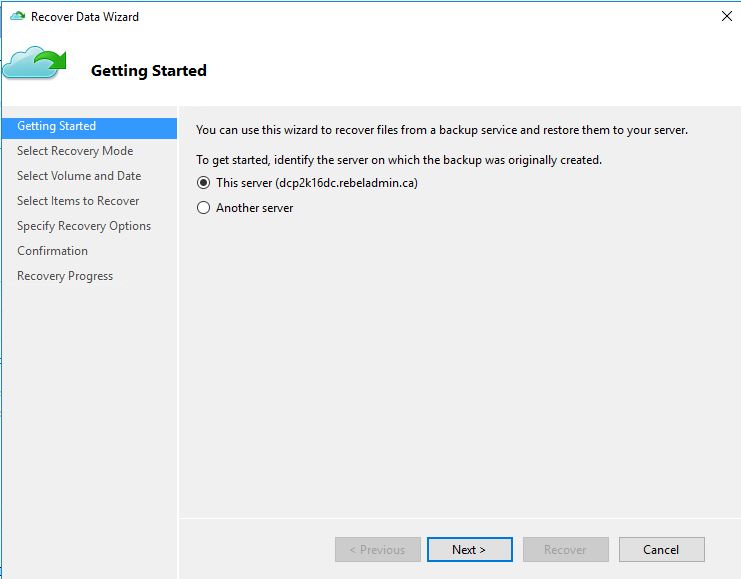
1) Launch the azure backup console in local computer
2) Click on Recover Data Option
3) In wizard you need to select where the backup was generated. For demo I am trying to restore to same server.
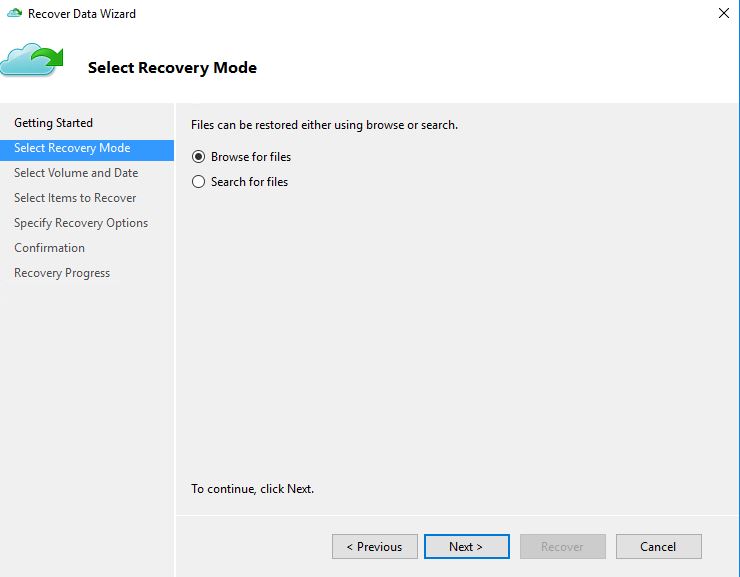
4) Then in next window can select recovery mode. Then click next to proceed
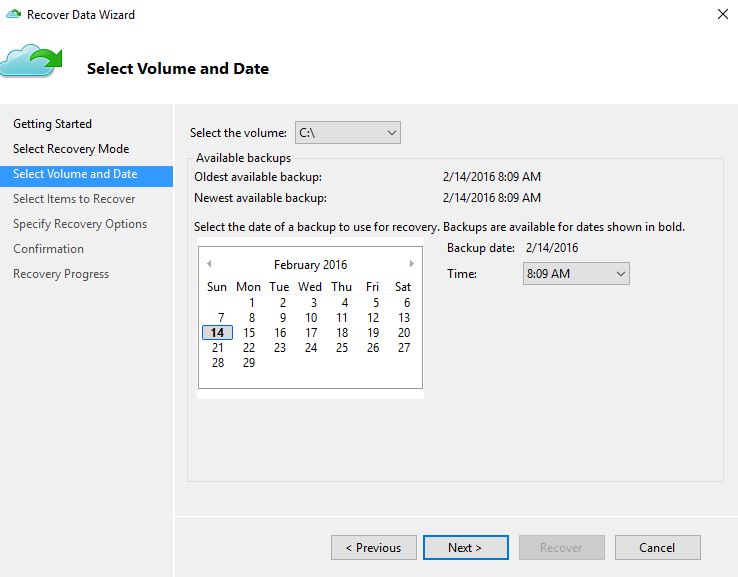
5) Next we need to select the volume, date, time to recover from
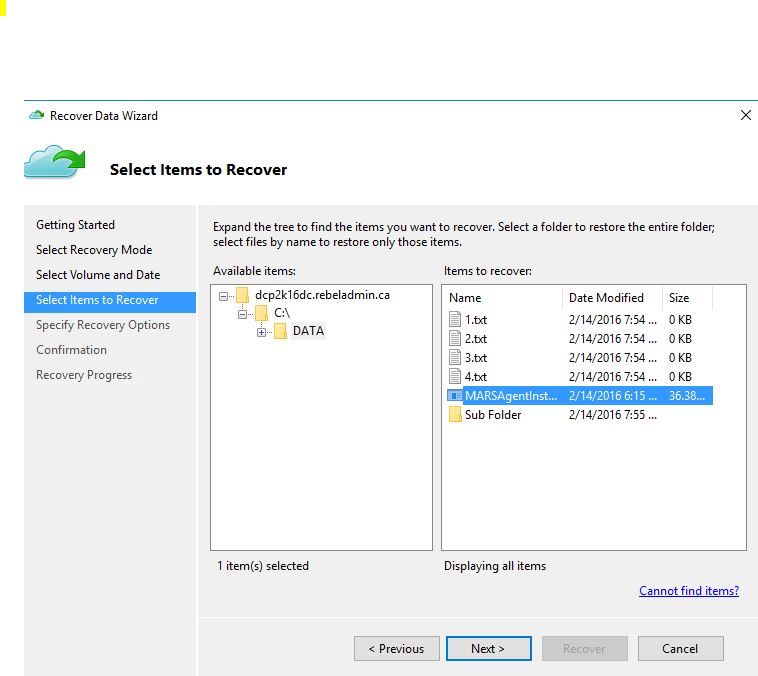
6) Then in next window select the file or folder to recover
7) Next we can define if its need to restore to original or alternative location. Also what to do if the item with same name exist in the location.

8) Then click on “recover” to get the file
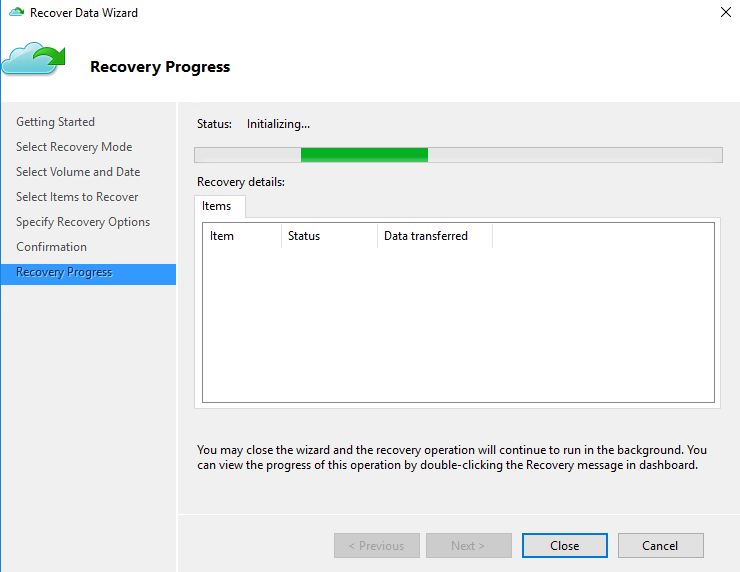
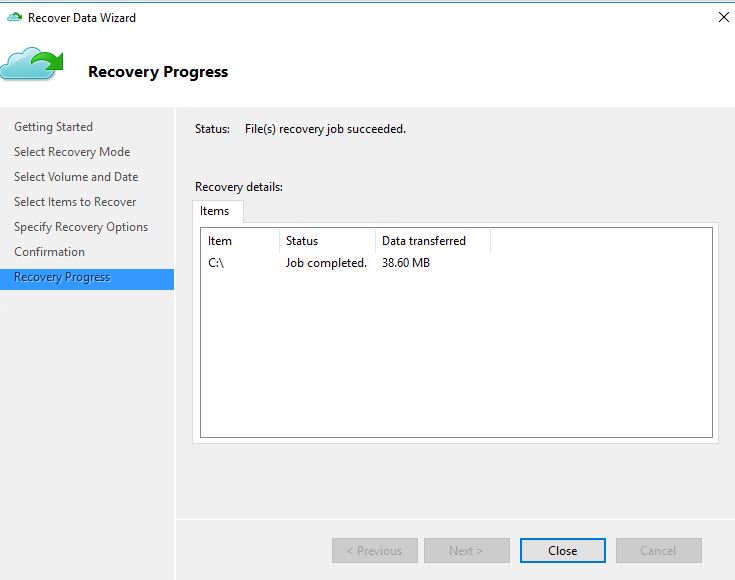
9) As we can see its recovered the file successfully at the end.
Hope this article help you to understand the azure backup in operations.
If you have any questions feel free to contact me on rebeladm@live.com