
Last Updated on November 18, 2014 by Dishan M. Francis
Microsoft has already announced that windows server 2003 / windows server 2003 R2 versions support is coming to end in 14th July 2015 (http://support2.microsoft.com/lifecycle/search/default.aspx?sort=PN&alpha=Microsoft+Windows+Server+2003&Filter=FilterNO ).
It’s no wonder that still organizations using windows server 2003 / windows server 2003 R2 in their infrastructure with different server roles.
With windows server 2008 R2 Microsoft has introduce new great feature called “Windows Server Migration Tools” which will allow administrators to migrate server roles, features, configuration settings seamlessly from one system to another(ex- windows server 2003). Windows server 2012 also includes this feature and in this article I will demonstrate how we can use it to migrate DHCP role to windows server 2012 r2.
Please note, To use this method we need to install this feature in both source and destination servers.
For the demonstration I am using following setup
|
Server Name |
Operating System |
Server Roles |
Networks |
|
dhcp-2k3.canitpro.local |
Windows Server 2003 R2 Enterprise x86 |
DHCP |
Network A – 10.10.10.0 Network B – 172.16.25.0 Network C – 192.168.148.0 |
|
CANITPRO-DC2K12.canitpro.local |
Windows Server 2012 R2 x64 |
– |
– |
Before start the migration process it’s important to consider on following.
1) To migrate the roles you need to log in to source and destination servers as “Domain Administrators”.
2) Before start the migration process make sure source and destination servers’ runs with latest updates and service packs.
3) If the source server runs with multiple network, multiple NIC make sure the destination server also have same number of NIC so it can be server with same network setup.
dhcp-2k3.canitpro.local server currently setup with 3 additional NIC to represent network A,B and C. those have configured with static ip addresses to match with relevant network it belongs to. The DHCP server host different DHCP scopes for each network.
Before we start the process we need to install the following software in windows server 2003(dhcp-2k3.canitpro.local) if it’s not there already.
1) .Net Framework 3.5 (http://www.microsoft.com/en-us/download/details.aspx?id=21)
2) Windows PowerShell 2.0 (http://support2.microsoft.com/kb/968929/en-us)
Install Windows Server Migration Tools in windows server 2012
1) Log in to the Windows server 2012 as Domain Administrator
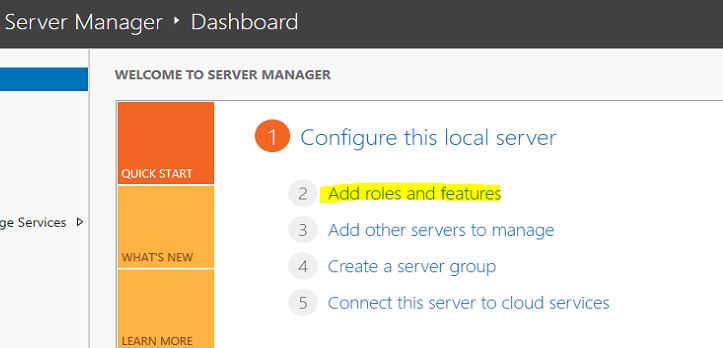
2) Go to Server Manager > Add Roles and Features

3) It will open the Add roles and features Wizard and click next to start the process
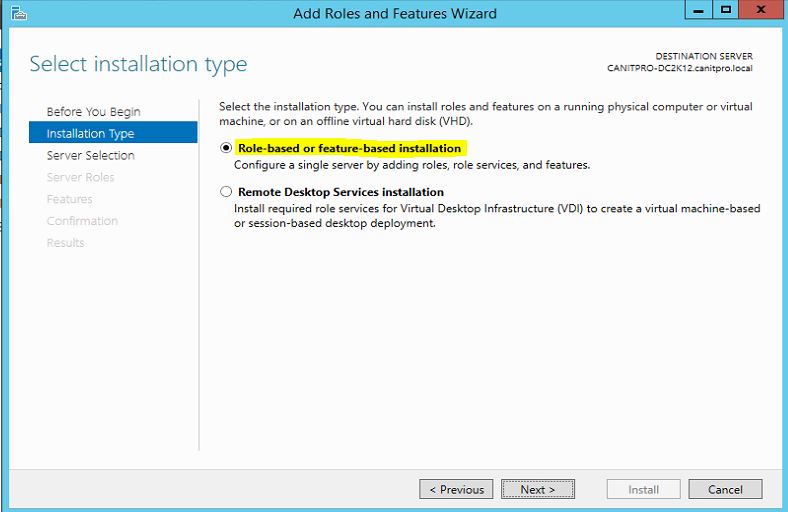
4) In next window, for the installation type select “Role-based or feature-based installation” then click next to continue
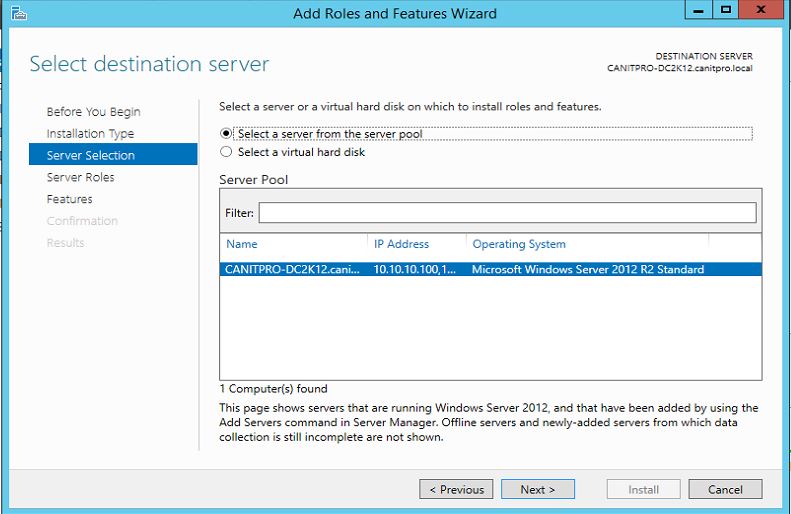
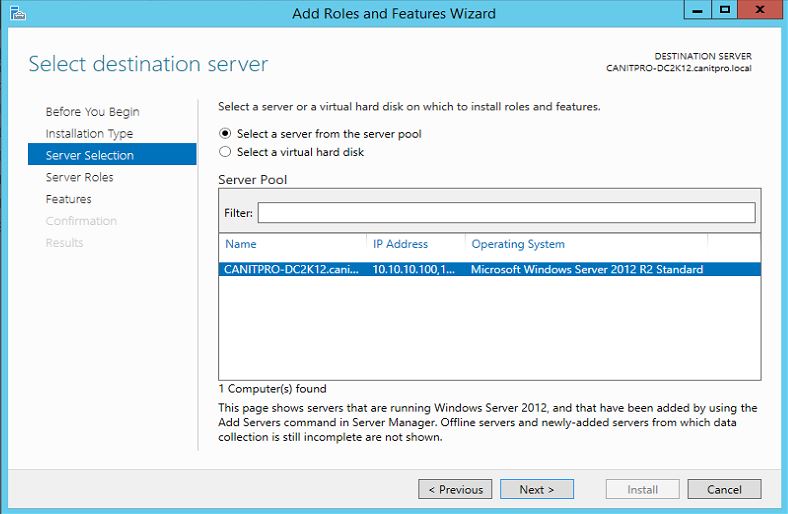
5) In next window keep the default server selection and click next to continue
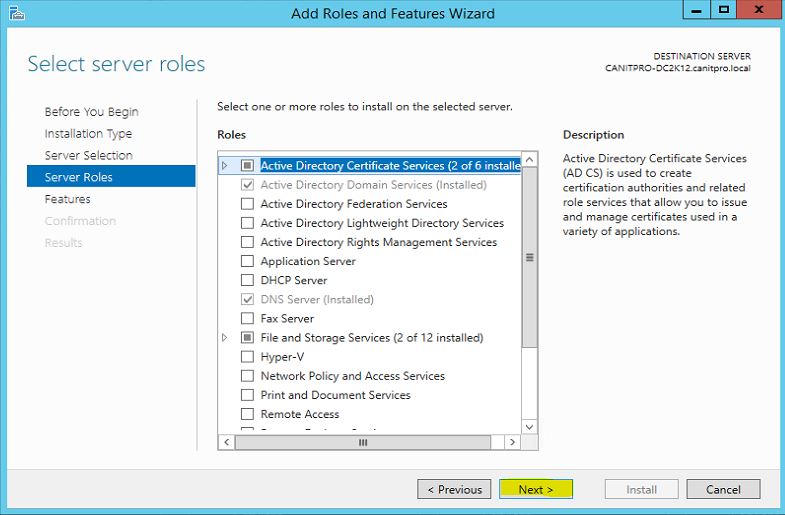
6) Then it will give option to select server roles but we need to install only a feature. So keep the default selection and click next to continue.
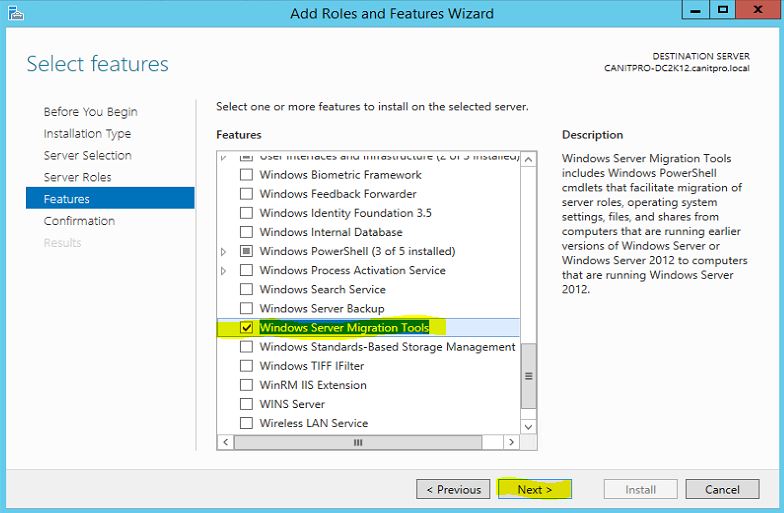
7) Then in features selection, select “Windows Server Migration Tools” and click next to continue
8) In next window it will give the confirmation window and click on install to begin the installation process
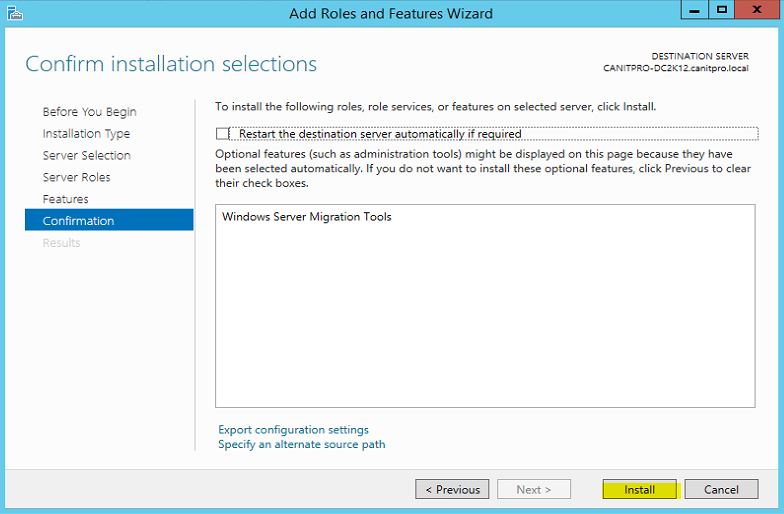
9) Once installation is completed click on close to exit from the wizard
Prepare windows server migration tools for windows server 2003
1) Log in to the Windows server 2012 as Domain Administrator
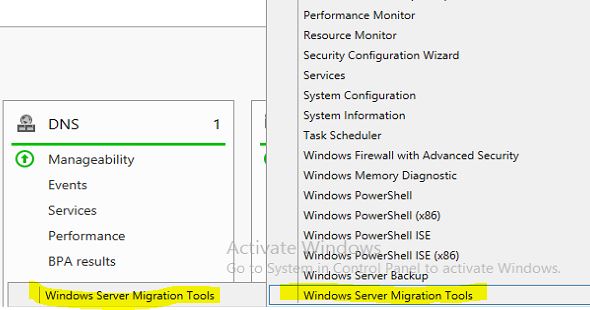
2) Go to Server Manager > Tools > Windows Server Migration Tools > Windows Server Migration Tools
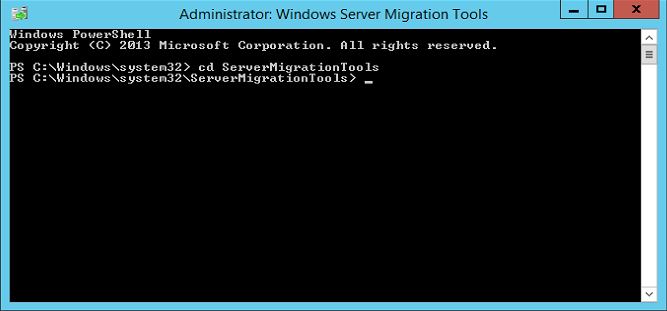
3) It will open up the command prompt and then type cd ServerMigrationTools
4) Now we need to create migration deployment package for windows server 2003. To save the files I have create folder “C:\WIN2K3MIG”. Now type the command .\SmigDeploy.exe /package /architecture x86 /os ws03 /path C:\WIN2K3MIG and press enter
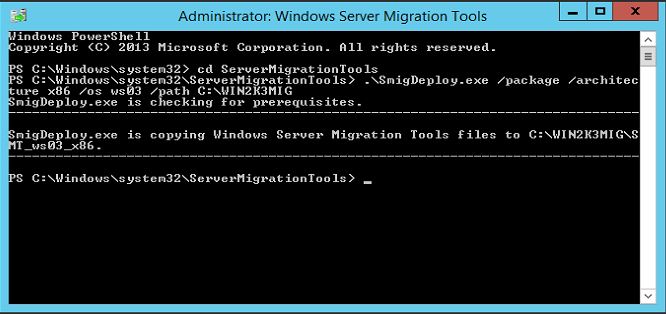
5) This creates the package as following

6) Now we need to copy the folder C:\WIN2K3MIG\SMT_ws03_x86 to windows server 2003 which host the DHCP role
Prepare windows server 2003 (DHCP Source) for the migration
1) Log in to the Windows server 2003 as Domain Administrator
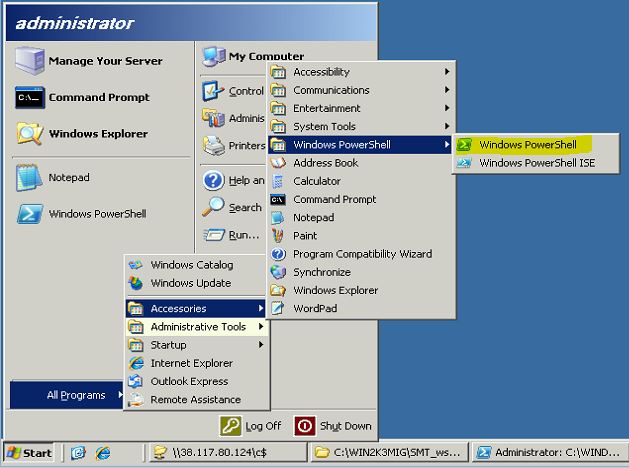
2) Go to Start > All Programs > Accessories > Windows PowerShell > Windows PowerShell
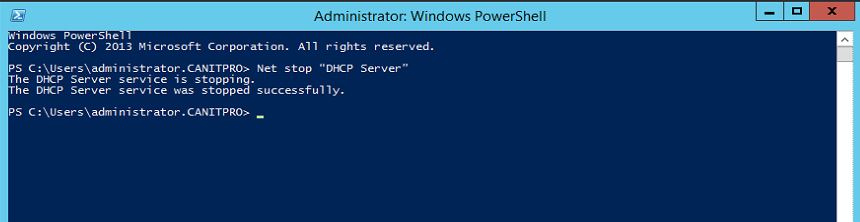
3) Then type “Net stop “DHCP Server”” and enter
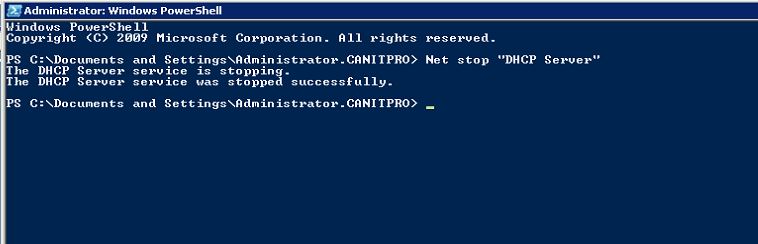
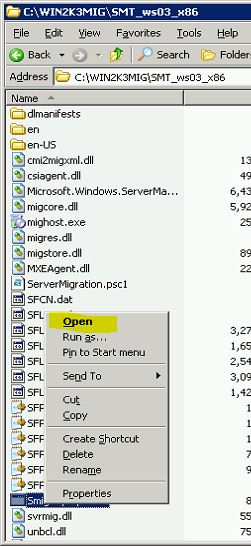
4) This will stop the running DHCP server. Then open the folder copied from windows server 2012 R2 and then open the file called “SmigDeploy.exe”
5) Then it will open up the command window. Then type Get-SmigServerFeature and press enter
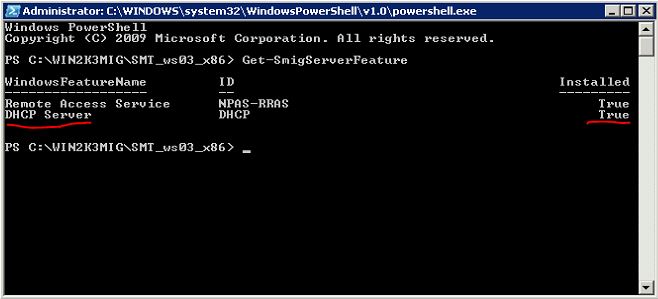
6) This will examine the roles running on this server and provide list of roles which we can migrate over to windows server 2012 R2
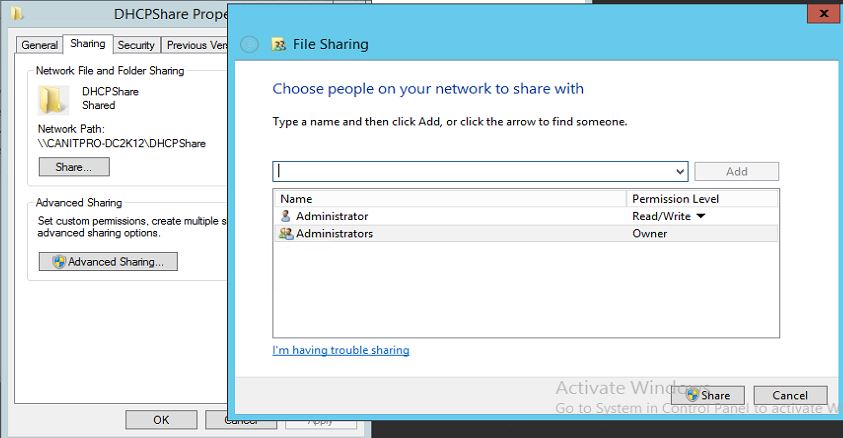
7) Now it’s time export the DHCP data using the tool. Before do it we need to prepare a share folder in network which will have access from both DHCP Source Server and DHCP Destination Server. I have create folder called “DHCPShare” in windows server 2012 and share it with read and write NTFS permissions.
8) Type the command Export-SmigServerSetting -featureID DHCP -User All -Group -path \\Canitpro-dc2k12\DHCPShare -Verbose and press enter to export the DHCP data. In here featureID define the server role. Once enter the command it will ask a password to protect the data.
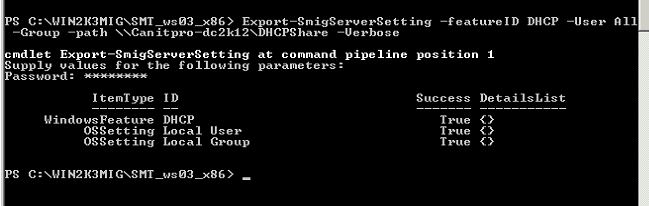
9) Now in the share we can see it created the backup file.
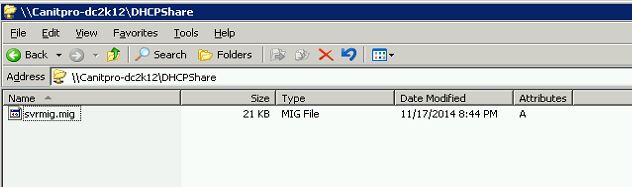
With this step it will successfully exports the DHCP data.
Remove DHCP roles from windows server 2003 R2
Since we no longer need DHCP role running on this server we can go ahead and uninstall the DHCP service.
1) Log in to the windows server 2003 as member of administrator group
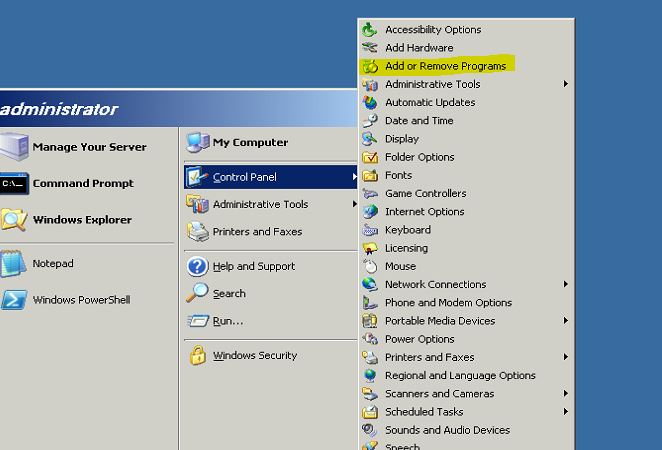
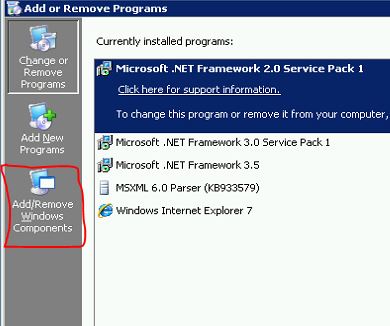
2) Start > Control Panel > Add or Remove Programs
3) Then click on “Add/Remove Windows Components”
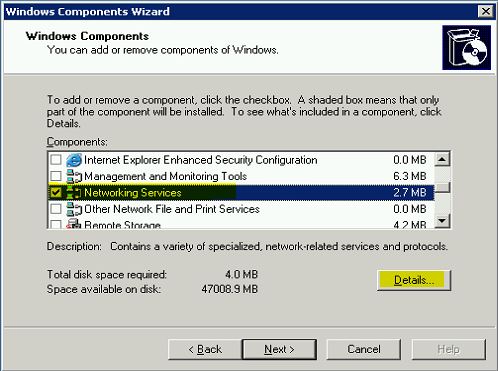
4) In next window select “Networking Services” and click on details
5) From next window de-select the DHCP option and click ok
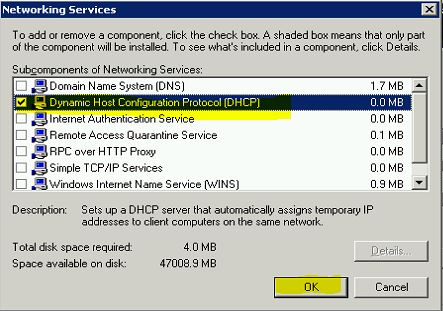
6) Then click next to uninstall the DHCP service
It will uninstall the DHCP role from the windows 2003 server.
Install DHCP Role in windows 2012 R2 server
1) Log in to the windows server 2012 as member of administrator group
2) Open Server Manager > Add Roles and Features
3) It will open the wizard and click next to continue
4) For the installation type select “Role-based or feature-based installation” and click next

5) Let the default selection run on server selection and click next to continue
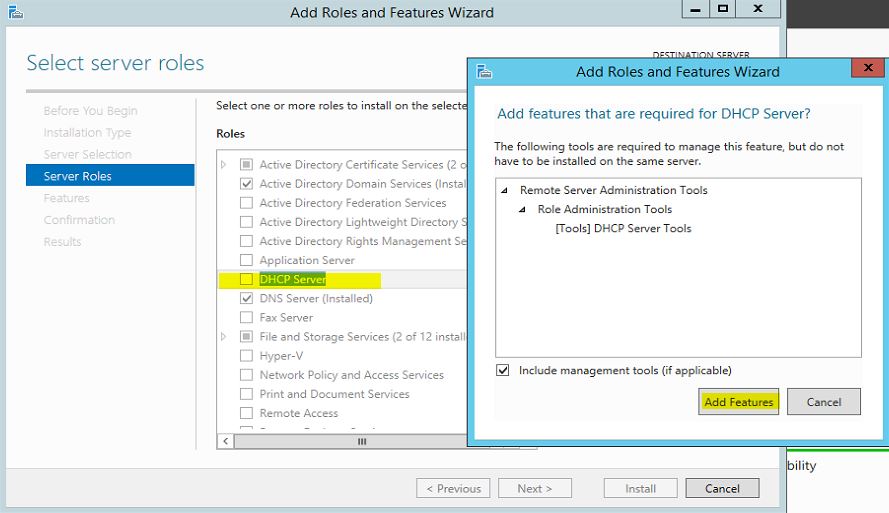
6) For the server roles select DHCP and it will prompt to add relevant features. Click on “Add features” to add them and next to continue
7) For the features let it run with default. Click next to continue
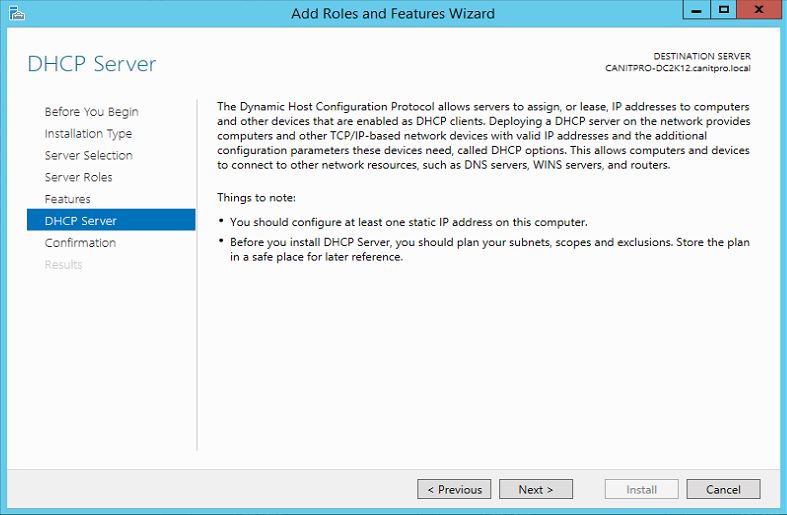
8) Then it will give brief description about DHCP server role and click next to continue
9) Next window it will give the confirmation and click on install to continue
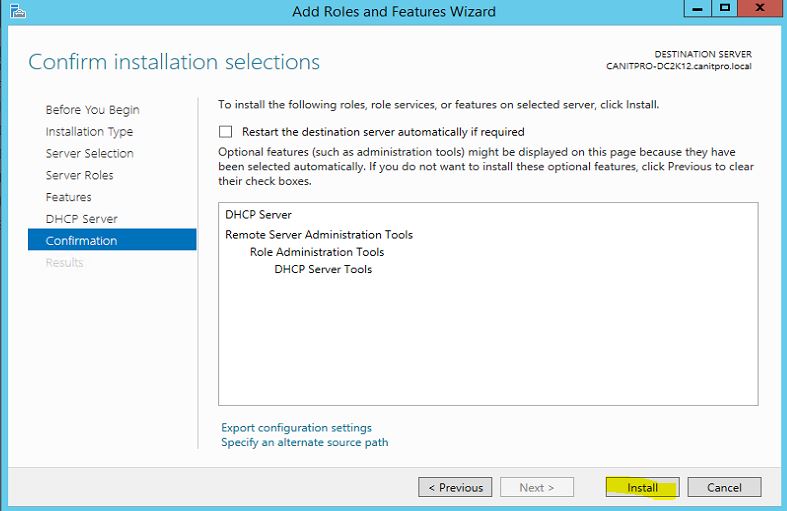
This will install the DHCP server role in the new server.
Import DHCP server data in to windows server 2012 R2
1) Log in to the Windows server 2012 as Domain Administrator
2) Open Windows Powershell using Server manager > Tools > Windows Powershell
3) Type “Net stop “DHCP Server”” and press enter
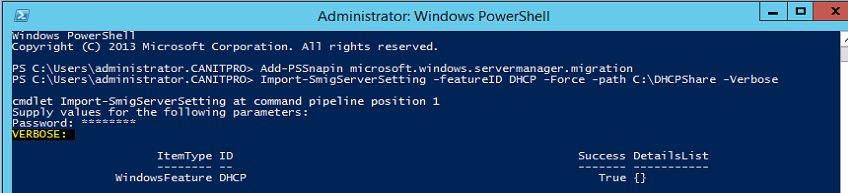
4) Then type Add-PSSnapin microsoft.windows.servermanager.migration and press enter to use the migration tools command set.

5) Now to import DHCP data type Import-SmigServerSetting -featureID DHCP -Force -path C:\DHCPShare -Verbose (Note: Here I didn’t import the users or groups as its domain controller I am importing to but if necessary you can do it using –Users and Group command) and press enter. Here C:\DHCPShare is the folder path where we save the DHCP data from windows server 2003. It will ask the password to enter which we have define during the export DHCP server data process.
6) Then type Start-Service DHCPServer and press enter to start the DHCP server

7) Then authorize the DHCP server with command Netsh DHCP add server CANITPRO-DC2K12.canitpro.local 38.117.80.124

Note : If the source DHCP server had multiple NIC with Multiple networks make sure the new server also match the same config. Assign the static ip address to those interfaces to match the configuration. This also can automated during the import process. You can get more info about command option in http://technet.microsoft.com/en-us/library/dn495425.aspx
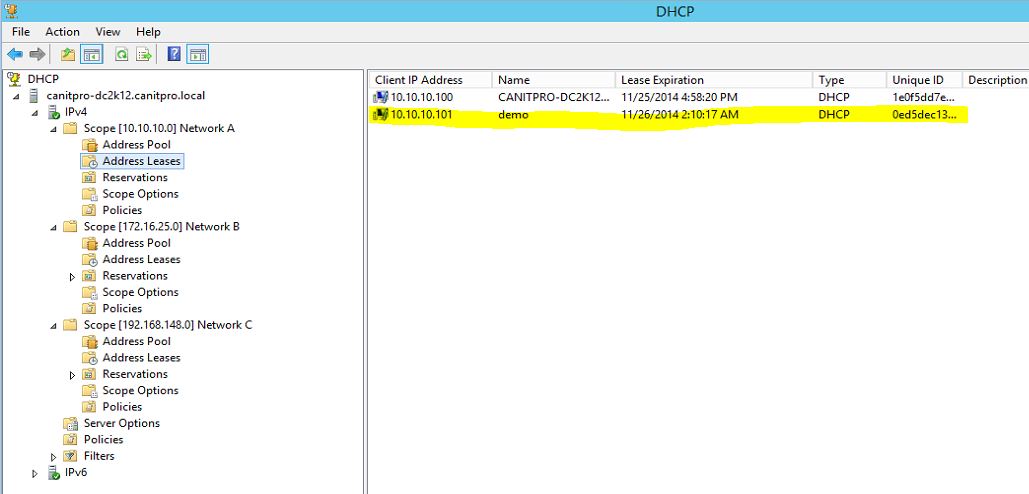
Now we completed with the restore process and I already can see its issues IP addresses.


nice article