Last Updated on April 24, 2016 by Dishan M. Francis
Azure AD, Azure AD Domain Services, On-premises Active Directory, AD-sync ….. All these terms are now start to appear on most of now a days infrastructure projects. Based on the questions I get from the blog also represent still engineers struggle how to implements Azure services with their needs and how to get best benefits out from it. So this article also a series of articles I was doing to cover up Azure AD related services and how to use these services to enhanced your current infrastructure operations.
Azure AD Domain Services
Azure AD Domain Services is in preview for a while now (6 months). Azure AD Domain Services is a managed domain service which provides group policy, LDAP, NTLM/Kerberos Authentication without need of “Domain Controller” in your azure cloud setup.
If you have “cloud-only” service with Azure, this service will allow you to manage your azure identities more affectively. You can deploy the azure ad domain services in to the same virtual network your other IaaS workloads runs. Then these VM can connect to the Azure AD as typical domain join servers and can control those centrally. Also can apply group policies if you like.
If its hybrid setup you can sync your on-premises identities to the cloud and use those along with the azure Iaas workloads.
These are the main features of Azure Active Directory Domain Services (From: https://azure.microsoft.com/en-gb/documentation/articles/active-directory-ds-features/)
• Simple deployment experience: You can enable Azure AD Domain Services for your Azure AD tenant using just a few clicks. Regardless of whether your Azure AD tenant is a cloud-tenant or synchronized with your on-premises directory, your managed domain can be provisioned quickly.
• Support for domain-join: You can easily domain join computers in the Azure virtual network that Azure AD Domain Services is available in. The domain join experience on Windows client and Server operating systems works seamlessly against domains serviced by Azure AD Domain Services. You can also use automated domain join tooling against such domains.
• One domain instance per Azure AD directory: You can create a single Active Directory domain for each Azure AD directory.
• Create domains with custom names: You can create domains with custom names (eg. contoso.local) using Azure AD Domain Services. This includes both verified as well as unverified domain names. Optionally, you can also create a domain with the built-in domain suffix (i.e. *.onmicrosoft.com) that is offered by your Azure AD directory.
• Integrated with Azure AD: You do not need to configure or manage replication to Azure AD Domain Services. User accounts, group memberships and user credentials (passwords) from your Azure AD directory are automatically available in Azure AD Domain Services. New users, groups or changes to attributes ocurring in your Azure AD tenant or in your on-premises directory are automatically synchronized to Azure AD Domain Services.
• NTLM and Kerberos authentication: With support for NTLM and Kerberos authentication, you can deploy applications that rely on Windows Integrated Authentication.
• Use your corporate credentials/passwords: Passwords for users in your Azure AD tenant work with Azure AD Domain Services. This means users in your organization can use their corporate credentials on the domain – for domain joining machines, logging in interactively or over remote desktop, authenticating against the DC etc.
• LDAP bind & LDAP read support: You can use applications that rely on LDAP binds in order to authenticate users in domains serviced by Azure AD Domain Services. Additionally, applications that use LDAP read operations to query user/computer attributes from the directory can also work against Azure AD Domain Services.
• Group Policy: You can leverage a single built-in GPO each for the users and computers containers in order to enforce compliance with required security policies for user accounts as well as domain joined computers.
• Available in multiple Azure regions: See the Azure services by region page to know the Azure regions in which Azure AD Domain Services are available.
• High availability: Azure AD Domain Services offer high availability for your domain. This offers the guarantee of higher service uptime and resilience to failures. Built-in health monitoring offers automated remediation from failures by spinning up new instances to replace failed instances and to provide continued service for your domain.
• Use familiar management tools: You can use familiar Windows Server Active Directory management tools such as the Active Directory Administrative Center or Active Directory PowerShell in order to administer domains provided by Azure AD Domain Services.
In my demo today I am going to show how to enable Azure AD Domain Services and how to configure it properly for cloud-only IaaS setup.
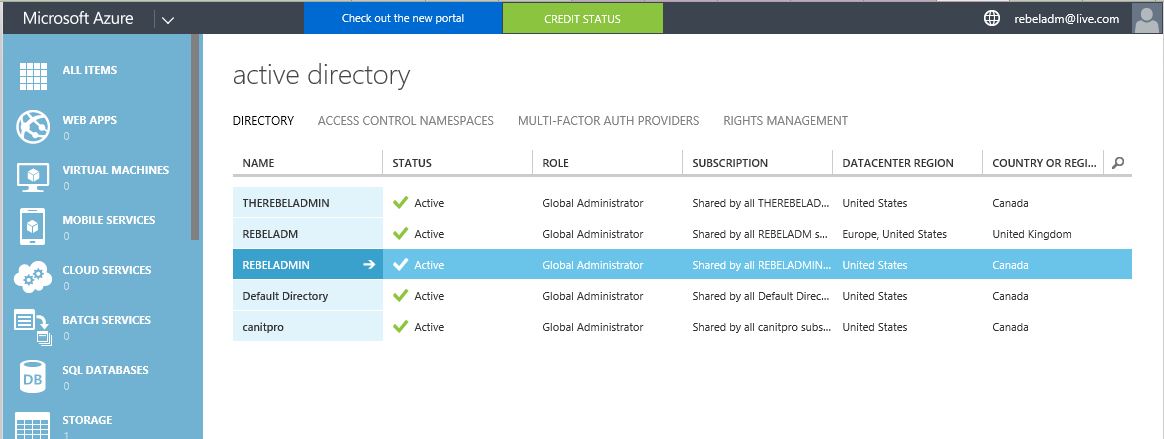
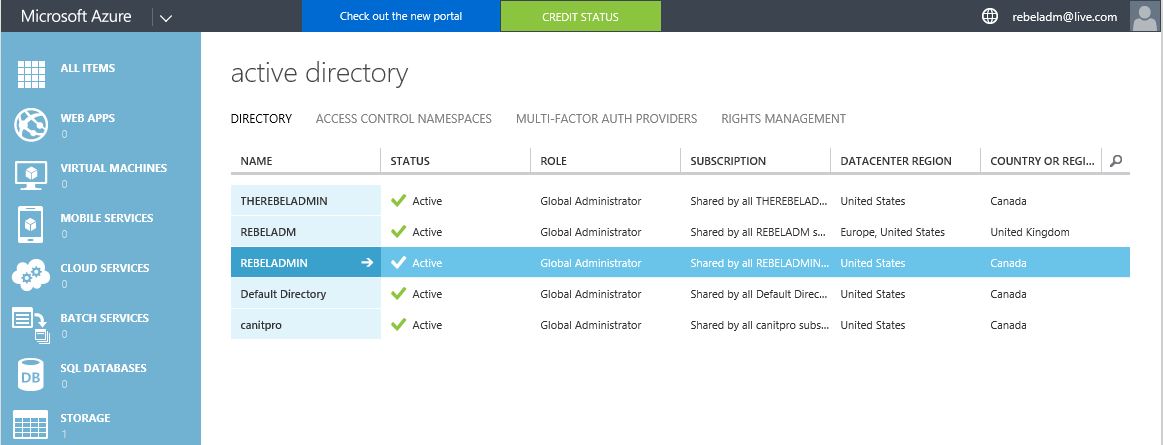
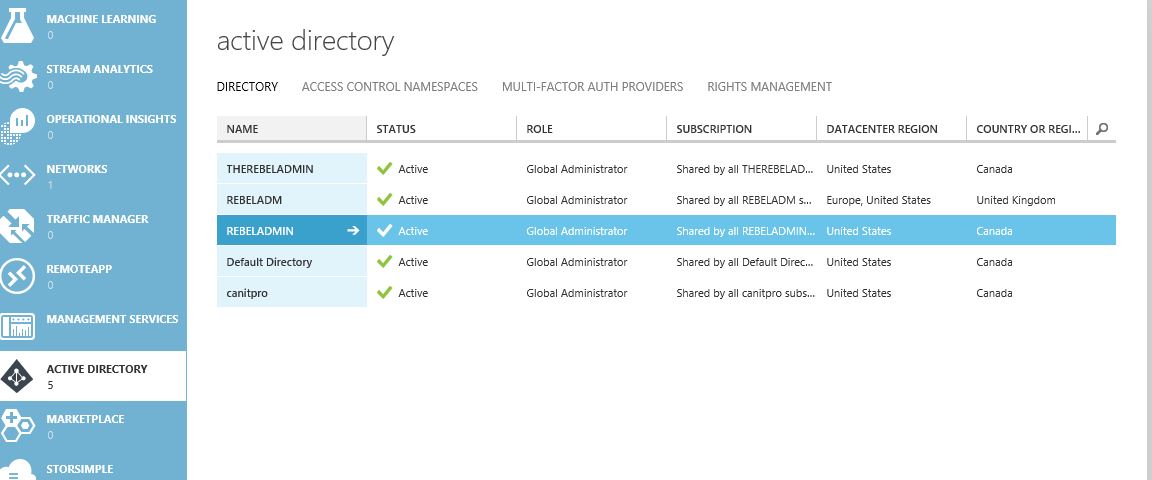
I have created Azure AD instance called REBELADMIN already. I will be using it during the demo.
Setup Azure Virtual Network
I am going to show how to setup new azure virtual network. The azure AD domain service instance also need to assign to the same virtual network as your other service run in order to integrate those resources.
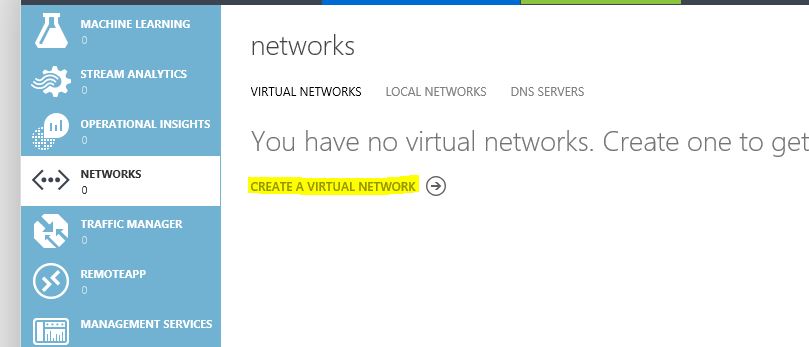
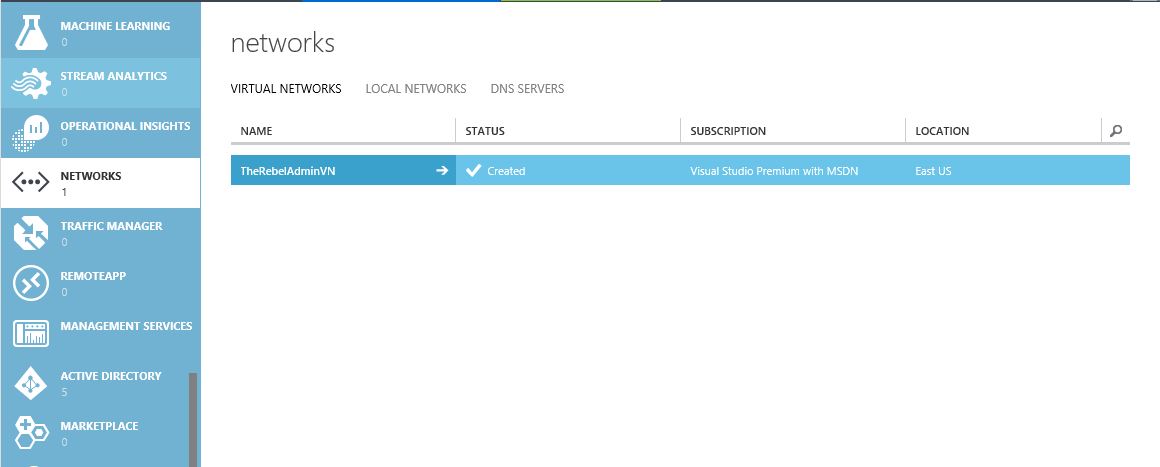
1) In Azure Classic Portal click on “Networks” option in left side.
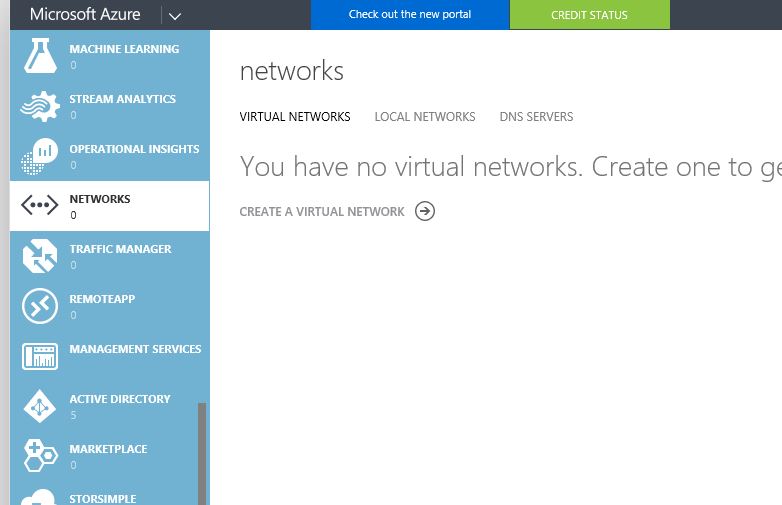
2) Then click on “Create a Virtual Network”
3) In wizard type the name for the virtual network and select the location, then click on proceed button to go to next step

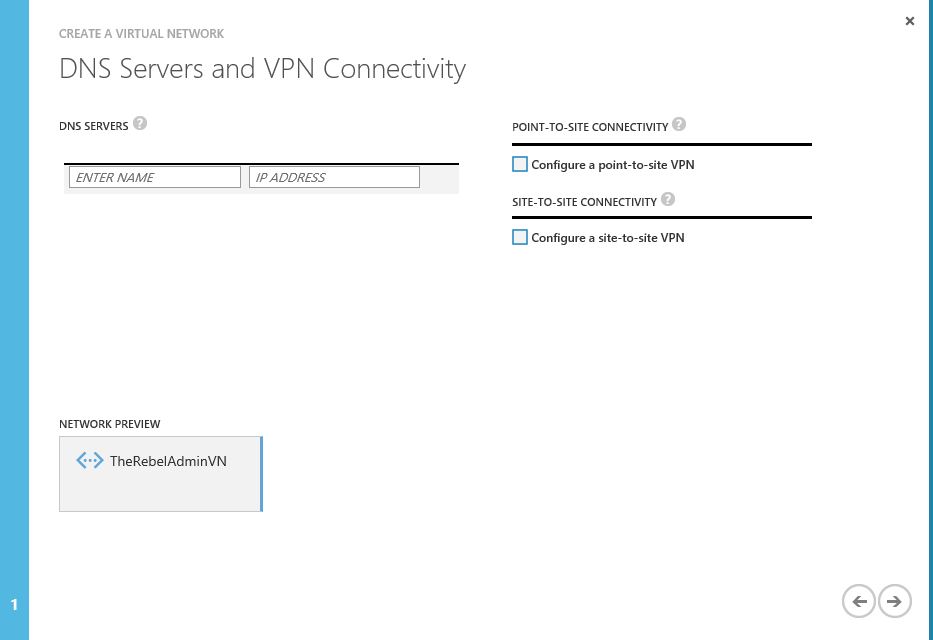
4) In next page, I am not going to define any DNS servers as I will setup it in later time in this demo, click on proceed button
5) In next window it will show the address space, you can either customize or proceed with default. I am going to use default.
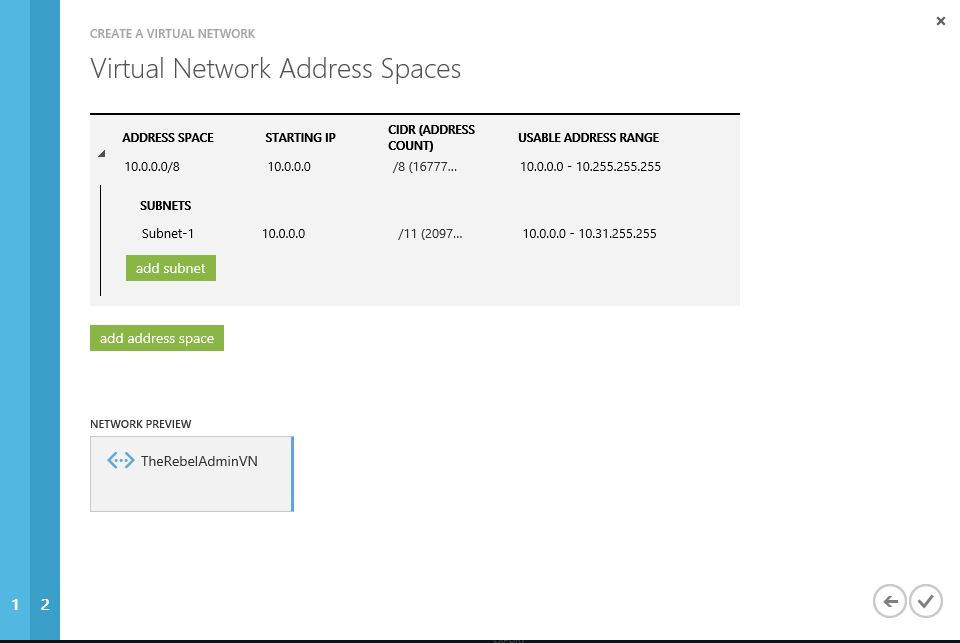
6) After proceed, its created the new virtual network successfully

Enable Azure AD Domain Service
Now we got the virtual network setup. Next step is to enable the domain service.
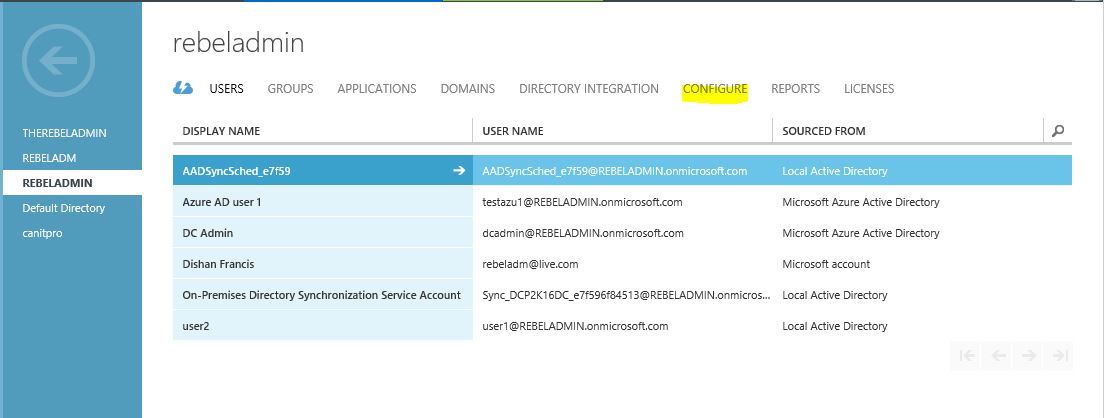
1) Click on the Azure AD directory instance which needs to enable Azure AD Domain Service (if you not done yet you can do it using New > App Services > Active Directory > Directory )
2) Then click on “Configure”
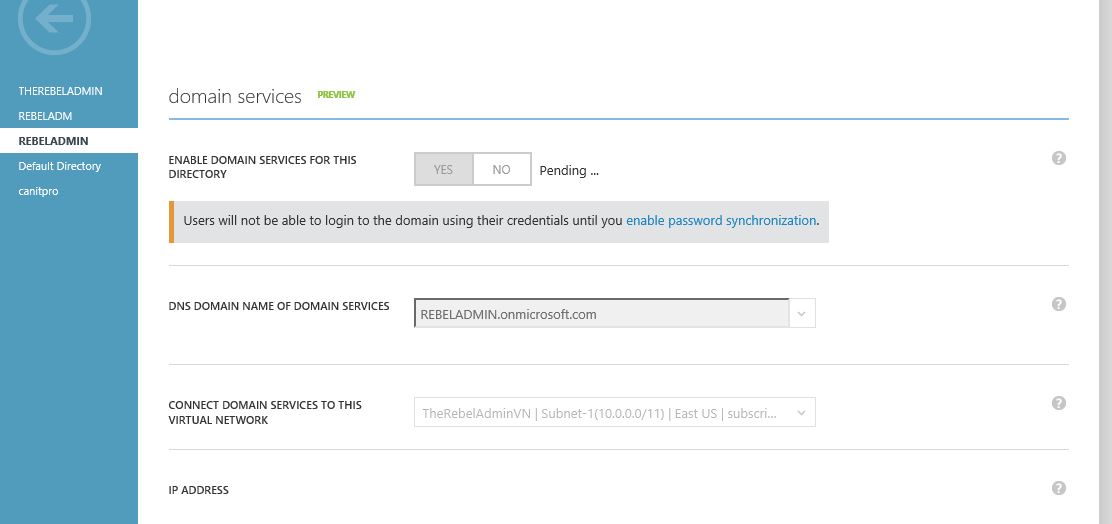
3) Under the “Domain Services” click on “Yes” button to enable the domain services.

4) DNS Domain name of domain services – This option to define the dns domain name. If you do not have domain setup you still can use default azure name which is ends up with onmicrosoft.com.
Connect domain service to this virtual network – in here you can define which virtual network domain service should assign to. I have selected the new virtual network created on previous step.
After changes click on “Save”

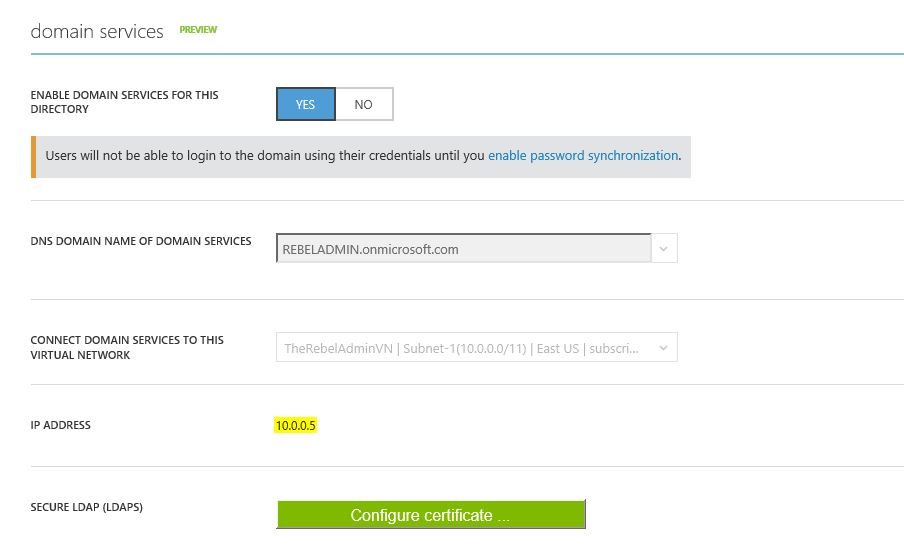
5) Then it will start to activate the service.
6) Currently it takes like 30 minutes to get service enabled. Once its setup we can see the DNS server ip address appears. This is important as we need to add these in to virtual network in order to join servers to domain.
Add DNS server details into Virtual Network
1) Click on the virtual network where Azure AD domain service also associated with.
2) Click on the configure and then add the DNS server info
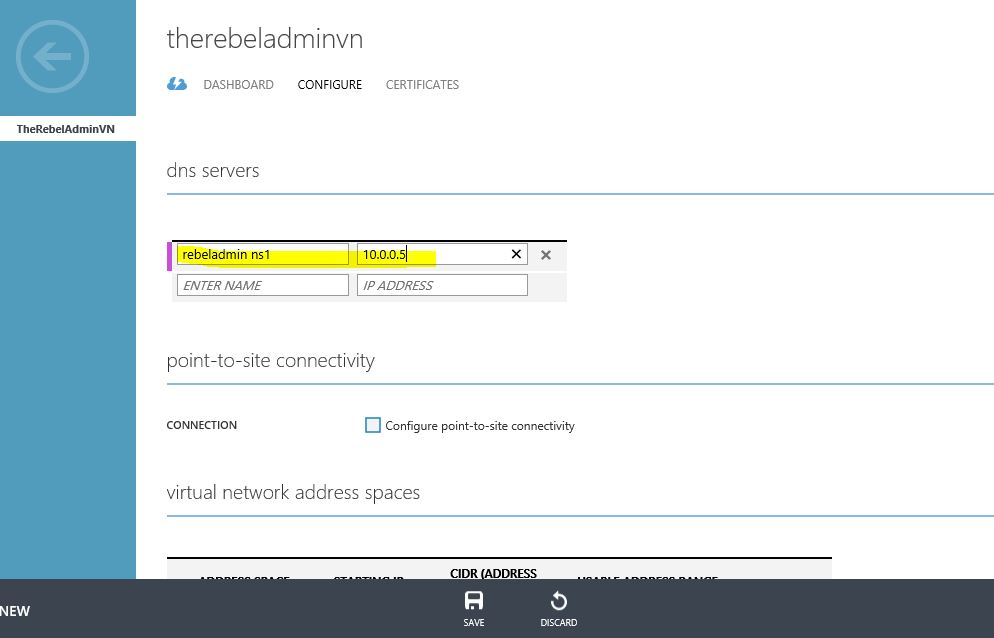
3) Click on Save to submit the changes
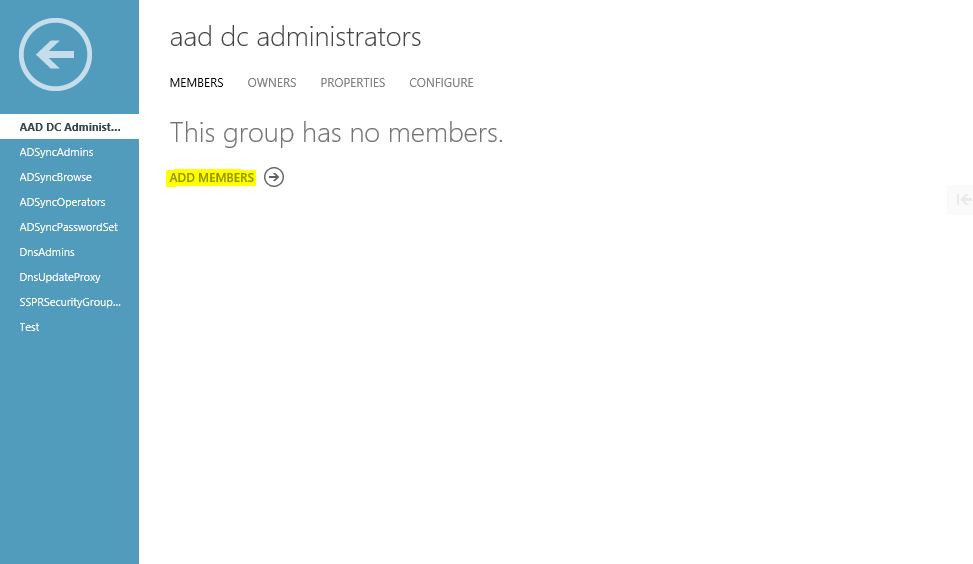
Create “AAD DC Administrator” group
Since Azure AD Domain service is managed service you will not get domain admin or enterprise administrator privileges to the Ad instance. But you allowed to create this group and all the members of this group will be granted with administrator privileges to the domain join servers (This group will added to the administrators group in domain join servers).
In order to do that need to load the Azure AD instance again,
1) Click on the relevant Azure AD instance.
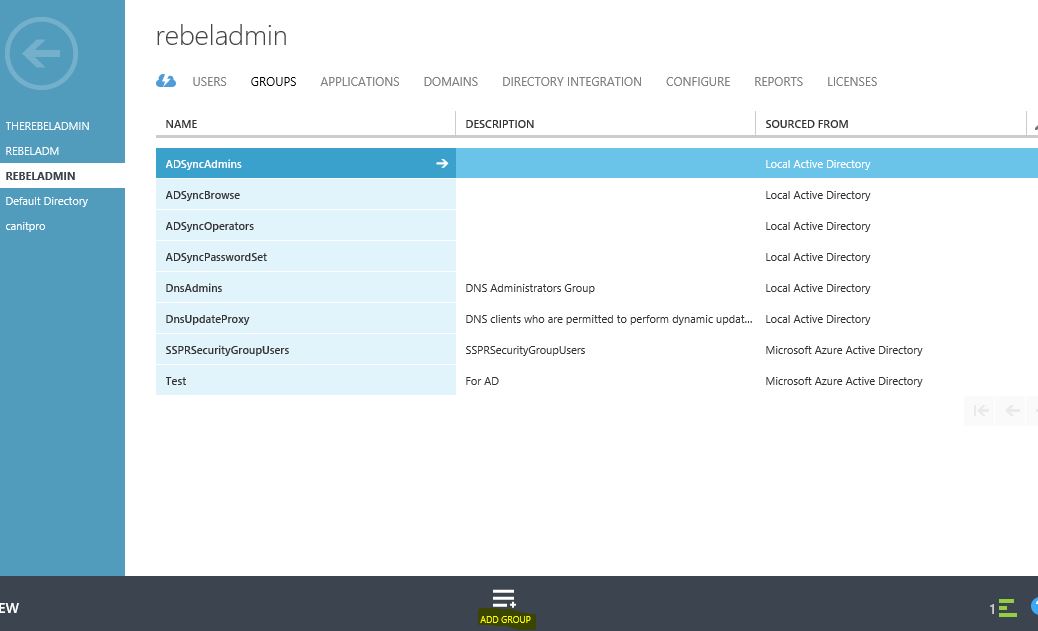
2) Click on the “Groups” and then Add Group
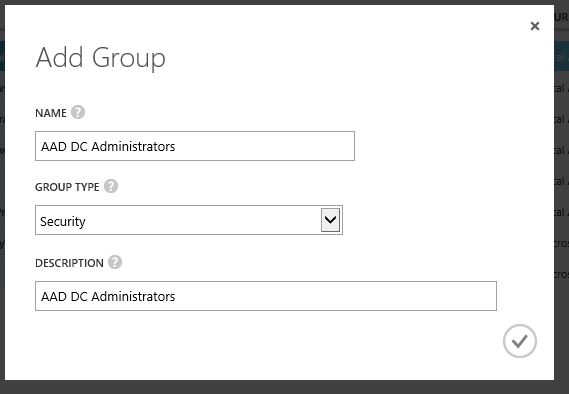
3) Then in next window type the group name as “AAD DC Administrators” and type as “Security” then click on proceed button. Please note you must use the text on same format in order to get enable this group.
4) Then you can add the member as you prefer
With this our initial configuration is done. The next step is to enable password synchronization to allow users to use their cooperate logins to log in to the domain. I will explain it on my next post as another step-by-step guide.
If you have any questions about the post feel free to contact me on rebeladm@live.com