
Last Updated on November 13, 2014 by Dishan M. Francis
Microsoft has already announced that windows server 2003 / windows server 2003 R2 versions support is coming to end in 14th July 2015 (http://support2.microsoft.com/lifecycle/search/default.aspx?sort=PN&alpha=Microsoft+Windows+Server+2003&Filter=FilterNO ).
It’s no wonder that still organizations using windows server 2003 / windows server 2003 R2 in their infrastructure with different server roles. In last few post I have covered up how we can migrate different server roles from windows server 2003 to latest windows server 2012. This article also a part of the same series and it will explain how we can migrate DHCP server role.
For the demonstration I am using following setup
|
Server Name |
Operating System |
Server Roles |
Networks |
|
dhcp-2k3.canitpro.local |
Windows Server 2003 R2 Enterprise x86 |
DHCP |
Network A – 10.10.10.0 Network B – 172.16.25.0 Network C – 192.168.148.0 |
|
CANITPRO-DC2K12.canitpro.local |
Windows Server 2012 R2 x64 |
– |
– |
dhcp-2k3.canitpro.local server currently setup with 3 additional NIC to represent network A,B and C. they have configured with static ip addresses to match with relevant network it belongs to. The DHCP server host different DHCP scopes for each network.
Backup DHCP configuration in windows server 2003 R2
1) Log in to the windows server 2003 as member of administrator group
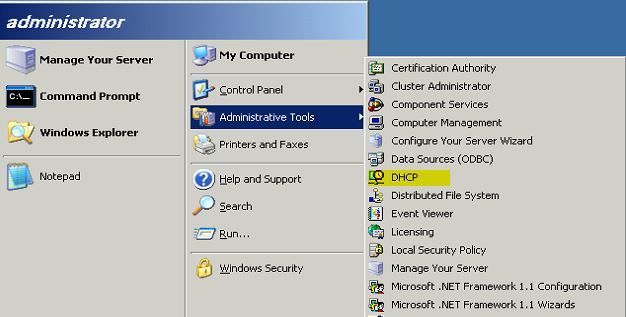
2) Load the DHCP server console Start > Administrative Tools > DHCP
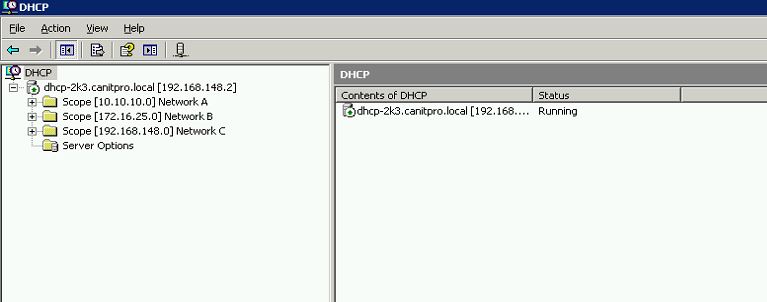
3) In here we can see the configured DHCP scopes
4) Now it’s time to back up the config. To do that open the command prompt using start > run > type cmd and then enter
5) Then type netsh dhcp server export C:\DHCPbk\dhcpbk.txt all and press enter. In here C:\DHCPbk\dhcpbk.txt is the file path which backup will save in to. It can change according to your requirement.

6) Now please move file C:\DHCPbk\dhcpbk.txt in to CANITPRO-DC2K12.canitpro.local server which will be configured as new DHCP server ( windows server 2012 R2)
Remove DHCP roles from windows server 2003 R2
Since we no longer need DHCP role running on this server we can go ahead and uninstall the DHCP service.
1) Log in to the windows server 2003 as member of administrator group
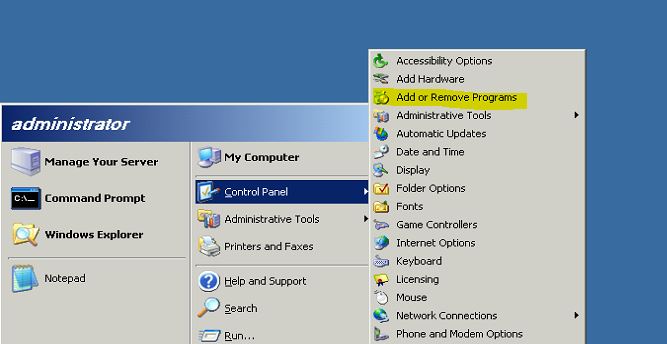
2) Start > Control Panel > Add or Remove Programs
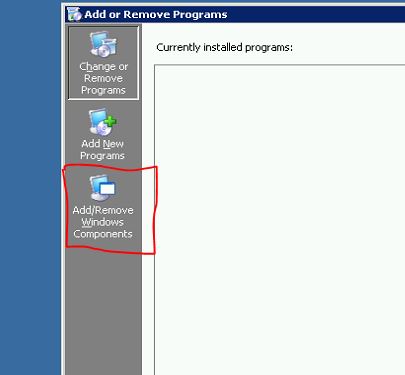
3) Then click on “Add/Remove Windows Components”
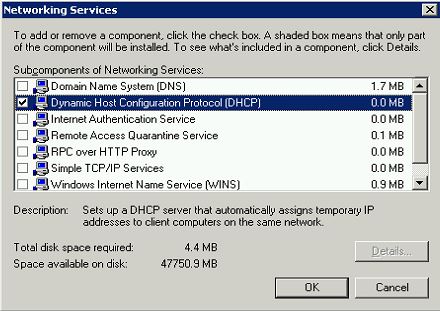
4) In next window select “Networking Services” and click on details

5) From next window de-select the DHCP option and click ok
6) Then click next to uninstall the DHCP service
It will uninstall the DHCP role from the windows 2003 server.
Install DHCP Role in windows 2012 R2 server
1) Log in to the windows server 2012 as member of administrator group
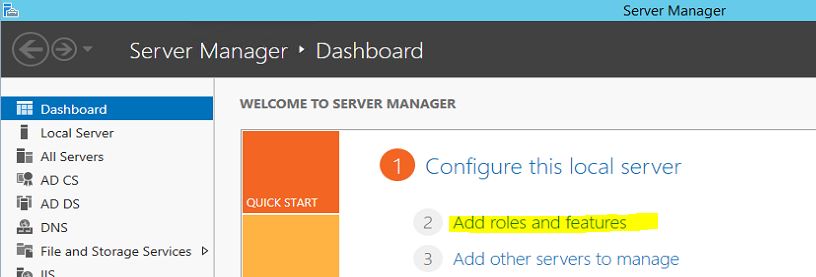
2) Open Server Manager > Add Roles and Features
3) It will open the wizard and click next to continue
4) For the installation type select “Role-based or feature-based installation” and click next
5) Let the default selection run on server selection and click next to continue
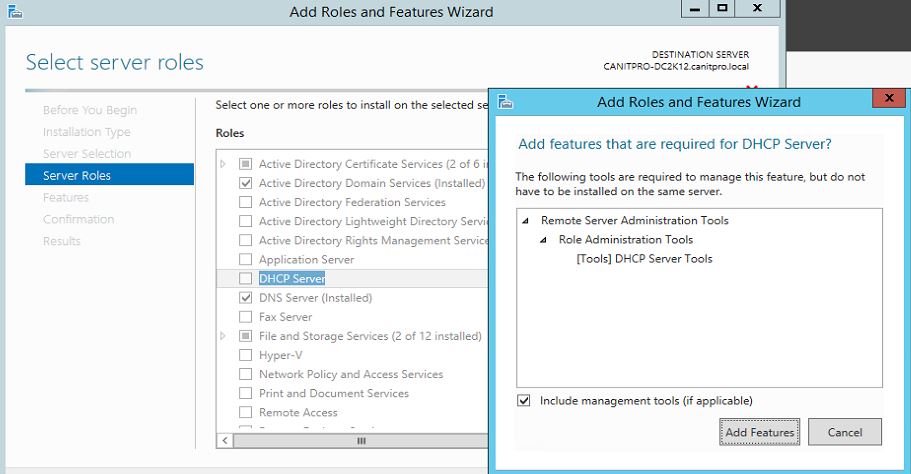
6) For the server roles select DHCP and it will prompt to add relevant features. Click on “Add features” to add them and next to continue
7) For the features let it run with default. Click next to continue
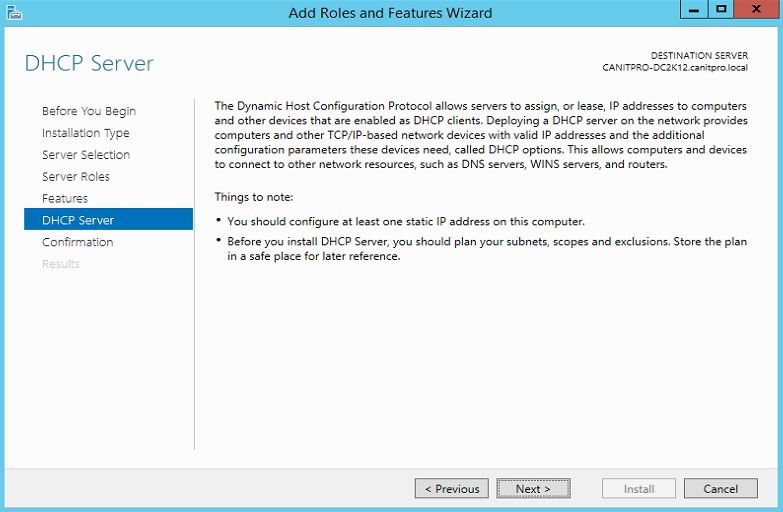
8) Then it will give brief description about DHCP server role and click next to continue
9) Next window it will give the confirmation and click on install to continue
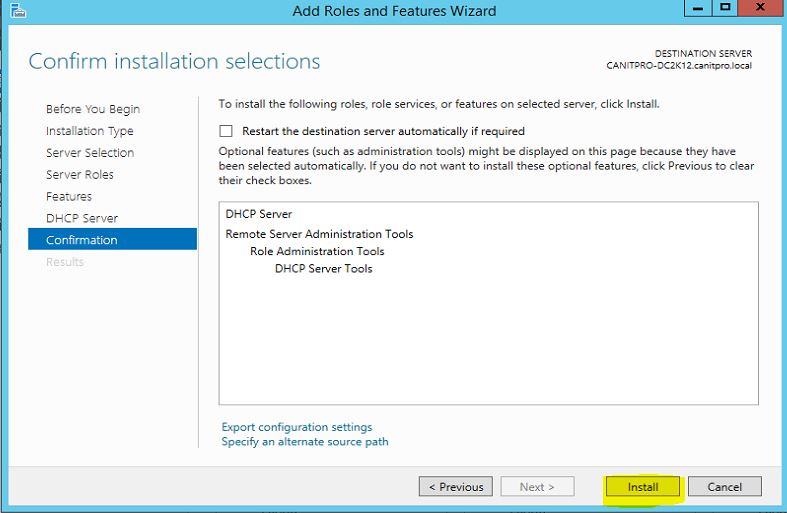
This will install the DHCP server role in the new server.
Restore DHCP configuration
1) Log in to the windows server 2012 as member of administrator group
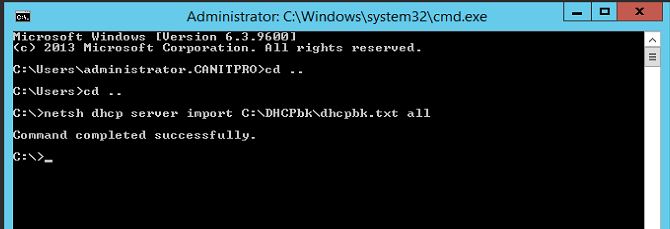
2) Open Command prompt with Run > cmd
3) Type netsh dhcp server import C:\DHCPbk\dhcpbk.txt all and press enter. In here C:\DHCPbk\dhcpbk.txt is the backup file we copied from windows 2003 server.
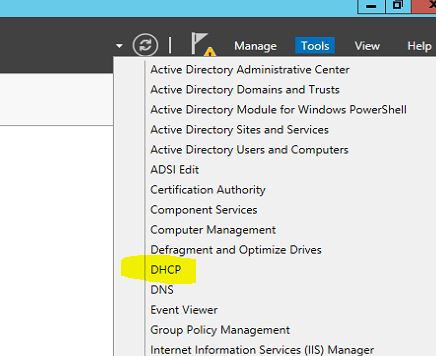
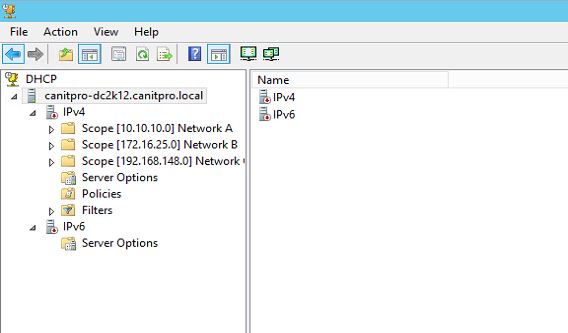
4) Go to Server manager > tools > DHCP
5) Right click on the server name > All Task > Restart
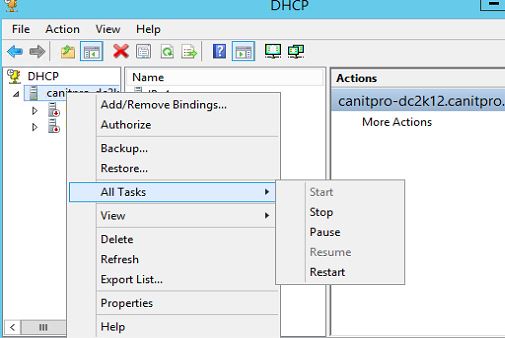
6) Once Restart done we can see all the scopes are visible which was in 2003 server.
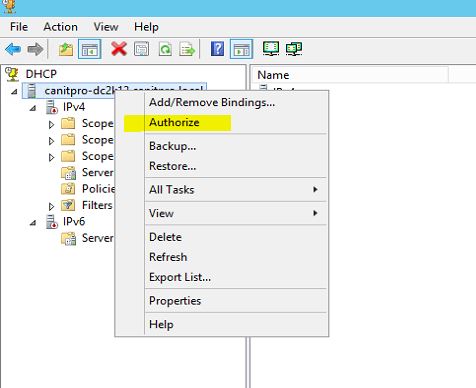
7) We still need to authorize the dhcp server, to do it again right click on server name and select authorize
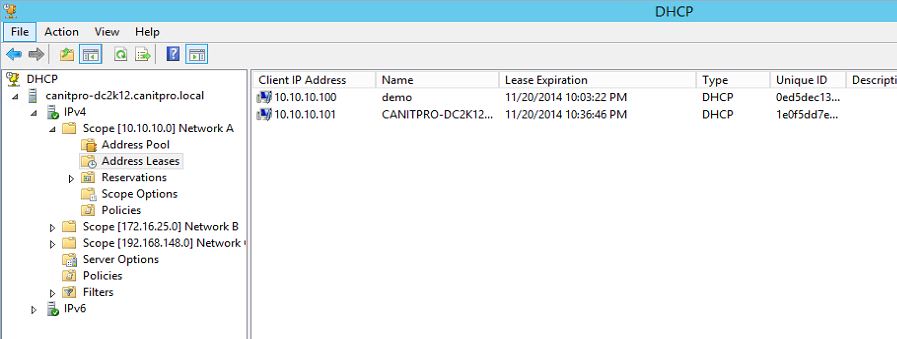
Now we completed with the restore process and I already can see its issues IP addresses.
if any questions about the post feel free to contact me on rebeladm@live.com


Nice
What about moving many w2k3 dhcp server scopes to just 1 w2012 dhcp server. Keep repeating the same process and the scopes append ?