
Last Updated on June 15, 2014 by Dishan M. Francis
This article is part 1 for explaining the setup of the VPN on windows server environment. This demo is done using windows 2008 R2 but the theory will be same for windows 2012.
In this set of article i will be doing the following,
1. configure inbound and outbound VPN connections
2. configure remote access policies to control the access of various groups via RRAS
3. configure a RADIUS server to log all accounting
4. monitor remote access
To do the setup it needs the following,
• A server with windows 2008 / R2 which is connected to the company domain
• Two NIC configured for local network access and public access
• IP address allocation
• Authentication provider ( Network policy server, RADIUS )
• DHCP relay agent
• User account with domain administrator privileges.
In this setup I will be using Network Policy Server as the authentication provider. Before start on setup it’s important to know the use of it. According to Microsoft (http://technet.microsoft.com/en-us/library/cc732912.aspx)
Network Policy Server (NPS) allows you to create and enforce organization-wide network access policies for client health, connection request authentication, and connection request authorization. In addition, you can use NPS as a Remote Authentication Dial-In User Service (RADIUS) proxy to forward connection requests to a server running NPS or other RADIUS servers that you configure in remote RADIUS server groups.
NPS allows you to centrally configure and manage network access authentication, authorization, and client health policies with the following three features:
• RADIUS server . NPS performs centralized authentication, authorization, and accounting for wireless, authenticating switch, remote access dial-up and virtual private network (VPN) connections. When you use NPS as a RADIUS server, you configure network access servers, such as wireless access points and VPN servers, as RADIUS clients in NPS. You also configure network policies that NPS uses to authorize connection requests, and you can configure RADIUS accounting so that NPS logs accounting information to log files on the local hard disk or in a Microsoft SQL Server database.
• RADIUS proxy . When use NPS as a RADIUS proxy, can configure connection request policies that tell the NPS server which connection requests to forward to other RADIUS servers and to which RADIUS servers you want to forward connection requests. You can also configure NPS to forward accounting data to be logged by one or more computers in a remote RADIUS server group.
• Network Access Protection (NAP) policy server . When configure NPS as a NAP policy server, NPS evaluates statements of health (SoH) sent by NAP-capable client computers that want to connect to the network. NPS also acts as a RADIUS server when configured with NAP, performing authentication and authorization for connection requests. You can configure NAP policies and settings in NPS, including system health validators (SHVs), health policy, and remediation server groups that allow client computers to update their configuration to become compliant with your organization's network policy.
We can configure NPS with any combination of the preceding features. For example, you can configure one NPS server to act as a NAP policy server using one or more enforcement methods, while also configuring the same NPS server as a RADIUS server for dial-up connections and as a RADIUS proxy to forward some connection requests to members of a remote RADIUS server group for authentication and authorization in another domain.
Let’s move in to the configuration as next step,
For the setup I log in to a server which is connected to the company network. It is running windows 2008 standard version.
Before we start for a selected server in domain we need to add 2 nic interfaces. One will be to serve for LAN and other NIC will have a public ip address.
For the server I already add 2 nic and configured the ip address as following,
For LAN Interface
Ip address : 192.168.20.2
Subnet : 255.255.255.0
Default Gateway : none
DNS servers : none
As we know in a same machine we cannot deal with different default gateways. There for we no need to put gateway here.
For Public Interface
Ip address : 10.0.0.2
Subnet : 255.255.255.0
Default Gateway : 10.0.0.1
DNS servers : 8.8.8.8 ( public dns from ISP )
This used public ip info is just for demo purposes and these are not real public ip from ISP. But in real setup you need to fill that info with the details provided by the ISP.
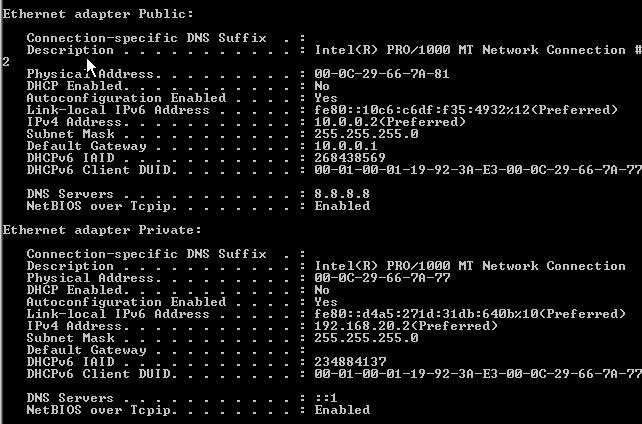
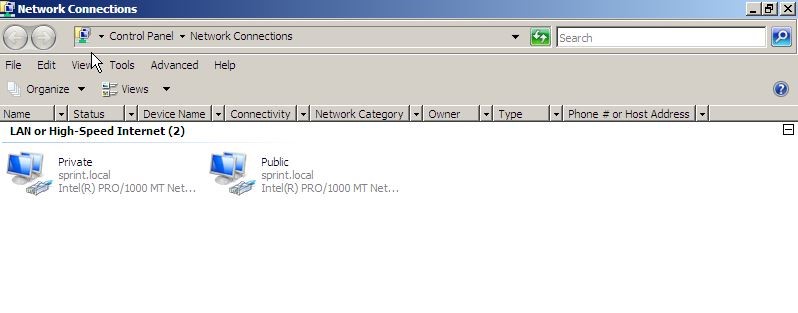
In the server I have renamed the 2 interfaces according to ip as “private” and “public” for easy identification.
Install Network Policy and Access Service role
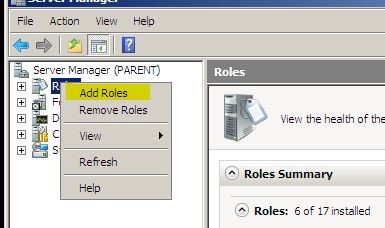
1. To start the server manager Start > administrative tools > Server Manager
2. In the Server manager windows right click on the “Roles” and click on “Add Roles”
3. Then add doles wizard will appears. Click next to continue.
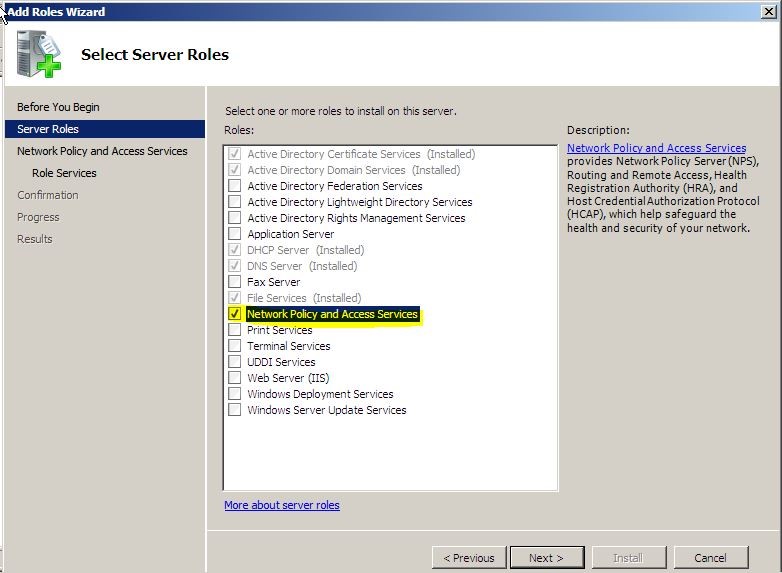
4. On the select server roles page, select “Network policy and access services” and click next.
5. In “Network policy and access service introduction” page, click Next.
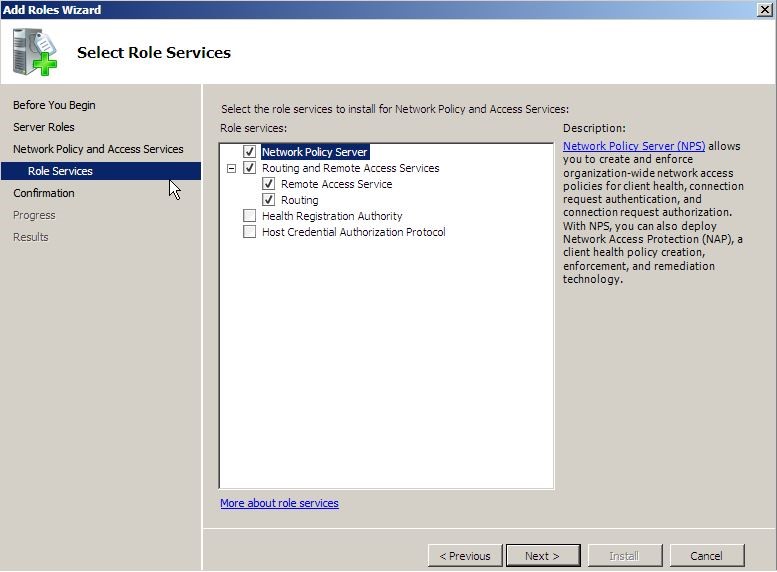
6. On the select role service page, select the “network policy server” and “routing and remote access services” check boxes and click next.
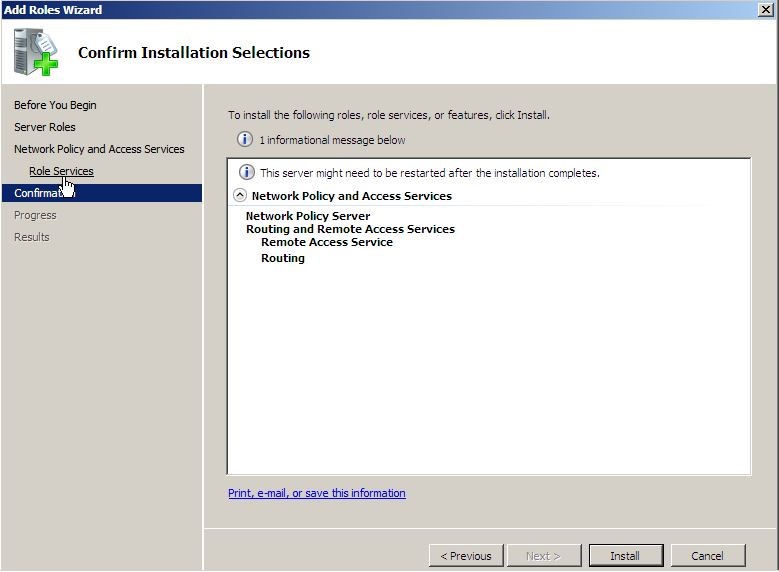
7. On the confirmation page click “Next” to continue.
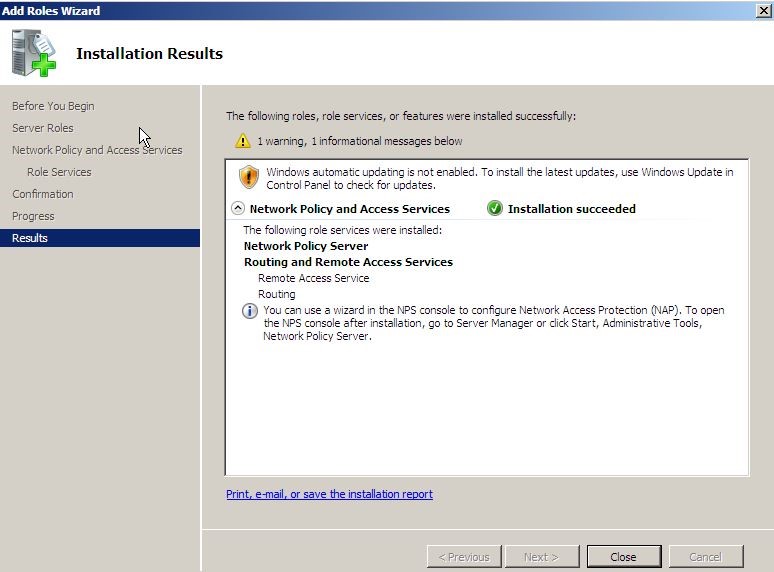
8. On the installation result page, verify the “installation succeeded” appears in the detail pane then click close to complete.
Configure VPN Server
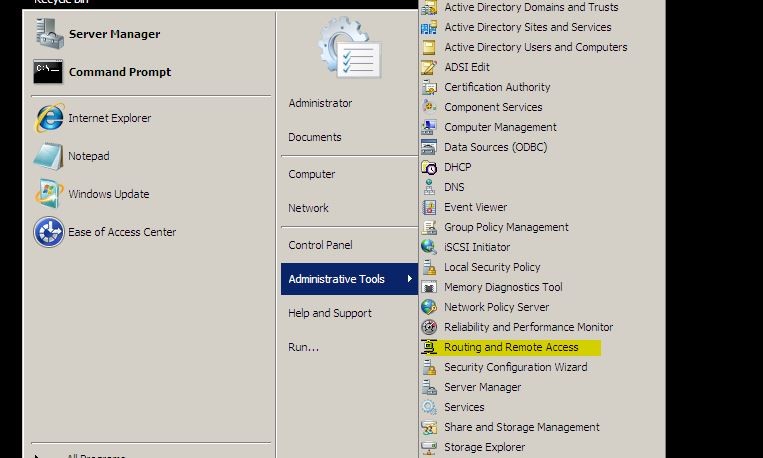
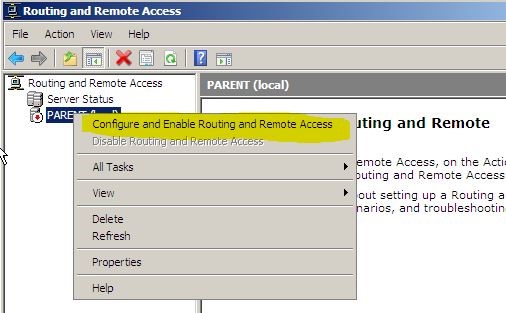
1. To start “Routing and Remote Access” mmc, click on start > administrative tools > routing and remote access.
2. In the mmc, click on the server name, right click on it and from options click on “Configure and enable routing and remote access”
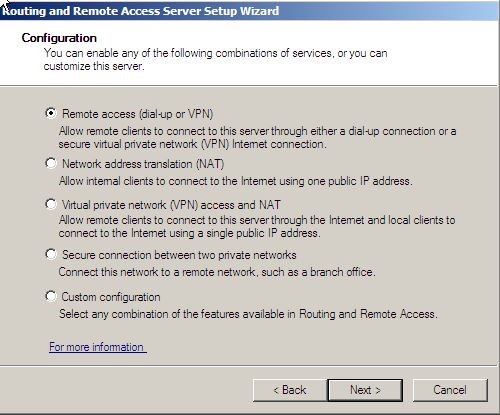
3. Click next on welcome page to continue. On the configuration page, leave default “Remote access (dial-up or VPN) selected and click Next.
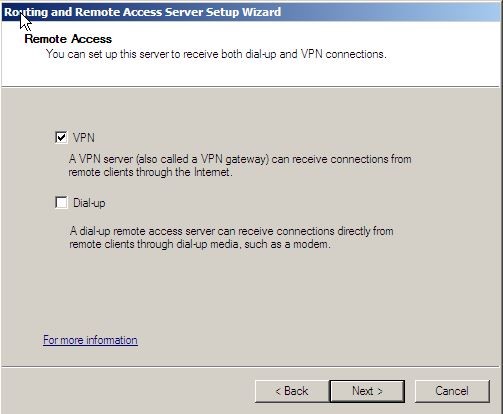
4. On the remote access page, select the “VPN” check box and click next.
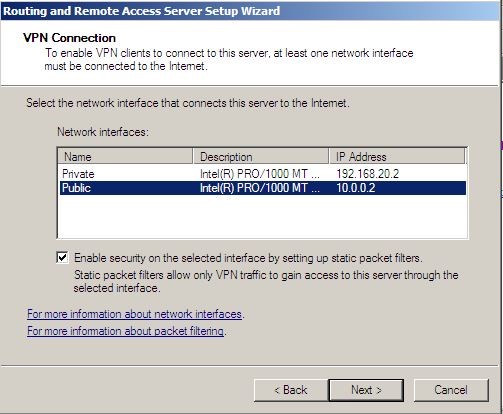
5. On the VPN connection page, select the “Public” interface and then click next.
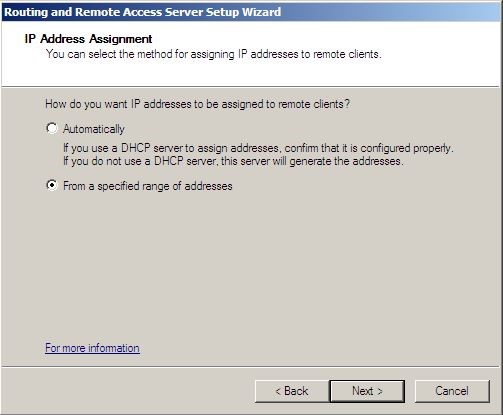
6. On the IP address assignment page, select “From a specified range of addresses” and then click next.
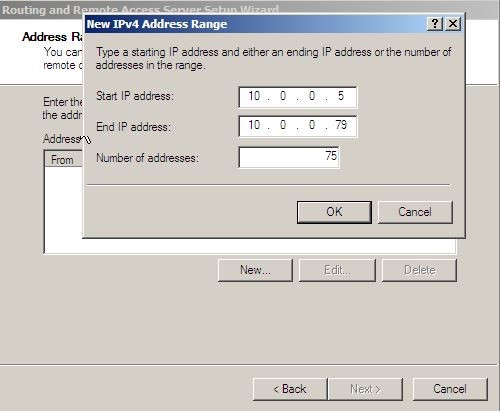
7. In the address range assignment page, click new and in the “start ip address” box, type the value of 10.0.0.5. in the “number of addresses” box type the value of 75 and click ok, then click next to continue.
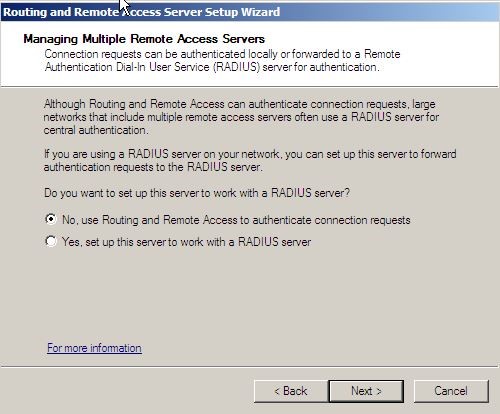
8. On the managing multiple remote access servers page, leave the default selection “No, use routing and remote access to authenticate connection requests” and click next, and then Finish.
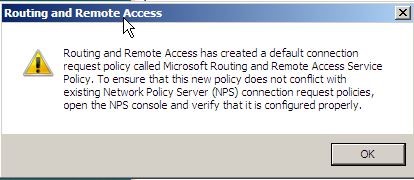
9. In the routing and remote access dialog box, click ok.
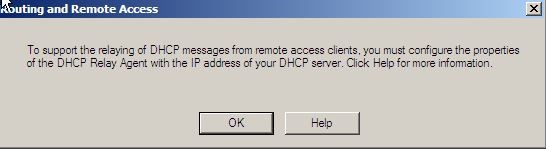
10. In next dialog box about DHCP relay agent click Ok too.


Nice Information in detail. Keep it up buddy.
This is Great post Very helpful….. thanks lot
Well-written post. Thanks for it!